The cabinet under your kitchen sink is probably the worst-designed storage in your whole house, and you already know it. A fat drain pipe runs straight through the middle, the floor gets damp, and everything just gets shoved in until you’re on your knees hunting for the sponge refills. The right under sink kitchen organizer fixes all of that, but only if you pick one that works around the plumbing instead of pretending it isn’t there.
I’ve reorganized a lot of these cabinets, and nearly everyone makes the same mistake: they buy one big bin or a rigid shelf that assumes a flat, open box. Under-sink cabinets are never that. Here’s what actually works, why it works, and the two things I’d buy first.
Why under-sink cabinets defeat most organizers
Three things make this space uniquely miserable. The P-trap and supply lines eat the center of the cabinet, so you lose the best real estate right in the middle. The tall stretch of air above your bottles sits completely wasted unless you build a layer into it. And anything at the back is basically invisible, because reaching it means leaning past a wall of spray bottles.
So the goal isn’t “add a shelf.” It’s three separate jobs: get around the pipes, use the height, and pull the back forward. The best setups use two different products, because no single one does all three well.
The best under sink kitchen organizer for vertical space
The single biggest win under a sink is adding a second level. Right now you’ve probably got tall bottles standing on the cabinet floor with a foot of dead air above them. A 2-tier expandable under-sink shelf reclaims that air and roughly doubles what the cabinet holds.
I specifically recommend the expandable kind because of the plumbing. These shelves let the width adjust and the legs sit at different depths, so you can straddle the drain pipe instead of fighting it. A cheap fixed shelf assumes a clear floor and starts teetering the moment it hits the P-trap. With the expandable version, you push one set of legs to the left of the pipe, the other set to the right, and slide the tiers to whatever width fits.
Here’s how I’d load it:
- Bottom tier, floor level: the heavy stuff you grab daily, dish soap, all-purpose cleaner, the big roll of trash bags.
- Upper tier: lighter, less-frequent items like sponges, brushes, a spare scrub pad pack, or a small caddy of dishwasher tablets.
- The pipe gap under the raised tier: bonus space most people miss. Tuck flat things here, extra cleaning cloths or a folded pair of rubber gloves.
One honest caveat: metal-wire versions can rust if your cabinet floor stays damp. If you’ve had a slow leak or the base is already water-stained, lay down a cheap plastic liner or a boot tray first, and dry the shelf feet now and then. That one habit adds years.
The under sink kitchen organizer that fixes the invisible back
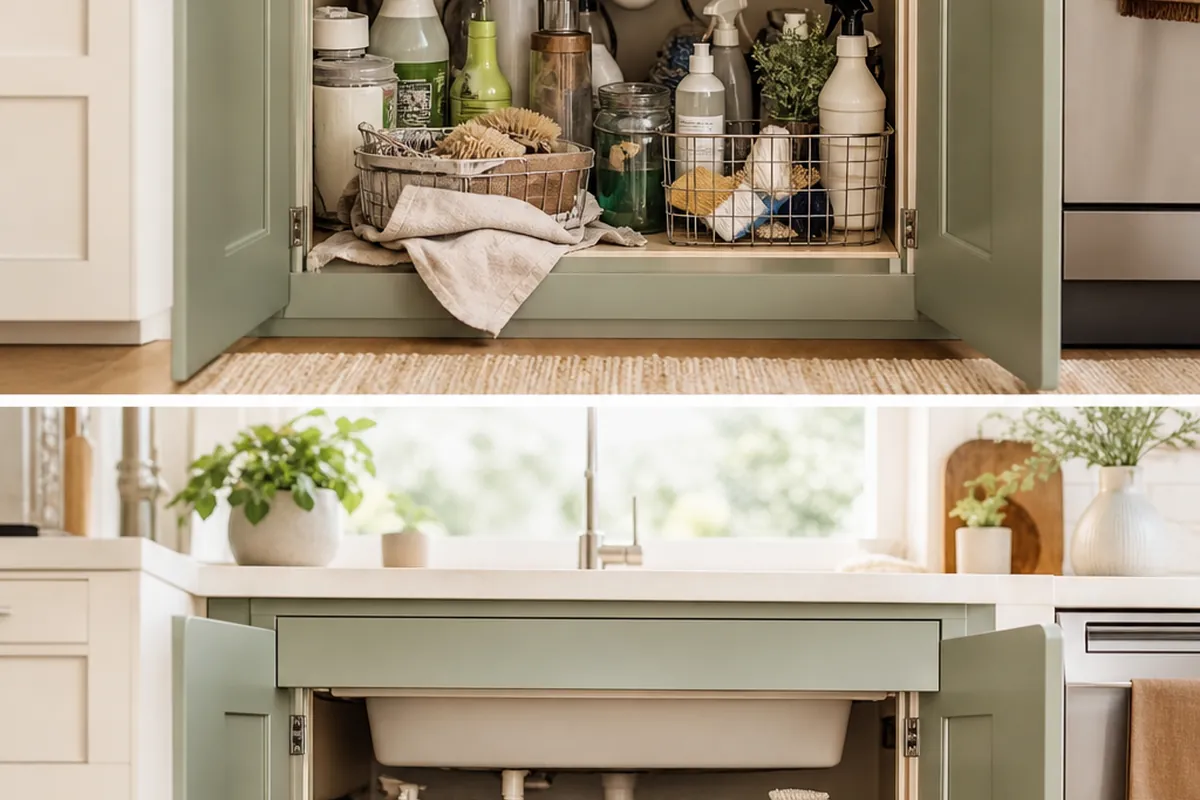
The second job is reaching the back without doing yoga, and that’s where a pull-out cabinet drawer organizer earns its keep. It’s a shallow bin on rails, or a sliding tray that mounts to the cabinet floor, so instead of leaning in and groping around, you pull the whole thing toward you and everything at the back rolls into view.
This is the cure for the stuff that always disappears: the backup dish gloves, the silver polish you’ve used twice, the drain snake you bought in a panic. A pull-out makes the back of the cabinet as usable as the front, which effectively hands you storage you already paid for but couldn’t reach.
A few things to check before you buy:
- Measure the pipe clearance, not just the cabinet width. The drawer has to slide forward under the plumbing, so its depth matters more than its width. If the P-trap sits low and forward, a full-depth pull-out won’t clear it. In that case, put the pull-out on one side and the expandable shelf on the other.
- Look at the mounting. Some pull-outs screw into the cabinet base, which renters may not want. Others are freestanding trays that just sit and slide. If you rent, go freestanding and leave no holes behind.
- Don’t overload it. These carry cleaning bottles beautifully. They are not built for a cast-iron skillet. Keep the weight sensible so the glides keep gliding.
The winning combo: shelf on one side, pull-out on the other
Here’s the layout I’d build in almost any under-sink cabinet. Put the 2-tier expandable shelf on whichever side has more vertical clearance and load it with your daily bottles. Put the pull-out drawer on the other side, ideally the side that runs deeper toward the back, and fill it with the occasional-use items you keep losing.
The pipe stays in the middle doing its thing, and you’ve built usable storage on both flanks plus a second level. That two-product split beats any all-in-one “under-sink organizer kit” I’ve seen, because kits force a single solution onto a space that has three different problems.
What to actually store here
Under the sink should hold cleaning and sink-related supplies only. Not food. It’s damp, it’s close to drain bacteria, and it often shares a wall with the trash. Keep it to soaps, sprays, sponges, gloves, trash bags, and maybe a small kitchen first-aid kit.
If you buy cleaning refills in bulk, resist the urge to cram them all under here. Keep one backup of each and stash the rest elsewhere. An overstuffed cabinet defeats every organizer you install.
Small upgrades that make a big difference
Once the shelf and pull-out are in, a few cheap add-ons finish the job:
- A tension rod across the front, up high. Hang spray bottles by their trigger heads so they dangle in that useless top corner and free up a whole tier below. This trick surprises people every time.
- Adhesive hooks on the cabinet door for rubber gloves, a scrub brush, or a small dustpan. Door space is free storage.
- A caddy or small bin on the pull-out to corral tiny things like twist ties and spare sponges, so they don’t slide to the back the second you open the drawer.
- A waterproof liner on the cabinet floor to catch slow drips, make spills wipeable, and protect your shelf feet from rust.
If you’re outfitting a whole tiny kitchen, this under-sink strategy pairs well with the rest of your small-space toolkit. I rounded up more of those in 12 Space-Saving Kitchen Gadgets Every Small Apartment Needs, and the tension-rod-and-hooks logic there works on cabinets all over the kitchen.
The before-and-after that makes it worth it
This is a genuinely dramatic transformation, which is why it’s such a satisfying weekend project. You go from a dark cave where bottles topple and the back is a mystery, to a two-level, pull-forward system where every item has a home and nothing hides. Photograph it before you start. Once you see the after, you’ll want to do every cabinet in the place.
Start with the expandable shelf if you can only buy one thing, because vertical space is the fastest win. Add the pull-out drawer next to solve the reach problem. Measure your pipe clearance first, keep the cabinet dry, and store cleaning supplies only. That’s the whole playbook, and it turns the worst cabinet in the kitchen into one of the most useful.