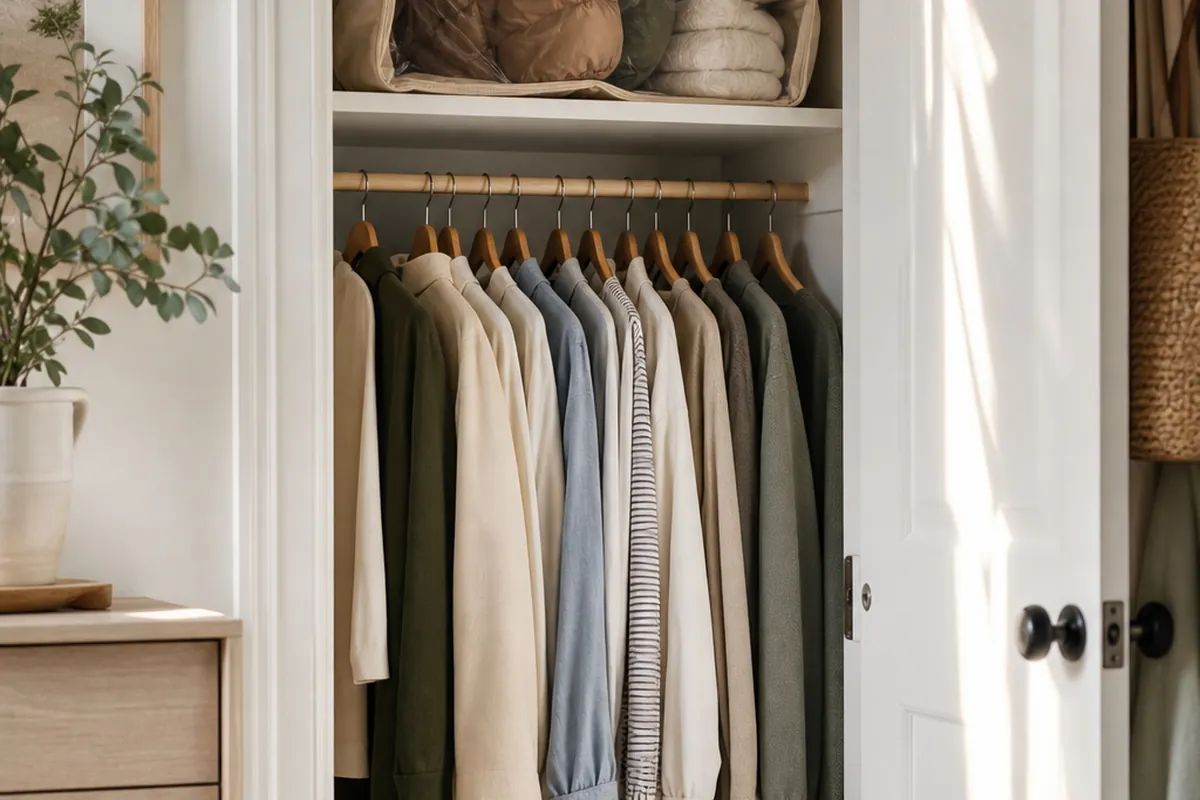
Open your closet and look at the gap between the hems of your hanging shirts and the floor. In most rentals that’s three or four feet of dead air, wasted because the rod was hung at chest height and never touched since. That empty column is exactly where you double closet space as a renter, and you can claim it in one afternoon with no drilling and nothing your landlord will ever spot.
This isn’t about buying more furniture. It’s about using the vertical volume you already pay rent for. Three moves do most of the work: shrink what your hangers eat, split the rod into two levels, then fill the odd corners that are left. Go in that order, because each step clears the way for the next.
Shrink your hangers before you shrink your wardrobe
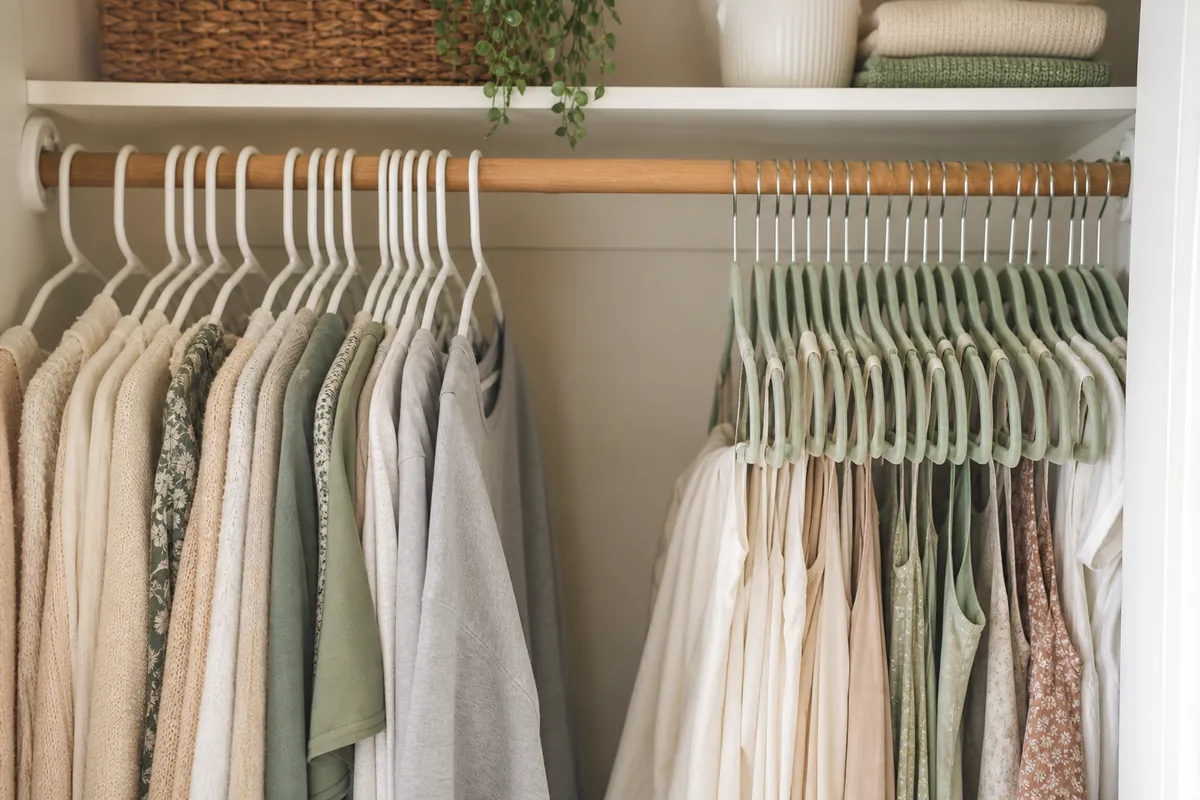
Most people chase more space by purging clothes. You can do that later. Fix the hangers first, because bulky plastic and wood ones are quietly hogging a third of your rod.
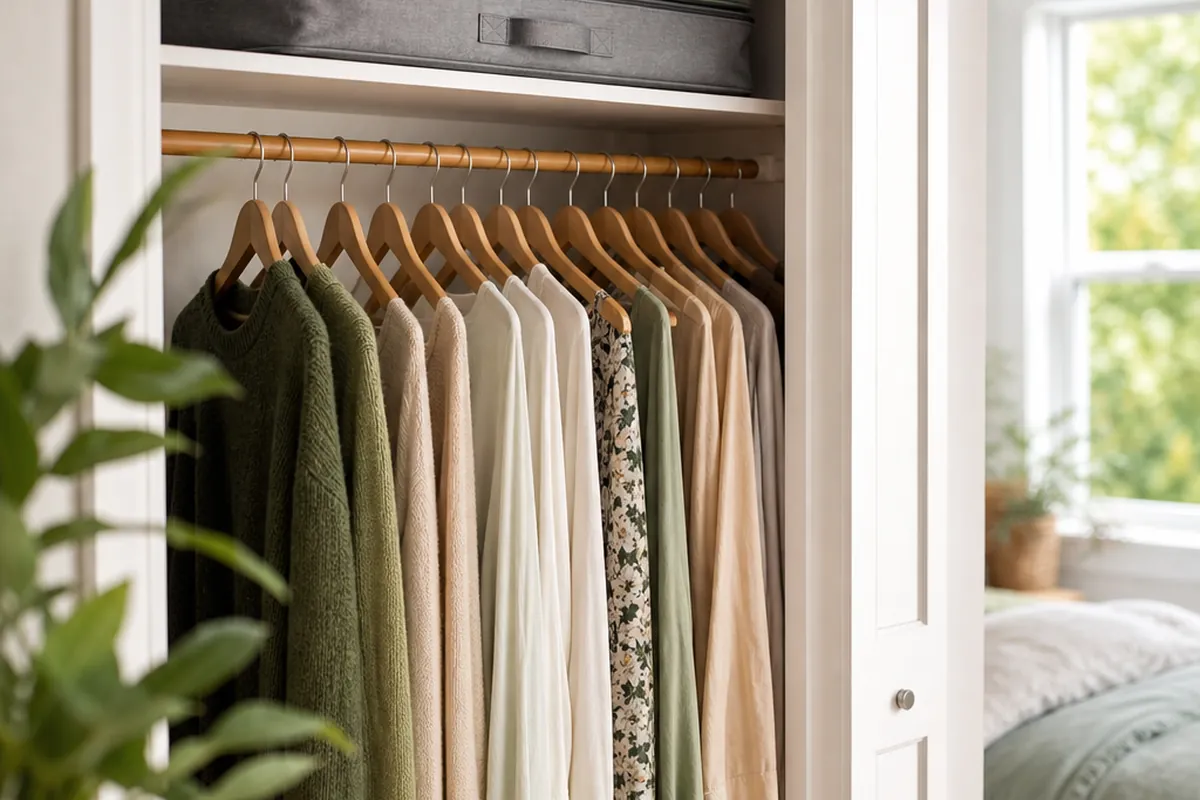
Switch everything to slim velvet hangers. A Velvet space-saving hangers (50-pack) set is the highest-return purchase in the whole project. Each one is roughly a quarter the thickness of a chunky wood hanger, so a rod that held 20 shirts now takes closer to 30. The flocked surface grips fabric too, which matters more than it sounds. Wide-neck tops and silky blouses quit slithering to the floor, so you stop re-hanging the same three shirts every morning.
Buy a single color. Mismatched hanger colors and shapes read as clutter even when the closet is genuinely organized, and a uniform rod makes the whole space feel calmer and, oddly, bigger. Buy more than you think you need, too. People always lowball the count and end up with a half-velvet, half-plastic rod that looks unfinished.
The cascading trick that sells the before and after
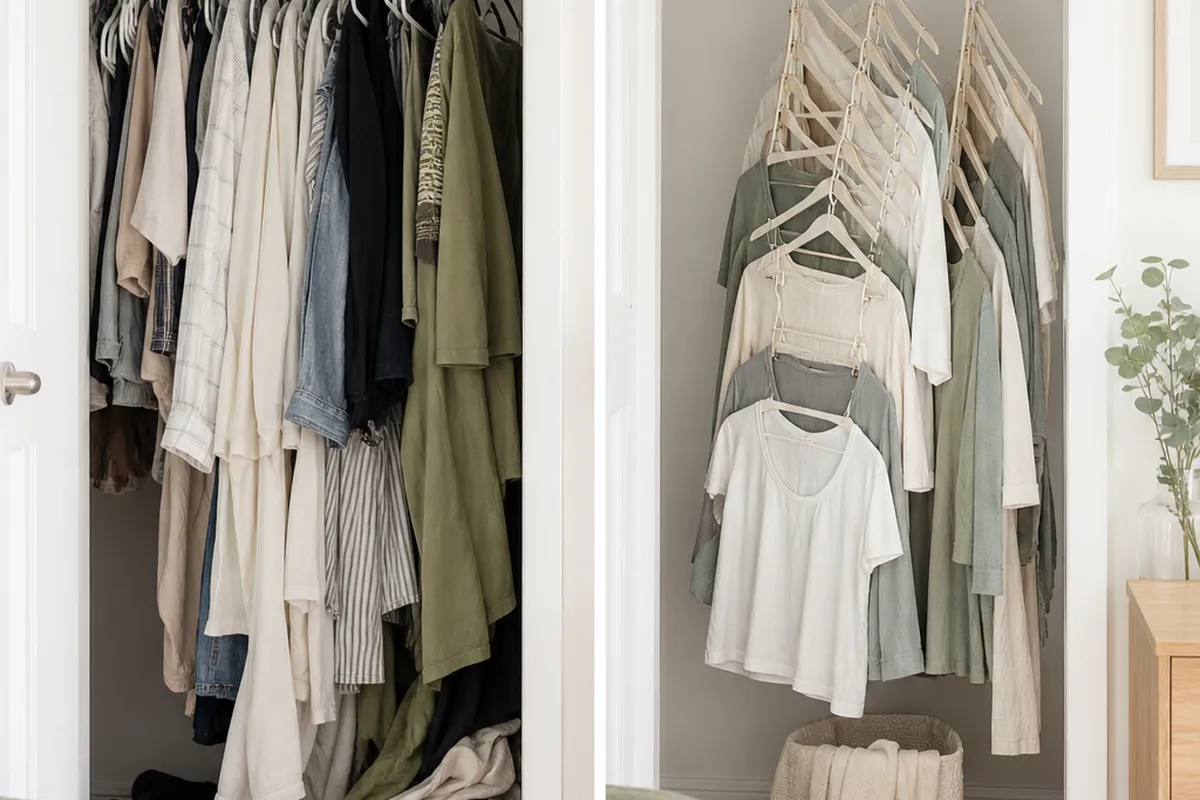
Here’s the move that makes the dramatic photo. Velvet hangers usually have a small notch or hook at the top, so you can loop one hanger onto the neck of the one above it and stack garments like rungs on a ladder. One vertical column can hold four or five pieces in the footprint of one. It’s ideal for outfits you wear as a set, seasonal layers, or a run of tank tops. Use it sparingly, though. A fully cascaded rod is a pain to dig through daily, so save cascading for off-rotation pieces and let your everyday clothes hang normally.
Split the rod to double closet space fast
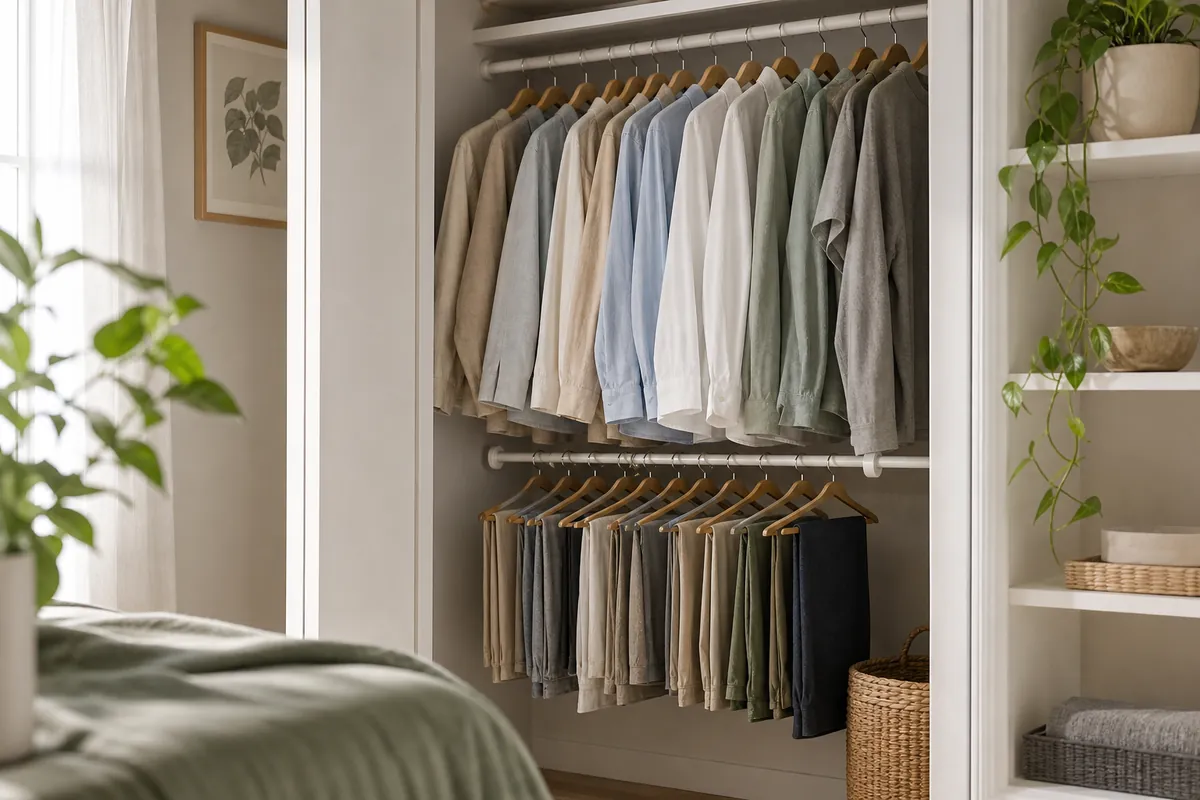
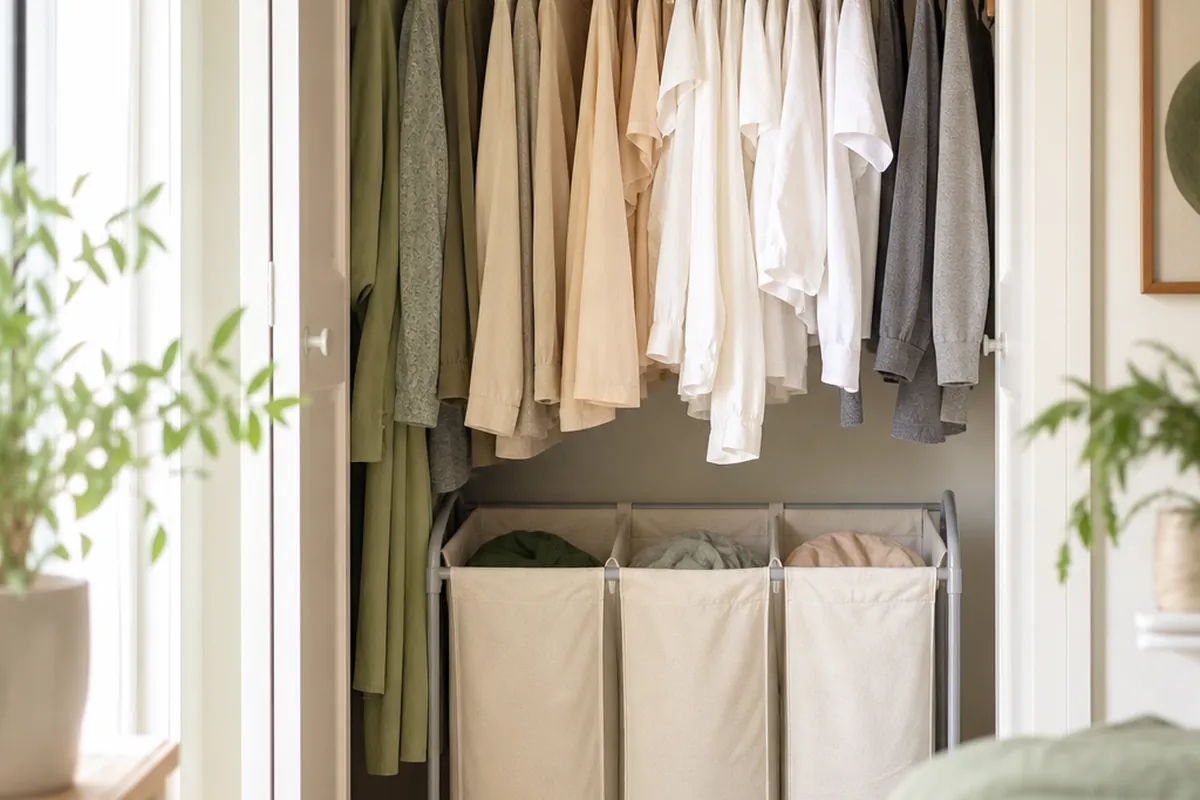
This is the real doubler. That empty stretch below your shirts becomes a second rod, and it takes about two minutes to set up.
An adjustable Double hang closet rod hooks onto your existing bar and drops a second one below it, giving you two tiers instantly. No screws, no anchors, no holes to spackle on move-out day. Shirts and jackets stay up top on the original rod height, and everything short (skirts, blouses, folded pants over the bar, kids’ clothes) goes on the lower tier.
The trick is matching your clothes to the levels. Anything that ends above the waist is a candidate for double hanging. Full-length dresses, coats, and jumpsuits are not, so keep a dedicated long-hang zone on one side so those don’t drag on the lower bar. In practice, most people can double-hang about two-thirds of their closet width and leave the last third for long pieces.
Get the adjustable version, not a fixed-drop one. Rental rod heights vary wildly, and a fixed bar either crowds your shirts or wastes air underneath. Adjustable lets you dial the gap so the top tier clears your hems by a couple of inches while the bottom tier still clears the floor.
Check your rod before you load two tiers
Glance at how your existing rod is mounted before you double the weight on it. Rental rods sitting in flimsy plastic end brackets can bow or pop loose. If yours feels wobbly, hang the heaviest items near the wall-supported ends instead of dead center, and keep truly heavy coats over on the single long-hang side.
Fill the leftover strip with a hanging shelf tower
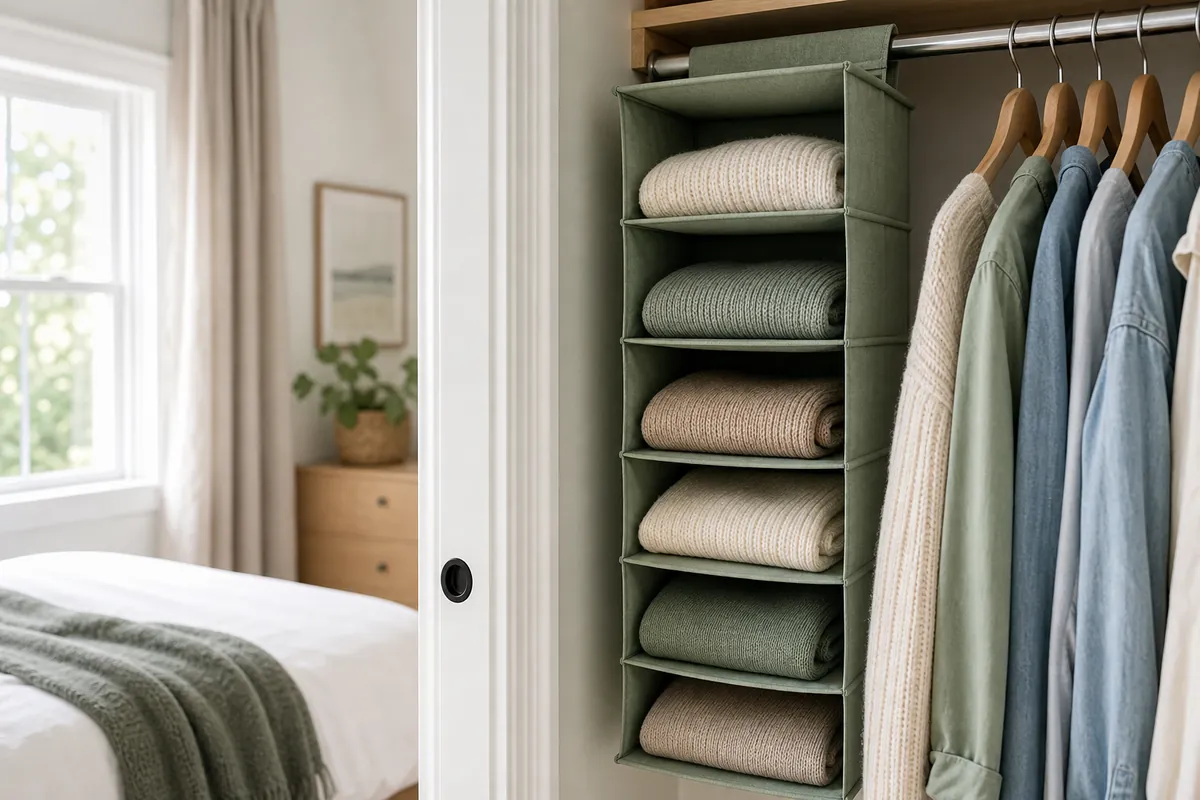
Once the hangers are slim and the rod is doubled, you’ll usually have one narrow vertical strip that just doesn’t suit hanging, often on the long-hang side or beside the door. That’s where a Hanging closet shelf organizer pays off. It’s a fabric tower with four to six cubbies that loops over the rod and hangs down, turning wasted air into folded storage.
Stock it with the things that hang badly anyway: chunky knit sweaters that hangers stretch at the shoulders, folded jeans, T-shirts you’d rather stack, gym clothes, or a few handbags. Since it hangs off the rod, it never touches the floor, which keeps that zone open for the next move.
A hanging shelf also kills the folded-sweater avalanche. Instead of one wobbling tower on a flat shelf, each cubby caps a pile at a sane height, and rolled items let you scan colors at a glance.
Reclaim the floor and the shelf above
Doubling the rod frees your hanging space, but two more zones tend to sit empty.
The closet floor. Once short clothes move up to the double rod, the floor stops collecting shirt tails and stray hangers. Keep it clear or use it on purpose. Shoes are the usual floor hog, and there are tidier ways to corral them than a pile; see shoe storage for a small space for setups that don’t sprawl. If your closet floor runs deep, a couple of low bins fit naturally here too.
The top shelf. The single shelf above the rod is almost always half-wasted because things get shoved to the back and forgotten. Add labeled bins for rarely-touched gear. True off-season clothing (winter coats in July, swimsuits in January) shouldn’t take up rod space at all. Get it out entirely. Flat bins that slide under the bed hold a whole season of clothes and keep your closet focused on what you actually wear this month.
The right order to do it in one afternoon
Sequence matters, because doing this out of order means redoing it. Here’s how I’d run it start to finish:
- Pull everything out. All of it. You can’t plan tiers while the rod is full.
- Sort into three piles: short-hang (for the double rod), long-hang (dresses, coats), and fold or off-season (for the hanging shelf, top-shelf bins, or under-bed storage).
- Move every hanging piece onto a velvet hanger as you go. Do it now, not “later.”
- Install the double hang rod on the side with the most short clothes, and set the drop against your longest short-hang shirt.
- Load the top tier first, then the bottom. Keep the long-hang pile on the single-rod side.
- Hang the shelf tower in the leftover strip and fold your knits and jeans into it.
- Move off-season clothes out completely and wipe the floor clear.
When it’s done, take a photo. A doubled velvet rod makes a genuinely satisfying before and after, and it’s a handy reference for keeping the system from sliding back.
What actually keeps it doubled
Two habits decide whether the closet stays this roomy. First, cap your hangers. Once the 50-pack is full, one thing in means one thing out. A hard hanger limit is the simplest wardrobe rule there is. Second, keep the tier logic honest: short clothes on the double rod, long clothes on the single side. The first time you toss a shirt on the long-hang bar because it’s closer, the whole system starts to unravel.
Nothing here touches a wall, voids a lease, or sinks an anchor into drywall. That’s the win for renters. You get the storage of a built-in closet system, and you take every piece of it with you when you go.