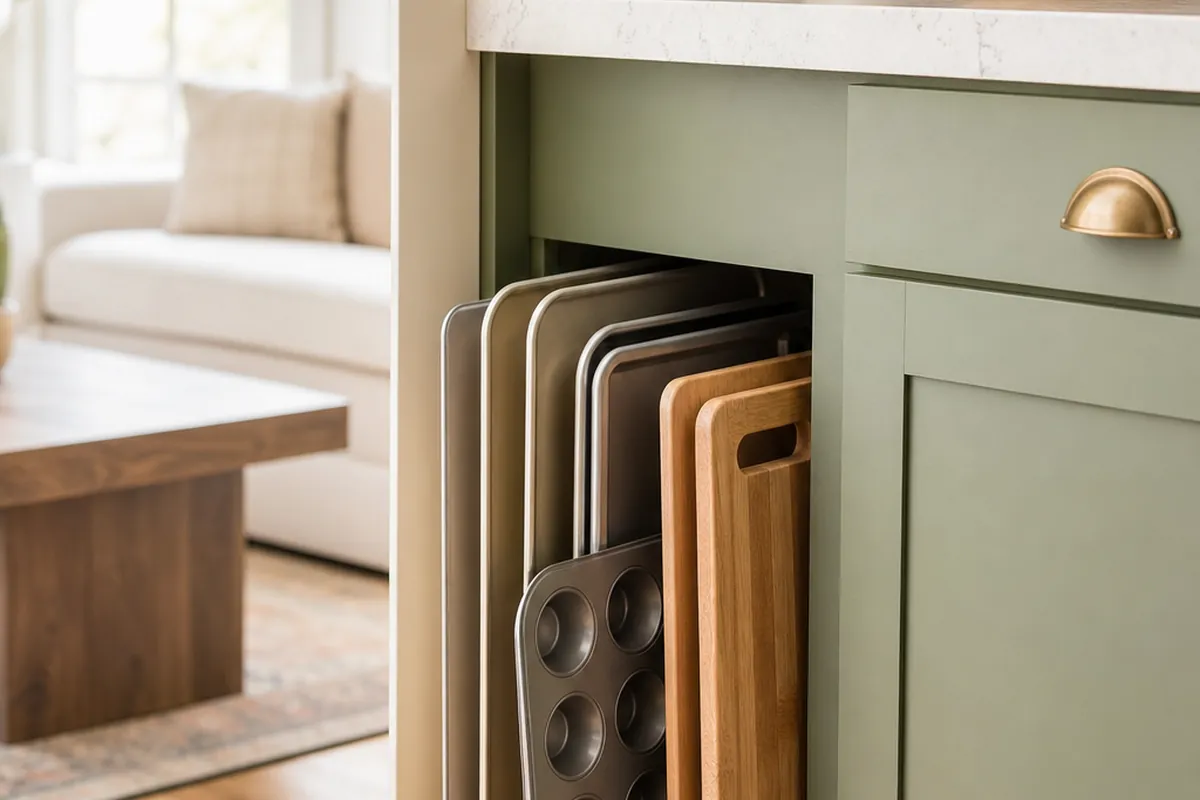
Most rental pantries are some version of the same problem: one deep cabinet, an awkward closet, or three shelves spaced too far apart. And you can’t drill into any of it without gambling your deposit. Renter pantry organization with no drilling really comes down to one move, working with the shelves you already have and adding storage that grips, stacks, or just sits there without a screw.
Everything below assumes you can’t modify a thing. No pilot holes, no wall anchors, no adhesive hooks that peel a strip of paint off on move-out day. Just containers that earn their space and a handful of placement tricks that make a cramped pantry hold more while hiding less.
Start by fixing the depth problem
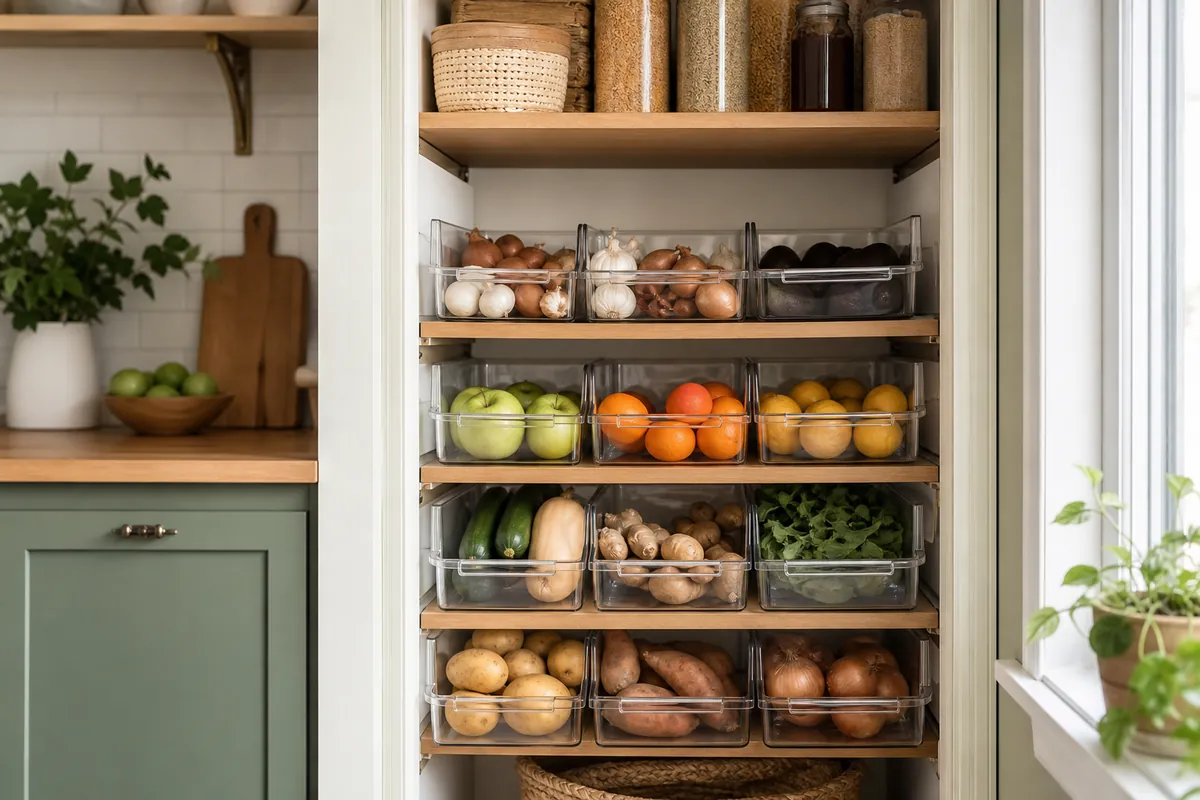
Deep shelves are the real enemy. Anything shoved to the back gets forgotten, goes stale, then gets bought a second time. Before you order a single container, pull everything out and measure how deep each shelf actually is, front to back, in inches. That one number decides what fits and what becomes dead space.
Use clear stackable bins to build a second row you can see
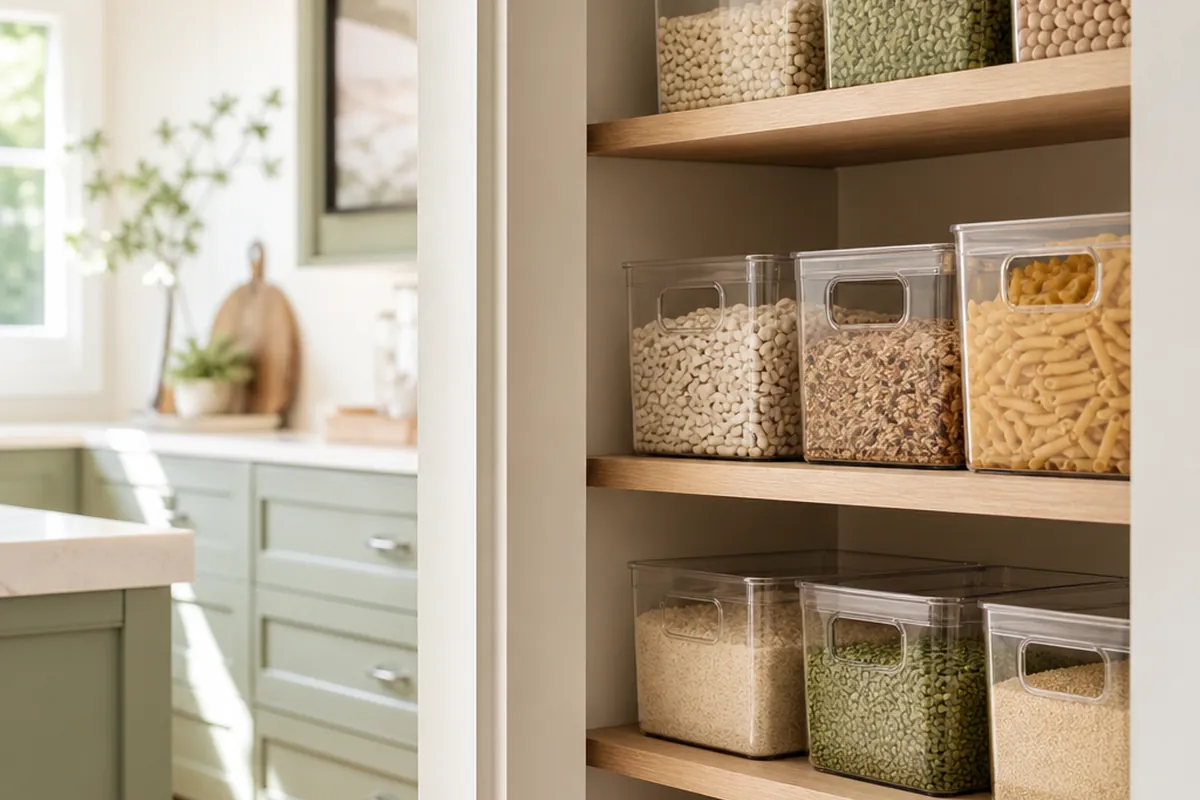
The fastest fix for a deep, dim pantry is a set of clear stackable pantry bins. Group snacks, baking supplies, or packet mixes into a bin, then slide the whole bin in and out like a drawer. The clear front means you never lose track of what’s buried, and stacking two shorter bins finally uses that vertical gap that always goes to waste between tall shelves.
Buy bins that match your shelf depth, not the deepest ones on the shelf at the store. A bin shorter than your shelf leaves a useless strip behind it, and a bin too deep won’t clear the door. Aim for one about an inch shallower than the shelf so it glides freely.
Group by category, not by size
One bin for breakfast, one for pasta and grains, one for kid snacks. When you sort by how you actually reach for things, restocking gets obvious and the double-buying stops. Label the front of each bin too. Masking tape and a marker does the job, but a real printed label reads cleaner and lasts through a few reorganizations.
If you do not have a pantry to fix, a spare closet can become one without a single screw. How to turn a closet into a pantry covers the conversion.
Reclaim the gap under every shelf
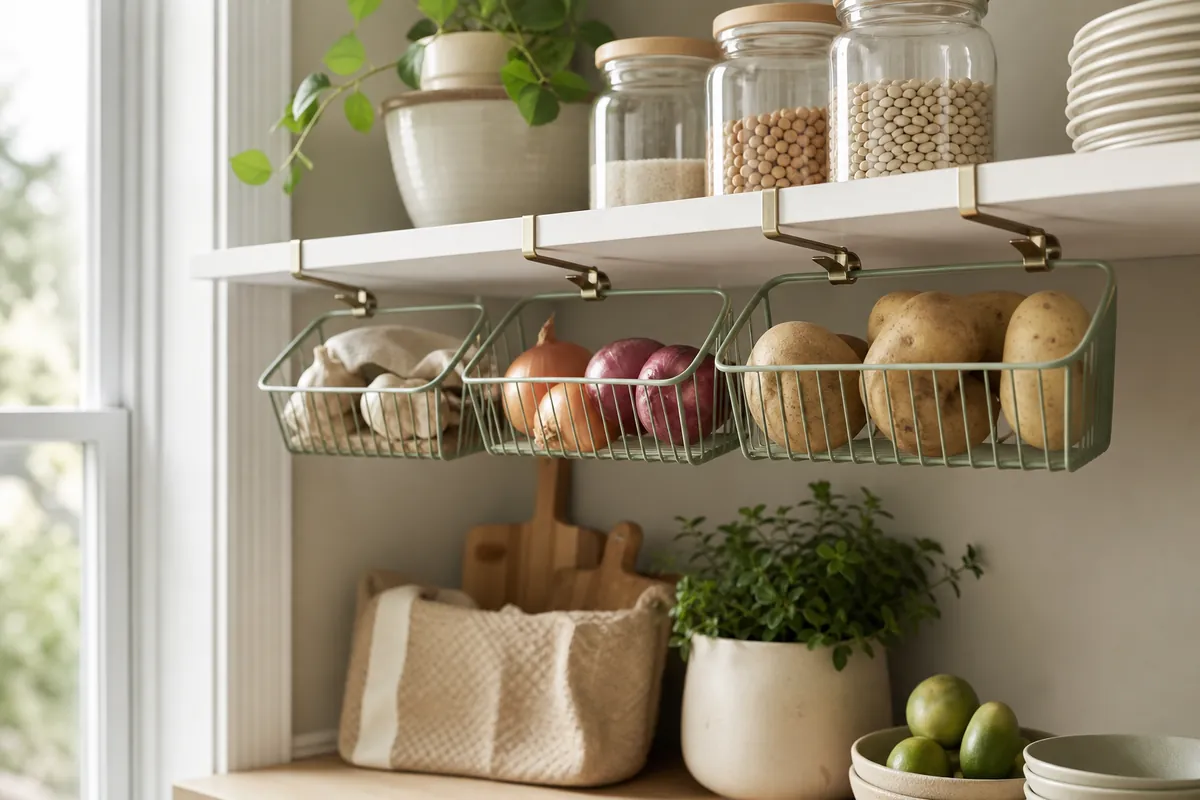
The space between the tops of your cans and the underside of the next shelf is prime real estate almost nobody uses.
Slide in under-shelf hanging baskets
Under-shelf hanging baskets, the kind you’ll find all over Amazon, hook over the shelf above and hang down, adding a whole extra layer with zero hardware. They shine for flat, light stuff: seasoning packets, tea boxes, foil, wrap, napkins. Because they clip on, you can move them whenever you rearrange and leave the shelf exactly as you found it.
Don’t get greedy with them. These are for lightweight overflow, not stacks of cans. Keep the heavy items on the shelf and let the basket handle the floppy things that never stack well on their own.
Add a freestanding shelf riser if the gap is tall
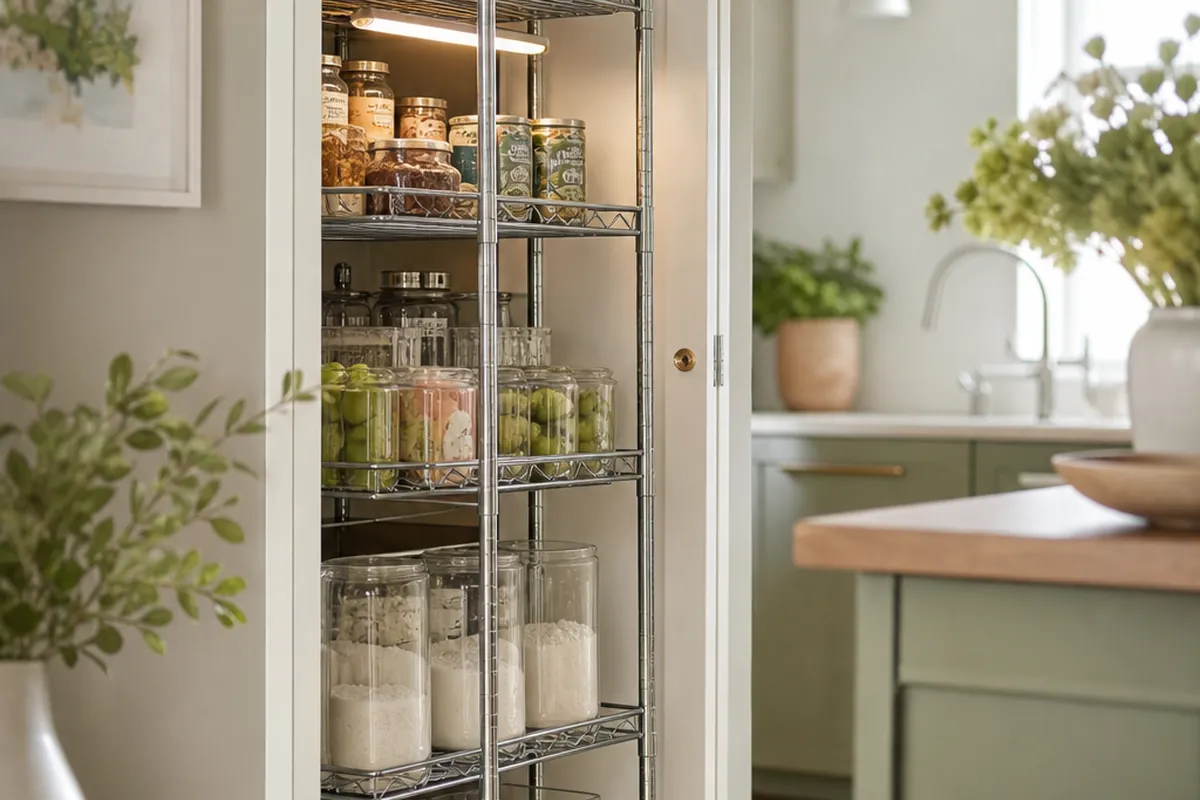
Got a shelf with a cavernous vertical gap? A freestanding wire riser doubles your usable surface. Cans tuck underneath, and the riser gives you a raised back row so nothing disappears behind the front line. Nothing to mount, it just sits there and works.
Kill the back-of-shelf blind spot
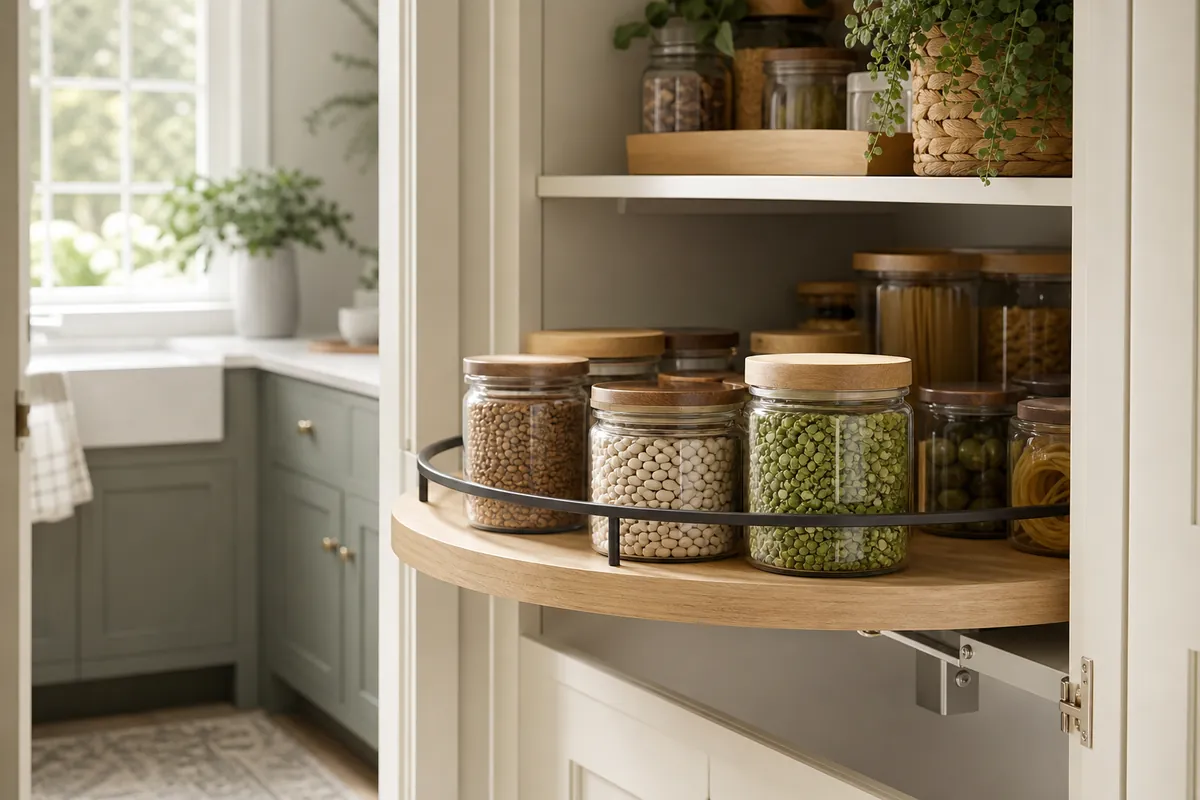
Deep corners and back rows are where food goes to die. Two tools fix that without touching a wall.
Put a turntable in the corner
A turntable, or lazy Susan, is the single best thing you can drop into a deep pantry corner. Load it with oils, vinegars, sauces, and jars, then spin to grab whatever’s hiding in back. No more knocking over three bottles to reach the one behind them. A two-tier version stretches capacity for shorter items like spice jars and condiment packets.
If you cook a lot, run one turntable for cooking oils and another for baking add-ins. The whole point is that everything on it stays visible and reachable with one flick of the wrist.
Front-load your most-used items
Simple rule, big payoff: whatever you grab daily lives at the front, at eye or hand height. Backstock and the appliances you touch twice a year go high or deep. Sort by frequency, not just by category, and the pantry starts bending around your habits instead of fighting them.
Use the door and vertical space
Try a hook-on over-the-door rack
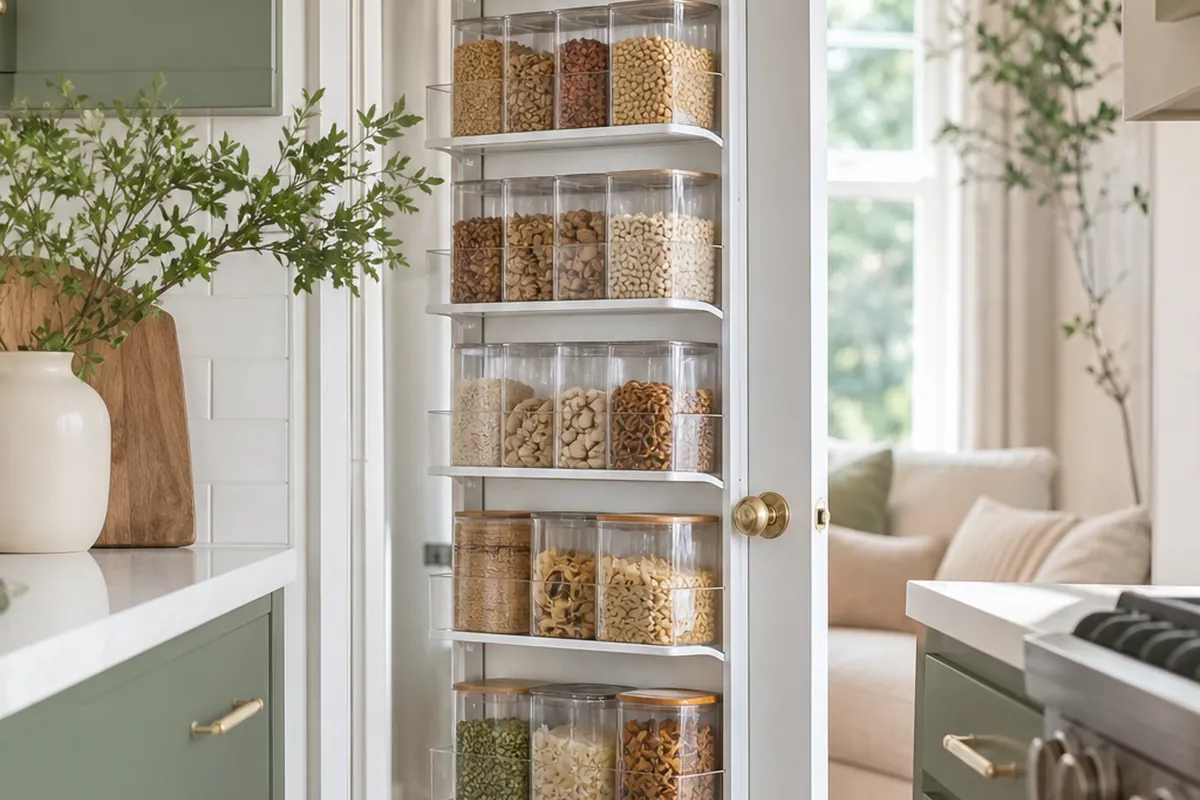
If your pantry has a hinged door, an over-the-door organizer that hooks over the top hangs there with no hardware at all. It’s made for spice jars, foil, small boxes, and packets. Get one with shallow or adjustable baskets so the door still closes flush. Skip this one if your door is bifold or too flimsy to carry weight, it’ll sag or block the door.
Stack, don’t pile
Cereal boxes standing upright waste all the room above them. Pour cereal, rice, and pasta into stackable airtight canisters and you flatten that dead height while keeping food fresher. Square canisters beat round ones every time because they tile against each other with no wasted gaps. It’s the same logic behind fridge organization in small spaces: square and stackable always beats round and random.
Corral the small, chaotic stuff
Bag clips and packets in one shallow bin
Half-open bags and loose seasoning packets are what make a pantry look like a bomb went off. Give them one low, wide bin near the front. Clip the open bags shut and stand them upright so you can flip through them like files instead of digging.
Keep backstock separate from working stock
Run one bin for opened, in-use items and a separate high or deep bin for unopened backstock. When the working bin runs low, you refill from backstock and add it to the list. This single habit does more to stop the pantry from overflowing with duplicates than any container ever will.
Make it actually stay organized
Most pantry makeovers fall apart within a month because the system asks for too much. Any setup that needs perfect stacking or a precise angle loses to real life fast. Pick bins you can grab and shove back one-handed while you’re holding a toddler or a phone.
Strip it down and a renter-friendly pantry is just three things: clear bins for grouping, tension-rod baskets for the wasted gaps, and a turntable to kill the corner blind spot. Everything else is placement. If your kitchen is short on storage elsewhere too, the same no-drill thinking works under your cabinet under the sink and for reclaiming counter space in a tiny kitchen.
Start with the two shelves you use most. Pull everything out, wipe them down, sort by how often you reach for things, and add containers only where they pull their weight. A pantry that stays tidy on autopilot beats a gorgeous one you can’t maintain, and not one piece of it needs a drill.