The bleeding has not stopped and you are digging through a drawer of loose bandage wrappers, a crusted tube of ointment, and a thermometer with a dead battery, looking for the one thing you actually need. That is what a first aid kit becomes when it grows by accident instead of being built on purpose, and a small bathroom cabinet has no spare inches to hide the mess.
Nine ideas below for turning that drawer into an actual kit, one your hands can find without looking and that survives being restocked more than once.
1. Start with what actually belongs in a first aid kit
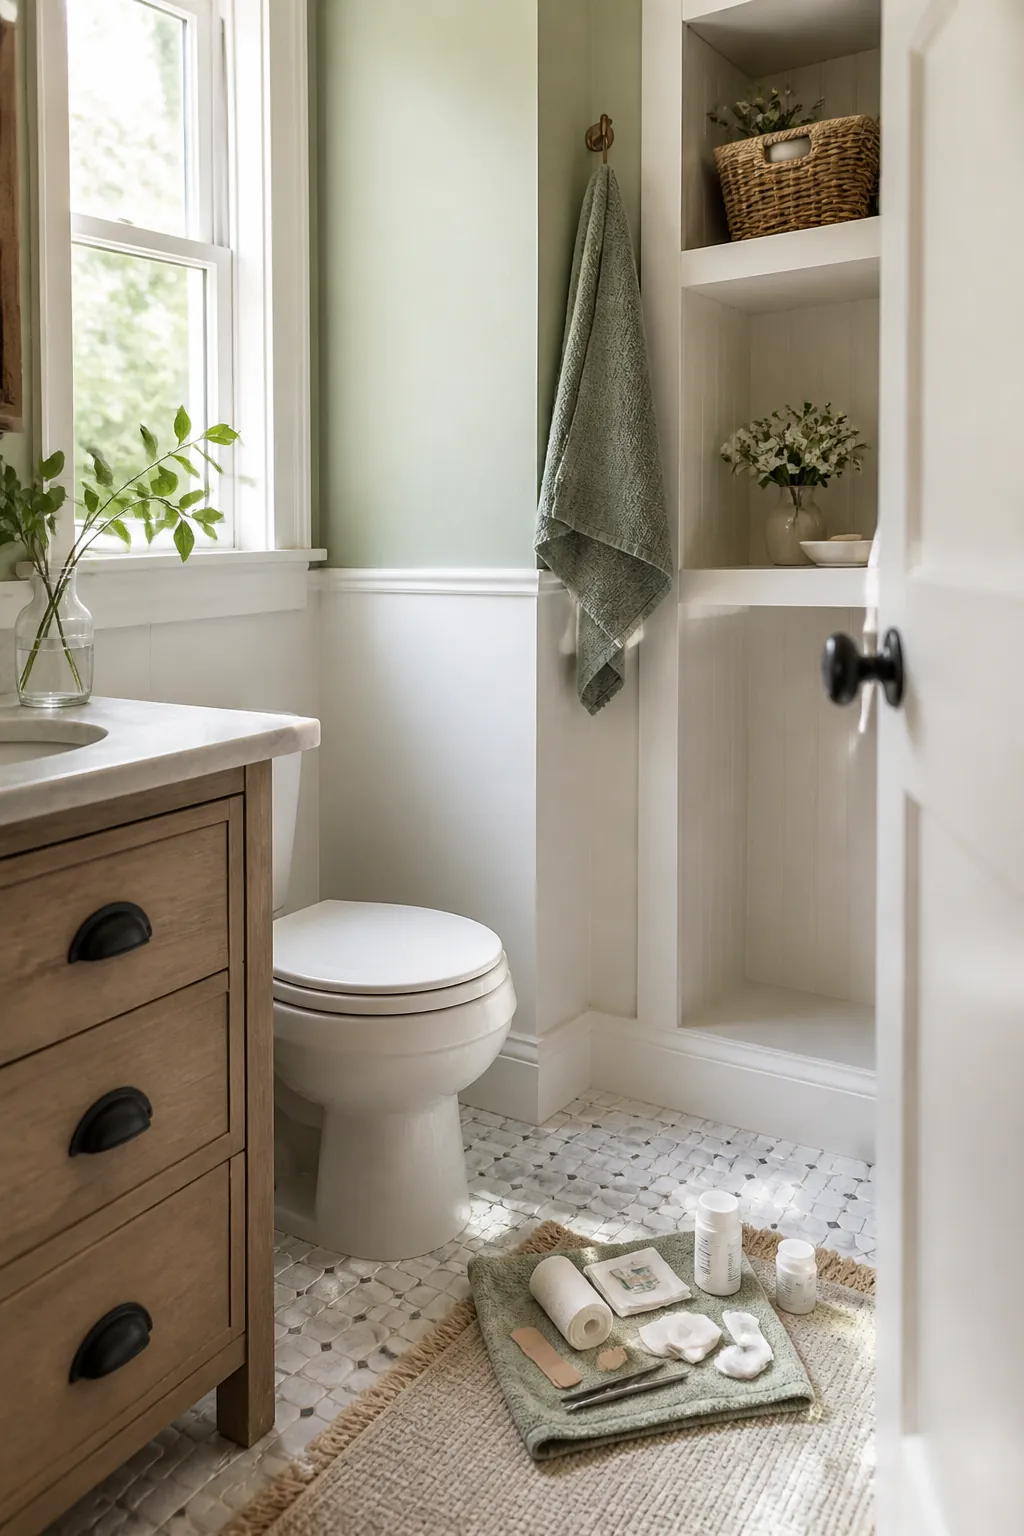
Pull everything with any medical use out of the cabinet at once and sort it on a towel. A real first aid kit covers three jobs: wound care, tools, and short-term relief. Adhesive bandages in a few sizes, gauze pads, medical tape, and antiseptic wipes handle the first. Small scissors, tweezers, and an instant cold pack are the tools. Pain relievers and an antihistamine cover the rest.
Everything else, the daily allergy medication, the prescription refill, the half-used tube of cortisone cream from a rash two years ago, belongs in the medicine cabinet or somewhere cool and dry, not in this kit. A kit that also functions as general medicine storage is the reason you cannot find the gauze when it matters.
Check dates as you sort. Adhesive bandages lose their stick after two to three years in a humid room, hydrogen peroxide breaks down within about six months of the seal being opened, and antibiotic ointment is good for roughly a year once it has been used. Anything expired goes in the trash, not back in the kit. Aim to land the finished kit at something you could carry in one hand, roughly the footprint of a shoebox, for a household of two to four people.
2. Give the kit one dedicated caddy instead of a drawer
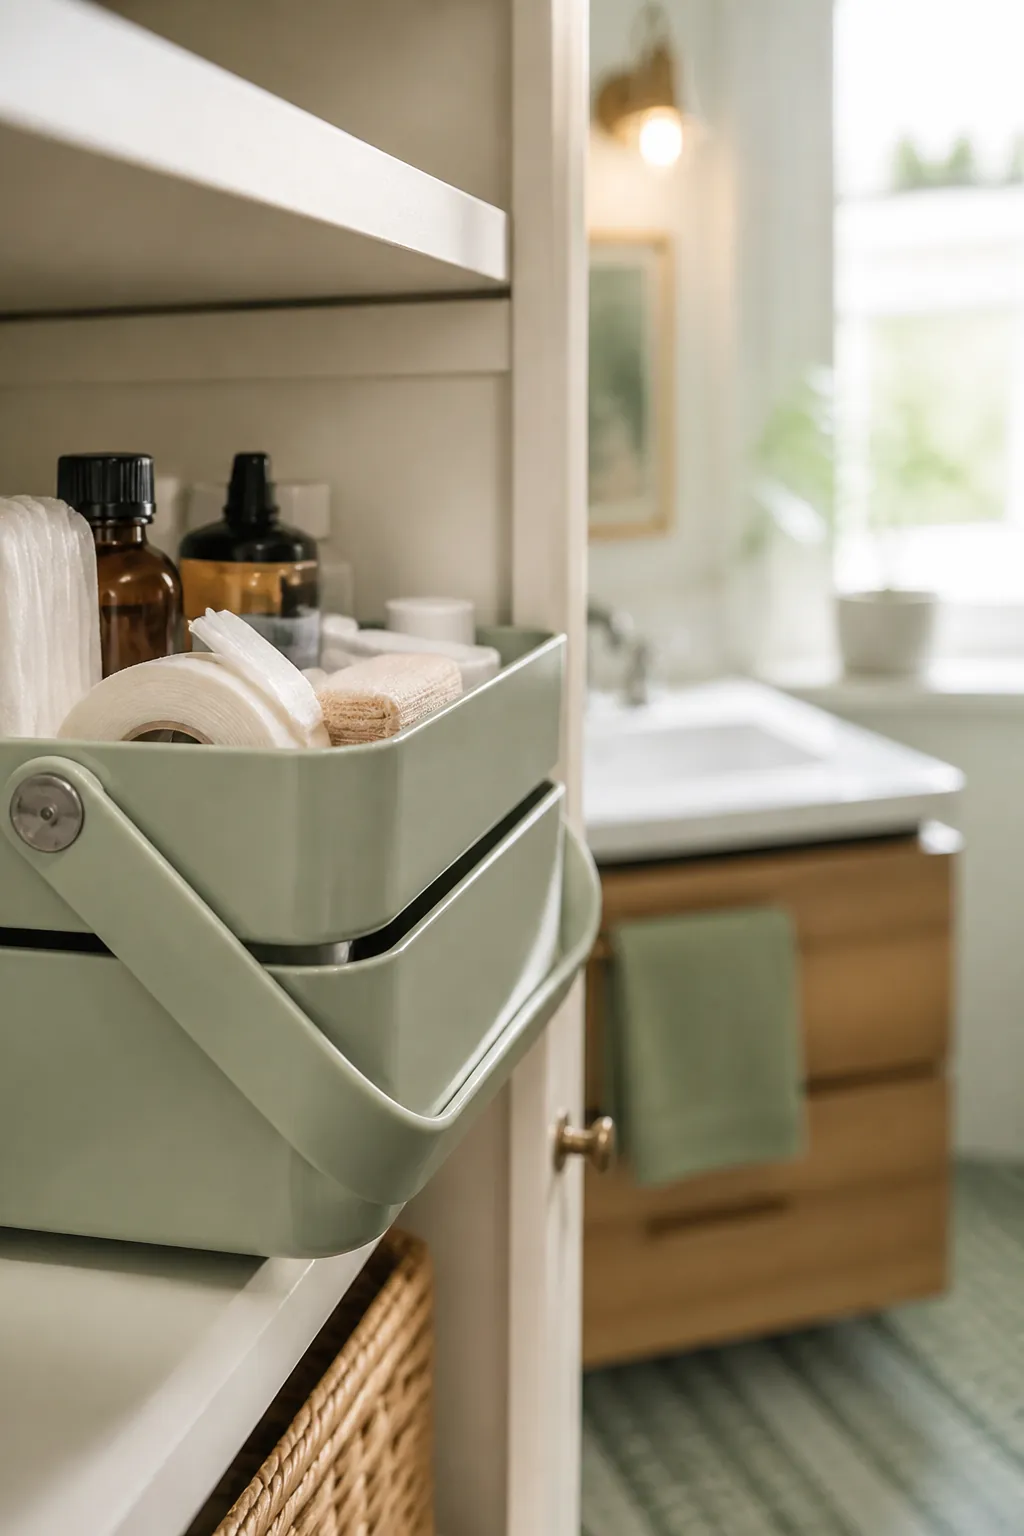
A drawer full of loose supplies means that in an emergency you are pulling the whole thing open and pawing through everything to find one item, and half of it ends up on the floor. A stackable supply caddy with handle fixes that by giving the entire kit one address. Everything for treating a cut, a burn, or a headache lives in the same container, and the handle means you can lift the whole thing out and carry it to wherever the injury actually is.
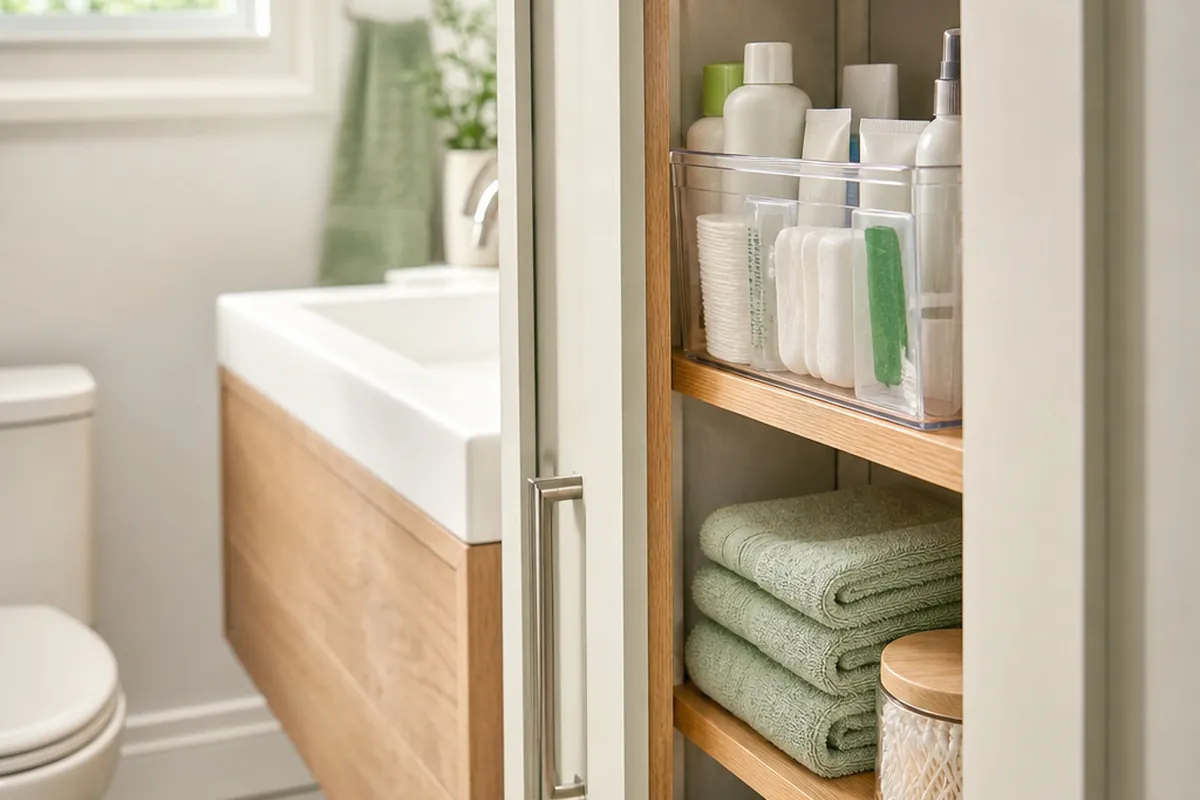
It sits on an existing shelf with no drilling, which matters if you rent and want the kit to move with you rather than staying behind with the cabinet. Measure the shelf depth before buying. Most small bathroom cabinets run four to six inches deep, and a caddy that is even half an inch too wide will not close the door.
3. Split the caddy into small clear stackable drawers by category
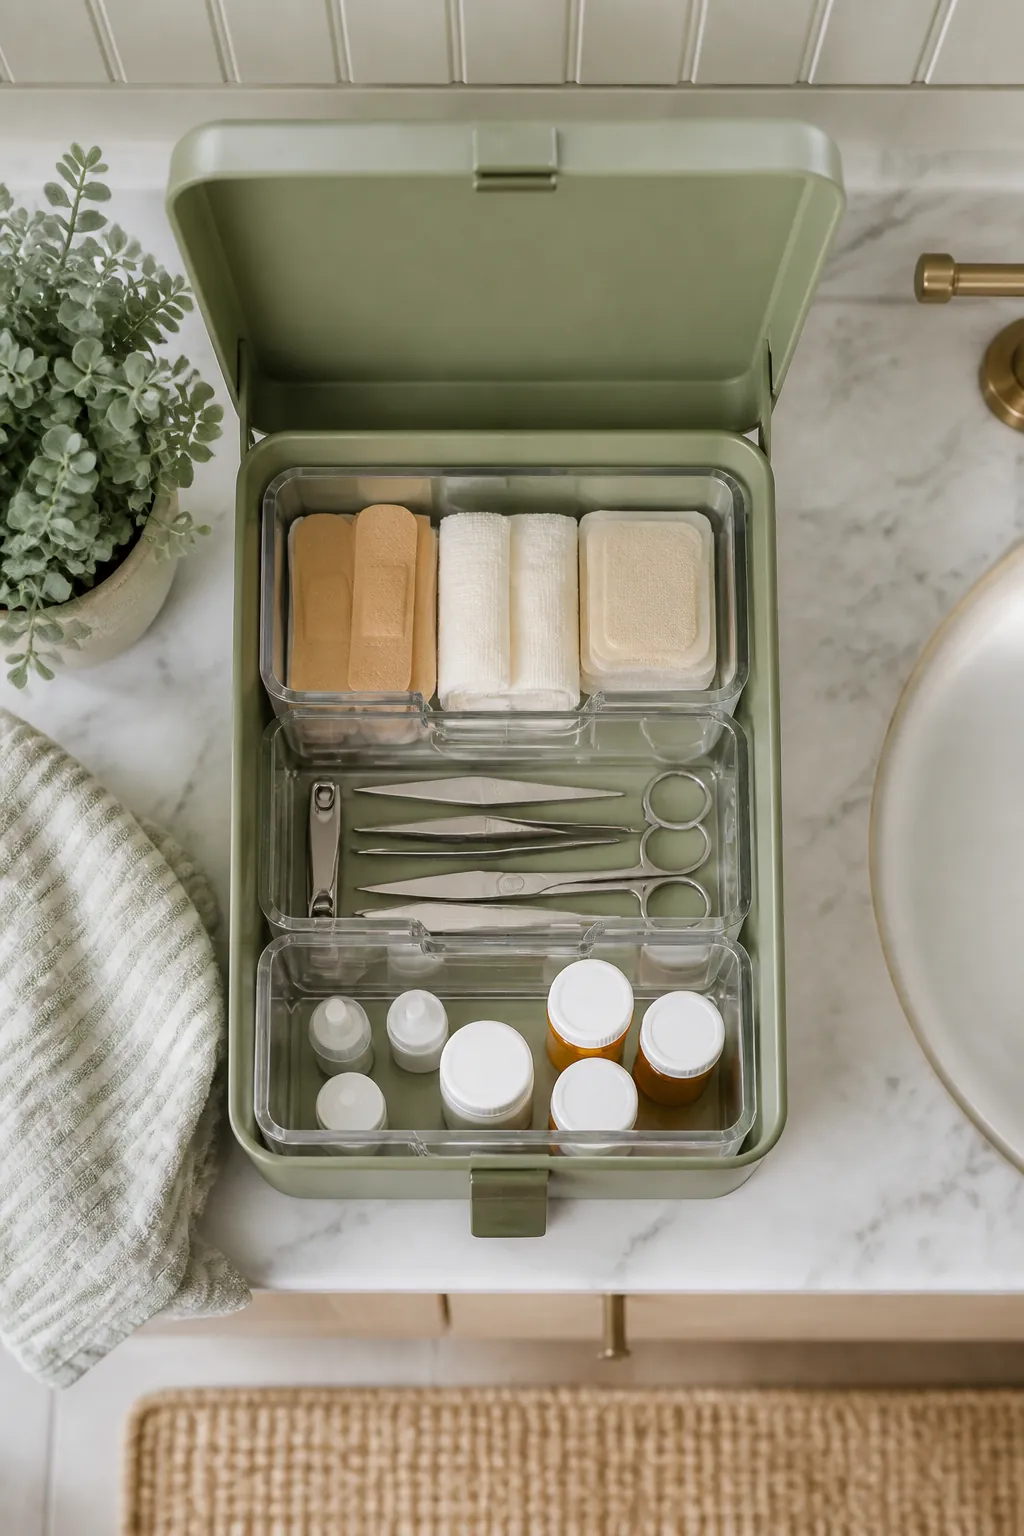
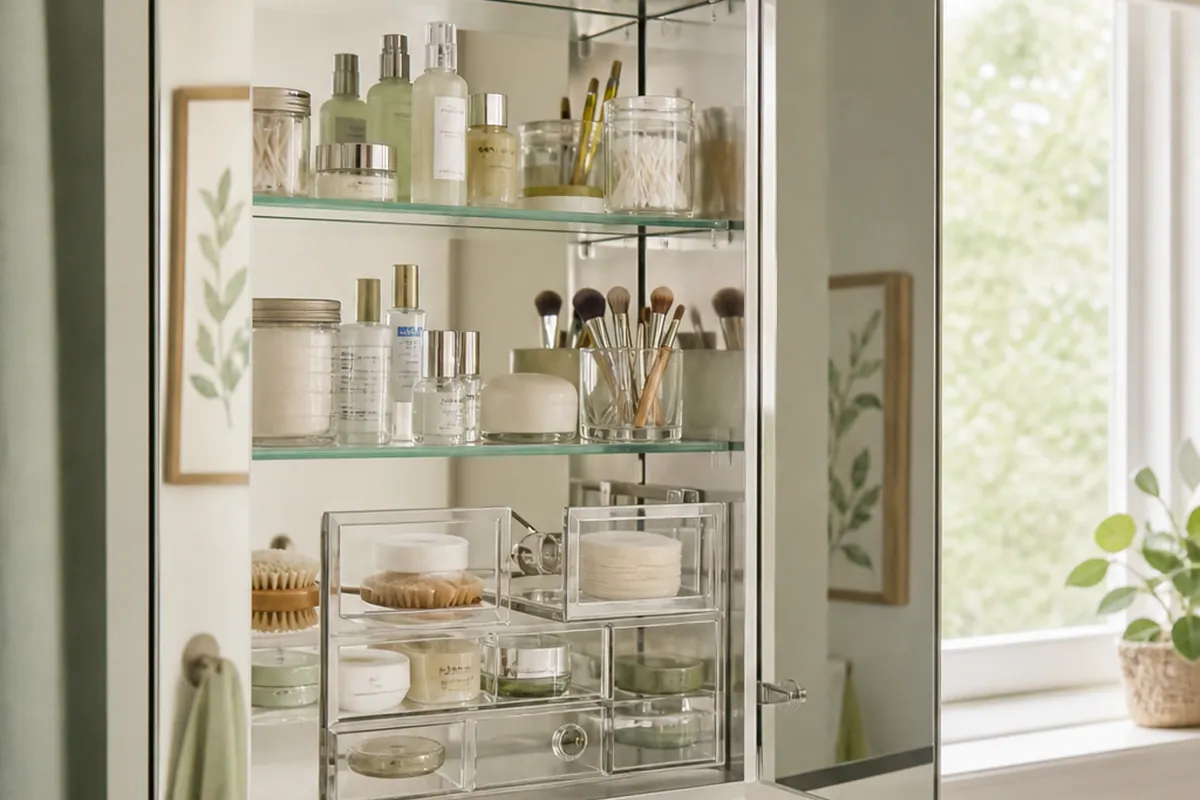
One catch-all container solves the “where is my kit” problem but not the “where is the burn cream” problem. Small clear stackable drawers inside the caddy split it into narrow categories, one drawer for wound care, one for tools, one for medication, each labeled and each visible without opening it.
“First aid” as a single label is about as useful as a closet labeled “clothes.” You still have to dig through every bandage size to reach the antihistamine underneath. Three drawers, each holding one category, means your hand goes to the right one in the dark, and a kid old enough to help can find the right drawer without asking.
4. Corral the bulky items separately from the small stuff
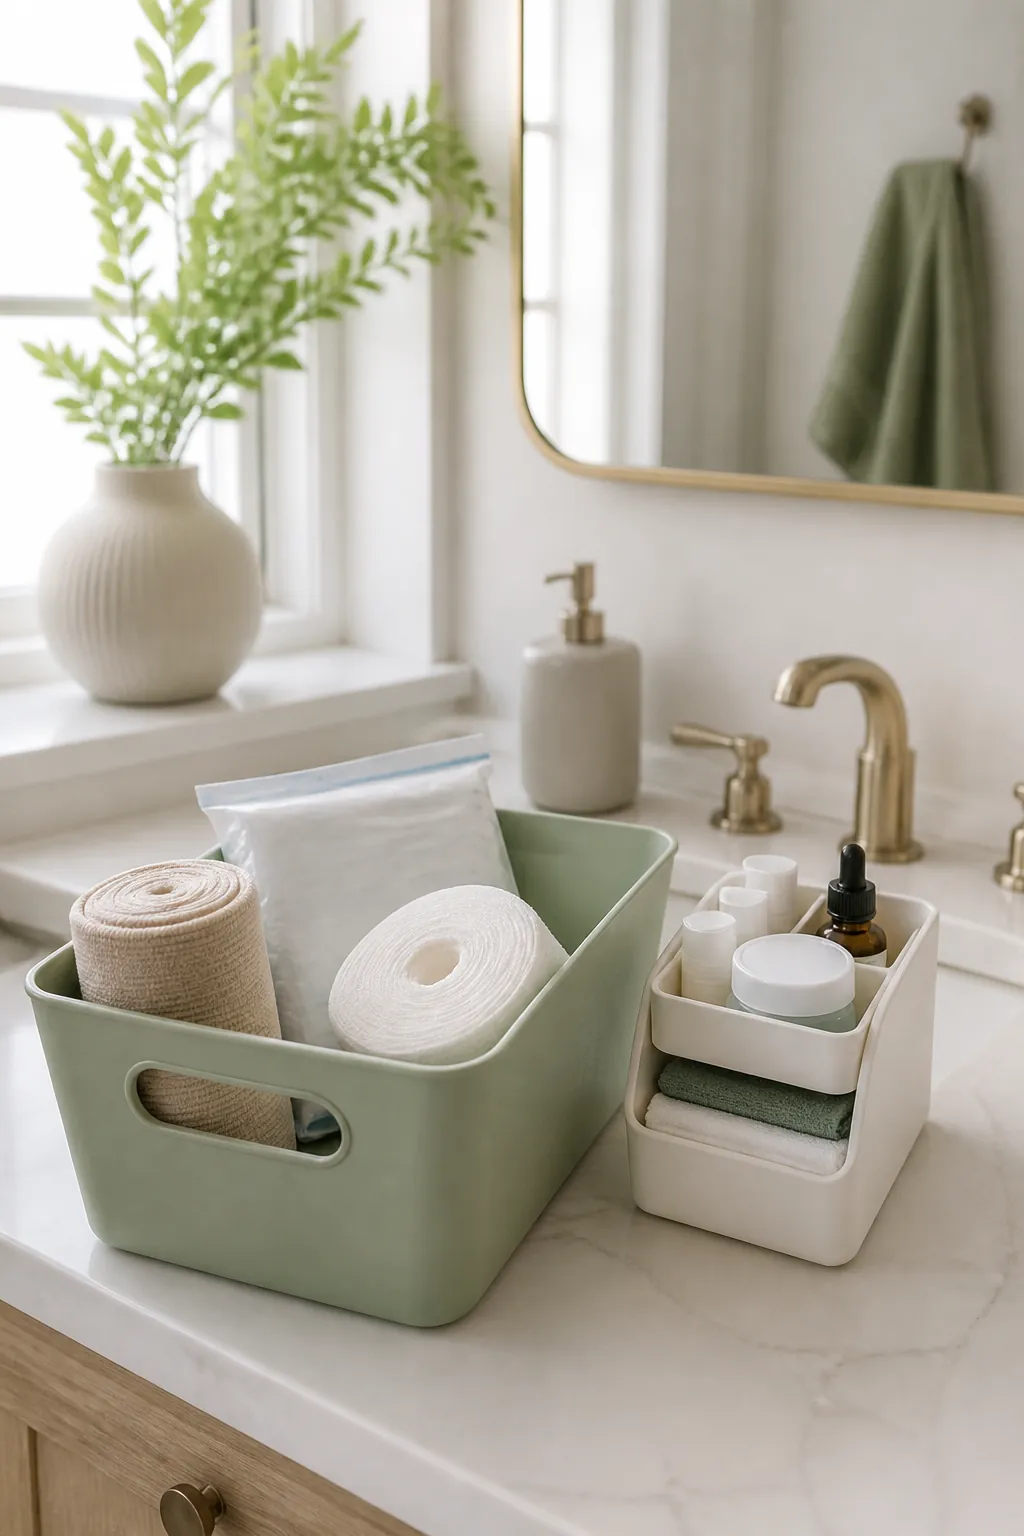
An elastic bandage, an instant cold pack, and a roll of large gauze will not fold flat into a four-inch drawer, and forcing them in jams the drawer track and stops it closing. Give bulky items their own loose slot beside the caddy rather than fighting them into a compartment built for bandage boxes.
A single open bin or a wide zip pouch works fine here, since these items do not need the same visibility as the small stuff. You reach for them less often and you can afford a slightly less organized system for things you use maybe once a year.
5. Keep the kit at eye level, not on the cabinet floor
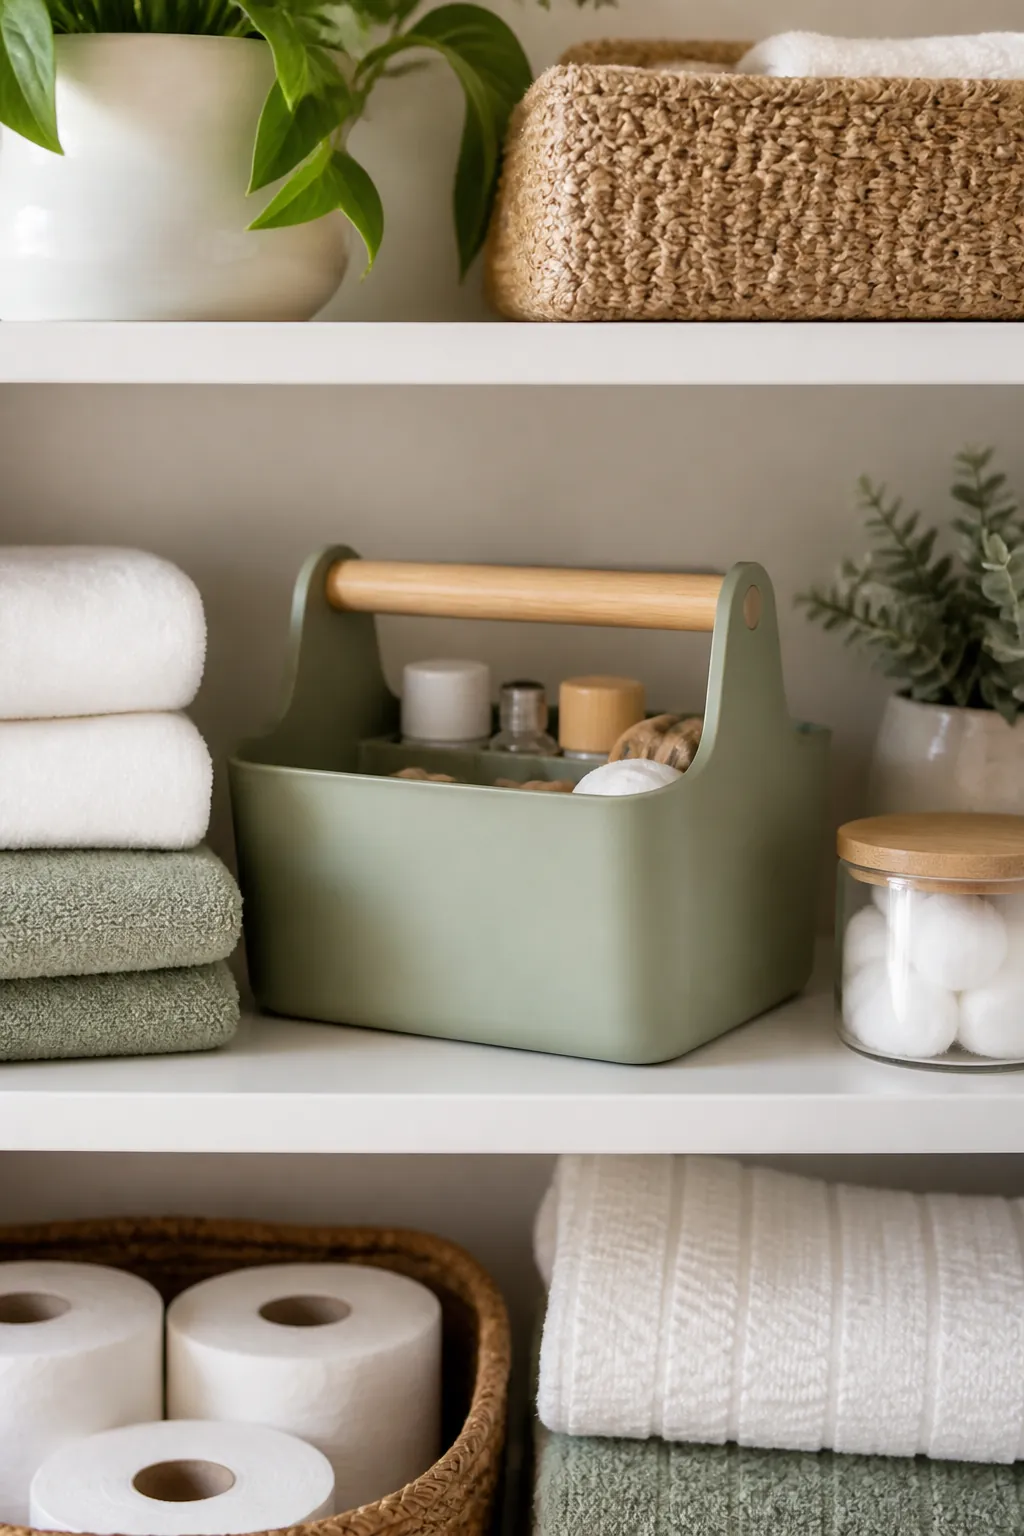
Placement decides how fast this kit is actually useful. The floor of a bathroom cabinet is where things go to be forgotten, low enough that you have to kneel and dig, which costs seconds nobody has during a real injury. The top shelf is nearly as bad if it means reaching blind above your head or dragging over a step stool.
Put the kit on a middle shelf, at a height where you can grab it without bending or reaching. If the cabinet is shared with cleaning supplies or hair tools, the first aid kit gets priority for that middle spot. Everything else can move.
6. Mount the tools you reach for blind
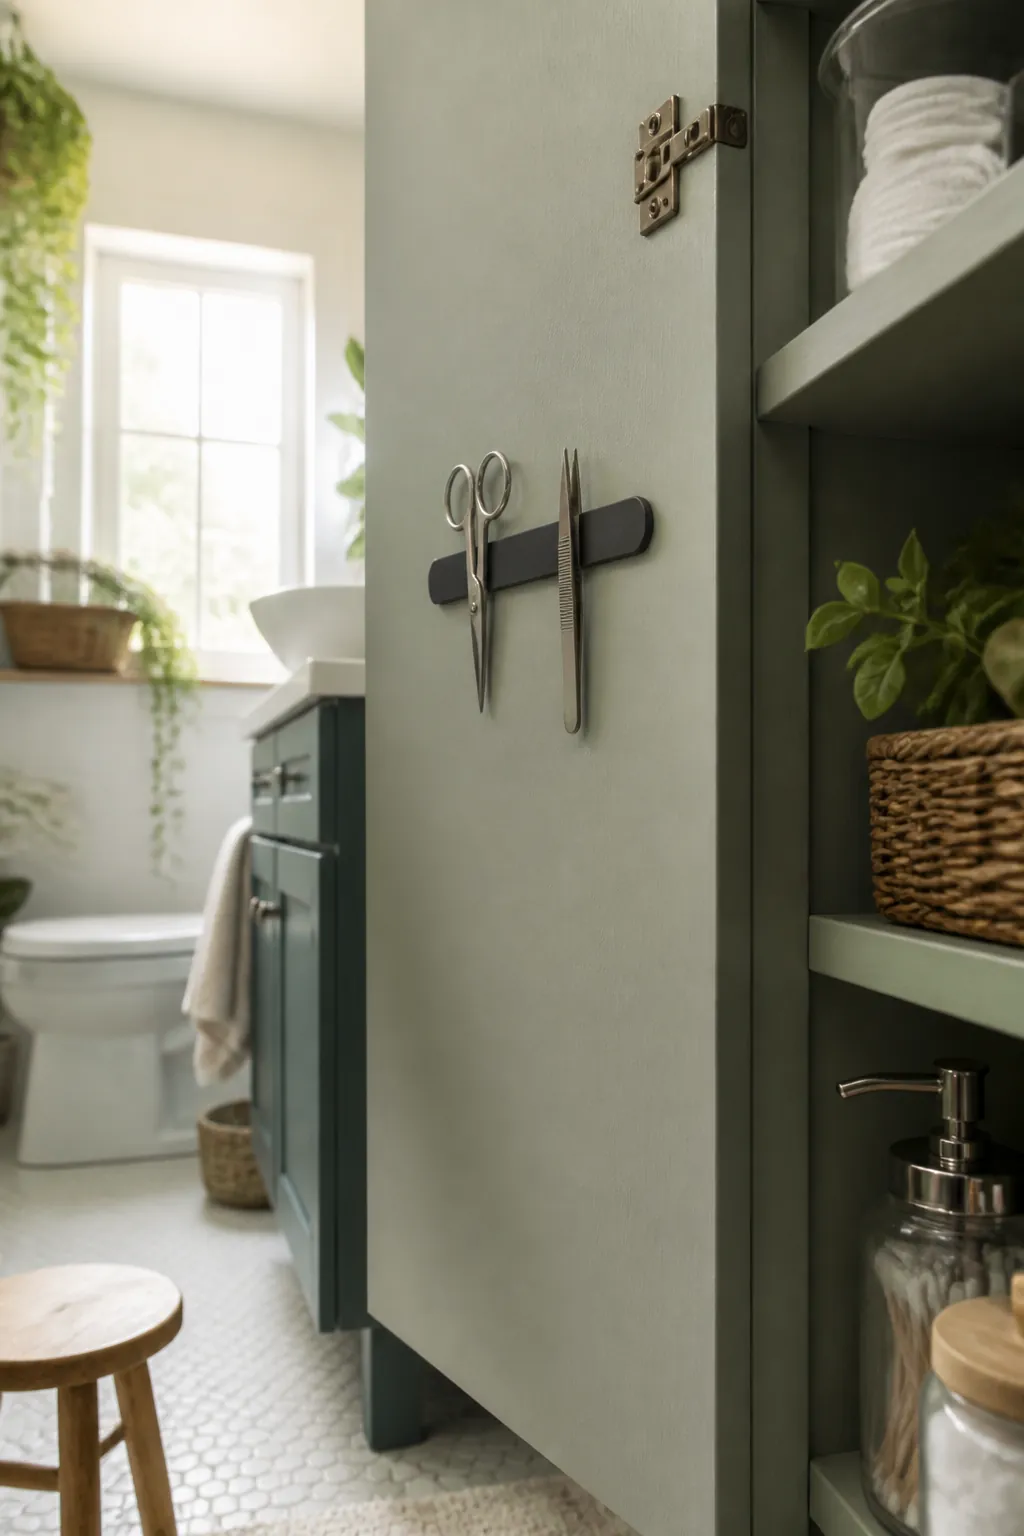
Tweezers and small scissors sink to the bottom of a drawer under everything else, which is exactly backward, since those are often the first thing you reach for with a splinter or a stuck bandage wrapper. A slim magnetic strip mounted inside a metal cabinet door holds them flat against the surface, out of the drawer entirely, if a fridge magnet sticks to your door.
No metal door to work with, or renting and avoiding anything that leaves a mark? A single adhesive hook near the top of the door holds a small pouch instead. Press it firmly for a full thirty seconds and check that whatever hangs there clears the shelf edges before the door swings shut, or you will be prying it loose within a week.
7. Build a smaller version for the car or a bag
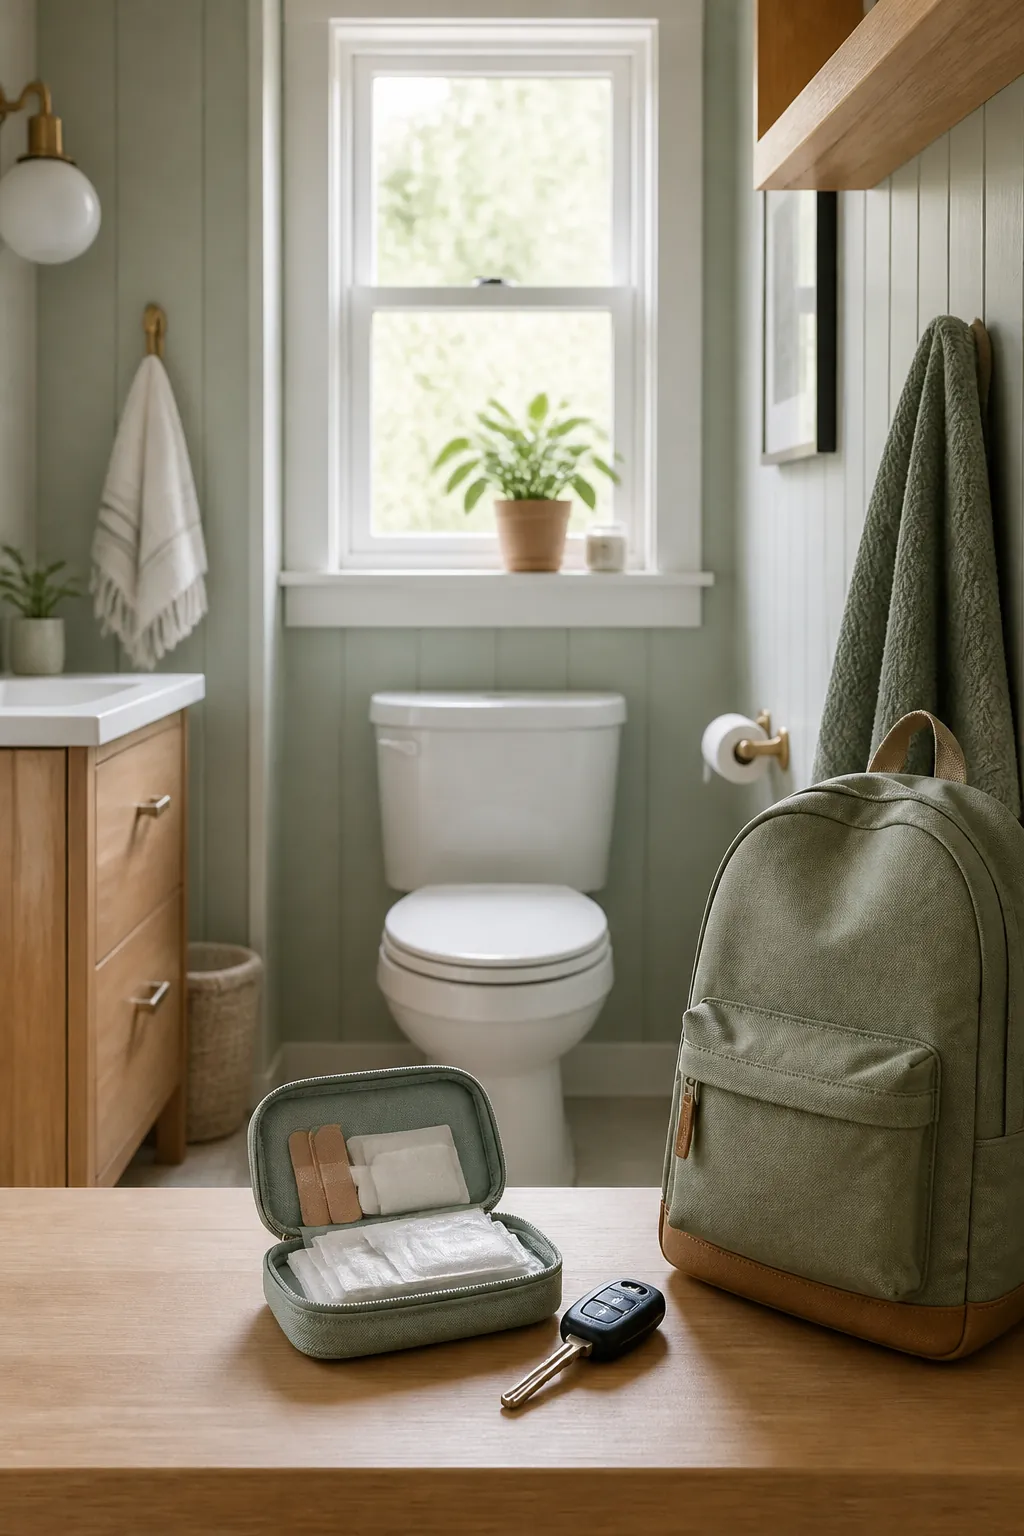
The bathroom kit is the deep one, but injuries do not wait for you to be home. A second, smaller kit in a zippered pouch about the size of a pencil case, built from the same three categories at a fraction of the size, five or six adhesive bandages, two antiseptic wipe packets, four pain relievers, covers the car, a school bag, or a weekend trip without raiding the main kit every time.
Skip the glove box if the pouch has anything ointment- or wipe-based in it. A car interior can sit well over 100°F on a hot afternoon, which is enough to dry out wipes and break down ointment inside a season, so keep the travel pouch in the cabin, a bag, or the trunk instead.
Keep the two in sync rather than treating the small one as disposable. When something runs low in the travel pouch, restock it from the main kit’s overflow rather than letting it sit empty until the next emergency finds it that way.
8. Move the kit under the sink if the cabinet runs out of room
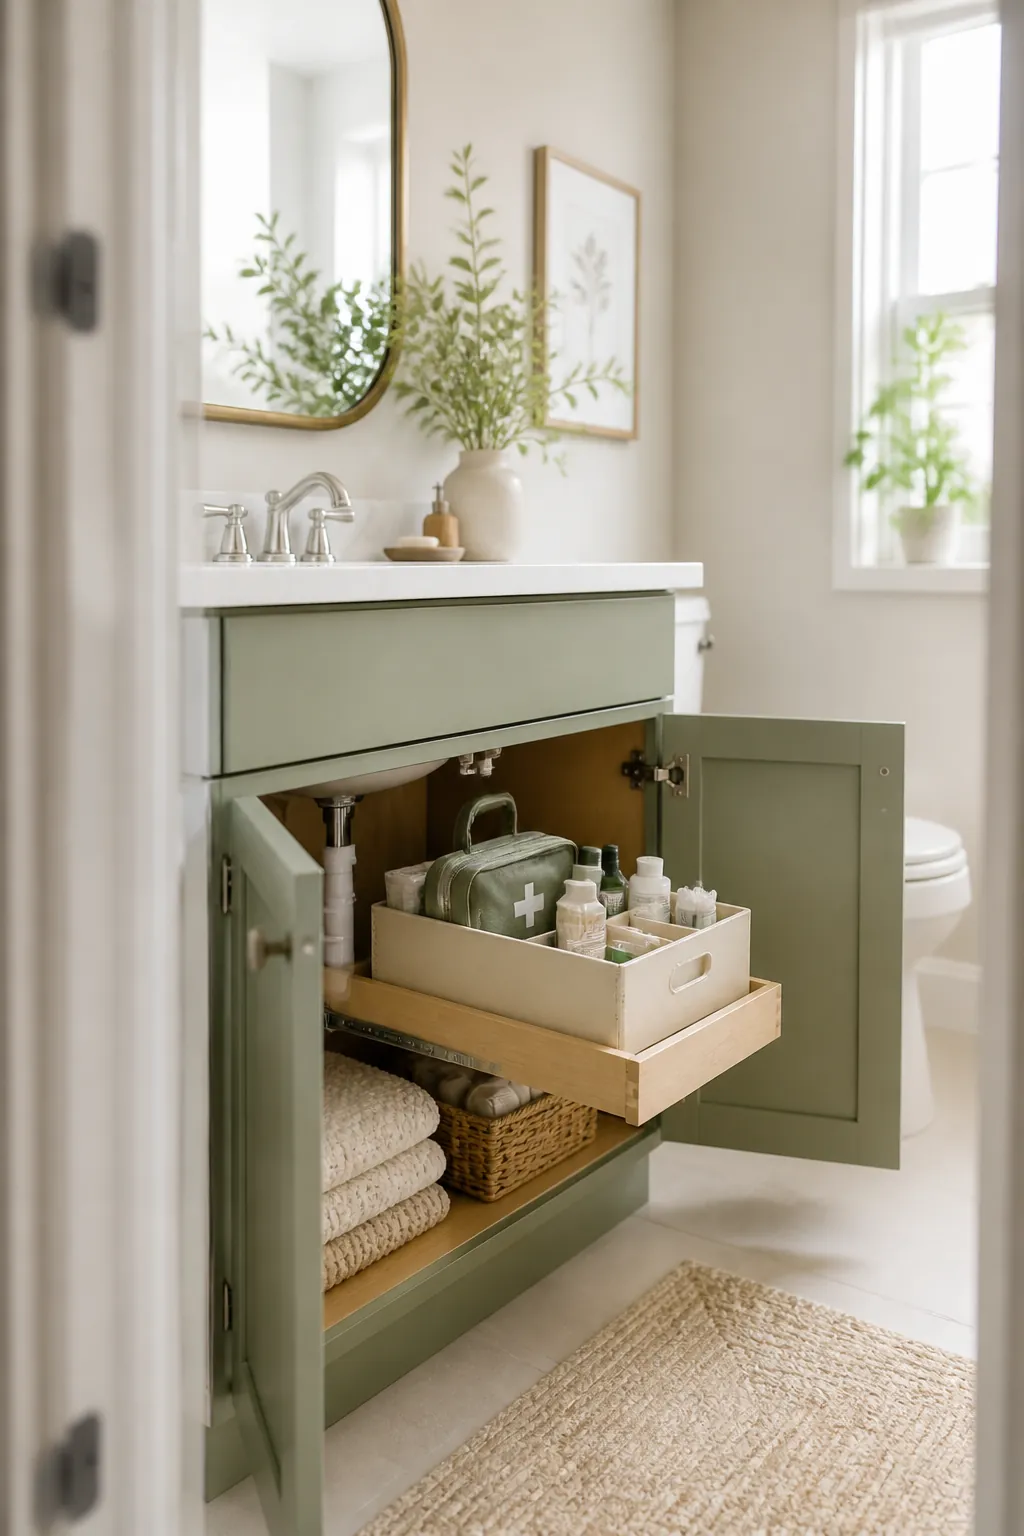
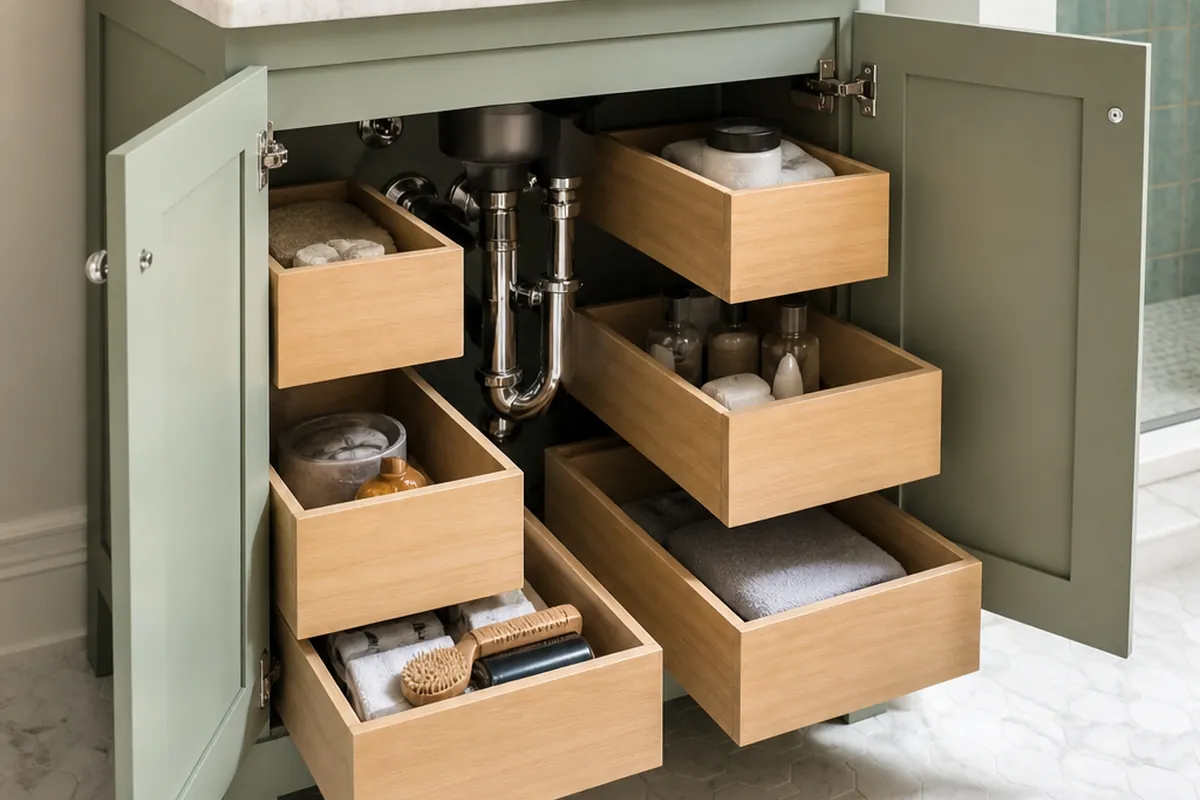
Some bathroom cabinets genuinely do not have four inches of spare shelf, and forcing a first aid kit in anyway just means it gets shoved to the back and forgotten. A pull-out under-sink organizer gives the kit a home in space that is usually wasted around the pipes, and pulling the tray forward means you are not kneeling and reaching blind past the trap to find it.
Measure before buying. A typical under-sink cabinet runs twenty to twenty-four inches wide, but the trap and supply lines eat into that unevenly on either side, and a pull-out sized for a clear rectangular cabinet will jam against plumbing in a lot of small bathrooms. Bring a tape measure of the actual clear width, not the cabinet’s outer dimensions, before you order one.
9. Label every drawer and set a restock date
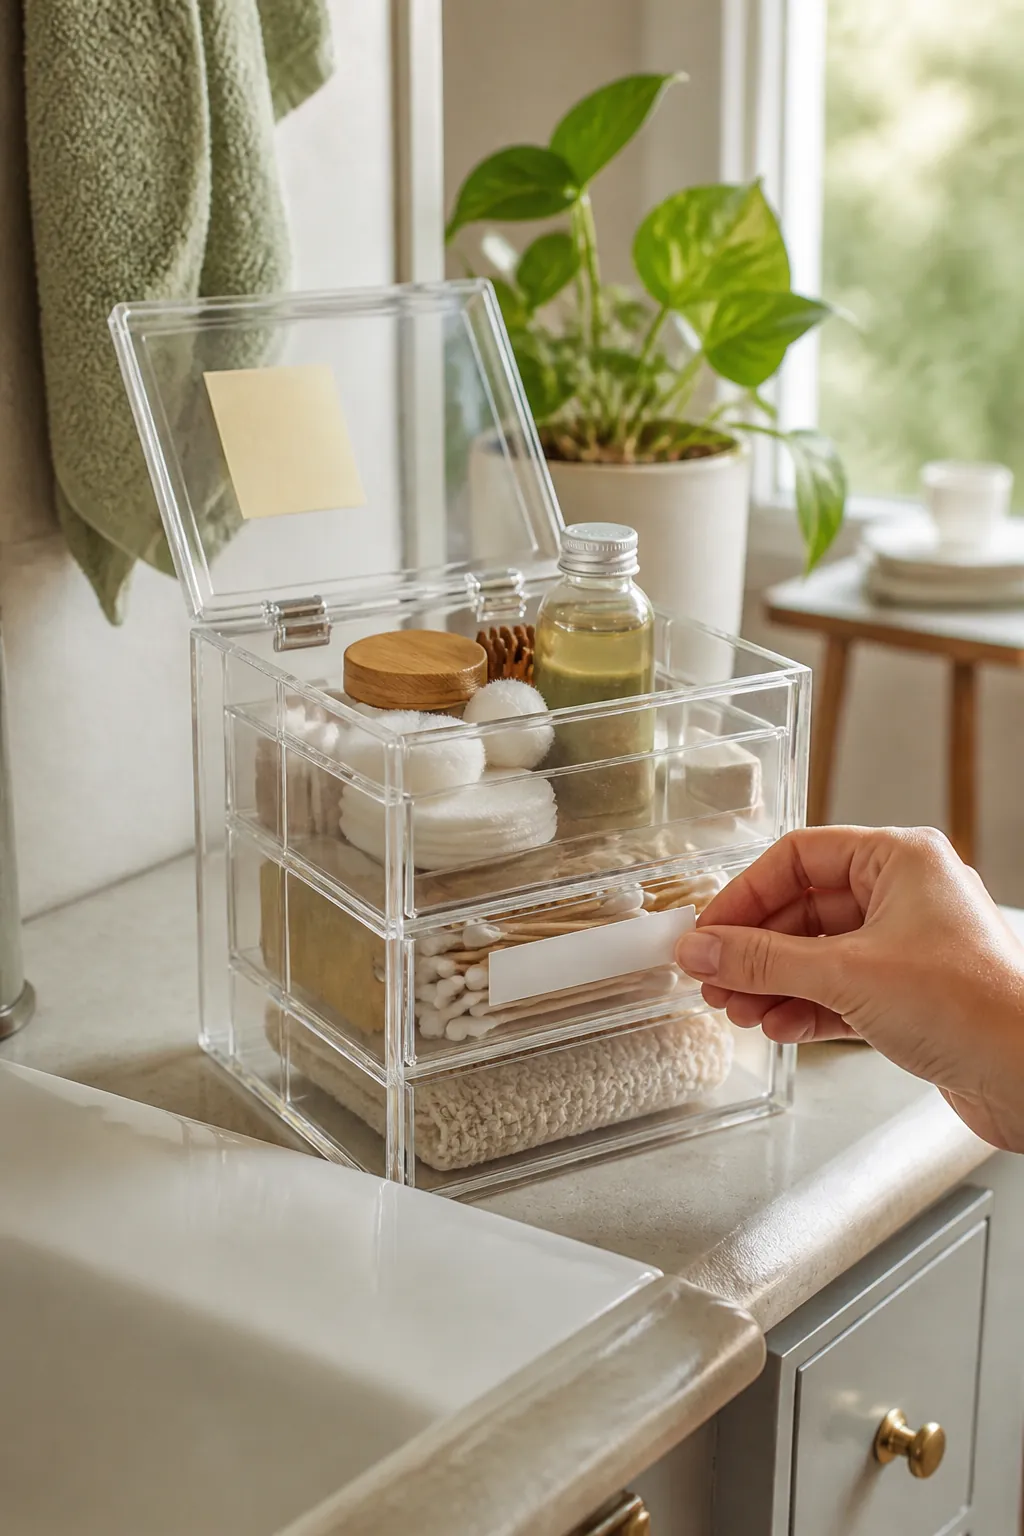
Labeling the caddy itself is not enough once it is split into drawers; label each one by category so anyone in the house, including a babysitter or a guest, can find the right one without opening all three. A label maker gives crisp text that survives bathroom humidity better than pen on tape, though a marker and painter’s tape does the job just as well if the kit is going to be relabeled often.
Write a restock date somewhere you will actually see it, a sticky note inside the caddy lid works better than a calendar reminder nobody opens. Twice a year, spring and fall, is a realistic cadence for most households. Pull everything out, check what is missing or expired, replace it, and reset the date. A kit that gets checked twice a year stays useful. One that never gets checked quietly turns back into the drawer you started with.
Where to start
Sort first: pull everything medical out, keep what treats an actual injury, and toss what has expired. Give the survivors one stackable supply caddy with handle, split the inside into small clear stackable drawers by category, and give bulky items like elastic bandages their own loose slot beside it.
Placement matters as much as the container. A middle shelf beats the floor of the cabinet every time, and if there is genuinely no room left up there, a pull-out under-sink organizer does the job without making you kneel and reach past the pipes. Label every drawer, set a restock date you will actually see, and the kit works the one time it actually needs to.