The cabinet under a bathroom sink is the most wasted storage in most homes, and the reason is always the same: a drain pipe runs down the middle of it and nothing rectangular fits around it. So the space becomes a graveyard of half-empty bottles standing on the floor of the cabinet, with a foot of unused air above them and two dead corners either side of the pipe. The fix is not a bigger organizer. It is choosing shapes that expect the pipe to be there.
1. Measure three things, not one
Most under-sink organizers get returned because of a measurement nobody took.
Measure the height from the cabinet floor to the lowest point of the pipe, not to the top of the cabinet. That number is your real ceiling for anything that slides underneath. Then measure how far the pipe sits from the back wall, because that tells you whether you have usable depth in front of it or only behind it.
The third measurement is the one people skip, and it is the one that causes returns: the width of the door opening, not the cabinet. Vanity doors usually sit in a lip, or have a hinge plate that intrudes, and that narrows the opening by roughly an inch compared to the cabinet behind it. A unit measured against the internal width will not post through the gap. Measure the hole you have to get it through.
2. Choose a shelf that straddles the pipe
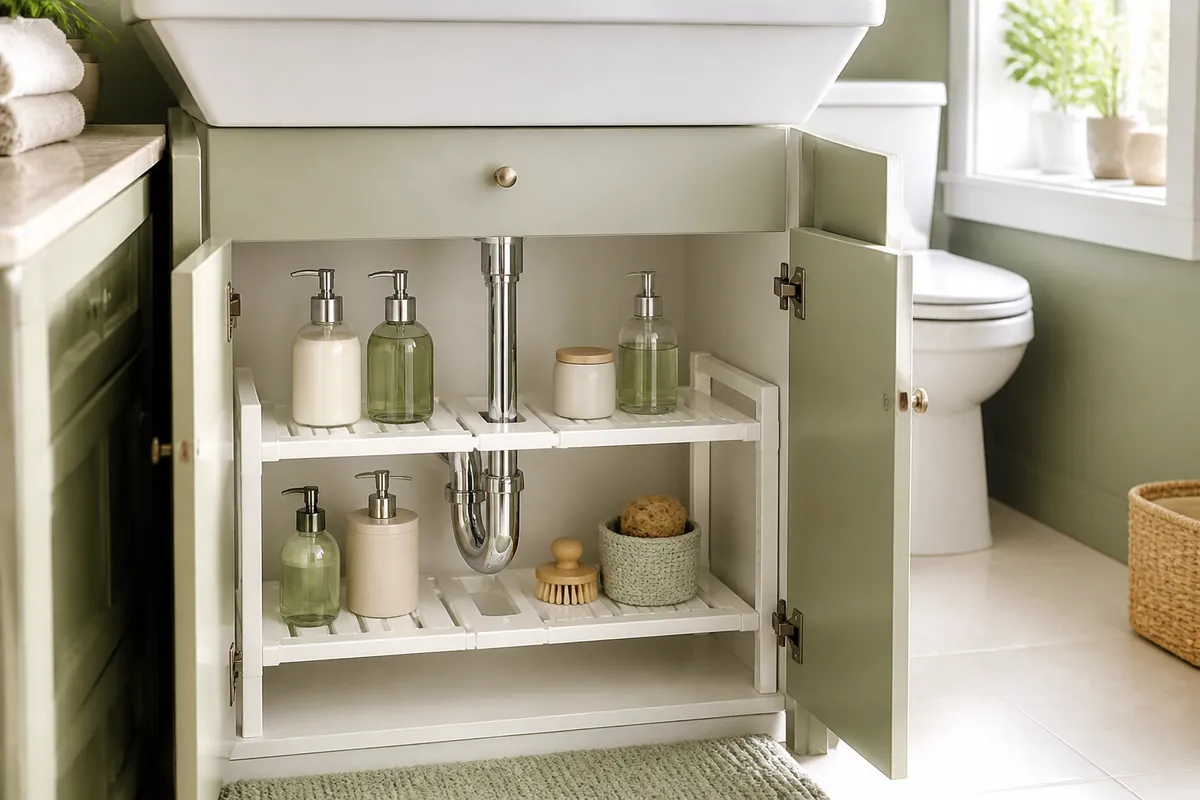
This is the single change that transforms the cabinet.
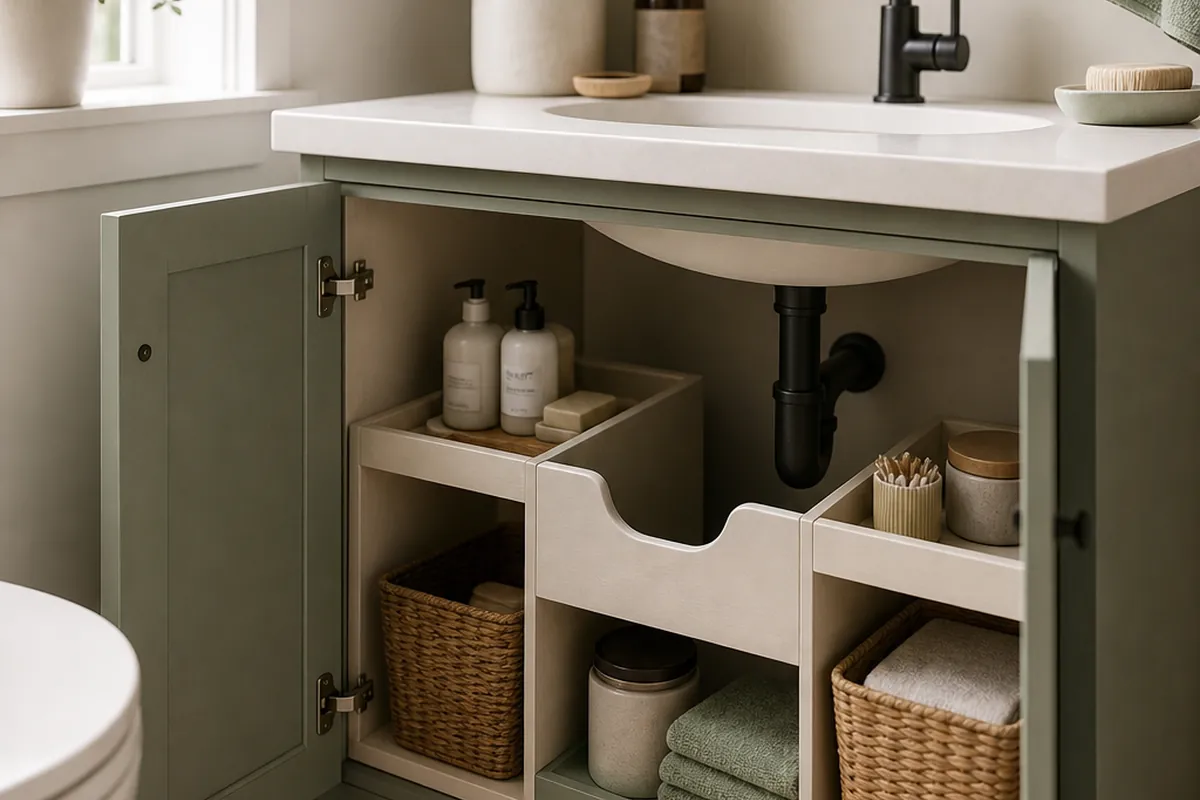
A 2-tier expandable under-sink shelf has legs that slide apart and a deck split into two halves, so the drain passes up through the gap between them. Instead of surrendering the whole left or right side of the cabinet to the pipe, you get shelving on both sides of it and a second level on top.
Compare that to a solid rectangular unit, which has to sit entirely to one side of the pipe and leaves the other half unusable. The expandable version typically takes twice as much for the same footprint, which is why it is worth the extra few dollars over a plain box.
3. Reclaim the dead air above the bottles
There is usually eight to twelve inches of nothing above whatever is standing on the cabinet floor.
That air is free storage and almost everyone wastes it. A second tier, a riser, or a set of stacking drawers converts it into a whole extra level. If the expandable shelf above already gives you a second deck, use the top for the things you reach for daily and keep the floor of the cabinet for the tall bottles that cannot go anywhere else.
The rule of thumb: nothing should have empty space above it that could hold something else.
4. Put the small things in drawers, not bins
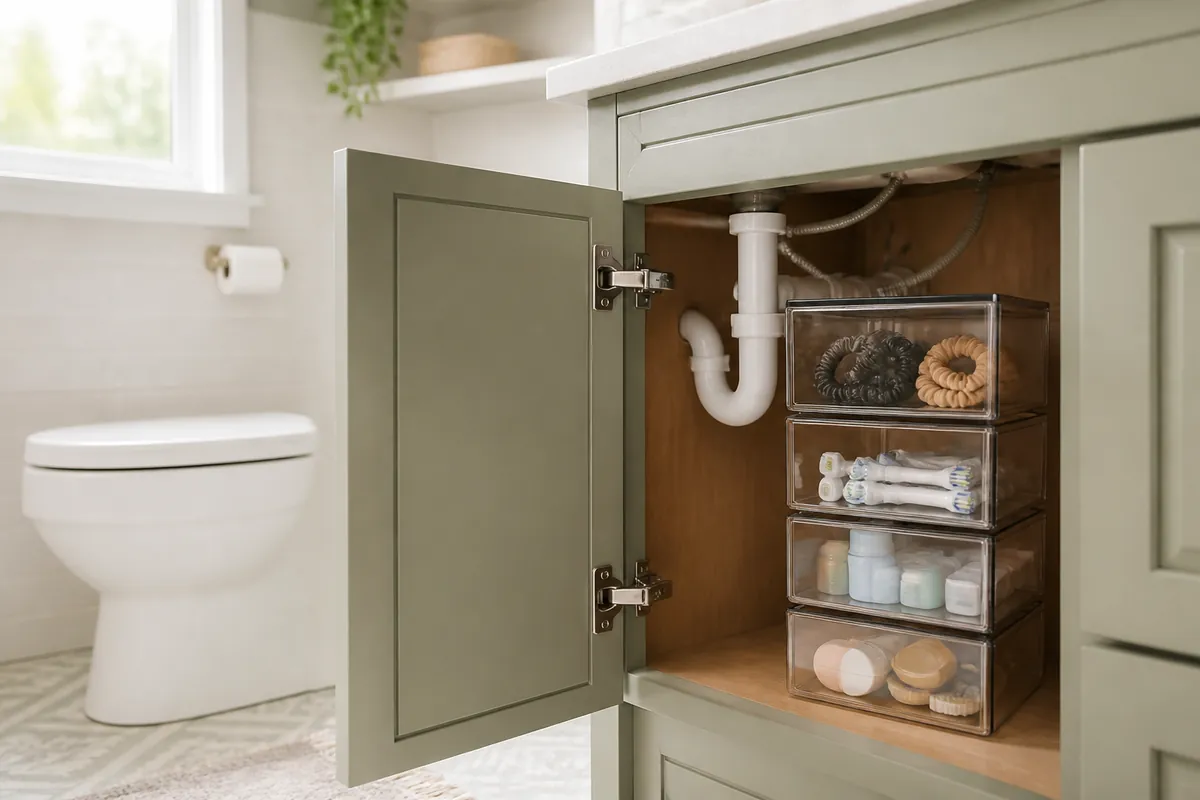
Open bins work for bulk. They fail for small items.
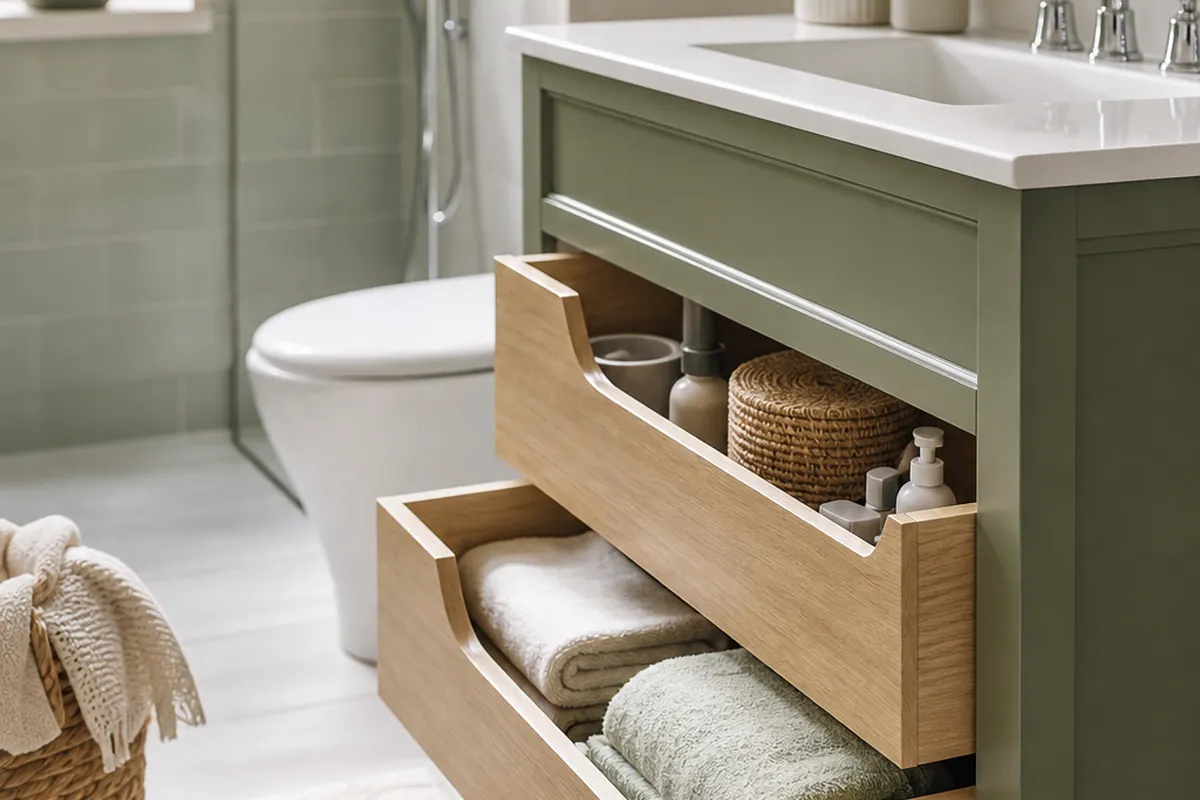
A shallow bin full of hair ties, spare toothbrush heads, nail scissors and sample sachets becomes a scoop-and-rummage exercise within a couple of weeks. Small clear stackable drawers solve this because you pull out one layer instead of excavating the whole container, and you can see the contents without opening anything.
Keep drawers for the small and the frequent. Keep open containers for the bulky and the occasional.
5. Group by task, not by product type
The instinct is to sort by category: all the hair things together, all the dental things together.
Task grouping works better under a sink, because you retrieve by activity. Everything for cleaning the bathroom in one container. Everything for a shower refill in another. Everything medical in a third. You reach in once and come out with the whole job, rather than making three separate grabs from three different corners.
Clear stackable storage bins suit this well, because the sides are visible and you stop having to label everything.
6. Give cleaning products a caddy with a handle
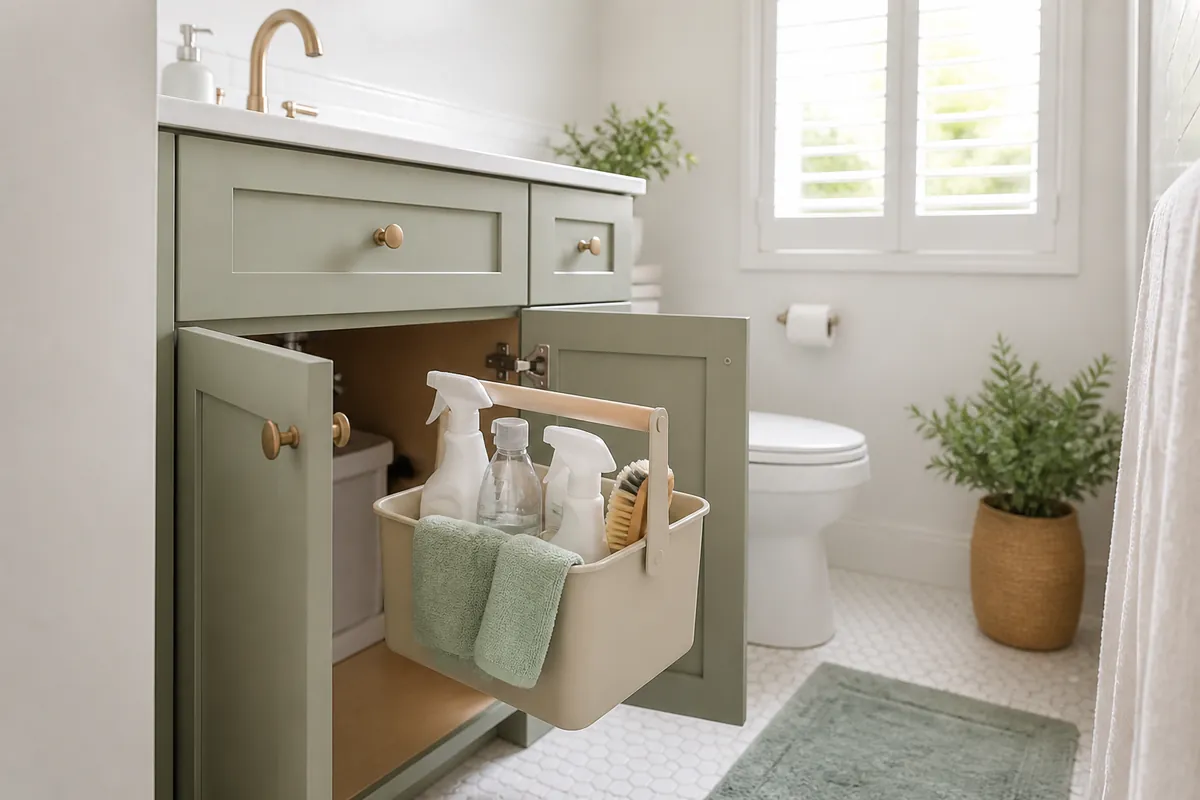
Loose bottles under a sink are the reason you cannot reach anything behind them.
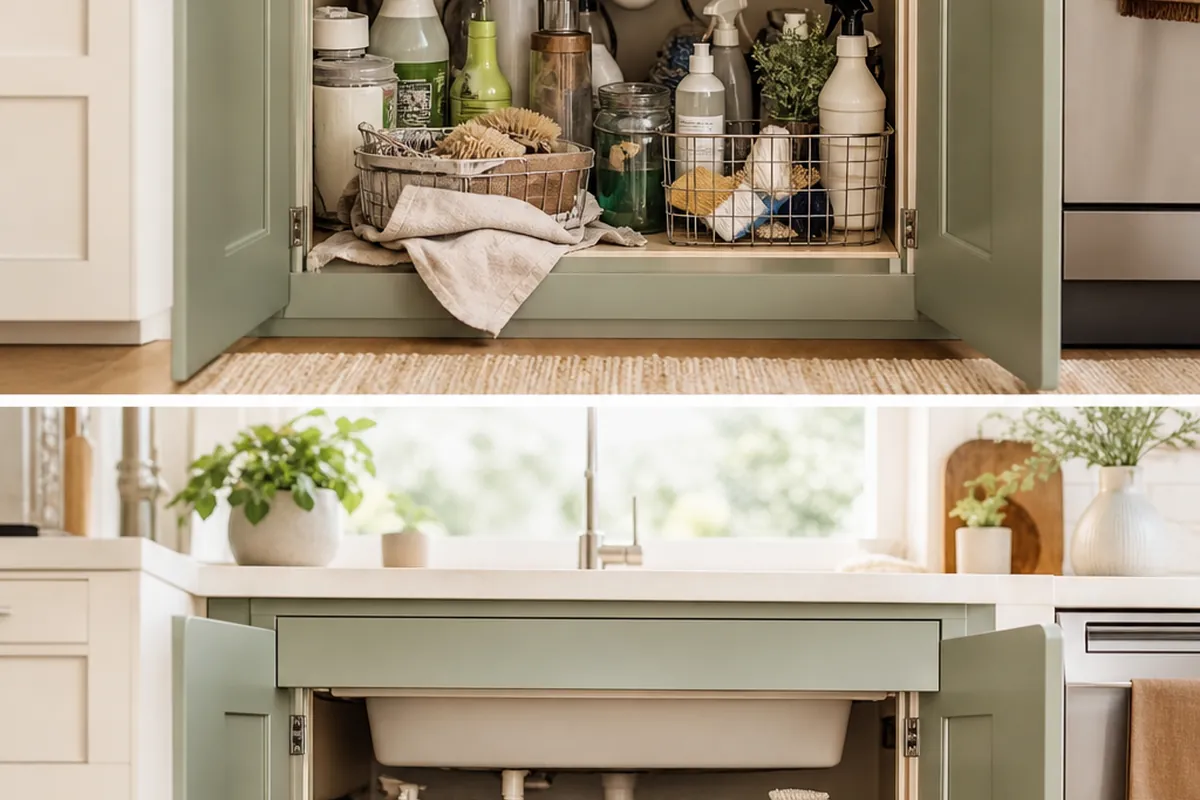
Stand them in one caddy instead. You lift the whole thing out to get to whatever is behind it, and when you clean, you carry the caddy to the bath and the toilet rather than making trips with an armful of bottles that you then have to put back individually.
It also contains drips. A caddy with a solid base turns a slow leak from a cabinet-floor problem into a wipe-out-the-tray problem.
7. Use the back of the cabinet door
The inside of the door is a flat vertical surface doing nothing at all.
Adhesive hooks, a slim pocket organizer, or a shallow rack will hold flat, light things: cloths, gloves, spare sponges, a hairdryer cable. Two rules keep it workable. Keep the total depth under a couple of inches so the door still shuts over whatever is on the shelves inside, and keep the weight low so the hinges do not start to sag.
If the door swings against your shelving unit, mount nothing and skip this one. Fighting your own cabinet door every morning gets old.
8. Leave the shut-off valves reachable
This is the one nobody thinks about until the day it matters.
Somewhere at the back of that cabinet are two small valves on the supply lines, one for hot and one for cold. They are what you turn when a faucet starts leaking or a flexible hose fails, and you will be reaching for them in a hurry, in the dark, with water running. If a full storage unit has to be dragged out first, that is several minutes of water you did not need to lose.
Keep a clear path to them. In practice that means not putting a tall solid unit hard against the back wall on the pipe side, and not stacking heavy things you cannot lift one-handed directly in front of them. A shallower shelf that leaves the back six inches accessible is worth more than the extra storage a deeper one buys you.
Worth doing once: turn both valves off and on now, while nothing is wrong. They seize up if they are never touched, and finding that out during a leak is the worst possible time.
9. Keep cardboard and fabric out
This is the mistake that costs you something rather than just annoying you.
A supply line can weep slowly for weeks without anyone noticing, because the evidence is hidden behind a closed door. Plastic, glass and metal survive that. Cardboard boxes, paper packaging, spare towels and cotton wool do not, and you find out when something smells musty.
Store the damp-tolerant things under the sink and put the rest anywhere else. It is a small discipline that saves you throwing out a whole shelf of stock one day.
In a wet room the whole bathroom runs on that rule, because the shower is open to the floor, and wet room storage ideas for a small bathroom covers where the paper and towels can still go.
10. Leave the front strip clear
The last few inches nearest the door should stay empty.
It sounds like waste in a cabinet that is already short of room, but that strip is what lets you pull a bin forward to see into it, and it stops you knocking three things over every time you reach in. Pack right up to the door and the cabinet becomes a wall of objects that has to be dismantled to use.
A clear approach lane is what keeps an organized cabinet organized after the first week.
The bin is the other thing that usually ends up on the floor in front of the vanity, and trash can storage ideas for a small bathroom vanity covers where it can go instead, including inside the cabinet door.
Where to start
If you only do one thing, measure the pipe height and the door opening, then buy an expandable two-tier shelf that straddles the drain. That single swap usually doubles the usable space and costs less than a takeaway.
Everything else here is refinement. Group by task, get the small things into drawers, put the cleaning bottles in a caddy, and leave a lane at the front. The cabinet stays usable because nothing has to be moved to reach anything else.