Newborn clothes are absurdly small, which means one dresser drawer can swallow twenty onesies and still look like a laundry pile. The secret to nursery organization on a budget isn’t more furniture. It’s putting the right bins and dividers inside the storage you already own. Below are ten affordable containers that actually earn their keep, plus exactly where to place each one so the room still functions at 3 a.m.
Start With the Drawers, Not the Shelves
Most people set up a nursery by stacking cute baskets on open shelving, and that’s backwards. Drawers hold your highest-turnover items (bodysuits, sleepers, burp cloths), so that’s where the chaos begins. Fix them first and the rest of the room falls into line.
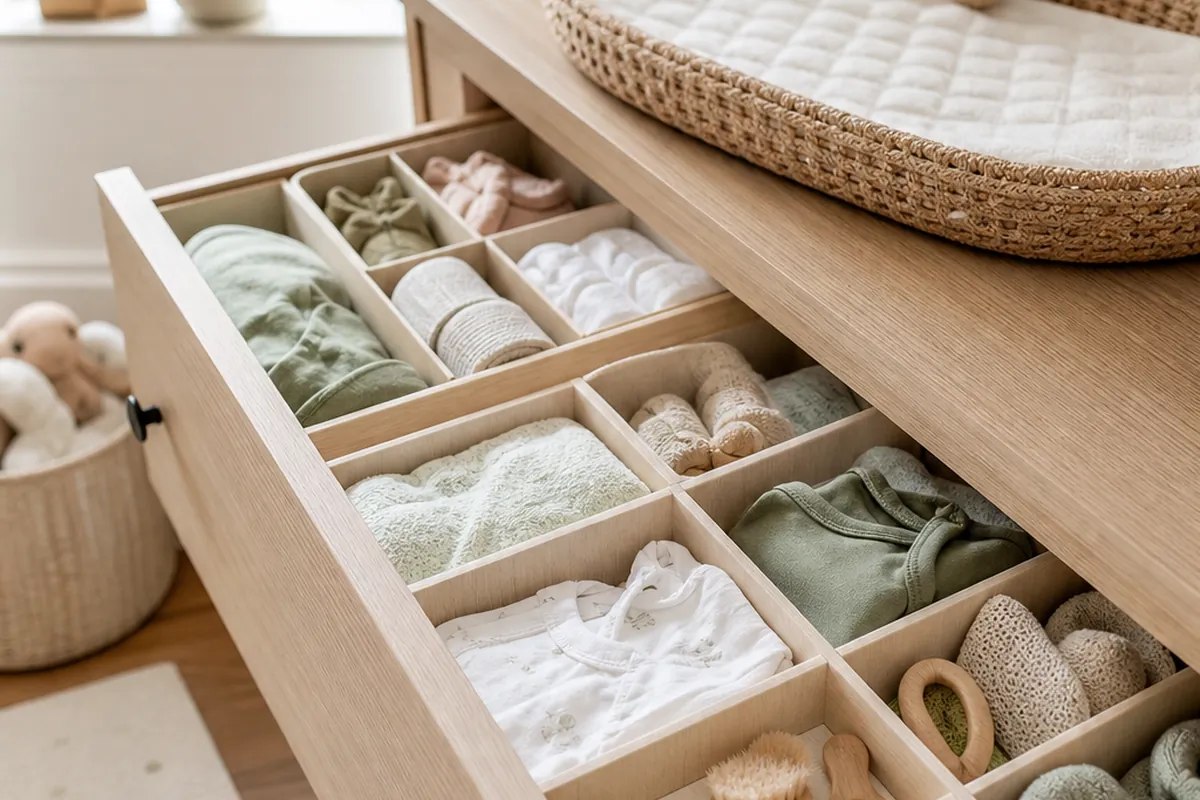
1. Dresser drawer dividers that stand on their own
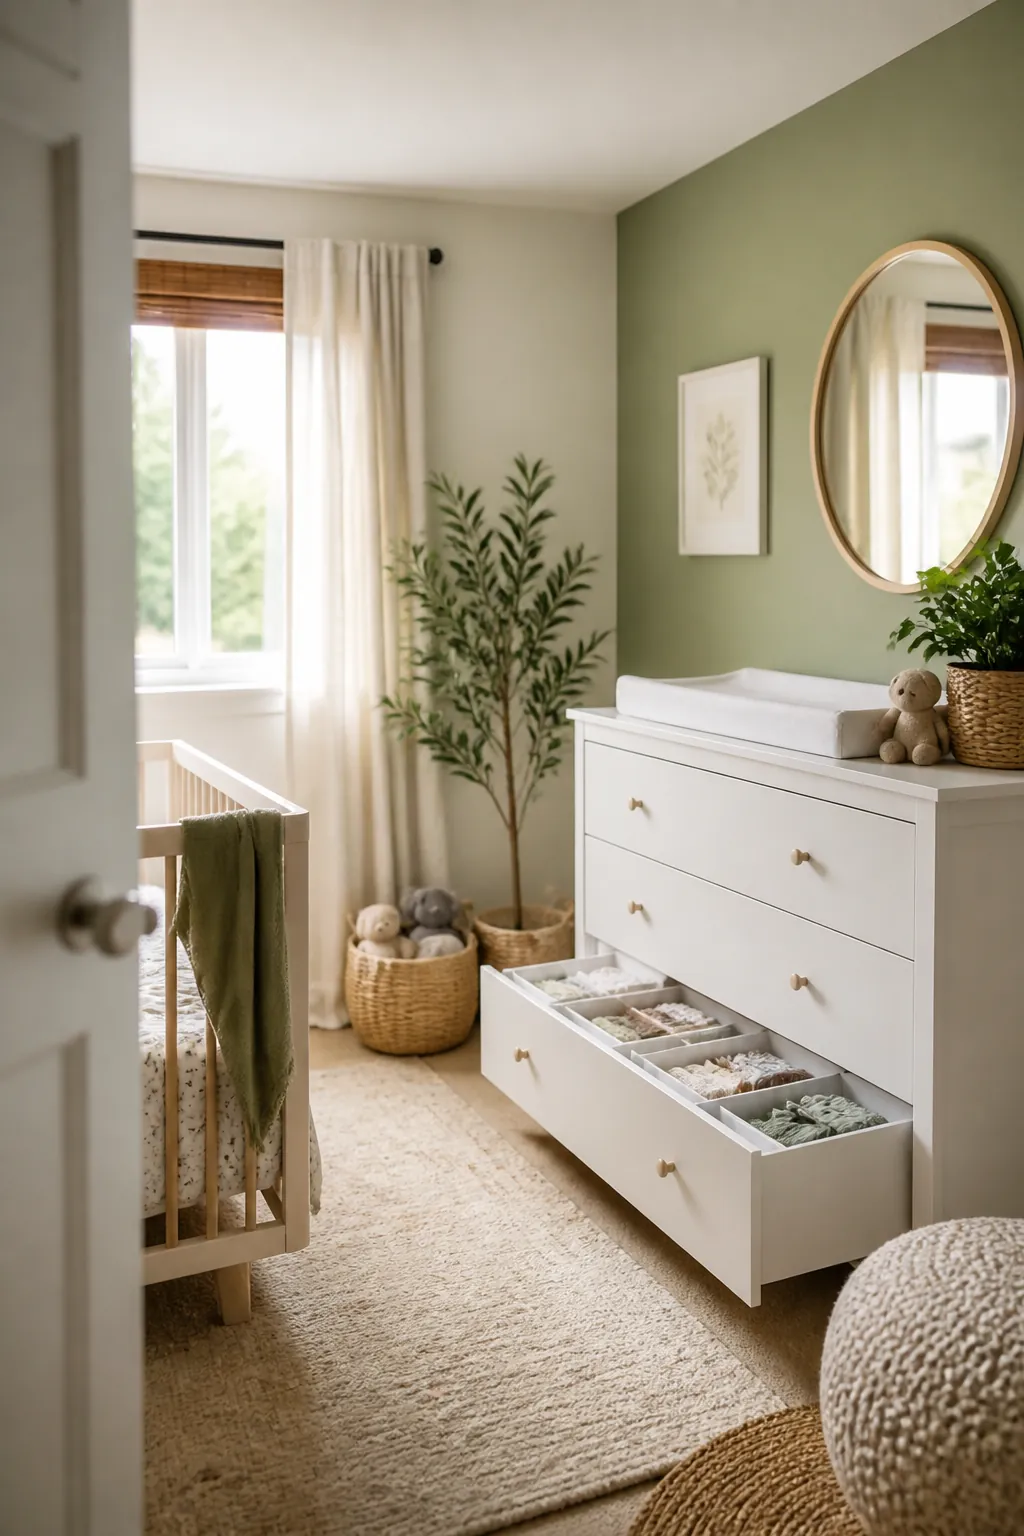
A good set of nursery dresser drawer dividers turns one wide, sloppy drawer into four or five tidy lanes. Look for adjustable ones that expand to your drawer width and have a felt or foam base so they don’t skate around when you yank the drawer open. Give one lane to footed pajamas, one to short-sleeve bodysuits, one to long-sleeve, and one to pants. Once every category has a home, the daily excavation stops.
The budget math is lopsided in your favor here. Dividers cost a sliver of what a new organizer dresser runs, and they make a hand-me-down chest behave like a custom piece. File the clothes vertically (folded so you see the top edge instead of stacking them flat), and you’ll fit more while seeing everything at a glance.
2. Small fabric bins for socks and accessories
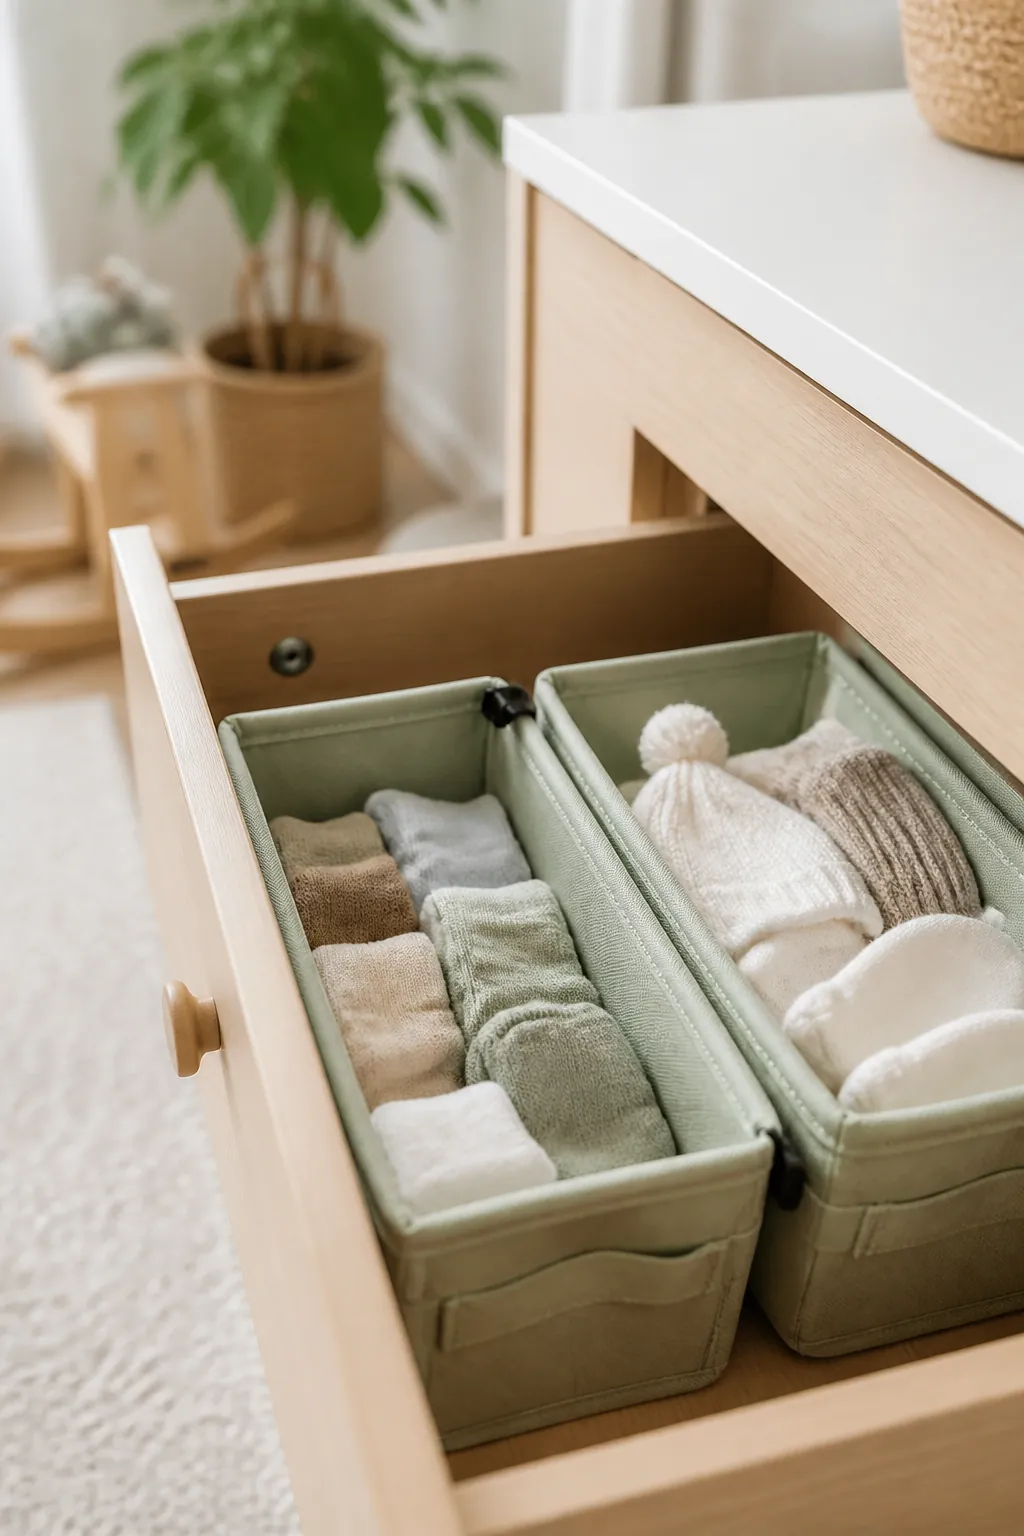
Tiny socks, mittens, and hats are the baby world’s version of the sock that vanishes in the dryer. Corral them in a couple of small collapsible fabric bins tucked inside the top drawer. Two shoebox-sized bins usually handle it: socks in one, hats, headbands, and scratch mittens in the other. When they fold flat, you can drop one into the diaper bag or car for travel.
3. A shallow bin at the changing station
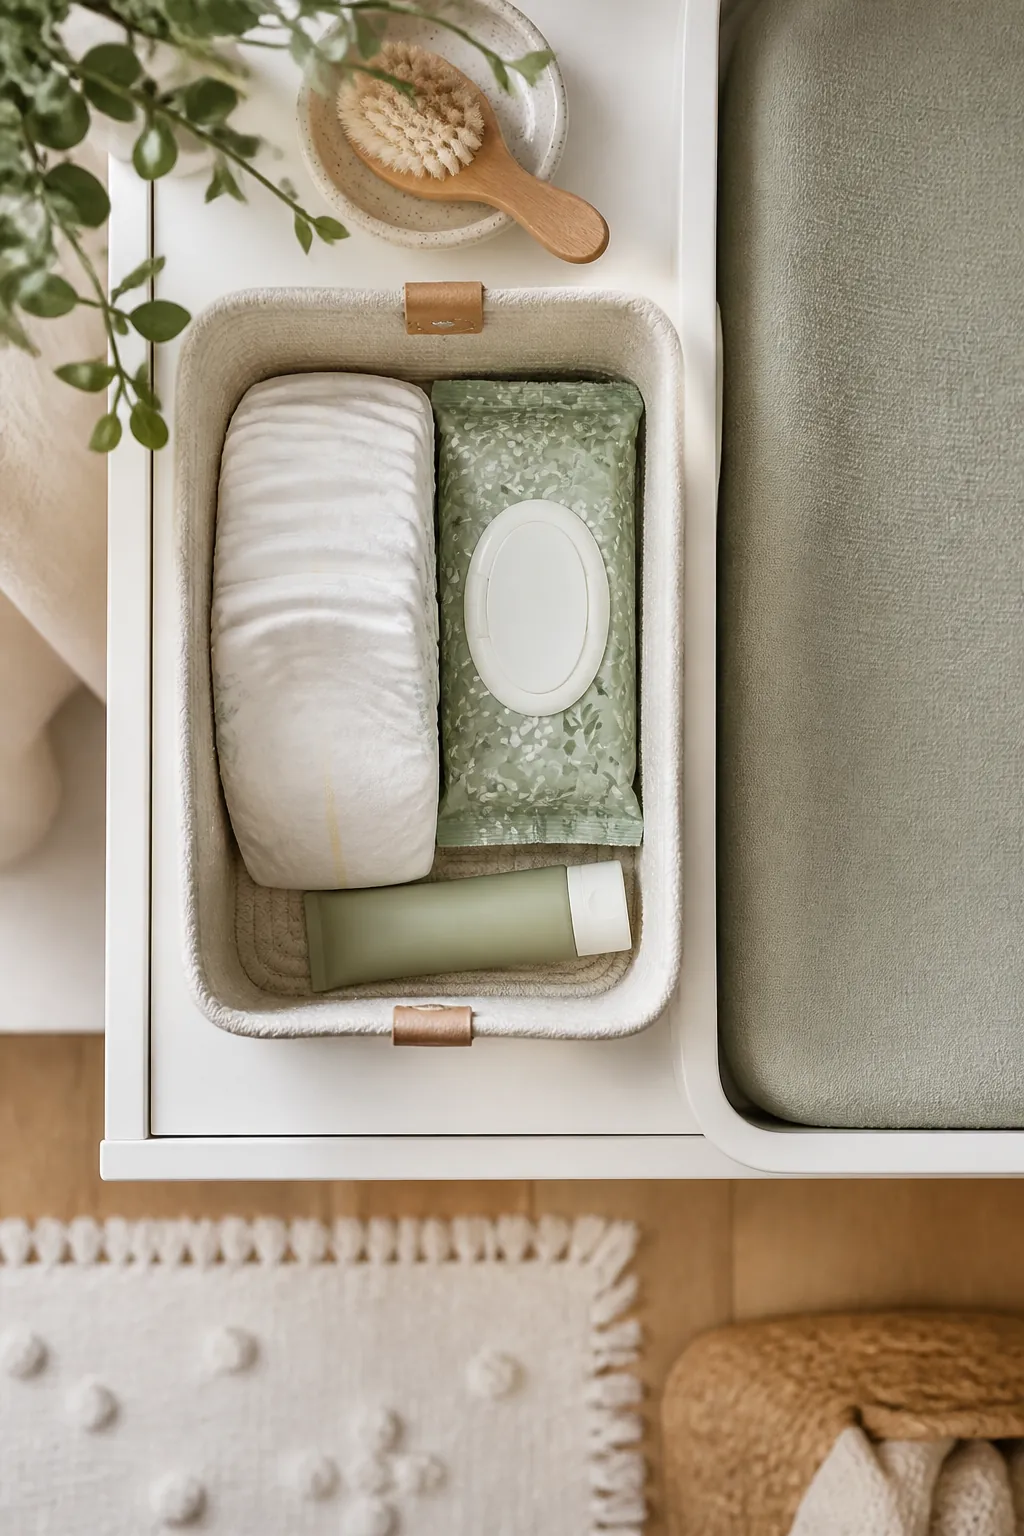
Keep one open, shallow bin right at the changing table stocked with the essentials, a few diapers, a travel wipes pack, and a tube of cream. The point is reaching it one-handed without looking. A plain plastic or wire bin costs almost nothing, and topping it off once a day beats parking your entire diaper stockpile within arm’s reach.
Conquer the Closet
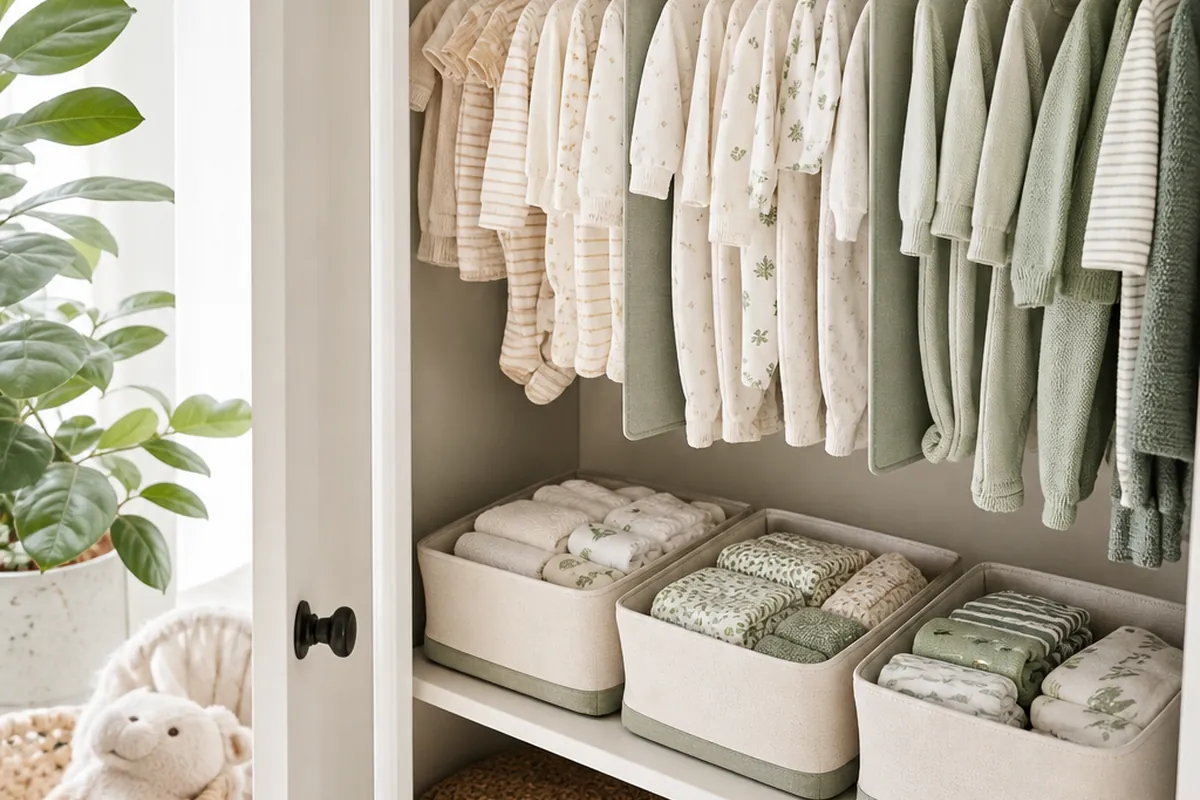
4. Hanging closet dividers to sort clothes by size
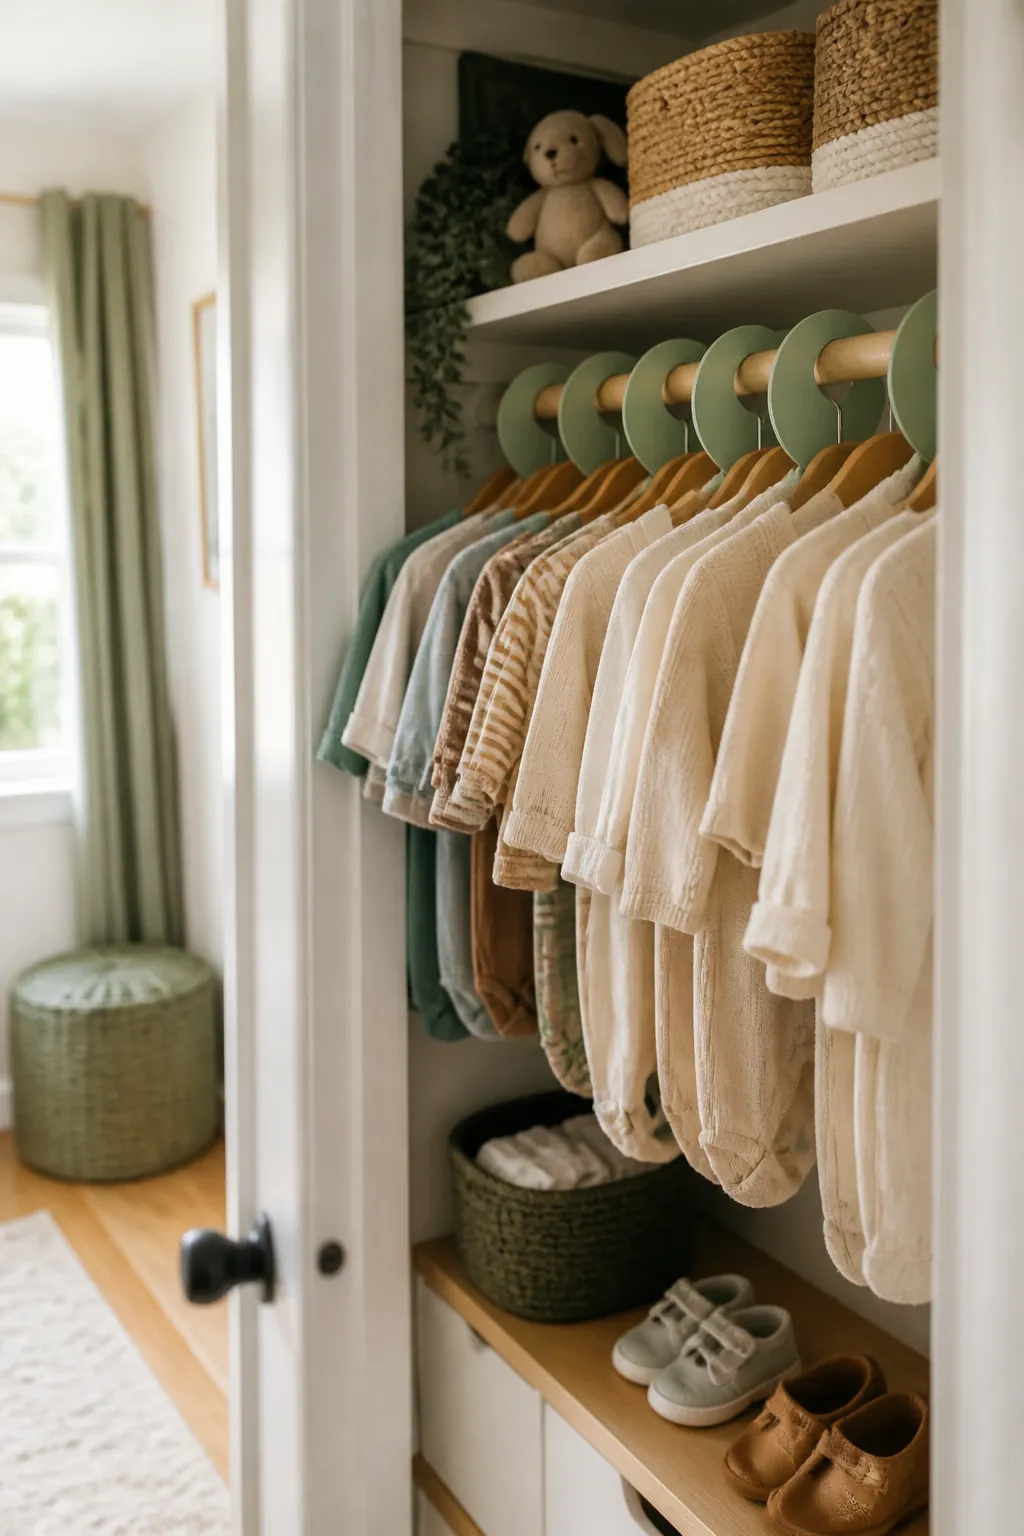
Babies blow through sizes fast, and nothing wastes money like finding an unworn 3-month outfit that no longer fits. Hanging closet dividers for baby clothes fix this cheaply. Slip them over the rod, label each section by size (newborn, 0-3, 3-6, and up), and you’ll always grab something that actually fits.
Sort everything by size the day you set up the nursery, then keep a small “outgrown” bin on the closet floor. When a piece gets snug, it goes straight into that bin and the next size up rotates in. That single habit keeps the closet honest through the entire first year.
5. A lidded bin up high for future sizes
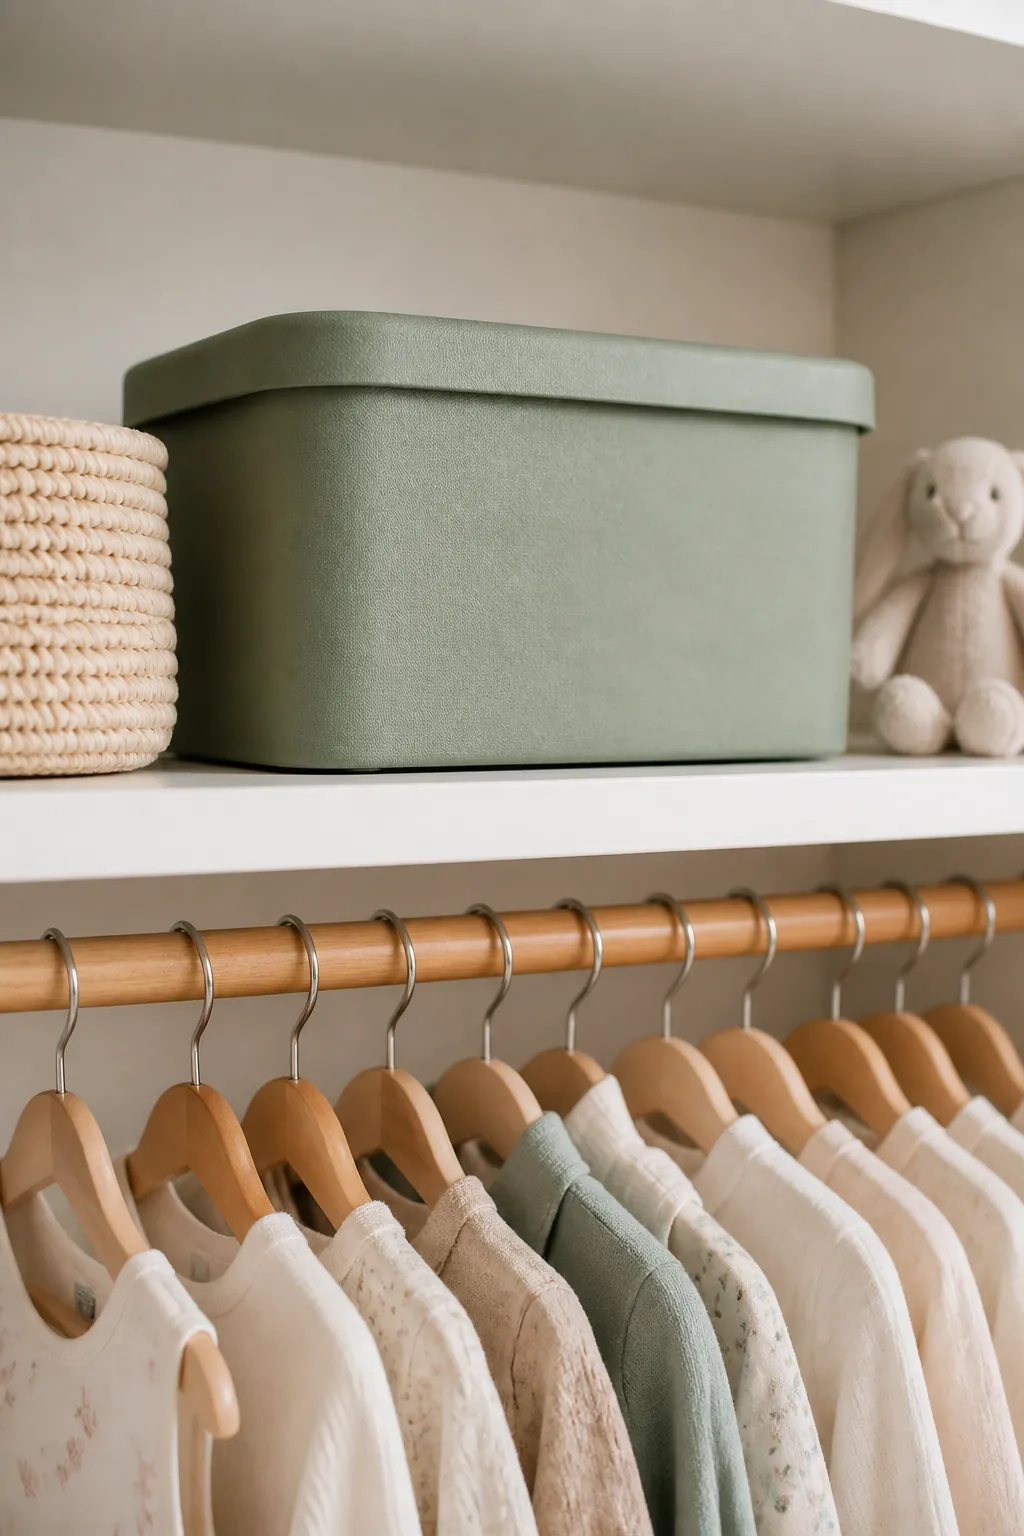
Gifts and hand-me-downs arrive in sizes your baby won’t wear for months. Stash those in a lidded bin on the top closet shelf, labeled with the size. Getting tomorrow’s clothes out of today’s rotation is the biggest single space-saver in a cramped nursery closet.
6. Hanging fabric cubbies for shoes and small gear
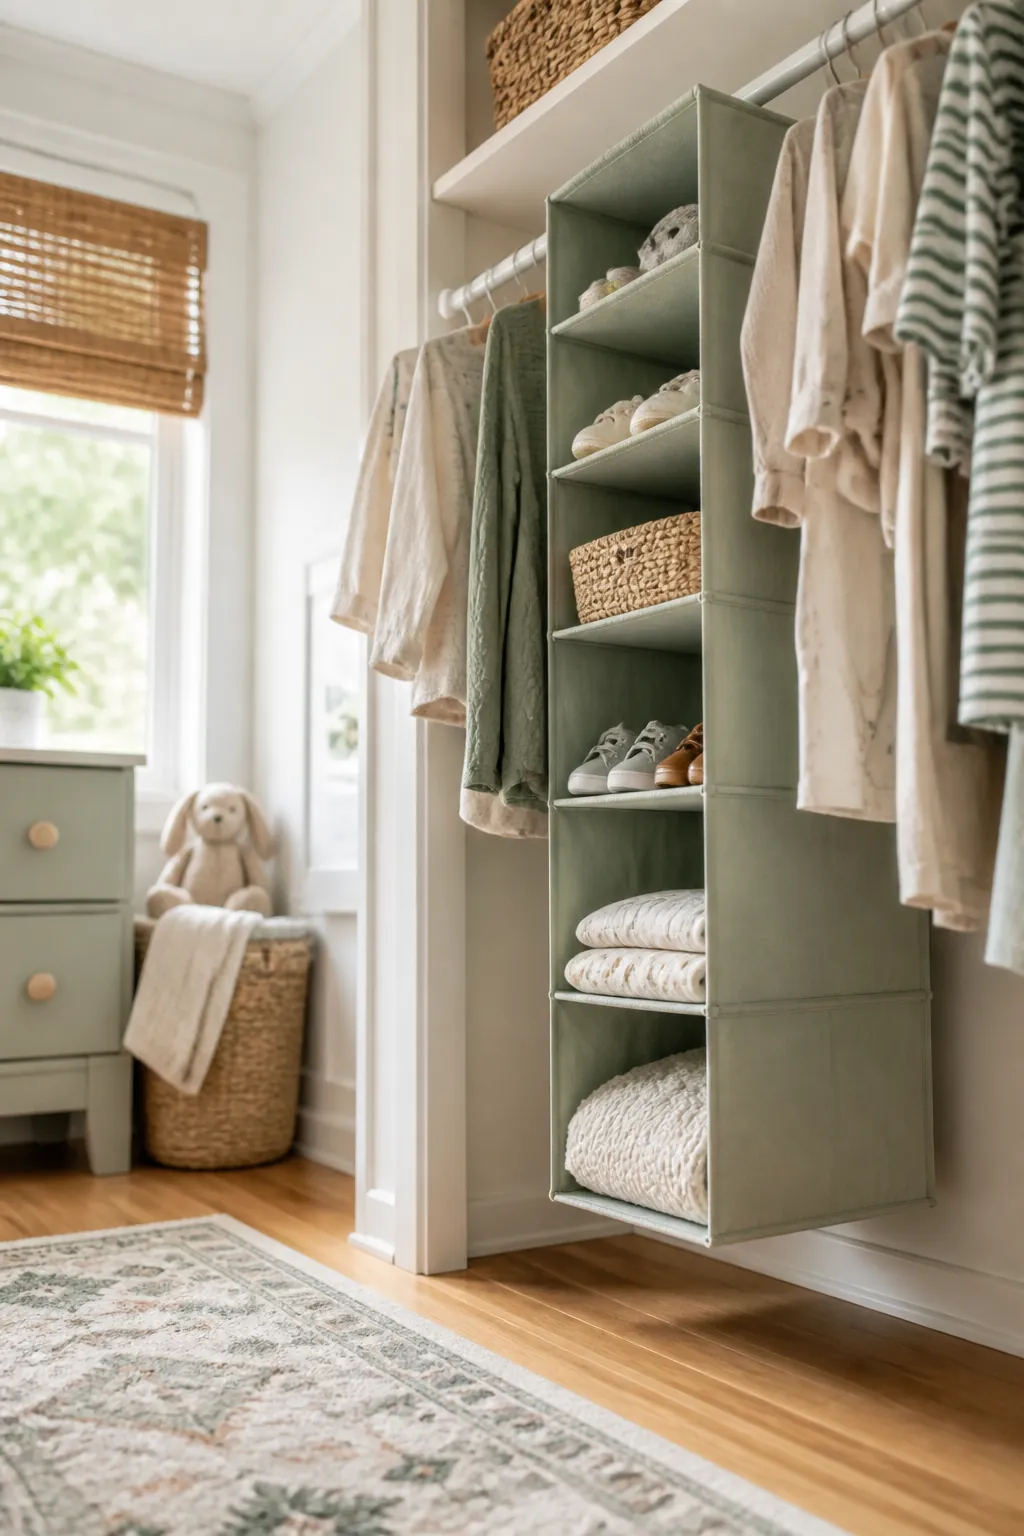
A hanging fabric shelf unit, the kind with five or six vertical cubbies, claims the dead vertical space beside your hanging clothes. It’s ideal for shoes, swaddles, and spare crib sheets. Renters love it because it hangs from the rod, so there’s no drilling, no anchors, and it comes down in seconds on moving day.
For a fuller plan on the closet itself, including the size rotation and what to do with the floor, see nursery closet organization ideas for a small nursery.
Bins for the Floor and Open Shelving
7. Two large baskets for laundry
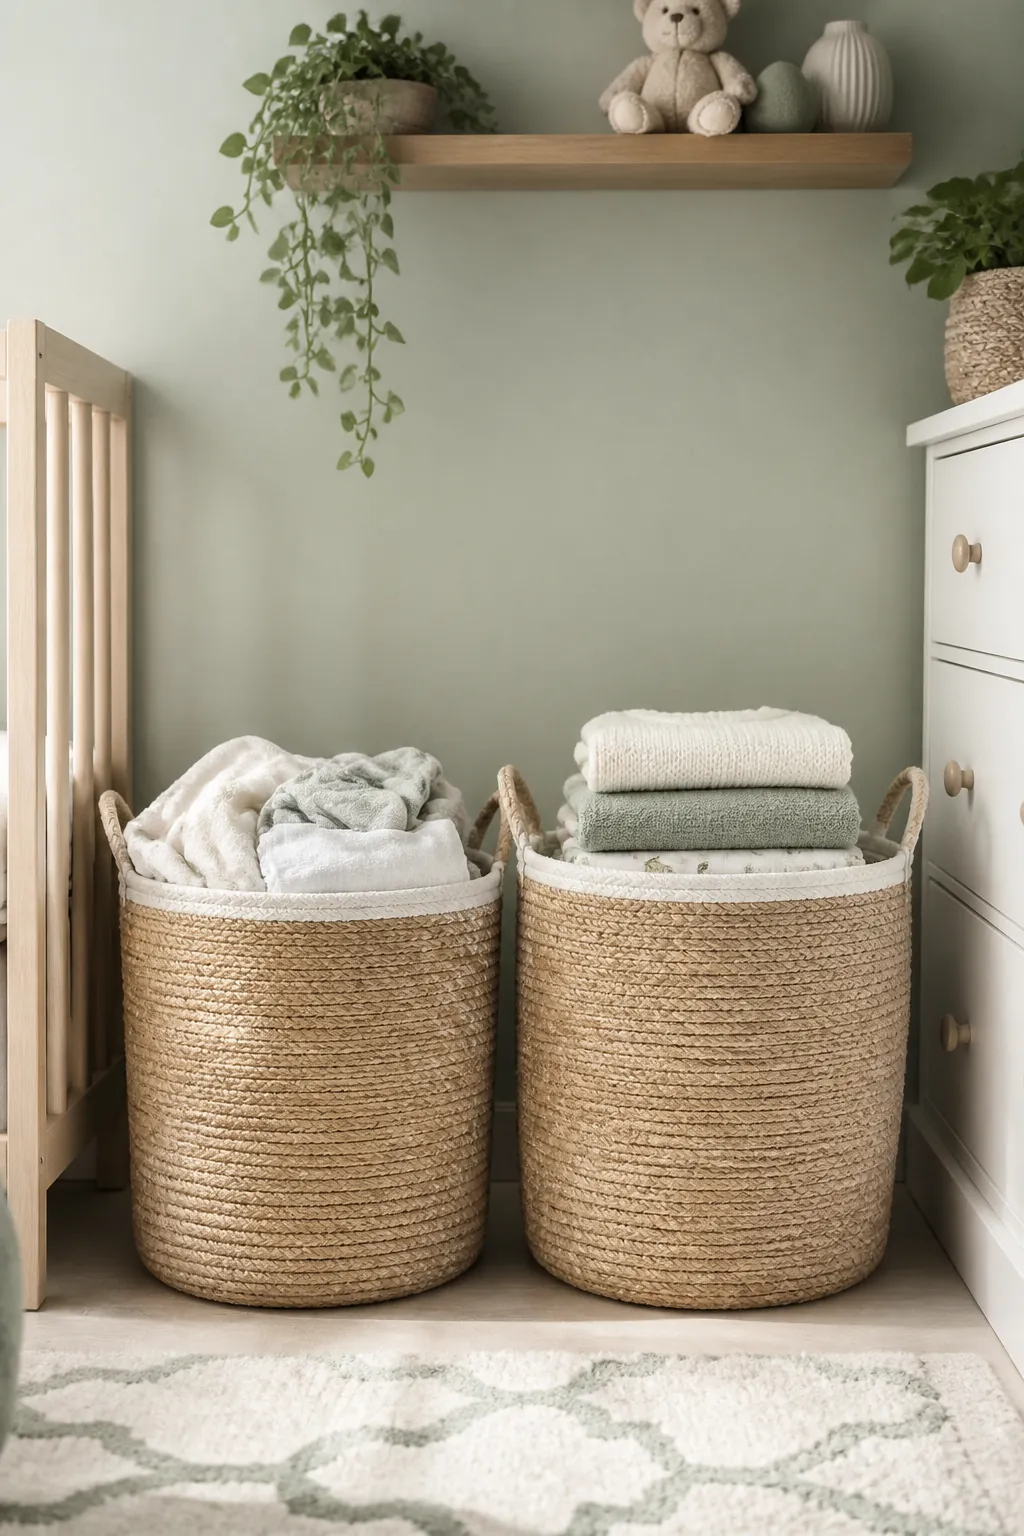
Budget one basket for dirty laundry and, if space allows, a second for clean-but-not-yet-folded. Babies generate laundry at a comical pace, and a single hamper overflows by noon. Woven or canvas baskets look soft in a nursery and cost far less than a dedicated laundry system.
8. Labeled cube bins in a shelf unit
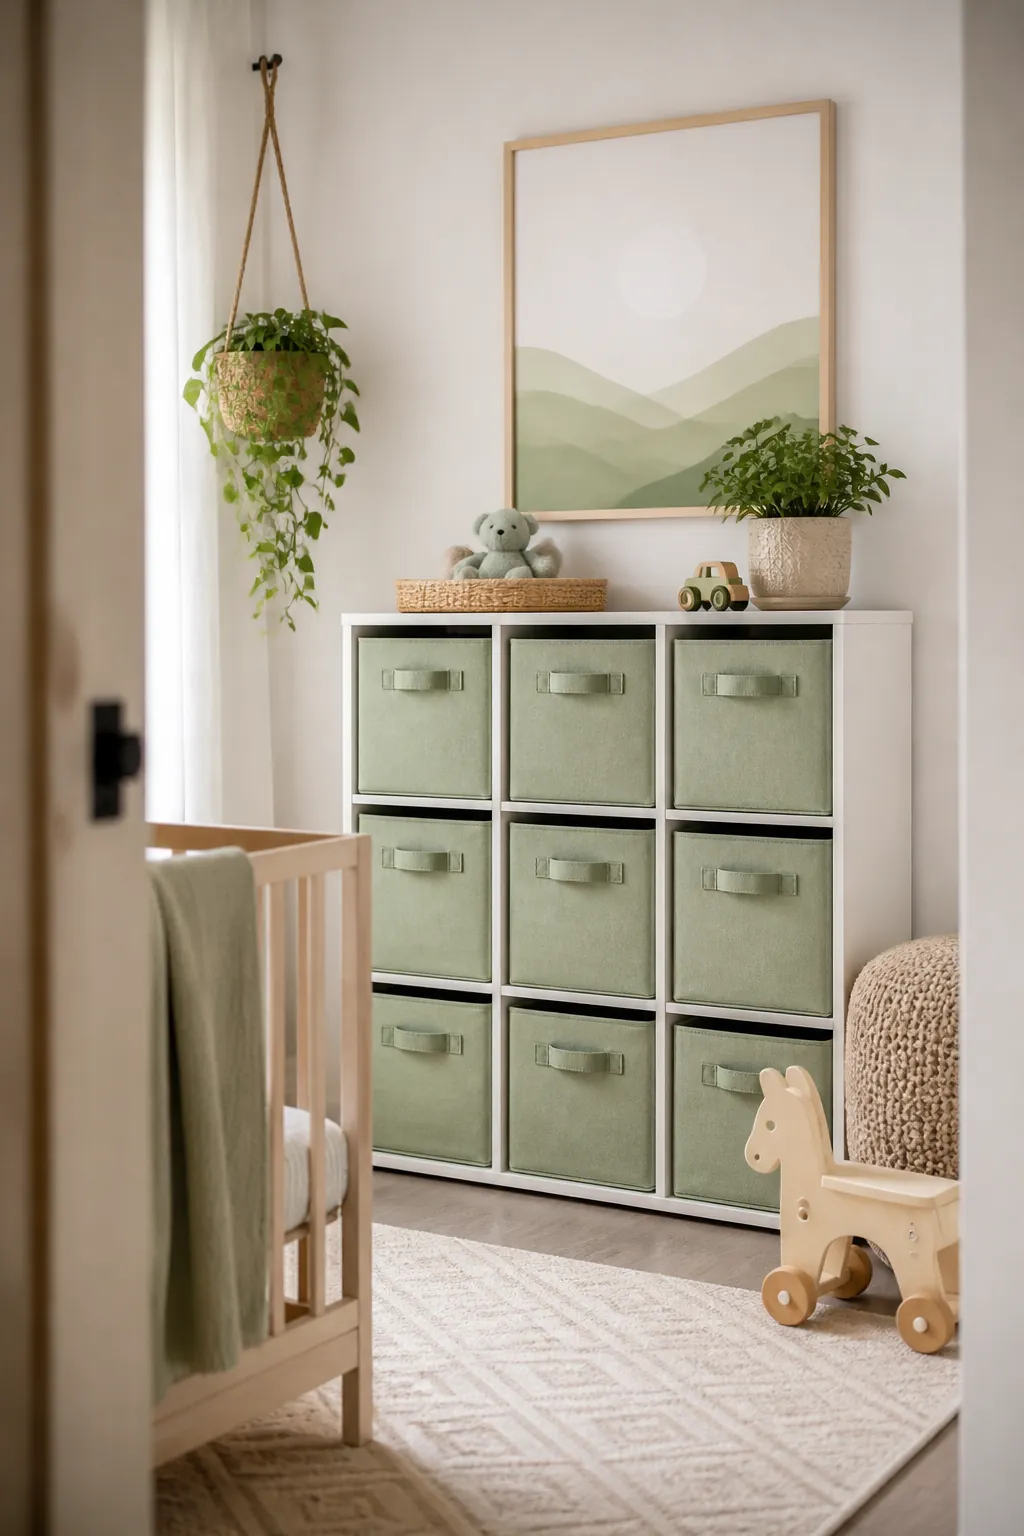
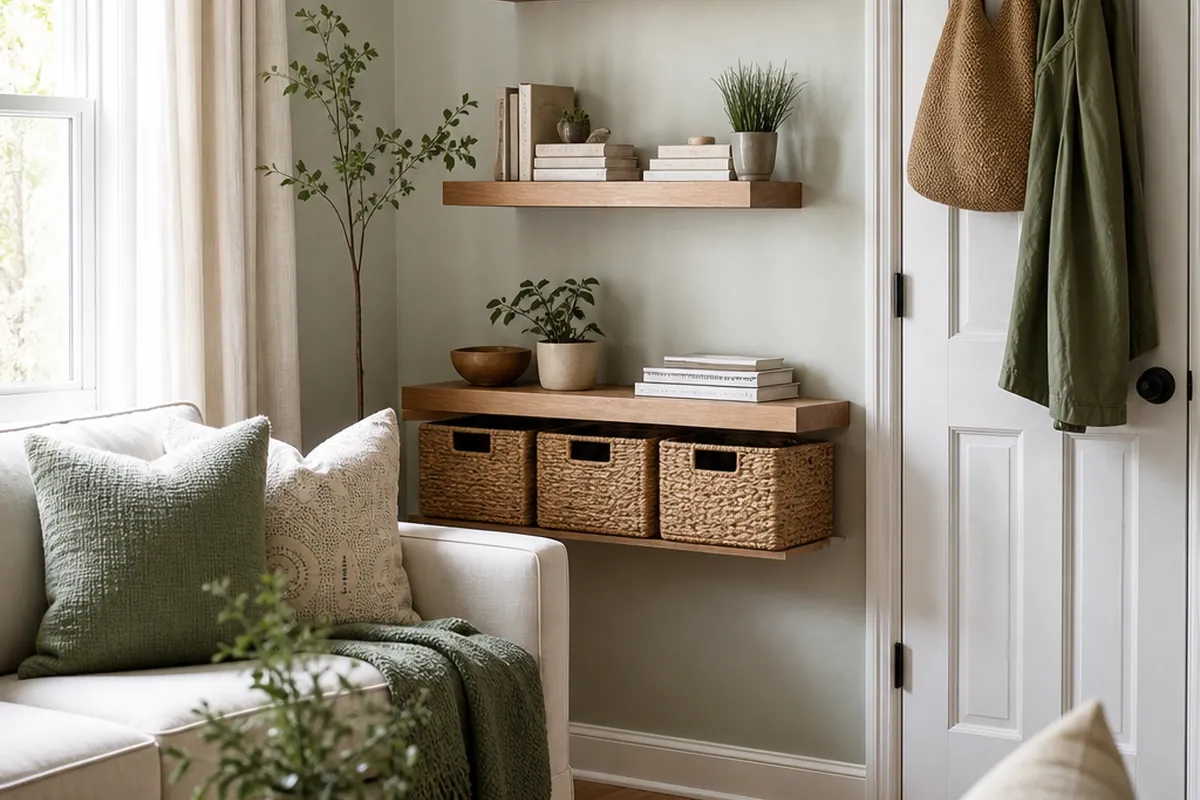
A basic cube shelf paired with matching fabric cube bins is the workhorse of affordable nursery storage. Give each cube a job, books, toys, spare blankets, bath supplies. Once they outgrow the cubes, kids closet organization picks up where this leaves off. Label the front (a clip-on tag or a strip of washi tape and a marker both work) so a partner or grandparent puts things back correctly. If your nursery bleeds into the rest of the house as a play space, the same labeled-bin logic travels well. I broke down the living-room version in Toy Storage for a Small Living Room: Ideas That Stay Tidy.
9. A rolling cart for the grab-and-go kit
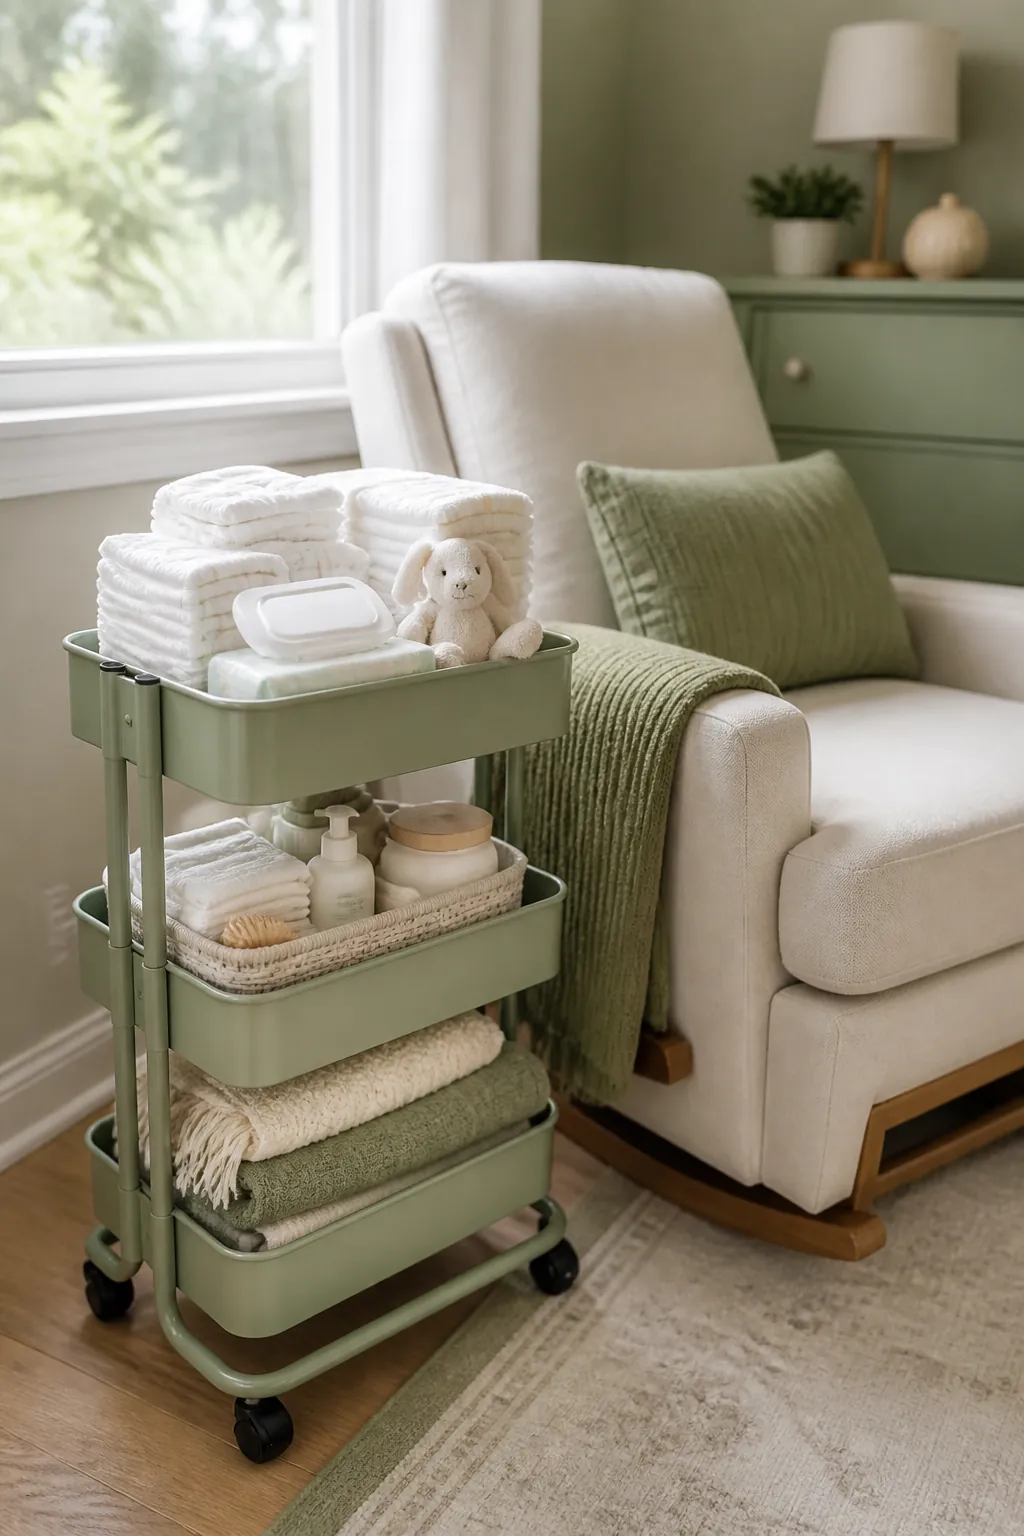
A small rolling cart with two or three bins parks beside the glider or crib and follows you around the room. Load the top tier with diapers and wipes, the middle with burp cloths and a change of clothes, the bottom with backup supplies. On a budget, a plain three-tier plastic cart does everything a pricey nursery caddy does for a lot less.
10. Clear stackable bins for the closet floor
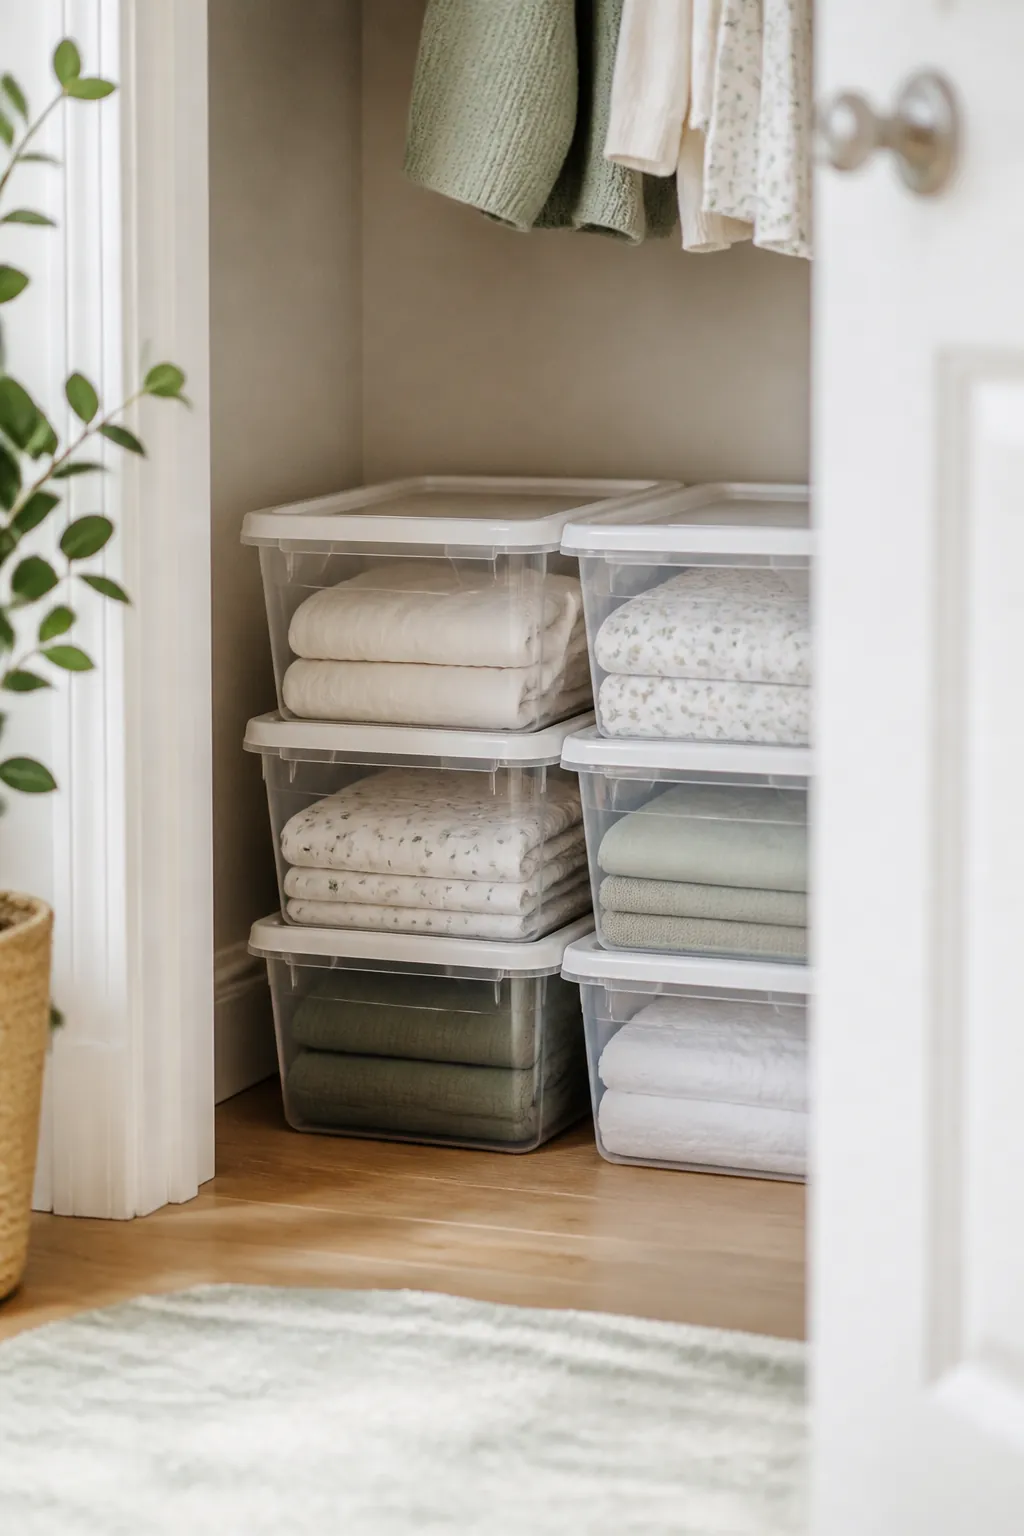
For bulky, low-use items like extra crib sheets, mattress protectors, and seasonal gear, clear stackable bins on the closet floor keep everything visible and dust-free. Clear wins over opaque because you won’t remember what’s inside an anonymous tote three months from now. Stack two high and you’ve doubled your floor storage without adding a stick of furniture.
Make Cheap Bins Look Intentional
The gap between a nursery that looks organized and one that looks like a supply closet comes down to consistency, not cost. Pick one or two bin colors and commit to them. A row of mismatched containers reads as clutter even when everything is technically put away, while five identical bins read as a plan.
Labels do the heavy lifting. Handwritten tags are fine as long as the handwriting and the label style stay uniform. When every bin is labeled, the system survives babysitters, visiting relatives, and your own exhausted brain.
Measure before you spend a dime. Open every drawer and note the interior width and depth, then check the closet rod height and the cube openings. Dividers and bins that miss by even half an inch won’t sit right, and returning things with a newborn in the house is a special kind of misery.
A Simple Order of Operations
Setting up from scratch and trying to spend as little as possible? Work in this order. Begin with the dresser drawer dividers, since tidy drawers pay off most every single day. Add the hanging closet dividers next so clothes are sorted by size from the start. Then move outward to cube bins, laundry baskets, and the rolling cart as your budget allows.
Skip the matching branded nursery set. Those bundles pad the price with pieces you don’t need and charge extra for coordinated colors you can match yourself for less. Buy the specific bins that solve your specific problems, one zone at a time, and you’ll land a nursery that works harder and costs a fraction of the catalog version.
Nobody’s aiming for a magazine-perfect room. The real goal is grabbing a clean sleeper in the dark, knowing where the wipes are without thinking, and packing the diaper bag in under a minute. Get the bins right and the room mostly runs itself.