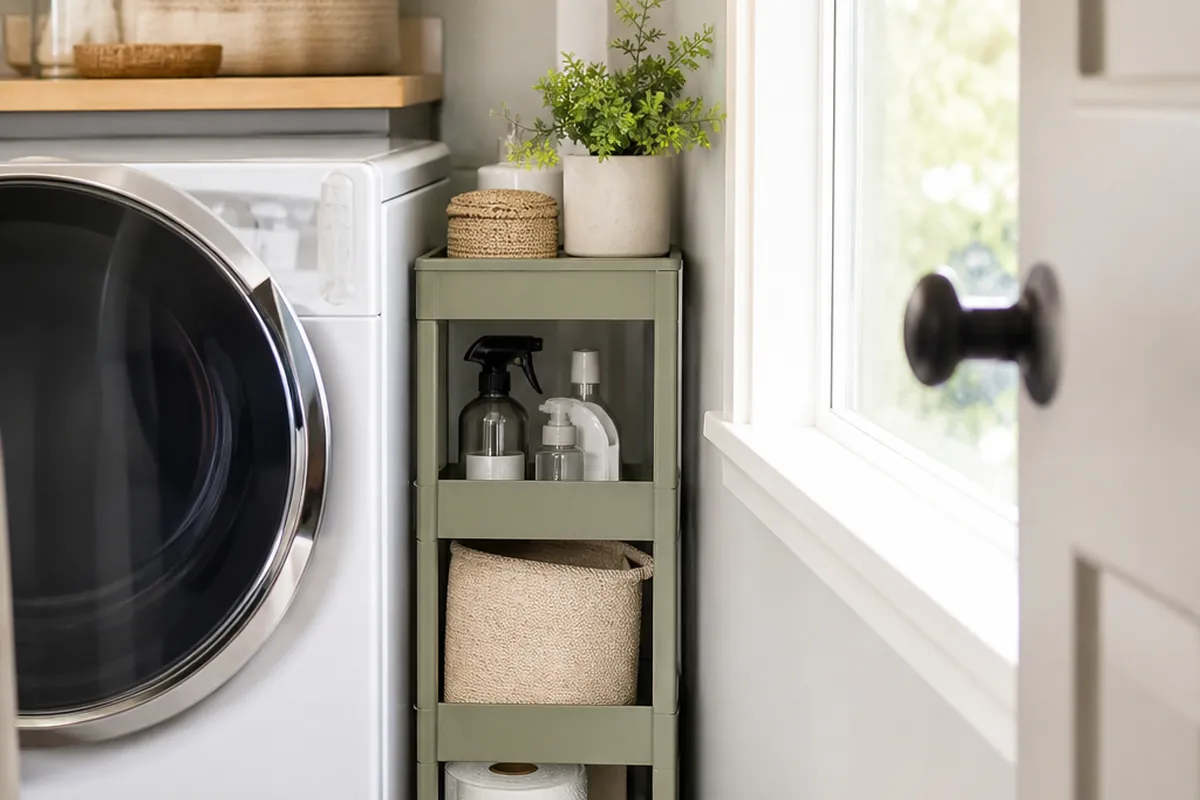
A jug of detergent that creeps toward the edge of the dryer with every spin cycle is the clearest sign a laundry space has run out of room. Real laundry room organization in a tiny nook has almost nothing to do with matching jars or a label maker. It comes down to claiming three surfaces most people leave empty: the dead gap beside the machines, the wall above them, and the back of the door. Take all three and a two-foot alcove starts behaving like an actual utility room.
Here are thirteen moves worth making in a narrow laundry closet or hallway nook, in the order I’d do them. Floor first, walls second, habits last. If you only have budget for one purchase, skip ahead to number nine.
Claim the Dead Gap Beside the Machines
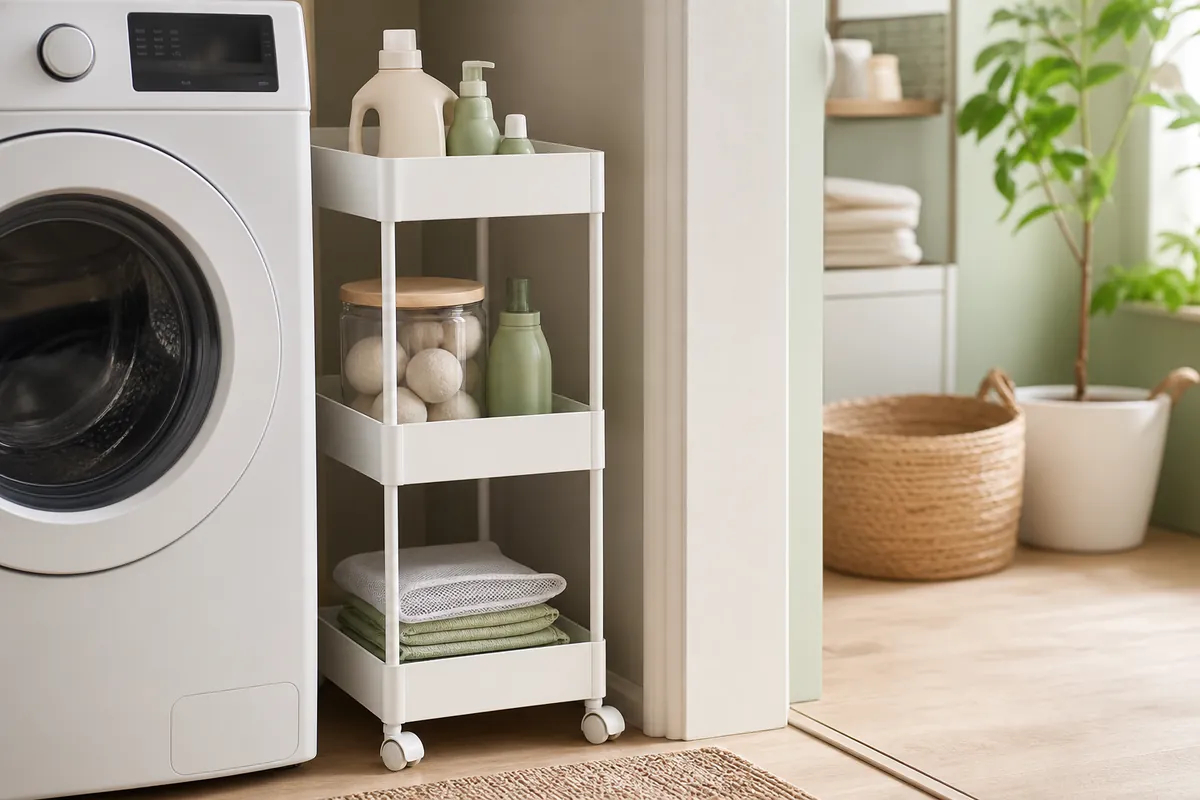
Nearly every laundry setup has a sliver of floor between the washer and the wall, cabinet, or door casing. Three to eight inches is typical, and right now it’s holding lint and one orphaned sock.
1. Measure the gap, then buy an inch narrower
Run a tape measure across the opening at its tightest point, which is usually the door trim rather than the wall. Shop for a slim rolling laundry cart at least an inch under that number. That spare inch is the whole difference between rolling the cart out one-handed while you’re holding a full basket and scraping it against the washer until you quit bothering after a week.
A cart isn’t your only option here. A narrow shelf tower holds more per square inch and costs less, but you can’t pull it out to reach what fell behind it, and things always fall behind it. I’d take the cart.
2. Give each tier of the cart a job
Carts work when every shelf has an assignment. Bottom tier: bulk refills and the stain treatments you touch maybe monthly. Middle: dryer sheets, wool balls, mesh bags. Top: the two products you reach for on every single load, and nothing else. Shelves without a defined purpose turn into graveyards for orphaned lids and dried-out bleach pens.
3. Put grippy liner under anything sitting on the machines
Washers vibrate, and whatever sits on top migrates toward the edge. Cut a piece of rubber shelf liner to size, or use a low-sided tray, and the slow crawl stops. You also stop the sticky brown ring that forms under a dripping detergent cap. Five minutes of work here prevents most of the spills a small laundry room ever sees.
Build Upward: Laundry Room Organization Above the Washer and Dryer
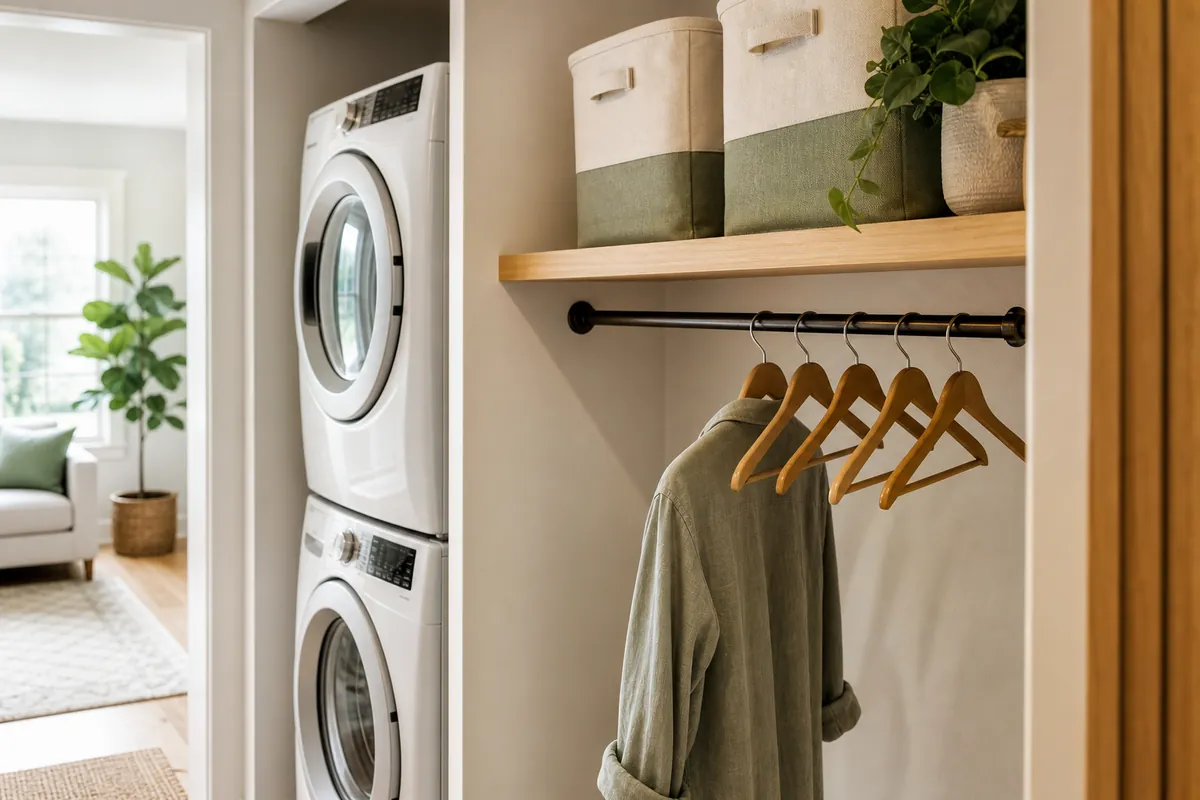
The wall over the machines is the largest unused surface in the room. Most people leave it blank because hanging anything above an appliance feels risky.
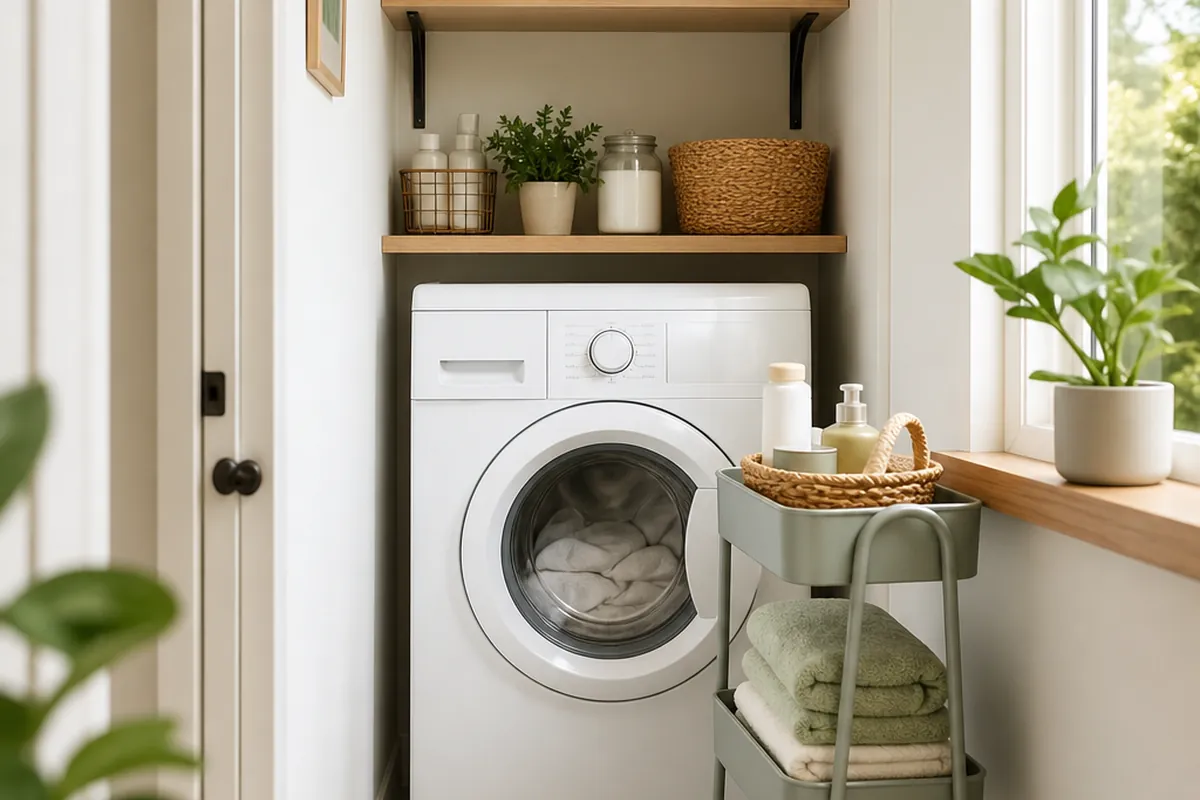
4. Mount one shelf at forehead height, not three at random
One well-placed shelf beats a stack of them. Set the underside so it clears a top-loading lid at full open, then add a hand’s width for knuckle room. Front loaders give you more freedom, though a deep shelf will still catch your head every time you bend into the drum. Roughly the depth of a cereal box handles detergent, a lint bin, and one small basket, and anything deeper just collects things you forget you own.
5. Use handled bins up high, never loose bottles
Above shoulder height, everything belongs in a container you can pull down without looking up into it. Two labeled bins do the job: one for stain and mending supplies, one for lightbulbs and household overflow. Loose bottles at that height are both a hazard and a nuisance, because reaching past them is how a full jug of softener ends up on the floor.
6. Add a short rod for straight-from-the-dryer shirts
A single rod spanning the space above the machines gives damp button-downs somewhere to land before they wrinkle. Two end-mounted flanges and a wooden dowel work fine, and five hangers is plenty. This isn’t closet storage. It’s a landing strip that keeps shirts off the back of a dining chair.
7. Anchor into studs and respect the vibration
Drywall anchors alone will work loose above a spin cycle, quietly, over months. Find studs, hit two if the span allows, and go easy on liquid detergent, which is far heavier than it looks once you’ve lined up three jugs. Renters who can’t drill should look at a floor-standing shelf unit that straddles the machines instead. I get into more no-holes options in small laundry closet organization.
Solve Drying Without Stringing a Line
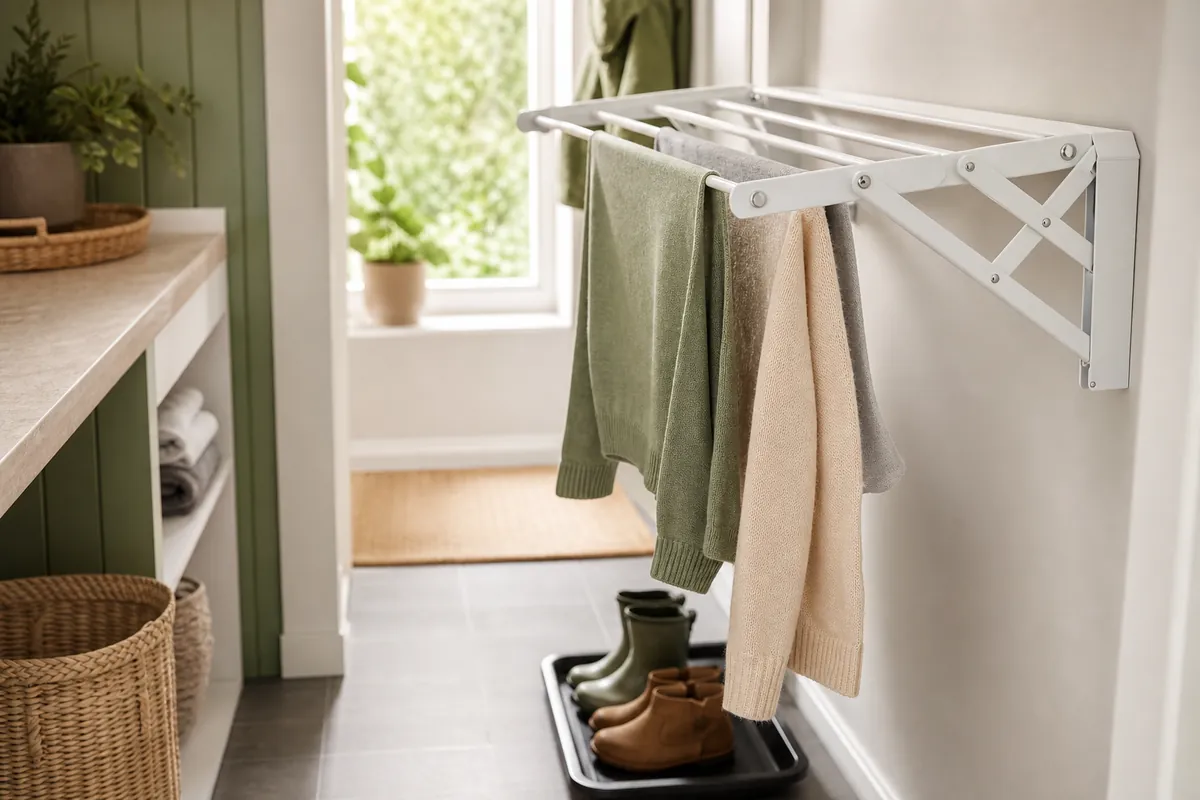
Air-drying is where cramped laundry spaces collapse, because wet clothes demand horizontal room you don’t have. Racks that vanish when empty are the only real answer.
8. Hang an over-the-door drying rack for delicates
An over-the-door drying rack hooks over the laundry or bathroom door and holds bras, swimsuits, wool sweaters, and anything you’d rather not tumble. Hanging flat against the door, it eats zero floor space, and air actually moves better near a doorway than in a dead corner. Two cautions: keep dripping towels off it, and confirm the door still latches with the rack in place. Towels that live in the bathroom rather than the laundry have their own answer in towel storage for a bathroom with no space.
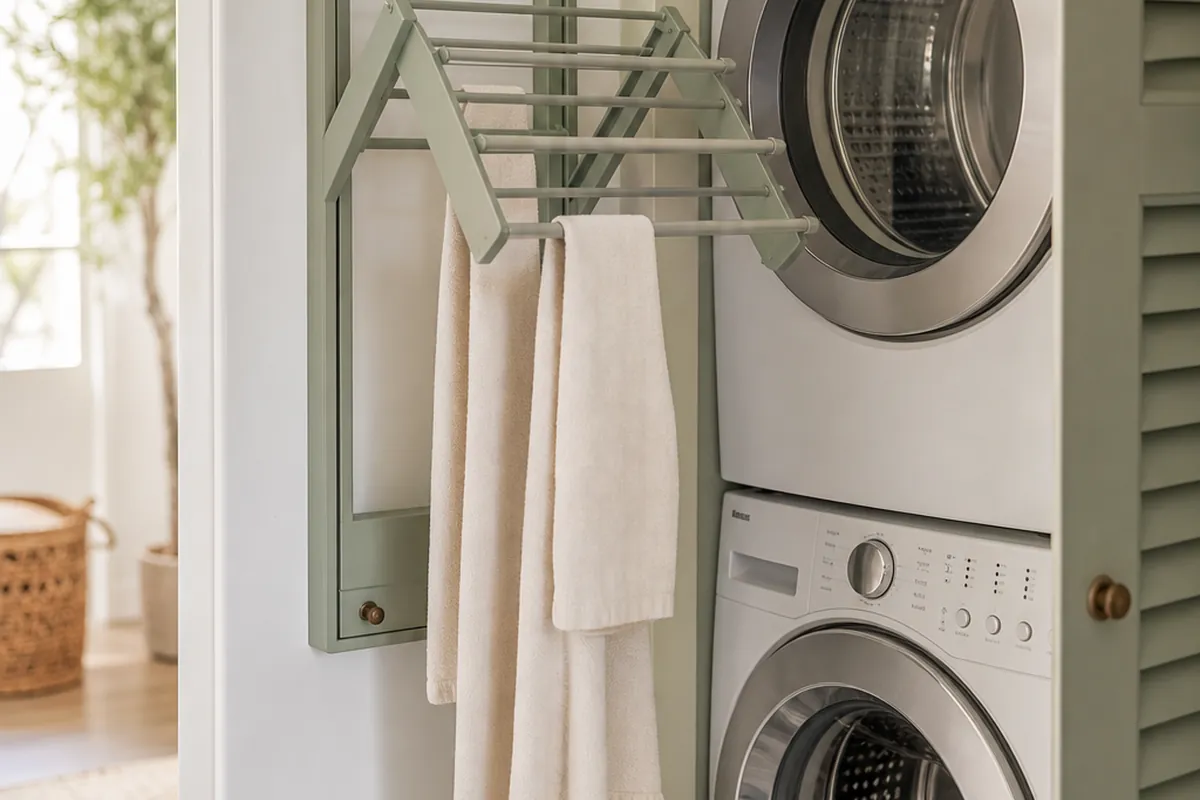
9. Install a wall-mounted folding drying rack
If you buy one thing on this list, buy this. A wall-mounted folding drying rack sits nearly flush when closed, then swings out to give you several feet of bars exactly where you need them, then disappears again. Mount it on the wall facing the machines when you can, at a height where drips land on the floor rather than on the dryer lid. Slide a boot tray or an old towel underneath for the first hour and you’ll never think about it again.
The trade-off versus a folding floor rack is capacity. A floor rack holds a bigger load, but it lives somewhere all week, and in a nook this size there is no somewhere.
10. Stagger your drying instead of stacking it
Two half-loads that dry properly beat one crowded rack still damp on Thursday. Heavy items go on the outer bars where air moves most, and nothing should touch its neighbor. Crack the door or aim a small fan into the space if you can. That musty smell is a crowding problem almost every time, not a detergent problem.
Stop the Pile Before It Starts
What buries a tiny laundry room is rarely clean laundry. It’s dirty laundry waiting to be triaged.
11. Sort at the source with a 3-section laundry sorter
A 3-section laundry sorter changes the rhythm of the whole chore, because sorting already happened days ago, a shirt at a time. Whites, colors, and one flexible bag for towels, delicates, or work clothes, whichever your household actually generates. Full bag equals ready load. You skip the floor-dumping step entirely, and that step is what eats twenty minutes and makes the room look wrecked.
A sorter is also taller and narrower than a wide woven hamper, which matters when the walkway is 24 inches.
12. Give lint and trash a permanent home
Set a small covered bin or a wall-mounted pouch beside the dryer for lint, spent dryer sheets, and the receipts that survive a wash cycle. Minor detail, big visual payoff: lint on the floor makes any space read neglected, no matter how tidy the shelves are.
13. Cut your product lineup in half
Most households own four detergents, three of them nearly empty. Keep one everyday detergent, one oxygen booster, one stain stick, one delicate wash, and use up or pass along everything else. Volume is the real enemy in a tight space. Every bottle you remove is shelf depth handed back to you, and decanting into pretty jars accomplishes nothing if you still own eleven of them.
The Right Order to Tackle Laundry Room Organization
Sequence matters more than people expect. Empty and wipe the space first, including behind the machines, since that’s where socks and dryer sheets go to die. Purge products second, because sizing shelving for a collection you’re about to shrink guarantees you buy too much of it. Wall pieces come third, starting with the folding drying rack, which needs the most clear swing space and should dictate where everything else sits. Roll in the cart, place the sorter clear of the door swing, and hang the over-the-door rack last.
A week later, look at what you reached for and what never moved. Anything untouched leaves the nook. Laundry room organization holds up in a small space only when every square inch earns its spot, and running four or five real loads is the fastest way to find out which inches aren’t.
Still feels cramped after all thirteen moves? The culprit is almost always depth. Swap one bulky bin for a shallow one, trade the wide hamper for the taller sorter, and watch the walkway come back.
If your room is long and thin rather than simply small, narrow laundry room ideas deals with the corridor layout specifically, where wall depth matters more than floor area.