A sewing kit never asks for much shelf space, but it is remarkably good at using more than its share anyway. Spools roll to the back of a shelf, pins end up in the lint trap, and the one evening you actually need to replace a button, the kit turns out to be three loose piles spread across two shelves instead of a single box you can grab and open. In a laundry closet, where the shelf is already fought over by detergent, dryer sheets, and a stain stick, that kind of drift costs more than it would in a sewing room with a whole table to spare.
None of the fixes below need more shelf space than the kit already uses. They need the kit split into the right containers, sized to the shelf it actually sits on, and placed somewhere a vibrating dryer and a bottle of bleach can’t reach it.
1. Measure the shelf before you measure the box
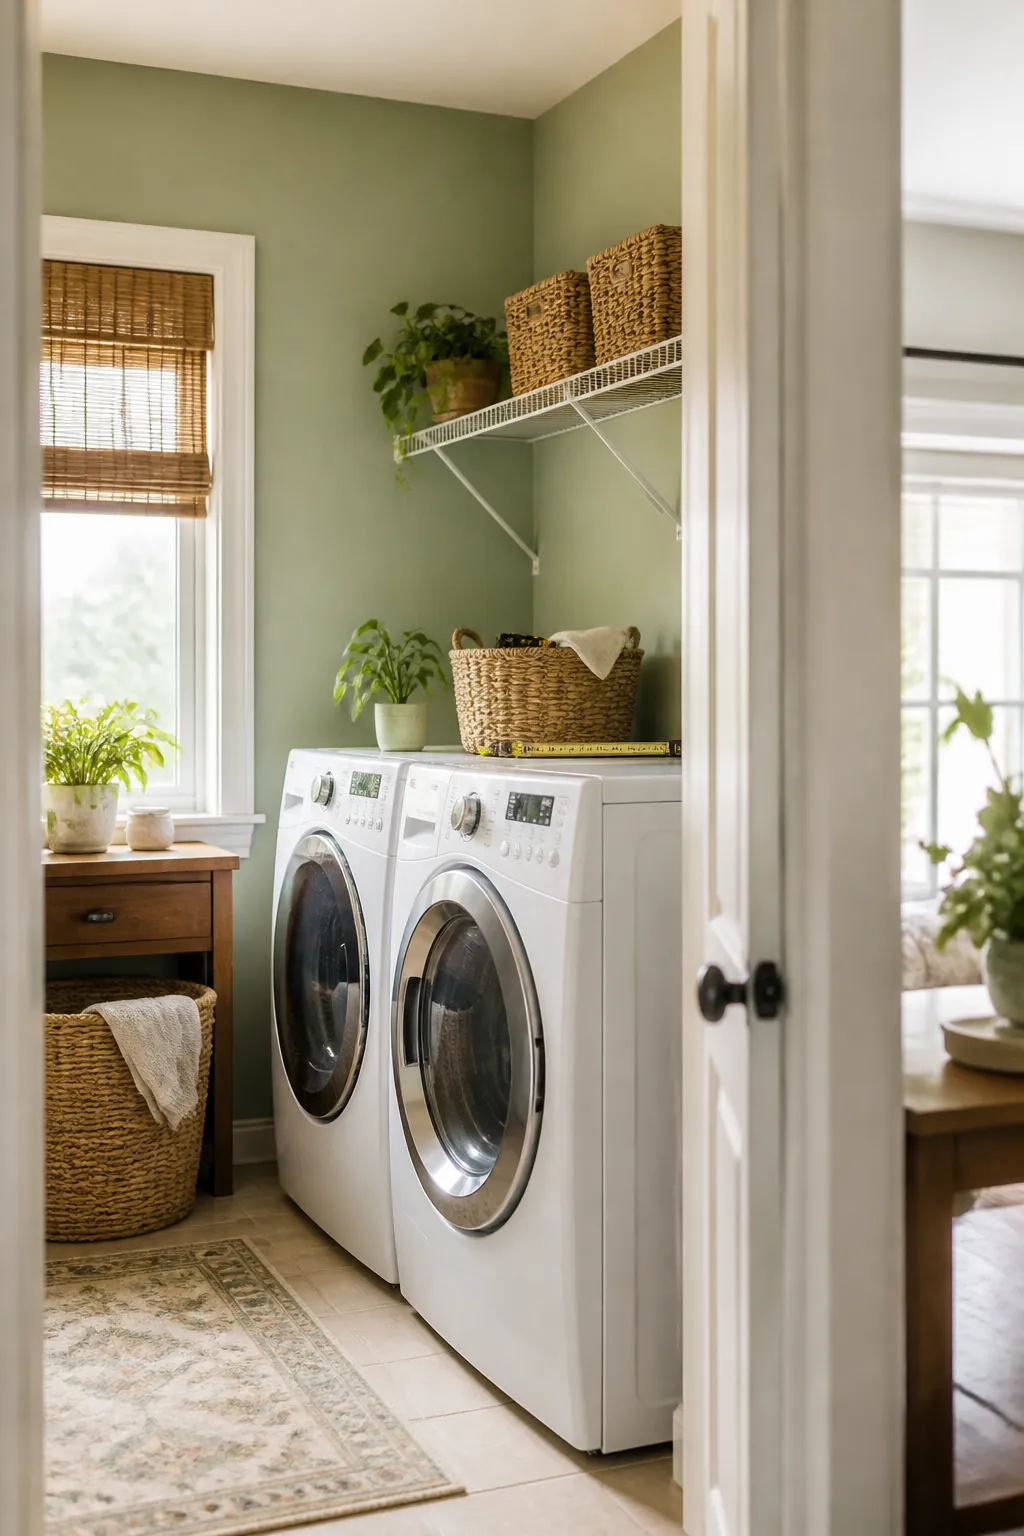
Most laundry closet shelving is wire shelf cut to 12 inches deep, sometimes less if it was installed to clear a door swing, and that number matters more than the box’s listed capacity. A sewing box deep enough to hold a full cutting mat will overhang a 12-inch shelf by several inches, catching the closet door on its way shut or tipping forward the first time the shelf gets bumped.
Measure the shelf’s depth and the clearance to the shelf above it before buying anything, not just the width. A box that’s an inch too tall gets stored on its side out of necessity, which is exactly when a closed lid stops staying closed.
2. Keep the whole kit in one closed box, not a basket
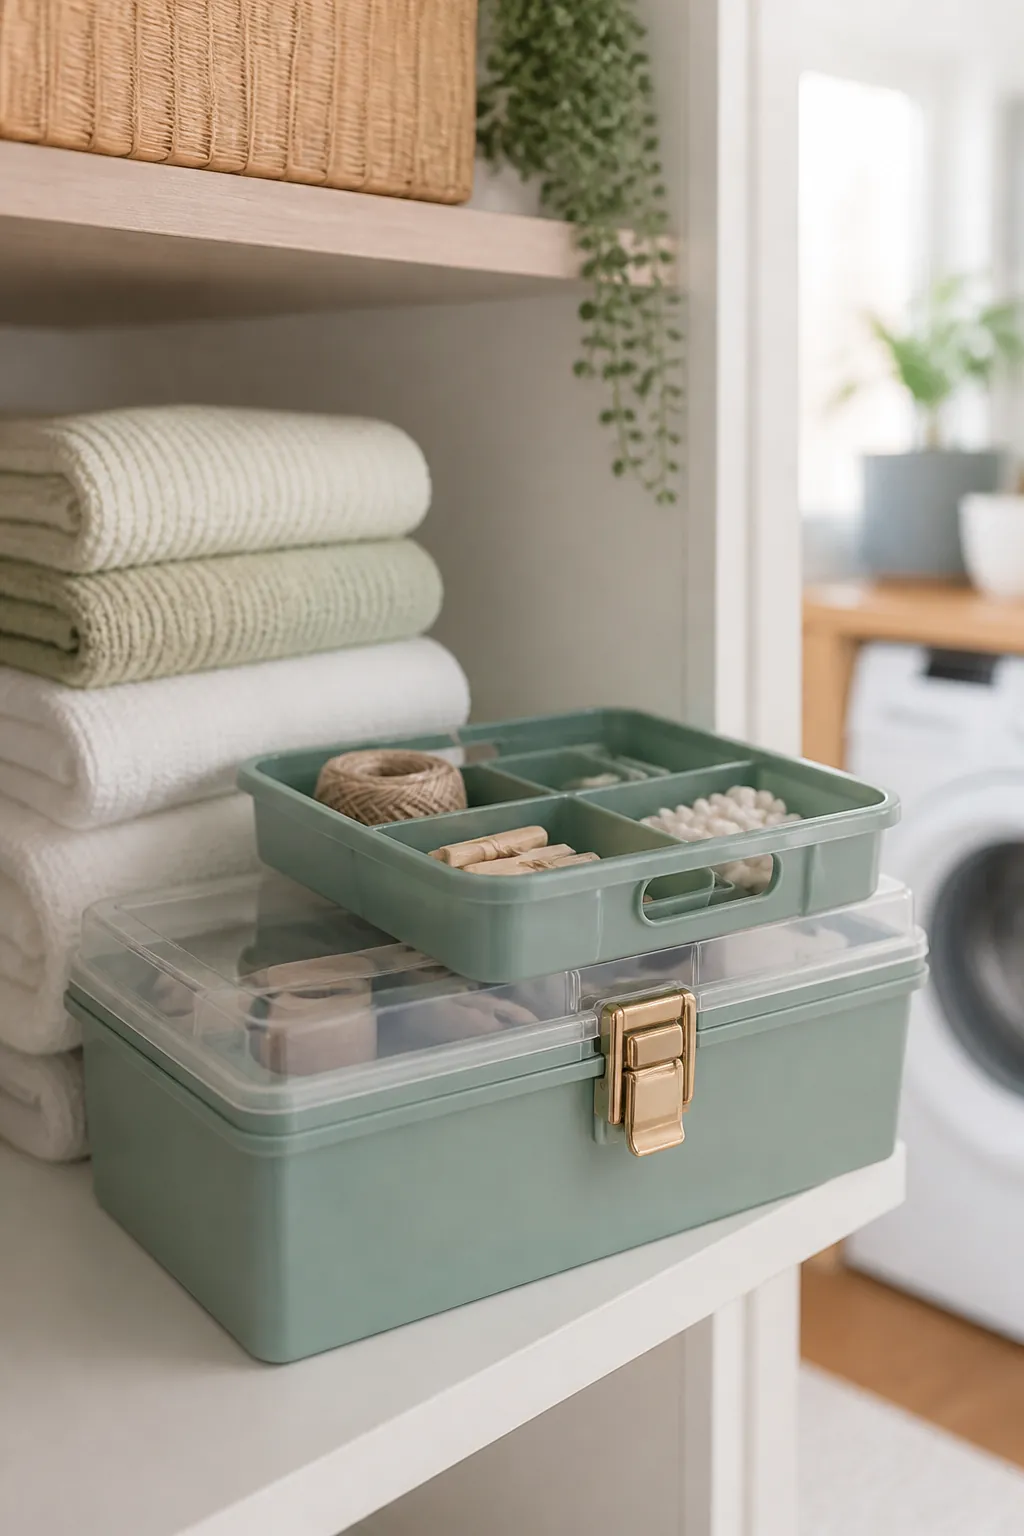
An open basket is the single biggest reason a sewing kit spreads itself across a shelf. Lint from the dryer drifts onto anything left uncovered, and a basket with no lid lets spools, pins, and scraps shift every time the door opens or closes nearby.
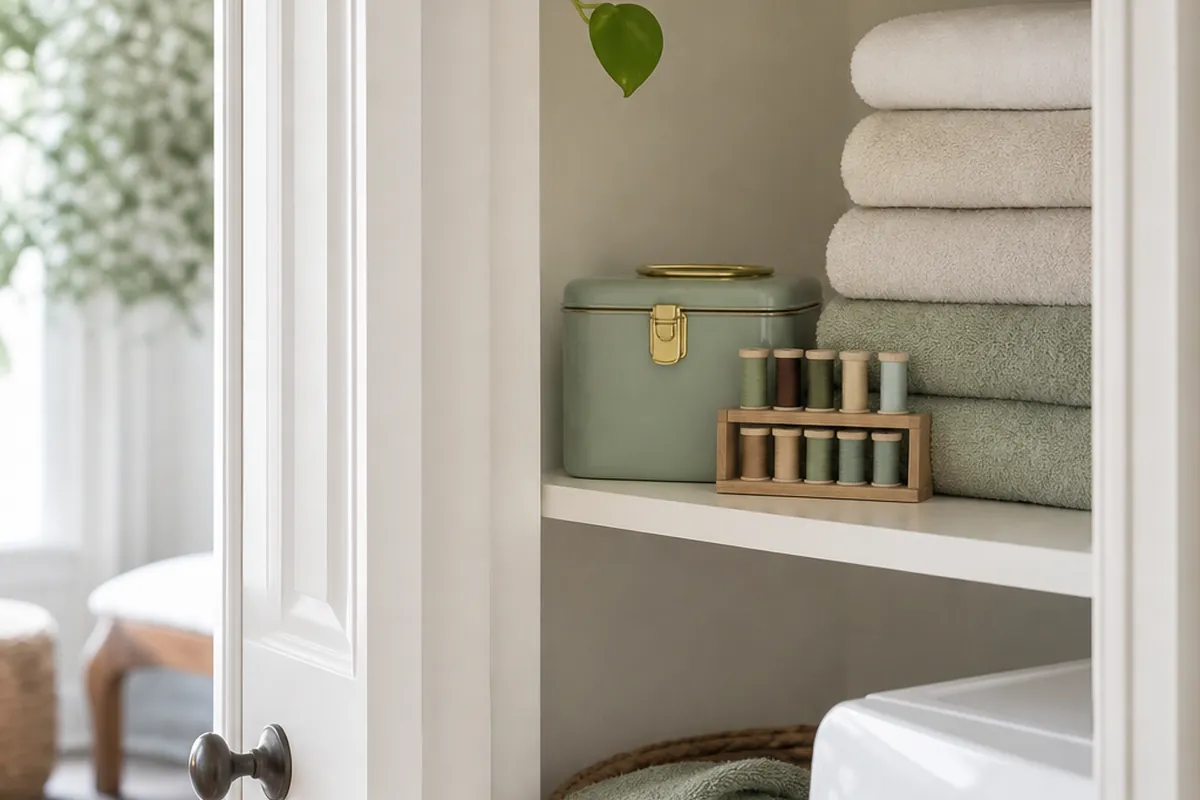
A craft organizer box with a removable tray solves this with one latch. The top tray holds the things you reach for most, a needle case, a small pair of scissors, a few spools, and the deeper compartment underneath holds fabric scraps, patterns, or a half-finished mending project without either layer touching the other.
3. Split spools, bobbins, and buttons into their own drawers
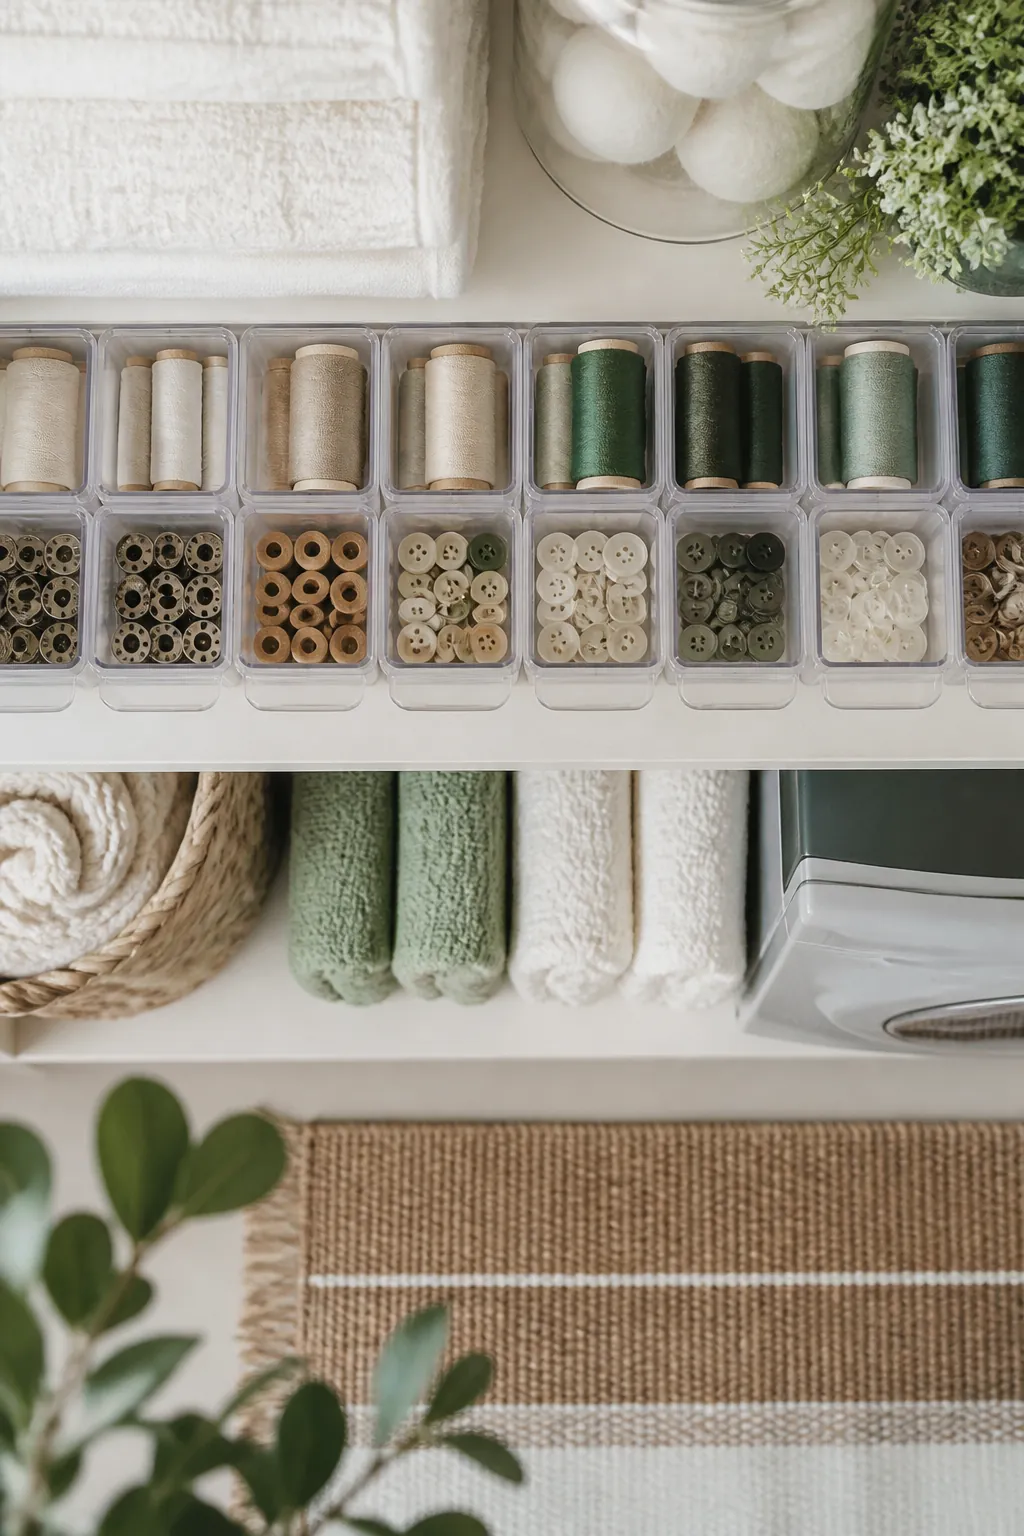
Thread spools stored loose in one tray nest together within a week, and pulling one free drags two or three thread tails out with it, unspooling all of them a little. The fix isn’t a bigger container. It’s smaller compartments.
A set of small clear stackable drawers gives spools, bobbins, and loose buttons their own slots, stacked instead of spread flat, which actually saves shelf footprint rather than costing it. Keep buttons in a drawer by themselves rather than mixed with bobbins; buttons are the one item in a sewing kit someone else in the house will dig through looking for a replacement, and a mixed drawer means they empty the whole thing onto the shelf to find it.
4. Corral pins and needles somewhere they can’t spill
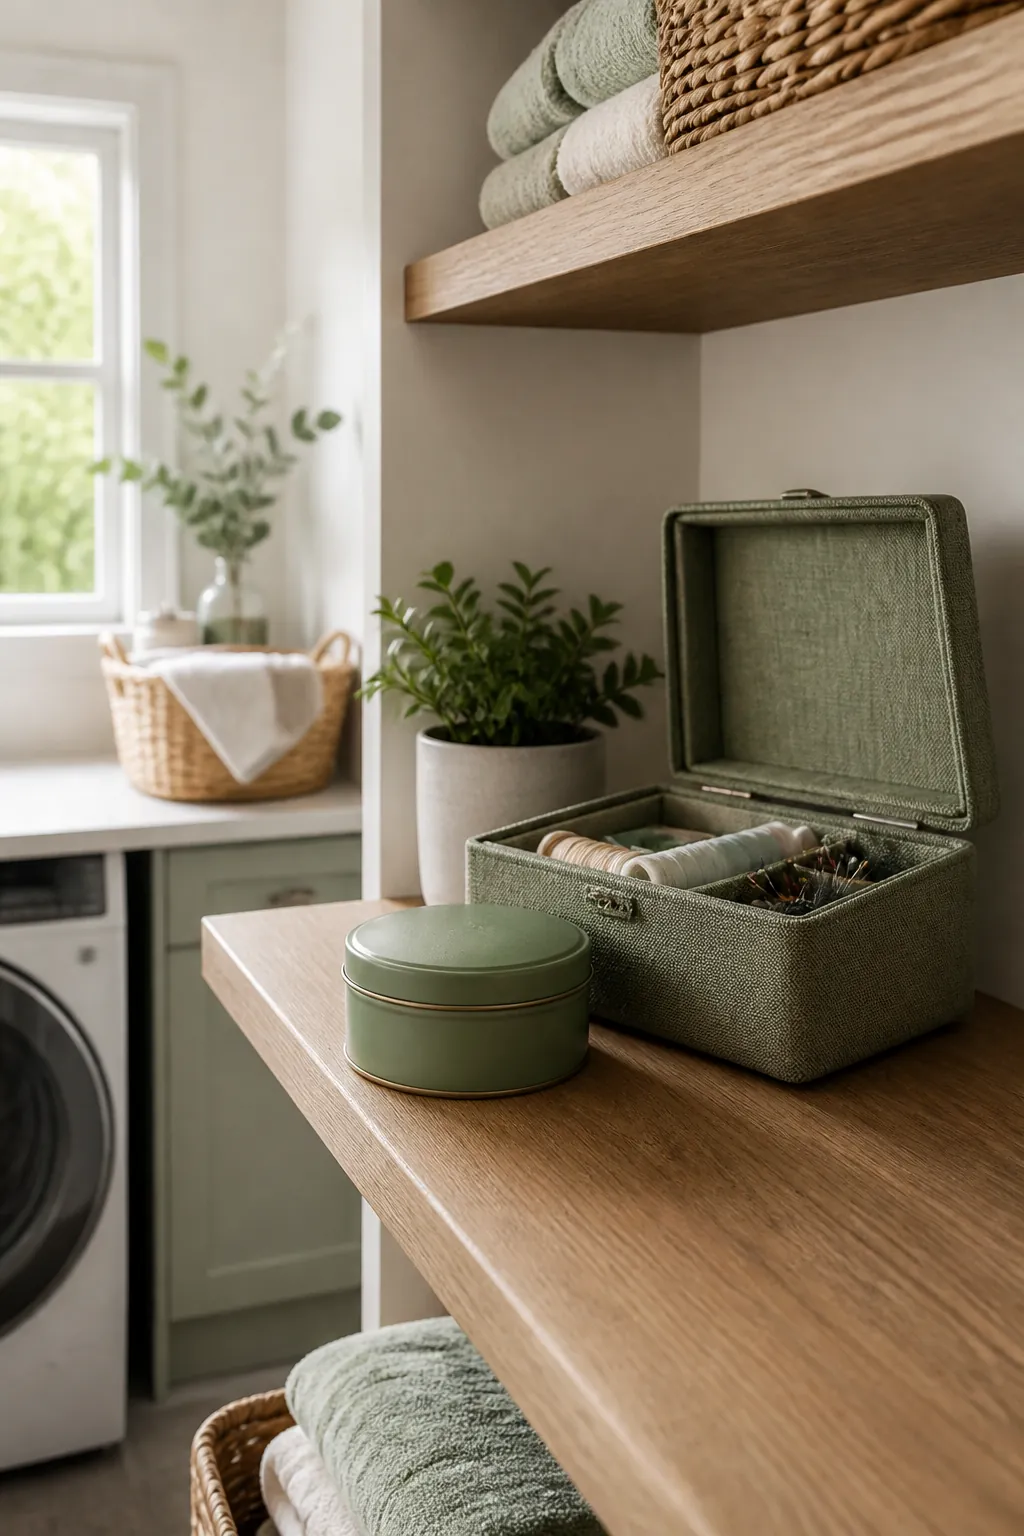
A pincushion sitting loose on an open shelf is one knock away from scattering pins across the closet floor, and a laundry closet gets its door opened and closed more often than almost any other closet in the house. A lidded tin or a magnetic needle case that actually closes beats an open cushion here, even though the cushion feels more traditional.
This is worth getting right specifically because of where it’s stored. Pins lost in a sewing room land on carpet or a hard floor where you’ll eventually find them. Pins lost in a laundry closet land near a lint trap, a dryer vent, or bare feet doing a midnight load, and a dropped pin in that spot is far more likely to get stepped on than swept up.
5. Give fabric scraps their own bin, separate from the rag pile
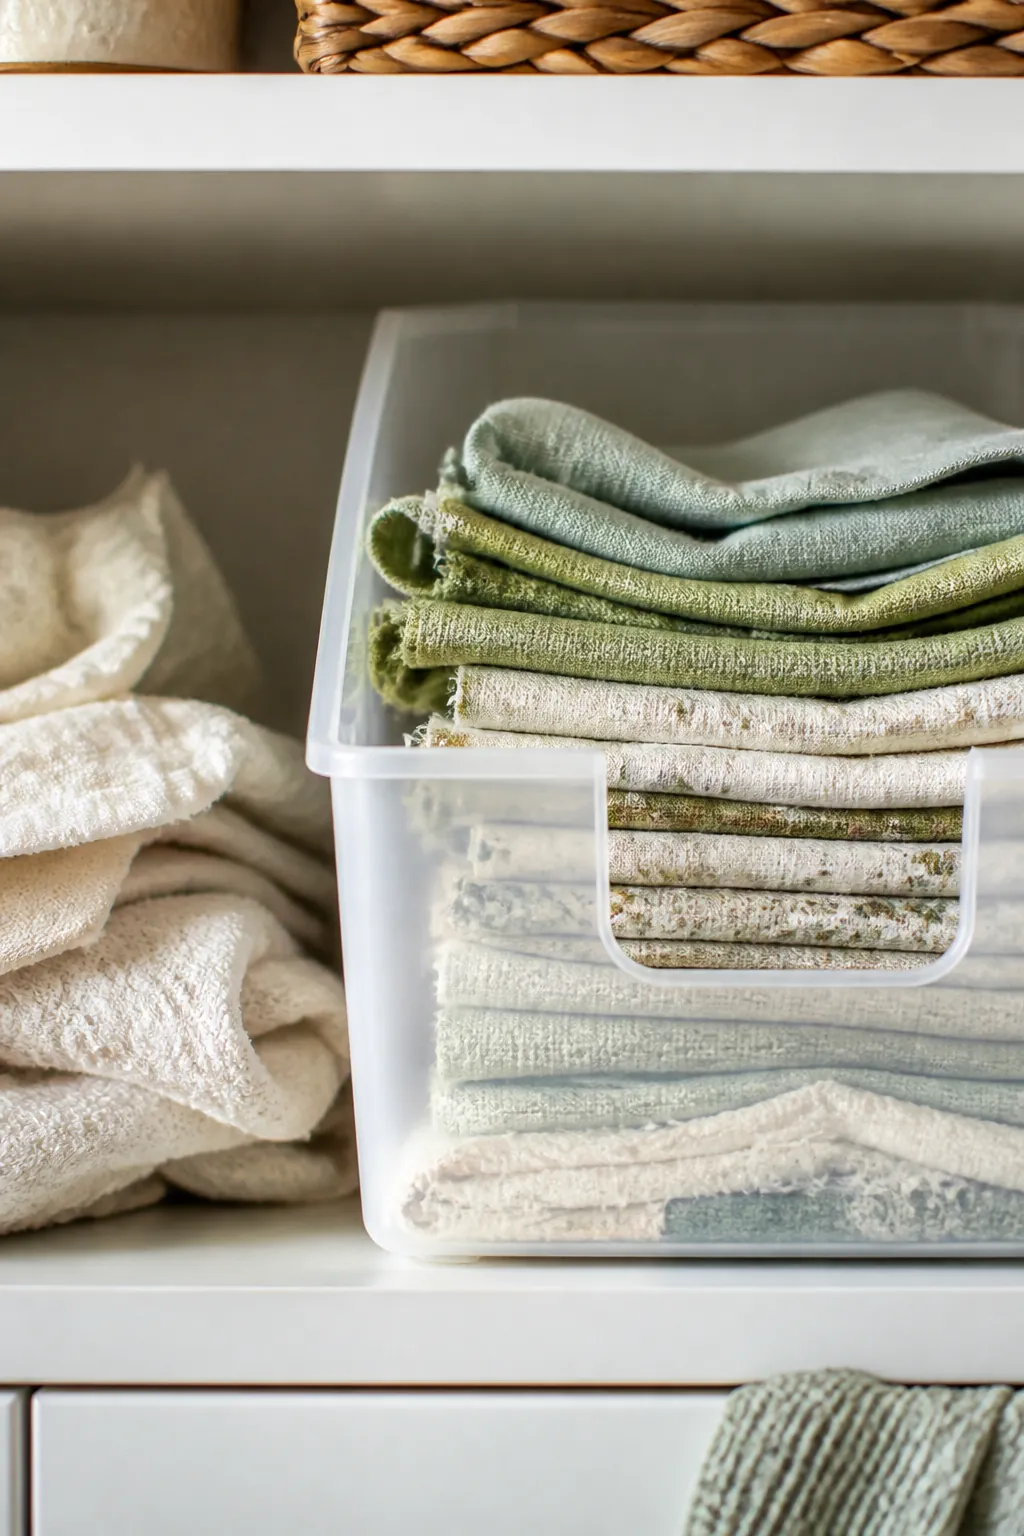
Most laundry closets that do any sewing at all also keep a stash of rags for spills, and scrap fabric saved for mending looks identical to a rag once it’s balled up loose on a shelf. The two piles merge within a month if they’re not physically separated, and once a mending scrap gets grabbed to wipe up a spill, it’s gone.
A stackable storage bin with its own lid, labeled or at least visually distinct from whatever holds the rags, keeps the two from mixing. If the laundry closet already has a cleaning supply shelf, put this bin on the opposite side of it on purpose, not just whichever spot is open that day.
6. Hang scissors instead of leaving them loose in the box
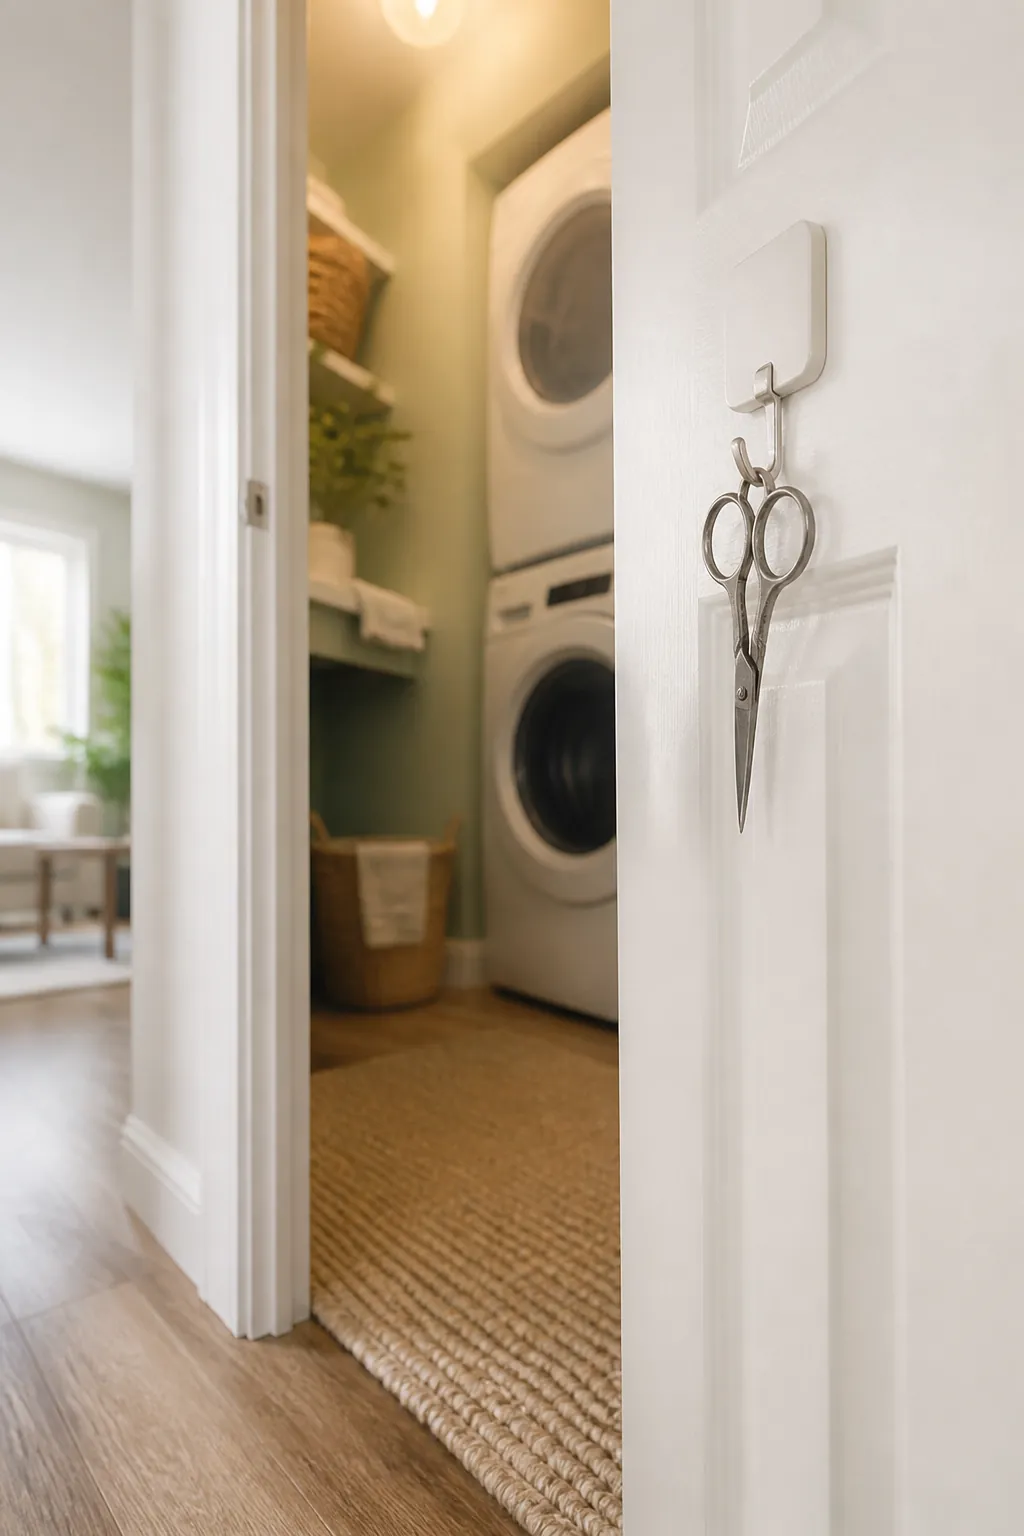
Sewing scissors rattling around loose in a box are the one item in a kit that can actually hurt someone reaching in one-handed while holding a laundry basket. A small adhesive hook mounted just inside the closet door, rated for a pound or two, holds scissors by their handle loop, blades pointed down and away from the opening, with no drilling required.
This also keeps scissors out of the box entirely, which frees up space for the things that genuinely need to be contained, pins, needles, and loose notions, rather than a pair of blades that just needs to hang somewhere predictable.
7. Give the box a spot that won’t shake loose above the machines
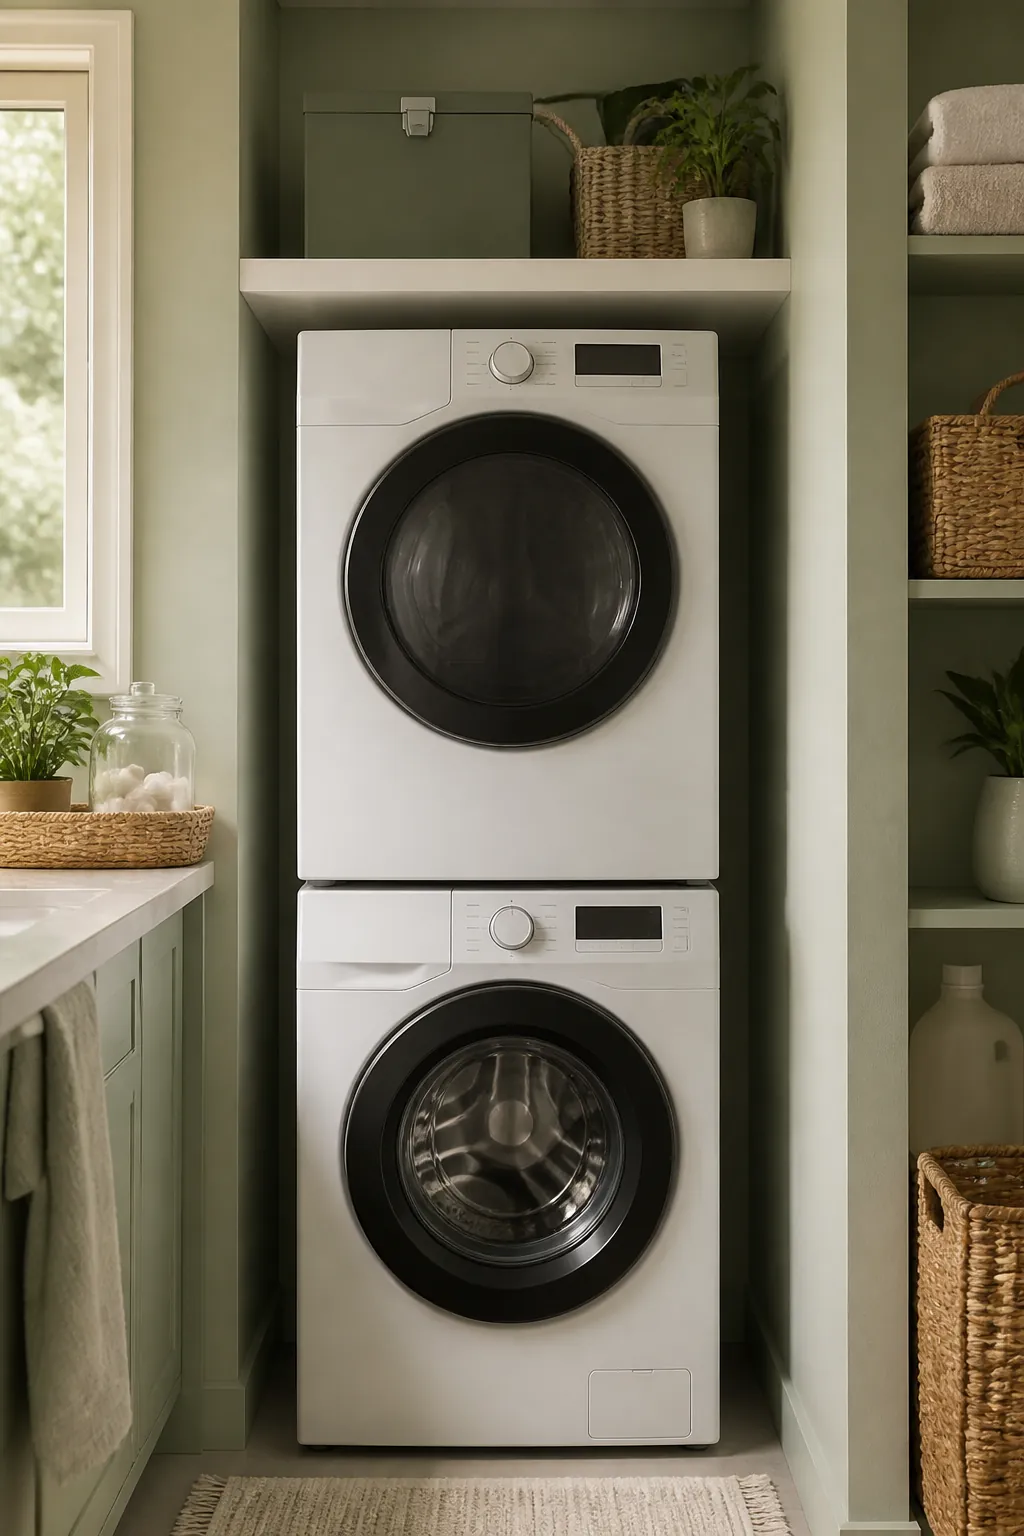
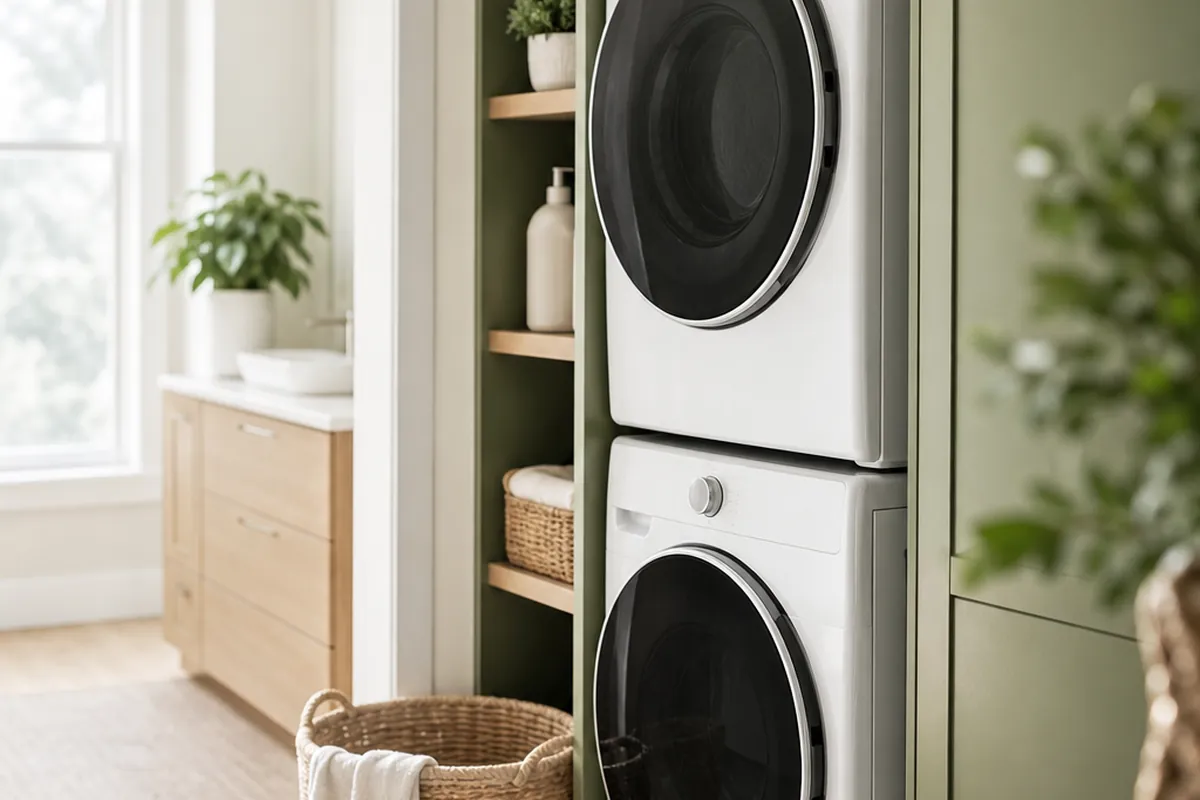
A shelf mounted above a washer or dryer moves more than it looks like it should during a spin cycle, and a sewing box is light enough to walk itself toward the shelf’s front edge over a few months of cycles if it starts out anywhere near that edge. Push the box all the way back against the wall, not just onto the shelf, and if the shelf has no back lip, add a short strip of non-slip shelf liner under the box’s footprint.
This matters most on stacked units and front-load machines, both of which vibrate more during the spin cycle than a top-load washer does. A box that’s walked an inch a month for a year ends up sitting half off the shelf, usually discovered when it finally goes the rest of the way.
8. Keep the kit away from the cleaning chemicals it shares a closet with
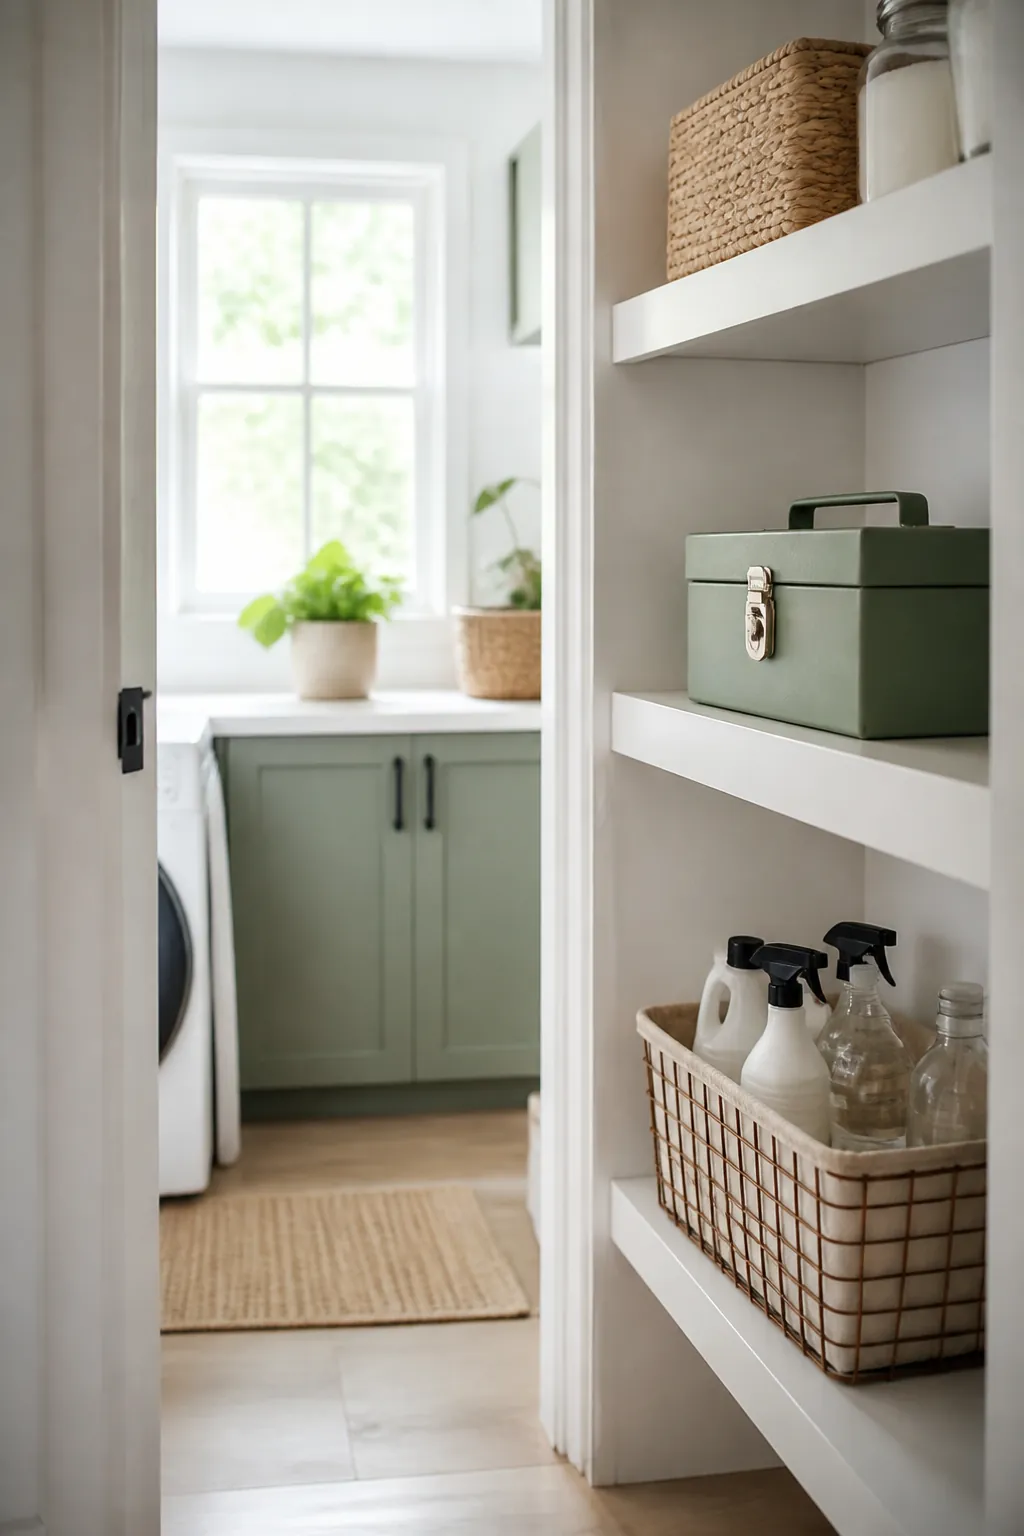
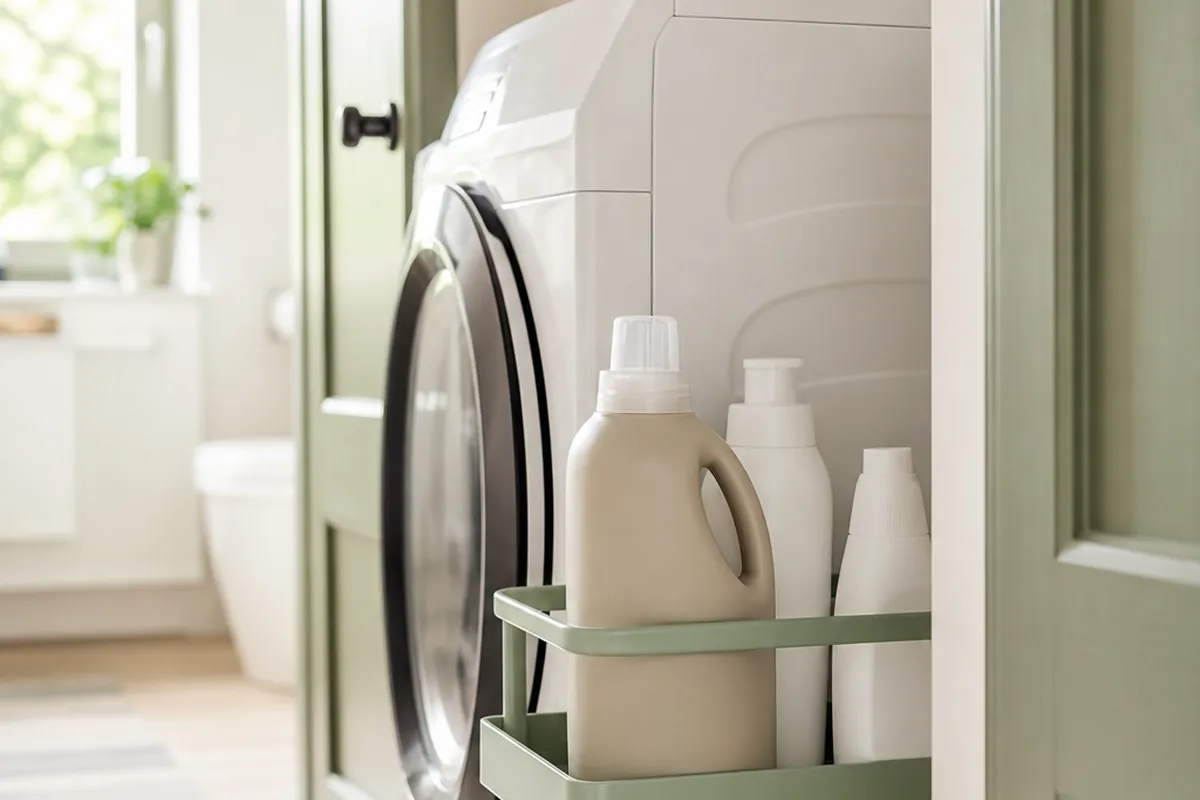
Most laundry closets double as the household’s cleaning supply closet, and a sewing kit stored on the same shelf as bleach or a drain cleaner is one spill away from a ruined spool of thread or, worse, a kit that gets handled by a kid reaching for scissors right next to an open chemical bottle. Put the sewing kit on a different shelf than any cleaning liquid, even if that means a slightly less convenient spot. For the rest of that overlap, cleaning supplies organization for a tiny utility closet covers keeping chemicals contained in the same footprint.
A closed box helps here too. Even on a shared shelf, a latched lid keeps fumes and drips from reaching fabric and thread the way an open basket never could.
9. Run a quarterly thread-and-needle check
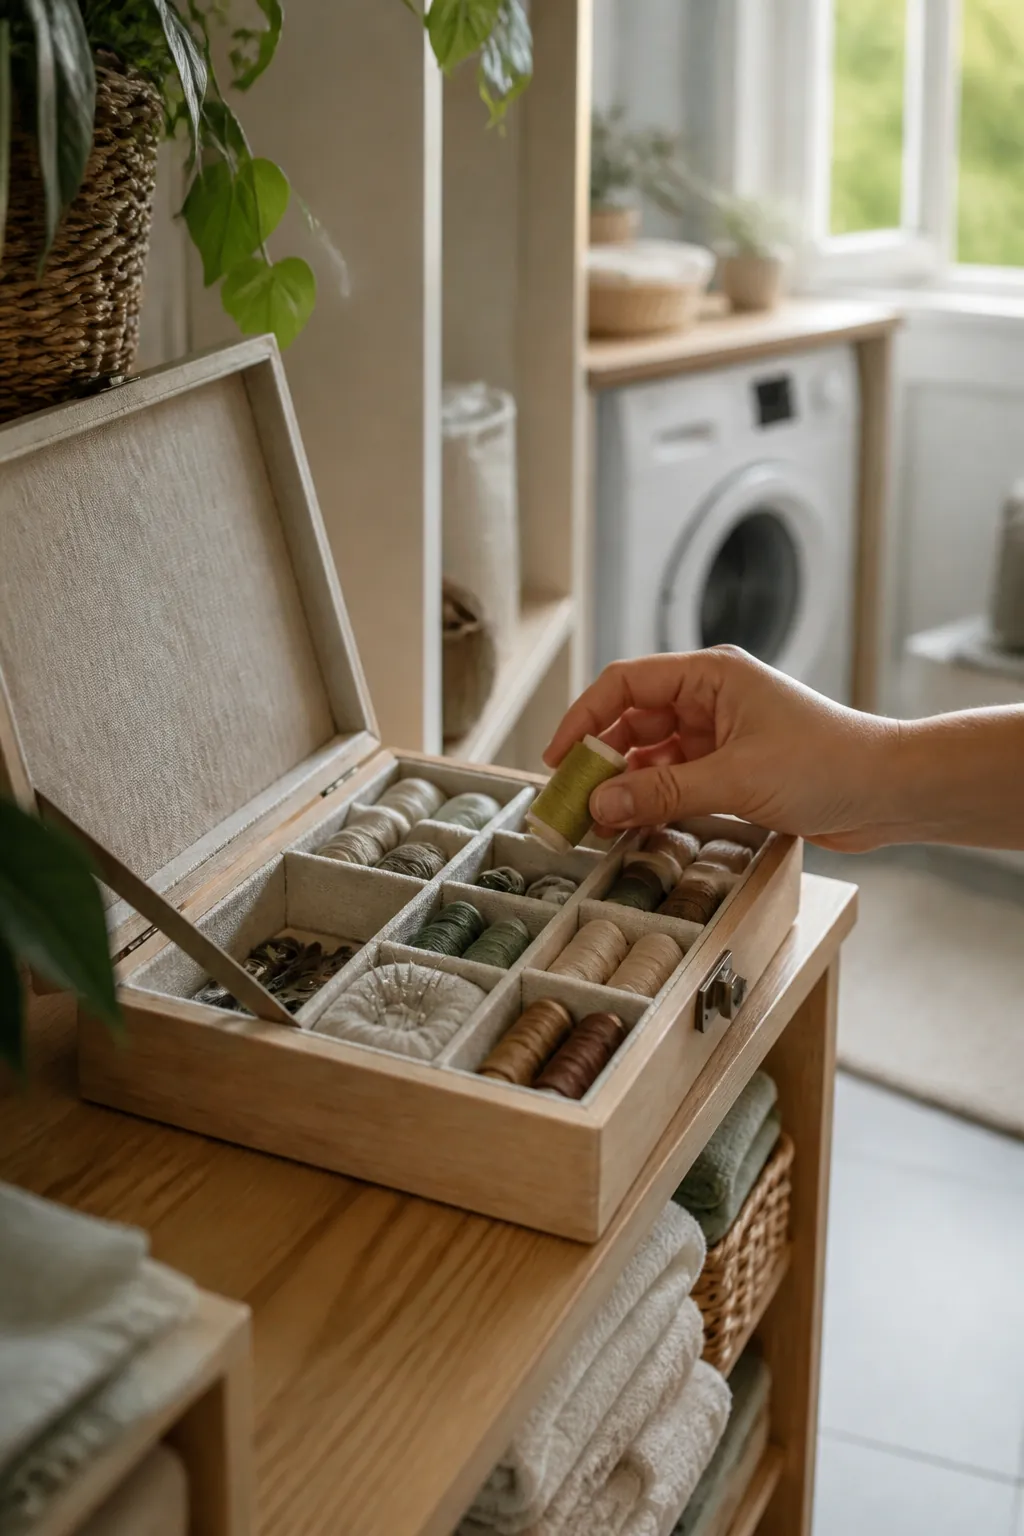
A sewing kit only ever grows unless something forces it to shrink. Every three or four months, open the box and actually sort through it: toss needles that have gone rusty from humidity near the machines, thread that’s turned brittle or hopelessly tangled, and bobbins that no longer match a spool you still own.
This is also the moment to check the scissors hook and any adhesive strips are still holding at full weight, the same way you’d recheck a mounted hardware piece elsewhere in a utility closet. A kit that gets this check keeps fitting in the same box. One that doesn’t eventually needs a second box, and a laundry closet rarely has room to spare for that.
Where to start
Start with the shelf measurement in section 1, since it decides which box actually fits without catching the door. Put the whole kit in one closed box, split spools and buttons into their own small drawers, and keep pins in something that latches rather than a cushion that can tip. Push the box against the back wall if it lives above a washer or dryer, and keep it on a different shelf than any cleaning chemical the closet also holds. None of this needs new shelf space. It needs the kit split into containers sized for what’s actually inside it, and a spot where a spin cycle can’t walk it off the edge.