A monitor and a keyboard take up most of a small desk’s surface, and neither one has anywhere else to go once the desk is also holding a notebook, a drink and whatever arrived in the mail that day. The usual advice, “get a bigger desk,” is not available to someone renting a room with one wall free for a desk in the first place.
The actual fix is to stop treating the monitor and keyboard as fixed objects on a flat surface and start treating the air above and below them as storage. A riser that lifts the screen opens a slot underneath sized almost exactly for a keyboard, and the cords that used to coil on the desk can run underneath it instead. None of it requires drilling.
1. Put the monitor on a riser with storage underneath, not a stack of books
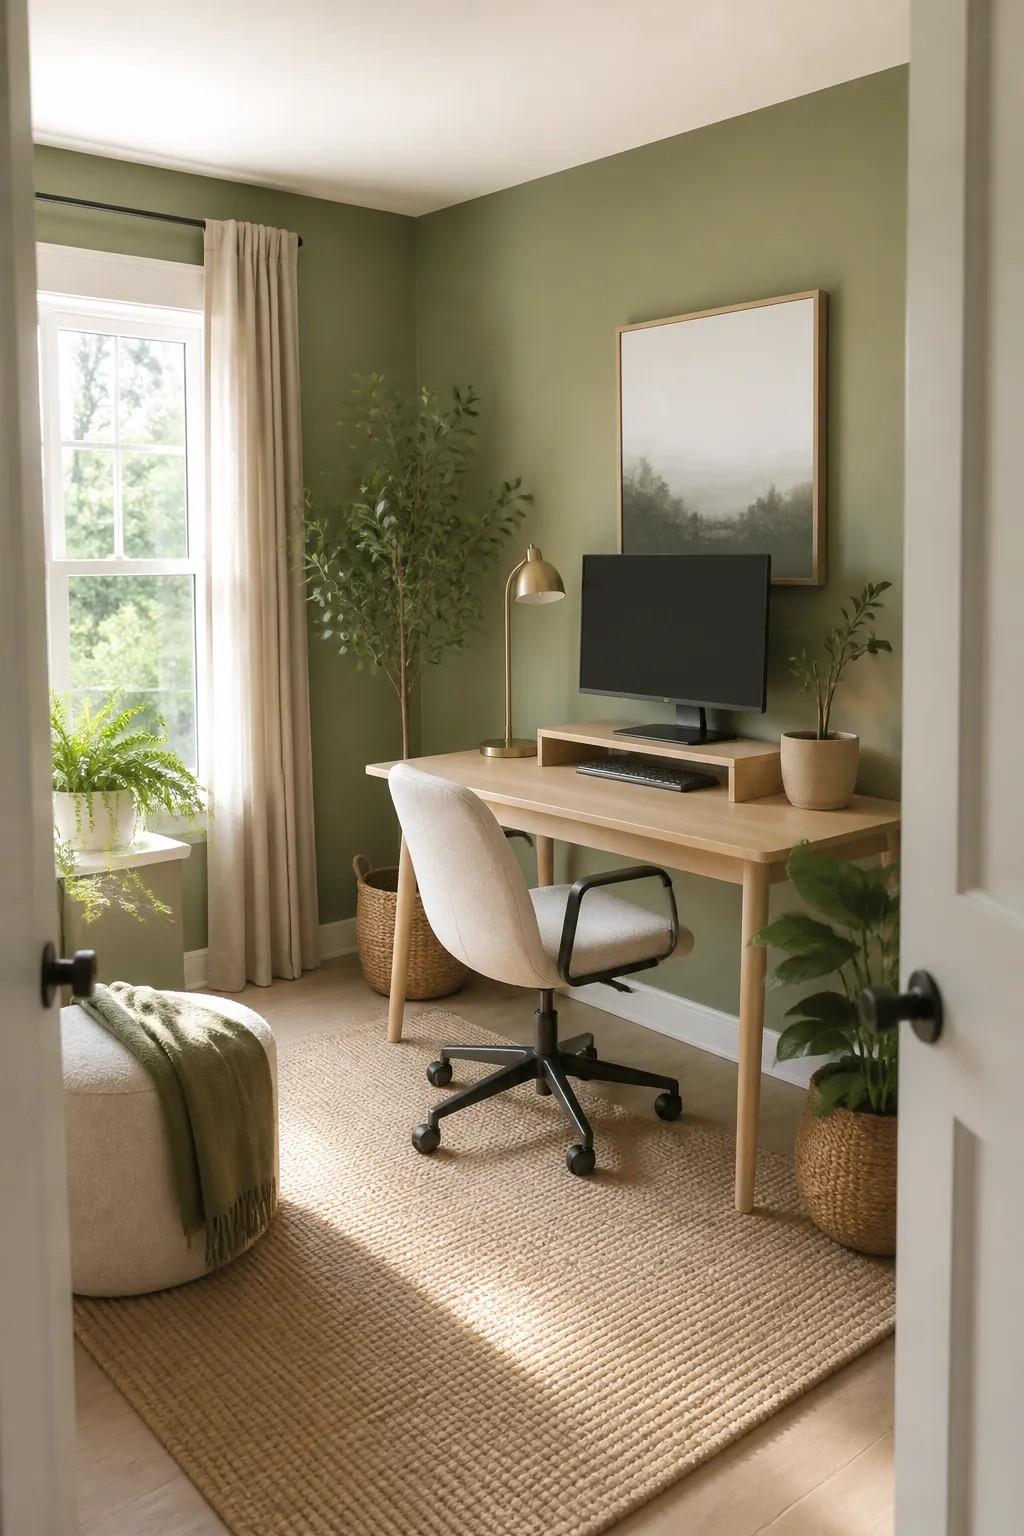
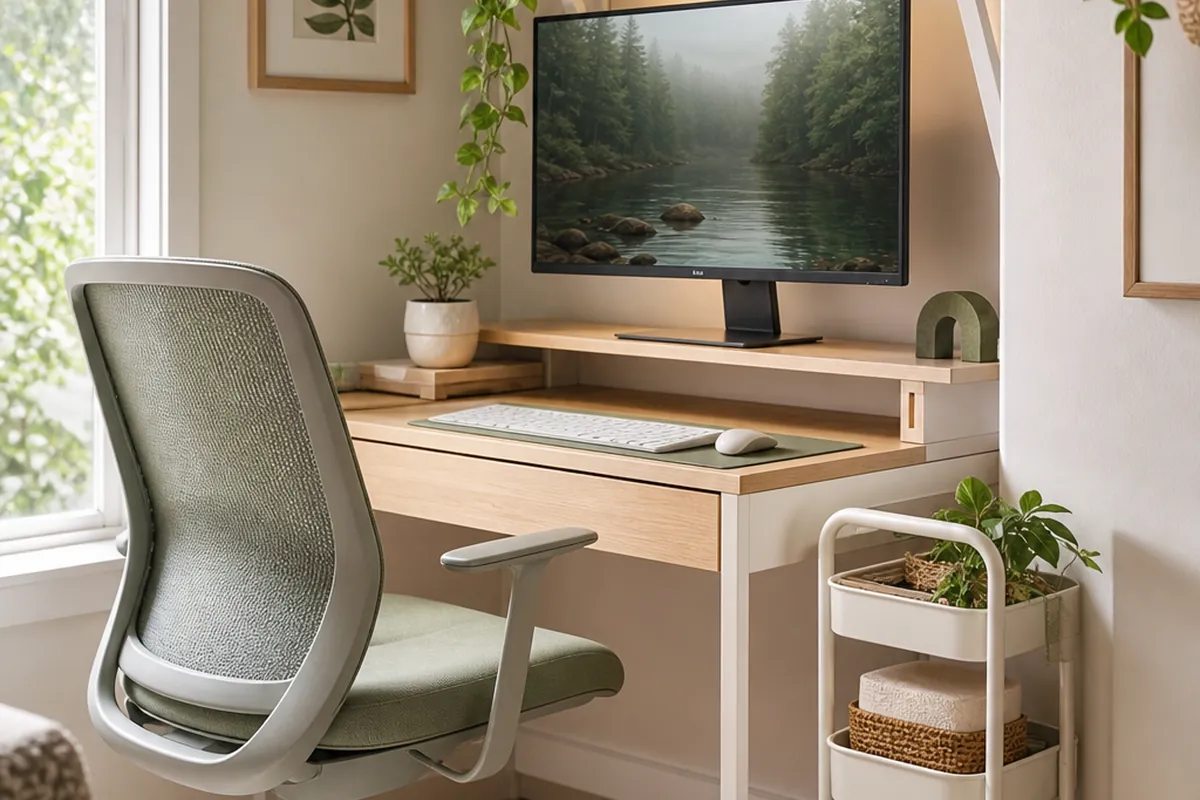
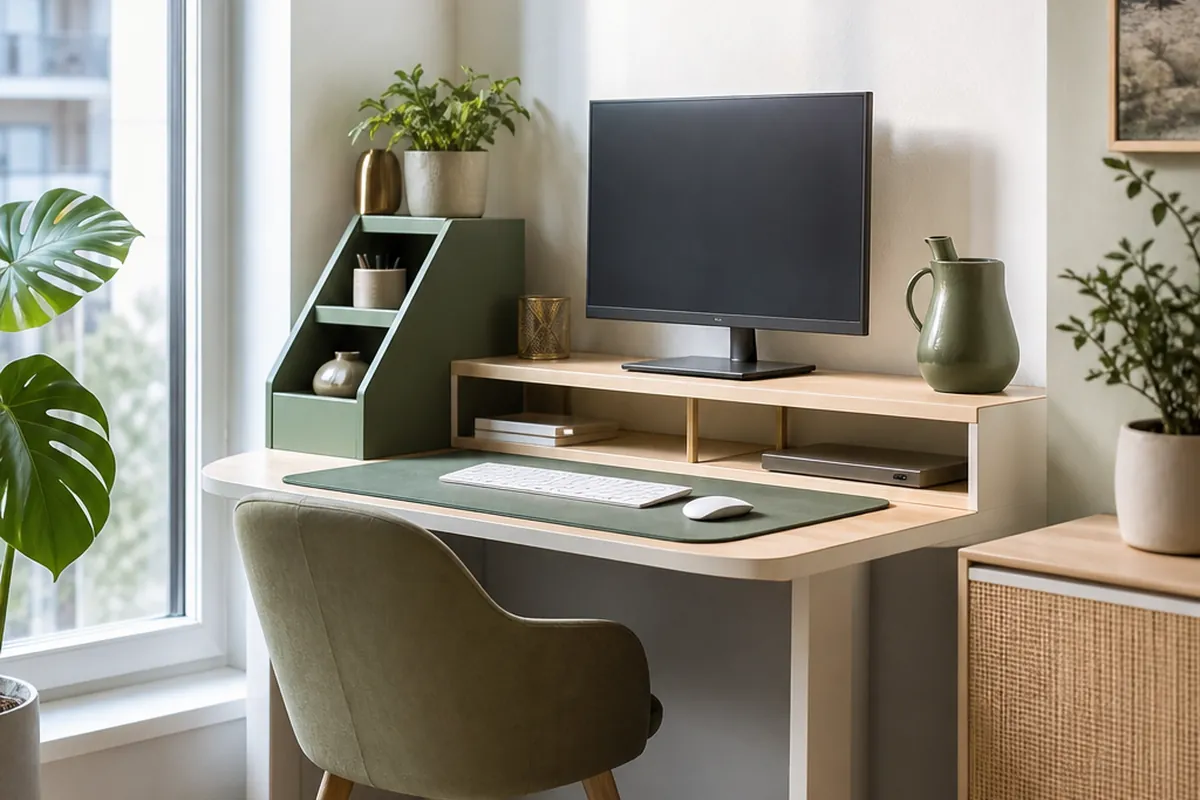
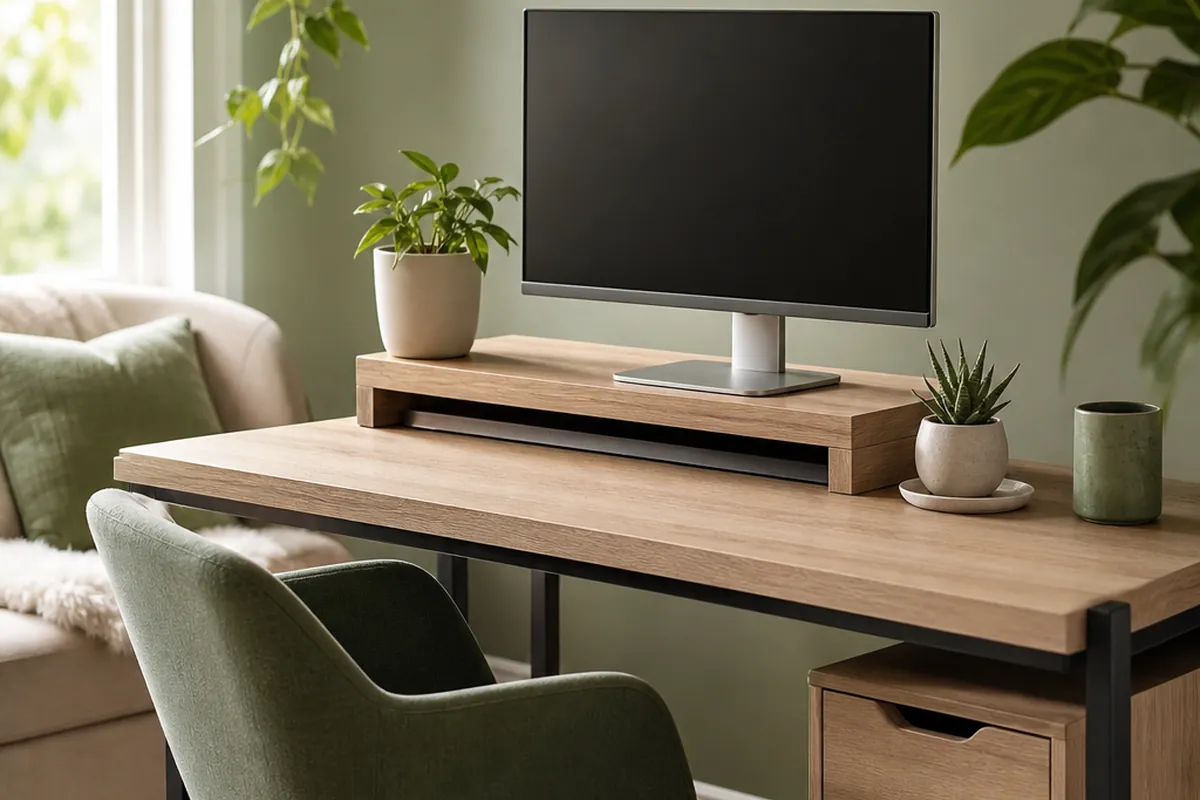
Books under a monitor are free, and they are also the reason the stack ends up three different heights with a laptop balanced on top. An adjustable desktop organizer shelf does the same lifting job with a flat, level surface on top and an open, usable slot underneath, built to the same height every time you set it back down.
The slot is the actual point. Most of these shelves clear four to six inches between the desktop and the underside of the platform, which is enough for a standard low-profile keyboard and a mouse lying flat, or a tablet and a notebook stood on their spines. Measure your keyboard’s height before buying. A mechanical keyboard with tall keycaps can run close to one and a half inches, and a shelf with four inches of clearance leaves barely enough room to slide it in without scraping the underside.
2. Match the riser height to your eye line, not to what looks tidy
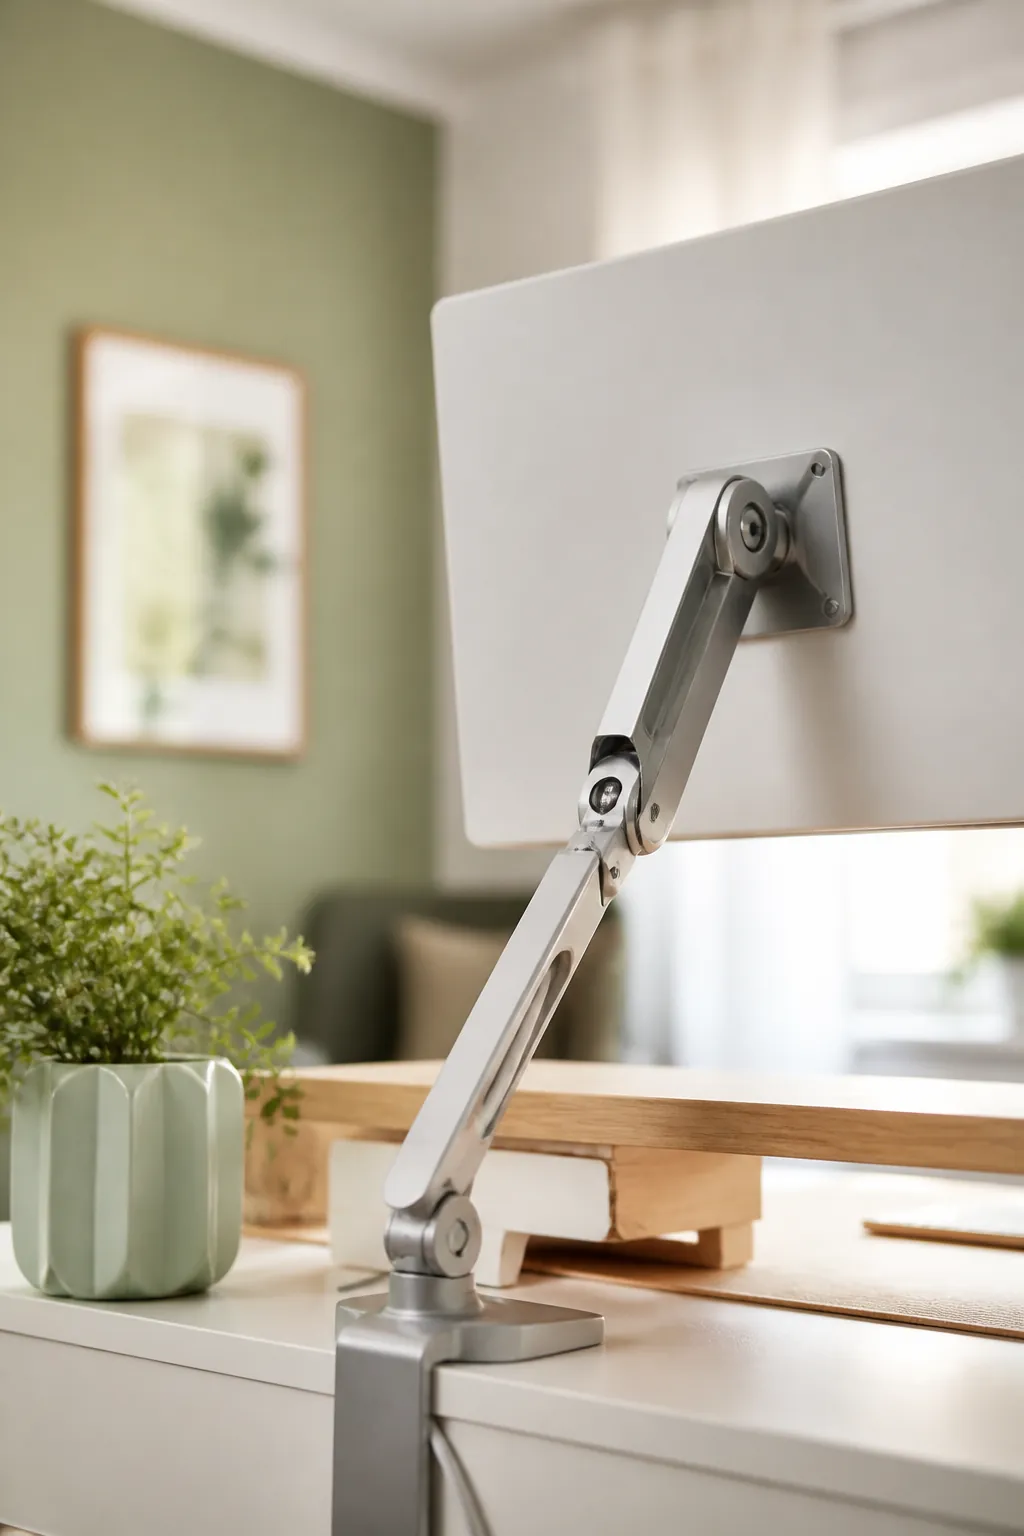
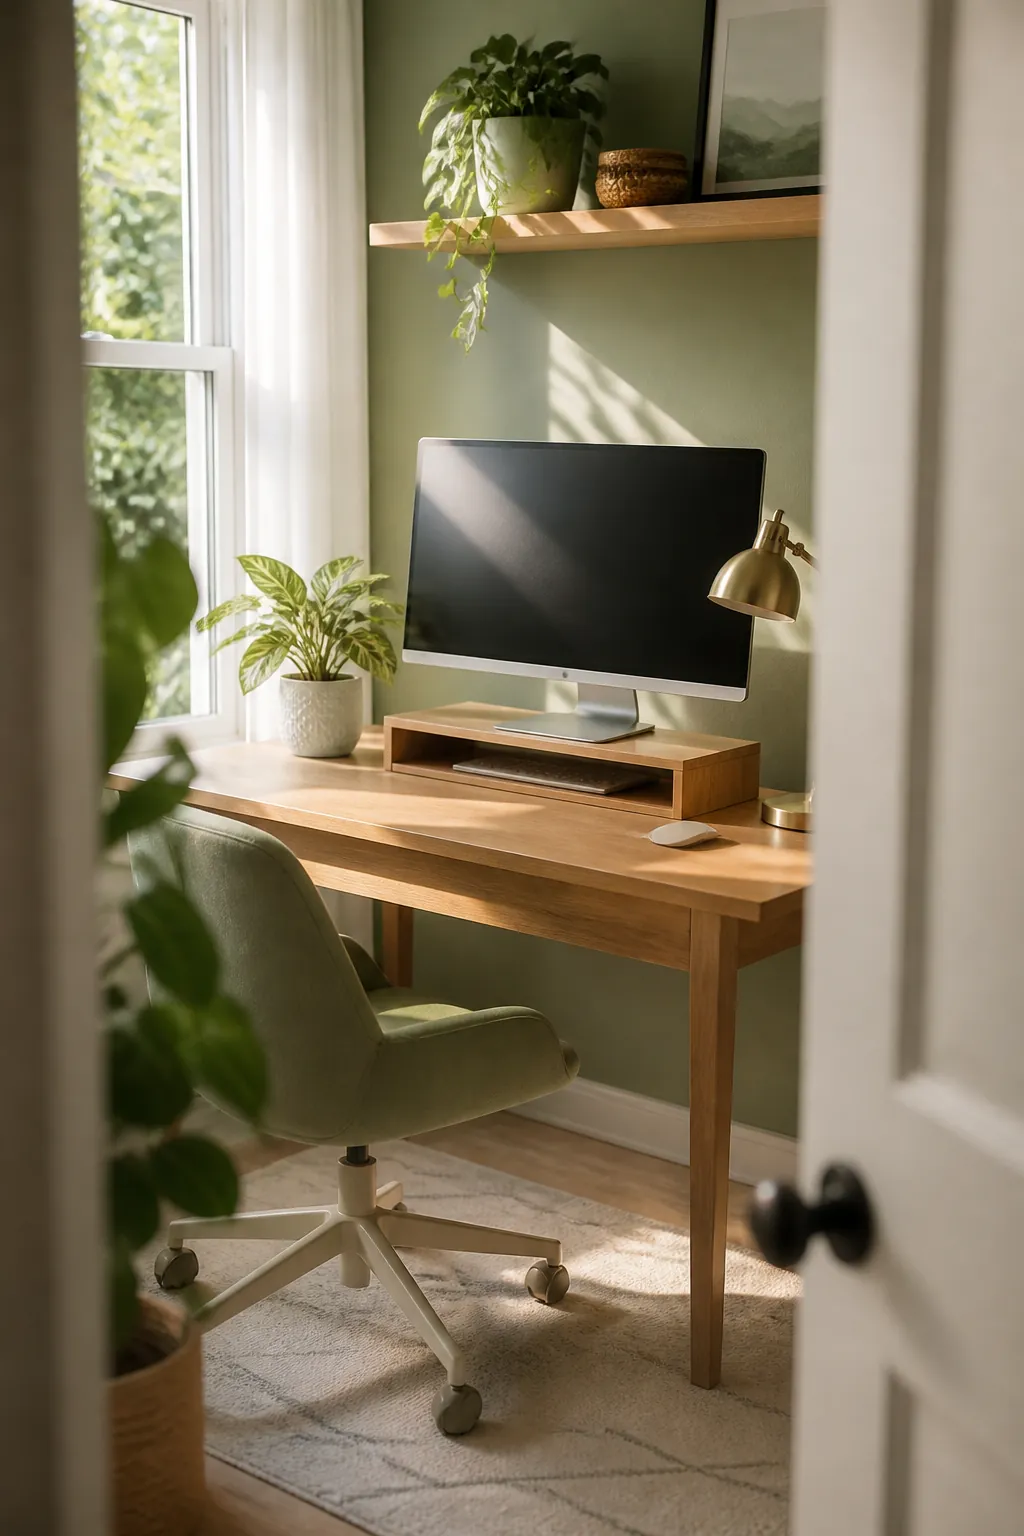
A riser that lifts the screen too high is worse for your neck than no riser at all, because now you are tipping your chin up instead of down. The top third of the screen should land at or just below eye level when you’re sitting upright, which for most adults in a standard desk chair means four to six inches of lift measured from the desktop to the bottom of the monitor’s stand.
Sit in your actual chair before you buy, not a dining chair pulled up for a quick test, since chair height changes the number by an inch or more. If the riser only comes in one fixed height, check it against where your eyes land now. A riser that’s wrong by two inches is a problem you’ll feel in your neck within a week, and the fix at that point is a second riser, not returning the first.
3. Use the slot for the keyboard, not the mouse
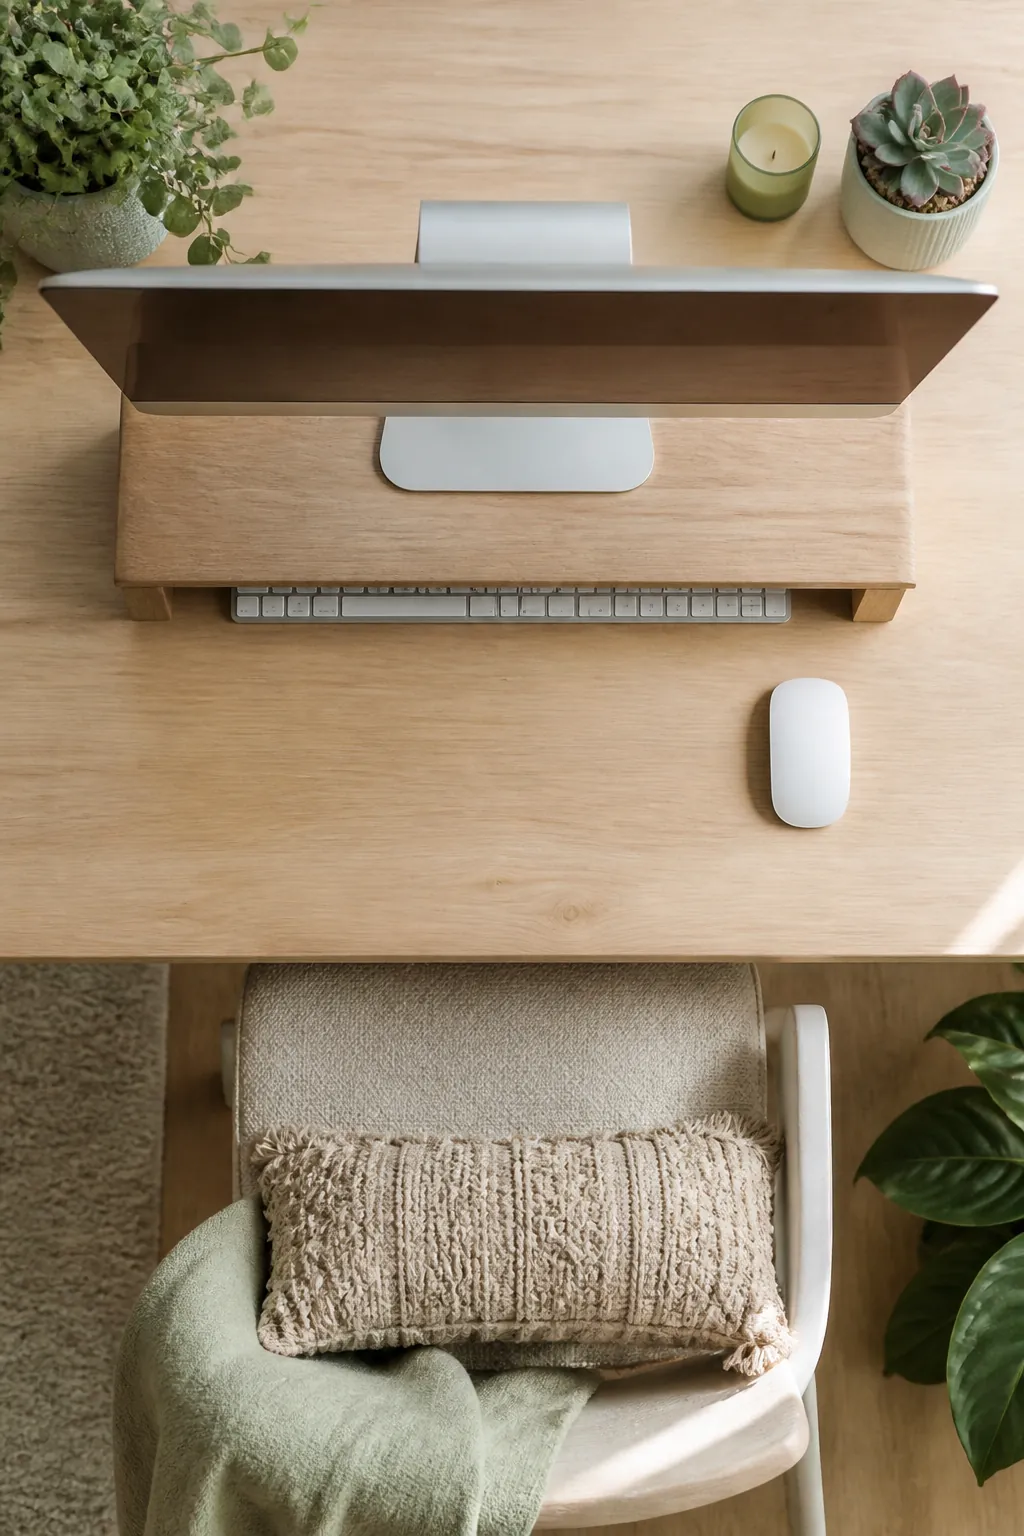
The space under a riser is shaped for something flat and rectangular, which describes a keyboard exactly and a mouse not at all. A mouse slid into that slot either sits on top of the keyboard, defeating the point, or rolls loose against its edge every time you reach in.
Give the keyboard the slot and leave the mouse on the desk’s open surface, where its cord or wireless receiver already is. If the desk genuinely has no room left for a mouse once the keyboard is stored, the better fix is a smaller keyboard. A tenkeyless board without a number pad is two to three inches narrower than a full-size one, usually the exact width a mouse needs to sit beside it.
4. Check the riser’s weight rating before you double it as a monitor stand and a keyboard shelf
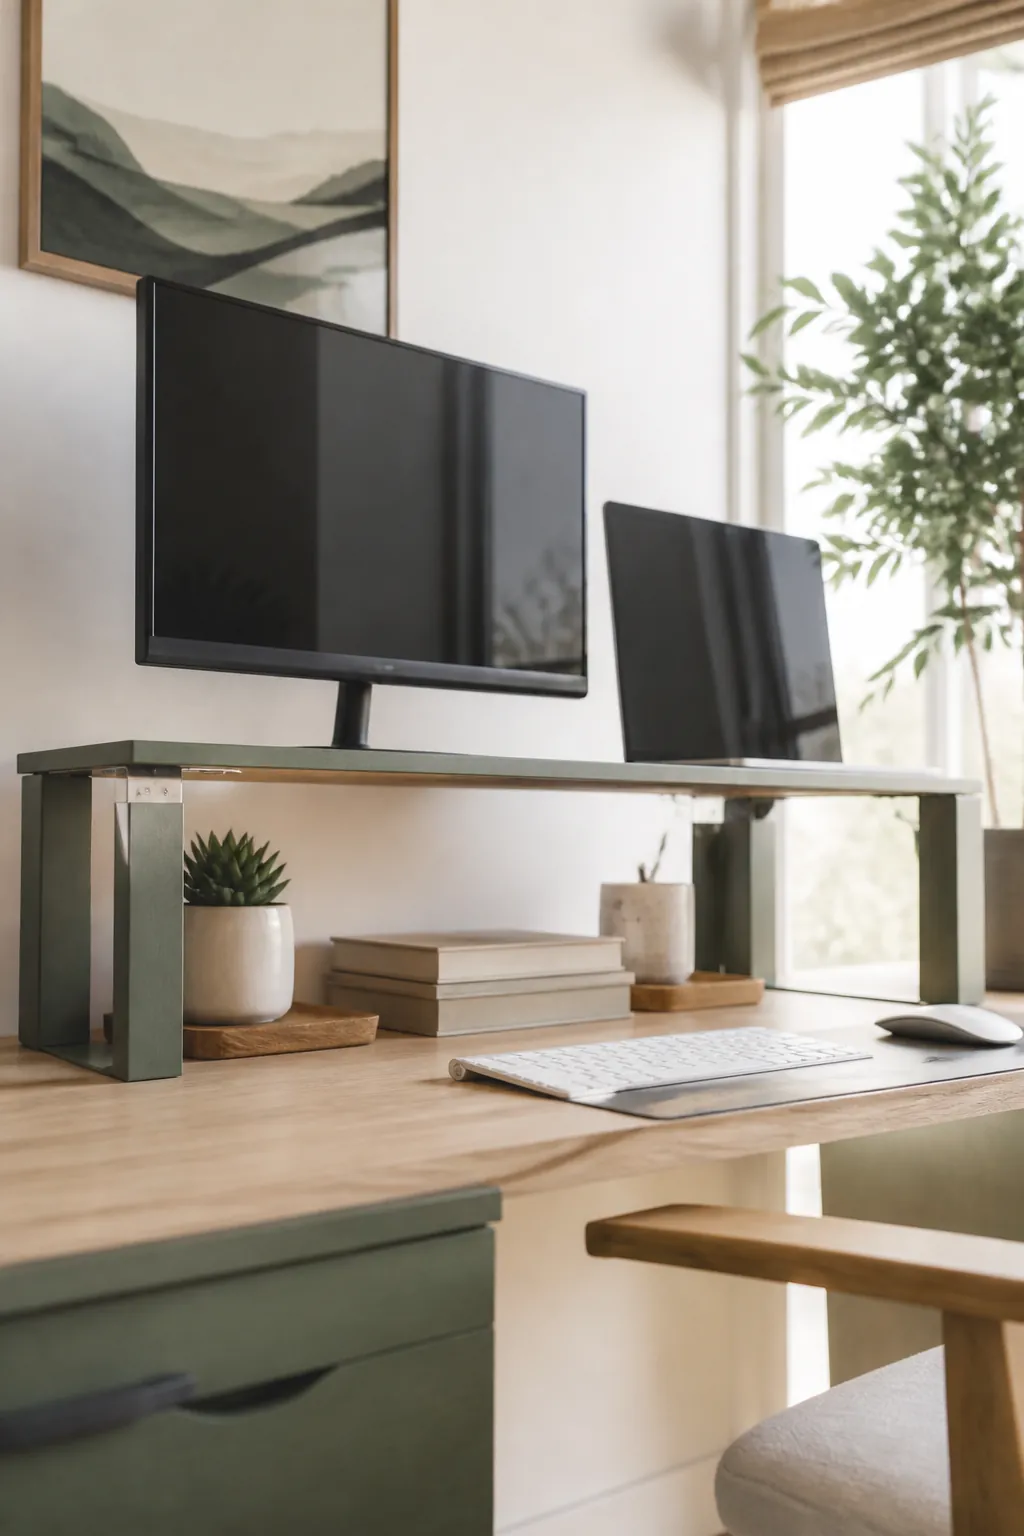
Most desktop organizer shelves are rated for a single monitor’s weight, somewhere in the 15 to 25 pound range, which covers nearly every flat-panel display sold today. The number that catches people out is what else ends up stacked on the shelf once it exists: a second smaller monitor, a webcam light, a desk fan.
Read the weight rating before adding a second screen to the same riser. A shelf built for one 24-inch monitor is not automatically built for two, and one that sags under an unplanned second load will eventually crack at the stress point, usually without warning. Run dual monitors and you need either a riser rated for the combined weight or a separate stand for the second screen.
5. Route the monitor’s cord before you raise the screen, not after
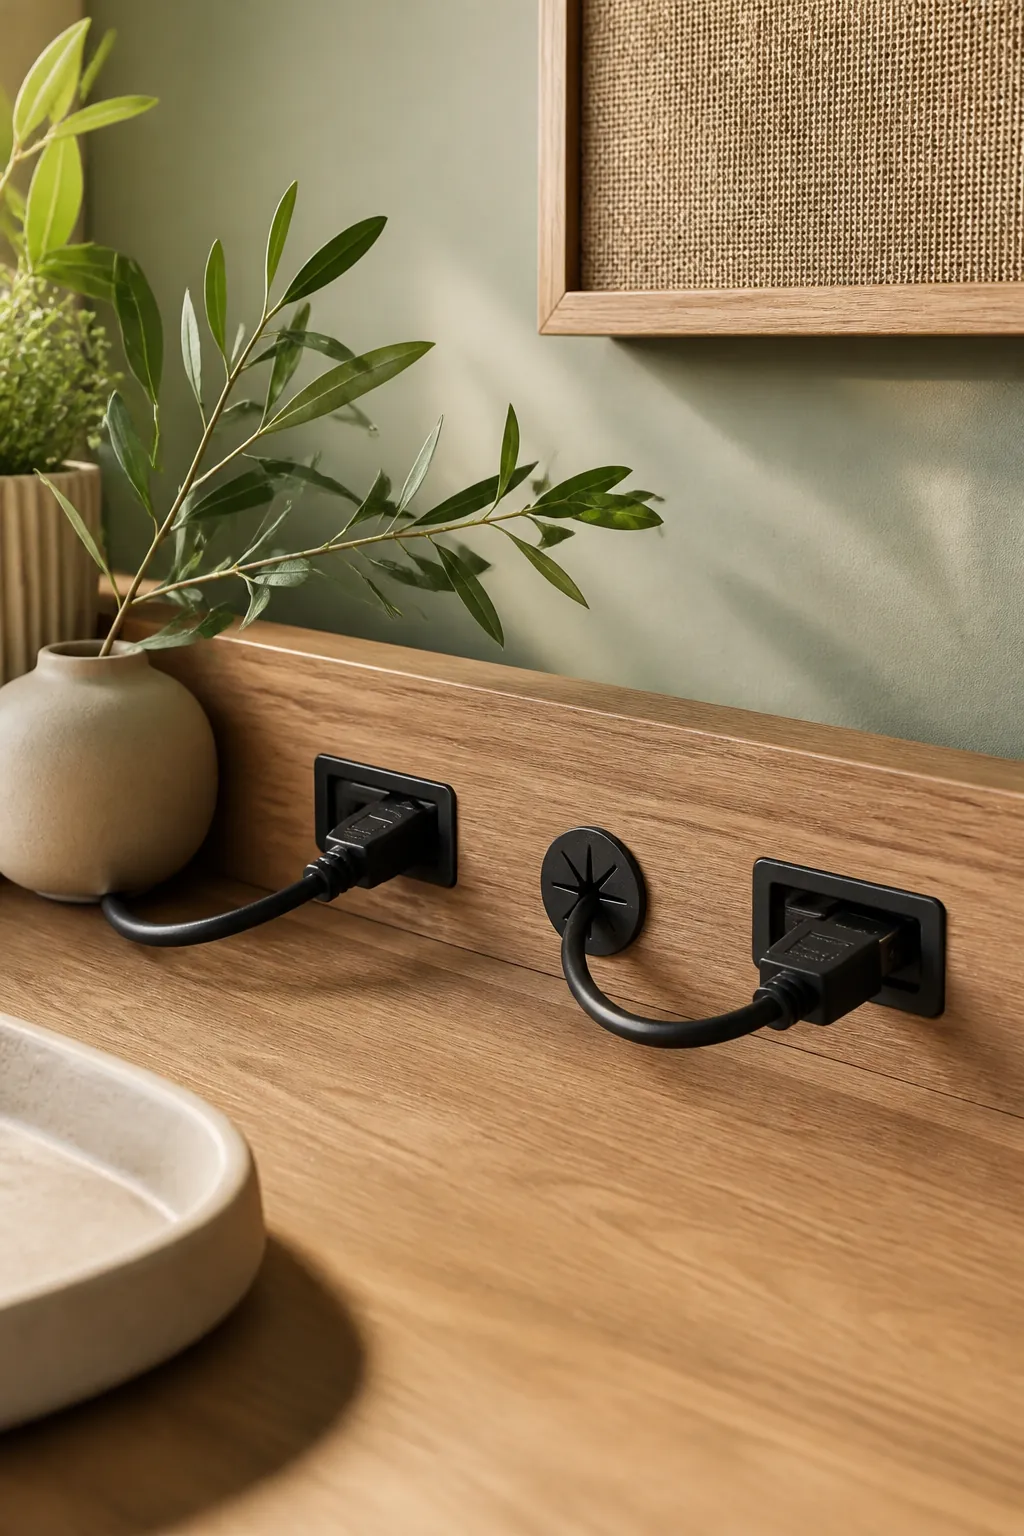
Raising a monitor four to six inches sounds minor until you notice the power cord and video cable both used to lie flat and now have to travel up to the new height and back down to the outlet and the computer. That extra length has to go somewhere, and if you mount the riser first, it ends up as a loop hanging in front of the desk exactly where your knees go.
Unplug the monitor, set the riser in place empty, and only then route both cables along the path they’ll actually take once the screen sits on top. This takes five extra minutes and saves you from redoing the cable run a second time once you notice the loop.
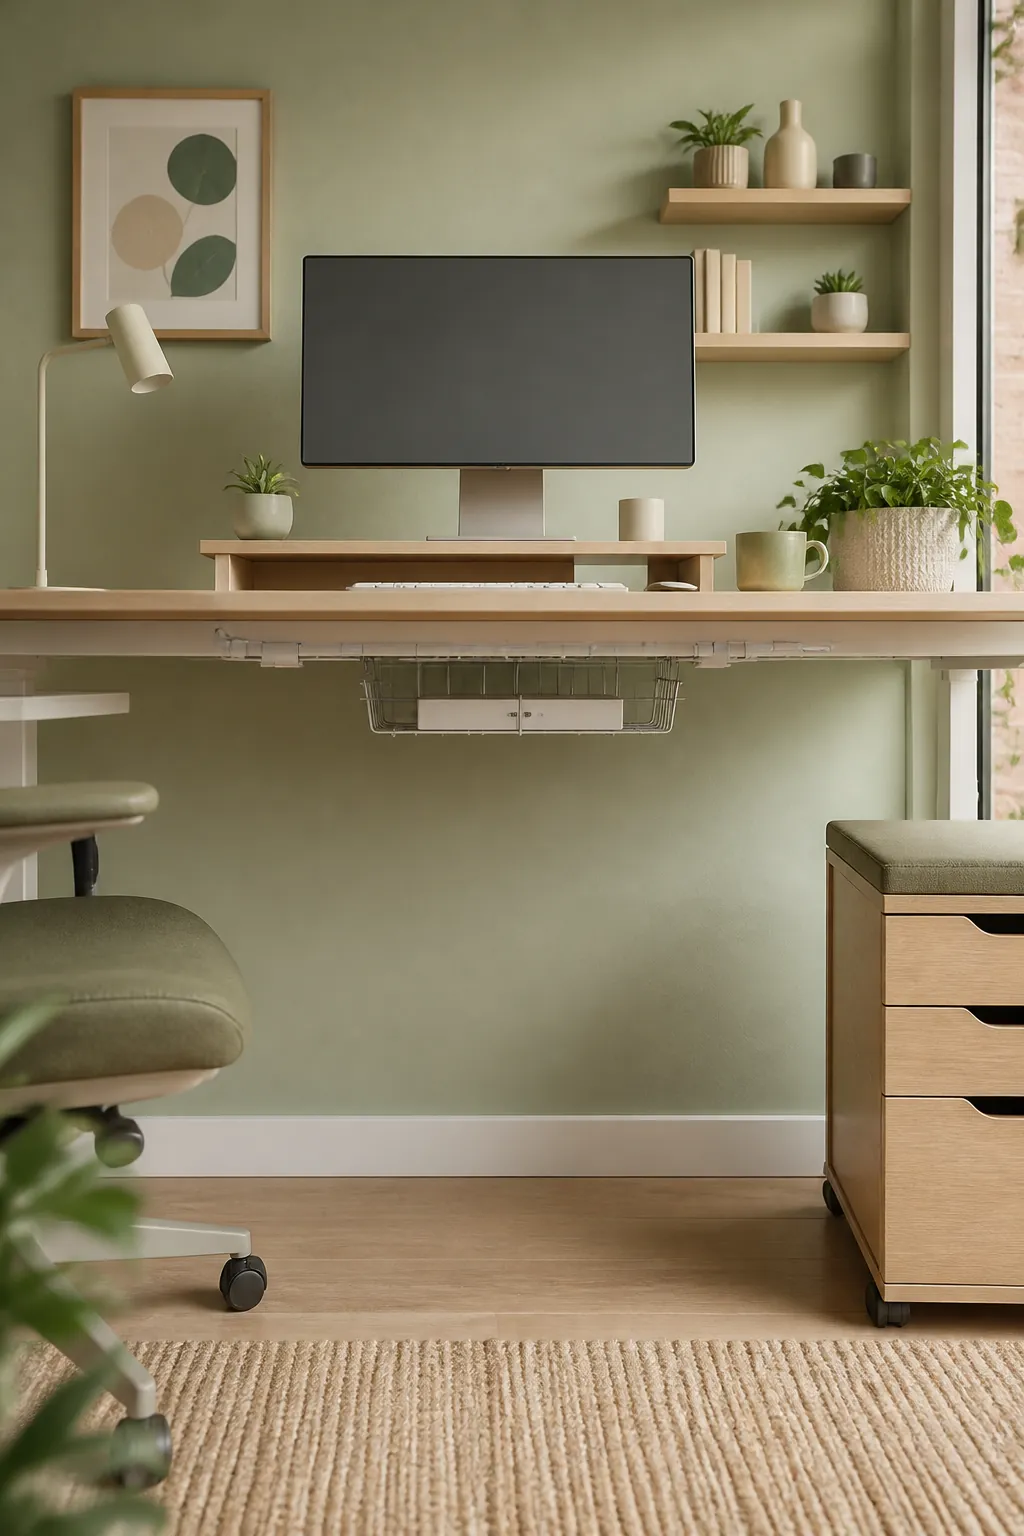
6. Carry the slack in a tray instead of letting it hang

An under-desk cable tray mounted with a clamp rather than a screw holds the monitor cord, the keyboard cord and the mouse receiver’s cable in one place, up under the desktop and out of the way of your knees. The clamp matters for a rented room, since it grips the desktop’s edge rather than going through it, and comes off without a mark when you move.
Position the tray toward the back of the desk, close to the wall, so the cables run the shortest distance from the riser down to the tray and across to the outlet. Mounted at the front, near where you sit, it just moves the visible tangle from the floor to eye level instead of removing it.
7. Clip what the tray doesn’t catch
A tray handles the bundle, but the last stretch, from the back of the riser to the edge of the tray, is usually one or two cords running loose across open space. Adhesive cable clips placed every eight to ten inches along that stretch keep the keyboard’s cord from drifting into your lap every time you push your chair in.
Press each clip onto a clean, dry surface and give the adhesive a full hour before hanging a cord in it, since clipping a cord in immediately is the most common reason these come loose within a week. On a rented desk, test one clip somewhere inconspicuous first; laminate and anything matte or textured holds adhesive less reliably than smooth painted or lacquered wood.
8. Store the keyboard fully when the desk needs to be a table again
A keyboard left out on an otherwise cleared desk is the fastest way the desk fills back up, because it is large, flat, and already there, so everything else gets set down around it rather than put away. If the desk doubles as a dinner table or a kids’ homework spot, slide the keyboard fully into the riser’s slot rather than leaving it half-pushed-in with the cord still trailing across the surface.
A shallow slide-out tray mounted to the underside of the desk, separate from the monitor riser, does the same full-storage job if your desk has the clearance; just confirm it does not compete with your knees once pulled all the way out.
9. Keep the mouse pad with the keyboard, not loose on the desk
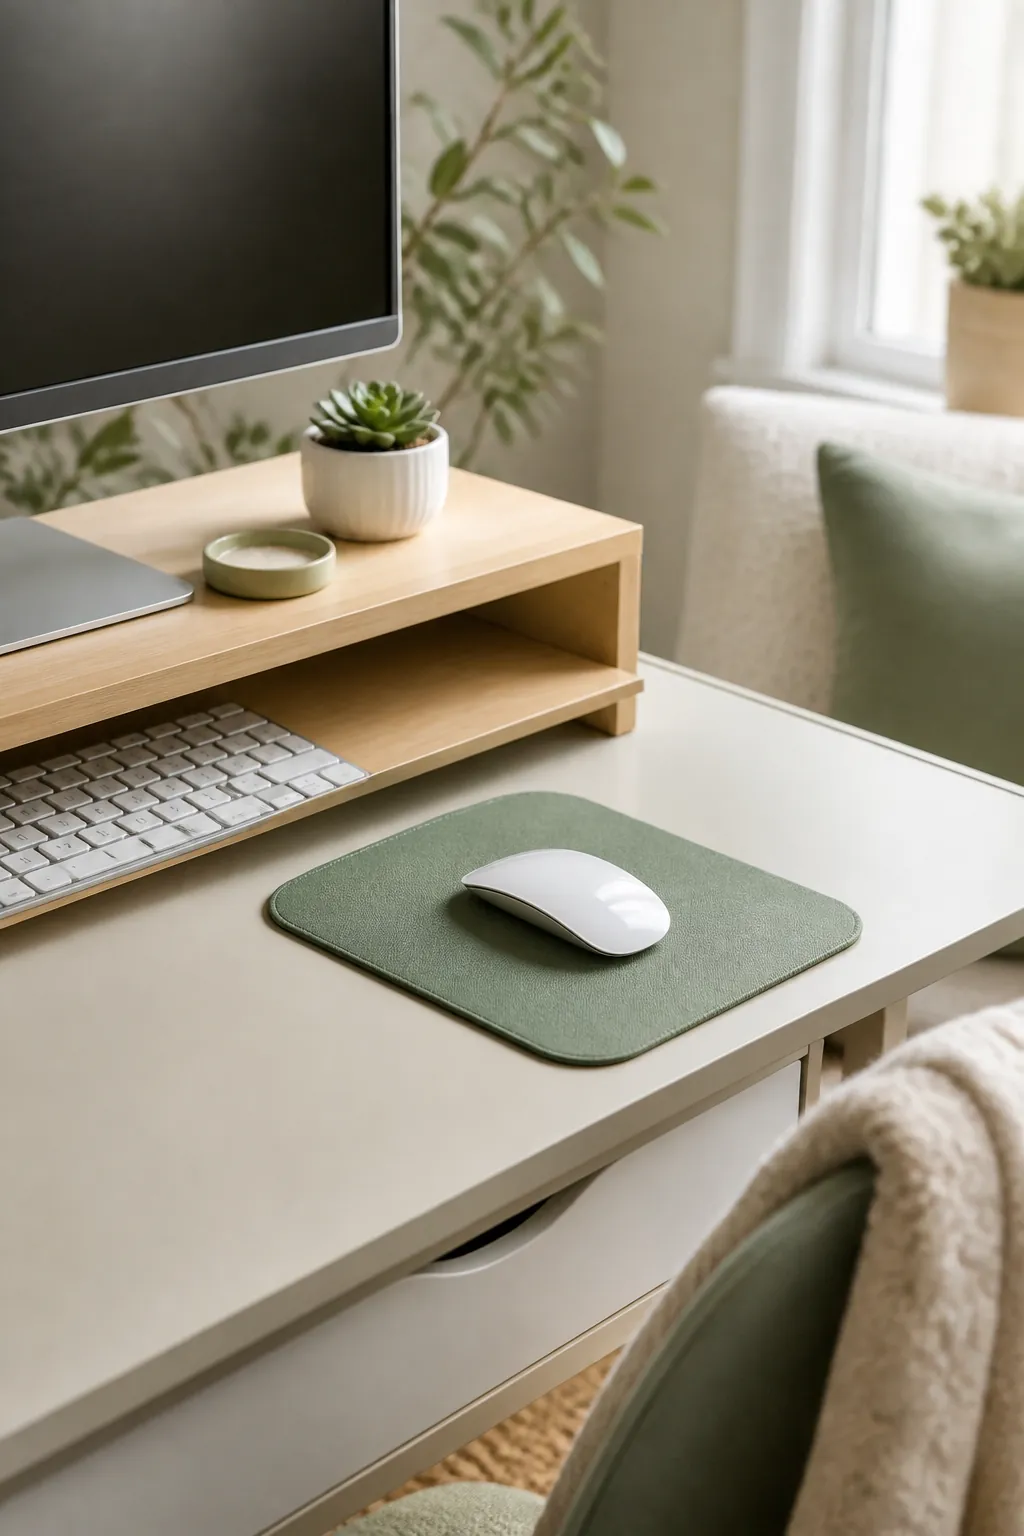
A mouse pad left loose on the desk surface slides half under the riser’s base within a day, which is annoying enough that most people stop using it and go back to tracking straight off the desk, which throws off an optical sensor on a glossy or textured surface. Keep the pad and mouse together as one unit, either sliding both into the riser’s slot alongside the keyboard if there’s room, or setting the pad down first each time as the one fixed anchor point on the desk.
If the slot is too shallow for the keyboard and the pad together, drop the pad. A mouse works fine on most desk surfaces for short sessions, and the keyboard is the object worth protecting the space for.
Where to start
Start with the riser. Raising the monitor is the one change on this list that creates new storage instead of just organizing what’s already there, and everything else on this page, the cord routing, the clips, the tray, exists to support that one change rather than replace it.
Measure your keyboard’s height and your chair’s eye line before you buy anything, route the cords before you mount the riser, and give the keyboard a full home to slide into rather than a spot to rest near. A desk that does those three things keeps the screen and keyboard exactly where you need them without asking for a single extra inch of surface.