Open most nail polish drawers and the problem isn’t too few bottles, it’s too much rolling. Bottles lie on their sides because nobody set up a way to stand them up, caps work loose against each other every time the drawer slides shut, and the three colors you actually wear end up buried under a dozen you tried once. Manicure tools fare worse, usually loose in whatever gap is left, where a metal file edge spends months resting against glass.
None of that needs a bigger drawer. It needs bottles standing up, tools in their own lane, and remover kept somewhere it can’t leak onto anything that matters. Nine ways to get there below.
1. Sort the collection by how often you actually reach for it
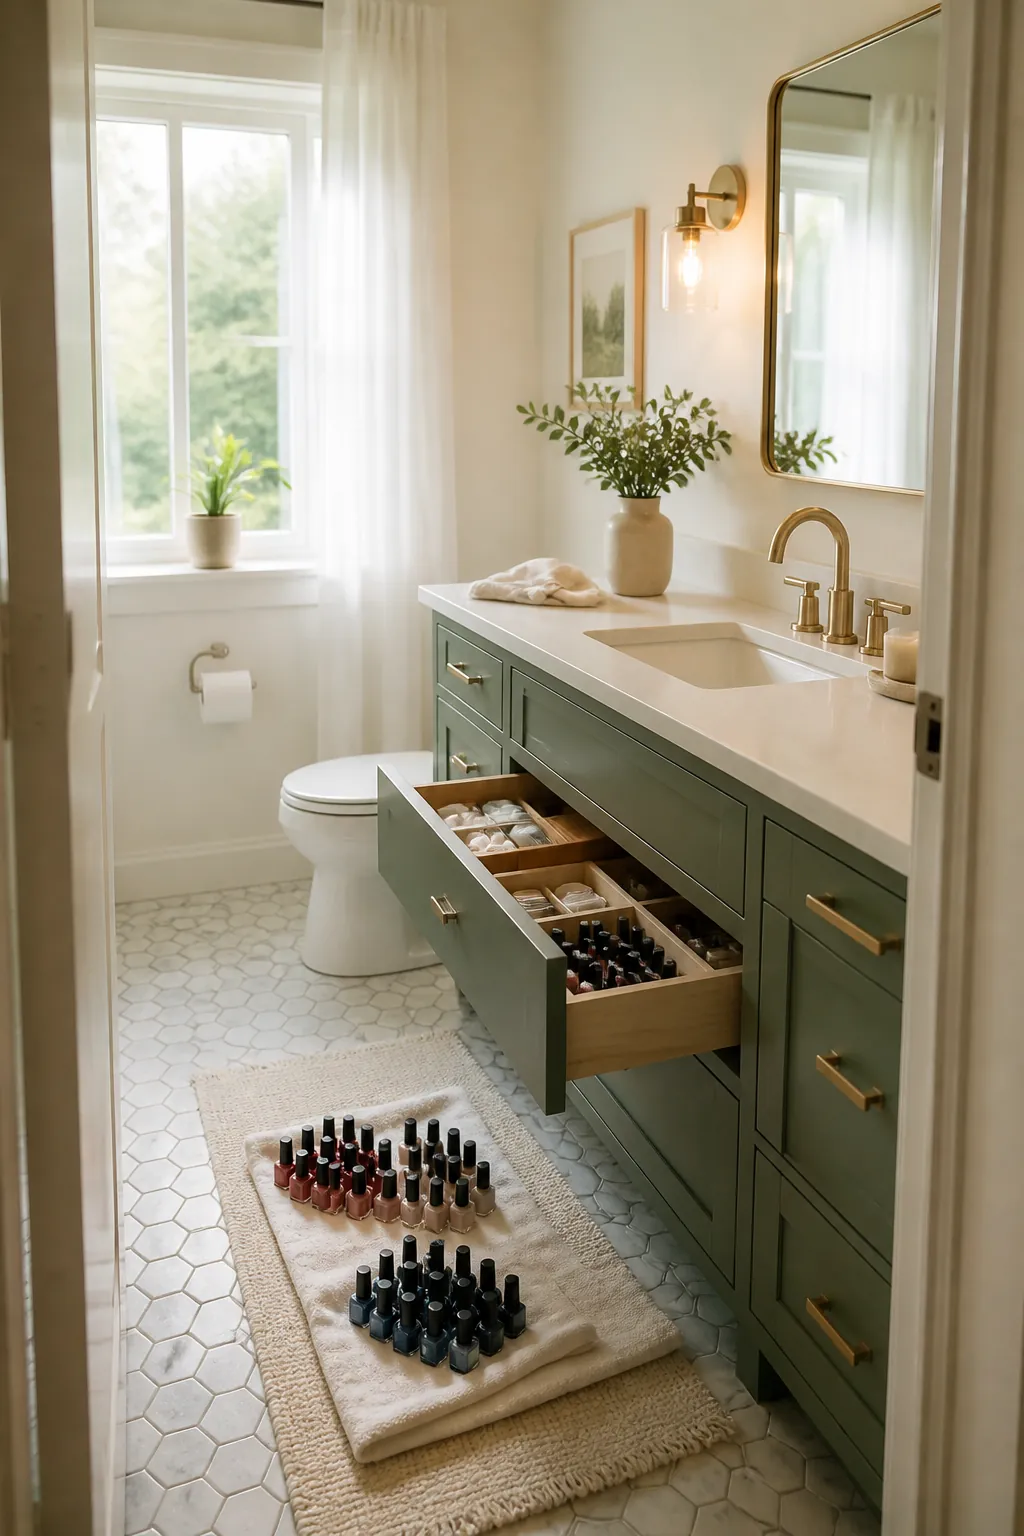
Tip every bottle out onto a towel before you buy a single organizer, the same empty-it-first starting point behind any bathroom drawer organization project, and split them into three honest piles: the five or six shades you wear on repeat, the gift-set and seasonal colors you keep for occasions, and the ones you haven’t touched in over a year and are only keeping out of guilt. This matters more than sorting by brand or finish, because the drawer’s front section, the part you can reach without fully opening it, only has room for one of those piles. Most people skip this step and end up with a rarely worn metallic taking the prime front-row cell while an everyday neutral sits buried at the back.
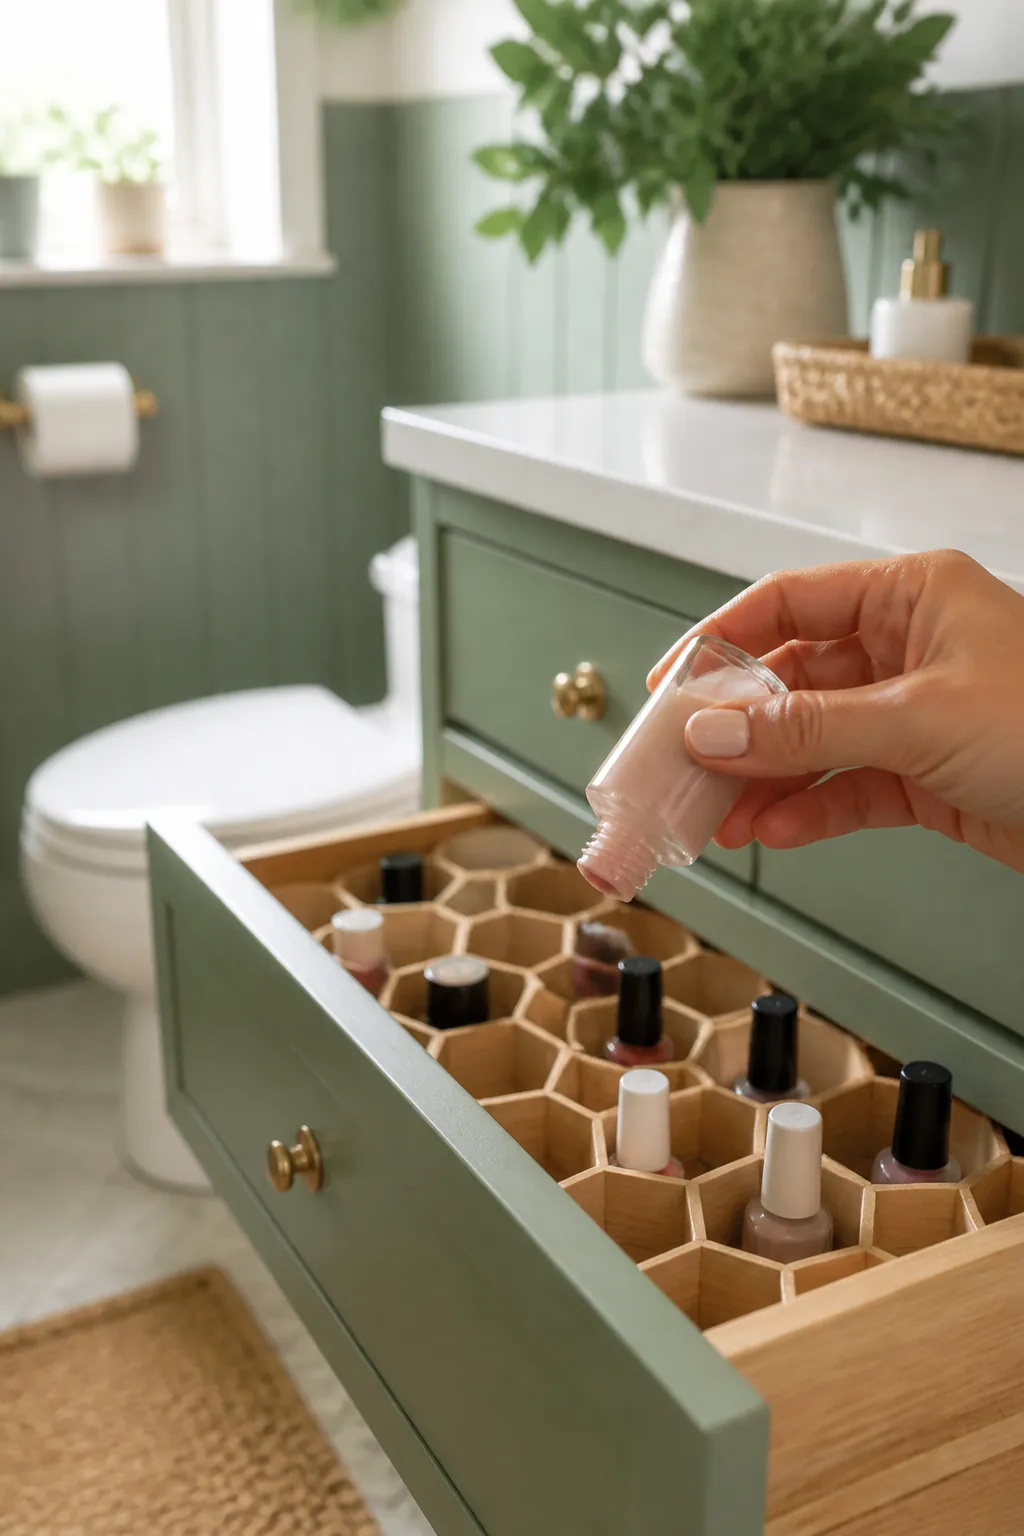
2. Stand full-size bottles upright in a honeycomb divider
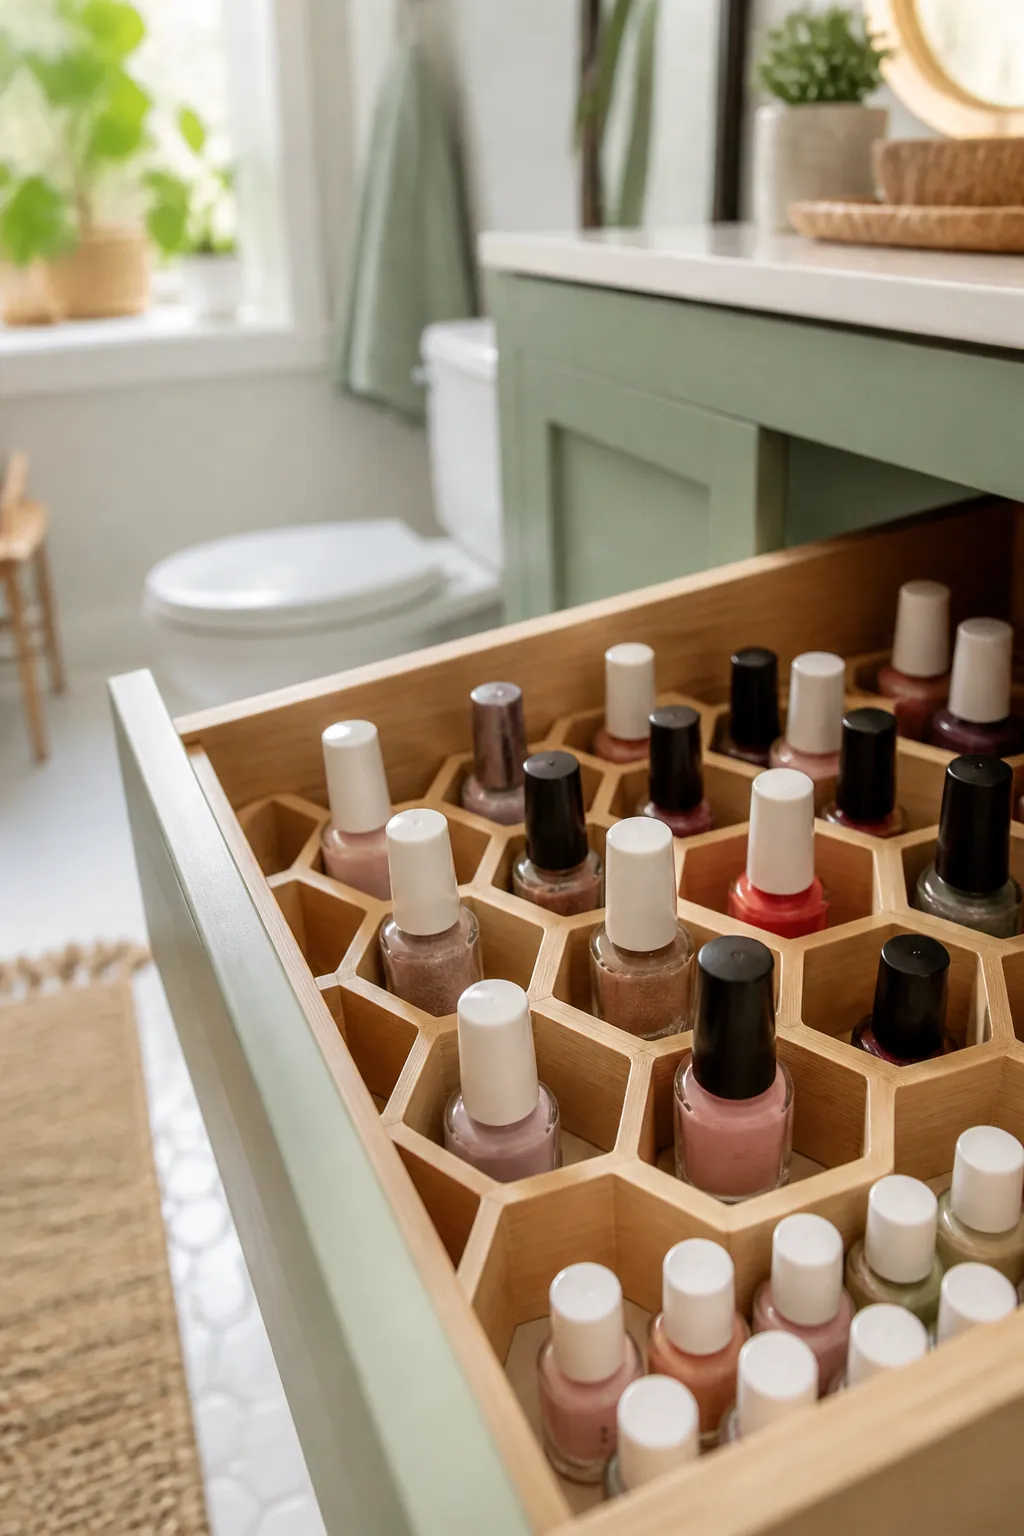
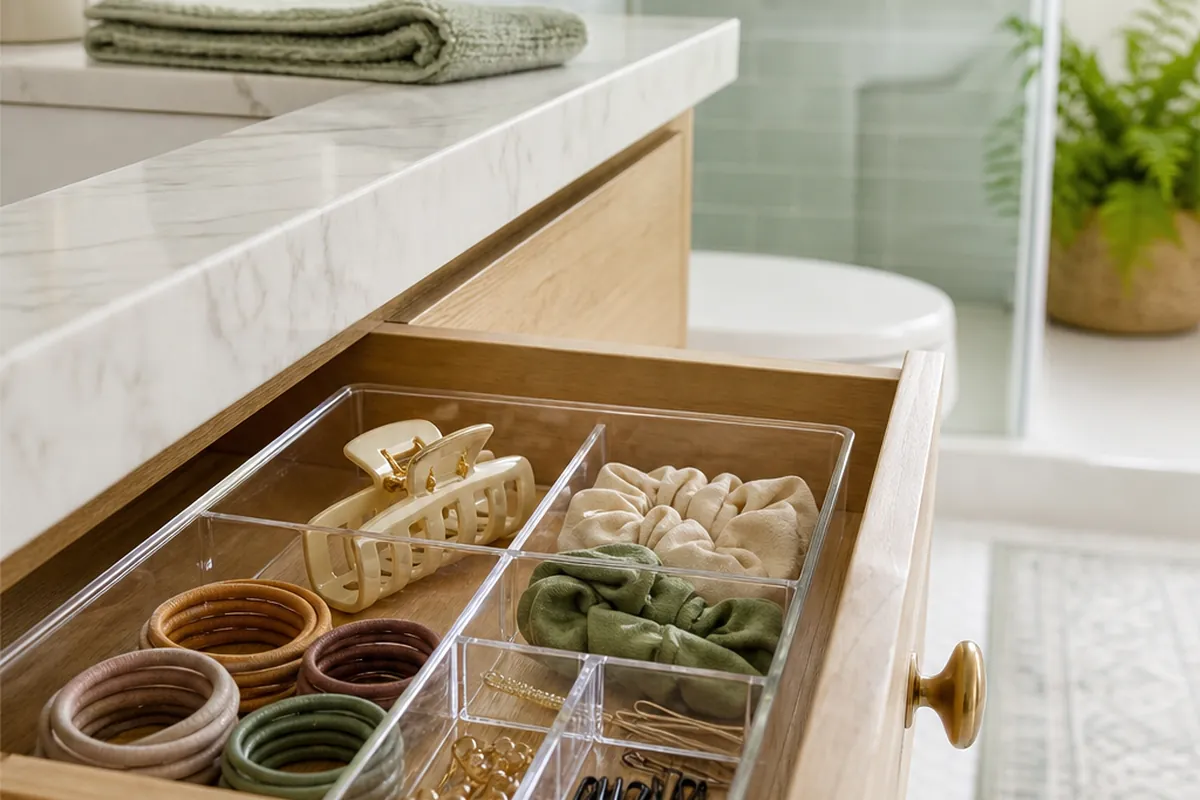
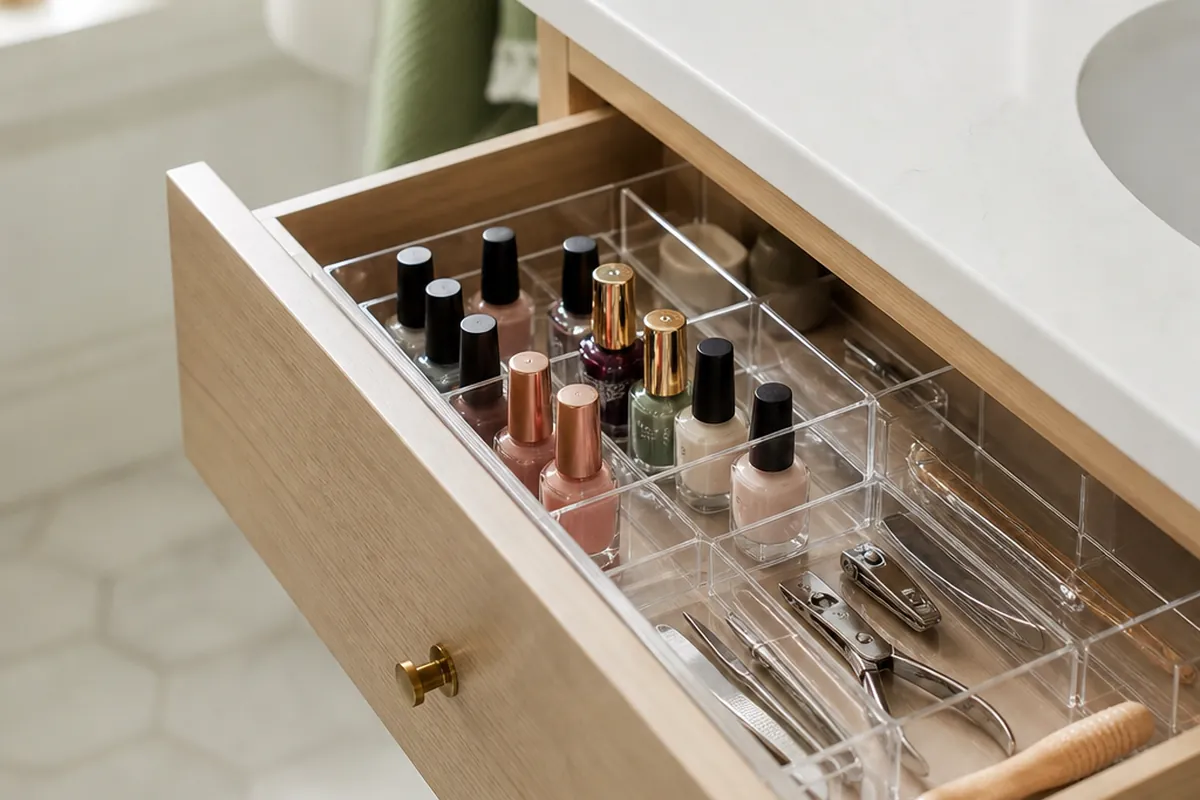
Most standard polish bottles run about 1.1 to 1.3 inches across the base, with the bottle and cap together standing roughly 3.25 to 3.75 inches tall. An adjustable honeycomb drawer divider with cells around 1.4 to 1.5 inches holds that base snugly enough that the bottle stays vertical through a hard drawer close, instead of tipping and rolling into the cell next door. Mini and travel-size bottles, usually closer to 0.75 inches across, will rattle loose in a cell built for full-size bottles, so group those in one dedicated row rather than scattering them through the grid where they lean on their taller neighbors. The same grid works just as well for corralling hair pins and clips in their own honeycomb divider if that’s the next drawer on your list.
3. Check the drawer’s real depth before buying anything
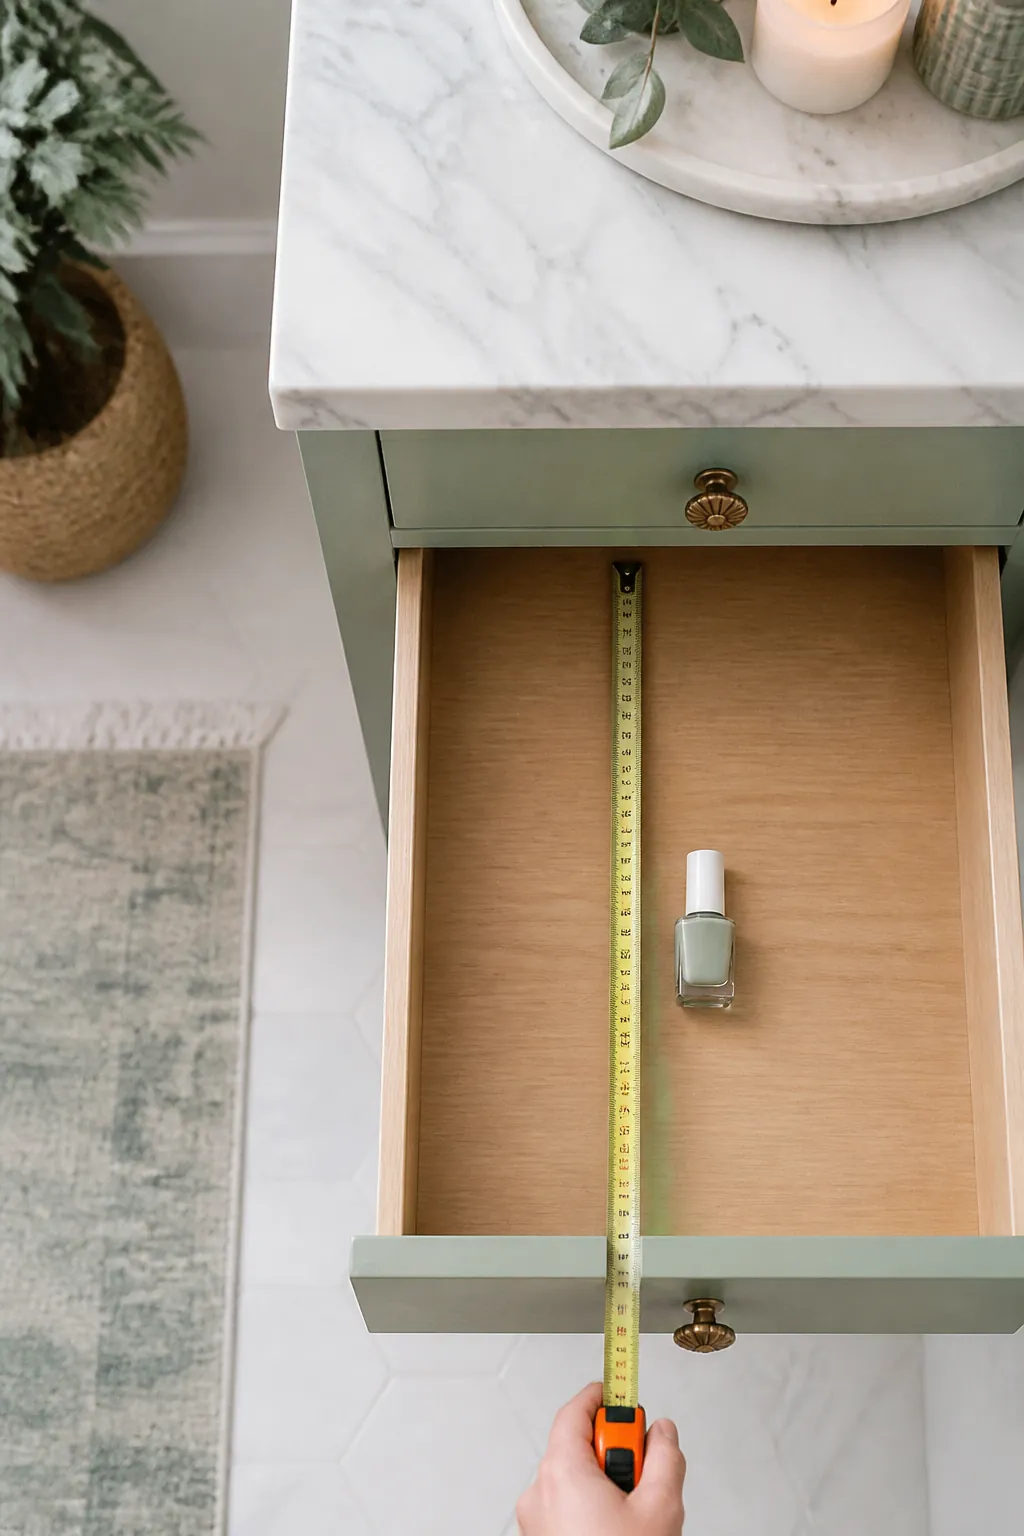
A bathroom vanity drawer commonly runs 2.5 to 4 inches deep on the inside, and a standing bottle at 3.25 to 3.75 inches tall will jam against the drawer above it or bind on the glides the moment you push a standing bottle past that depth. Measure with the drawer fully open, and subtract a quarter inch for clearance, because a fit that’s exact to the millimeter locks up the first time humidity swells the wood even slightly. If your drawer runs on the shallow end, don’t force bottles to stand; lay them on their side in rows inside a shallow tray instead, label-up, so you can still read the color without lifting each one out.
4. Give manicure tools their own shallow tray, not a shared gap
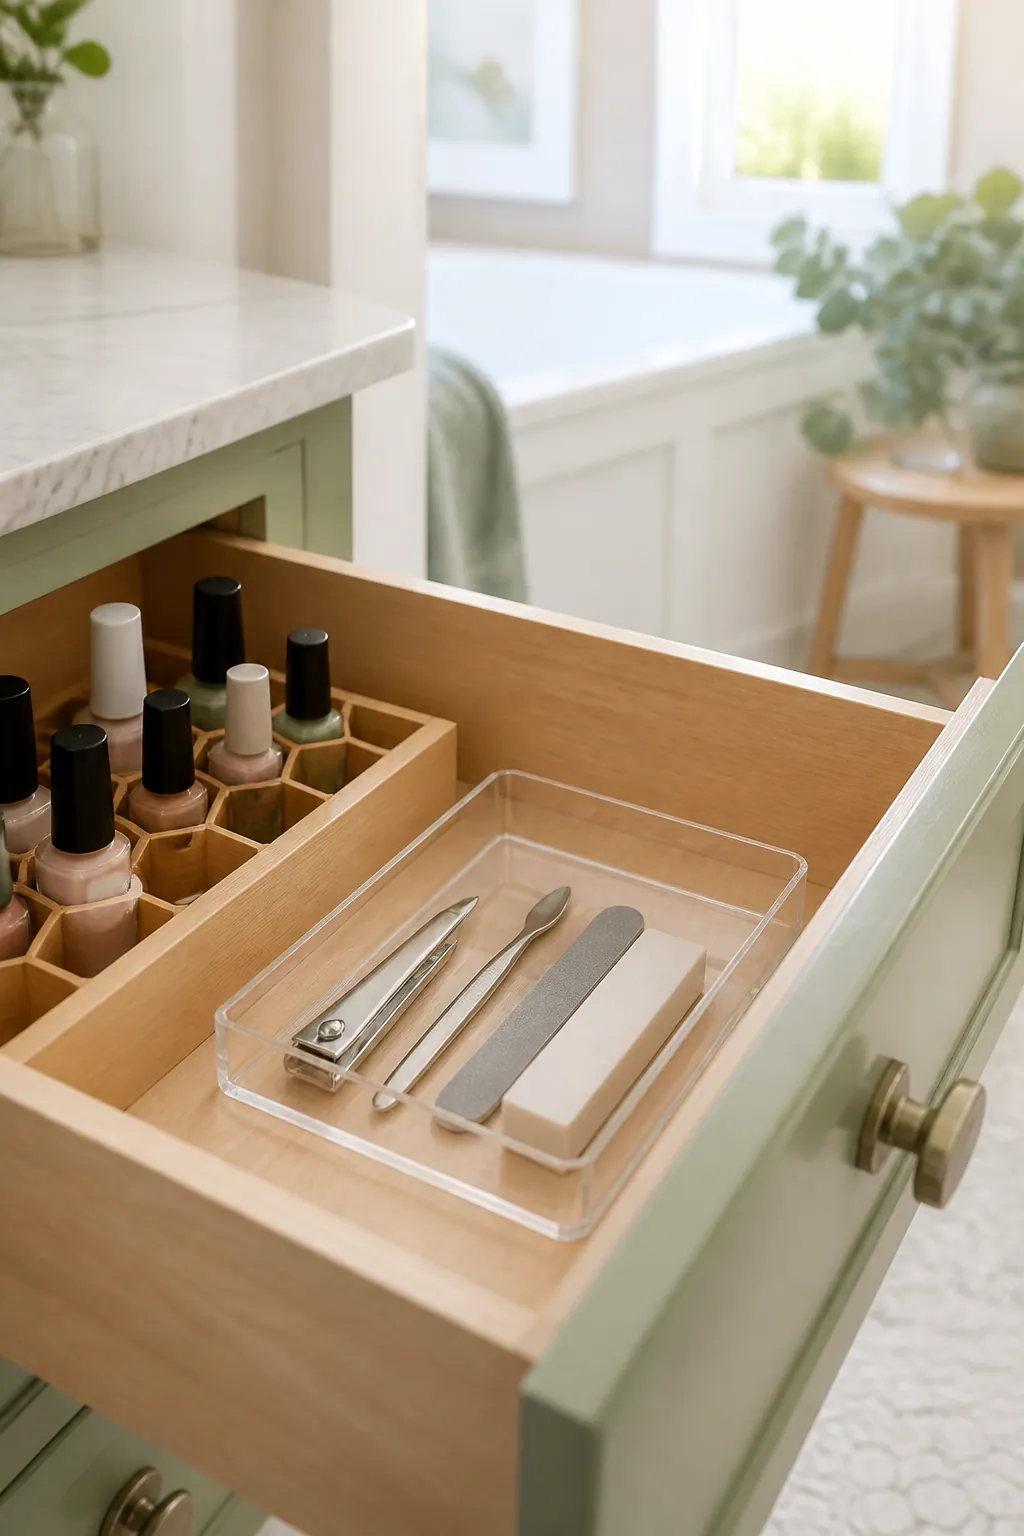
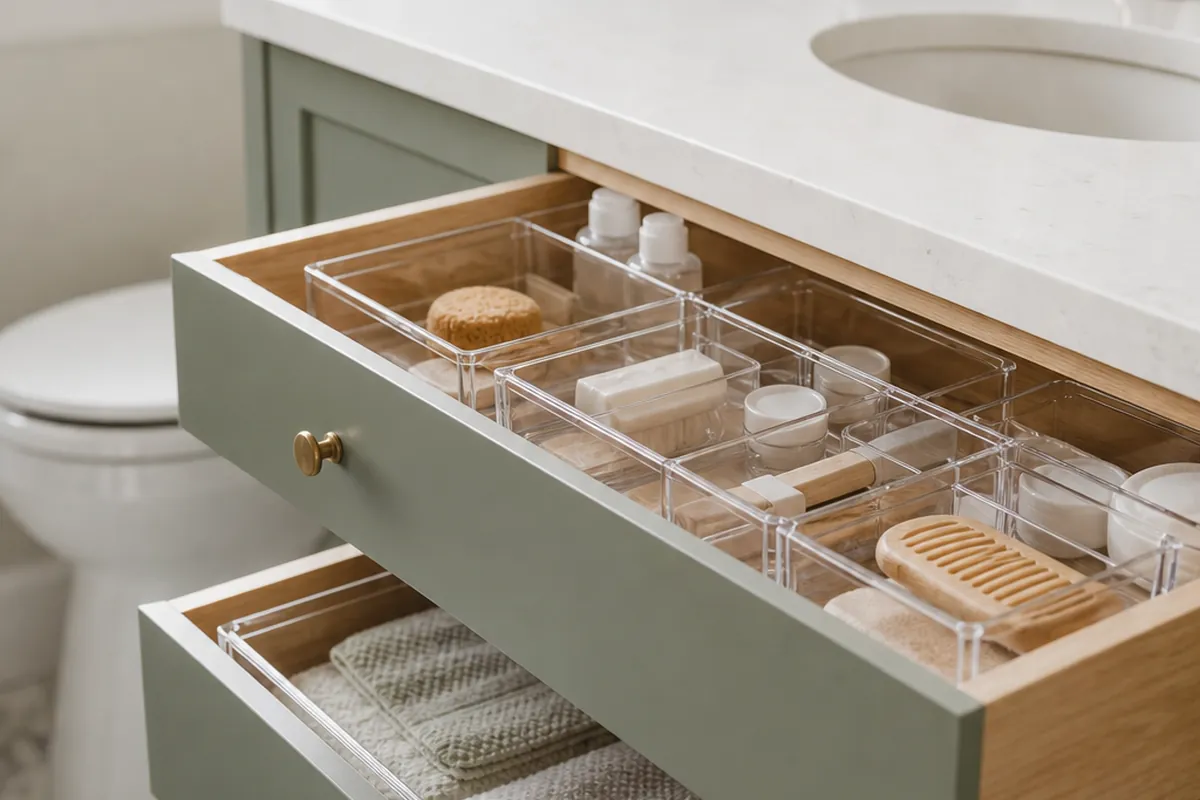
Clippers, cuticle pushers, nail files, and buffers don’t belong rattling loose among glass bottles. A clear plastic drawer organizer tray set usually includes a few narrow compartments sized for tools alongside the wider squares, and that narrow section is where this stuff belongs. A metal file’s edge or a clipper’s hinge resting against a glass bottle for months is a slow scratch waiting to happen, and a scratched bottle base is also a bottle that no longer sits flat in its honeycomb cell. Keeping tools and bottles in separate trays, even trays sitting side by side in the same drawer, stops that friction entirely.
5. Keep remover sealed, upright, and away from anything it can damage
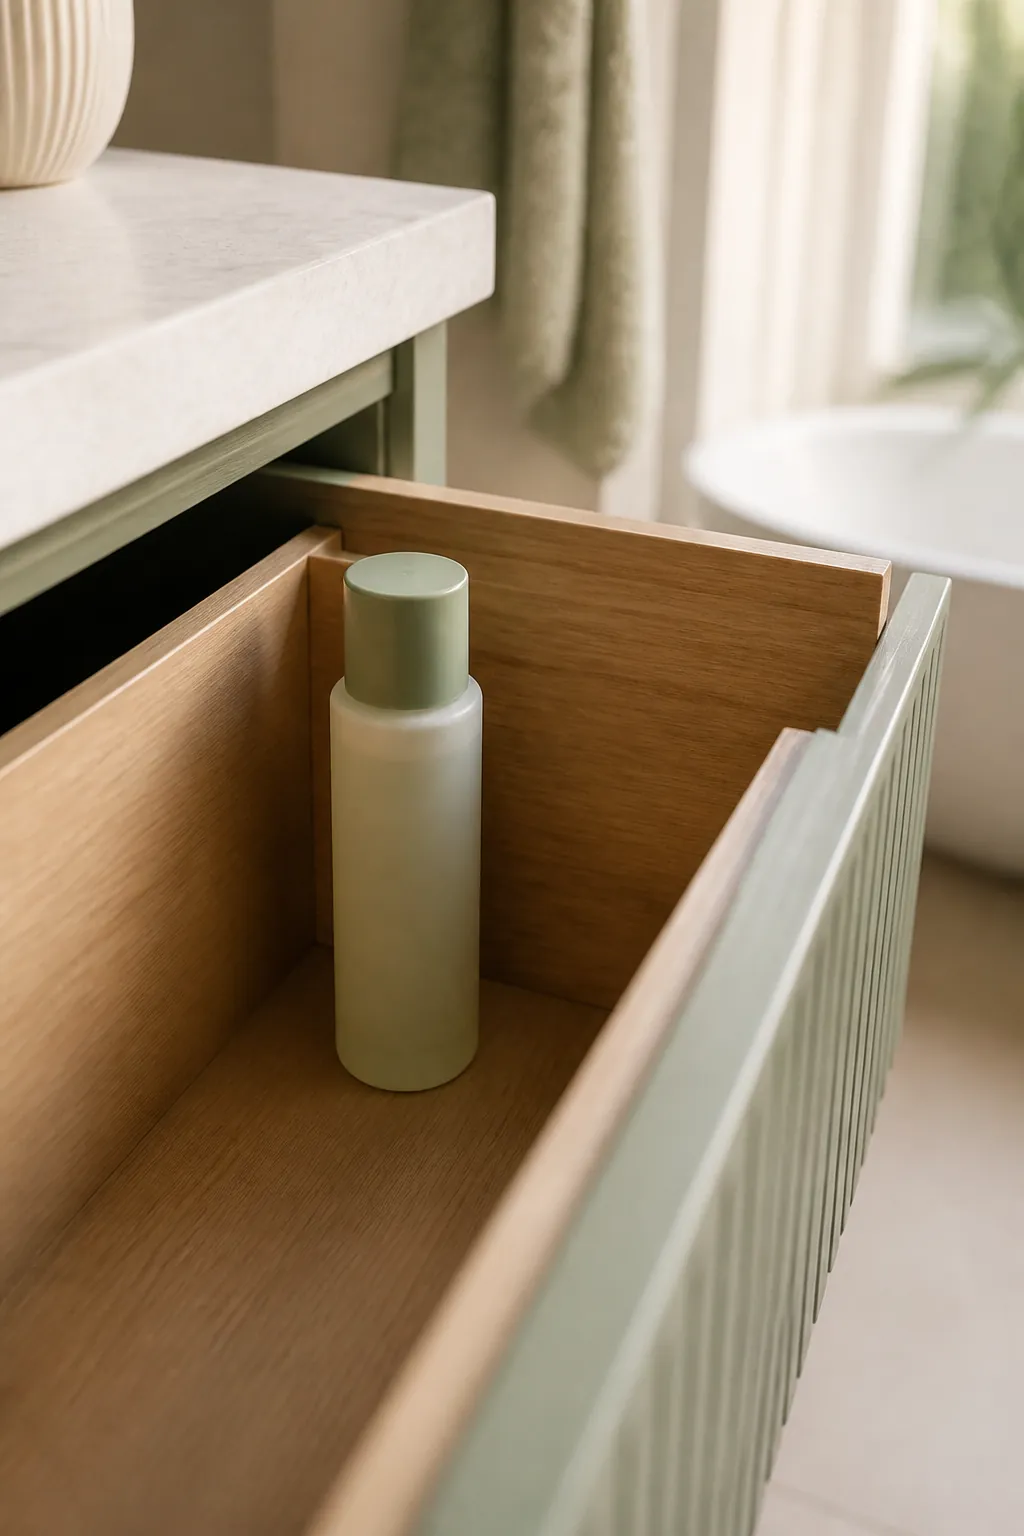
Acetone and non-acetone remover bottles run taller and wider than polish, usually 4 to 6 inches for anything past a 2-ounce travel size, and they’re also the one product in this drawer that can actively ruin everything around it if the cap fails. A loose-sealing flip-top or a cap that’s been cross-threaded once already is the single most common way a whole drawer of polish gets damaged at once, since leaked remover will cloud plastic organizer walls and strip the label right off a neighboring bottle. Give remover its own sealed corner, standing upright, checked for a tight cap each time you set it back down, rather than tucking it wherever there’s a gap. It’s the same reasoning behind giving any leak-prone bottle its own contained zone on a vanity shelf, just scaled down to a drawer.
6. Separate everyday shades from the gift-set overflow
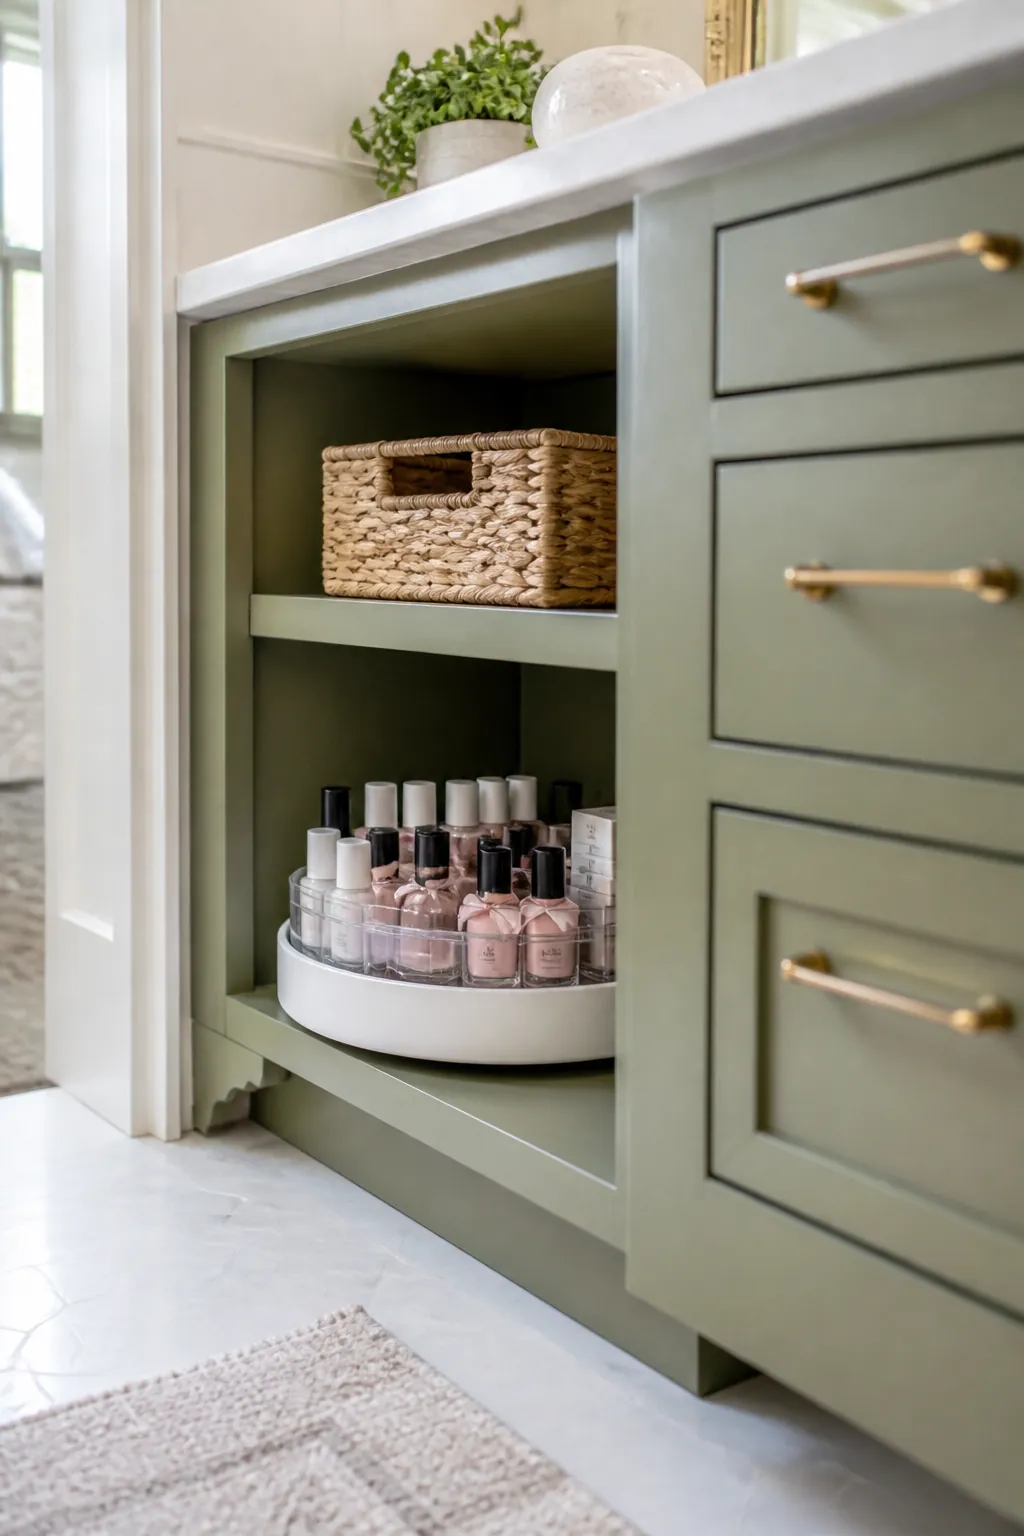
Once the front cells are full of the colors you actually wear, resist cramming the rest into whatever space is left. A collection that’s outgrown its honeycomb divider is better served by moving the overflow, the gift sets, the discontinued favorites you’re not ready to toss, to a nearby cabinet shelf or an under-sink organizer rather than double-stacking bottles in a drawer that was only ever sized for one layer. An 8 to 10 inch turntable lazy Susan organizer on that overflow shelf holds two full rings of standard bottles without them tipping into each other, and keeps the back row from disappearing the way it would in a flat bin, since a quarter turn brings any row to the front instead of making you dig.
7. Keep the drawer away from heat and direct light
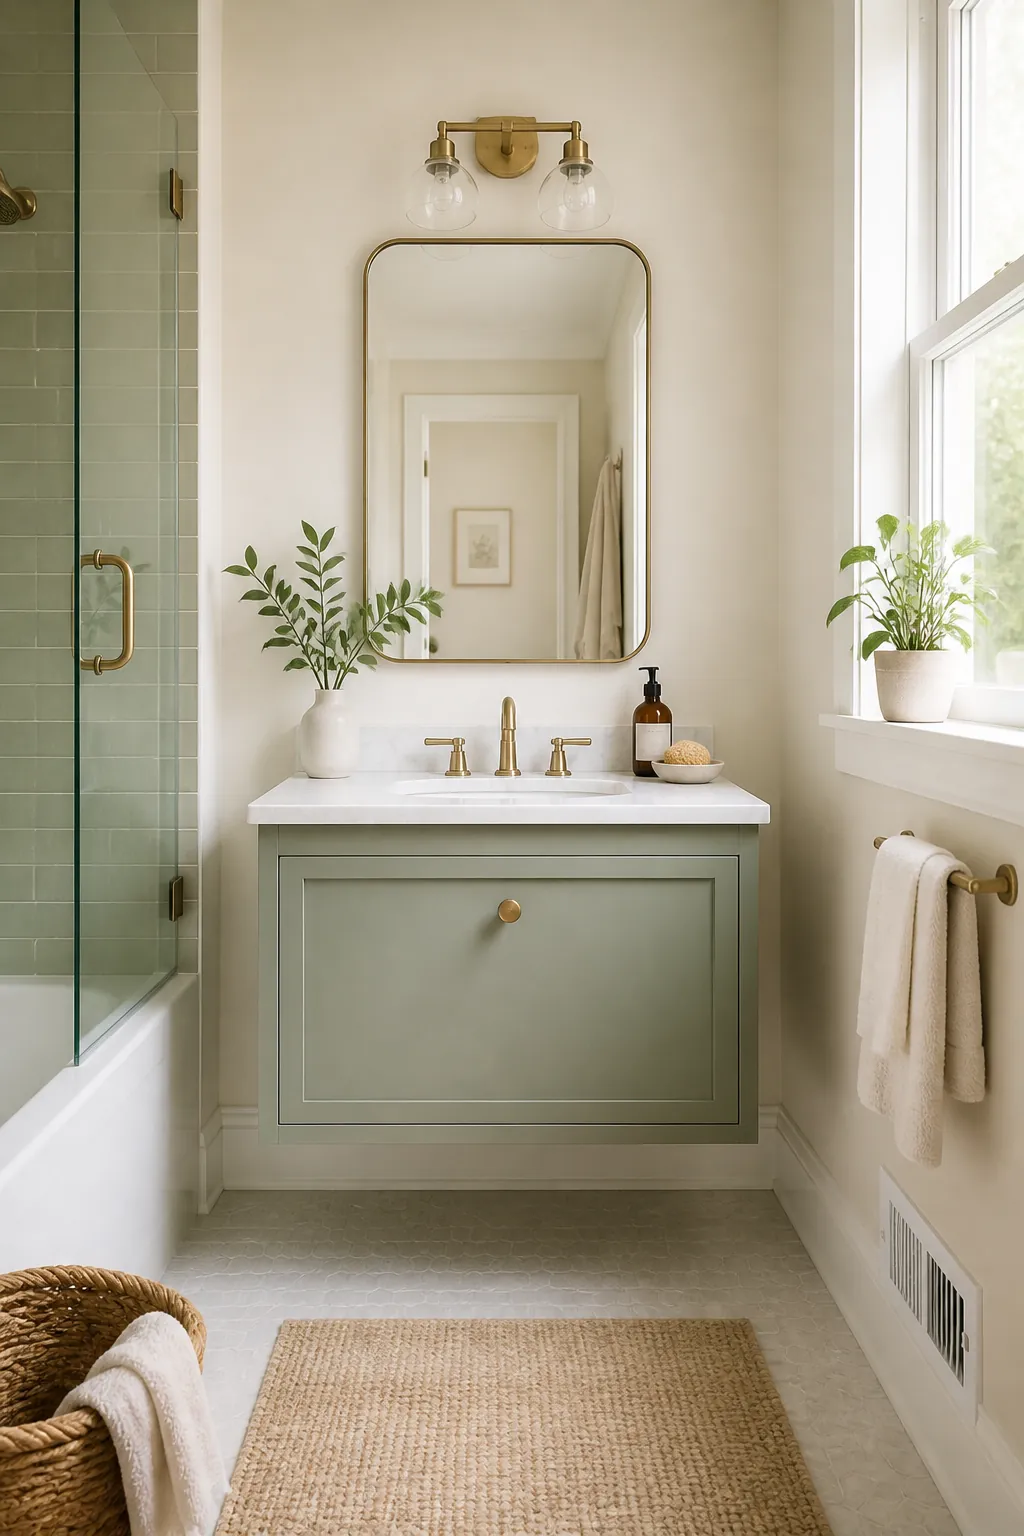
Polish is a pigment suspended in a solvent, and both heat and light speed up the separation that eventually turns a smooth color gloopy and streaky well before the bottle’s actually empty. A drawer directly above a heating vent, beside a radiator pipe, or under a window that gets afternoon sun runs warmer and brighter than the cabinet on the opposite wall, and that difference shows up as thickened polish months sooner than it should. If your only drawer option sits in one of those spots, it’s worth moving the collection one cabinet over if you have the choice, or at minimum keeping the drawer fully closed between uses instead of left cracked for airflow.
8. Build a travel kit that lives apart from the daily drawer
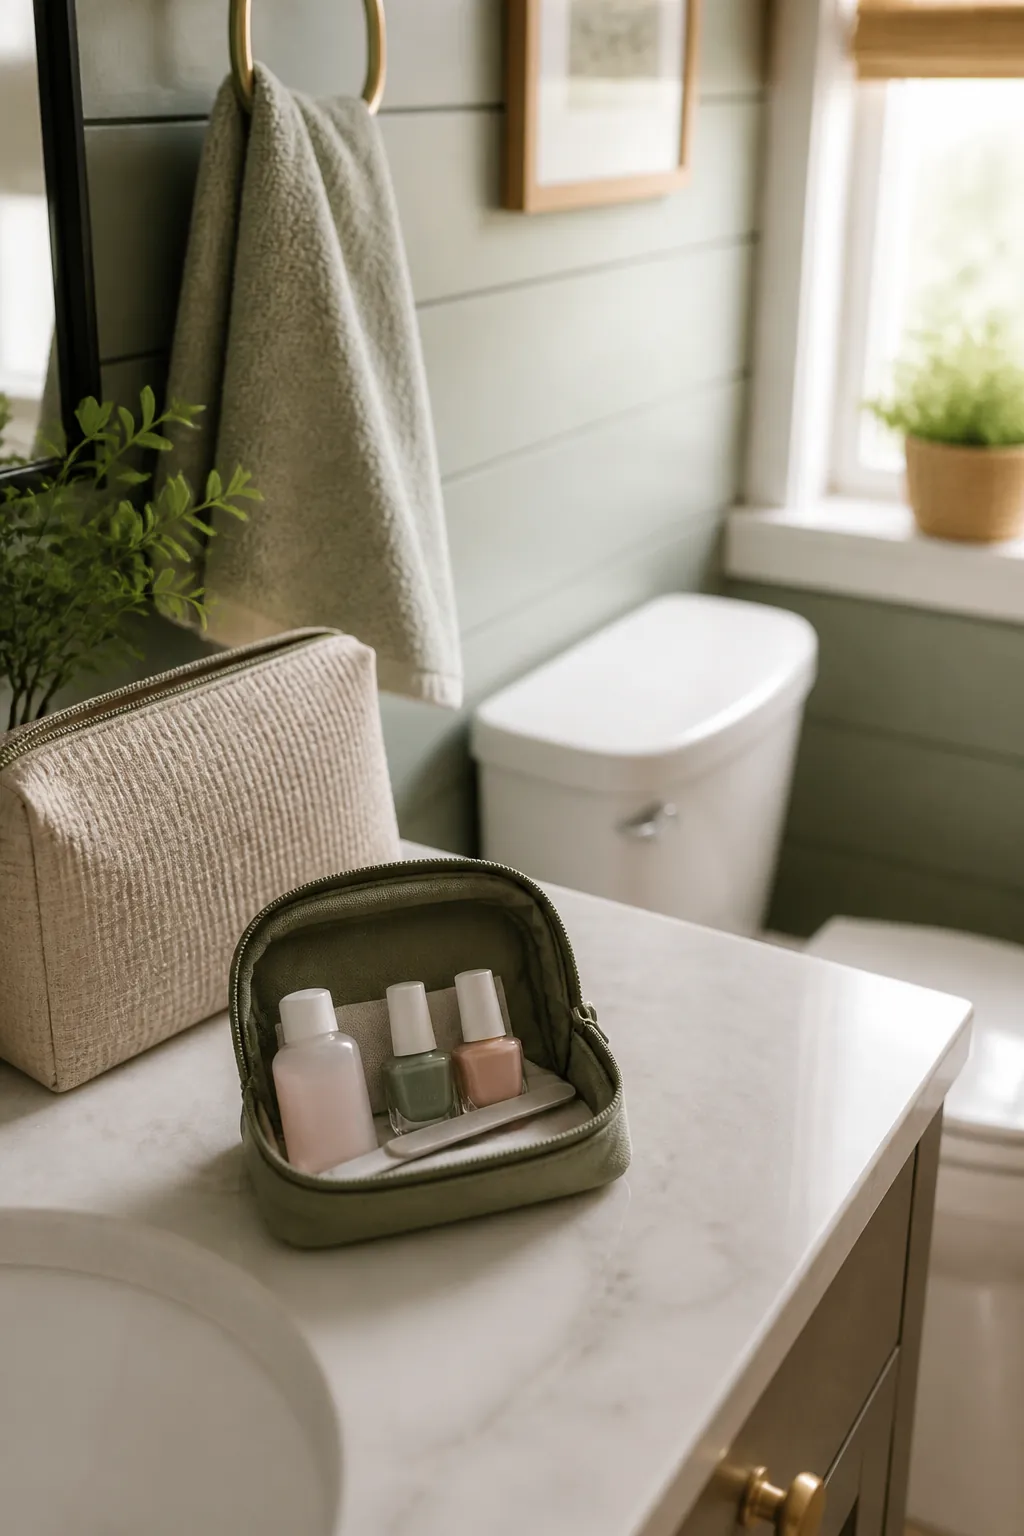
A zip pouch no bigger than about 6 by 4 inches, holding a 0.5-ounce travel remover, a couple of go-to shades, and a mini file, is worth keeping separate from the main drawer setup entirely, so a trip doesn’t mean raiding the honeycomb cells and leaving gaps you’ll forget to refill. Pack it once, restock it after each trip while everything’s still out, and store it in a bag or a bathroom cabinet shelf rather than back in the drawer where it’ll just get unpacked piece by piece the next time you need one item from it.
9. Purge dead polish every two to three months
A bottle that’s gone thick, separated into layers that won’t re-shake, or shifted a shade darker than you remember buying isn’t coming back, no matter how long you roll it between your palms. Do a real purge every two to three months rather than waiting for a cell to look obviously wrong, since the drift happens slowly enough that you stop noticing it in bottles you don’t wear often. A dead bottle sitting in its cell isn’t neutral storage, it’s actively holding a slot that a color you actually reach for could use instead.
Where to start
Start by sorting the collection honestly: everyday shades up front, occasional colors further back, dead polish gone. Stand full-size bottles in a honeycomb divider sized to their base, give tools their own tray away from the glass, and keep remover sealed upright in a corner nothing else touches. Measure the drawer’s real depth before buying a single organizer, and move anything the drawer can’t fit to a turntable on a nearby shelf instead of double-stacking. That’s the whole system, and it holds up because it’s built around how bottles actually tip, leak, and fade, not just how the drawer looks the day you set it up.