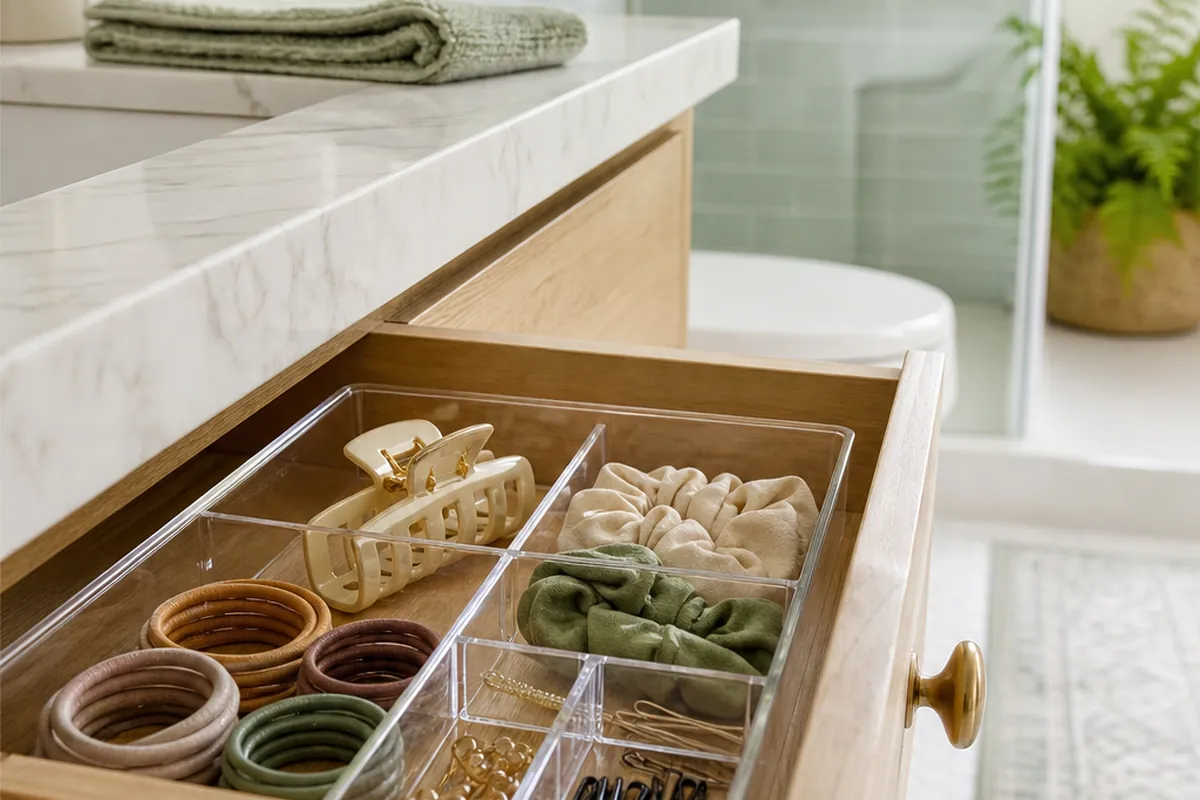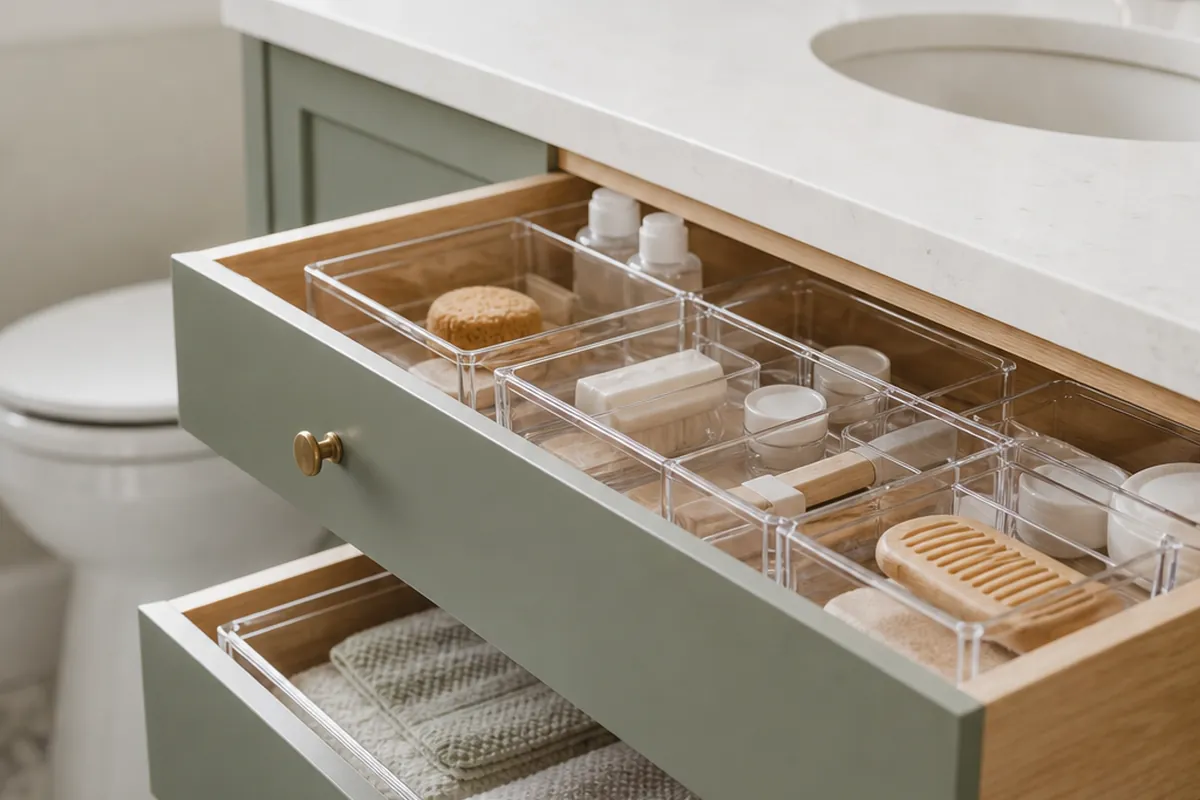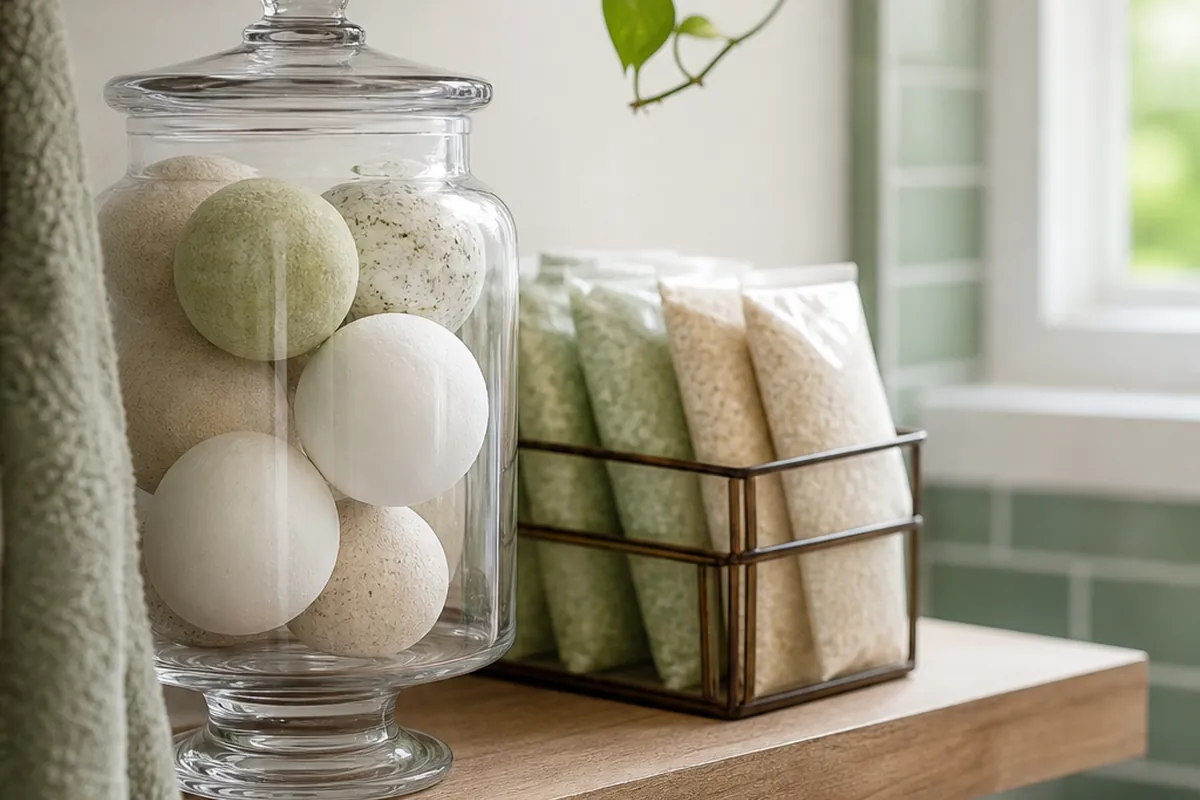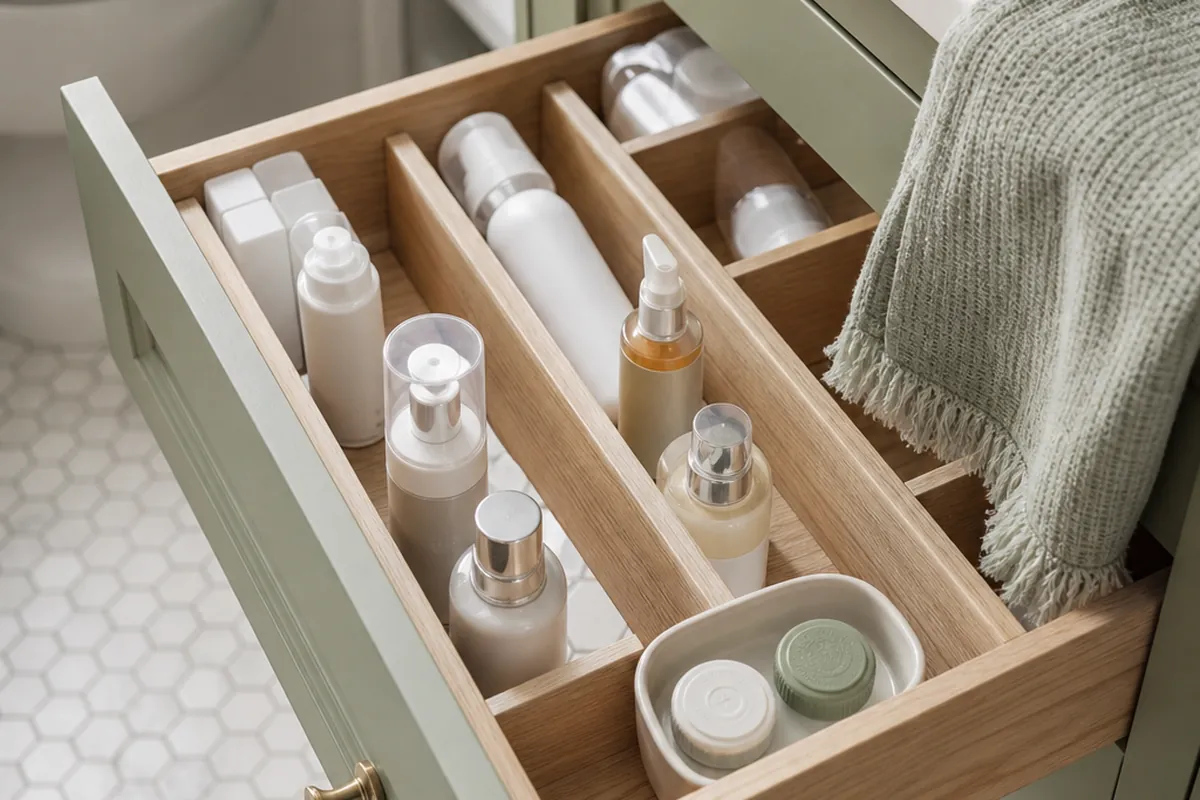
A skincare routine with more than four or five products stops fitting the flat dish or single cup most bathroom drawers were built around, and the bottles end up on their sides, rolling into each other every time the drawer opens. The fix is not a bigger drawer. It is dividing the one you have to match what is actually living in it: tall pump bottles, squat jars, foil sachets, and the contact lens case that always migrates to the back corner. Nine ways to organize a bathroom drawer around a real skincare routine instead of a display shelf.
1. Measure the drawer’s vertical clearance before you buy dividers

A bathroom vanity drawer typically has 3 to 4 inches of vertical clearance from the bottom to the underside of the countertop or the drawer front above it. A full-size pump bottle of moisturizer or cleanser often stands 5 to 7 inches tall, well past that.
Measure your tallest bottles against the drawer’s actual interior height, not the vanity’s overall height, before ordering any organizer. Anything under the clearance number can stand upright. Anything taller either goes in on its side, which only works for a screw-cap bottle with no pump, or moves out of the drawer entirely into a countertop bin. A tall pump bottle wedged upright in a too-shallow drawer gets crushed against the frame every time you close it, and the pump head is usually the first thing to crack.
2. Stand bottles upright in a divided tray instead of laying them flat
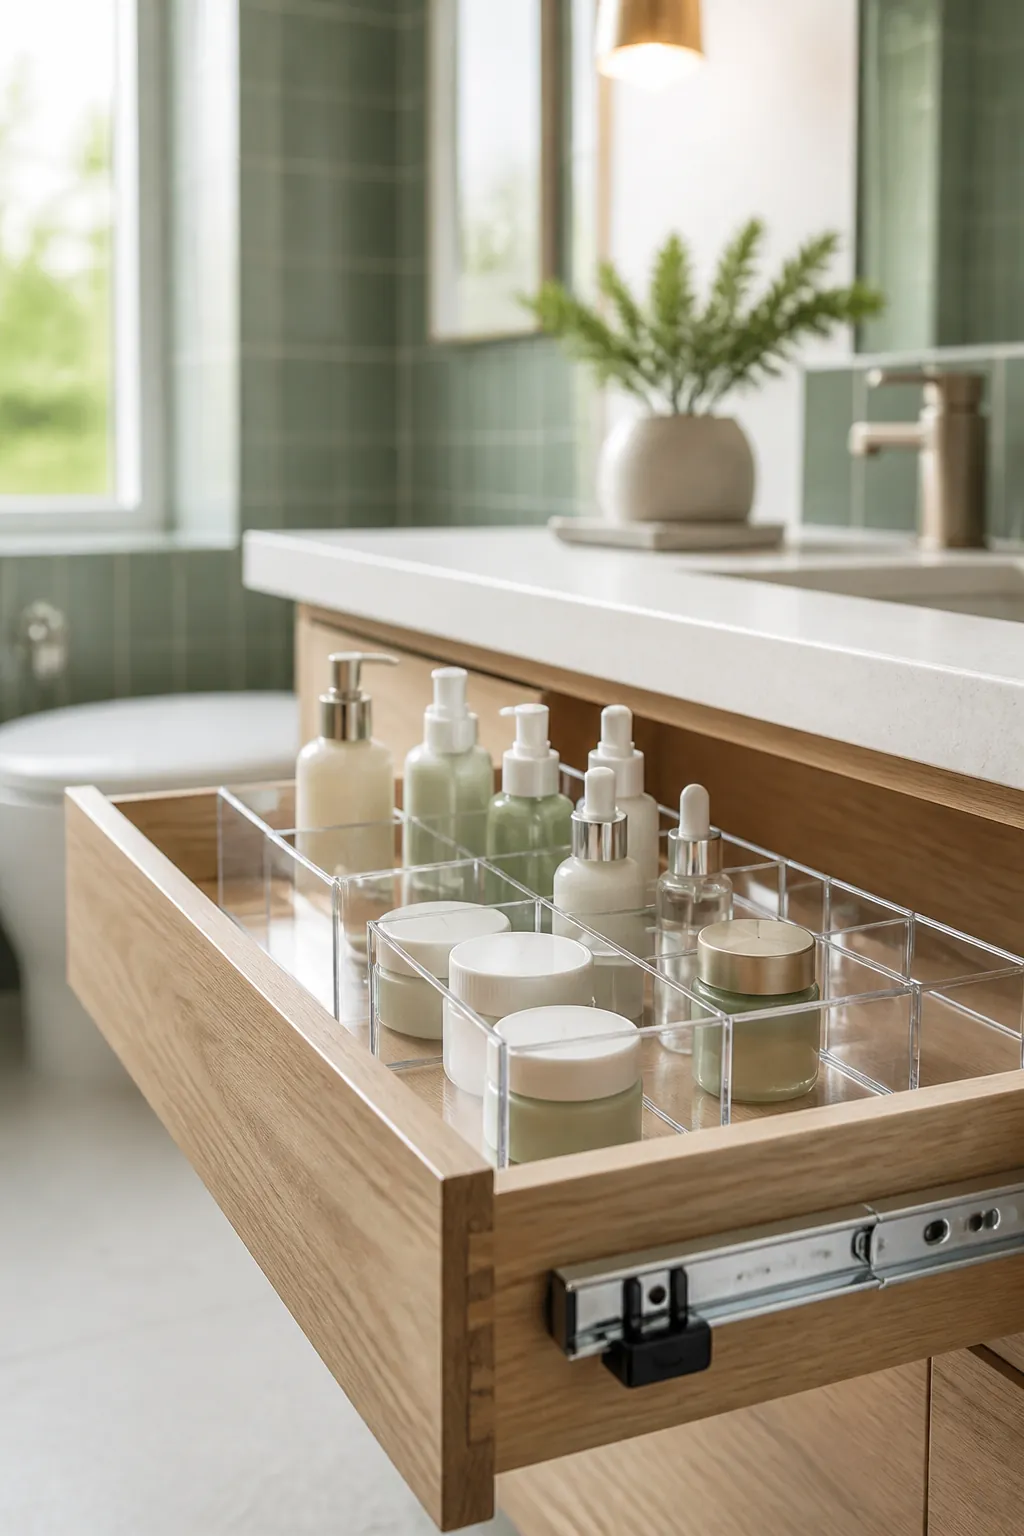
A clear acrylic drawer organizer set gives each bottle its own cell instead of letting the whole group slide as one mass whenever the drawer moves. Group cells by diameter rather than by brand: narrow slots for pump and dropper bottles running around 1.5 inches across, wider ones for squat jars closer to 2.5 inches.
Standing a bottle upright keeps its contents away from the pump or dropper seal, which is where slow leaks start. A bottle left on its side for weeks lets product sit against that seal under its own weight, and a seal that has been soaking eventually gives way inside a closed drawer where nobody notices until the smell does.
3. Give pumps and droppers their own front row
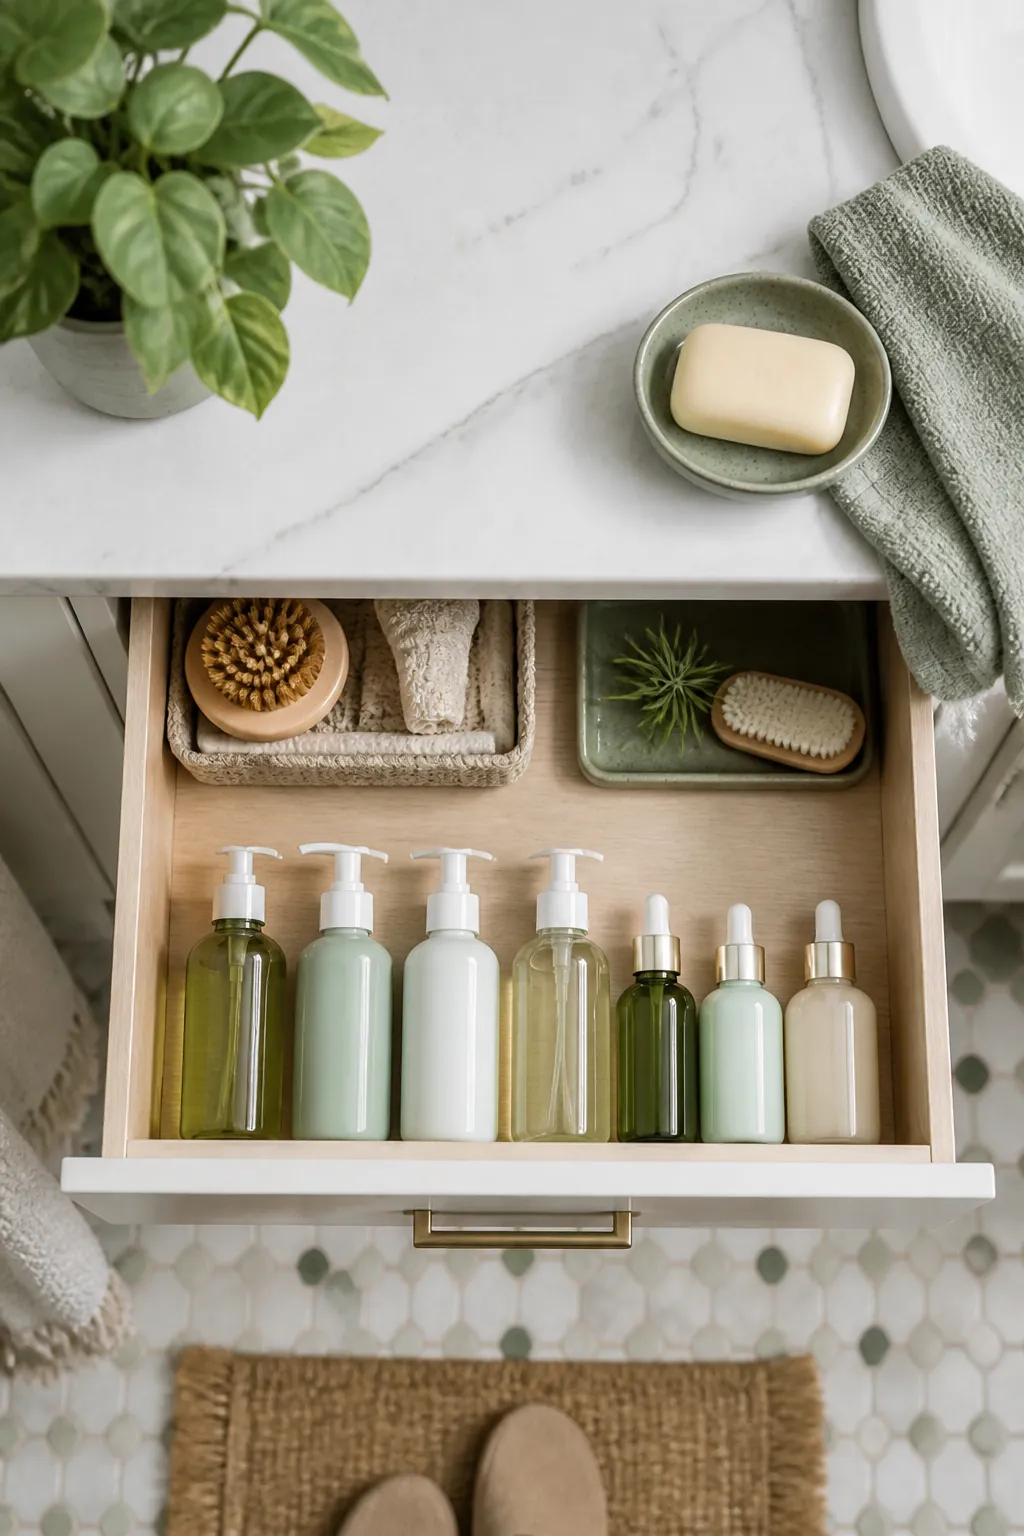
Pump tops get depressed by accident when they are mixed in with everything else and something else in the drawer nudges the head on the way past. A front row reserved only for pump and dropper bottles, standing in a line with nothing crowding the tops, stops that waste and makes the drawer’s most-used items the first thing your hand finds.
Leave a half inch of clearance above each pump head inside that row. A tray lid or a second tier set too close will catch the pump every time the drawer opens, dispensing a little product onto the tray floor before you ever touch the bottle.
4. Sort by routine step, not by product category
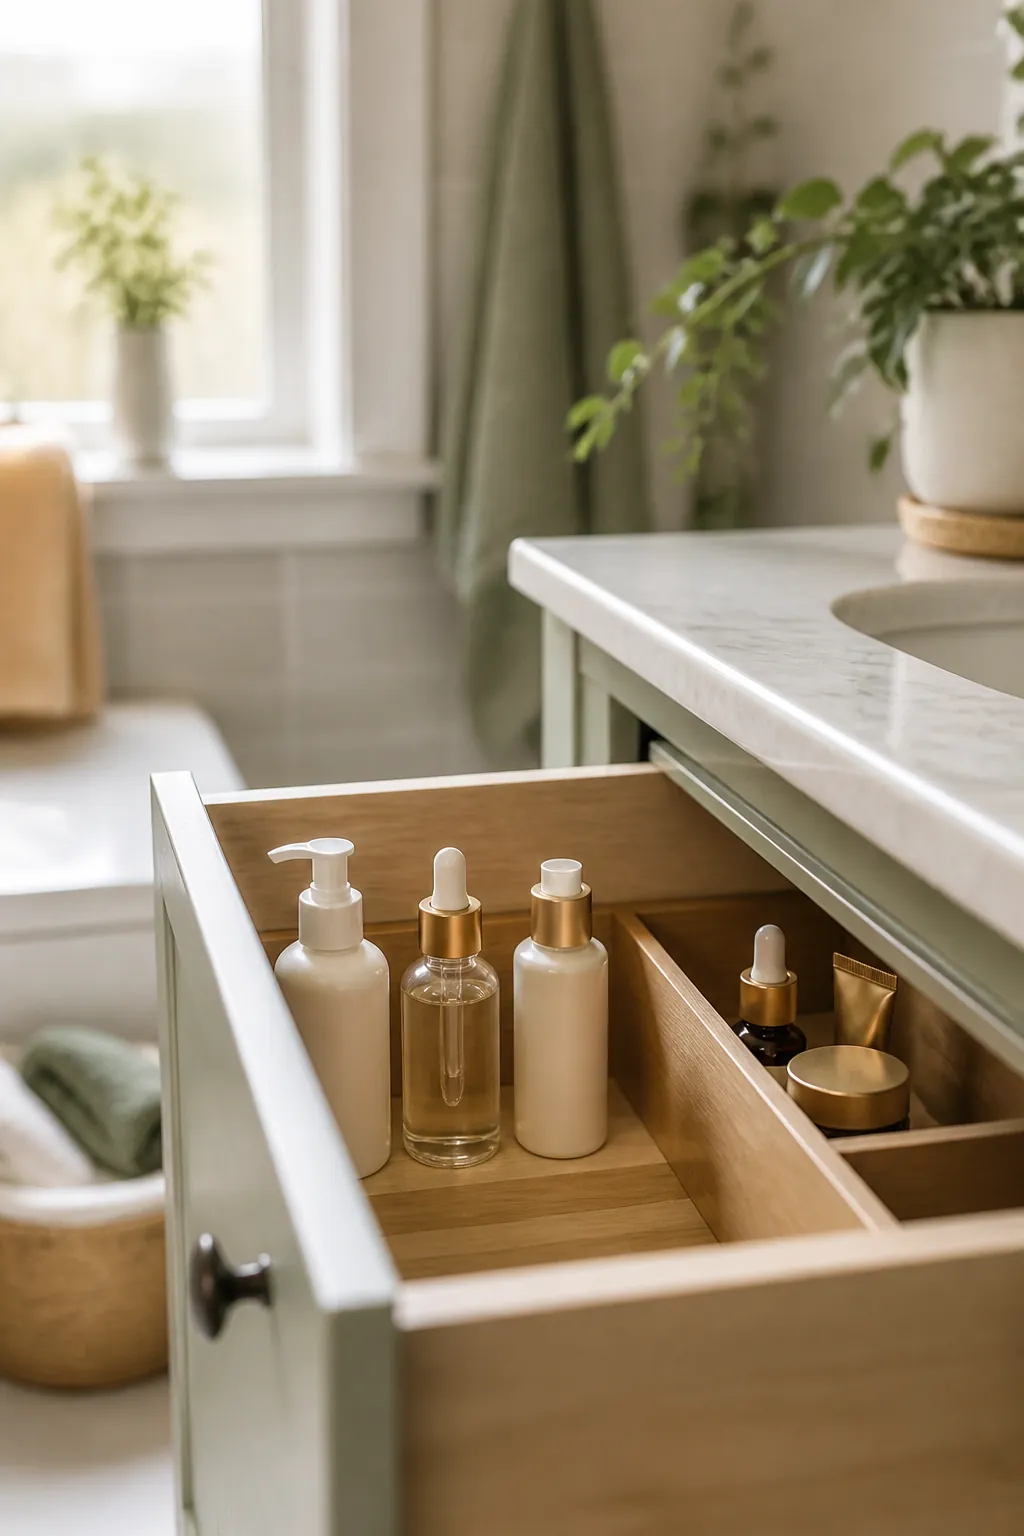
Grouping “serums together” and “moisturizers together” sounds tidy, but it means grabbing five bottles at 7 a.m. to find the one that comes third. Lay the drawer out in routine order instead: cleanser, toner, serum, moisturizer, SPF, left to right for a morning routine, then a second lane behind it for the evening version with retinol or a heavier cream swapped in.
This only works if the two lanes stay physically separate, a divider strip or a second small tray between them, so your hand does not have to read labels half awake to tell an AM bottle from a PM one that looks nearly identical in the dark. Grabbing the wrong one is not just a mix-up: a retinol or exfoliating acid meant for the PM lane makes skin more sensitive to sun, so applying it under a morning SPF routine by mistake defeats the point of both products.
5. Give the daily set a shaped tray, and put it up front
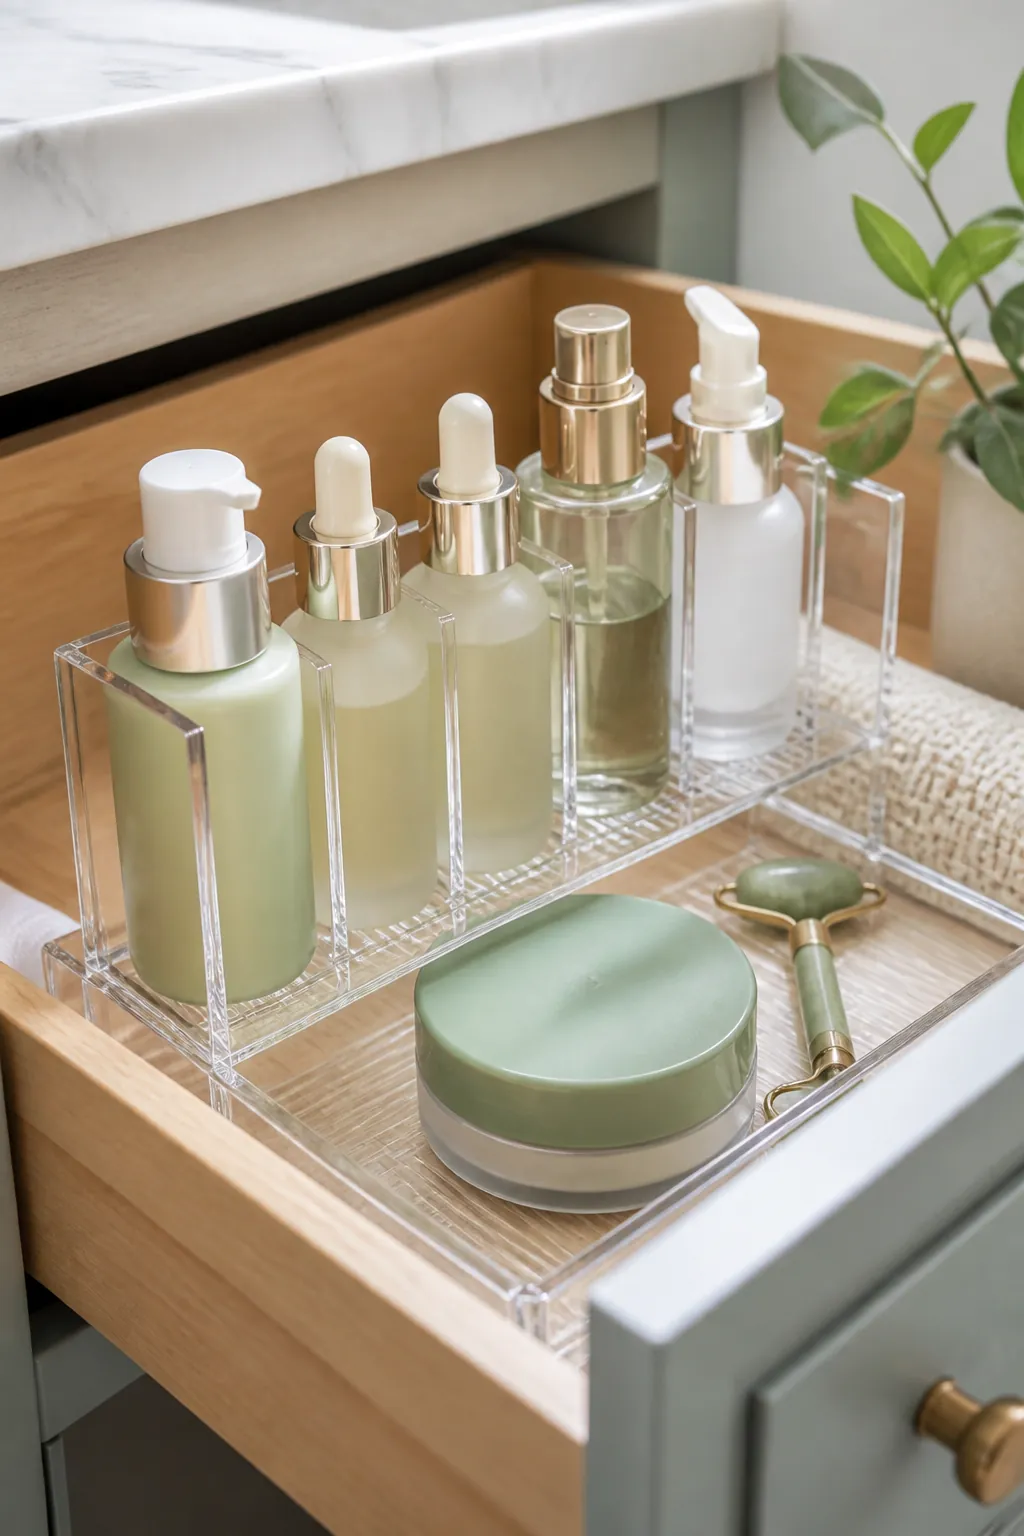
An acrylic makeup drawer organizer with tiered compartments handles a routine’s mismatched shapes better than a flat tray of identical squares. Tall narrow slots hold serum and toner bottles, a wide shallow tier underneath takes flat compact jars, and a small top ledge is enough for the SPF stick or lip balm you use last.
Keep this tray in the front third of the drawer. The products you touch every day should never be behind the ones you touch once a month, and a tray placed at the back defeats the point of dividing the drawer at all.
6. Corral the smallest items in a stackable mini-drawer
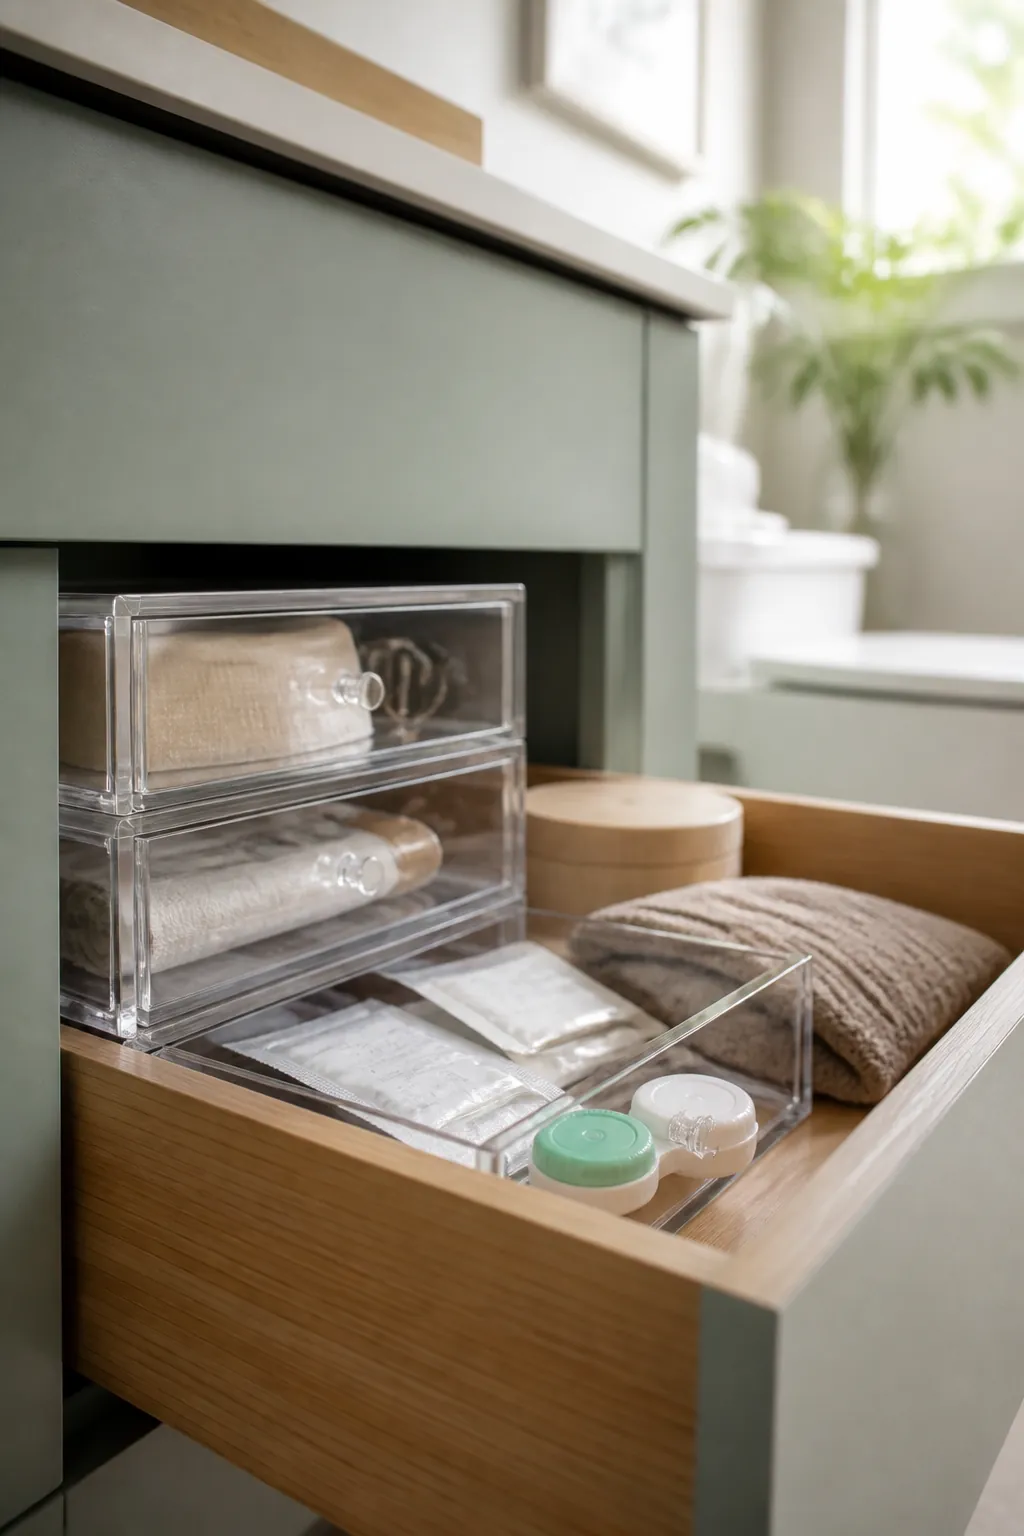
Sample sachets, foil packets, spare cotton rounds, and a contact lens case all share the same problem: they are too small to stand up and too numerous to line up on their own. A set of small clear stackable drawers, each about 2 to 3 inches tall, turns that loose pile into individual pull-out layers instead of a scoop-and-rummage drawer within your drawer.
A dedicated contact lens tray works well for the lens case and solution bottle specifically, kept in its own slot away from splash, though no single verified product fits that exact use here, so plain shallow trays or one layer of the stackable drawers above do the job just as well.
7. Keep active ingredients out of the sun-facing side of the drawer
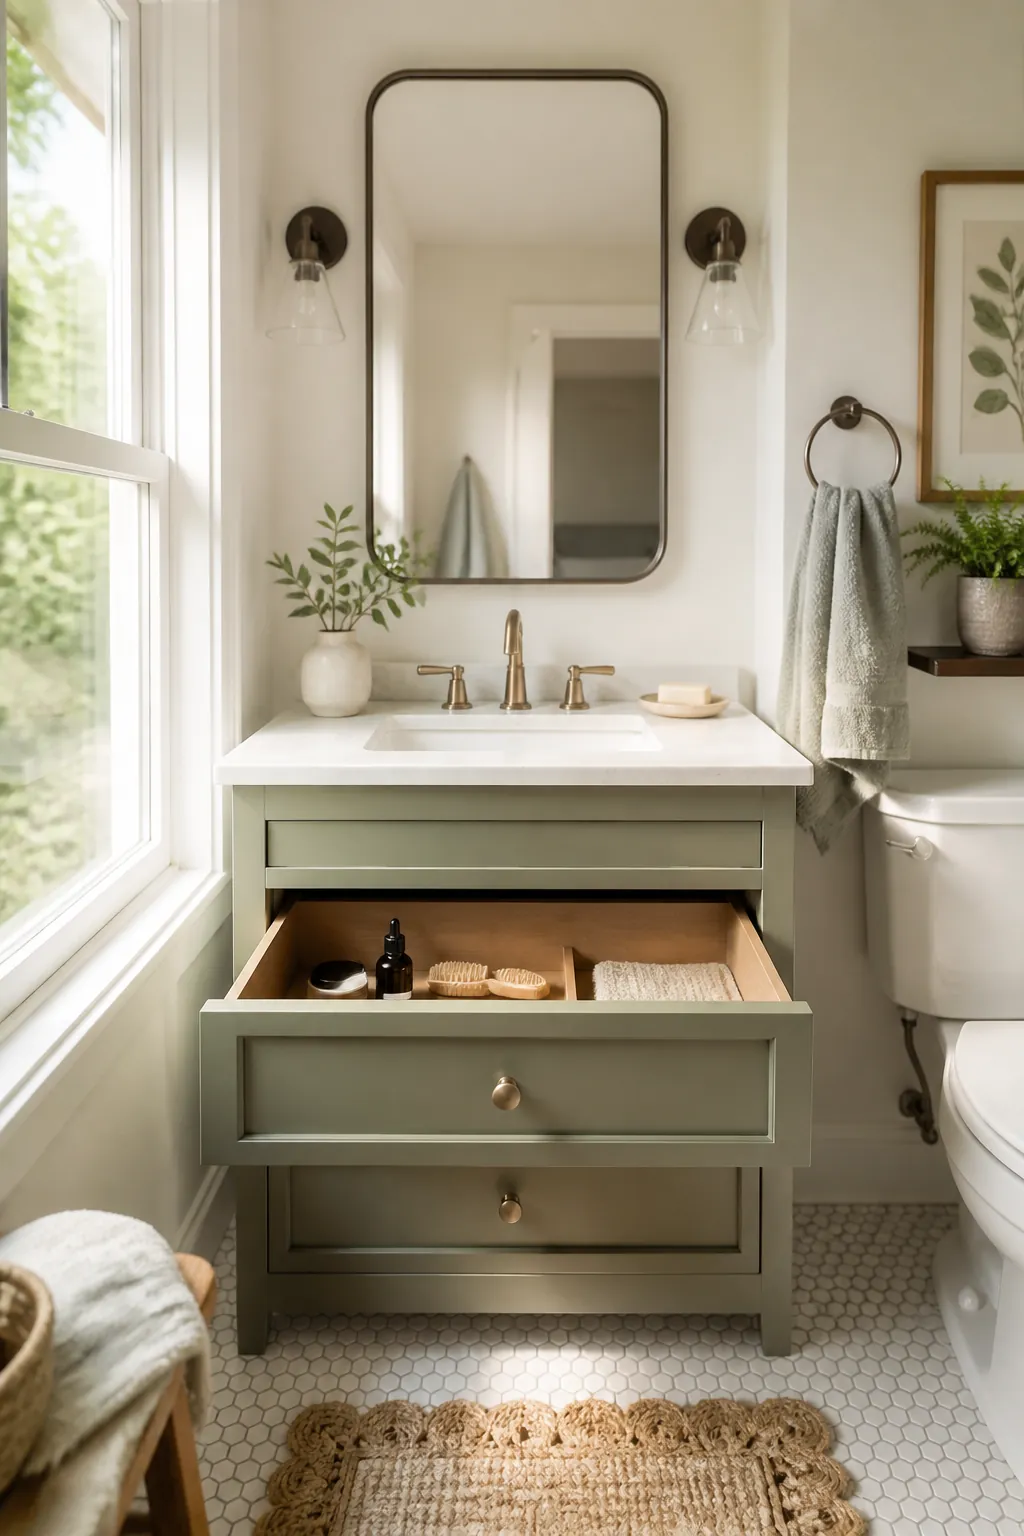
Retinol and vitamin C both break down faster with heat and light exposure, and a drawer that sits under a window-facing vanity or gets afternoon sun through a half-open blind is warmer on one side than the other, even with the drawer shut most of the day. The same goes for a drawer directly above a floor heating vent or a radiator, which can run several degrees warmer than the rest of the room.
Keep bottles with these actives toward the back or the interior wall of the drawer, not the side nearest the window or the front edge that catches light every time the drawer opens. A degraded active still looks and smells normal, so there is no visual warning before the product simply stops doing much.
8. Decant a season’s worth, and store the backups elsewhere
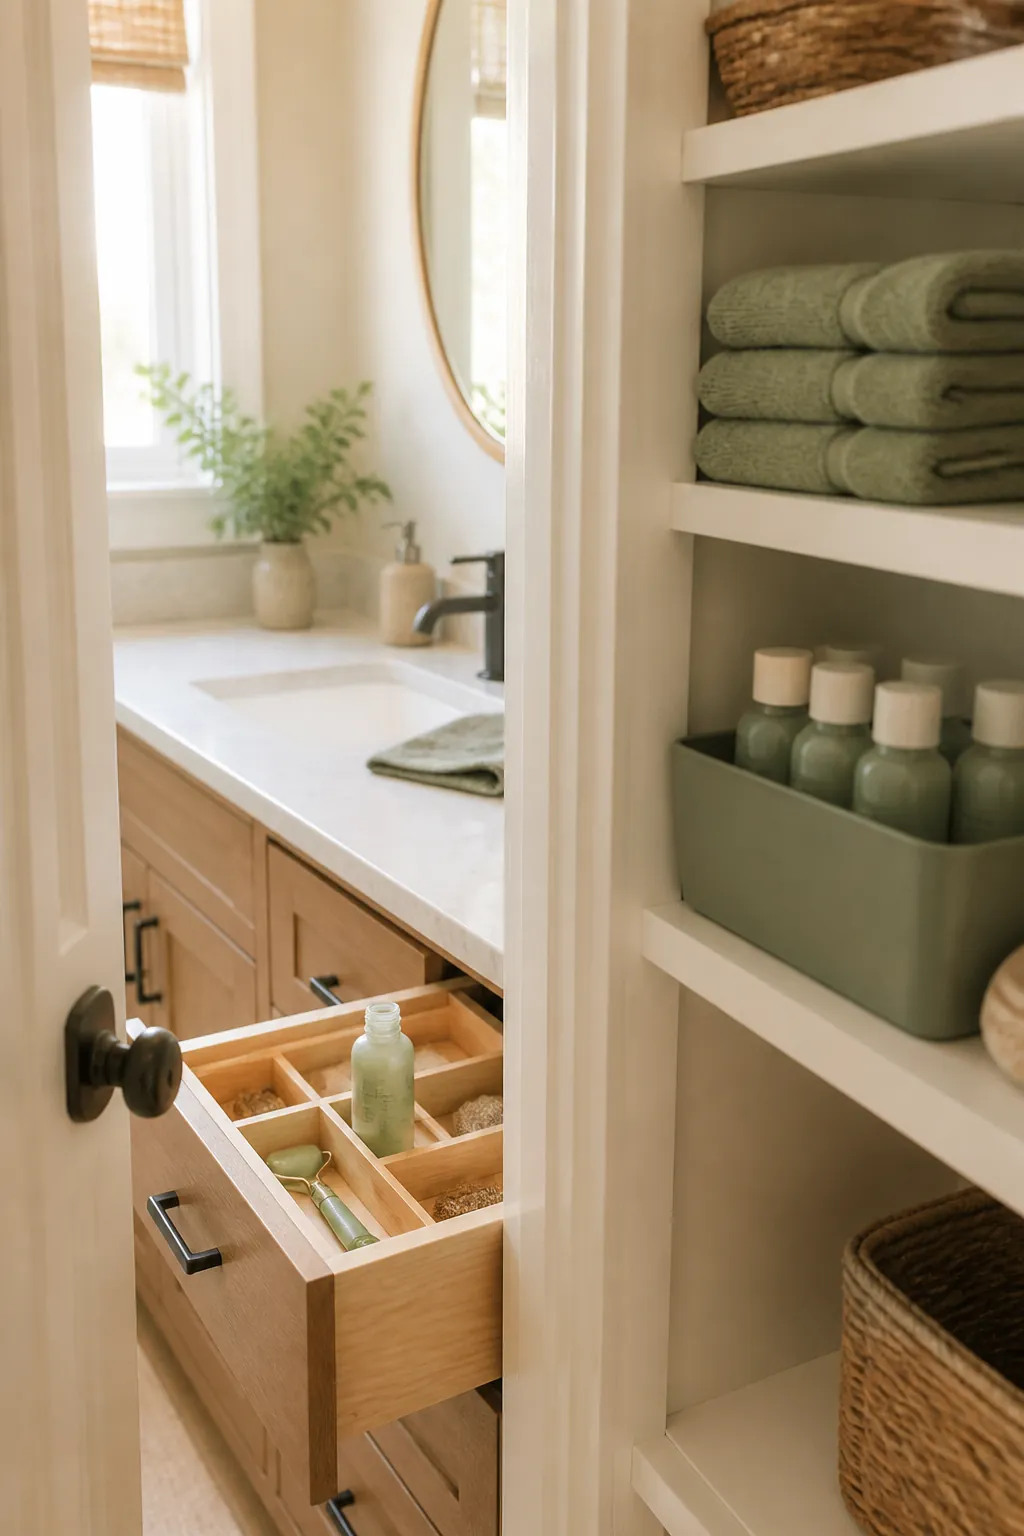
A drawer that holds both the bottle in daily use and three unopened backups of the same product runs out of upright cells fast, and it is the backups, not the daily items, that should move. Once the divided tray from idea 2 is full, extra bottles get wedged in sideways or stacked on top, right back into the leak-prone position the tray was supposed to solve. Keep one open bottle of each step in the drawer and stash extra stock in a linen closet or an under-sink bin instead, swapping in a fresh one only once the current bottle is actually empty.
This keeps the drawer at a fixed, manageable size no matter how much you stock up during a sale, since the drawer’s job is serving today’s routine, not warehousing six months of supply.
9. Purge by the PAO symbol, not by guesswork
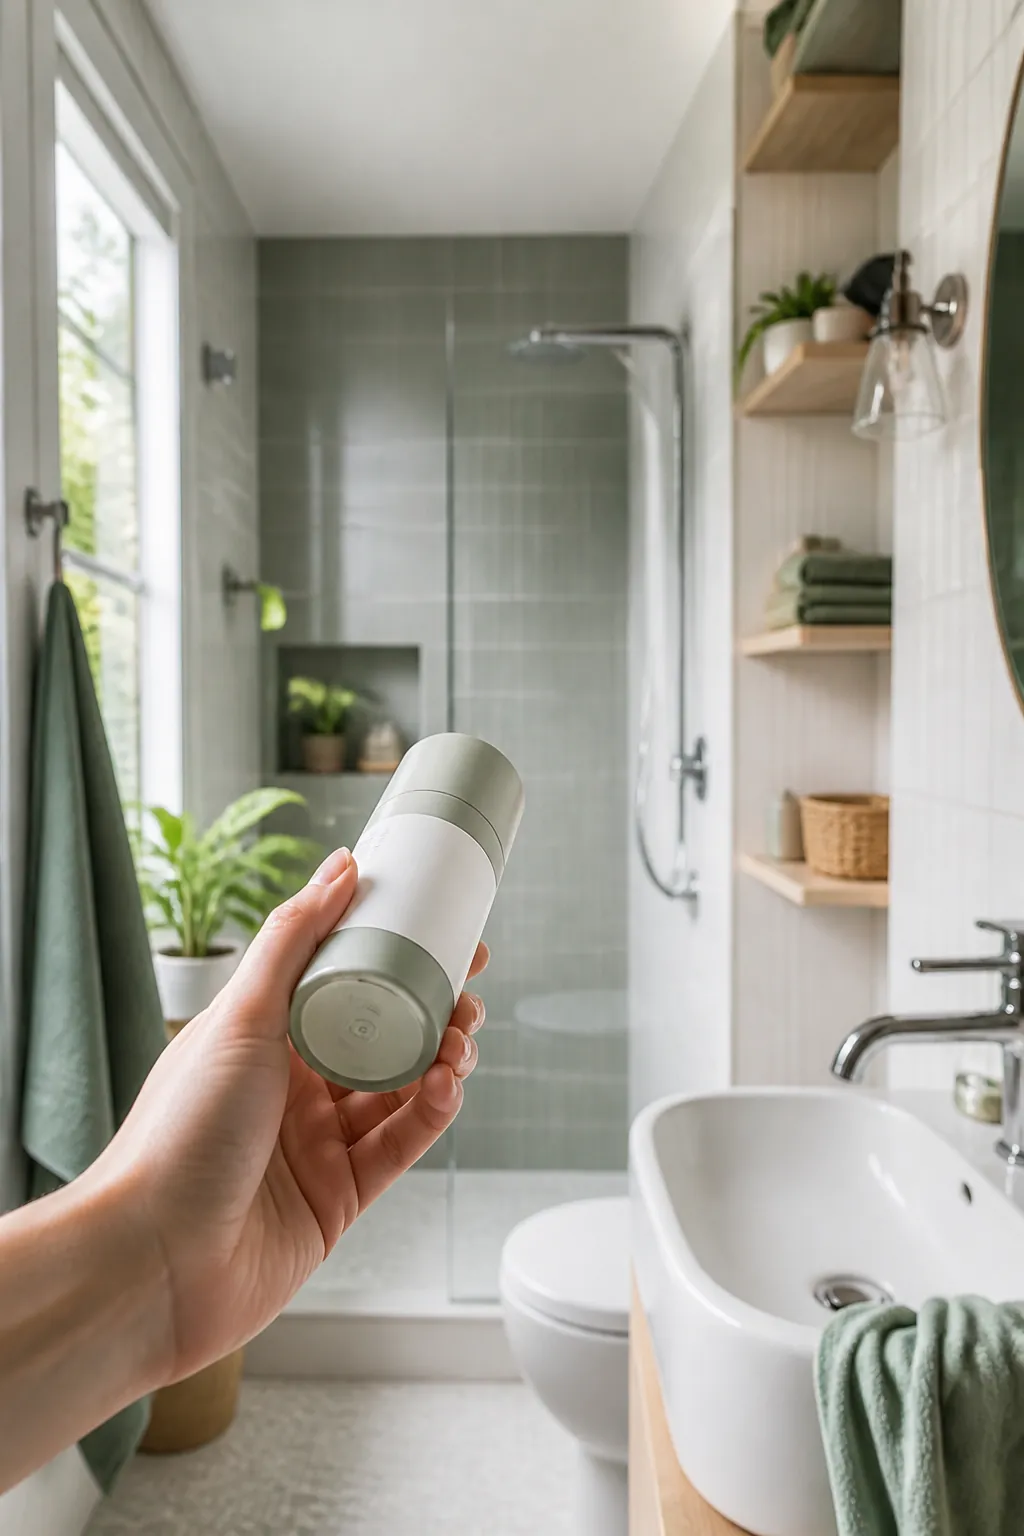
Most skincare packaging carries a small open-jar icon with a number and an M inside or beside it, the Period After Opening symbol, showing how many months a product is good for once it has been opened. A 6M cream and a 24M serum age at very different rates, and neither ages by smell alone until well past the point where it has already lost effectiveness.
Check the drawer once a month against those numbers rather than by how a product looks or smells. Anything that has changed color, separated, or developed a texture change gets tossed regardless of what the symbol says, since a visible change means the formula has already broken down faster than the label predicted.
Where to start
Measure the drawer’s vertical clearance first, since that number decides which bottles can stand and which have to move out entirely. Divide what is left by routine step rather than product type, keep pumps and actives where reach and heat exposure actually matter, and let the backups live somewhere else so the drawer never grows past what a real morning and evening routine needs.
None of this requires anything permanent. Every tray and stackable drawer here lifts straight out at move-out, which matters if you are working through a full bathroom drawer organization system rather than just the skincare portion of it.