An air fryer takes up roughly the same footprint as a stacked pair of mixing bowls, but it weighs twelve pounds and comes with a cord, which is why it ends up parked on the counter permanently instead of stored anywhere at all. Small appliance storage in a cramped kitchen fails for a specific reason: cabinets are sized for dishes, not for boxy, heavy, corded objects that someone has to lift out and put back several times a week. The fix isn’t fewer appliances. It’s matching each one to the kind of storage that actually survives daily use.
1. Measure the appliance, not just the cabinet, before you buy anything
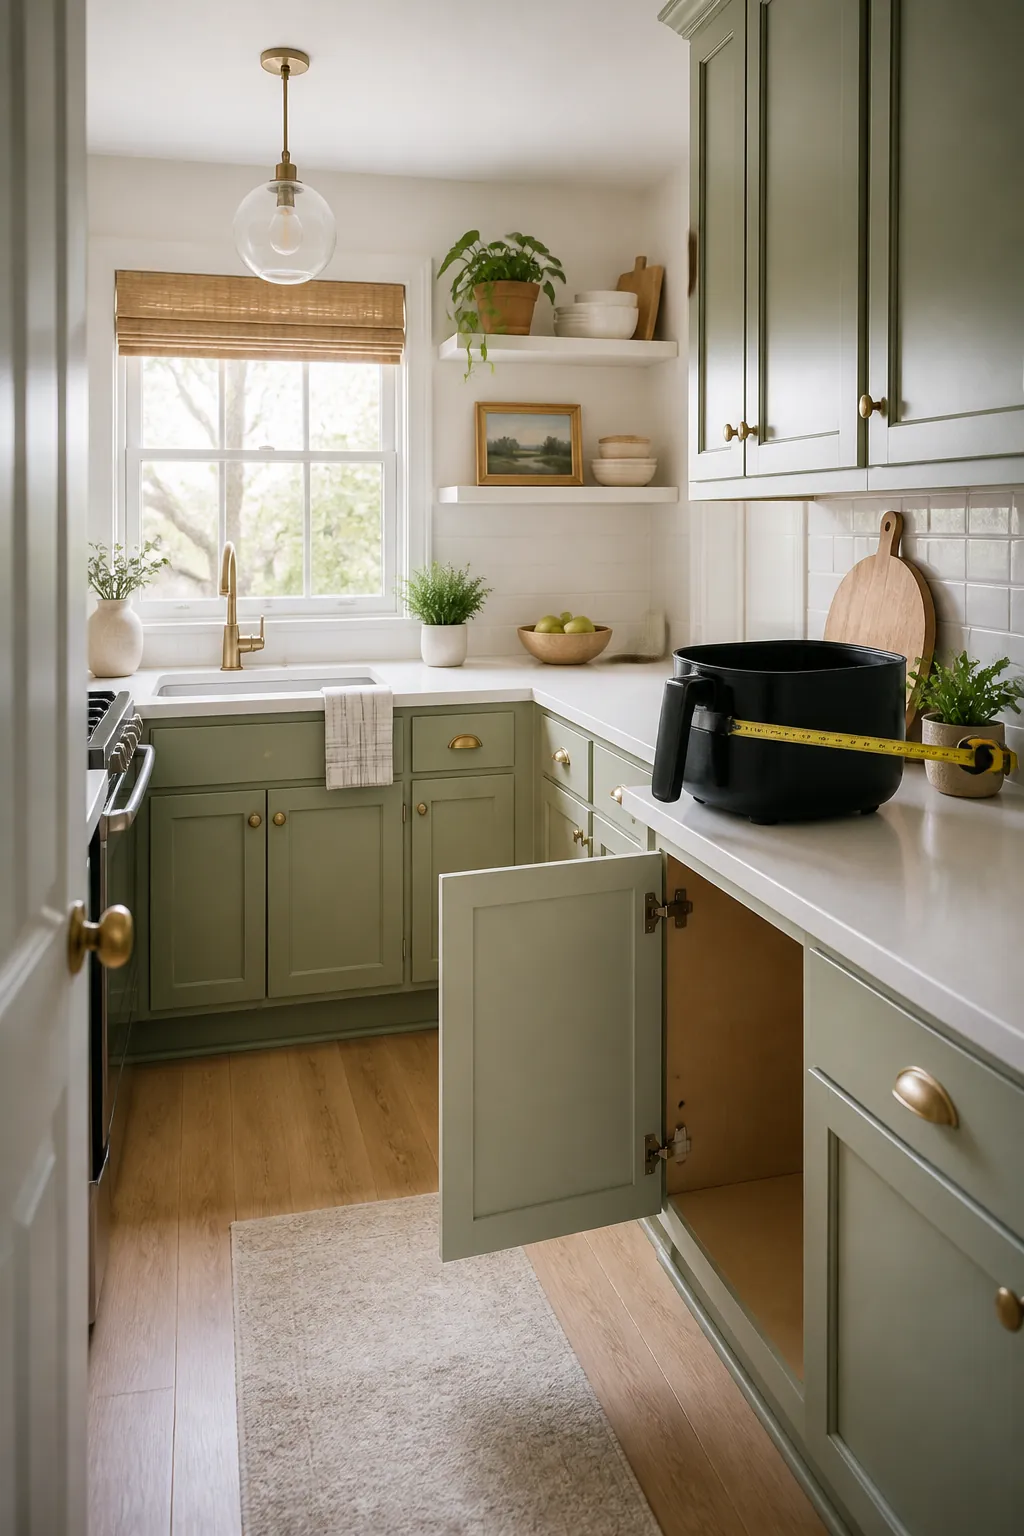
A standard air fryer basket runs about 13 by 13 by 13 inches, a stand mixer with the head tilted up needs close to 17 inches of vertical clearance, and a multi-pot slow-cook appliance with its lid on adds two to three inches to whatever the base alone measures. Cabinet listings quote interior width and depth, but the number that kills most purchases is height, specifically the gap between a fixed shelf and the one above it. Measure your tallest appliance with its lid or attachments in the position you’ll actually store them, then check that number against the shelf gap before ordering anything.
Also weigh what you’re storing, not just size it. A food processor with its bowl and blade attached can run 10 to 14 pounds, and a stand mixer closer to 25. That number determines whether a shelf, a riser, or a sliding tray is even rated to hold it, and skipping this step is how people end up with a sagging shelf or a riser that buckles under a mixer it was never meant to carry.
2. Give a shelf riser to the appliances that share a cord length
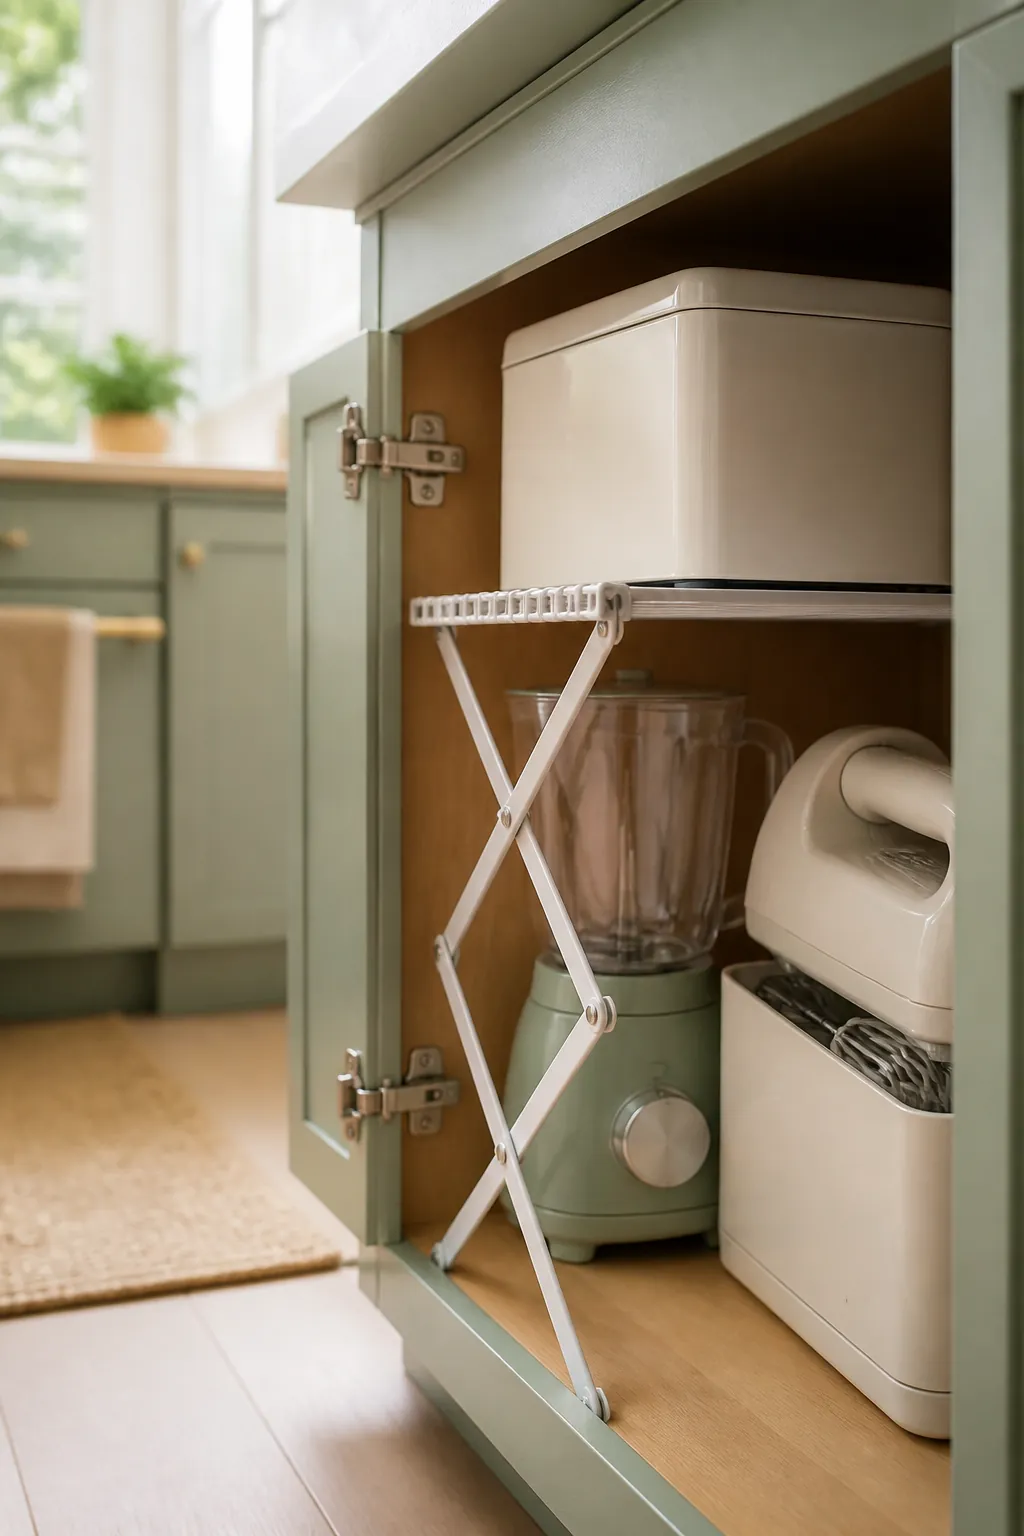
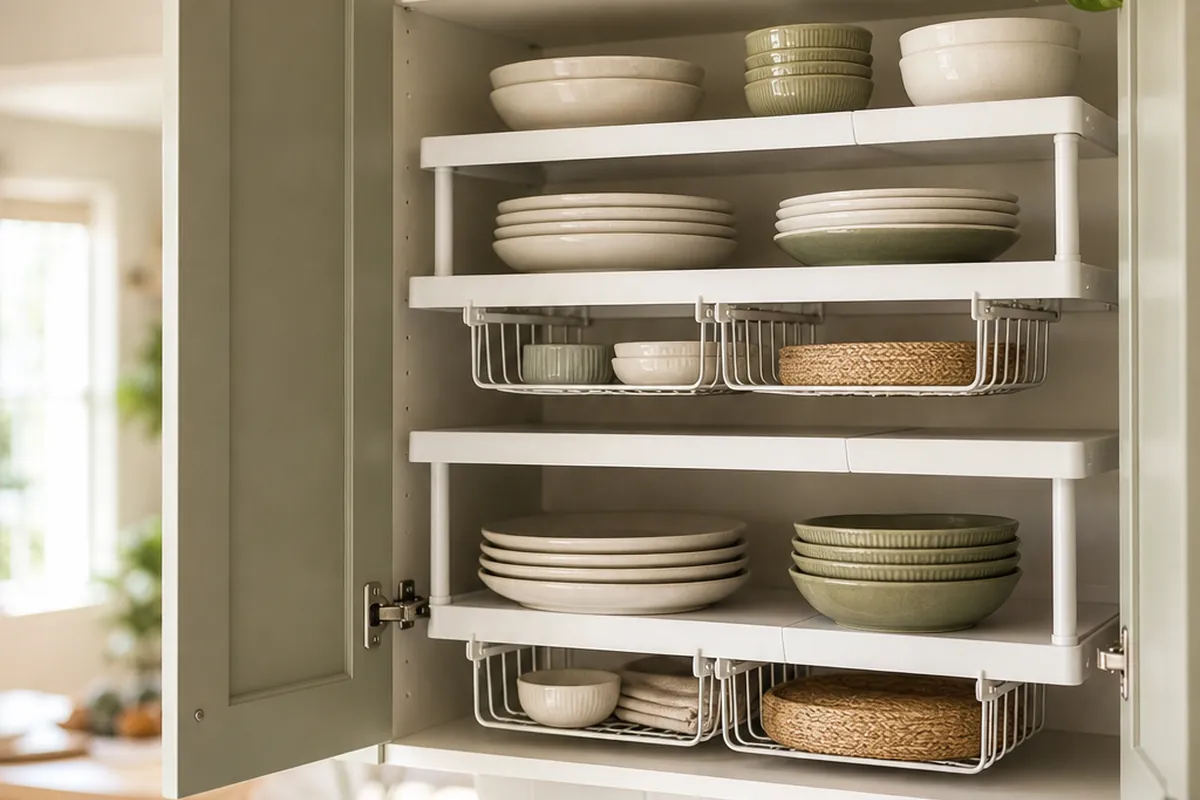
An expandable cabinet shelf riser works for small appliances the same way it works for plates: it turns one shelf into two, provided everything underneath is roughly the same height. A blender base, an immersion blender in its stand, and a hand mixer in its case are usually close enough to share a riser, freeing the space above for a second, taller appliance instead of six inches of dead air. Skip the riser on anything over eight inches tall, since a tilted air fryer wedged under one will crack the riser’s legs the first time someone forces it back in.
3. Put your daily appliance on a pull-out shelf instead of lifting it
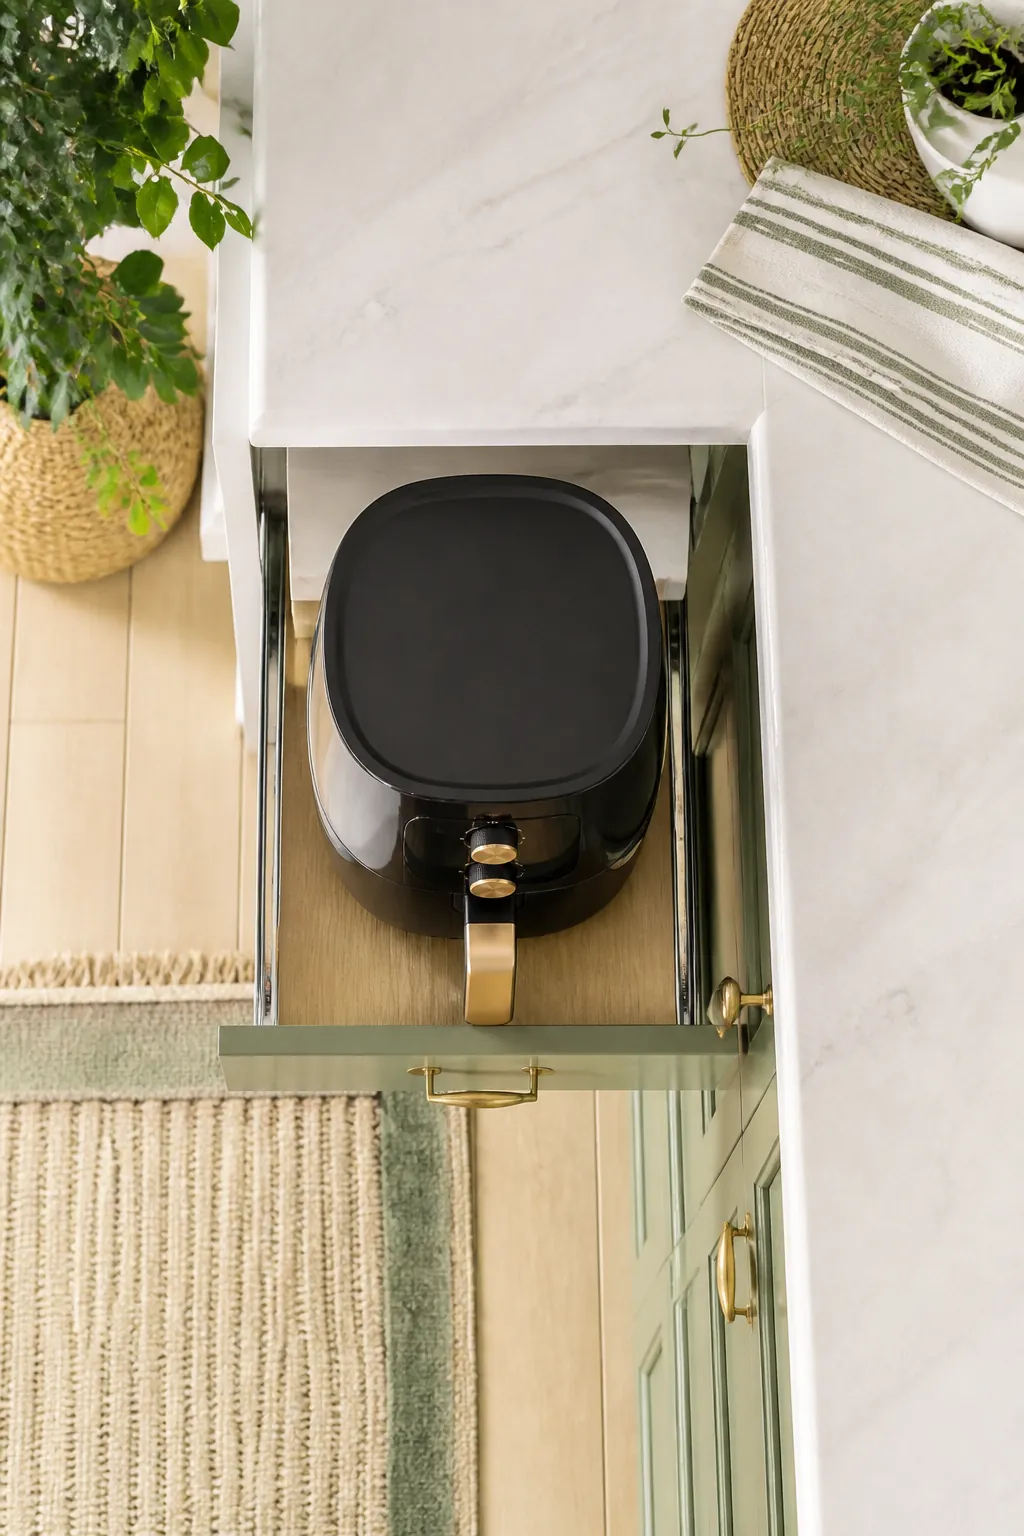
If you use one appliance most days, the problem was never storage capacity. It was the two-handed lift required to get it out and back every single time. A pull-out cabinet organizer on a sliding tray solves that by bringing the appliance to the cabinet opening instead of making you reach past three inches of face frame to grab it. Freestanding versions sit on the cabinet floor with no screws, which is the version renters want, and most hold 20 to 30 pounds before they start dragging, enough for a stand mixer or a food processor but not that appliance plus a stack of bowls on top of it.
4. Send the once-a-week appliance to the corner lazy Susan
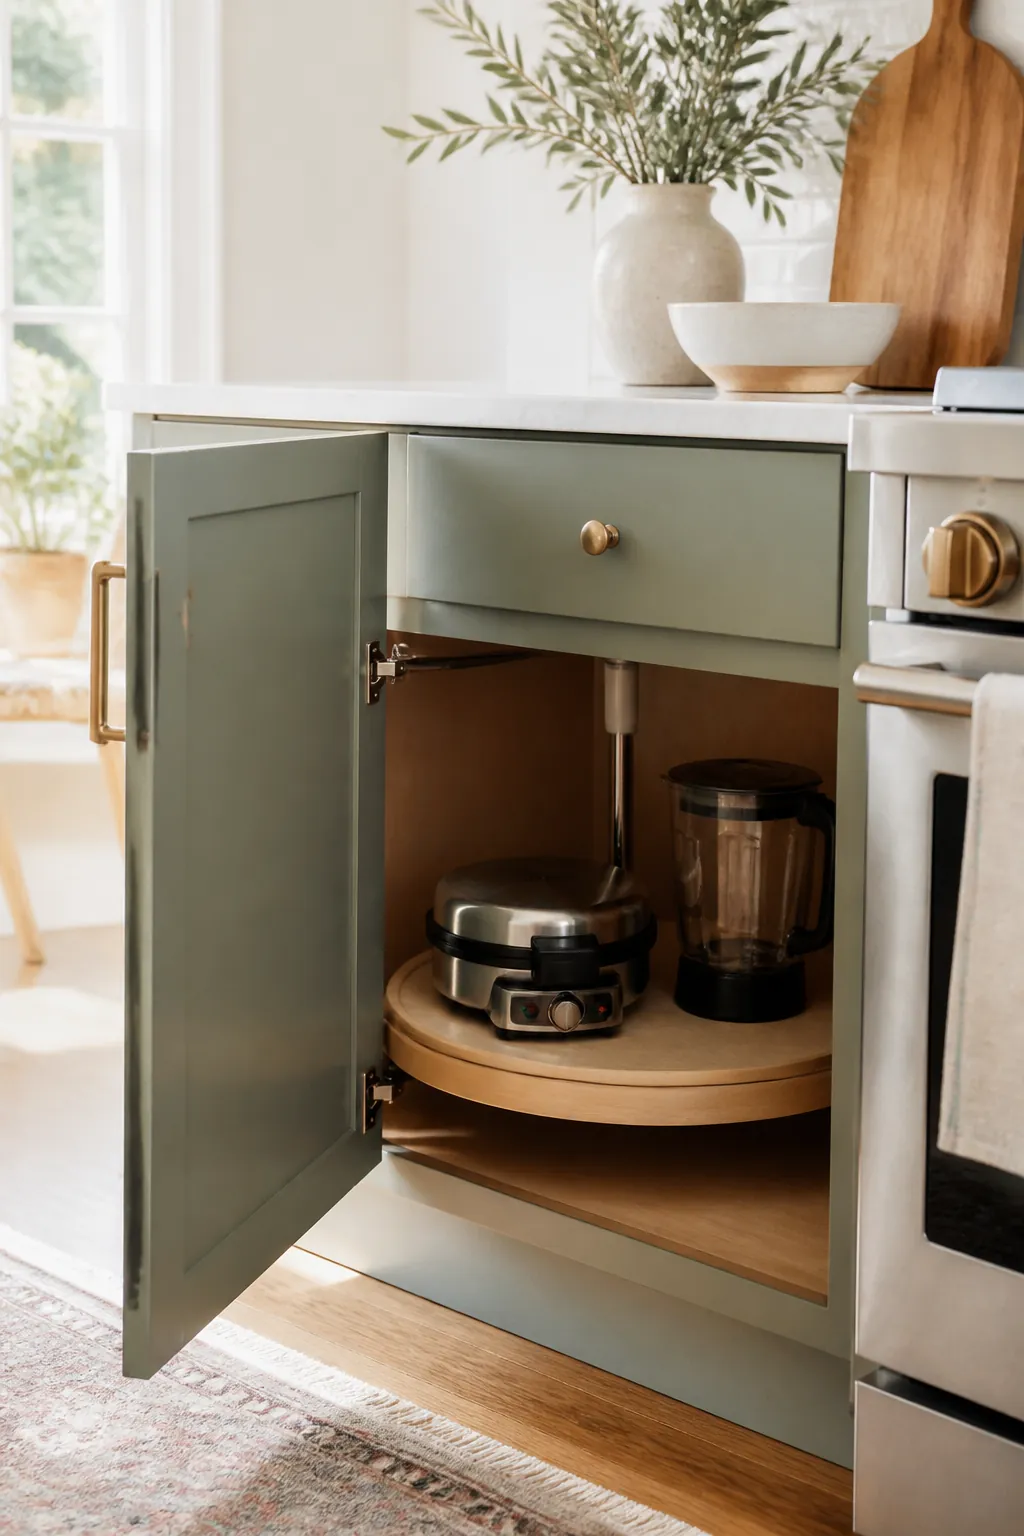
Blind corner cabinets waste more volume than any other spot in a small kitchen, and appliances used weekly rather than daily are the right thing to put there. A turntable lazy Susan organizer spins the whole load toward the door instead of leaving a waffle iron wedged eighteen inches back where a hand can’t reach it without emptying the shelf first. Give the corner to appliances with a round or roughly square base. Anything with a long handle or a protruding cord catches on the turntable’s edge and stalls the spin halfway around, which defeats the entire point.
5. Build a countertop appliance garage under the upper cabinets
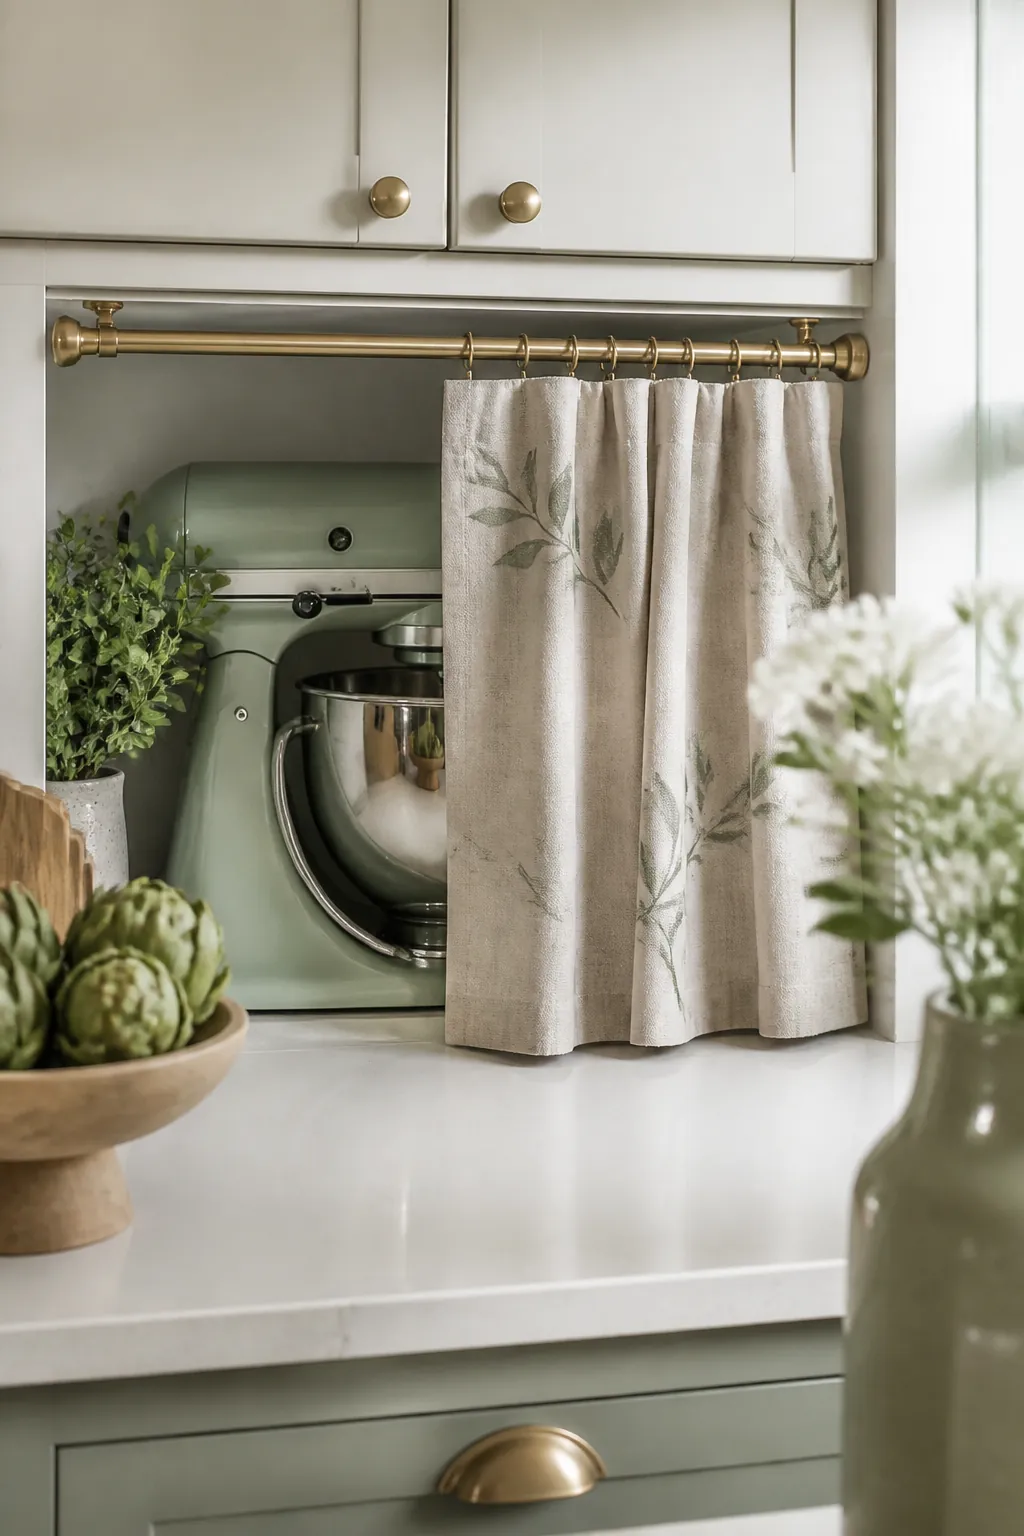
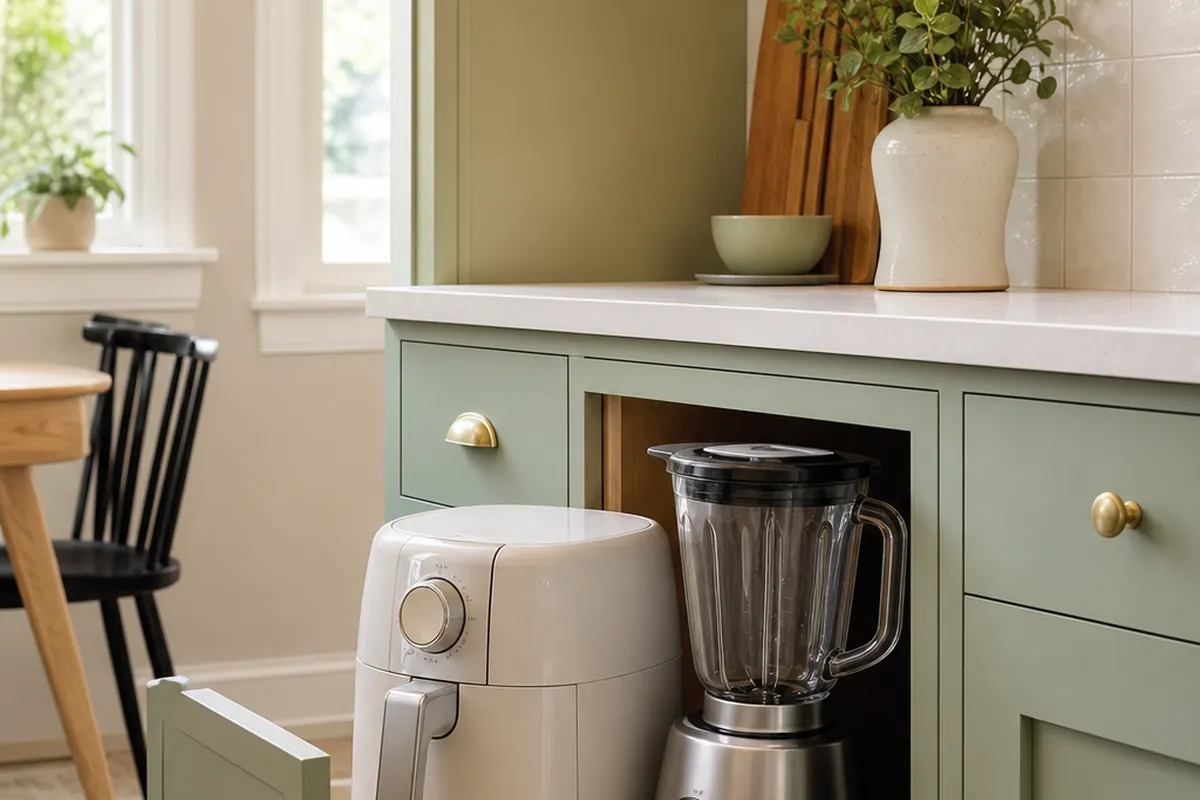
A true appliance garage, a cabinet with a roll-up or swing-out door positioned right where an appliance already sits on the counter, hides it in place without ever unplugging it. That’s a renovation most renters can’t do, but the effect is fakeable: mount a short tension-rod curtain across the front of a corner counter section, or dedicate the bottom shelf of a wall cabinet directly above an outlet to one appliance that lives there, plugged in, door closed between uses. The appliance never gets lifted, which is the entire reason garages work better than any drawer.
Check the outlet position before you commit to a spot. A garage built two feet from the nearest plug just relocates the cord problem instead of solving it, and a cord stretched across an open cabinet door is a spill waiting to happen the first time someone reaches past it with a coffee cup.
6. Tame cords before they turn into a fist-sized knot
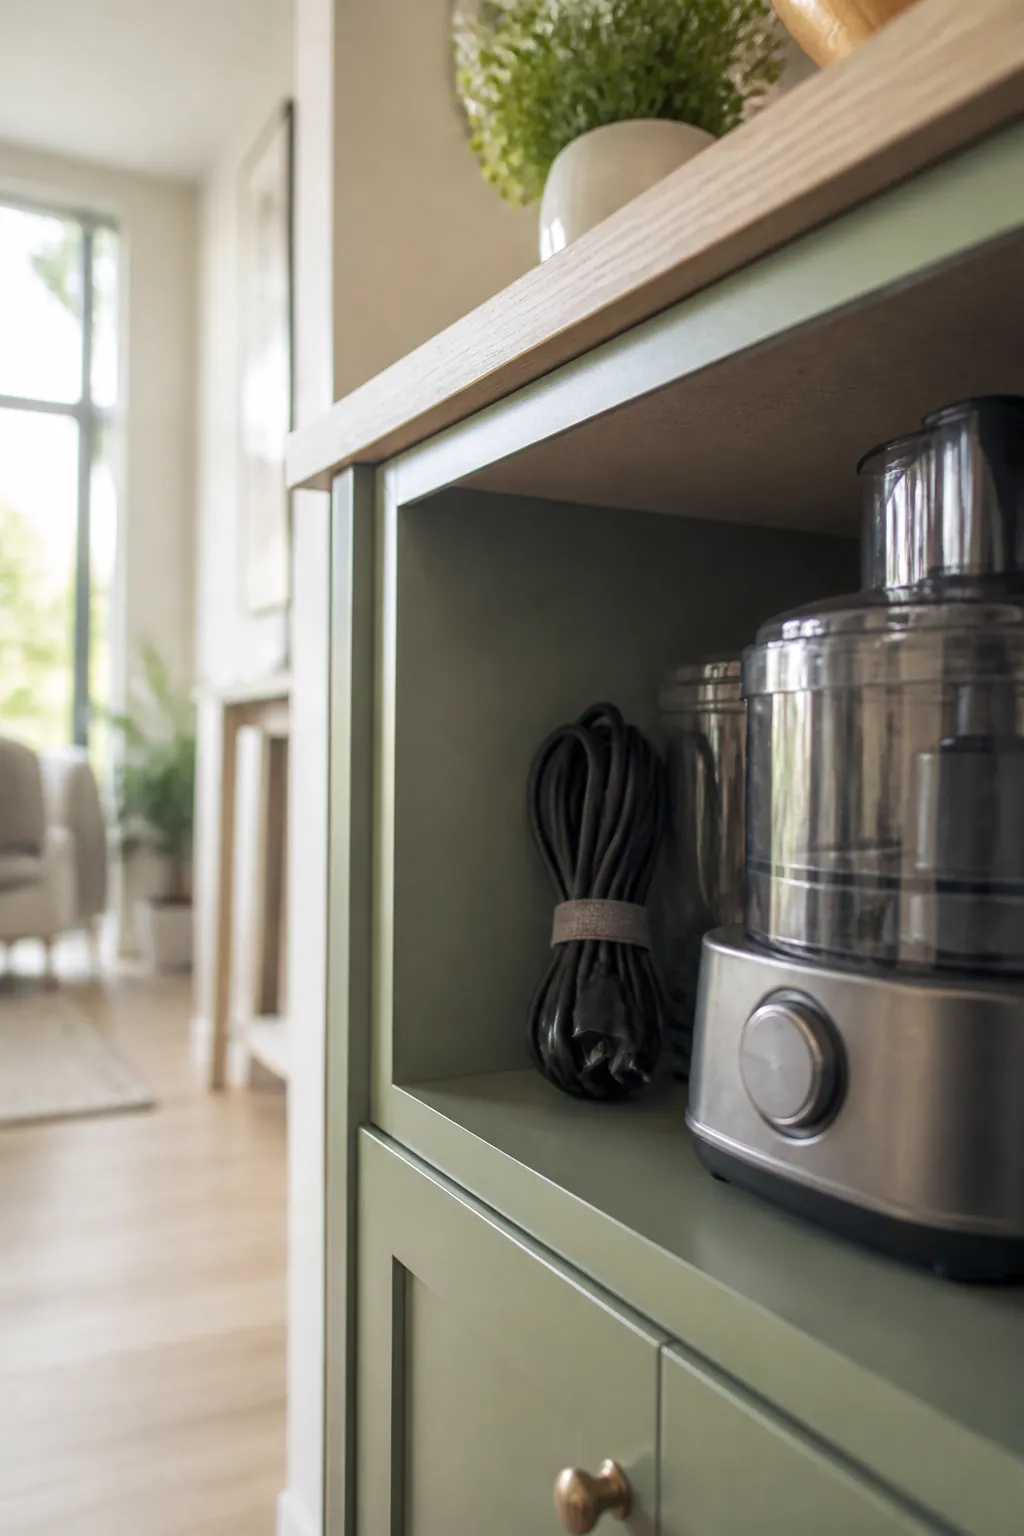
Three loose appliance cords sharing one cabinet shelf will find each other within a month, and the resulting knot is what makes people quit on cabinet storage and leave everything on the counter instead. Wrap each cord around its own appliance’s base and secure it with a hook-and-loop strap before the appliance goes on the shelf. It adds ten seconds to putting something away and removes the five minutes of untangling that otherwise happens every time you need the one appliance buried at the bottom.
7. Nest and stack interchangeable parts instead of storing each separately
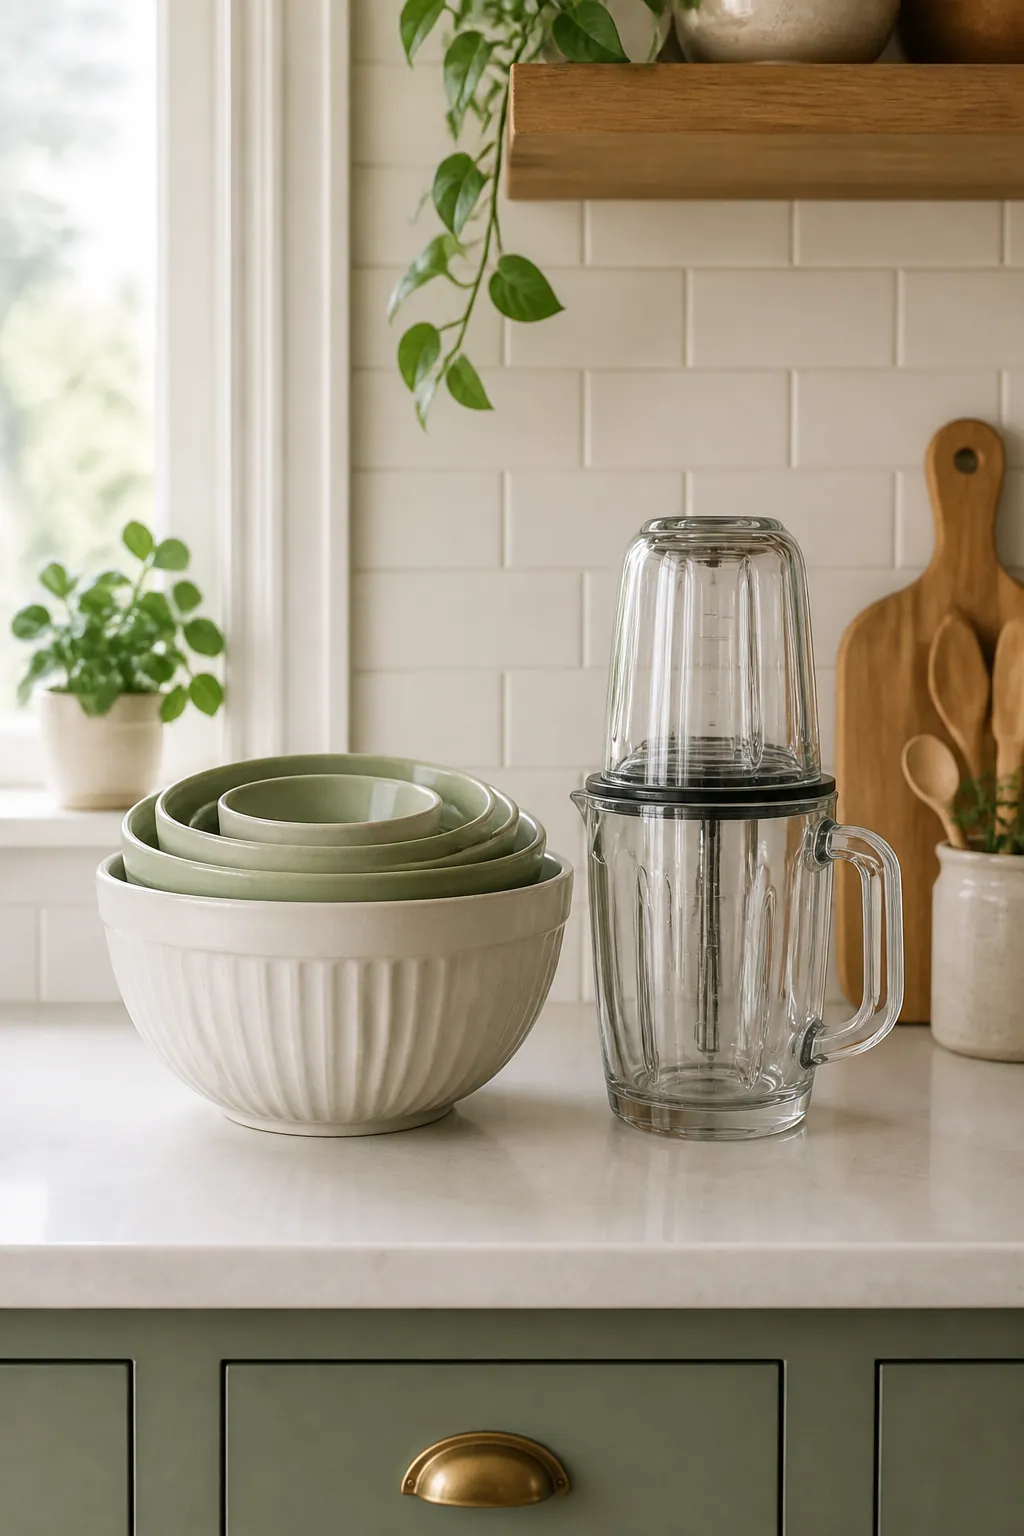
A food processor’s extra blades, a blender’s spare jar, and a hand mixer’s whisk attachments take up disproportionate space when each gets its own spot. Nest what nests: nested mixing bowls inside each other, blender jars stacked lid-down inside one another when the base shape matches, and everything else corralled in one small bin rather than scattered loose across a shelf. The goal is one bin per appliance family, not one slot per part, since loose attachments are what eventually get shoved into a junk drawer and lost.
8. Run the one-appliance rule on your countertop
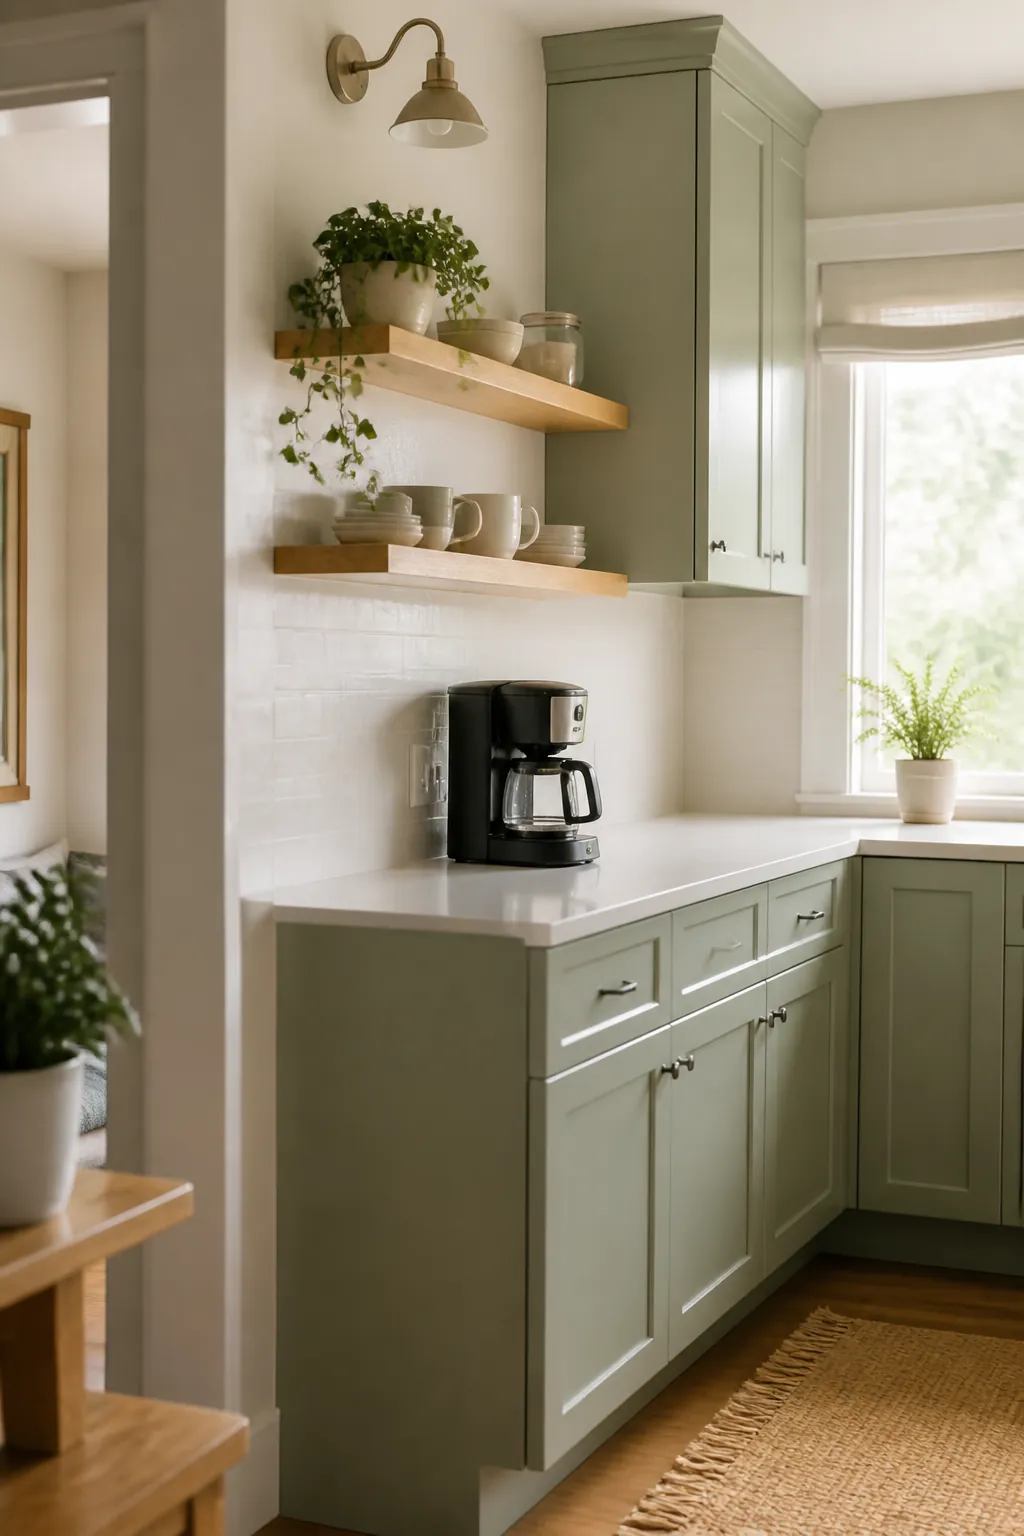
Counter space in a small kitchen is the most valuable storage you own, and it should go to exactly one appliance you use four or more times a week, not three you use occasionally out of convenience. Everything else earns a spot in a cabinet, on a riser, or on a pull-out shelf, ranked by how often it comes out. An appliance you reach for twice a month has no business claiming permanent counter real estate that a daily-use item could occupy instead.
9. Rotate the seasonal appliance out of the kitchen entirely
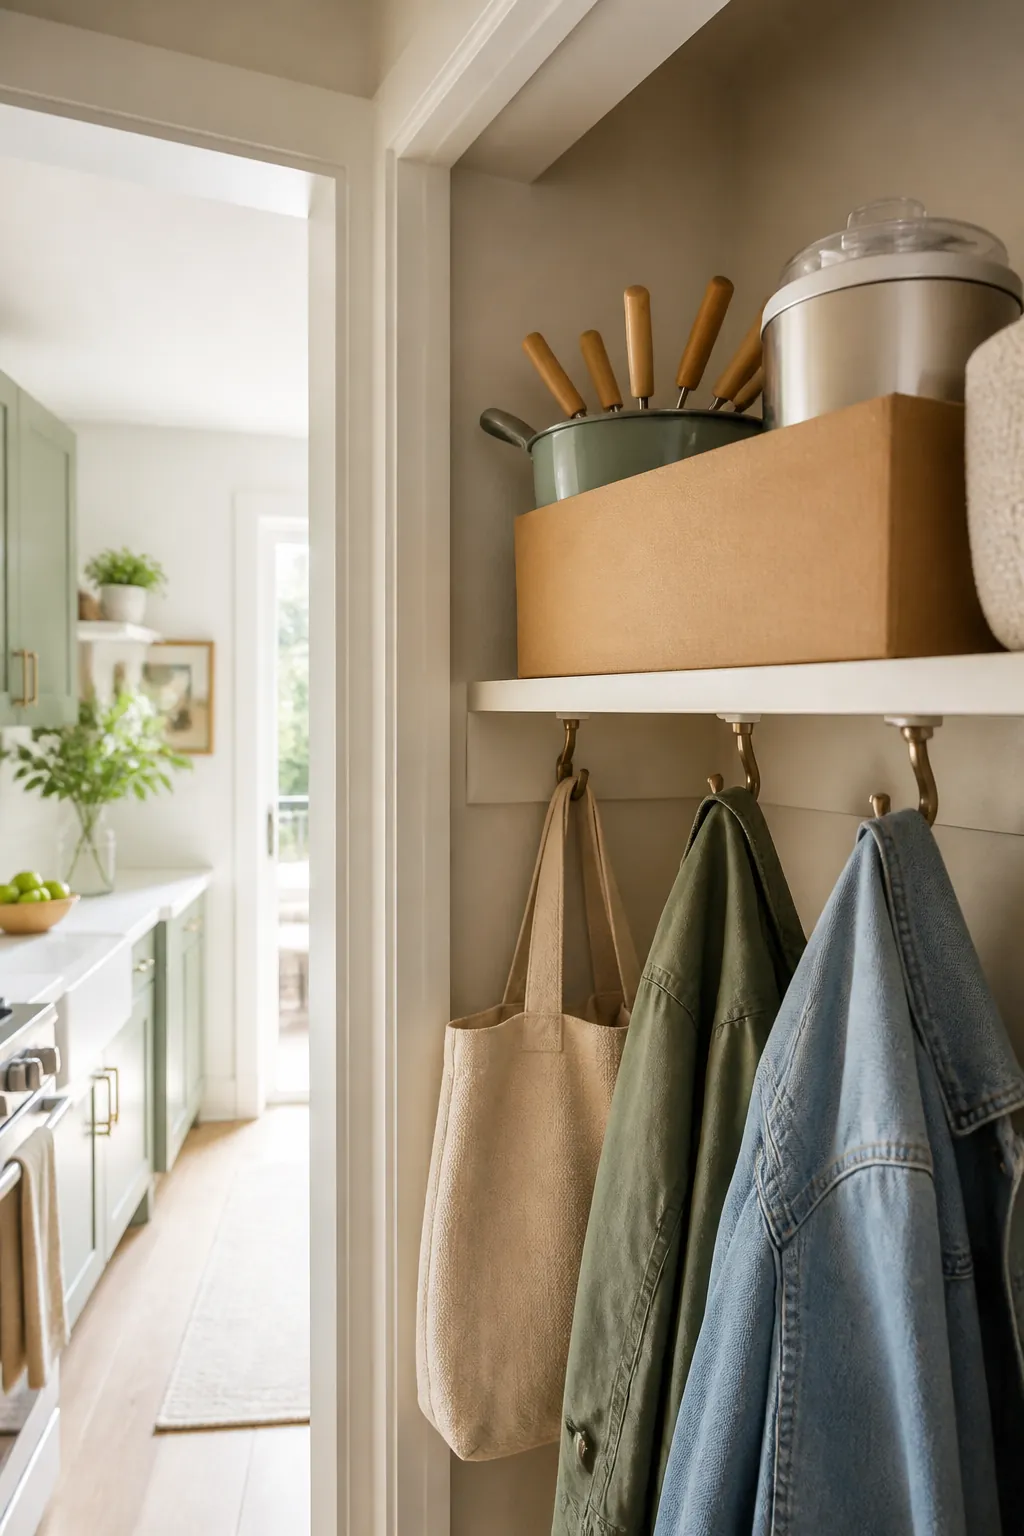
A turkey roaster, an ice cream maker, or a fondue set used once or twice a year doesn’t belong in a kitchen cabinet competing for space with things in weekly rotation. Box it, label it by season, and move it to the highest shelf of a hall closet or a bin under the bed instead. Clearing that one seasonal appliance out of the kitchen usually frees more usable shelf space than any organizer bought to work around it.
Where to start
Start by matching your most-used appliance to a pull-out shelf so lifting stops being the reason it lives on the counter, then give the shelf riser to whatever shares its height in the same cabinet. The lazy Susan and the cord straps come next, once you know which corner is going to waste and which cabinet has turned into a tangle. Anything used less than once a month doesn’t need a kitchen solution at all. It needs to leave the kitchen.