Measure the gap between your bottom shelf and the tops of the plates sitting on it. If there’s more than four inches of empty air up there, you’ve just found the problem with your cabinets, expressed as a number. Most kitchen cabinet organization failures have nothing to do with owning too much stuff. They come from vertical space nobody ever claimed, and the fix is mechanical rather than motivational.
Twelve moves follow, ordered roughly by how much space they give back per dollar and per minute of effort. A few will look too obvious to bother with. Those are the ones to do first.
Kitchen Cabinet Organization Starts With the Dead Air Above Your Stacks
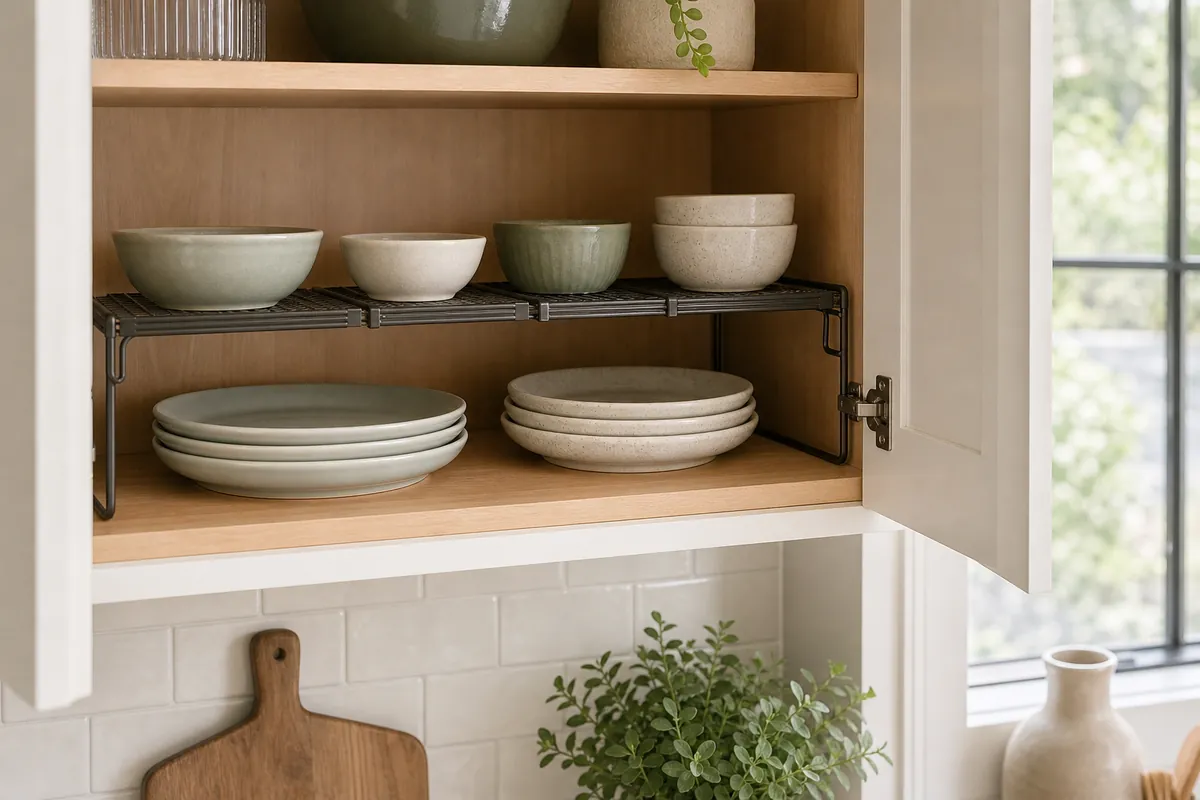
1. Add an expandable cabinet shelf riser over the plates
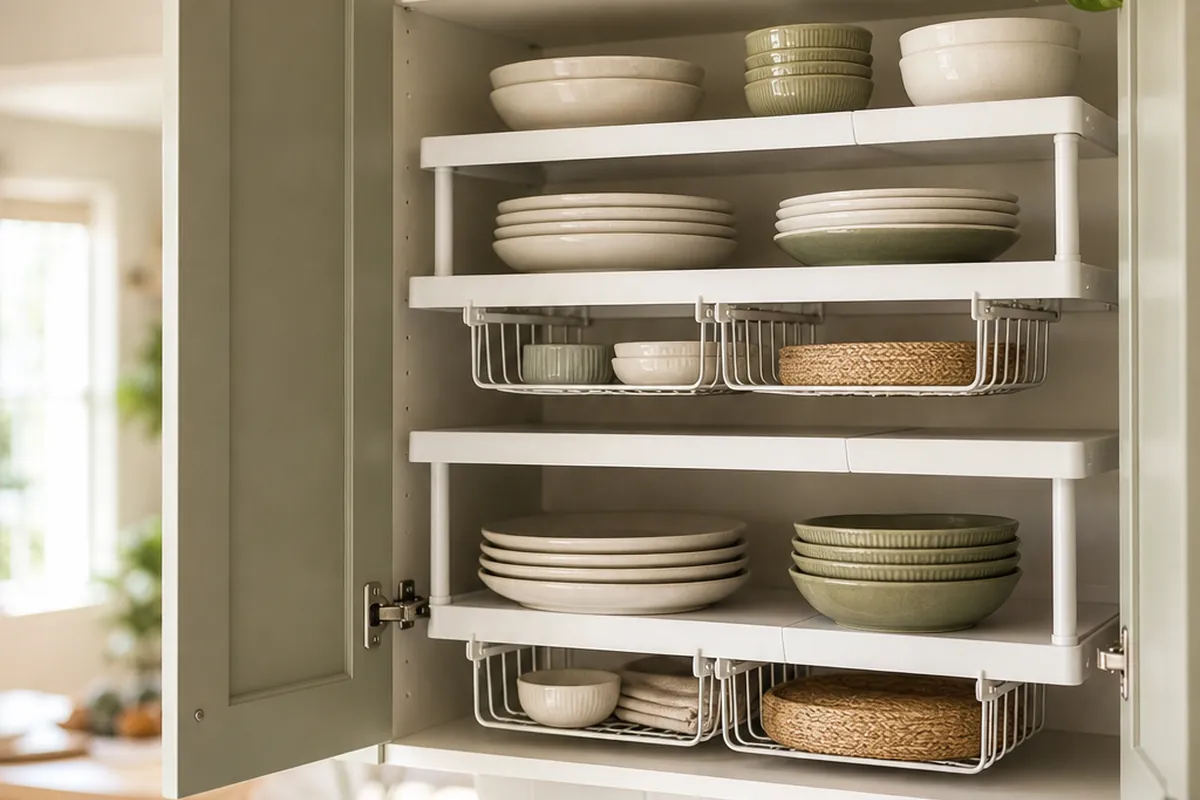
This is the highest-yield change in any cramped cabinet. An expandable cabinet shelf riser straddles a stack of plates or bowls and creates a second surface at roughly the halfway point, so short items stop burying each other. Why expandable? Cabinet widths vary wildly between apartments, and a fixed-width riser that leaves a two-inch strip of unusable shelf on one side is just a smaller shelf with extra steps.
Risers pay off where item heights are consistent: plates, saucers, prep bowls, matching storage containers. Skip them on any shelf holding mixed heights. Nothing sours faster than lifting a riser off its legs every time you want the stock pot.
2. Sort by height before you sort by category
Organizers love categories. Cabinets only care about height. Put the tall things together (cereal boxes, oil bottles, the blender jar) on one shelf, corral the short things on another, then riser the short shelf. Loose categories can still live inside that framework, but there’s no reason for the pasta box to sit beside the tea bags just because they’re both technically dry goods.
3. Move seasonal and single-use items out of the kitchen
The bundt pan. The punch bowl. The turkey roaster that appears once a year. Those are storage items wearing a kitchen costume, and they belong in a hall closet, on top of an armoire, or in a lidded bin under the bed. Clearing one shelf this way outperforms anything you can buy.
Hang Things From the Shelf You Already Have
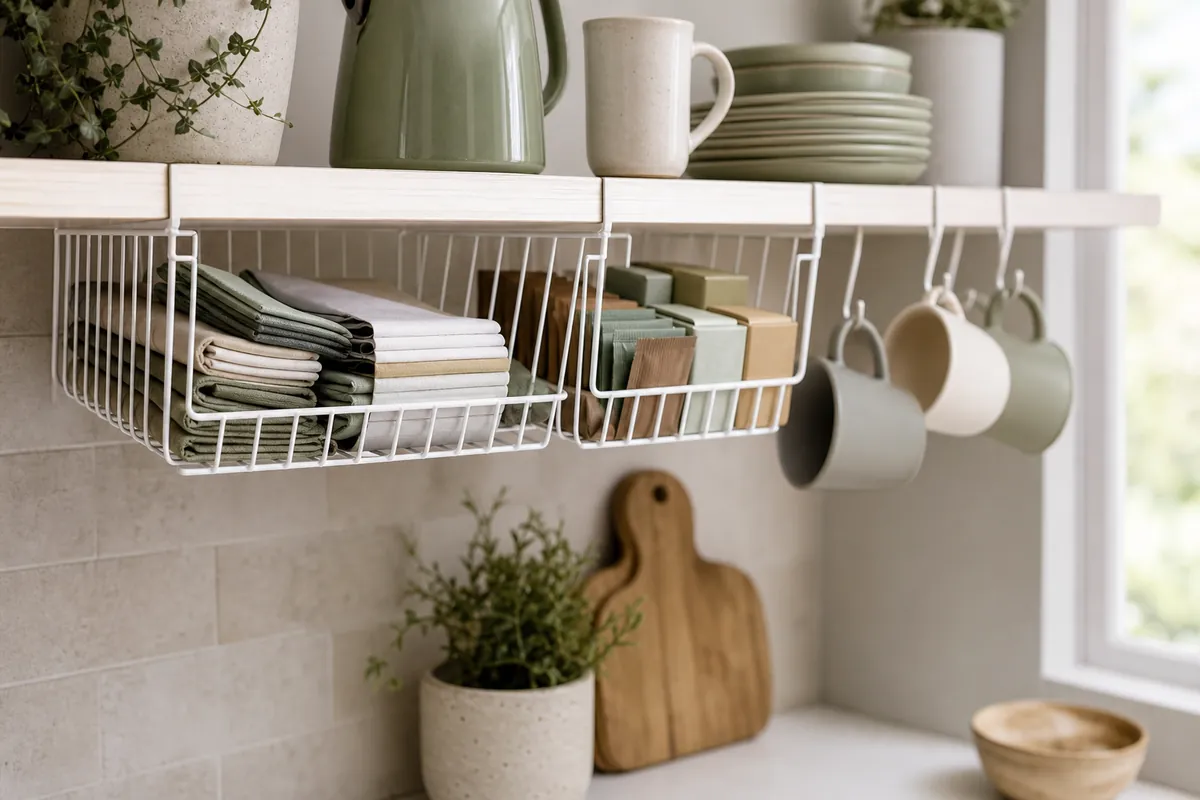
4. Clip on under-shelf hanging baskets
Under-shelf hanging baskets slide onto the front lip of a shelf and hang in the gap beneath it, turning wasted headroom into a shallow drawer. For cabinets with fixed, non-adjustable shelves (which describes most rentals), they’re the right answer. Fill them with light, awkward, unstackable things: napkins, tea sachets, packet mixes, coffee filters, that box of foil pouches that refuses to sit flat.
Two things to check before you order. First, shelf thickness, because thick particleboard shelves won’t fit a slim clip, and the listing will tell you the maximum it accepts. Second, weight. A basket loaded with cans will bow a thin shelf over months, and you’ll notice when the cabinet doors stop lining up.
5. Hang mugs instead of stacking them
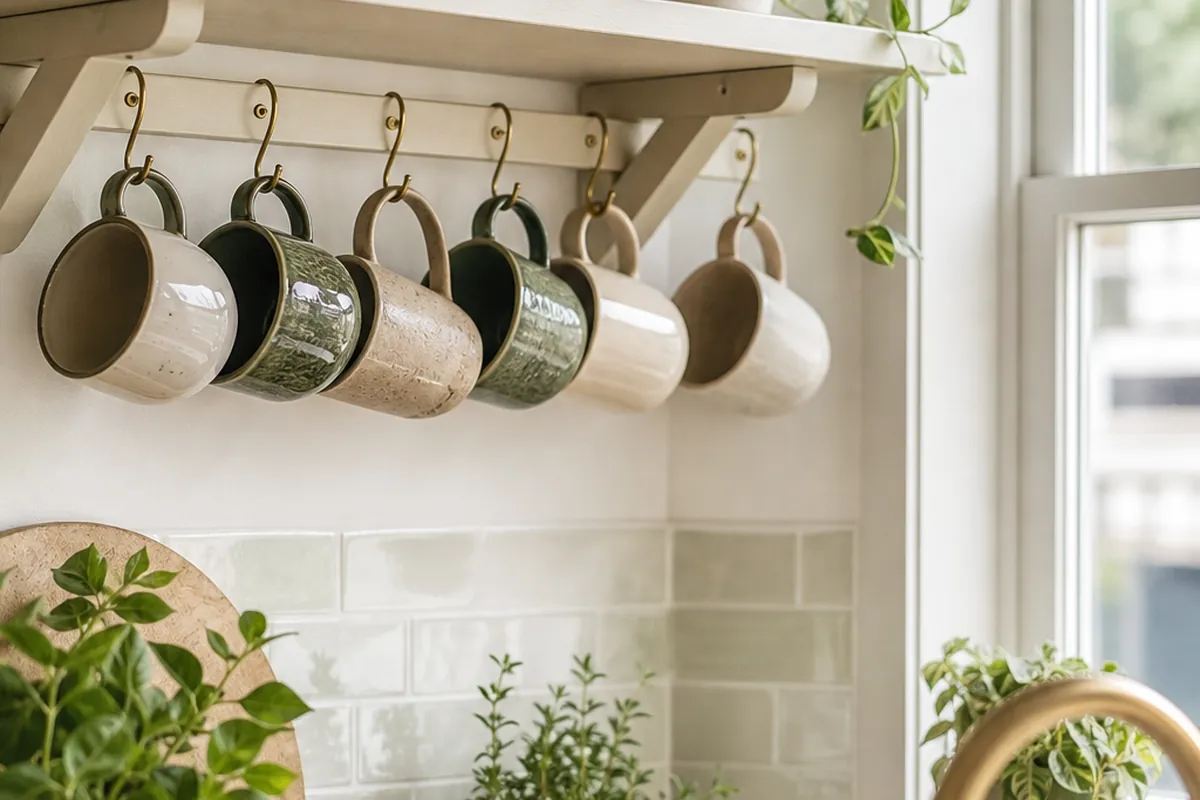
Mugs are the worst stackers in the kitchen: handles collide, nothing nests, and one wobbly tower eats a whole shelf. Small adhesive hooks or a slim under-shelf mug rack lets them hang in a row, which frees the space above for something with a flat top. Renters should match the hook to the actual weight of a full mug, then remove them later with a hair dryer and a length of dental floss.
6. Use the inside of the doors, carefully
Adhesive slim racks or clip strips on the door interior hold spice jars, sponges, or measuring spoons where you can see them. Test the swing with the item in place before you commit the adhesive. Half an inch of overhang means the door never quite closes, and that’s the kind of annoyance you notice on day three and resent by day ten.
The inside of the door is the other surface that is doing nothing, and inside cabinet door organizer ideas for a small kitchen covers what each door can hold without stopping it closing.
Make the Back of the Cabinet Reachable
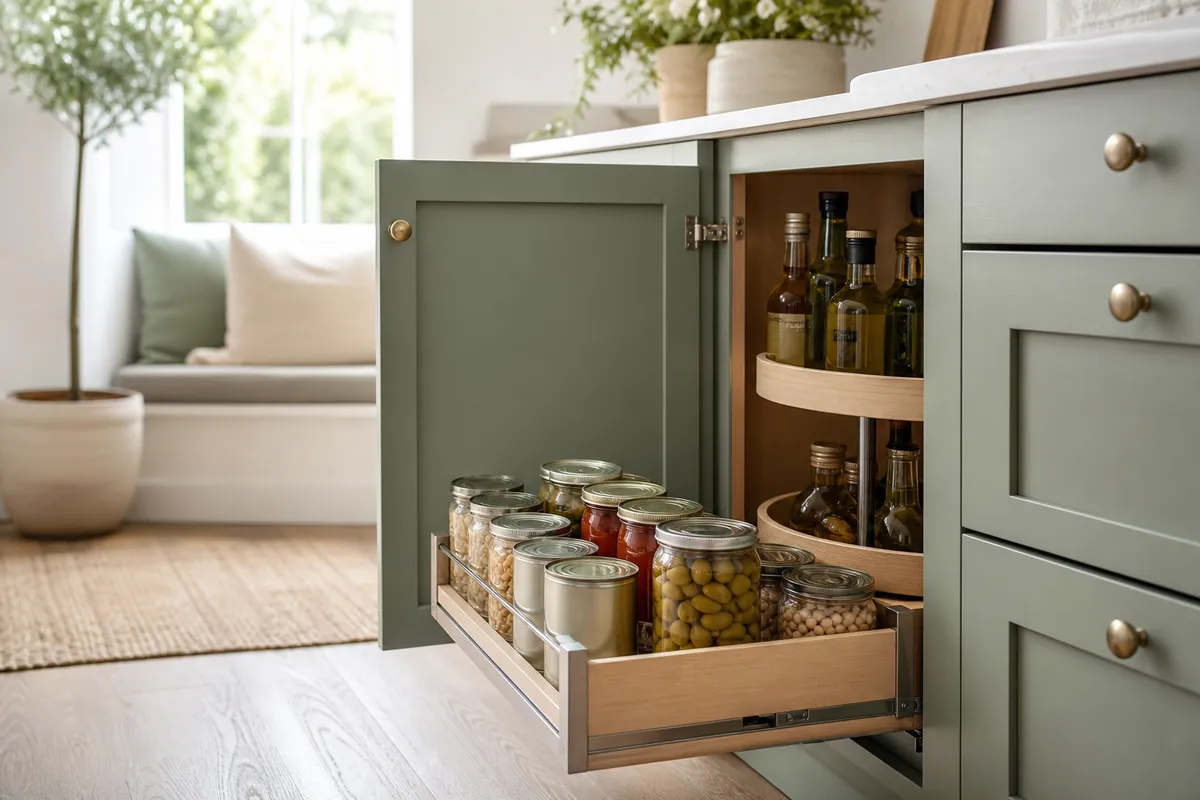
7. Install a pull-out cabinet organizer in deep base cabinets
Standard base cabinets run about two feet deep, and unless something slides, the back third turns into a graveyard of duplicate cans. A pull-out cabinet organizer on a sliding tray brings the whole contents forward in one motion, which is the difference between eating your canned tomatoes and buying a fourth tin of them. Give it the heavy, dense items: cans, jars, bottles, a squat food processor.
Freestanding models simply sit on the cabinet floor and glide, no hardware involved, and that’s the version renters want. They handle roughly a grocery bag’s worth of weight before they start dragging. Screw-mounted trays run smoother under real load, so if your lease tolerates a few small holes inside a cabinet (plenty do), spend that goodwill on the cabinet you open most.
8. Turn a corner cabinet into a lazy Susan zone
A two-tier turntable fixes the geometry problem in a blind corner that no shelf can solve. Oils, vinegars, and sauces belong here, spinning their labels toward you instead of hiding behind each other. Use one per cabinet rather than three, or you’ll be rotating a queue of trays to reach a single bottle.
9. Store in rows, not clusters
When things go back, put them in single-file rows running front to back instead of clumps. Rows let you grab the front item and see the one behind it. Clusters force you to move three jars to reach the fourth. It costs nothing, and it’s the habit that keeps the other eleven ideas working past week two.
File the Flat Stuff Vertically
10. Stand pot lids and baking sheets on edge
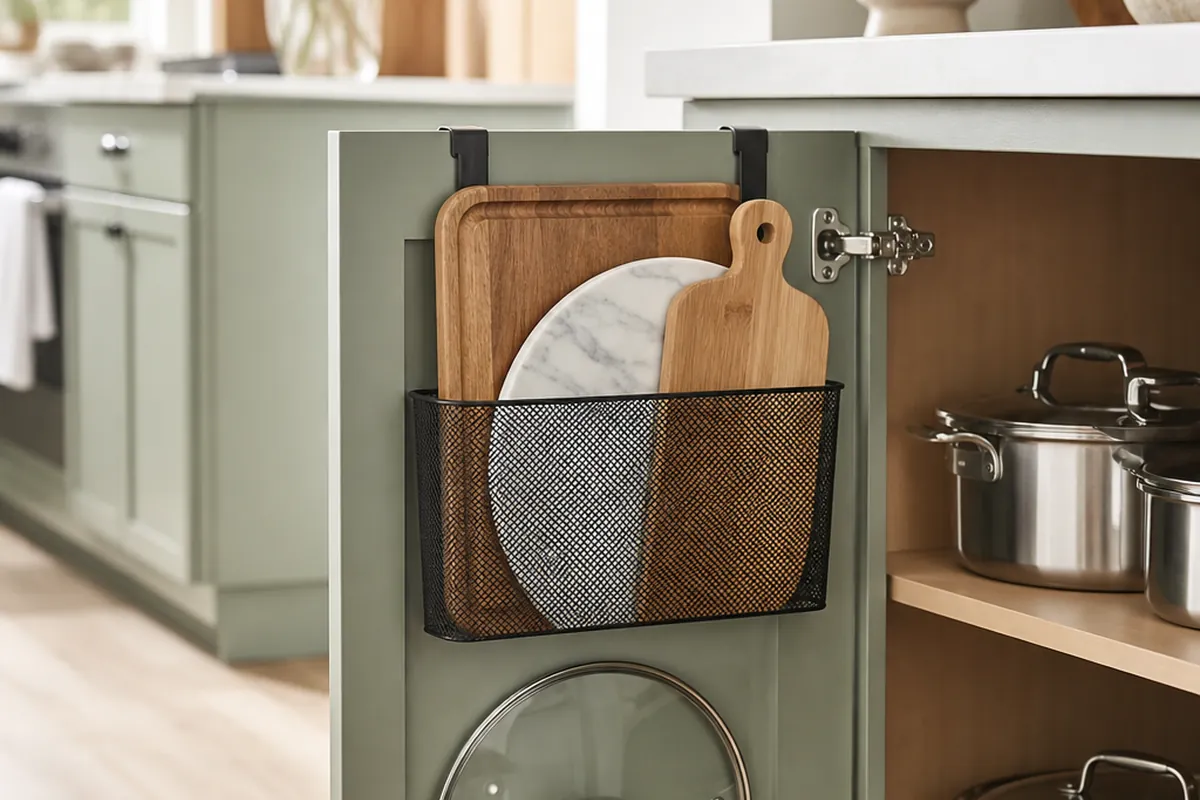
A wire file rack, or a pair of tension rods wedged upright, holds lids on their edges in a base cabinet. Baking sheets, cutting boards, and muffin tins slot into the same style of rack. Anything flat that you currently stack is charging you access to whatever sits underneath it.
11. Nest pots but split off the lids
Store pots inside each other and send every lid to that separate vertical rack. The routine sounds fussy for about a week, then it stops registering, and it roughly halves the footprint. Cast iron and the one heavy Dutch oven stay on the bottom shelf near the front, where you never have to lift them over anything else.
12. Decant only what you’ll actually refill
Flour, rice, sugar, and pasta genuinely do shrink when they move into square containers, because square containers tessellate and floppy bags don’t. Leave the once-a-year ingredients in their packaging. A cabinet of half-labeled canisters you resent refilling is a worse outcome than the boxes ever were.
Which One to Buy First: Riser, Basket, or Pull-Out
If the budget stretches to exactly one purchase, the expandable cabinet shelf riser usually wins. It’s the cheapest way to invent a surface out of nothing, and it works in wall cabinets and base cabinets alike, provided the items underneath share a height.
Fixed shelves and a drift of small packets change the answer. Under-shelf hanging baskets need nothing but a shelf lip, they come off clean on moving day, and they solve the very specific misery of sachets sliding into a pile at the back.
Deep base cabinets stacked with cans point straight at the pull-out cabinet organizer. Install it in the cabinet you open five times a day rather than the one that photographs worst, because sliding beats reaching and you want that payoff on repeat.
Most cramped kitchens eventually want all three, in different cabinets, for different reasons. Buy one, live with it a couple of weeks, then decide on the next.
Where Kitchen Cabinet Organization Ends and the Rest of the Room Begins
Cabinets have a hard ceiling. Work through all twelve ideas and if food is still spilling onto the counter, the overflow belongs elsewhere in the room. Dry goods that won’t fit need a dedicated shelving setup, and pantry organization for a small space covers how to build one without a pantry closet. Renters who can’t drill should start with renter pantry organization with no drilling, which sticks to tension and adhesive.
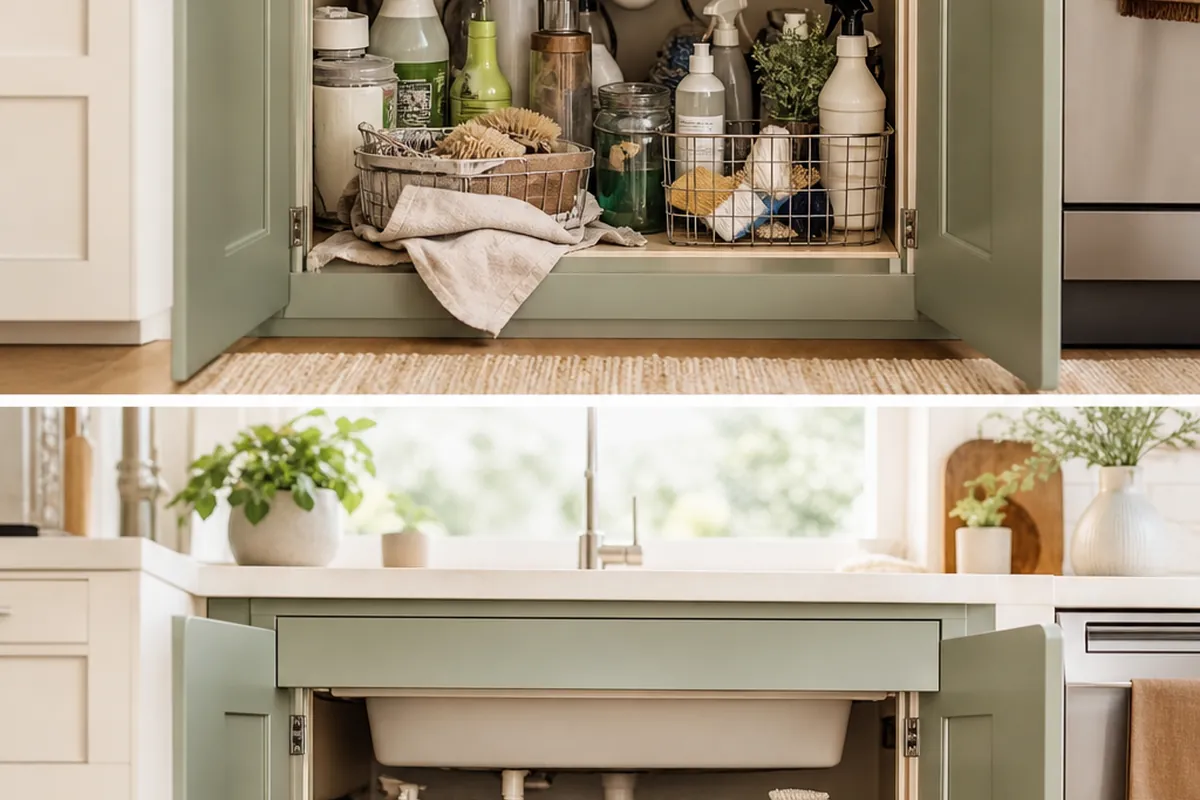
Under-sink cabinets play by their own rules, since plumbing destroys any tidy grid. Two-tier expandable racks that straddle the pipes are the fix, and the best under sink kitchen organizer picks walk through what actually clears a P-trap.
One more diagnosis worth ruling out: cabinets jam up when appliances colonize the counter and push everything else inside. In that case, fix the counter first. Getting counter space back in a tiny kitchen attacks the problem from that end.
Mugs are the usual first thing to move out of the cabinets, and mug storage ideas for a kitchen with no cabinet space covers where they go once they do.
A Realistic One-Weekend Kitchen Cabinet Organization Plan
Resist emptying every cabinet at once. That’s the version where the project stalls with your dishes stacked on the floor and a bag of rice on a chair.
Saturday morning, pick your worst cabinet. Empty it fully, wipe the shelf, and return only what you’ve reached for in the last three months. Measure three things: shelf width at its narrowest point, shelf depth, and vertical clearance above your tallest stack. Then order the riser or basket that fits those numbers. Haul the seasonal pans out of the kitchen the same day, before they drift back.
When the products land, set them up in that one cabinet and re-shuffle its neighbors to match. Next weekend, repeat on the second-worst. Four weekends gets a whole kitchen sorted without ever living inside a construction site.
What keeps it sorted isn’t the containers. It’s height grouping and single-file rows. Products hand you the space; those two habits are what stop it filling back up with air.