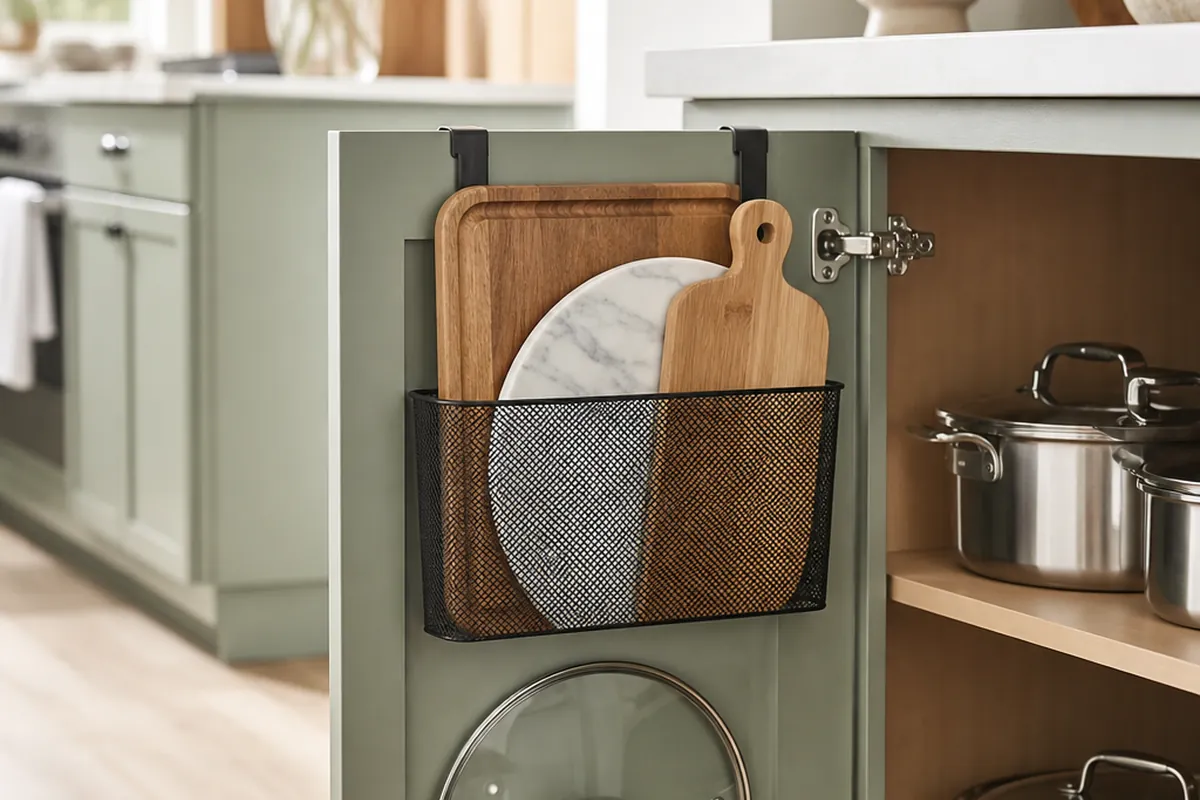
You reach for the eight-inch skillet and three other things come with it: a lid, a saucepan, and a grill pan you forgot you owned. That clatter is the entire problem in one sound. Most people hear it and conclude they need a bigger kitchen, when the real fix is changing the direction the cookware sits. Nearly every good way to store pots and pans in a tiny kitchen comes down to two moves, turning horizontal piles into vertical rows and getting your daily pans out of cabinets altogether.
The ten fixes below are ordered roughly by payoff per hour of work. Do only the first three and you will still notice it every single time you cook.
1. Cull Before You Buy a Single Organizer
No rack rescues a cabinet holding eleven pans when you cook with four. Pull every piece onto the floor first, lids included, so you are looking at the real inventory instead of the top layer. Then be ruthless. Flaking nonstick is finished, the duplicate saucepan goes in a donation box, and the giant stockpot that surfaces once a year belongs on a closet shelf rather than in prime spot three feet from the burners.
For most small-kitchen cooking, five pieces cover it: a large skillet, a small skillet, a 2- to 3-quart saucepan, a Dutch oven or stockpot, and one sheet pan. Add a single specialty piece if you genuinely reach for it weekly, a wok or a griddle or whatever earns its keep. Anything past that is occupying a shelf you cannot spare.
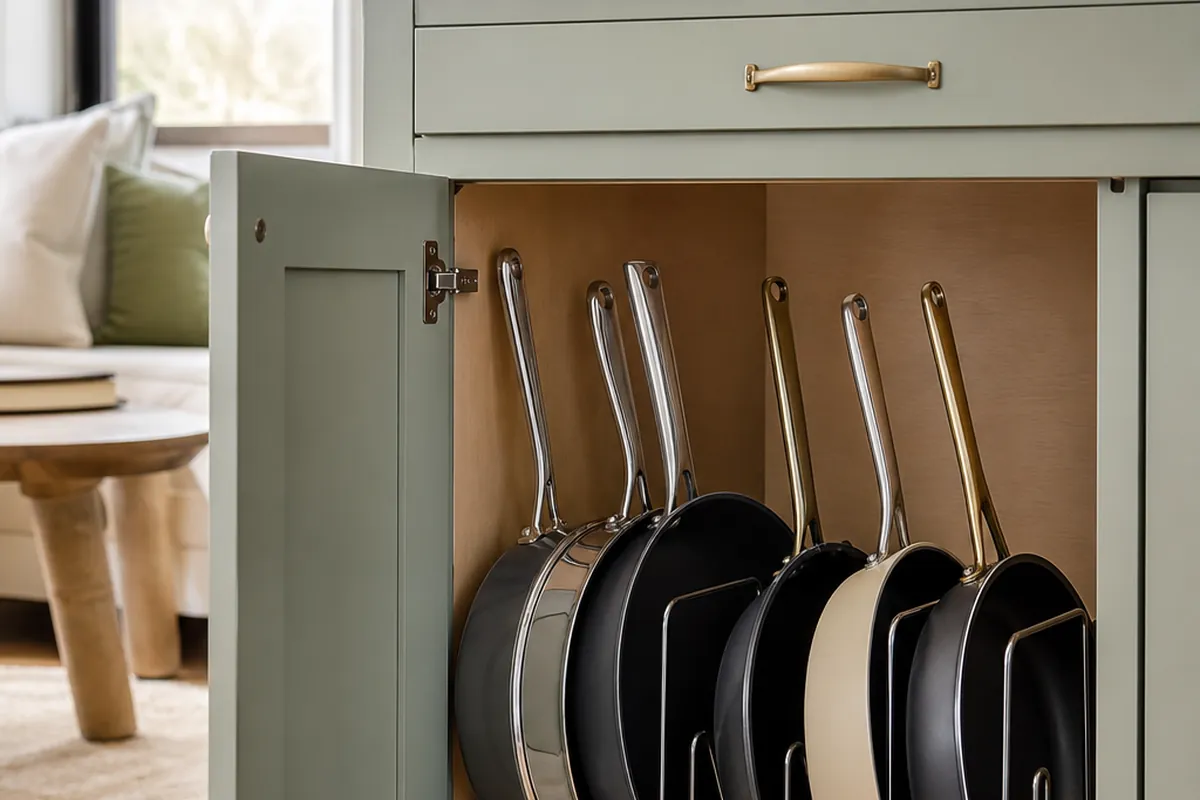
2. The Best Way to Store Pots and Pans in a Tiny Kitchen: Stand Them on Edge
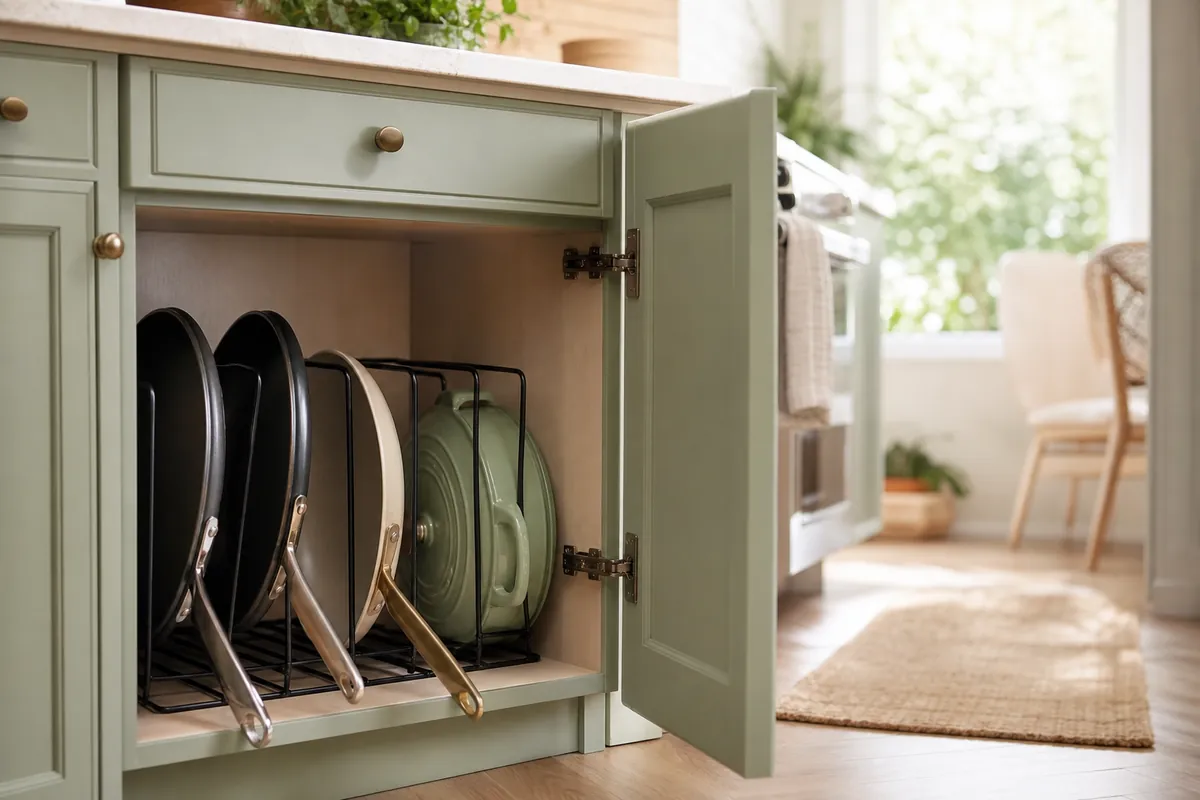
Stacking is the root of the problem. Lifting two pans to reach the third means the bottom one quietly retires, which is why the pans you actually use end up living permanently on the stovetop. Stand them on edge like files in a drawer and every piece becomes a one-handed grab.
A vertical pan organizer rack does exactly this in roughly the footprint of the pile it replaces. Buy one with adjustable or removable dividers. Fixed slots are the reason so many of these racks end up in the garage, because a Dutch oven wants a wide bay and a crepe pan wants a narrow one. Load it with handles pointing toward the cabinet door so you are never groping past a rim to find something to hold.
Sizing a vertical rack to your cabinet
Measure the inside depth of the cabinet box, not the door opening, then measure your tallest pot standing on its rim. Long-handled skillets often want the rack turned ninety degrees so the handles run front to back instead of jamming against the door when you close it. Shallow shelf but plenty of depth? Look for a rack that lies flat and holds pans in a row on their sides, using the depth you have rather than the height you don’t.
These racks are not only for base cabinets. One works standing on a pantry shelf, tucked into the cabinet above the fridge, or dropped into a deep drawer if your kitchen has one.
3. Hang the Two Pans You Use Every Day
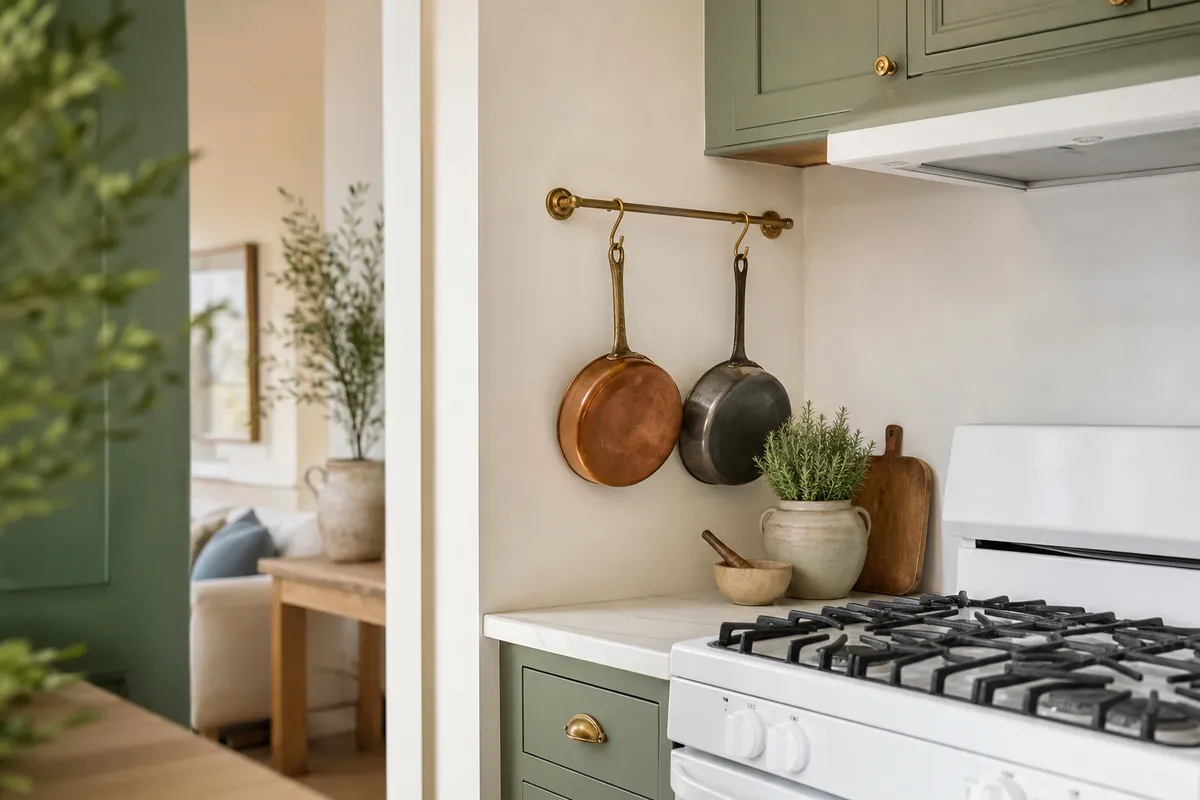
Daily pans should not be behind a door at all. A wall-mounted hanging pot rail beside the range puts the skillet within one step of the burner and hands back the cabinet slot it used to eat. Mount it on the side wall rather than the backsplash directly behind the burners, unless scrubbing grease film off cast iron handles sounds like a good Sunday.
Two rules keep a rail from turning into clutter. Hang only what you use several times a week, because nine pans on a wall reads as visual noise and the untouched ones collect a sticky cooking film. Then check clearance: pan bottoms should sit about a hand’s width above the counter and anything standing on it, or you will fight the kettle every time you unhook something.
Short on wall? A rail above the sink, on the exposed end panel of an upper cabinet, or on the narrow strip beside a window still carries two or three pans, and that is usually enough to unblock the lower cabinet. For more ways to reclaim the working surface itself, see 7 ways to get counter space back in a tiny kitchen.
Hanging without drilling
Renters are not stuck. Heavy-duty adhesive hooks rated well above the loaded weight of a pan will hold one skillet on smooth, clean, painted drywall, as long as you degrease the wall first and let them cure before hanging anything. My preferred renter move is different, though: put a short rail on the inside of a cabinet door, where the screw holes never show and the door stile gives you something solid to bite into. Cast iron is the one non-negotiable. Anchor it into a stud or a cabinet frame, never into tape.
4. Make Deep Cabinets Give Up Their Back Half
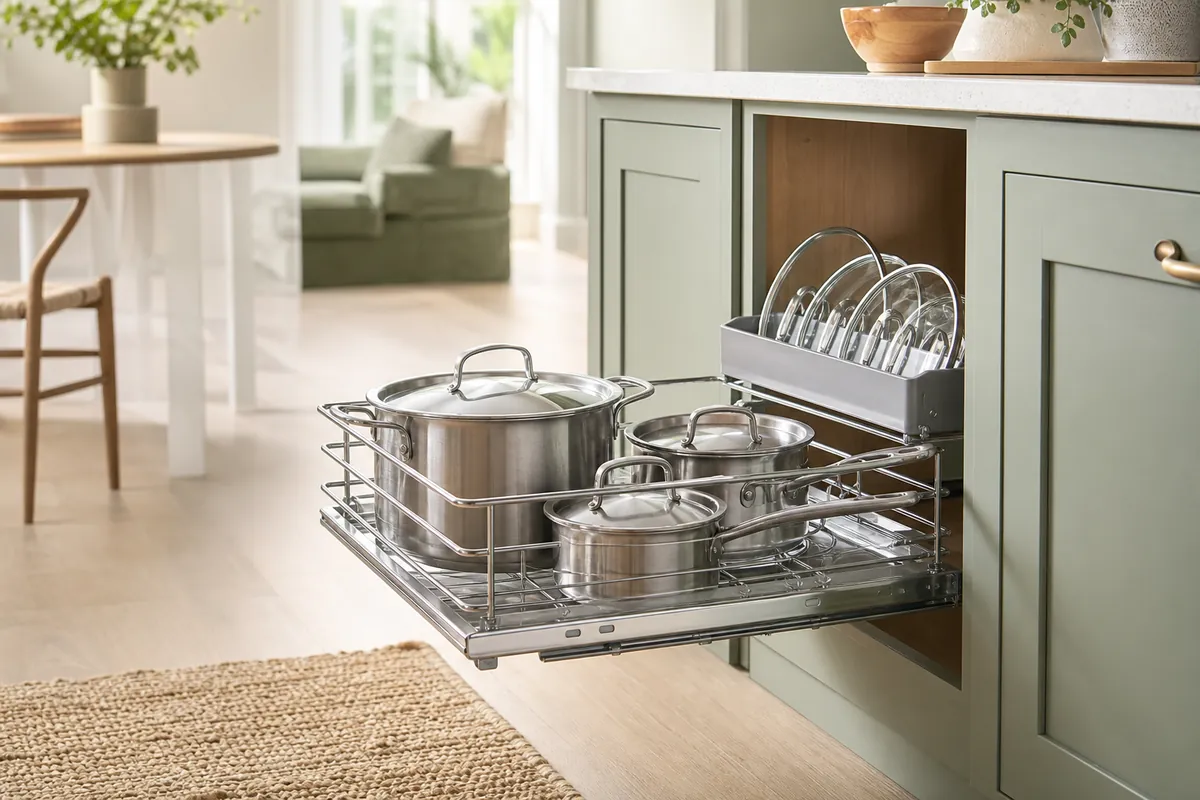
A base cabinet is deeper than your arm is useful, and everything past the halfway point turns into archaeology. A pull-out cabinet organizer fixes the geometry by putting the shelf on glides so the back row comes to you instead of the other way around.
Combine it with idea number two and you get the strongest cookware setup a small kitchen can hold: pans standing on edge, riding on a tray that slides all the way out. Check two things before ordering. Measure the interior width of the cabinet box rather than the face frame opening, since the frame usually steals close to an inch on each side, and choose a unit rated for real weight, because a Dutch oven plus a stockpot adds up quickly. The same trick rescues the under-sink cabinet, where plumbing eats the middle; there are more ideas for that in this guide to under-sink organizers for tight cabinets.
5. Give Lids Their Own Address
Lids nested inside pans are why stacks tip and why nothing ever sits flat. Take them out of the equation completely. A wire lid holder on the inside of the cabinet door does the job, and so does a short vertical rack sitting on the shelf. Cheapest version by far: a spring tension rod wedged an inch or two off the back wall of the cabinet, which catches lid rims and costs almost nothing.
My low-effort favorite is a shallow bin with lids standing in it like records, largest at the back. You flip instead of dig, and the whole bin lifts out when the shelf needs wiping.
6. Claim the Dead Air Above the Pots
Look at the gap between your tallest pot and the shelf above it. Four to six inches of unused air is normal, and one riser shelf or stackable wire shelf turns that into a home for the sheet pan, the cooling rack, and the cutting board currently leaning against the toaster. Flat items stored on edge behind a riser work better still, since you can see every one of them without unstacking.
7. Put the Oven Drawer to Work
The drawer under the oven is a legitimate pan garage and sits half empty in most kitchens. Sheet pans, the roasting pan, and a cast iron griddle all lie flat down there. One caveat: if yours is a warming drawer rather than a plain storage drawer, keep plastic handles out of it.
The oven cavity itself can hold the stockpot between uses. It is a genuine tactic in very tight kitchens, and it fails only on people who preheat on autopilot. Be honest about which one you are.
8. Where to Store Pots and Pans in a Tiny Kitchen With No Cabinet Space Left
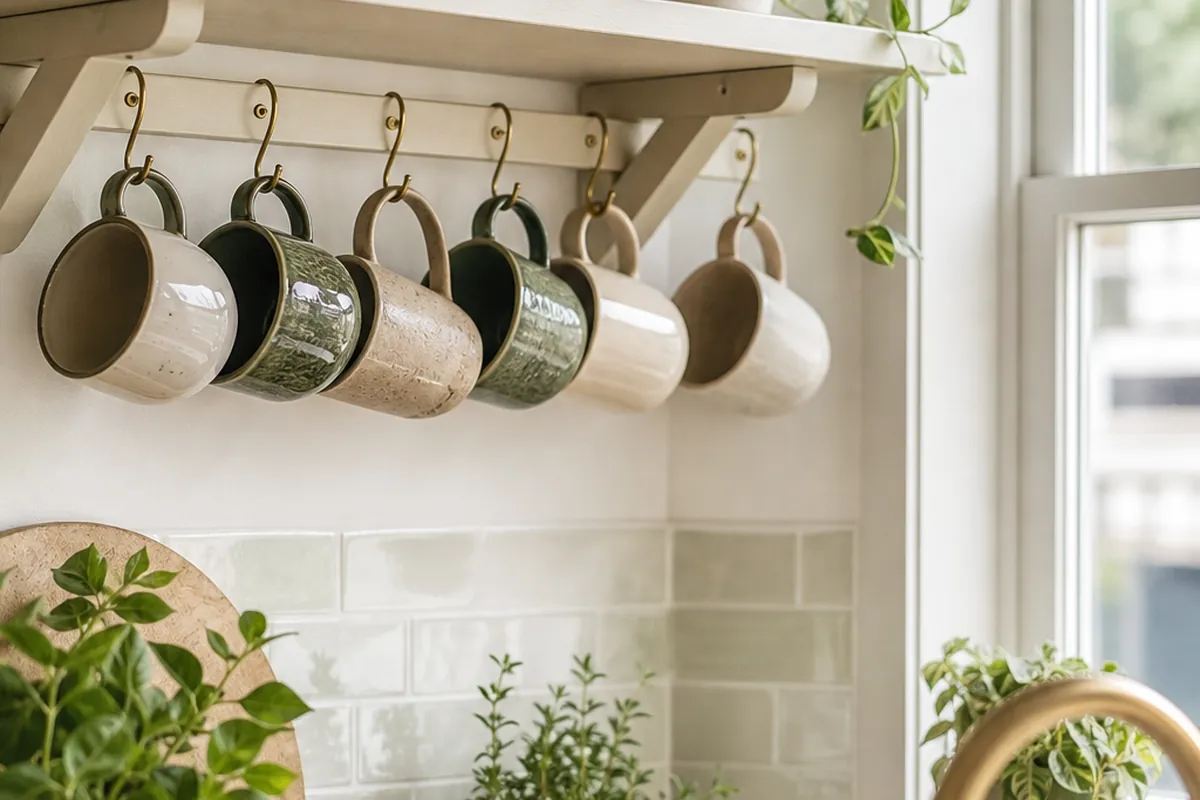
When the cabinets are full and the walls are short, look at the underside of shelving you already own. Cup hooks screwed into the bottom of an open shelf or an upper cabinet hang your lightest pans in air nobody was using. Set the hooks near the front edge so pans do not knock the wall, and keep heavy pieces off them unless the screws are biting into solid wood.
A rail on the back of the pantry door is the other overlooked spot, and it handles lids and small saucepans well. Freeing space indirectly counts too: move utensils to a magnetic bar or a crock, and the drawer they vacate becomes a perfectly good lid drawer.
9. Move the Once-a-Year Pieces Out of the Kitchen
The roasting pan, the fondue set, the canning pot, the pressure stove that appears every January: none of it needs to live within ten feet of the stove. Hall closet, high shelf, lidded bin under the bed, all fine. Give the freed cabinet to something you touch daily instead. If your closet is already chaos, the no-drill approach in renter pantry organization with no drilling transfers directly.
10. Nest With Intent, or Skip It
Sometimes stacking is unavoidable, so stack deliberately. Pans of similar diameter nest badly and grind their coatings together, while a small saucepan dropped inside a stockpot uses dead air perfectly. Slip felt pan protectors, or cut-up paper plates in a pinch, between nonstick surfaces. Keep the pan you reach for most on top and cap any stack at two deep.
A One-Afternoon Plan to Store Pots and Pans in a Tiny Kitchen
Work in this order and it fits in an afternoon. Empty every cabinet that holds cookware. Cull hard, then relocate the seasonal pieces out of the kitchen entirely. Measure your best base cabinet and fit it with a vertical pan organizer rack, sitting on a pull-out cabinet organizer if the cabinet runs deep. Put up a wall-mounted hanging pot rail for the two pans you use daily. Give lids a bin or a door rack of their own. Whatever is left should be small enough to place without deliberating.
One test tells you whether it worked: can you remove any single pan with one hand, without moving anything else? If the answer is yes, the system will hold, because nothing about it asks you to restack a pile you were never going to restack.