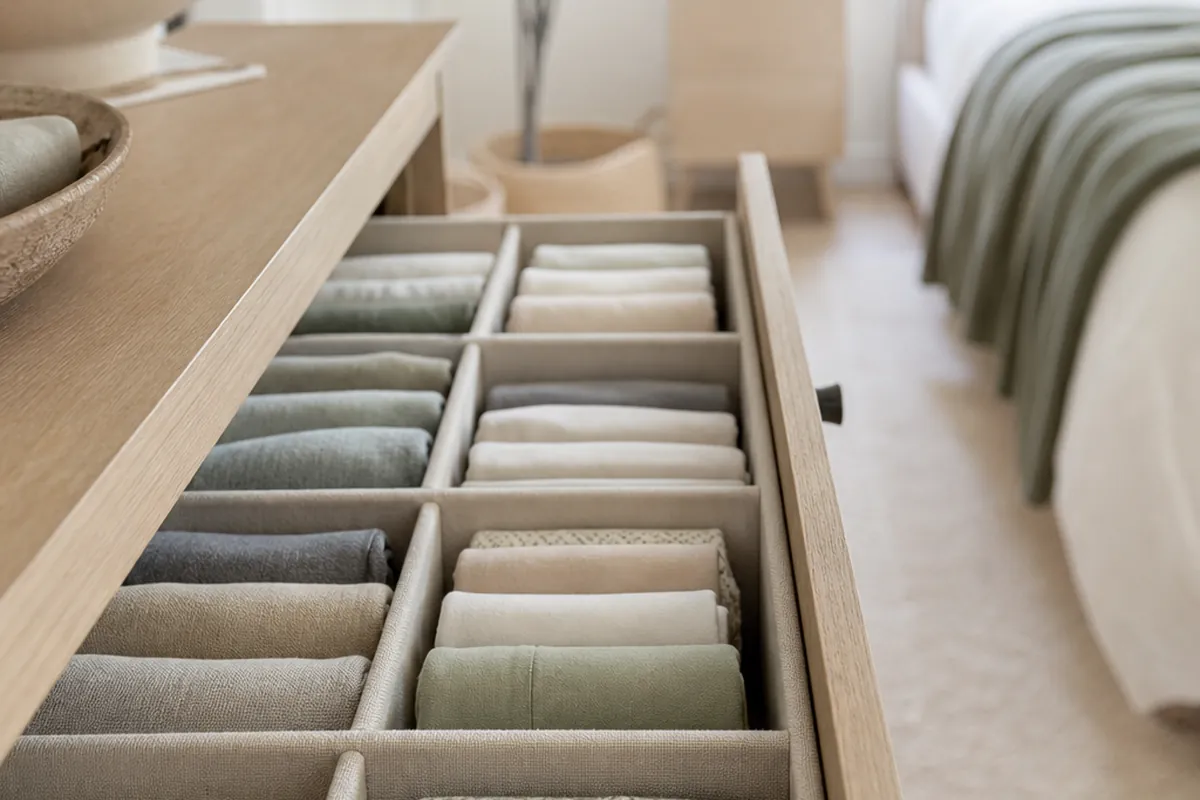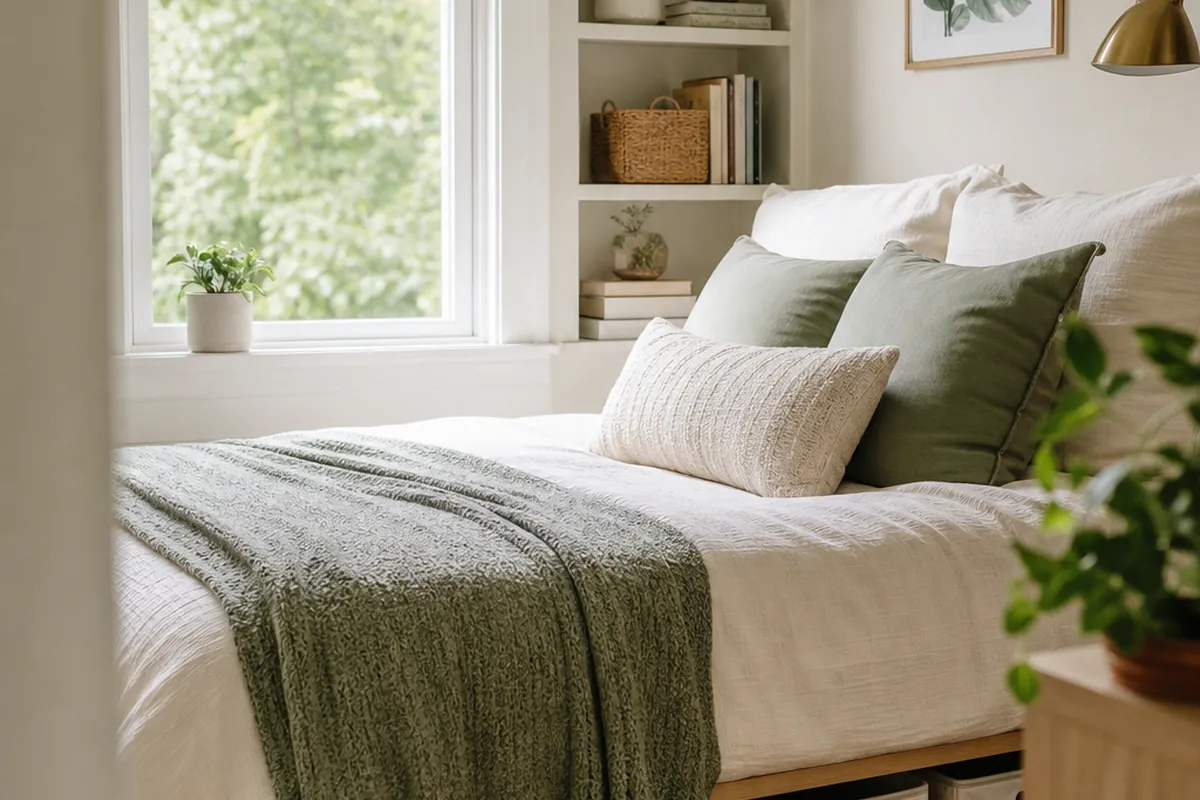
Most bedrooms that feel full aren’t out of space. They’re out of used space. The band of wall between shoulder height and the ceiling sits completely bare, the gap under the bed collects dust and nothing else, and the closet has four feet of dead air hanging beneath the shirts. Every one of the bedroom storage ideas below goes after that wasted volume instead of asking you to buy bigger furniture.
Twelve of them, in the order I’d actually work through a room, starting with the moves that free up the most volume for the least money.
Vertical bedroom storage ideas that cost nothing in floor space
The quickest win in a cramped room is lifting things off the floor and onto the walls. Dressers and nightstands eat square footage. A shelf eats air.
1. Stack floating shelves in a column above the nightstand

A nightstand only really needs to hold a lamp, a book, and a glass of water. Everything else on it is clutter it inherited by accident. Mount three floating wall shelves in a vertical column directly above it, leaving about a hand’s width of clearance between each one, and you triple that surface without adding an inch of footprint. Books go on the top two, charging cables and small junk in a lidded box on the bottom. Renters should keep the shelves short and catch at least one stud with a long screw; drywall anchors will hold a few paperbacks but they sag under a row of hardbacks, and one screw hole takes thirty seconds of spackle on move-out day.
2. Run one high shelf near the ceiling like a picture rail
Install a single long shelf, or two floating wall shelves butted end to end, roughly a foot below the ceiling. Nothing else can use that band, and it happens to be the right height for suitcases, off-season boots in a box, and things you reach for twice a year. Keep the depth around 10 inches so it doesn’t loom over the room, and if your best wall is too short, run the shelf across the top of the doorway instead. Nobody looks up there, which is precisely why it works.
3. Get the hamper off the floor
A laundry basket sitting on the floor is a two-foot-square hole in a small room. Swap it for a hanging canvas hamper on a hook behind the door, or a slim tilt-out basket screwed to the wall. Cheapest square footage you will ever recover.
4. Trade the nightstand for a shelf at mattress height
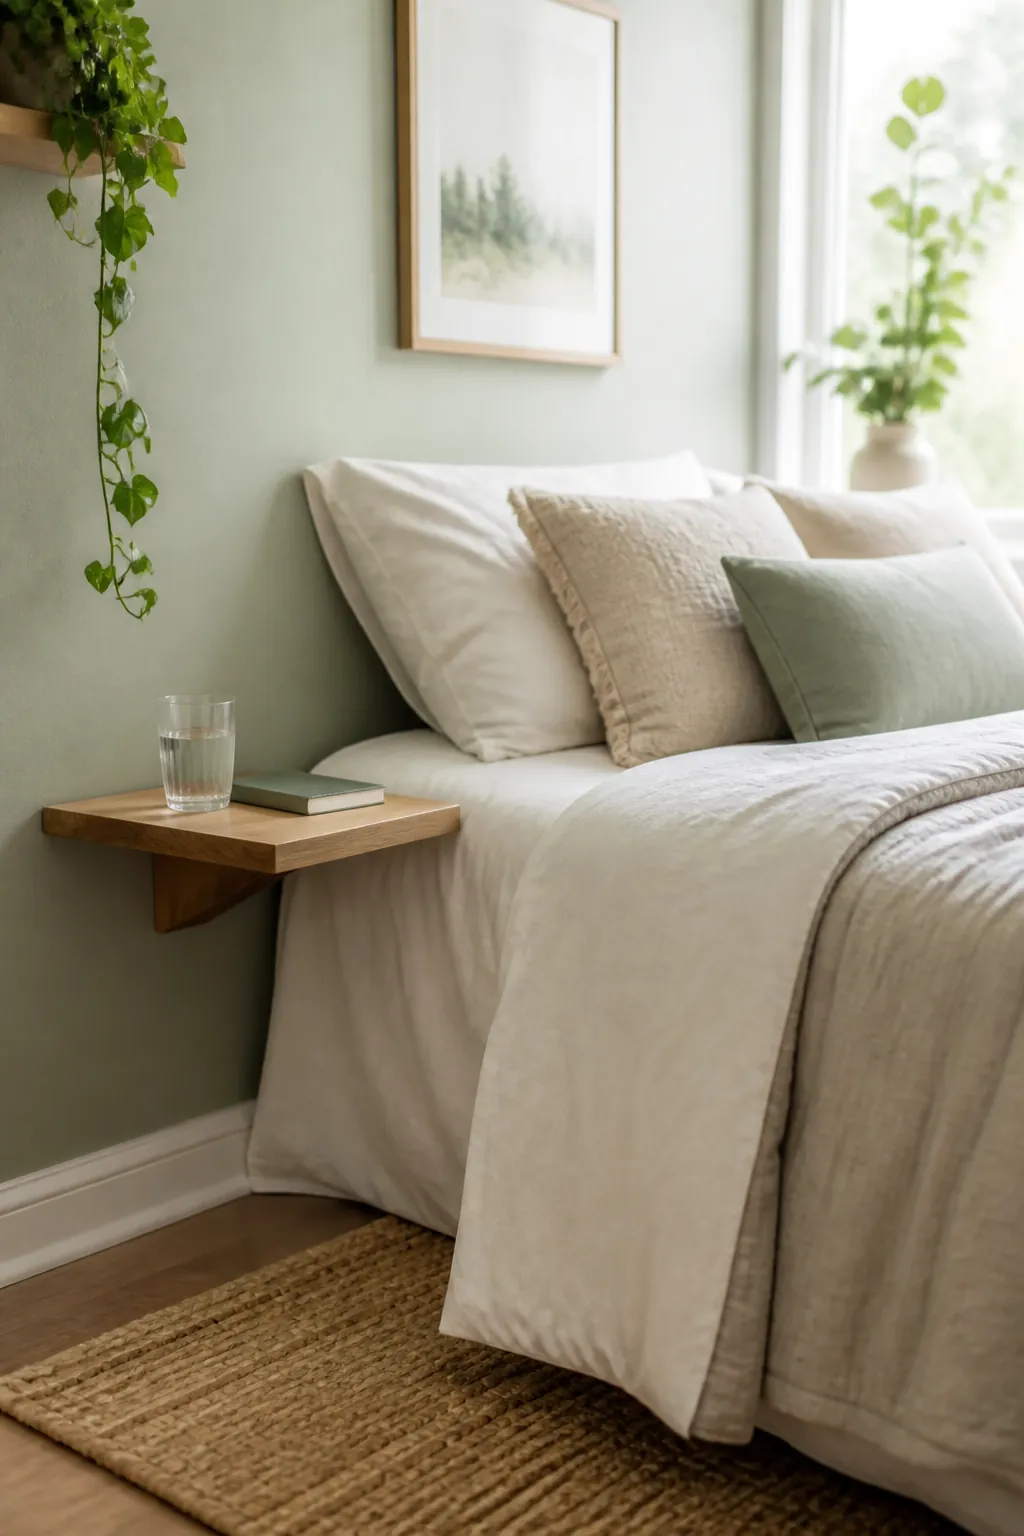
When one side of the bed is pinned against a wall, the nightstand over there costs more than it gives. Pull it out and mount a small floating shelf level with the top of the mattress. You keep the surface, the floor comes back, and vacuuming stops being a wrestling match. The trade-off is losing a drawer, so sit a shallow lidded basket on the shelf for anything you’d rather not look at.
Under-bed bedroom storage ideas that actually get used
A queen mattress covers about 33 square feet of floor. Leave that void empty and you’re wasting more room than most reach-in closets hold.
5. Choose lidded under-bed bins over open baskets
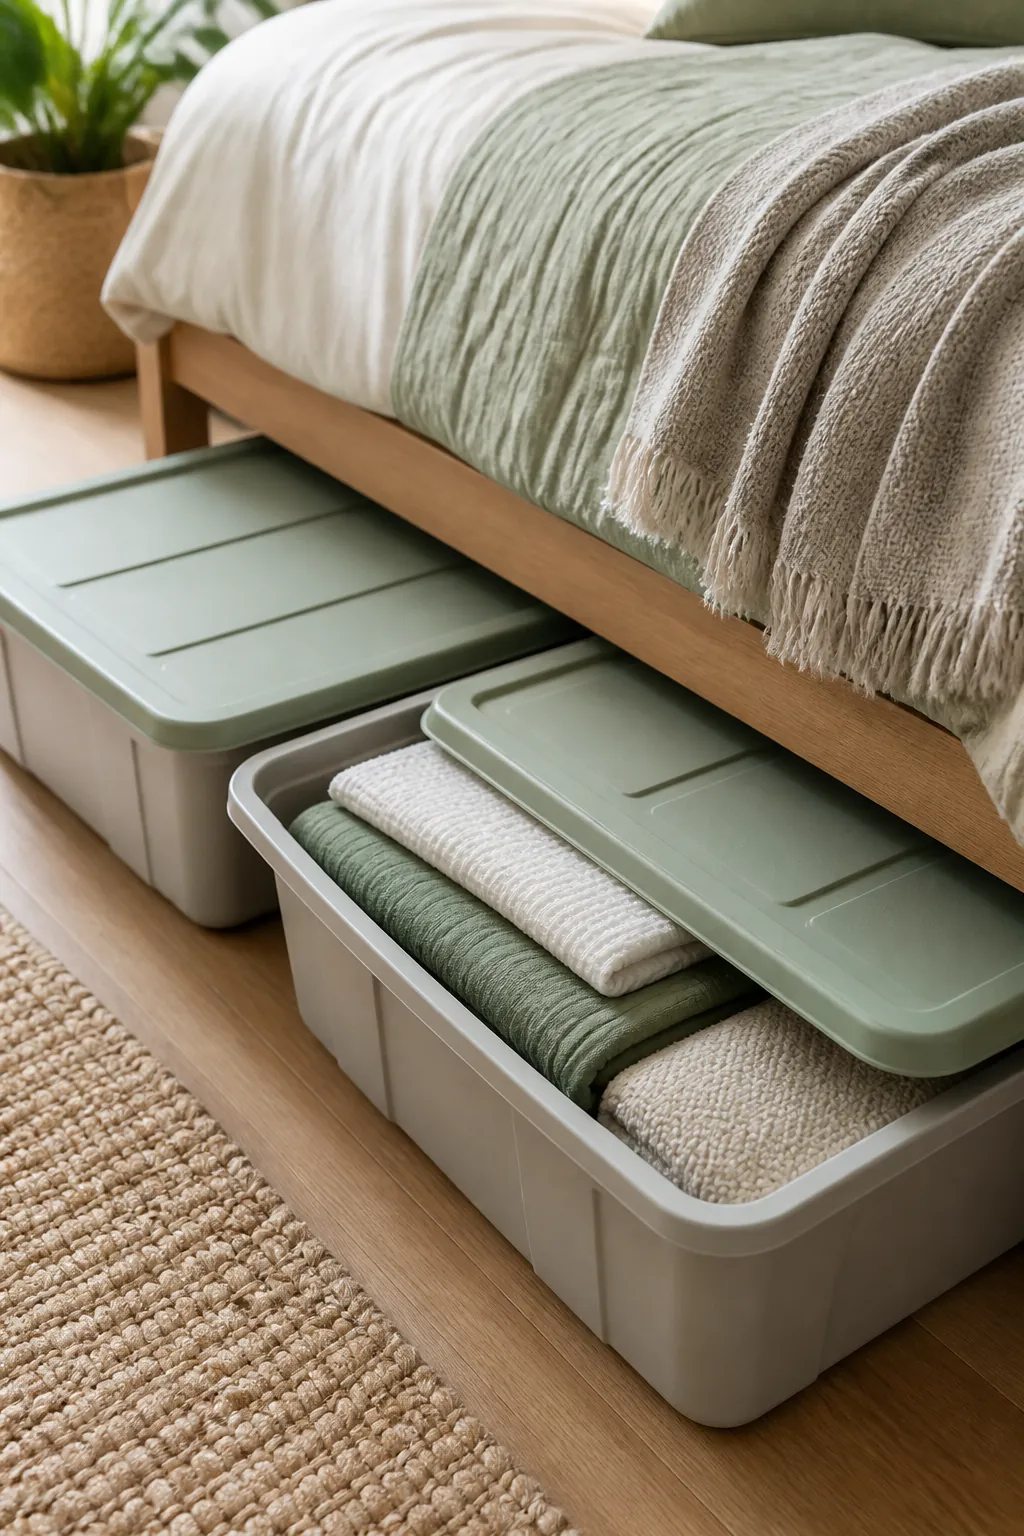
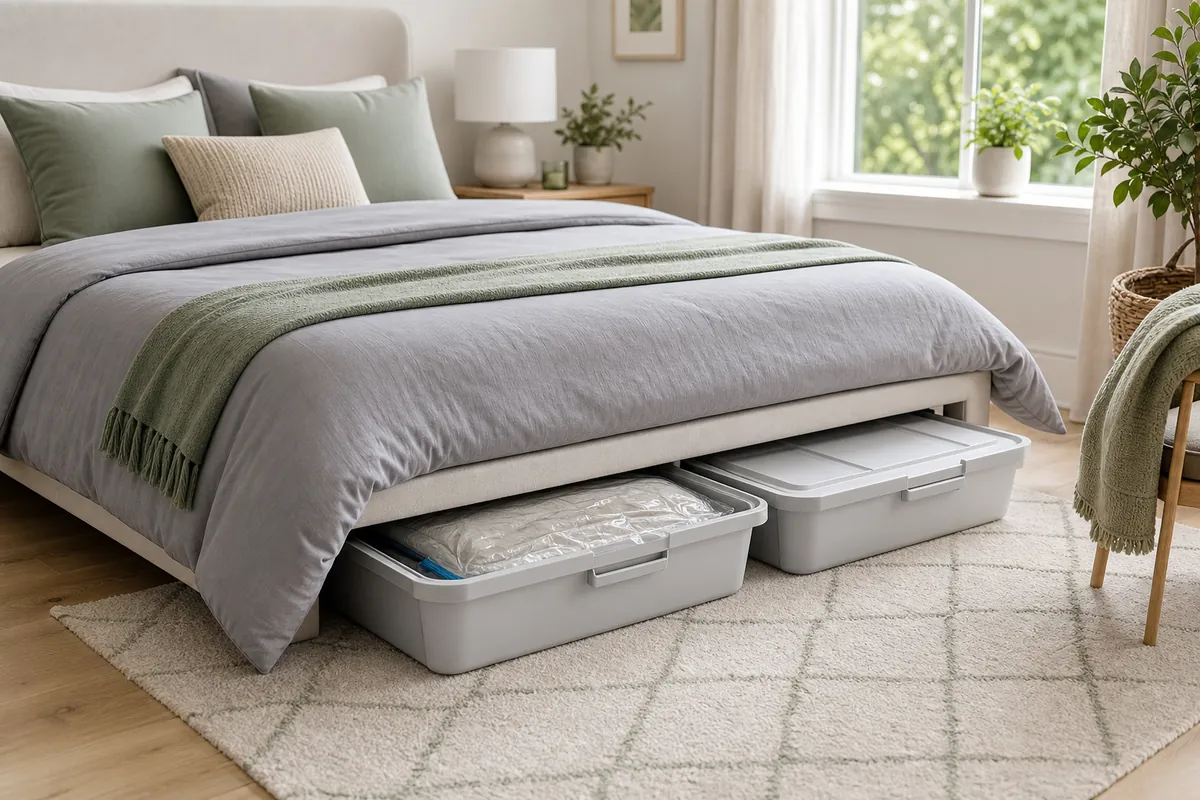
Open containers under a bed turn into lint traps within a month. Under-bed storage bins with lids solve that, and a flat lid lets you set something on top without the stack folding in. Go long and shallow rather than short and deep, since these get retrieved by sliding, not lifting. On carpet, skip the versions with tiny casters because they sink and stall; a smooth flat base glides better. Hardwood is the opposite case, where wheels are a genuine upgrade. Measure from the floor to the underside of the bed rail, not to the mattress, then knock off an inch for clearance.
6. Sort under-bed bins by season, not by category
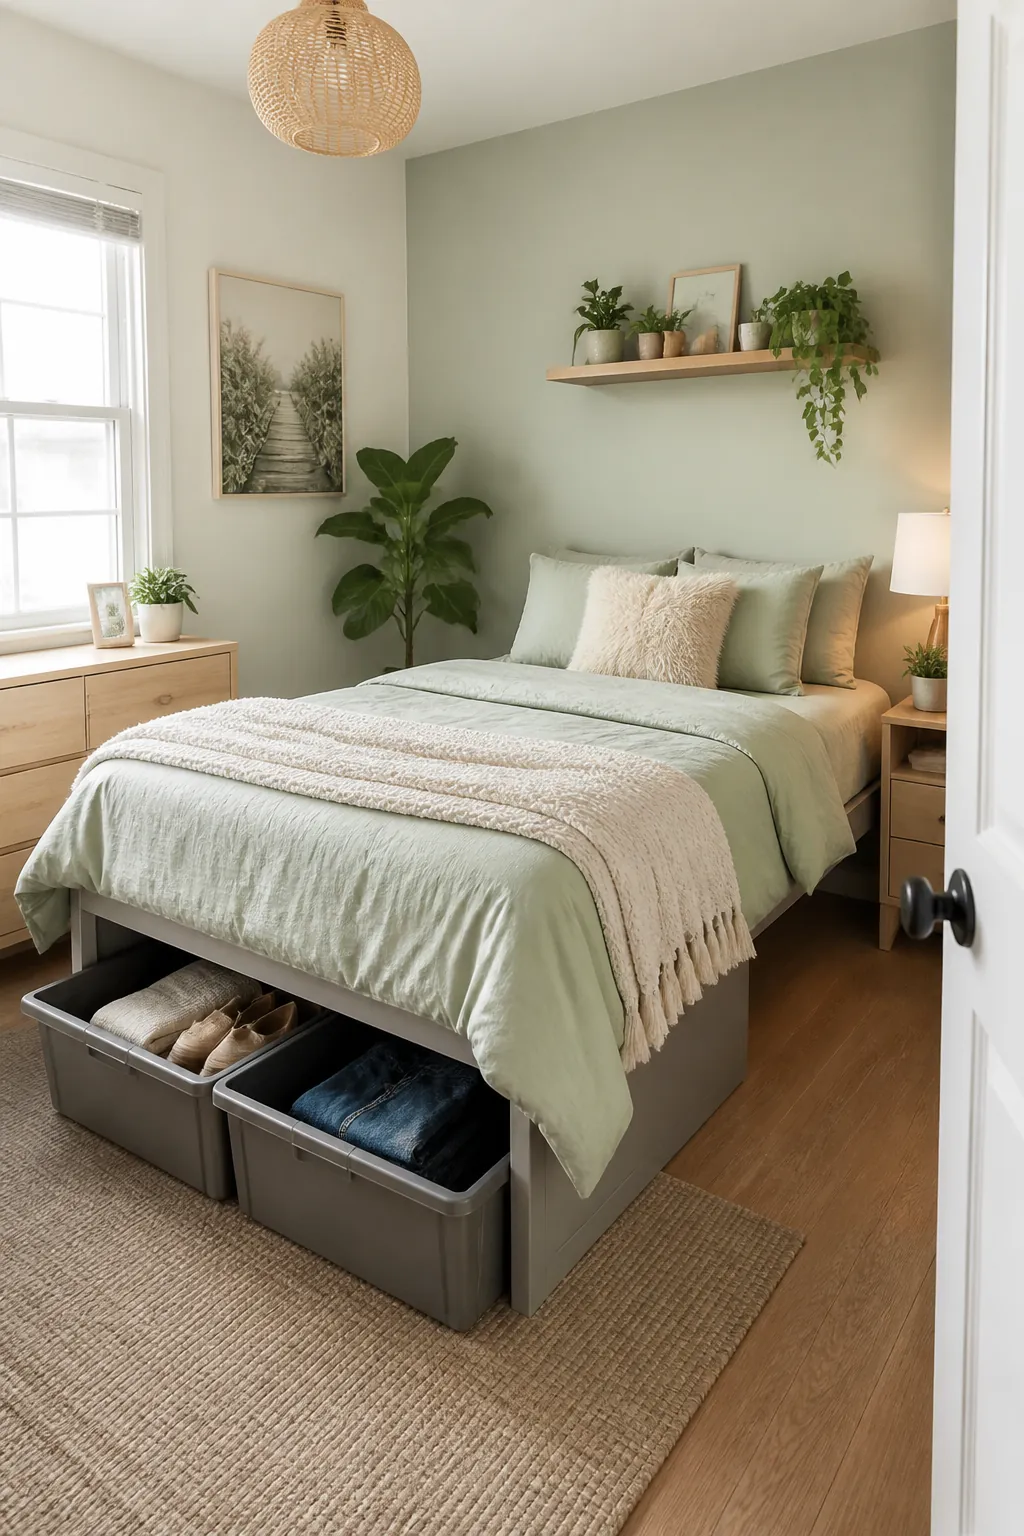
Here’s the mistake I see constantly. All the sweaters go in one bin and all the shoes in another, so both bins come out every single week. Sort by when you need it instead. One bin holds shoulder-season overflow you’ll want in six weeks, the other holds deep storage that stays shut until the weather flips. Label the short end that faces out, because that’s the only end you’ll ever see.
7. Compress the bulky things before they go under
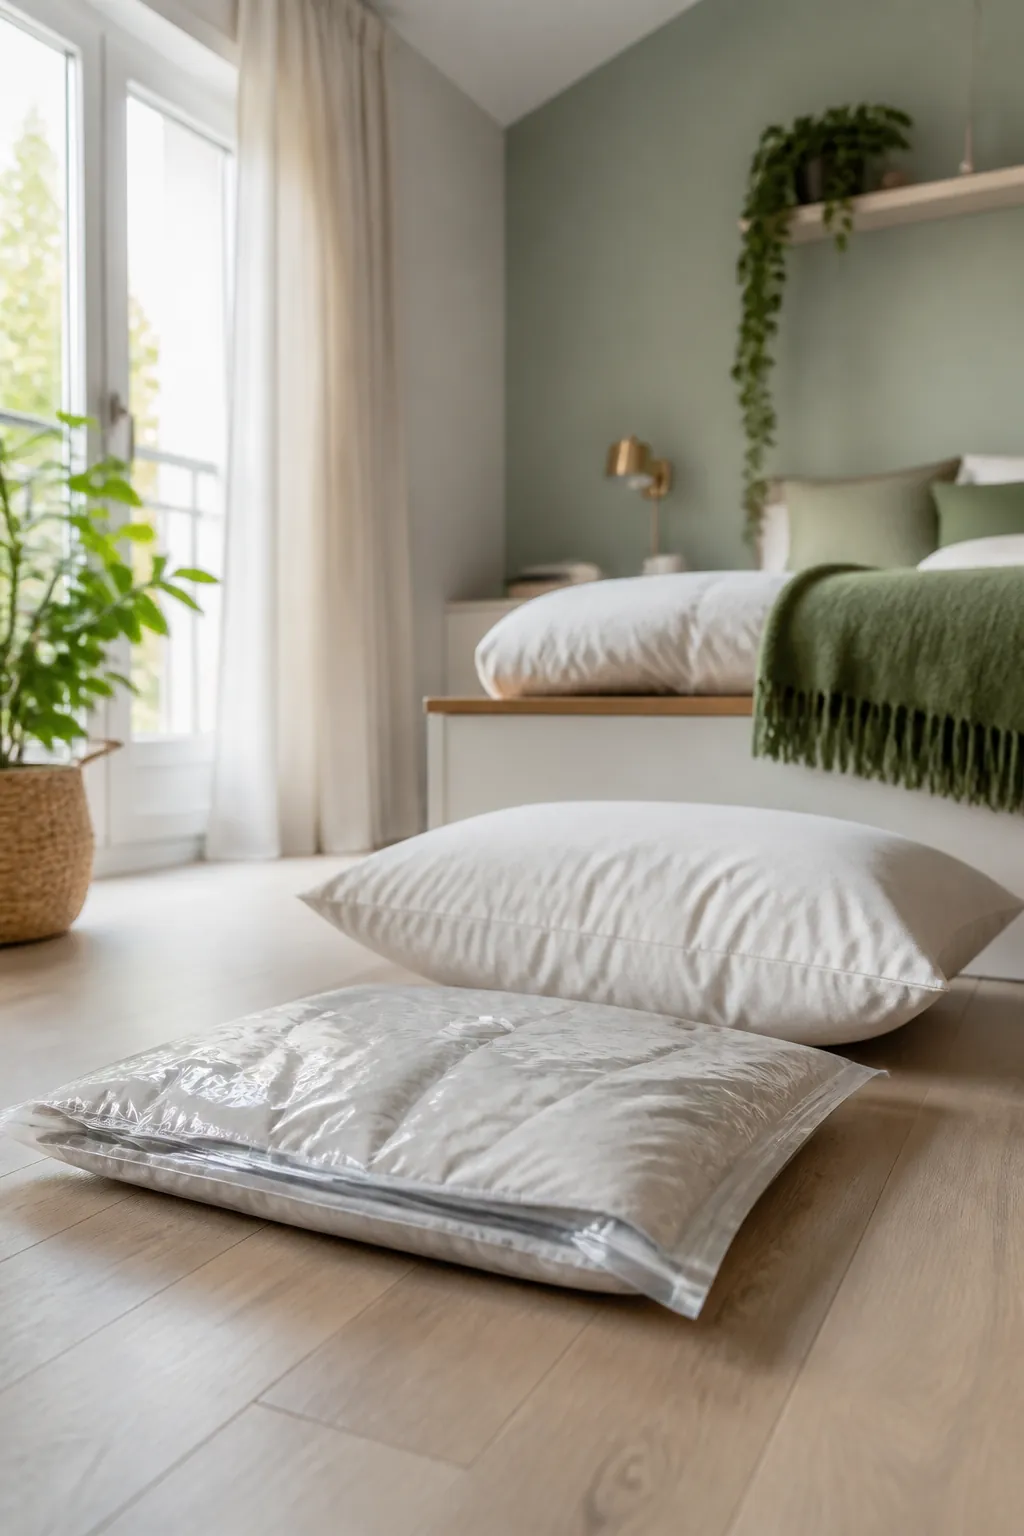
Puffy coats, spare duvets, and pillows are mostly air. Vacuum compression storage bags flatten a winter comforter to about the thickness of a laptop, which is the difference between a bin that holds one duvet and a bin that holds a duvet, three sweaters, and a sleeping bag. Two rules worth following: don’t leave down compressed for years without airing it out, and keep leather or structured pieces out entirely, since they crease permanently. Buy the valve style you can hit with a vacuum hose rather than roll-up bags, which never get as flat as the packaging implies.
8. Raise the bed when the gap is under six inches
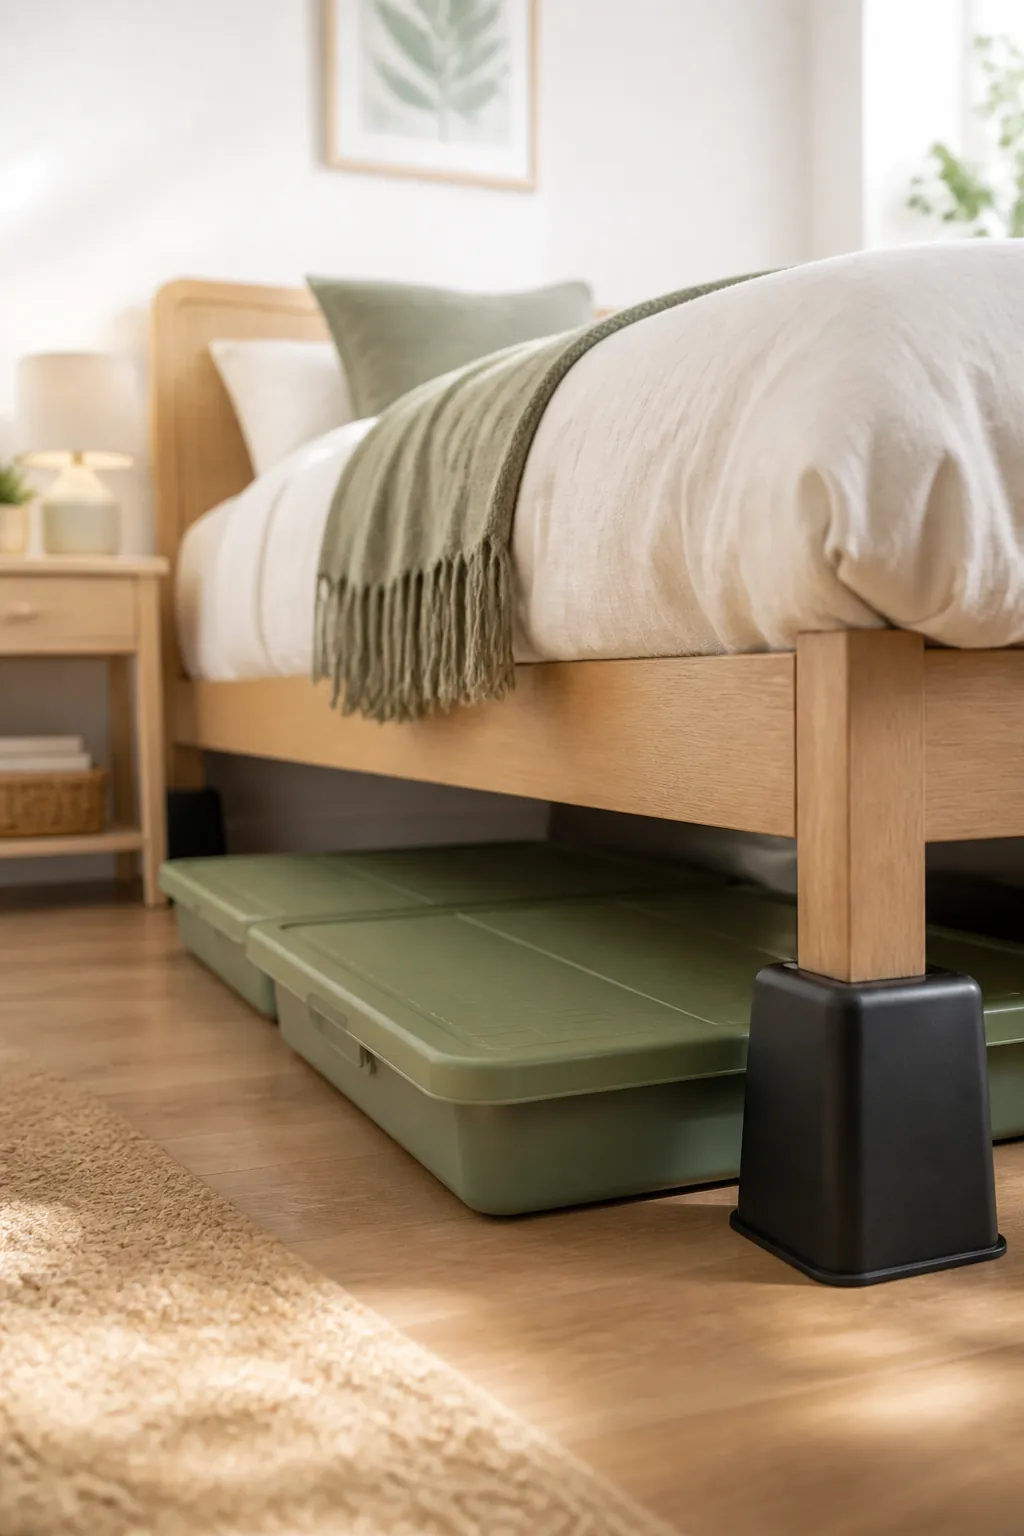
Bed risers carry dorm-room baggage, but four to six extra inches turns an unusable slot into real storage. Two things to check first: your frame needs actual legs (platform and sleigh frames won’t take risers) and the weight rating has to cover two adults plus a heavy mattress. If you’d rather not stare at the bins, a bed skirt or a length of canvas clipped to the frame hides everything. Anyone dealing with a genuinely tiny room should skim these dorm storage ideas for a tiny room, because the lofting and vertical tricks there scale up to any small bedroom.
Rebuild the closet so it holds twice as much
Most reach-in closets run at half capacity thanks to one design flaw: a single rod at chest height with a canyon of empty air underneath.
9. Put everything on the same slim hanger
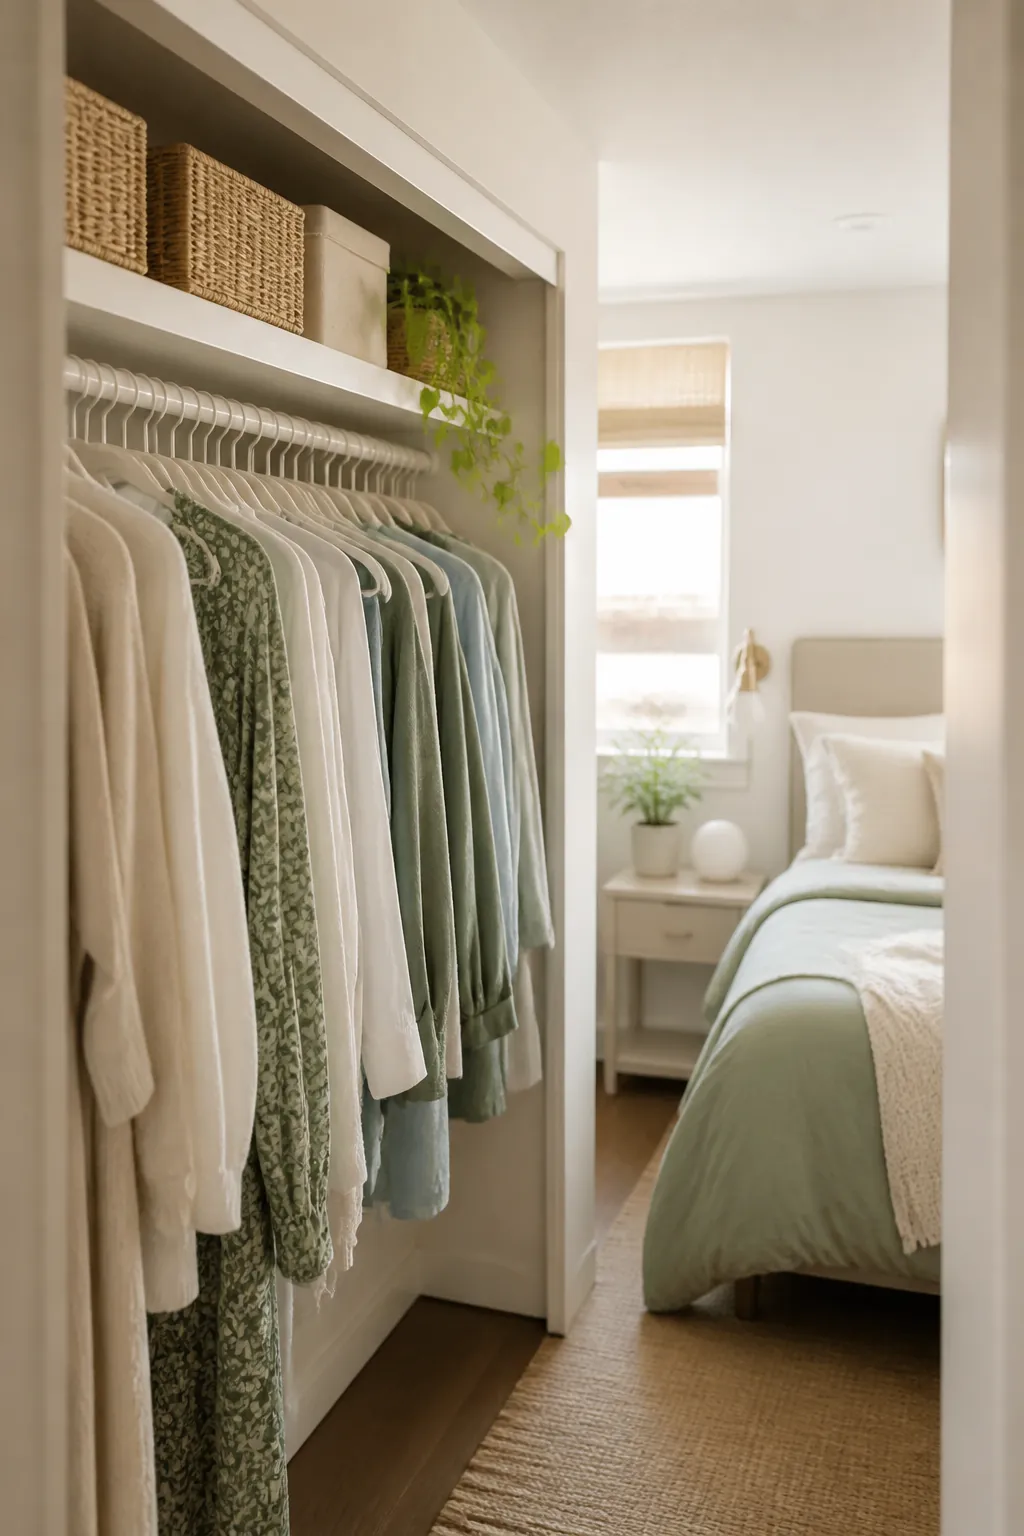
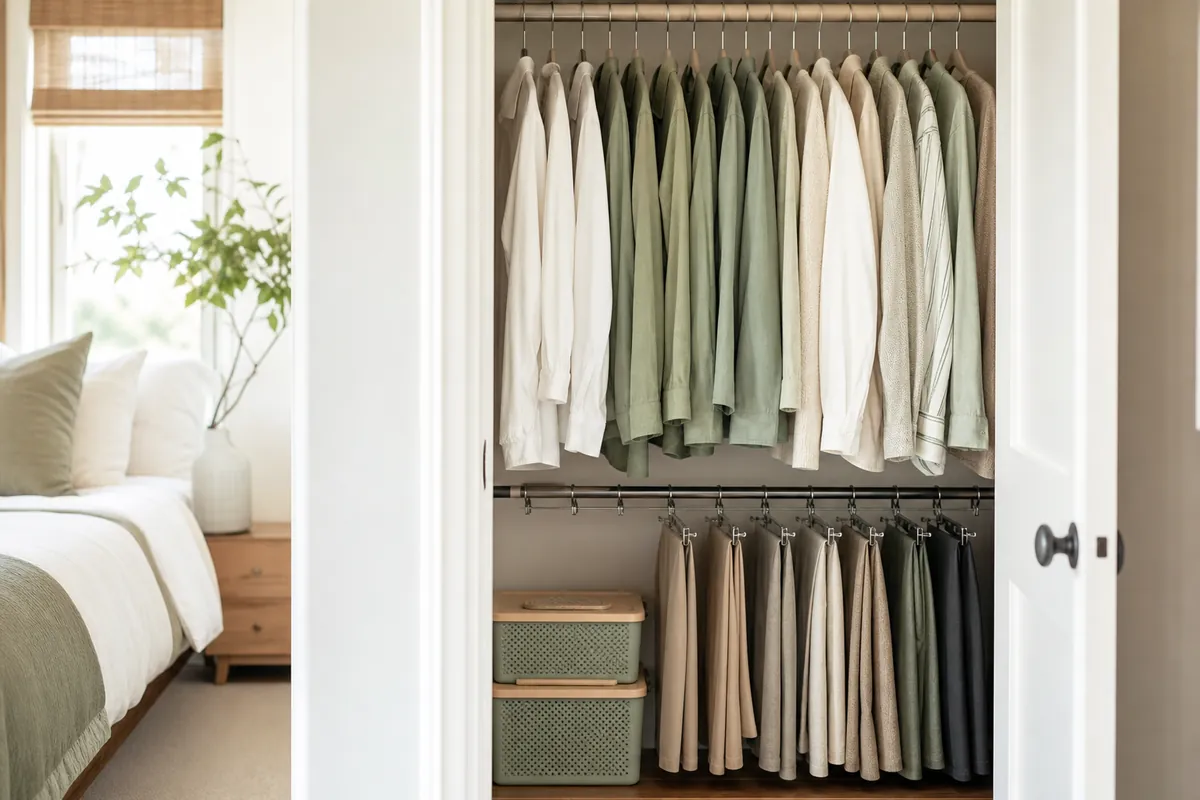
This is the highest-return hour on the whole list. Mixed hangers waste rod space and let clothes slip to the floor, and the worst offenders are the fat plastic ones garments came home on. A 50-pack of slim velvet hangers pulls shirts tight together, and the flocking grips camisole straps so they stop pooling in the corner. Do the entire rod in one sitting, then bag up the old hangers the same day or they’ll creep back in. Hold on to a few sturdy wooden hangers for suit jackets and heavy coats; velvet ones bow under that kind of weight.
10. Add a second rod under the first
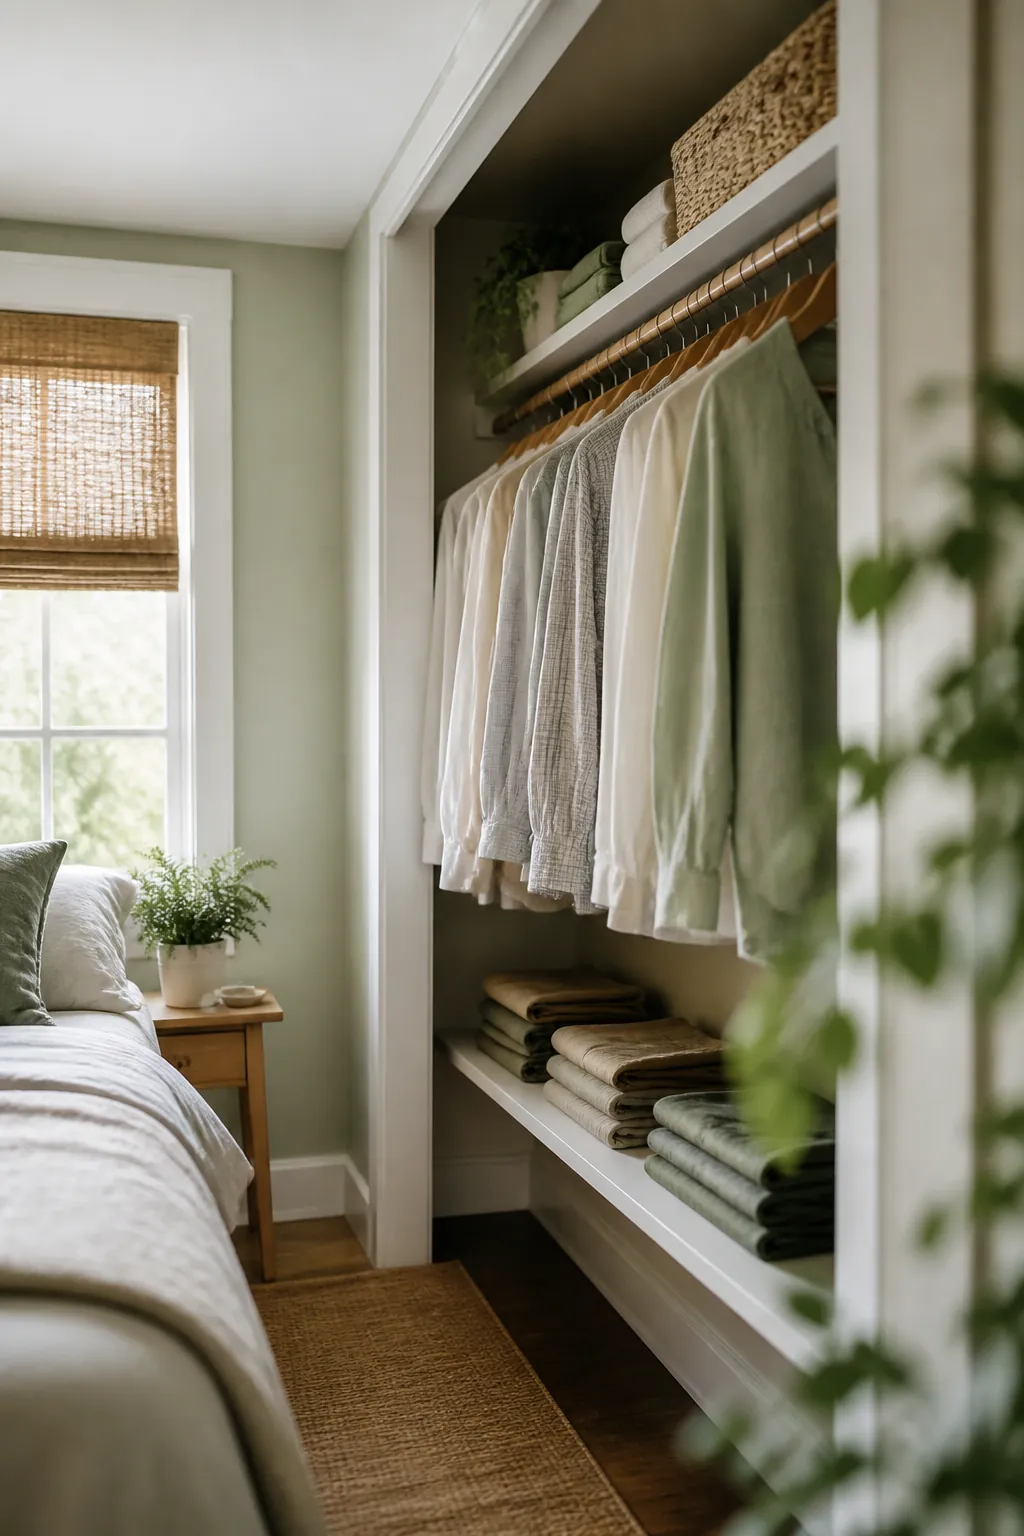
Shirts, blouses, and folded pants need about a yard of vertical drop once they’re on slim hangers, which leaves room for an entire second tier below. A suspended hanging bar that clips onto the existing rod is the renter-friendly version and goes up in minutes. If you own the place, a screwed-in rod is steadier and holds more. Either way, leave one full-height section at the end for dresses and long coats.
11. Zone the closet floor and the top shelf
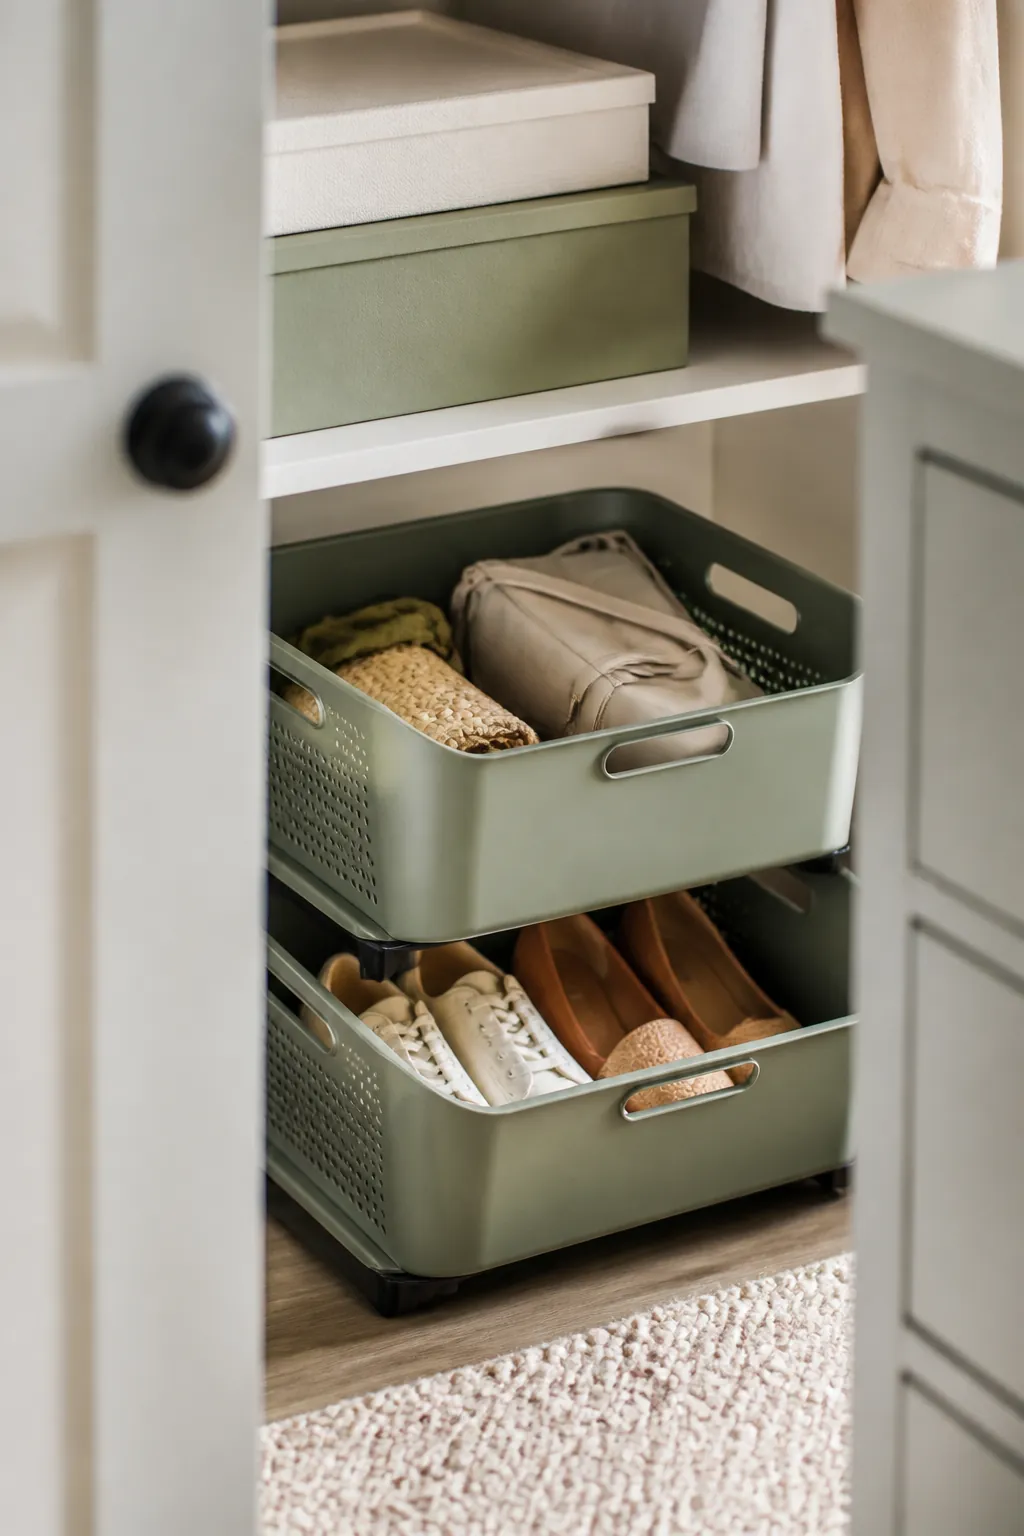
The closet floor should never be a heap. Set a pair of stacking bins down there, one for shoes and one for bags, and treat the shelf above the rod exactly like the high shelf idea earlier: bulky, boxed, rarely opened. If you have no closet to work with at all, the workarounds in small bedroom storage with no closet go deeper on freestanding rails and curtained alcoves.
12. Evict out-of-season clothes completely
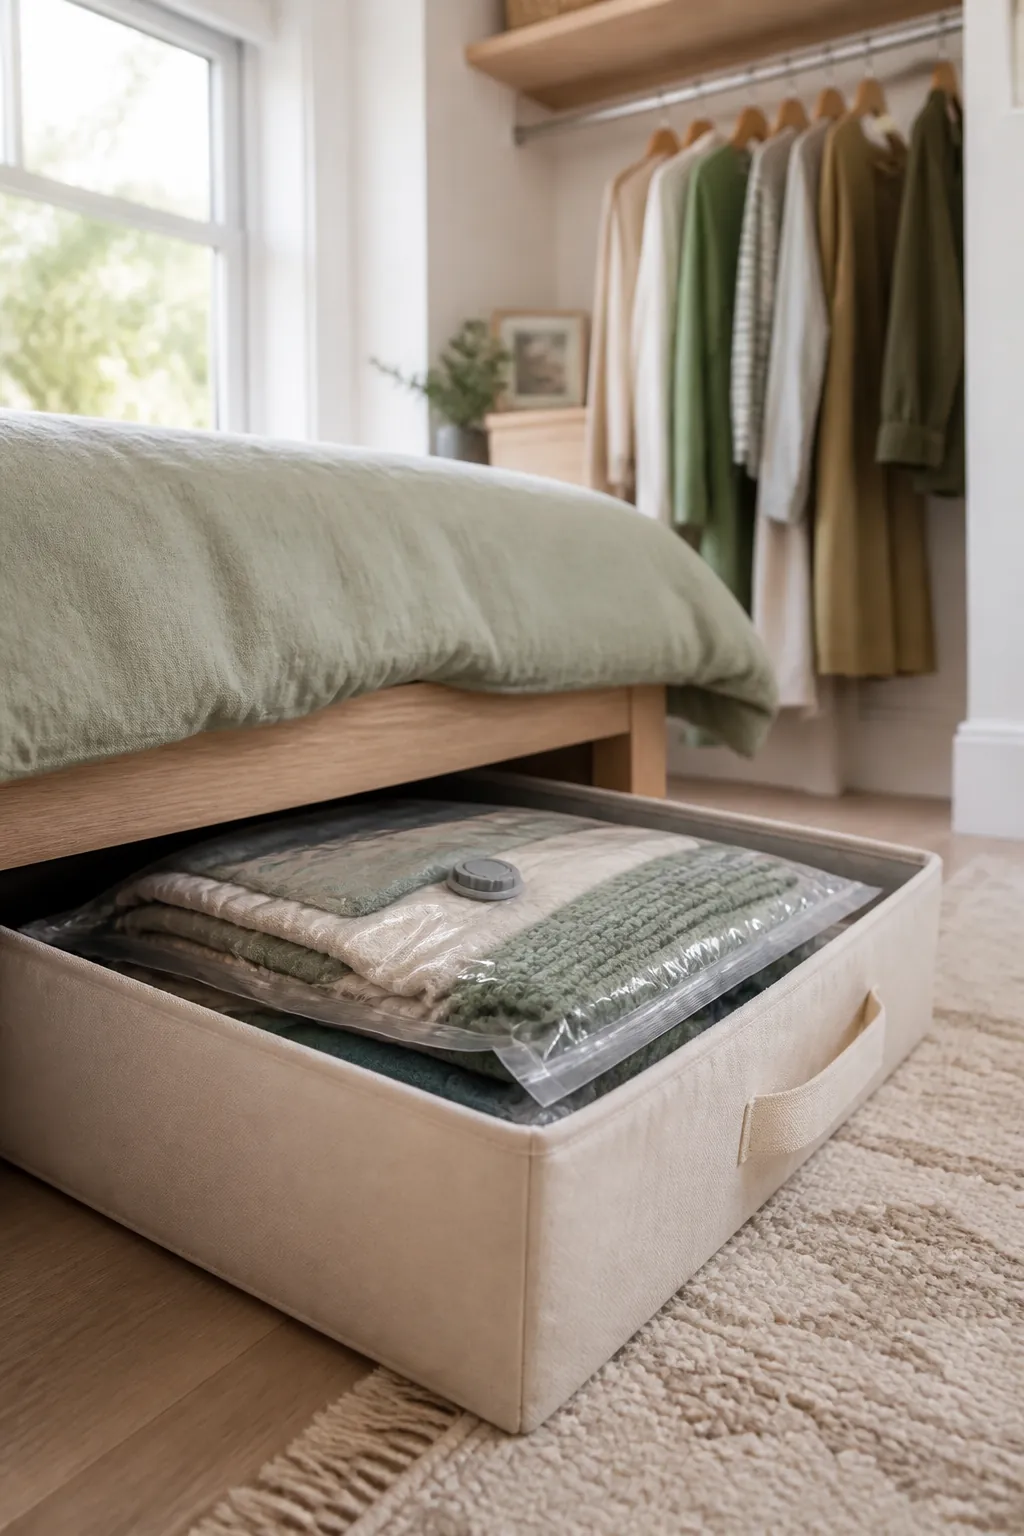
Your closet should hold what you’ll wear in the next eight weeks. Everything else belongs in vacuum compression storage bags, then in an under-bed bin or up on the high shelf. That single habit does more for a cramped closet than any product you can buy, and it costs nothing but a Saturday morning twice a year.
If the clothes never make it to the closet because the chair catches them first, clothes chair organization ideas for a small bedroom deals with the worn-once pile directly instead of pretending it will stop.
Bedroom storage ideas for the dead zones nobody uses
Three spots in almost every bedroom are pure wasted volume. The gap between the top of an armoire and the ceiling swallows two or three boxed items and reads as intentional if you use matching baskets. Behind the door, the corner takes a narrow shelf tower about as deep as a paperback, which is enough for folded tees and toiletries. Then there’s the strip behind the bed: if the headboard stands a few inches off the wall, a slim ledge there holds books, a phone, and a water glass.
One thing I’d steer you away from is the storage ottoman or blanket box at the foot of the bed. It photographs beautifully and then blocks your walking path for the next three years. In a tight bedroom, storage should climb the walls or hide under the mattress rather than parking itself in the middle of the floor.
The order I’d do it in
If the room currently makes you want to shut the door and walk away, run the sequence like this over one weekend. Empty the space under the bed first and vacuum it out. Do the hanger swap second, because a full rod of slim velvet hangers shows you how much space you truly have before you commit to buying anything. Third, pull out every garment you won’t wear for two months and load it into vacuum compression storage bags. Those flattened bags go into under-bed storage bins with lids and slide home. Only then, with the leftovers visible, mount your floating wall shelves where the remaining clutter actually collects.
The sequence matters more than the products. Buy shelves first and you’ll fill them with things you should have donated, ending up with the same crowded room at a higher elevation. Clear the volume, then add the storage.
One habit keeps all of it working: give every new item a home before it crosses the threshold. A bedroom this tightly packed has zero slack, so an unassigned object always lands on the floor or the nightstand. No home, no entry.