A changing table wedged into a nursery corner usually has no drawers of its own. It’s a pad strapped to the top of a dresser, or a bare table with one open shelf underneath, and every diaper, wipe and spare outfit needs a home within arm’s reach of that pad in whatever few square feet the corner allows. Stack too much on the table itself and there’s nowhere left to lay the baby down. Store the daily supplies too far away and you’re turning away from a squirming baby with one hand still on her stomach, which is exactly when a fall happens. The fix isn’t a bigger changing table. It’s treating the corner as a small, dense system, one where the wall does the storage work the furniture can’t.
1. Measure the corner before you buy anything
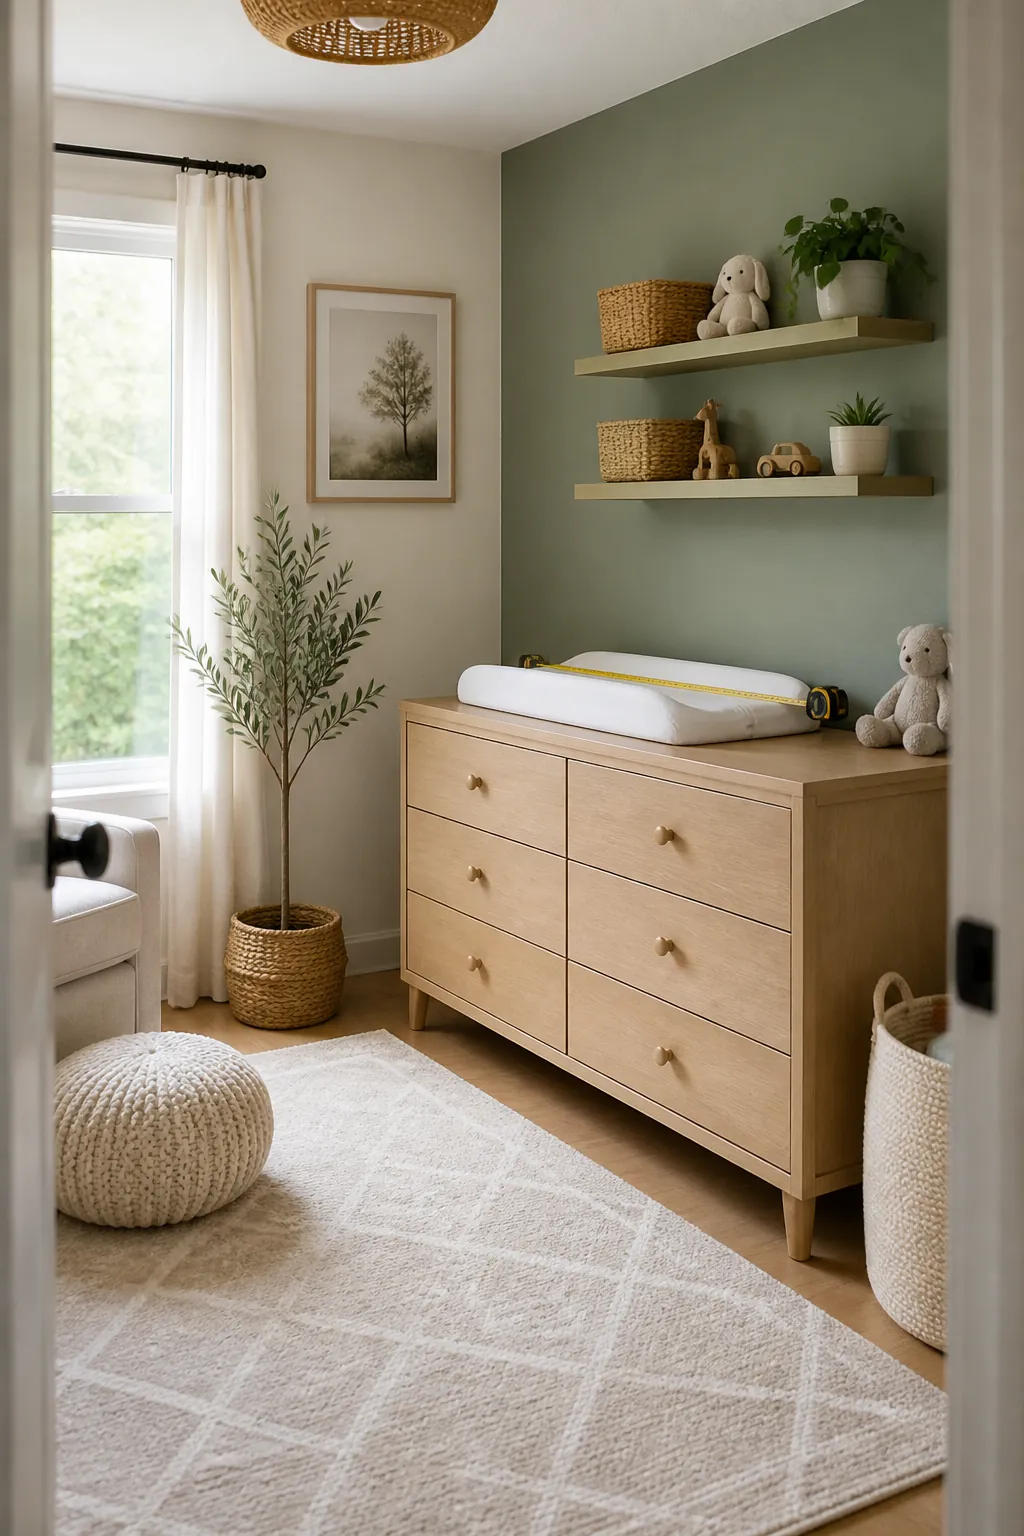
A standard changing pad runs about 16 by 32 inches, and it needs a surface at least that size with an inch or two of margin on every side so a squirming baby never has a hand or foot hanging off the edge. If the pad is going on top of a dresser, measure the dresser’s actual top surface, not the drawer width below it; a lot of dressers narrow toward the top for a rounded edge or a raised back panel, stealing the inch or two the pad needs to sit flat.
Measure the walkway too. You need at least 24 to 30 inches of clear floor in front of the table to lean over and pick the baby up without backing into a wall or a door swing. A closet door that opens into that space is a common miscalculation; it looks fine empty and becomes a hazard the first time it’s opened mid-change.
2. Strap the pad down and respect the drop-off edge
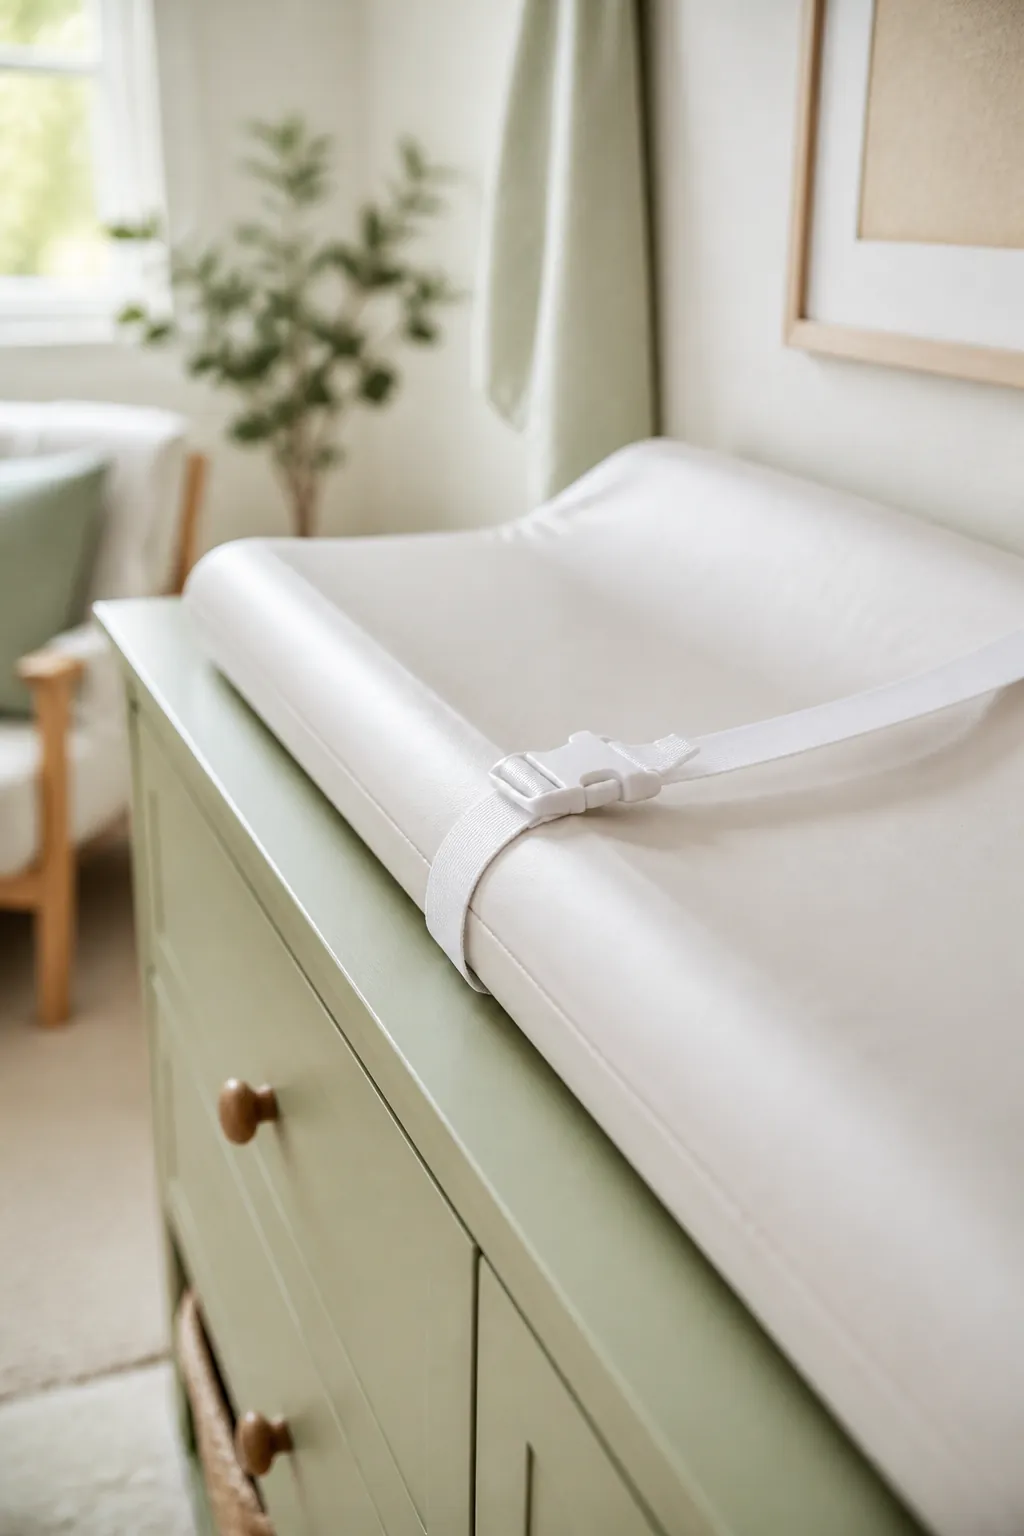
Every changing pad worth buying comes with a safety strap across the middle, and it should be buckled every single time, not just for a newborn who can’t roll yet. A four-month-old who has never rolled before will often do it for the first time on a changing table, and a fall from a dresser top, typically 34 to 36 inches off the floor, is a genuine injury risk.
The other habit worth building from day one is keeping one hand on the baby at all times and everything else within reach of the other. If reaching for a wipe means letting go and turning around, the storage is in the wrong place, full stop. That single rule should decide where every item on this list actually goes.
3. Mount shelves above the table, out of a baby’s reach
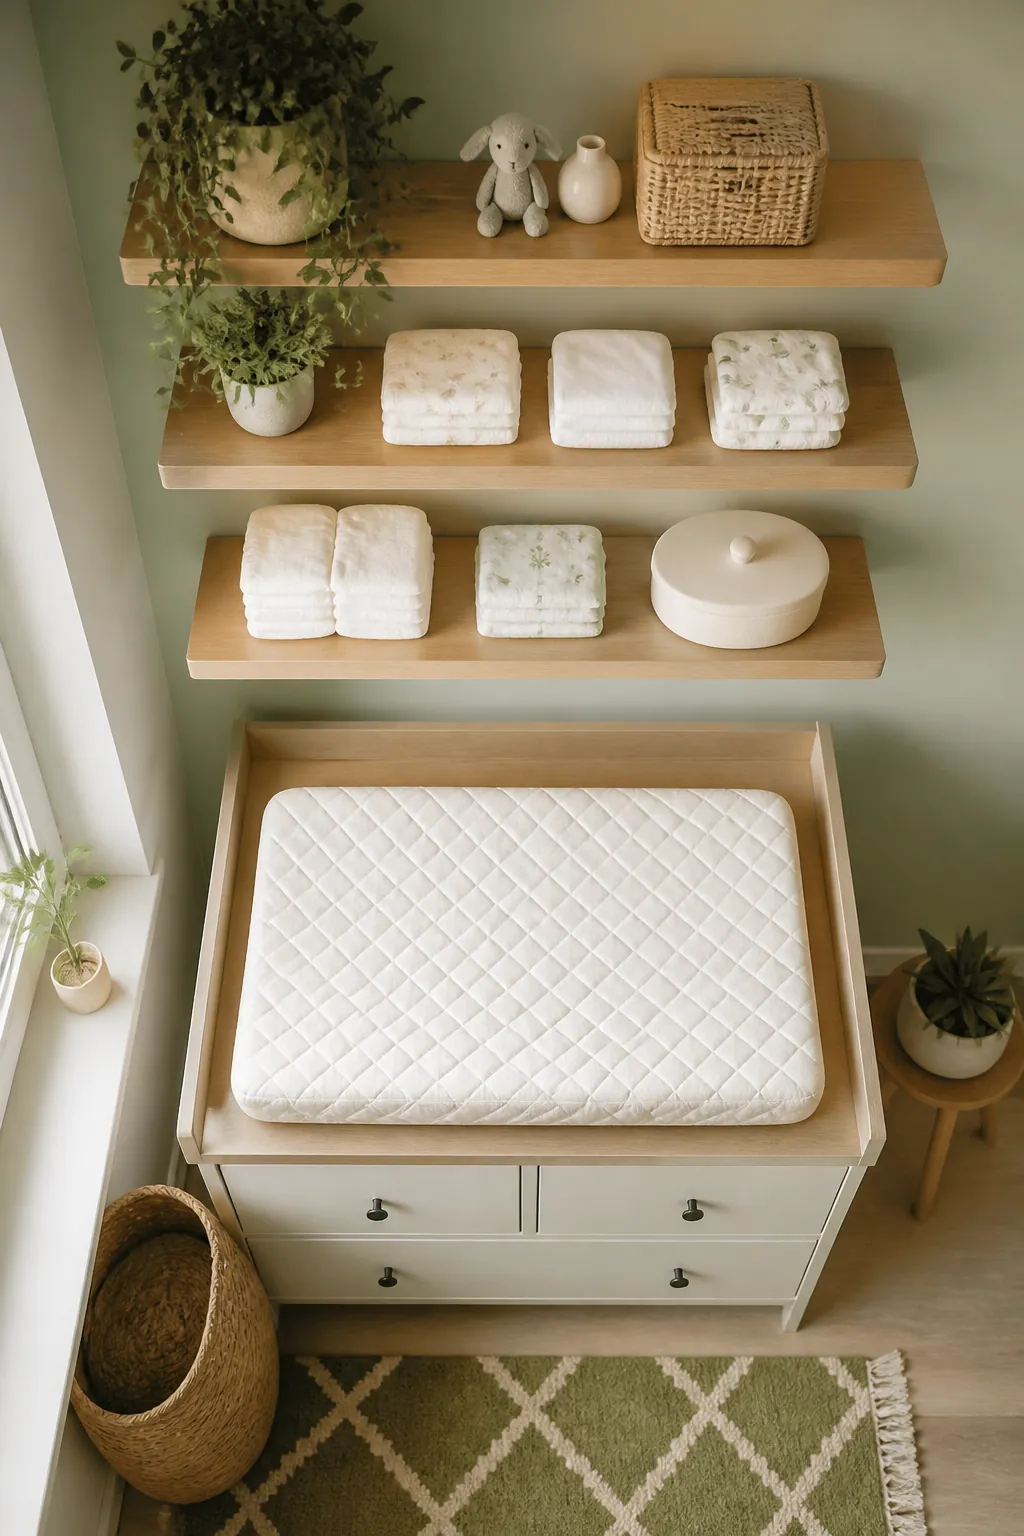
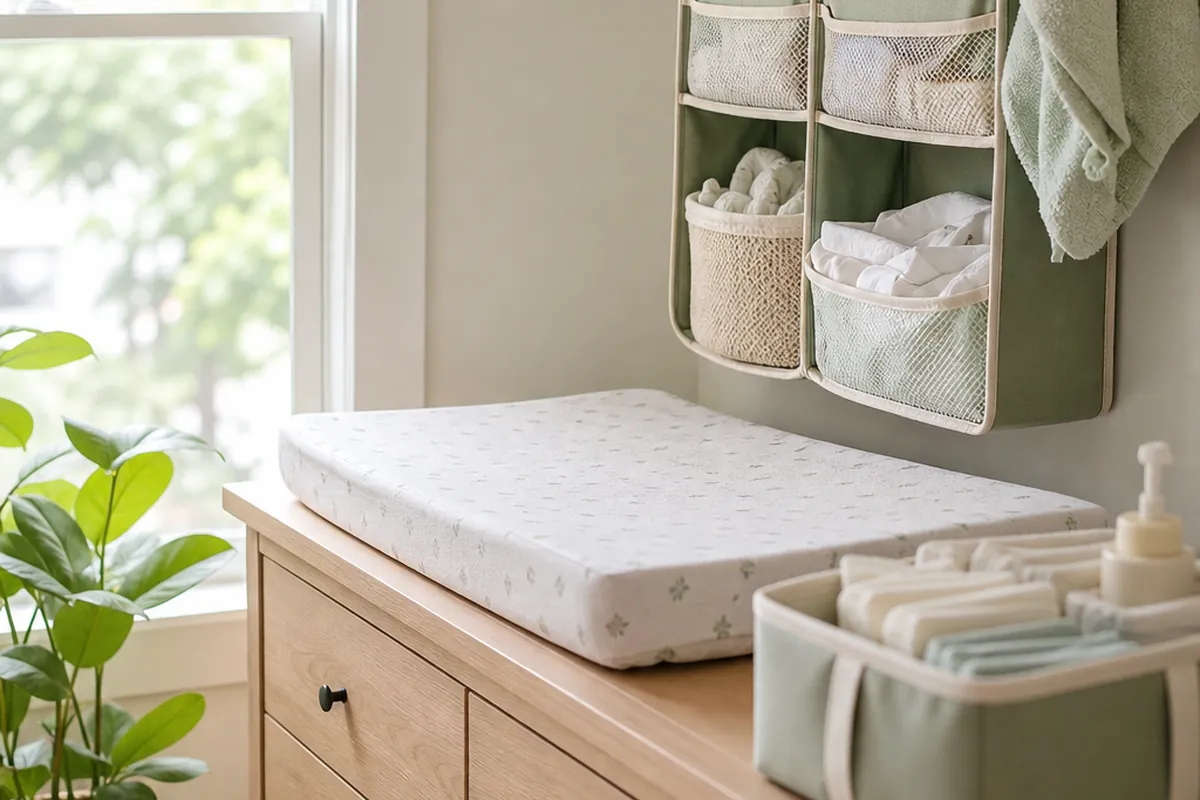
Once a baby can sit up, anything within grabbing distance becomes a toy, and a jar of diaper cream is not a toy anyone wants opened. Floating wall shelves solve the height problem a dresser top can’t: mount the first one about 20 inches above the pad, high enough that a seated baby’s outstretched arm can’t reach the front edge, and keep the depth around 8 to 10 inches so it doesn’t loom over the space.
Renters should aim for one screw into a stud per shelf rather than relying on drywall anchors alone; a shelf loaded with diapers and a bin of wipes is heavier than it looks, and anchors that hold a few picture frames can pull loose under that weight. If drilling is off the table entirely, a low-weight tension shelf that wedges between floor and ceiling is the no-drill alternative, though it holds less.
4. Keep one caddy for the daily reflex kit
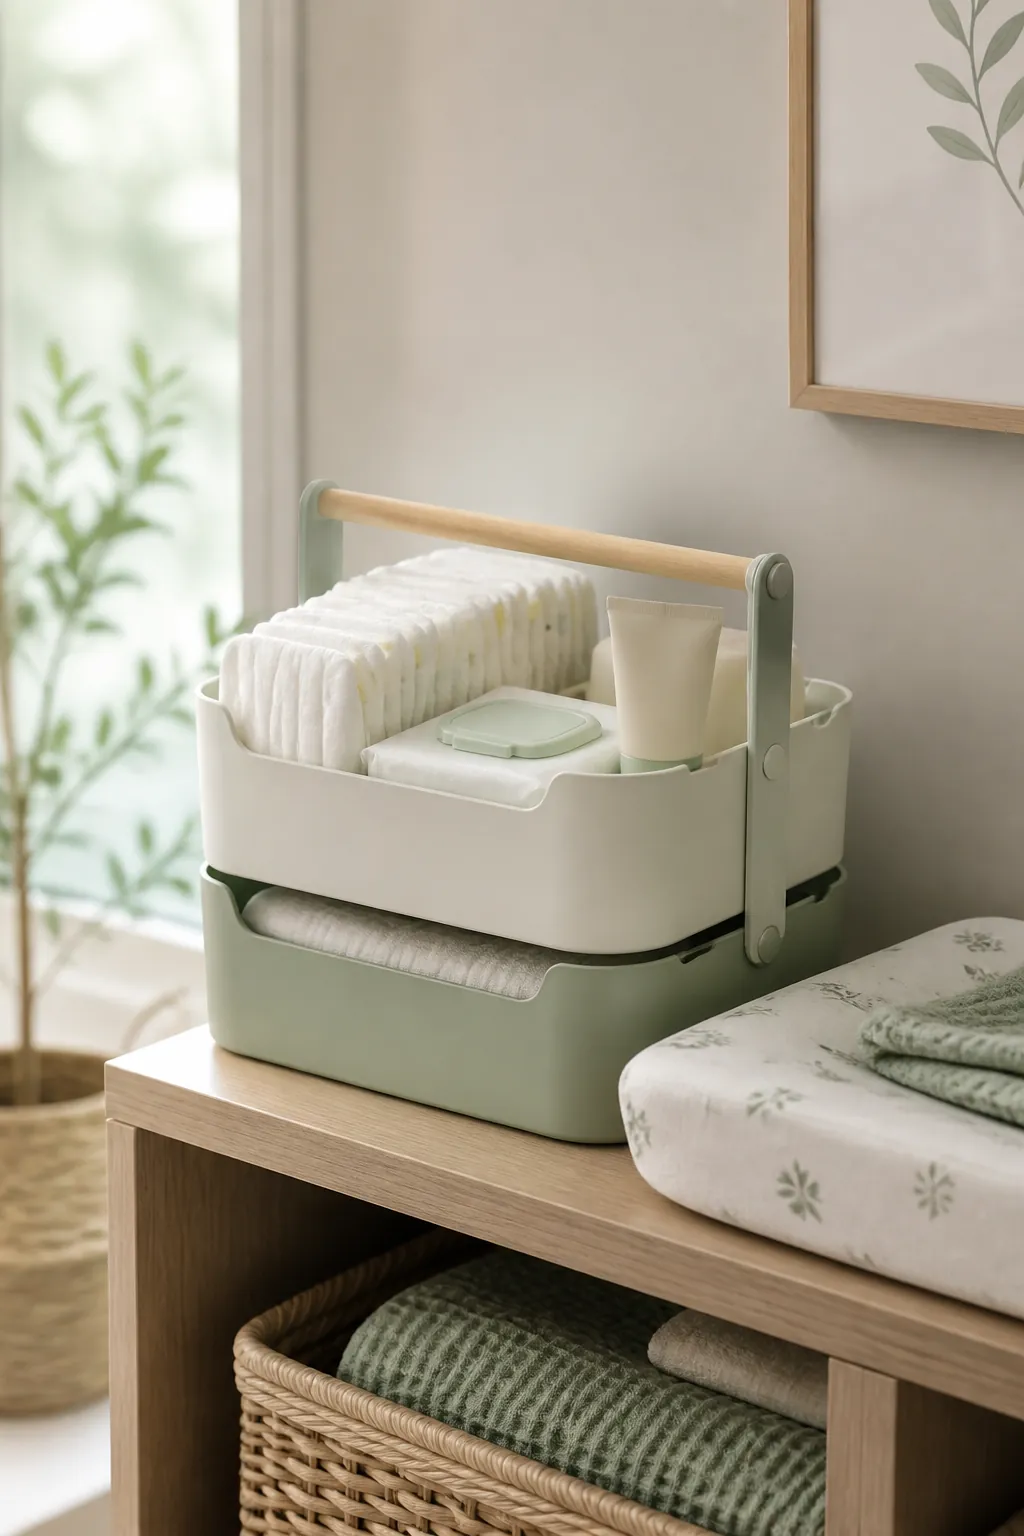
A diaper change happens on autopilot: diaper off, wipe, cream, diaper on, all in the time it takes a baby to decide whether to protest. That only works if diapers, wipes and cream live in one place, not spread across three containers checked in sequence. A stackable supply caddy with handle set on the shelf or the end of the table holds exactly that combination, small enough to refill once a day rather than needing a mid-change restock.
The handle matters as much as the compartments. A caddy that lifts out in one motion moves with the baby, to the living room for a quick change on a play mat, or into the diaper bag’s outer pocket for a top-up before a walk, without repacking anything. Keep it under about 10 inches deep if it’s living on the shelf from step 3; a caddy that overhangs a shallow floating shelf turns into its own tip hazard the first time a sleeve catches the edge.
5. Sort backup diapers by size in bins below the table
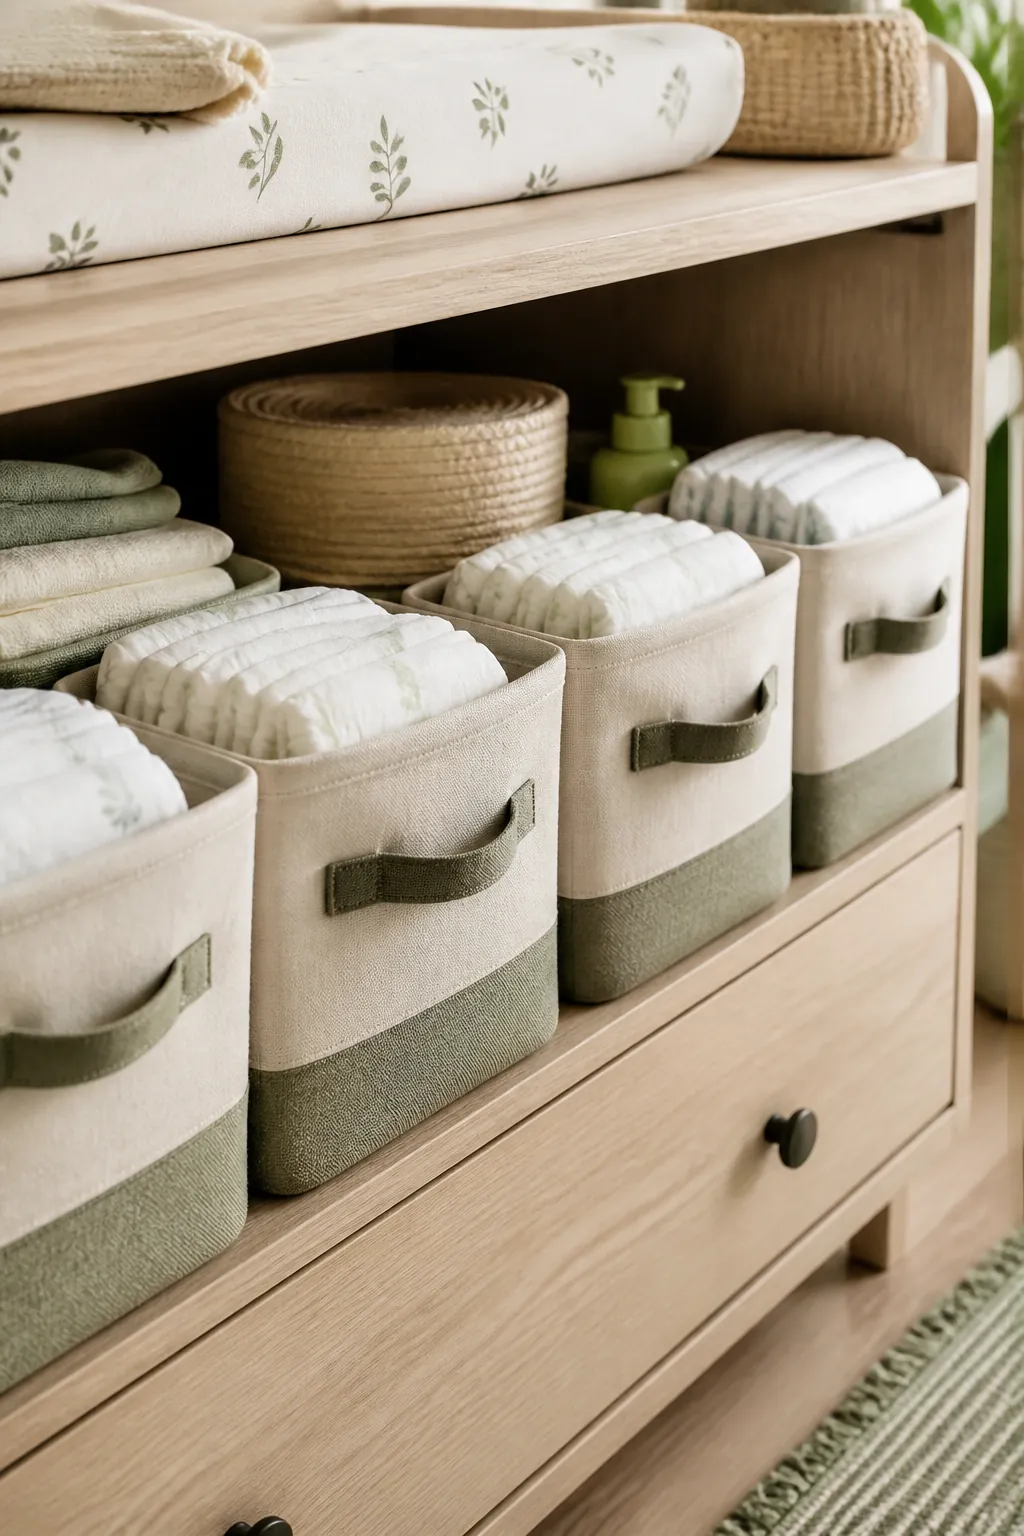
The caddy holds a day’s worth. Everything else, the bulk pack of diapers, the next size up, needs a bigger home that doesn’t have to be within one-handed reach. Fabric storage bins with handles set on the floor beside the table or on a low shelf underneath do this well, and being soft sided, a bin that gets bumped during a change doesn’t become a second hazard.
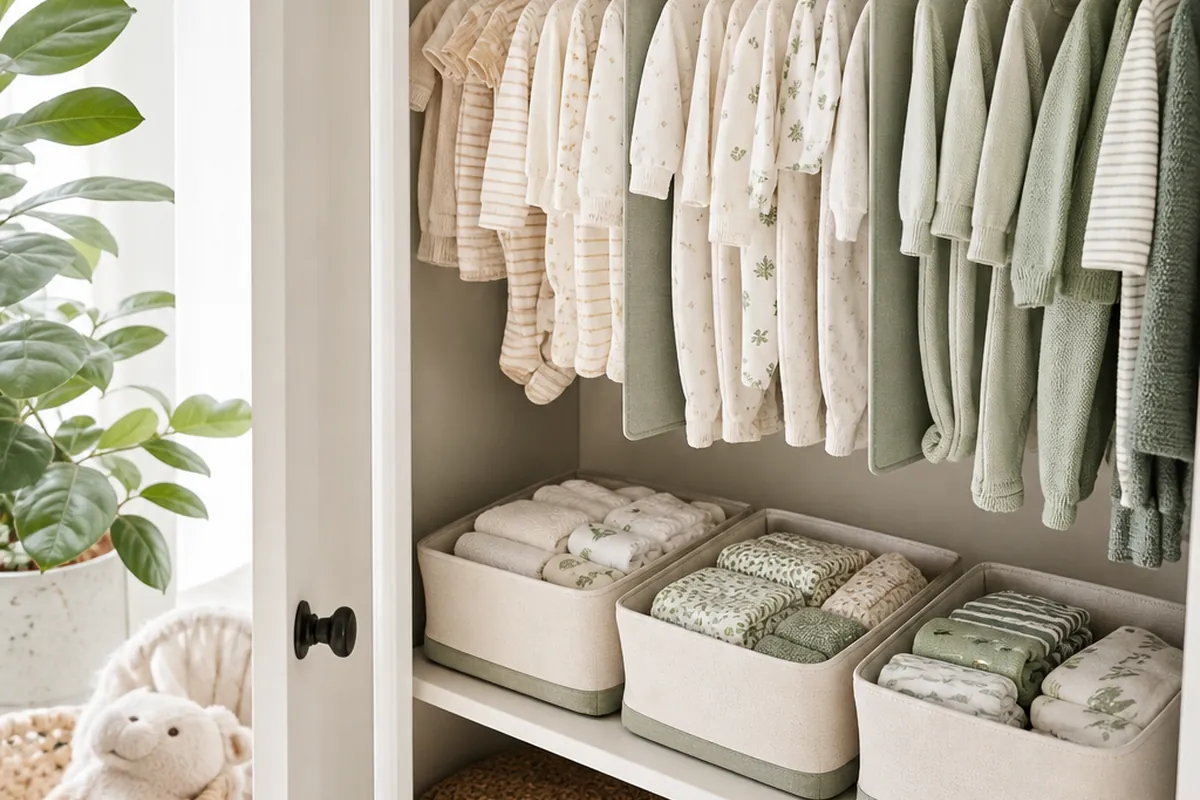
Sort by size before anything else, the same size-first sorting that works in a nursery closet, not by brand. A baby moves through four or five diaper sizes in the first year, and what matters is whether the size currently fits, not what’s printed on the box. Label the front of each bin; a size change three months ago is easy to forget once a few bins start looking alike, and a diaper one size too small leaks at the worst possible moment.
6. Give wipes and cream their own eye-level spot
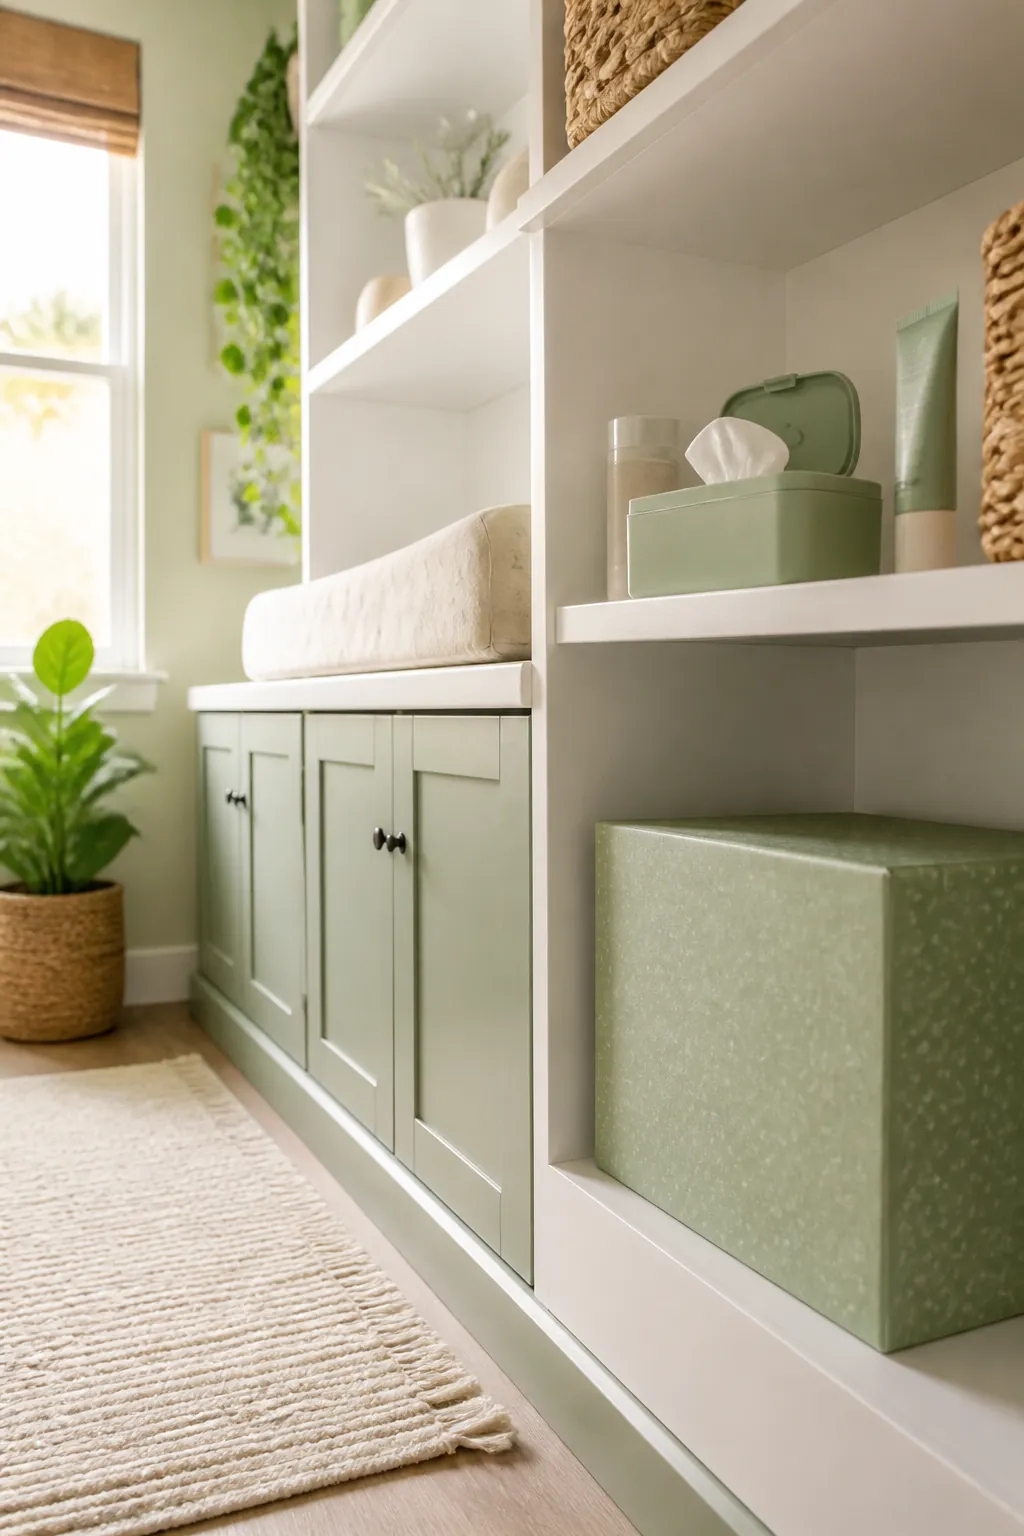
Bulk stock buried in a bin is exactly where you don’t want the wipes you use twenty times a day. Keep one opened pack of wipes and one tube of cream on the shelf itself, or the top of the caddy, separate from the sealed backstock below. Digging through a bin one-handed while holding a baby down with the other is how creams end up knocked to the floor and lids end up lost under the dresser.
Refill the eye-level spot from the bulk bin once a week, so there’s always a buffer and you’re never opening a fresh case mid-change because the last wipe just ran out.
7. Hang a hook for the hamper and wet bag
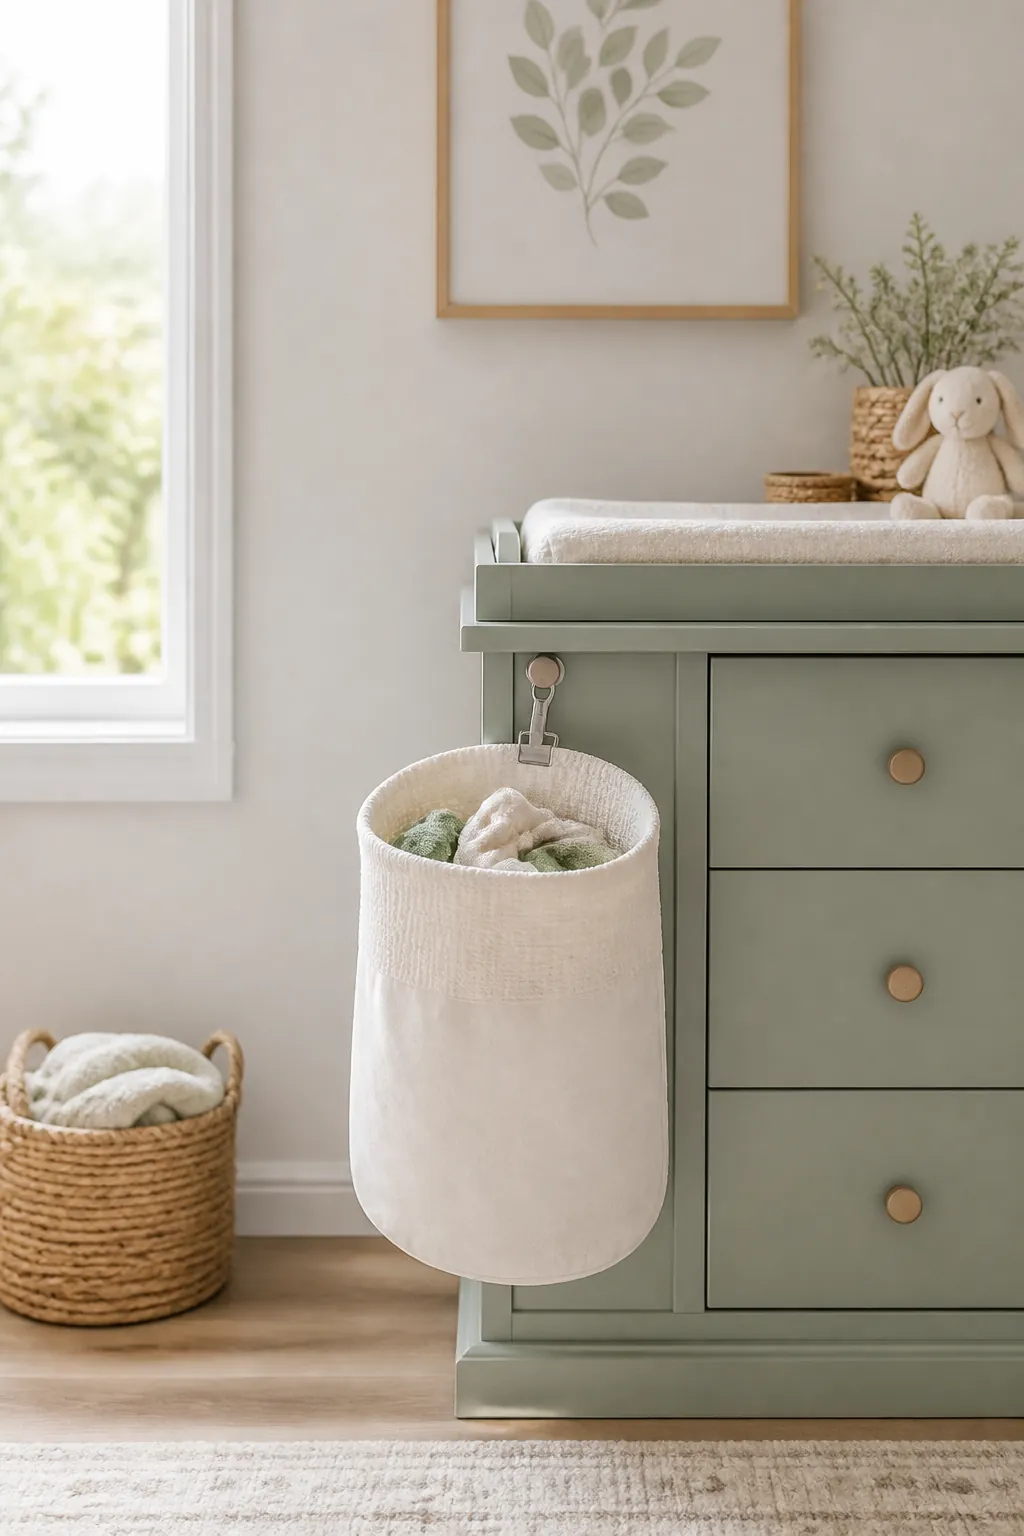
A changing station generates its own small pile of laundry, burp cloths, a onesie with a blowout, a bib, faster than most people expect. Give that pile a single destination instead of a chair back or the floor: a hook on the side of the dresser or the back of the nearest door, holding a hanging hamper bag or a wet bag for anything that needs rinsing before it hits the wash.
This doesn’t need a dedicated hanging diaper organizer or a built-in laundry chute, both more furniture than a small corner has space for. One over-the-door hook and a bag that unclips and carries straight to the machine covers the same job. Mount it at adult reach, not toddler reach; a bag hanging low enough for a standing one-year-old to grab turns a soiled bib into a toy, and it lands right back on the floor it was meant to stay off of.
8. Corral the monitor and sound machine cords
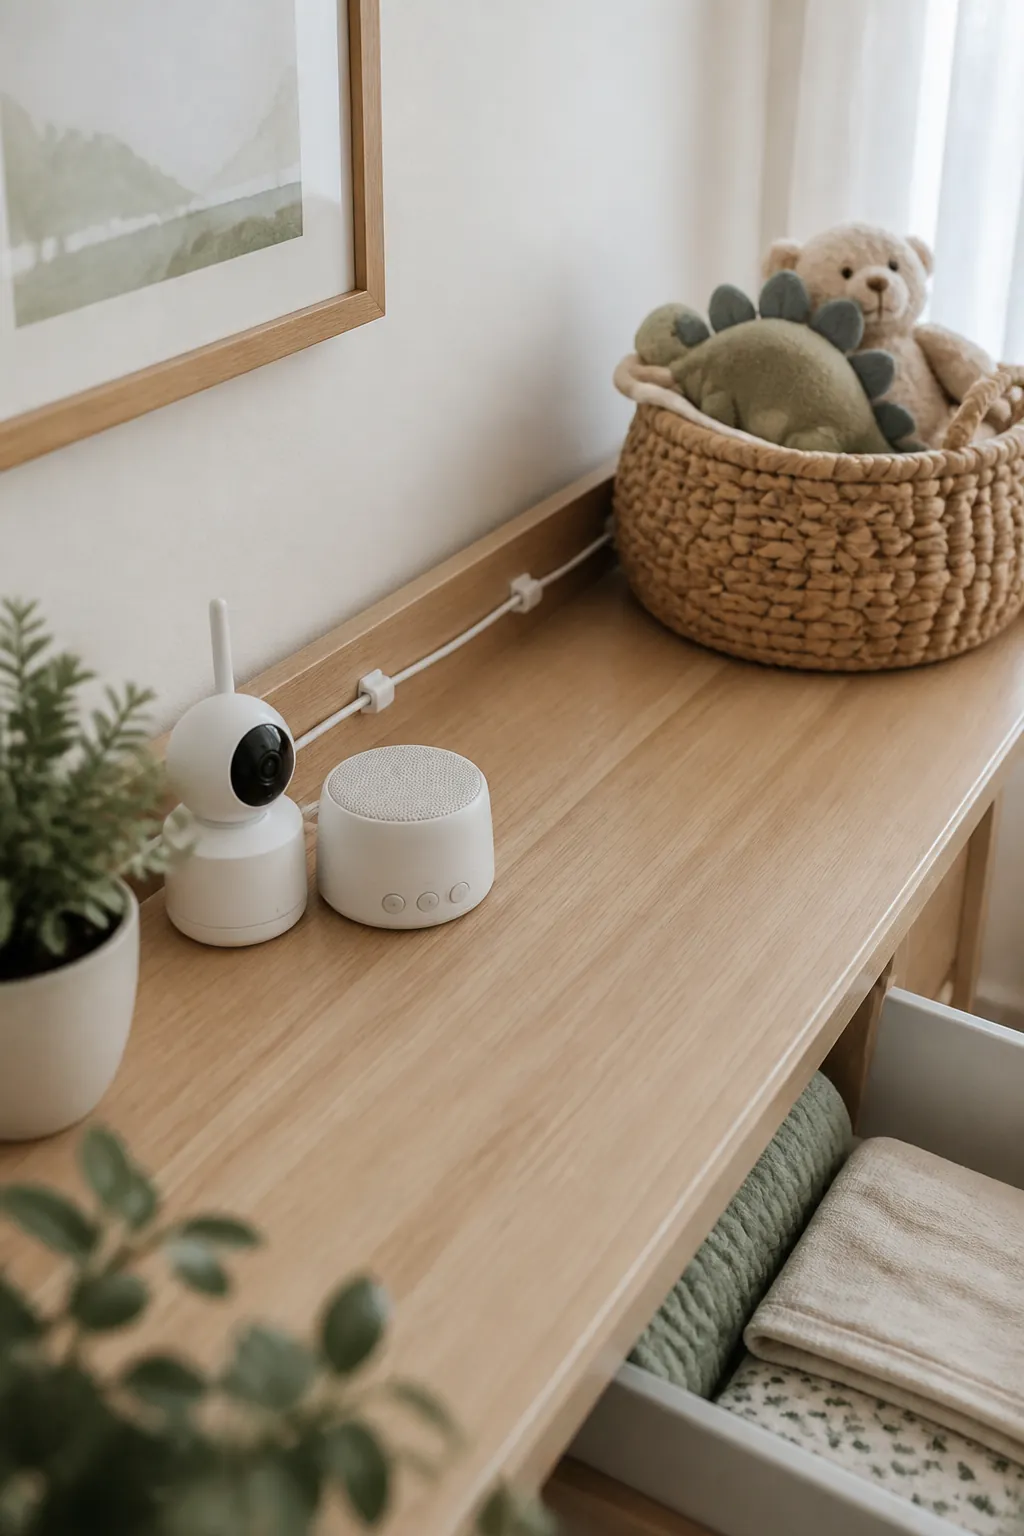
A nursery corner accumulates a small nest of cords fast, a baby monitor, a sound machine, sometimes a lamp, all plugged in near the changing table because that’s where the outlet happens to be. A loose cord dangling off the edge of a shelf is a genuine pull hazard once a baby can reach it, and it’s exactly the kind of thing that gets grabbed and yanks a device down onto the table.
Route cords along the back edge of the dresser or shelf and secure them with adhesive clips spaced every 8 to 10 inches, keeping the slack up high rather than looping down. It’s the same idea behind good cord management in a small living room, applied somewhere the stakes are a lot higher than a tangled charger.
9. Leave a landing spot for what’s already in your hands
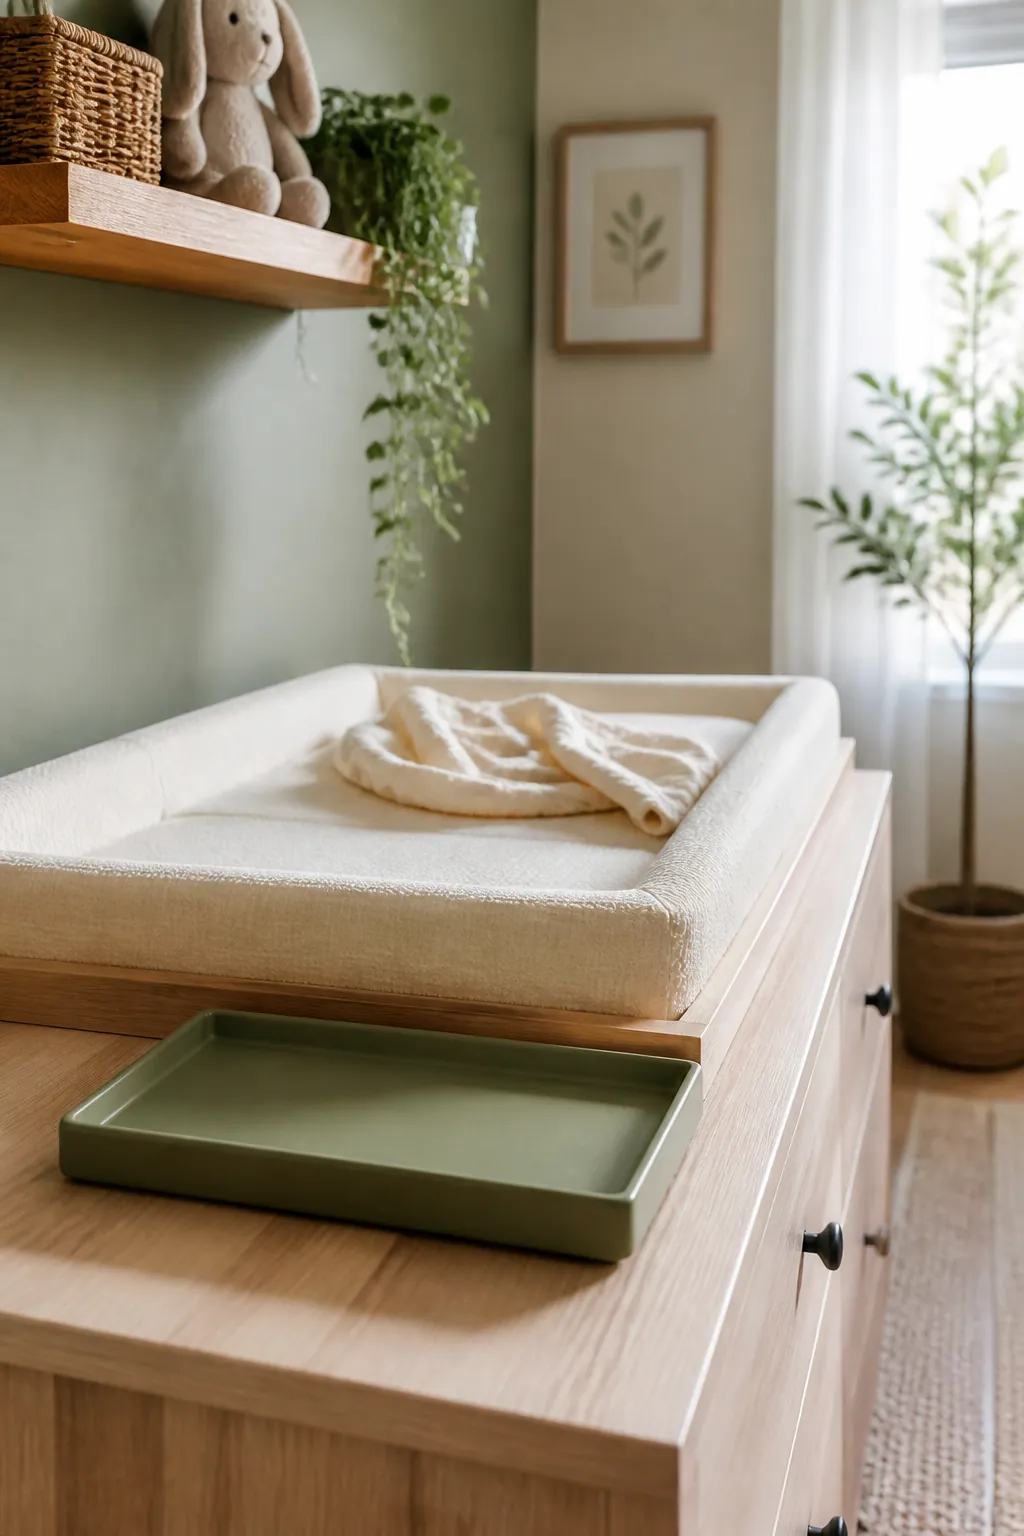
Walk into a nursery holding a stack of folded onesies, the mail, or a bottle, and without a clear spot to set things down, they land on top of the changing pad, the one surface that needs to stay clear. A small tray or an empty corner of the shelf, deliberately left without a job, gives that armful somewhere to go instead.
This sounds minor until it’s the difference between a table that stays usable and one that slowly disappears under mail and half-empty cups. Pick the spot once and treat it as off-limits for permanent storage; its entire value is staying empty.
10. Plan for the day the table graduates out of the room
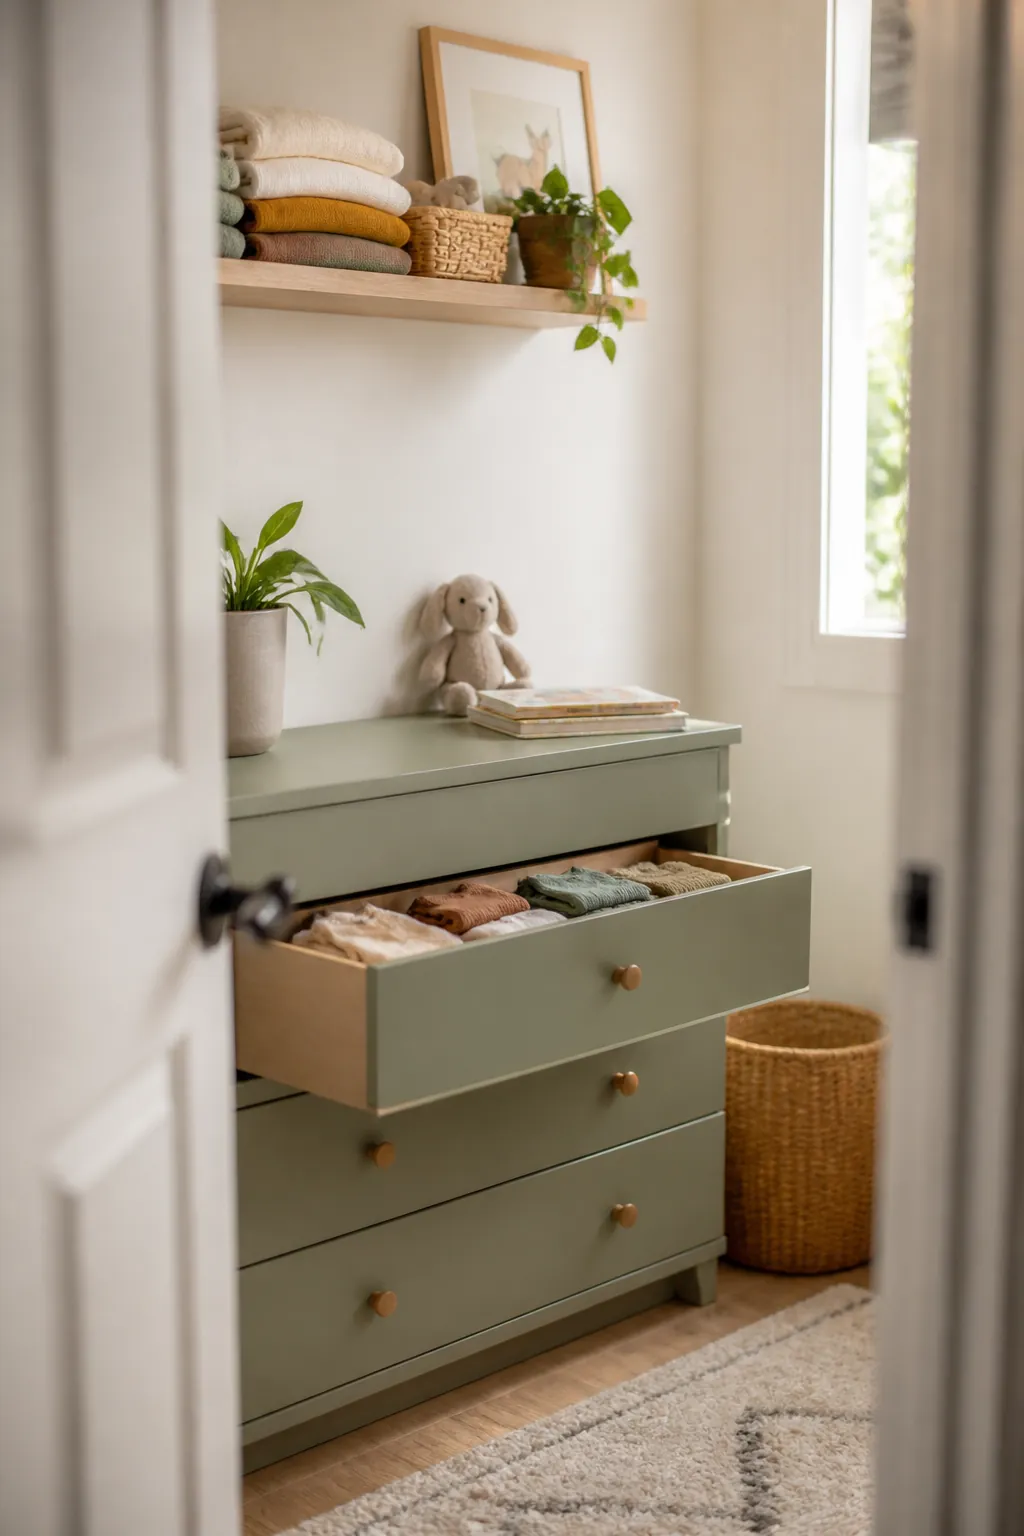
Most babies are off the changing table by 24 to 30 months, and the storage built around it doesn’t have to be torn out that day. Floating wall shelves mounted at diaper height become book or toy shelves once left in place for a toddler tall enough to reach them. Fabric bins that held diaper sizes switch just as easily to holding folded clothes or off-season shoes.
The caddy is the one piece worth planning an exit for early, since a diaper-specific caddy has little use once diapers are gone. Keeping the habit rather than the object is most of what makes nursery organization on a budget work long term: a small caddy for daily bath or bedtime supplies picks up the same job the diaper caddy was doing, just for a different routine.
Where to start
Measure the corner and strap the pad down first, since those two decisions are safety, not preference, and everything else builds around them. Add a shelf above the table for what shouldn’t be within a baby’s reach, a caddy on the shelf for the daily kit, and bins below sorted by size for everything else.
None of this needs a full nursery renovation. It needs the wall doing the job the furniture can’t, and every item sorted by how often a hand actually reaches for it, so a diaper change stays a thirty-second routine instead of a search.