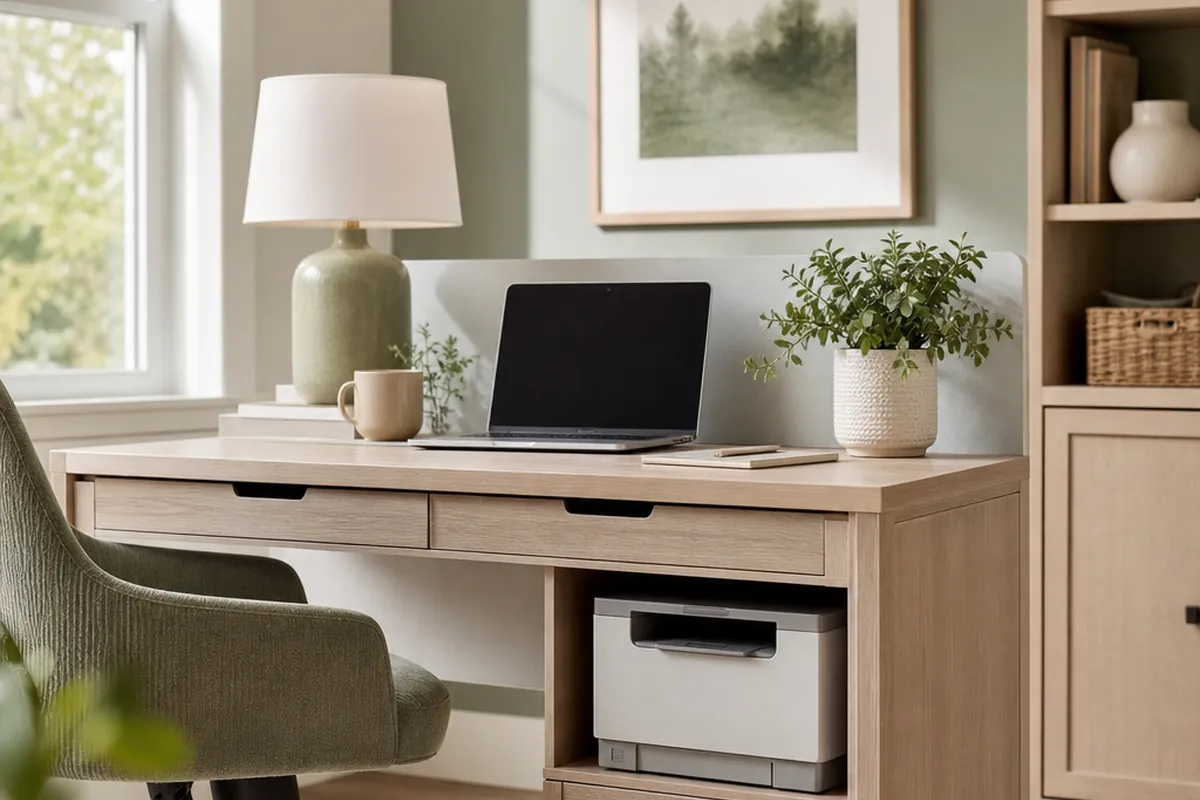
Your desk is currently holding a laptop, a water bottle, two notebooks, a nest of chargers, and Tuesday’s mug, and there is nowhere left to actually write. Good dorm desk organization has less to do with buying bins than with deciding what has earned a permanent spot on a surface roughly the size of a cafeteria tray. Everything else goes up, goes into a drawer, or leaves the desk entirely.
What follows is the order I’d tackle it in, plus the three products that do the most work in the least square footage.
1. Start dorm desk organization by emptying the desk

Organizing around a pile only produces a tidier pile. Pull every item off the desk and stage it on your bed, which conveniently gives you a deadline: finish before you sleep. Sort into four groups as you go, one for things you touch daily, one for weekly, one for things you’ll need at some point this semester, and one for anything that belongs elsewhere (your closet, the recycling, your roommate’s side of the room).
Here’s the rule I’d hold you to. Three categories stay on the open desktop permanently: a light source, your laptop or monitor, and one drinking vessel. Pens, sticky notes, lotion, headphones, and the stapler you touched once in September all live inside something with walls. A small desk stays usable only when the default state of the surface is empty, so treat anything sitting loose on the wood as a guest with a curfew.
2. Go vertical: the adjustable desktop organizer shelf earns its space
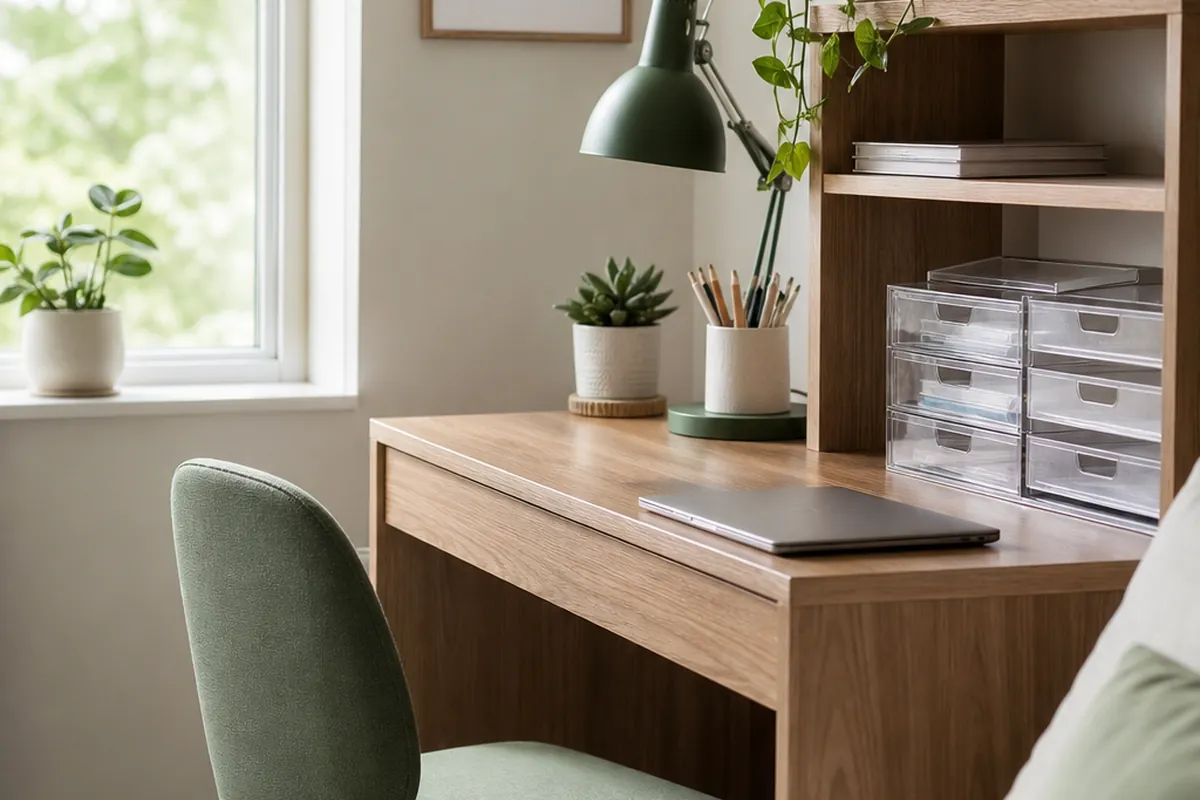
If you buy one thing, make it an adjustable desktop organizer shelf. Dorm desks run shallow, and the back four or five inches against the wall is where clutter goes to die. A shelf turns that dead strip into two levels of usable space instead of one graveyard.
Adjustable matters more than it sounds. Institutional desks come with built-in hutches, odd drawer stacks, and cinder block walls that aren’t quite flat, and a fixed-width riser will either overhang the front edge or refuse to slide under the hutch. Being able to change the width and the leg height means the shelf fits your desk rather than the desk in the product photo. Measure the clearance between your desktop and the underside of any hutch before you pick a height.
Set it against the back edge, put your laptop or monitor on top so the screen lands near eye level, and slide your keyboard, a notebook stack, or a shallow pen tray into the tunnel underneath. Two placement notes. Heavy items like textbooks and a printer belong on the desk surface below the shelf, not on top of it, partly for stability and partly because a loaded riser blocks your sightline. Keep the top clear except for the screen and maybe one small plant, because the moment you start stacking on a riser you have simply built a taller pile at eye level.
3. Corral the small stuff in clear stackable drawers
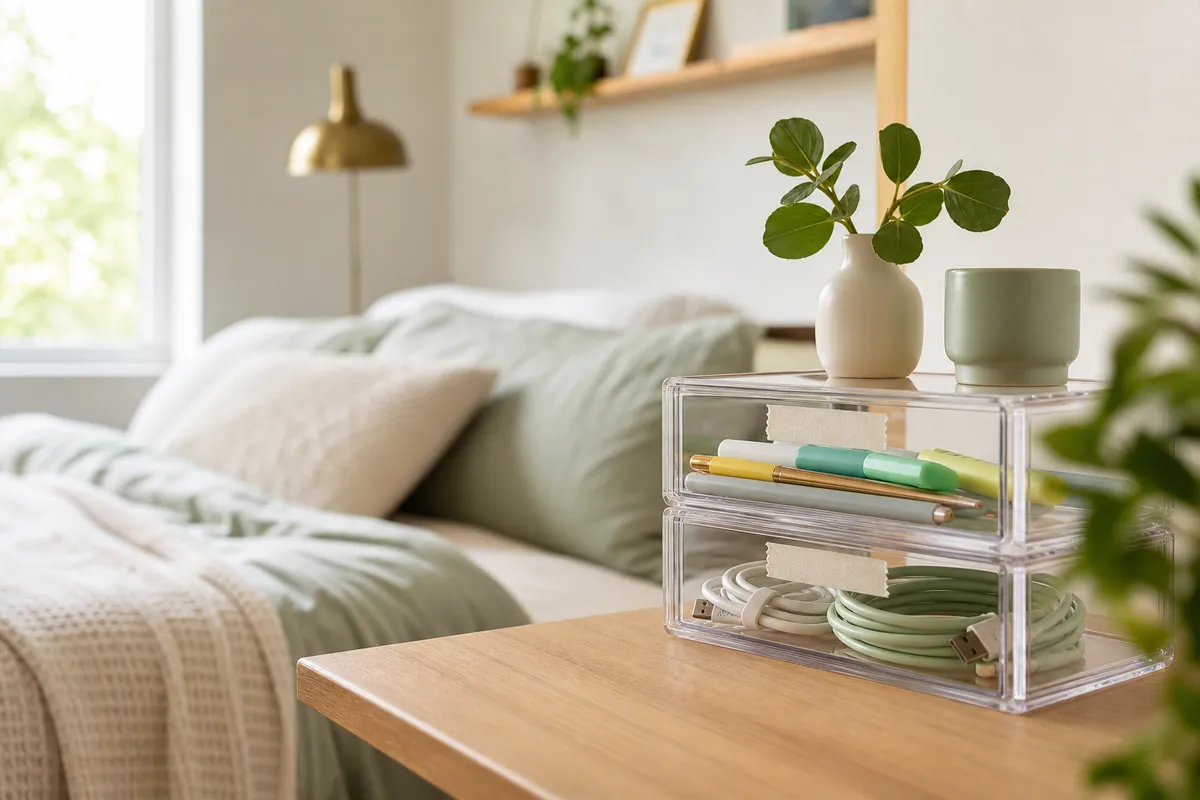
Small clear stackable drawers are the unglamorous workhorse of dorm desk organization. Pens, USB-C cables, index cards, Advil, hair ties, phone dongles, granola bars: none of it deserves open-surface real estate, but all of it needs to be reachable in about three seconds.
Go clear rather than opaque. Woven boxes photograph beautifully and then you forget what’s inside them by week three, at which point you’re pulling all four out to find a flash drive. Give each drawer exactly one job and write it on a strip of masking tape across the front: tech, writing, first aid, snacks. Two or three drawers stacked in the least useful corner of the desk (usually the far side away from your writing hand) swallow a startling amount without stealing elbow room.
One trade-off is worth knowing up front. Stacked drawers get irritating when the thing you need lives at the bottom, so put your highest-traffic category on top and bury the emergency supplies underneath.
4. Dorm desk organization for paper: give every tier a job
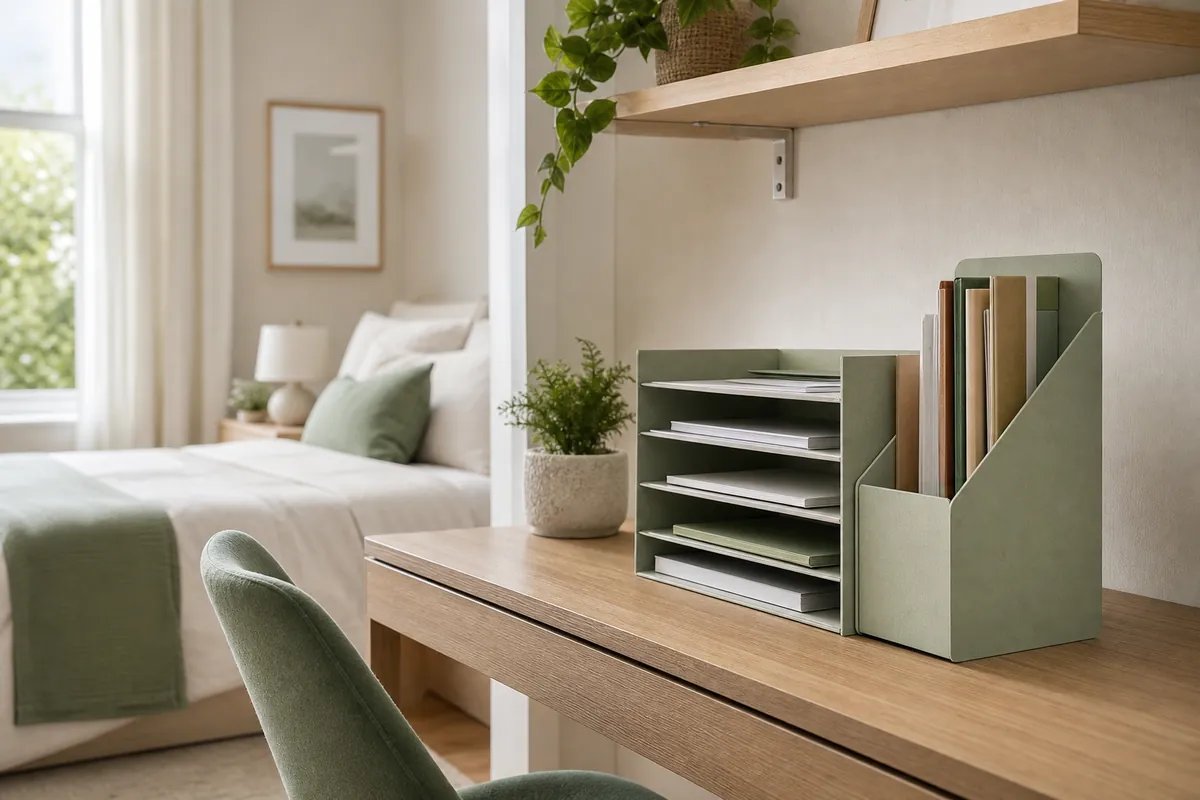
Paper is what actually kills a small desk. Syllabi, printed readings, lab handouts, financial aid forms, the flyer someone pressed into your hand outside the dining hall. Flat stacks grow horizontally, which is precisely the direction you cannot afford.
A 4-tier desk organizer with file holder solves this in one footprint by doing two jobs at once: horizontal trays for loose sheets and a vertical slot for folders or a thin binder. Assign each tier a purpose or you’ll end up with four identical piles at four different heights. My setup: the top tier is the inbox for anything that arrives today, the second holds this week’s active handouts, the third is for things to return, mail, or sign, and the bottom stores flat supplies like spare notebooks and printer paper. One folder per class goes in the file holder.
Then commit to a Sunday purge. Ten minutes, top tier down to zero, recycle anything you’ve already photographed or that’s posted on the course site anyway. A paper system with no scheduled emptying is just a better-looking pile.
5. Get the lamp and cables off the work surface
A lamp with a wide weighted base can eat a quarter of a dorm desk without contributing anything. Swap it for a clamp lamp on the desk edge or on the leg of your desktop shelf and you buy back writing space instantly, plus you can aim the light at your book instead of your keyboard.
Cables are the other silent thief. Mount a small power strip to the side of the desk frame or the back of a leg with heavy-duty velcro so it stops living on the floor collecting dust and shoe grit. Run charging cords up through an adhesive clip at the back corner so they never slither down behind the desk. Label each cord at the plug end with folded washi tape, because untangling three identical black cables in the dark before an 8 a.m. lecture is a specific kind of misery.
6. Use the wall above the desk without losing your deposit
The strip of wall between the desktop and the window or shelf is usually the most wasted vertical space in the room. You just can’t drill into it. A short row of adhesive hooks handles headphones, a tote bag, a lanyard, and scissors, and a lightweight adhesive pegboard or a corkboard leaned against the wall and secured with mounting strips gives you somewhere to park a calendar, spare cords, and a small basket.
Weight is the part people get wrong. Adhesive strips usually fail because of leverage rather than raw poundage, so hang flat items tight to the wall and skip anything bulky that swings when you bump it. For more damage-free vertical tricks across the rest of the room, these dorm storage ideas for a tiny room cover the bed, closet, and door too.
7. Move overflow off the desk entirely
Some things simply do not belong on a desk this small: your printer, a shoebox of cables, seasonal supplies, the snack stash. Send them under the bed in a low bin, onto a narrow rolling cart parked beside the desk, or onto a shelf across the room.
Of those, the rolling cart is the strongest add-on if your floor plan allows it. Roll it out during a work session so your paper trays, art supplies, or lab notebook are within arm’s reach, then roll it flat against the wall when you need the floor back. Struggling to find a home for anything at all? These ideas for a bedroom with no space left are a smarter next step than adding one more container.
8. Zone the drawers you already have
Most dorm desks include one shallow wide drawer and sometimes a deeper one. Treat the shallow drawer as flat storage only: notebooks, a laptop sleeve, folders, a keyboard. Toss loose pens in there and they migrate to the back within a week, at which point it’s a junk drawer.
Cardboard cut down to drawer height makes free dividers that work as well as anything you’d buy, or drop in two shallow trays. Divide the deep drawer vertically rather than horizontally, standing folders and notebooks on their edges like files so every spine is visible at once. Stacked flat, you will only ever use the one on top.
9. Build a two-minute closing routine
Systems collapse without a reset. Before you walk away for the night, do three things: loose items go back into their labeled drawer, stray paper goes into the top tier of the organizer, and the mug leaves the room with you. That’s the whole routine, roughly the length of one song.
This matters more in a dorm than anywhere else because your desk is also a dining table, a vanity, and a study space. A desk shared with school age children has the same problem and a different answer, covered in homework station ideas for small spaces. A surface juggling three jobs needs a hard reset between them, or job number two never gets its turn.
What to buy first for dorm desk organization
Spacing out purchases? Start with the adjustable desktop organizer shelf, since it creates space rather than relocating clutter. Small clear stackable drawers come next, because loose supplies are what make a desk read as chaotic even when it’s mostly empty. Hold off on the 4-tier desk organizer with file holder until a couple of weeks into the semester, when you know how much paper each professor actually hands out.
Because that is three orders across a semester rather than one, delivery is worth sorting out before the first of them. If you are between 18 and 24, Prime for Young Adults is Amazon’s reduced-price membership for that age bracket, and it is the cheapest way to stagger purchases without paying shipping three times.
Decorative desktop trinkets can wait until the system is running. And if your dorm’s closet is more of a rumor than a closet, these no-closet bedroom storage ideas pair well with everything above.