A small kitchen freezer holds roughly four to six cubic feet, and somewhere around a third of that is lost before you’ve put a single bin in it, to loose bags that collapse flat, boxes that go soft and crumple, and the dead corner behind the ice tray that nobody has reached into since spring. The food isn’t the problem. The freezer is being asked to work as one open bin when it needs to work as six small ones, each with a job.
Freezer organization in a small kitchen comes down to filing, not buying. Nine ways to turn a cold junk drawer into something you can actually see into, below.
1. Map your freezer’s real shape before you buy a single bin
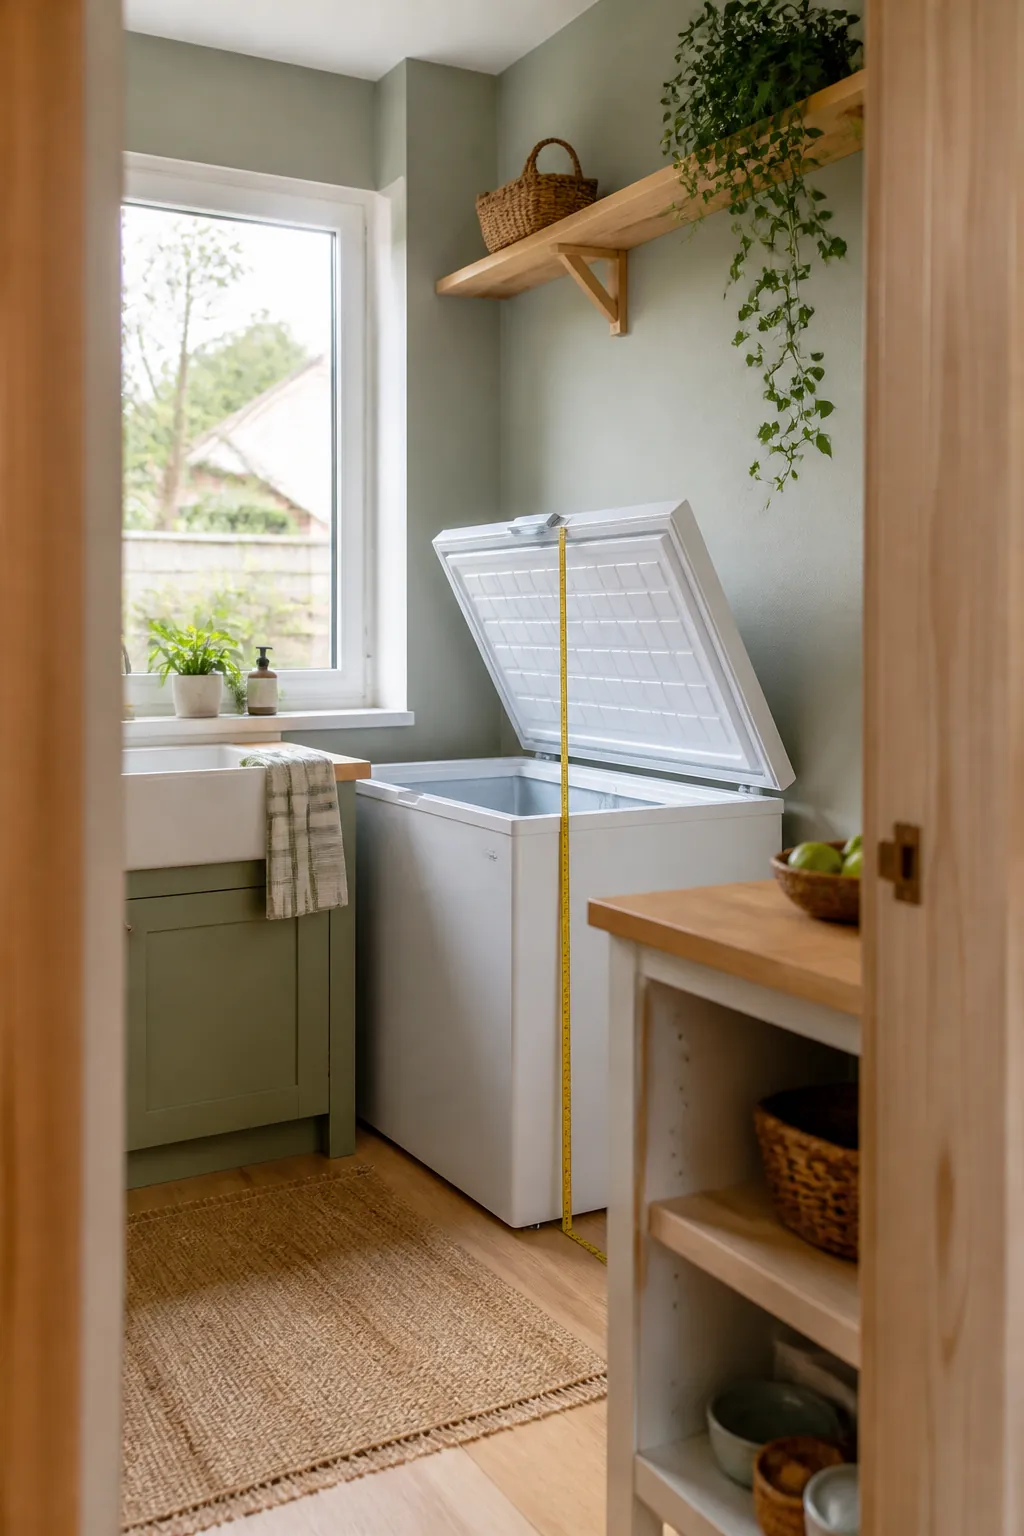
A chest freezer, an upright, and the freezer drawer under a fridge all waste space differently, and the fix for one makes the others worse. A chest freezer loses everything to depth: anything more than about 10 inches down becomes invisible once something else sits on top of it. An upright loses to its door shelves, which hold a flat row of items 2 inches thick and nothing deeper. A bottom freezer drawer loses to its own pull-out basket, which is usually only 6 to 8 inches tall before the drawer above it stops closing.
Measure your actual freezer, not a generic one, before you commit to a system. A bin that’s perfect for a drawer freezer will disappear at the bottom of a chest freezer, and a tall bin that’s great in a chest freezer won’t fit under an upright’s shelves at all.
2. Give every food category its own bin, not its own shelf
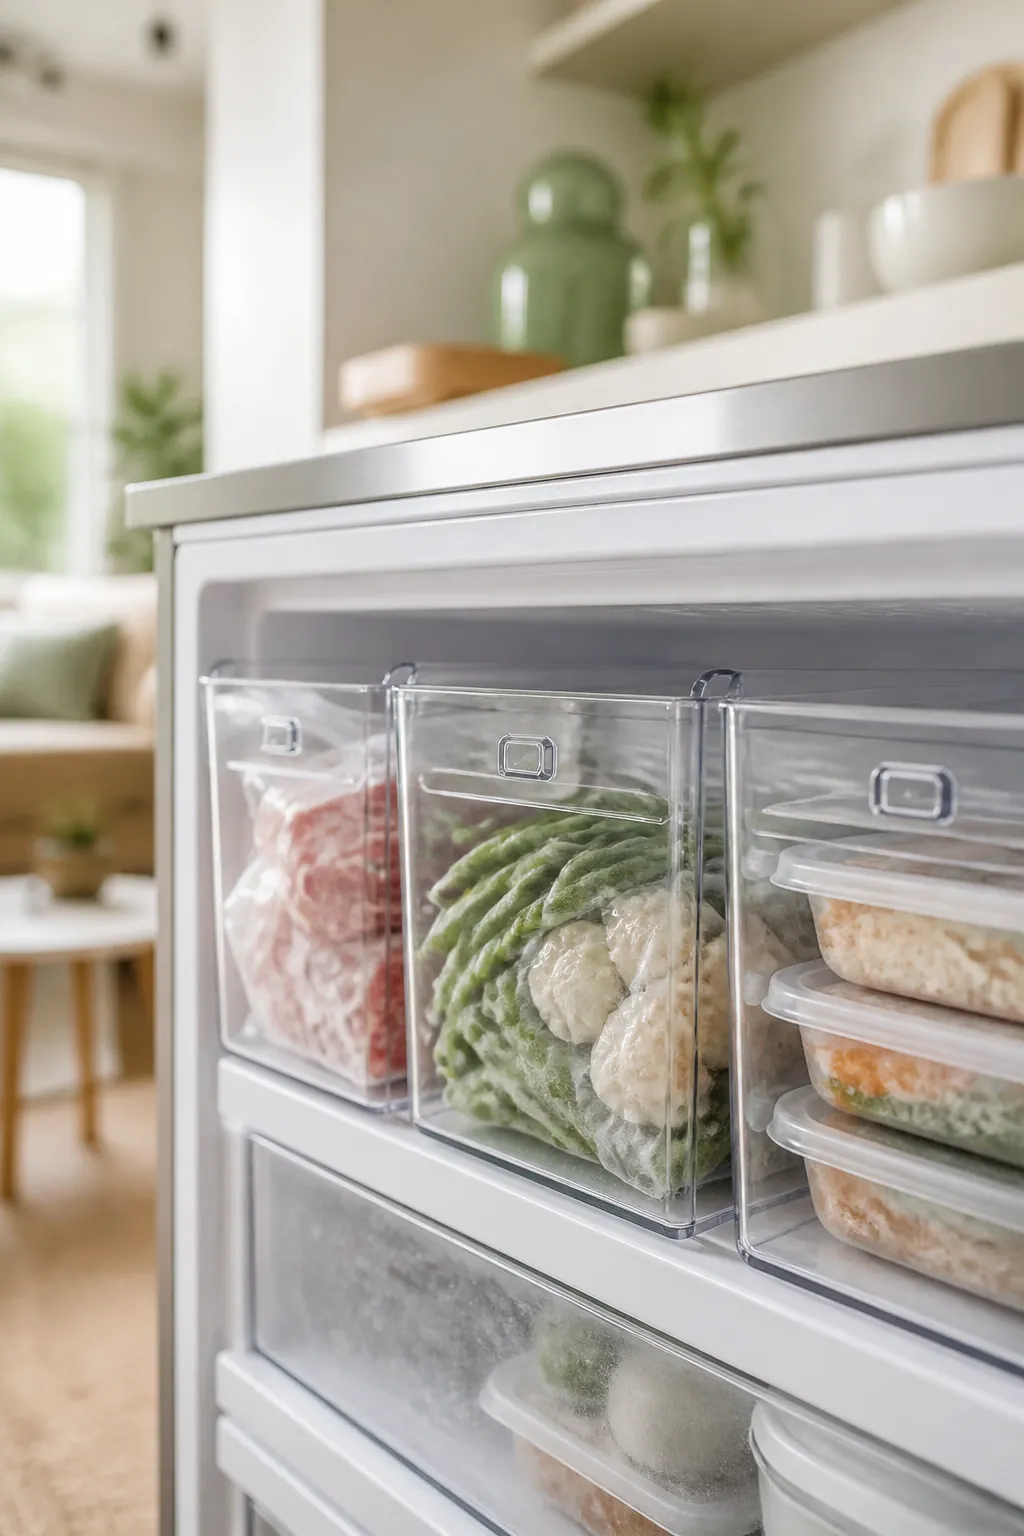
A shelf holds whatever gets put on it first, and within a month that’s a landslide of mismatched bags. A bin holds one category and nothing else, and it lifts out as a single unit when you need to see what’s underneath it.
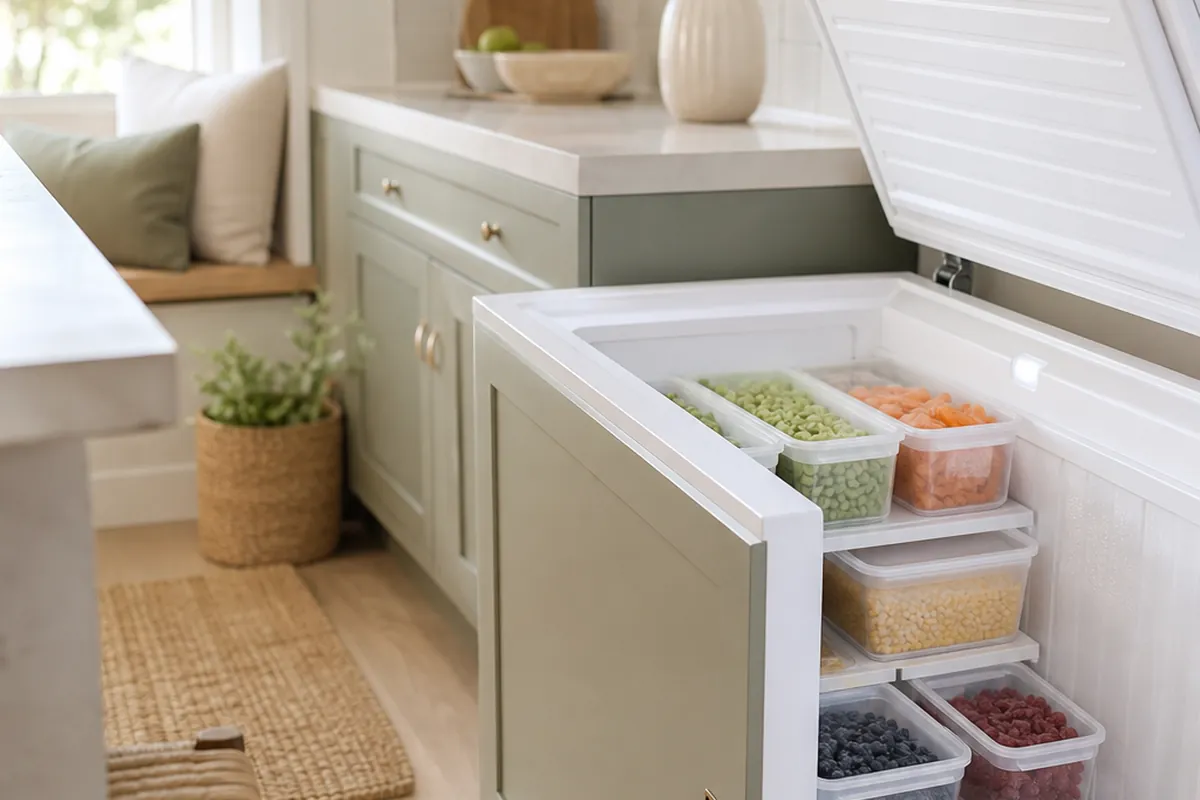
Stackable fridge bins work just as well in a freezer as they do in the fridge itself, since the clear sides let you check contents without lifting anything out, and the straight walls stack without the wobble a round basket gets. Give one bin to meat, one to vegetables, one to prepared meals, and stop there. More than four or five bins in a small freezer just recreates the pile problem at a smaller scale.
3. Label everything with contents and a date, before it goes in
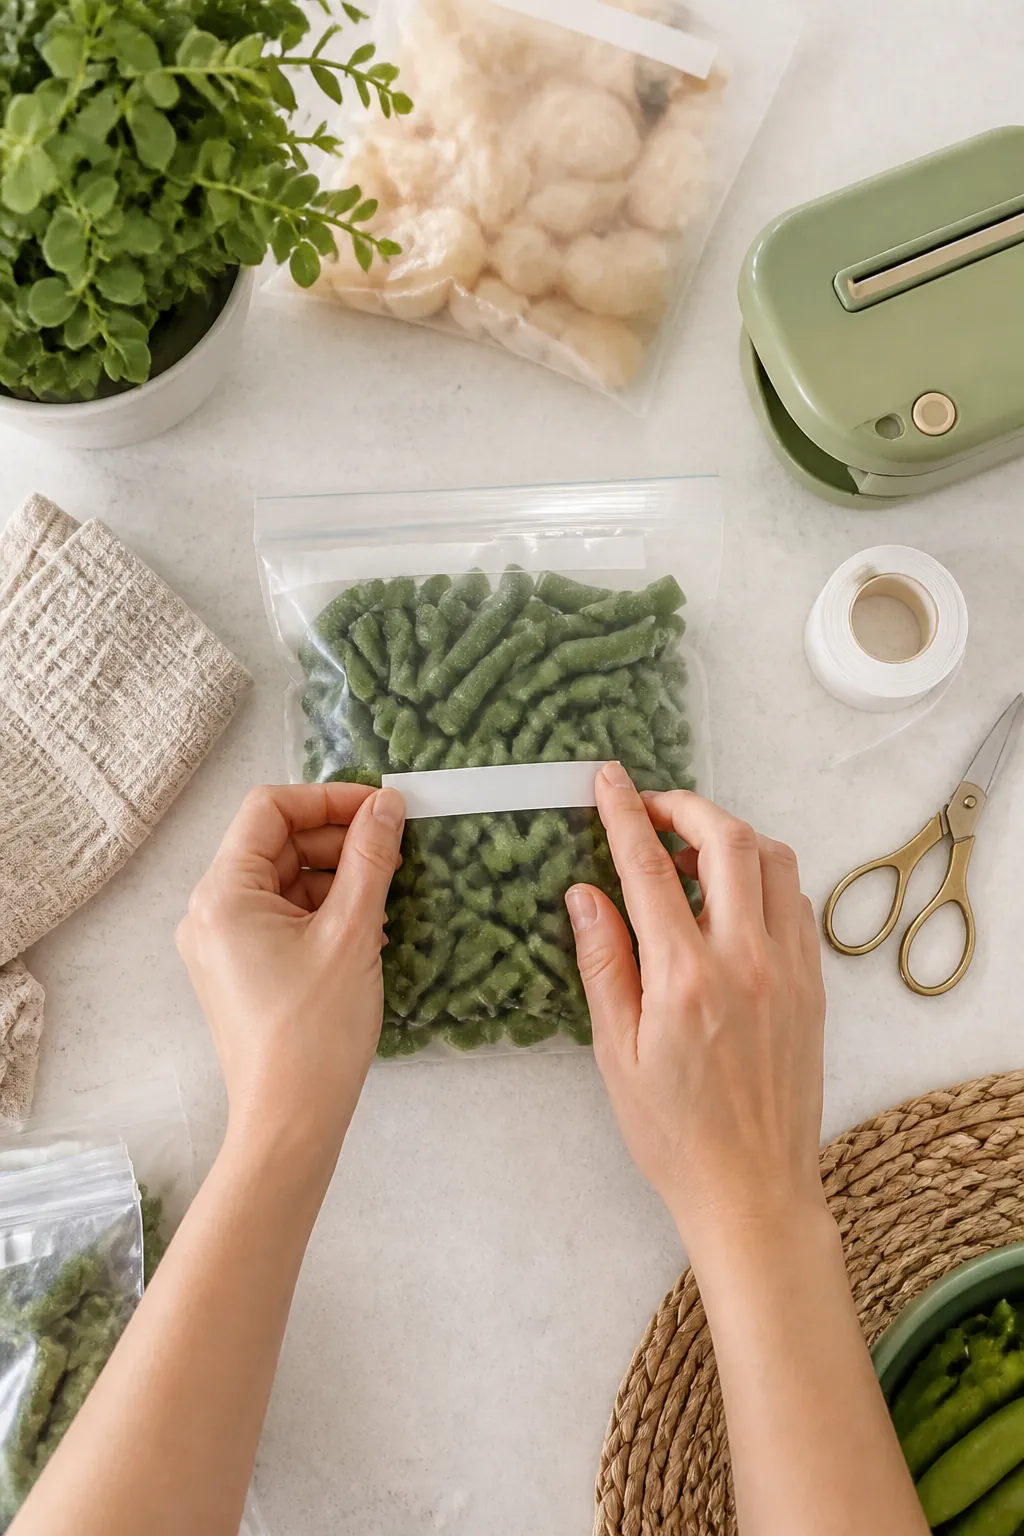
Frost obscures packaging within a day, and most people can’t tell a bag of chicken thighs from a bag of chicken breast once both are coated white. Writing the contents and the date on the bag before it freezes, not after, is the single habit that does the most for a cramped freezer, because it’s what lets you throw a bag in without stopping to think about where it goes.
A label maker holds up better than it sounds like it should, since the printed tape survives frost and condensation in a way that ballpoint pen on a plastic bag does not. Ground beef written in pen on day one is often unreadable by day ten. A sticker from a label maker, pressed flat before the bag goes rigid, is still legible in March.
4. File bags upright instead of stacking them flat
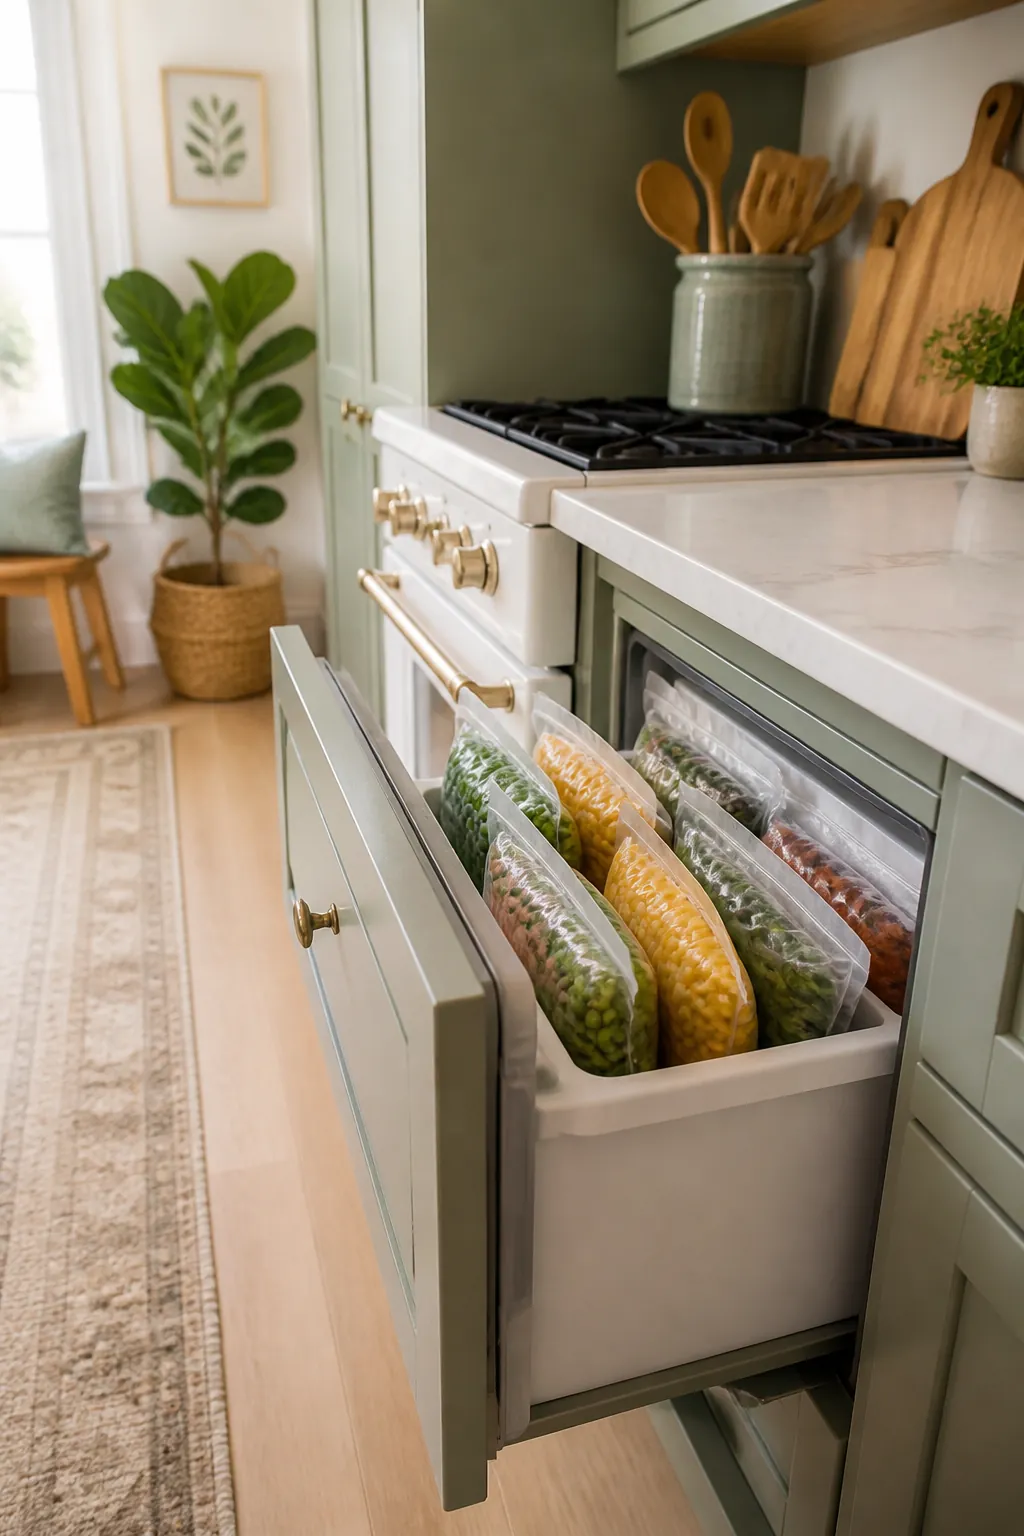
A flat bag laid on top of other flat bags becomes part of a solid brick within a week, and the bag on the bottom of that brick might as well not exist until the whole stack thaws. Filed upright in a bin, the same bags work like folders in a drawer: you can flip through them, pull the one you want, and see every label at once.
This is the single change that does the most to a chest freezer or a deep drawer specifically, since both bury their contents by depth rather than by clutter. Freeze bags flat on a tray for the first few hours so they set into a thin, rigid shape, then stand them on their long edge once they’re solid. A bag frozen flat first stands up cleanly later. One frozen already bunched up never will.
5. Reserve the door shelves for what you grab without thinking
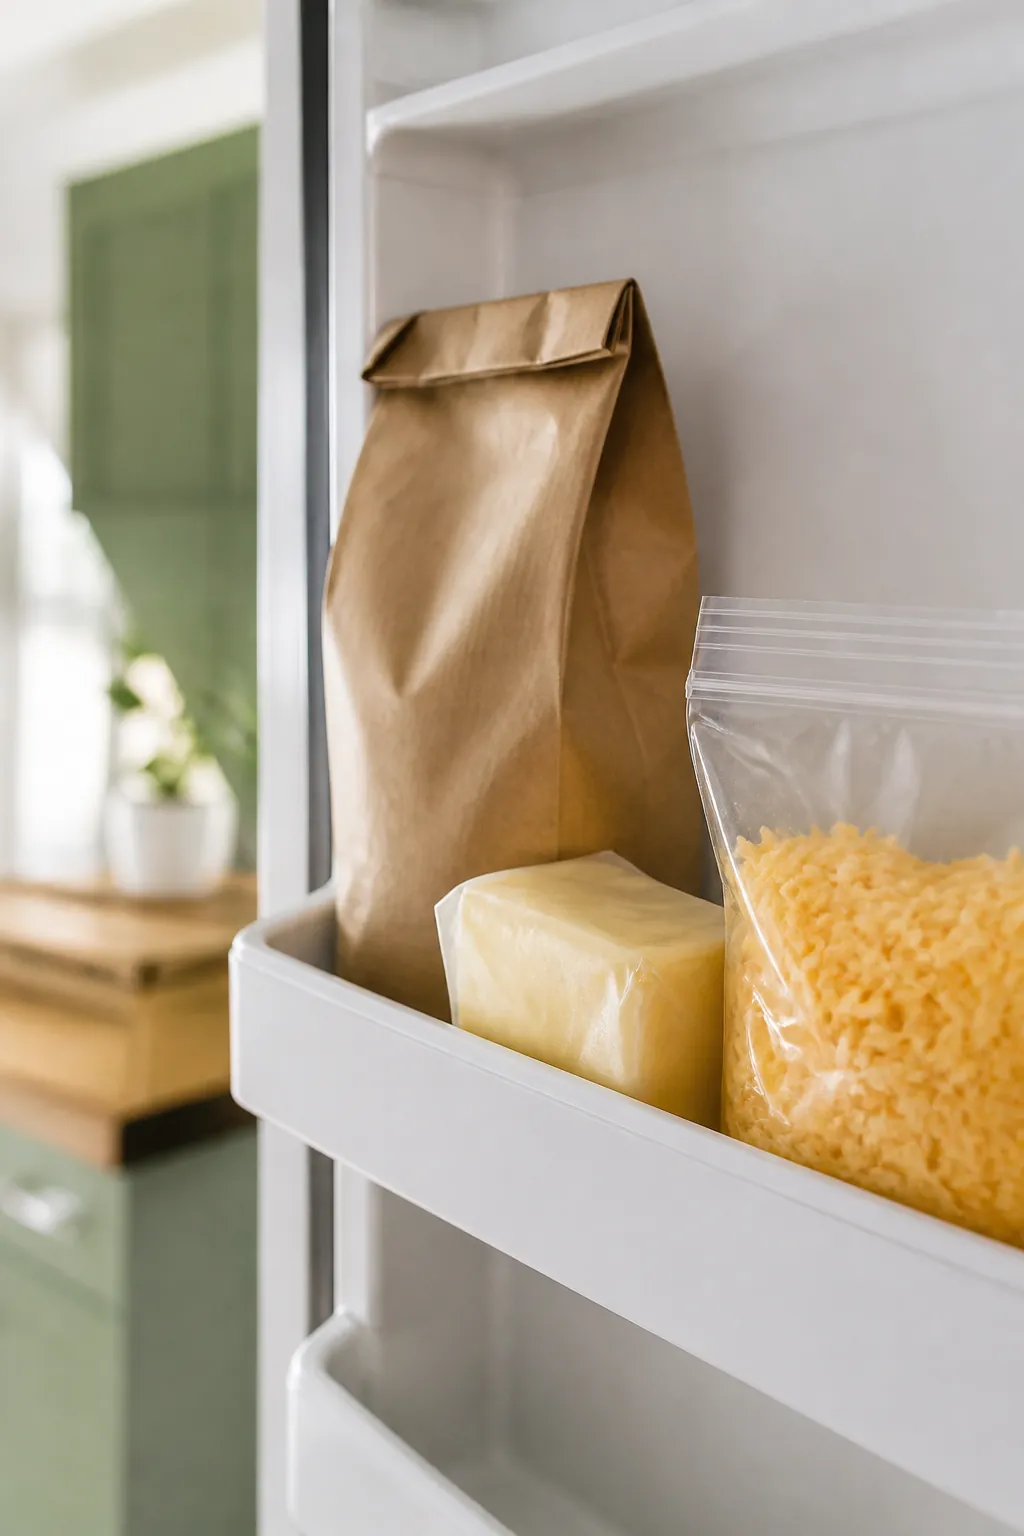
Door shelves in an upright freezer are the warmest part of the unit, since they’re exposed to room air every time the door opens, which makes them the wrong spot for anything that needs a stable deep freeze. They’re the right spot for whatever you reach for daily or weekly: a bag of coffee beans, a stick of butter, a bag of pre-shredded cheese used three times a week.
Keep the depth in mind. Most door shelves hold items up to about 2 inches thick before the door won’t seal, so a flat bag works and a rigid takeout container usually doesn’t. If something keeps getting knocked loose when the door closes, it’s too deep for that shelf, not too heavy for it.
6. Press the air out before anything goes in the freezer
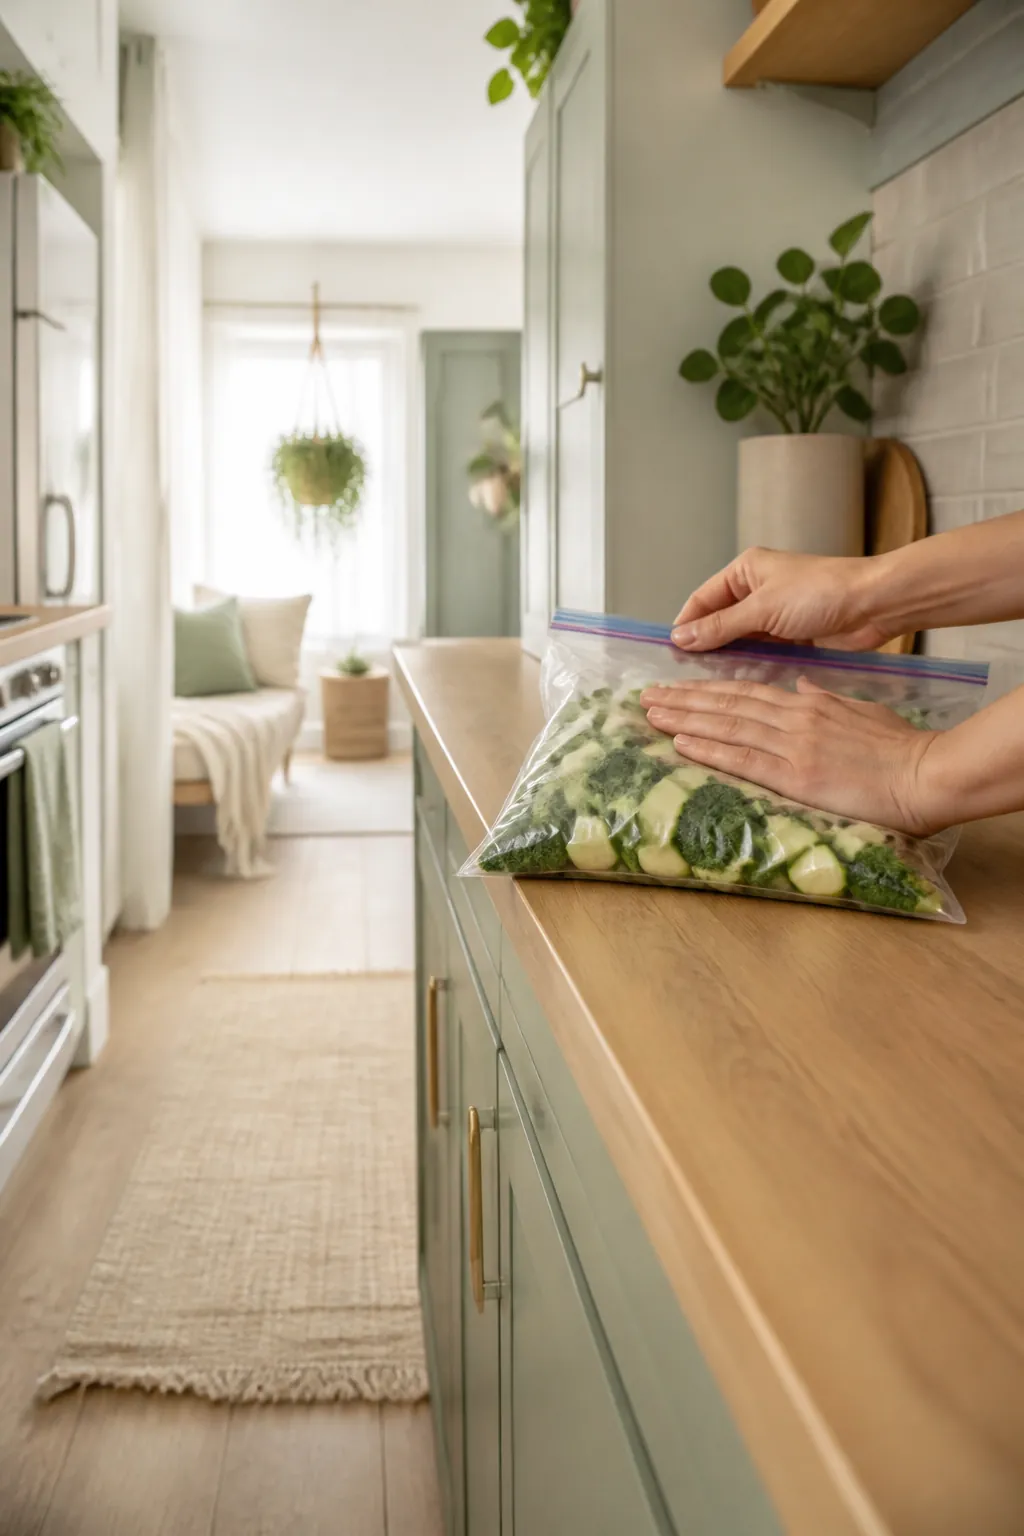
Freezer burn comes from air contact, not from cold itself, which is why a bag that still has air trapped inside dries out and turns gray at the edges even when it’s surrounded by colder food on every side. The fix costs nothing. Press the bag flat with your hands before sealing it, working from the closed end toward the opening, and the plastic will sit against the food instead of around a pocket of air.
A countertop vacuum sealer does this more thoroughly for anything you’re freezing in bulk, since it pulls air out completely rather than relying on hand pressure, but it’s a genuinely optional step for someone freezing a few meals a week rather than a whole freezer’s worth of game or garden produce. Hand-pressed bags, resealed properly, hold up for weeks past what a loosely closed bag manages, which covers most small-kitchen freezing.
7. Keep a running inventory taped to the door
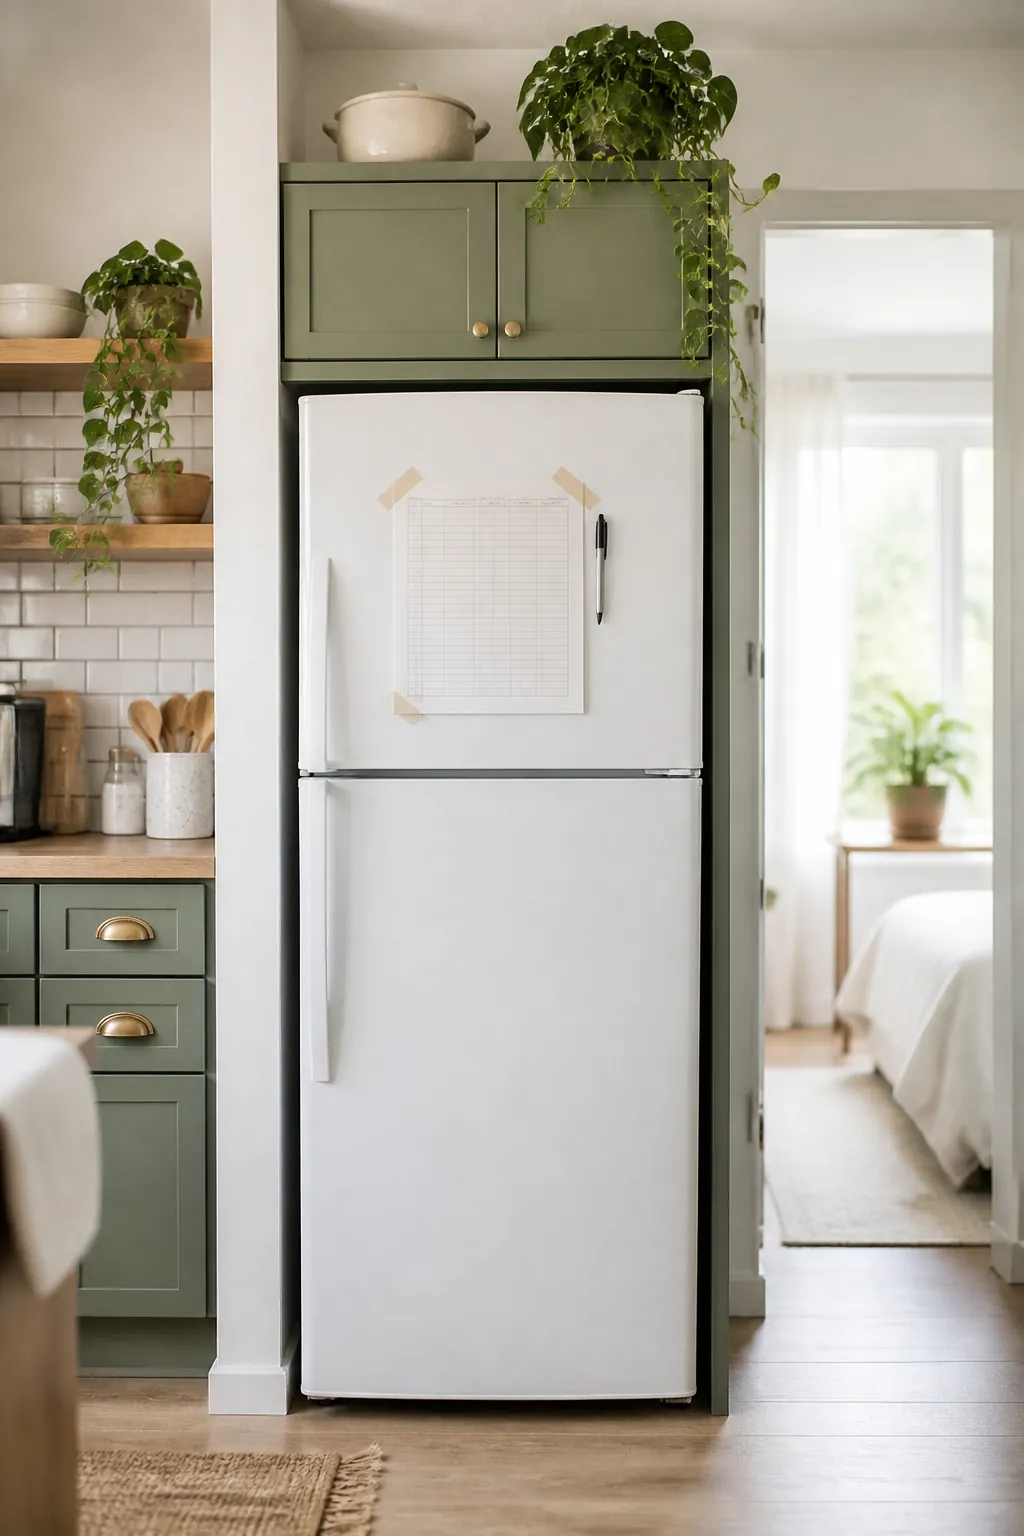
The reason freezers accumulate mystery items isn’t lack of space, it’s lack of visibility. A sheet of paper on the outside of the door, updated with a pen every time something goes in or comes out, turns the freezer from a place you search into a place you check. It takes ten seconds to cross an item off, and it saves the five minutes spent digging through bins looking for something that was eaten two weeks ago.
This works better than it sounds like it should precisely because it’s low-tech. An app you have to unlock your phone to update gets skipped after the first week. A page taped at eye level gets glanced at every single time the door opens, which is the only way an inventory stays accurate.
8. Build an eye-level zone for what you’ll eat this week
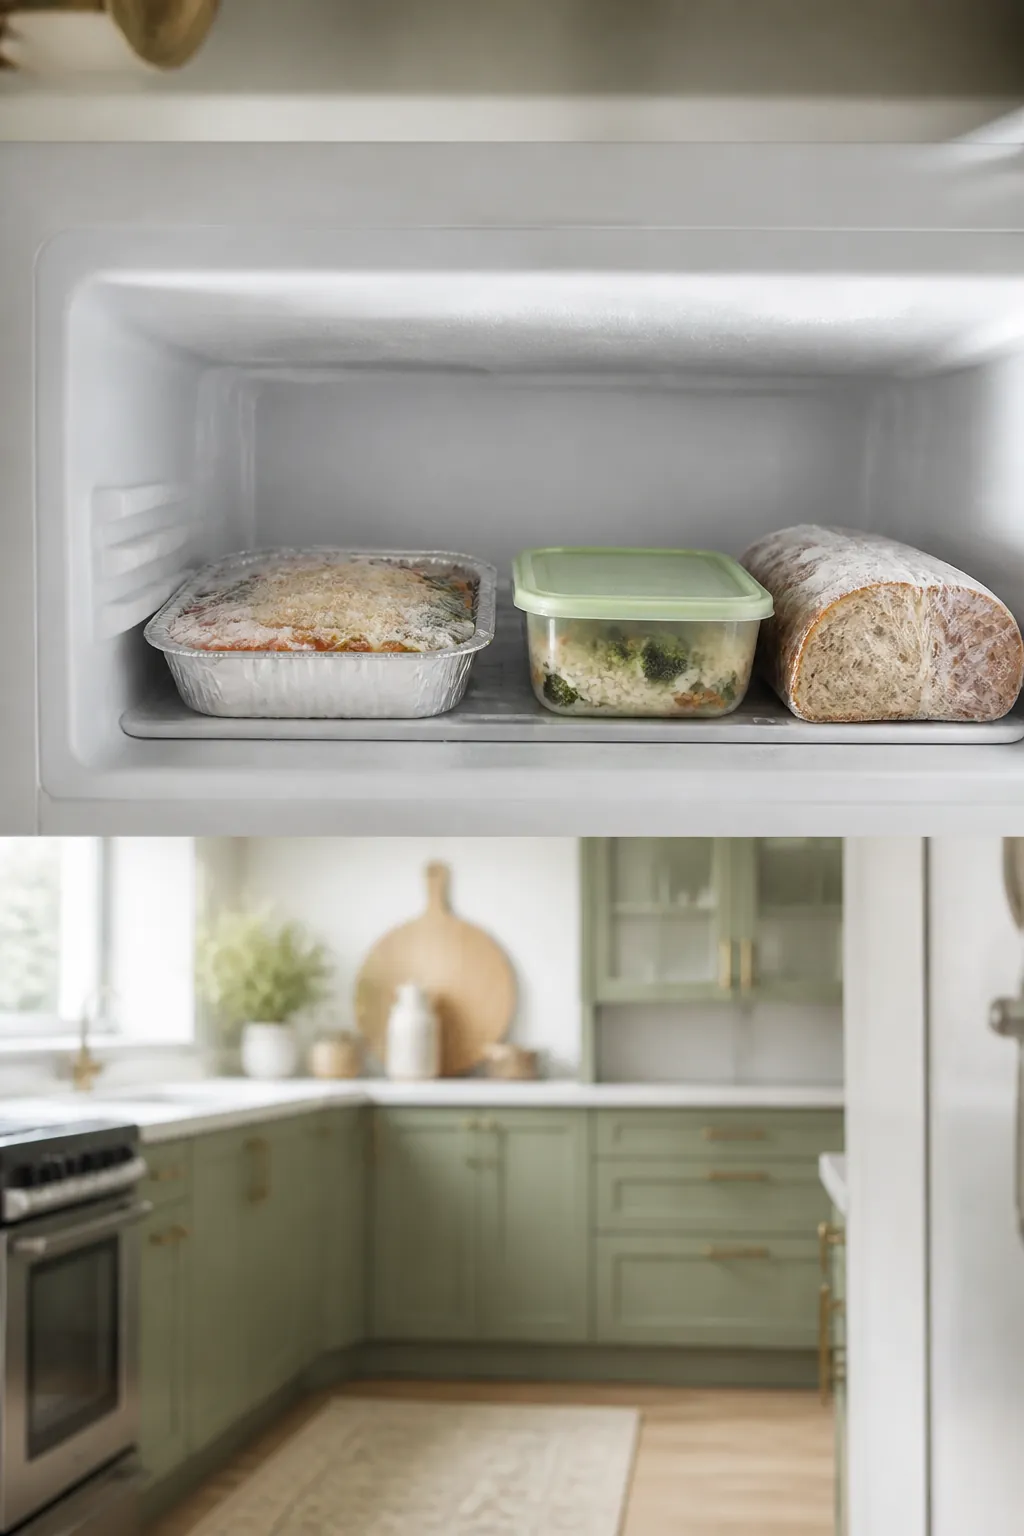
Not everything in a small freezer needs to be filed away in long-term storage. Reserve one shelf, or the top bin if you’re using a chest freezer, for whatever’s getting eaten in the next few days: tonight’s dinner already pulled to thaw, tomorrow’s lunch, the bread that’s halfway through its loaf. Everything else drops a level into the organized long-term zones below.
Skip this zone and the dinner you pulled to thaw this morning ends up wedged back behind next month’s pork shoulder by dinnertime, which is how food gets refrozen half-thawed or forgotten until it spoils on the counter instead. A small, rotating eye-level zone means the daily reach doesn’t have to disturb the categories underneath it.
9. Rotate stock so new goes to the back and old comes forward
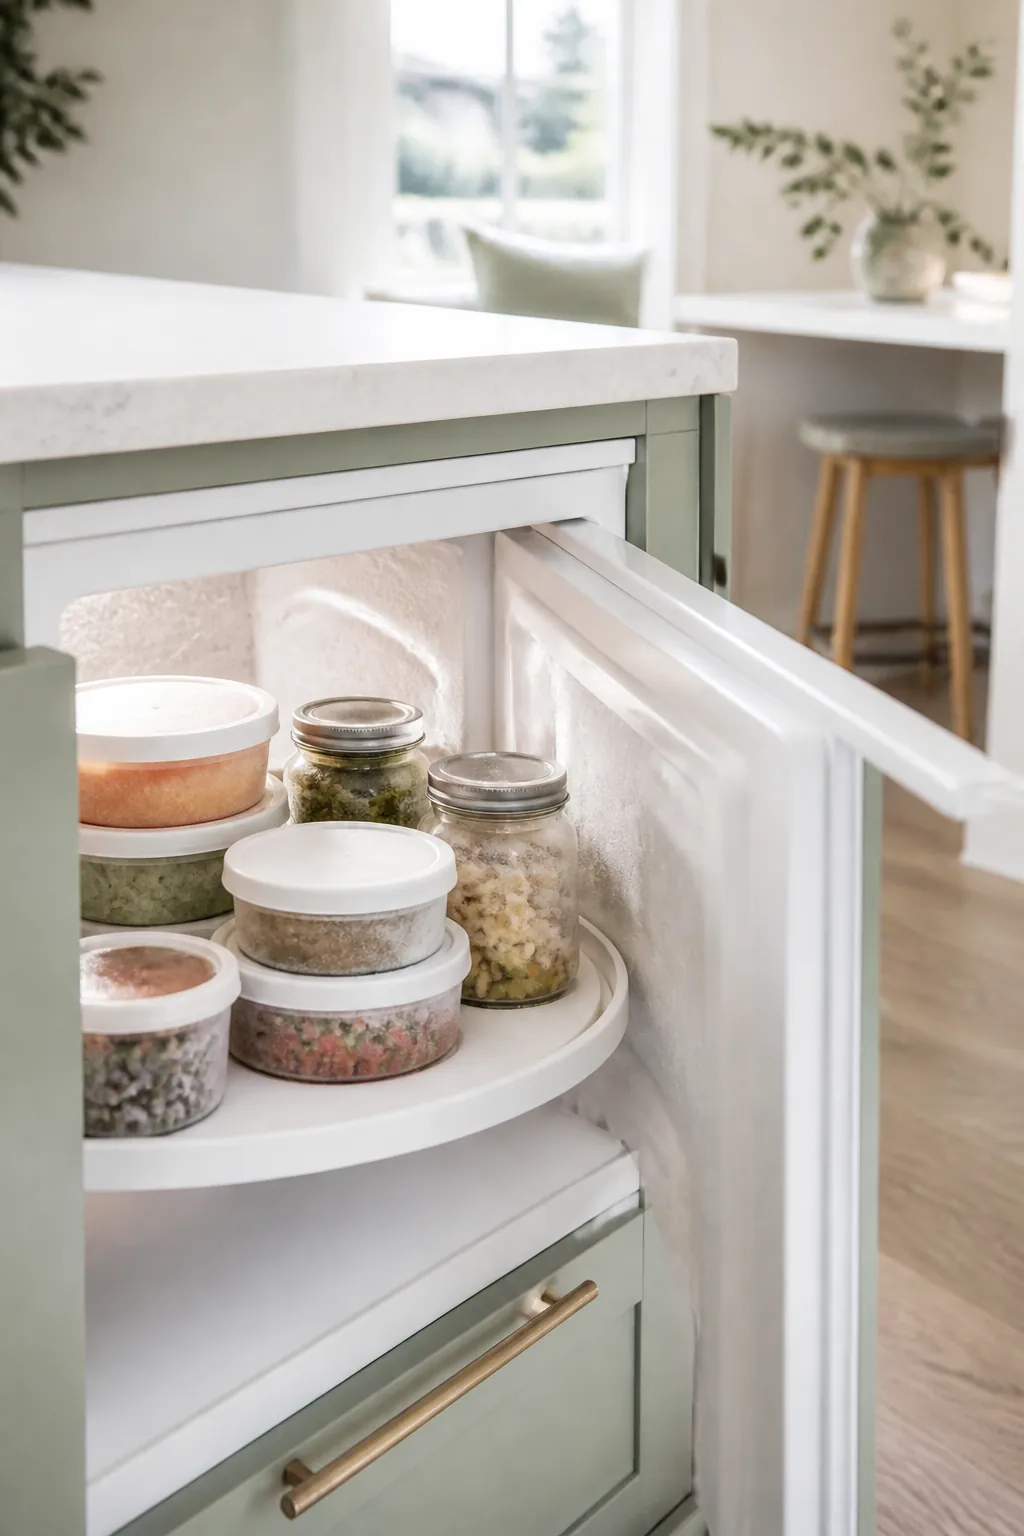
A freezer that’s organized by category still fails if everything within a category gets piled randomly, since the oldest bag of chicken ends up buried under six newer ones and gets forgotten until it’s freezer burned. First in, first out keeps the oldest item at the front of its bin, where it’s the next one reached for rather than the last.
In a deep chest freezer or a back cabinet-style freezer, a turntable lazy Susan organizer makes this practical instead of theoretical, the same trick that keeps spice jars reachable in a deep cabinet. Load new bags onto the back half of the turntable and spin the older stock to the front with one turn, instead of unloading the whole bin to reach what’s underneath. It works especially well for round items like takeout containers and jars, which otherwise roll into the gaps between square bags and disappear.
Where to start
Start with the bins and the labels together, since one without the other just creates a tidy-looking freezer that’s still a mystery once the frost sets in. Sort what’s in there now into categories, write the contents and date on everything as it goes back in, and file bags standing up rather than stacked flat. The inventory sheet and the eye-level zone are the maintenance habits that keep the system from sliding back into one open pit, and they cost a sheet of paper and ten seconds a day to keep up.