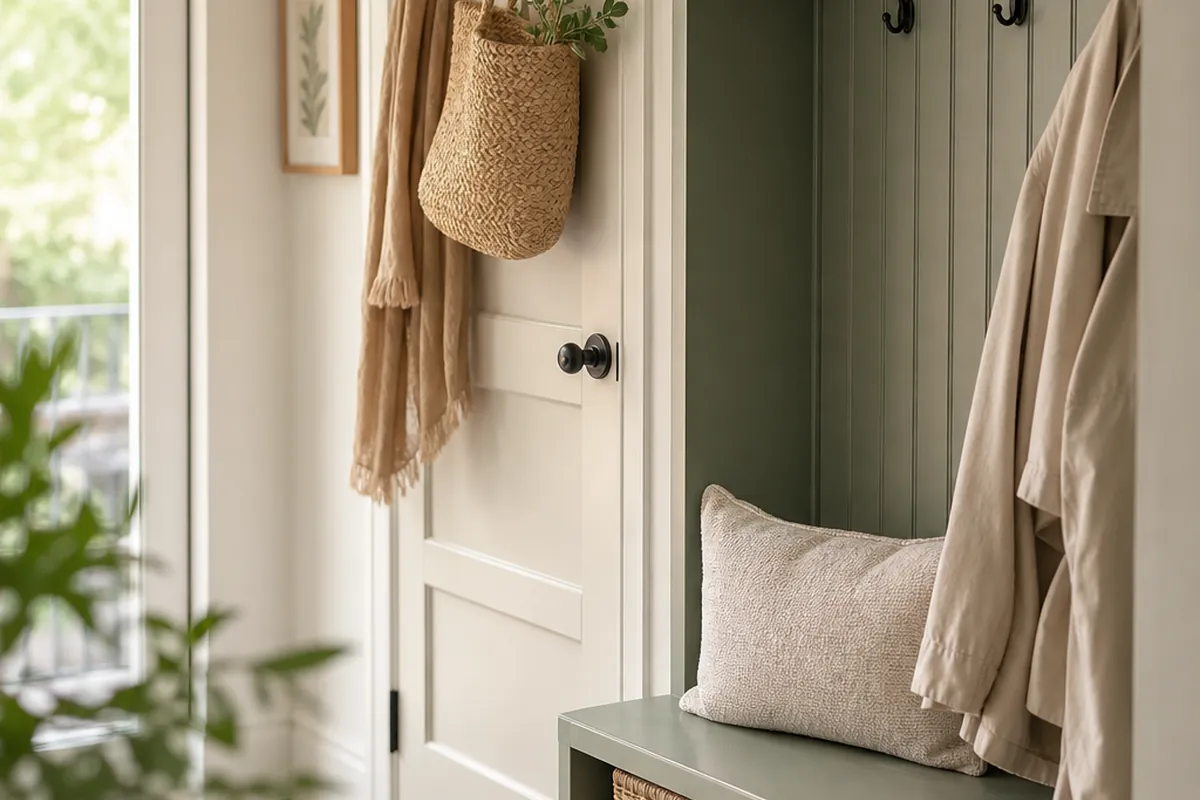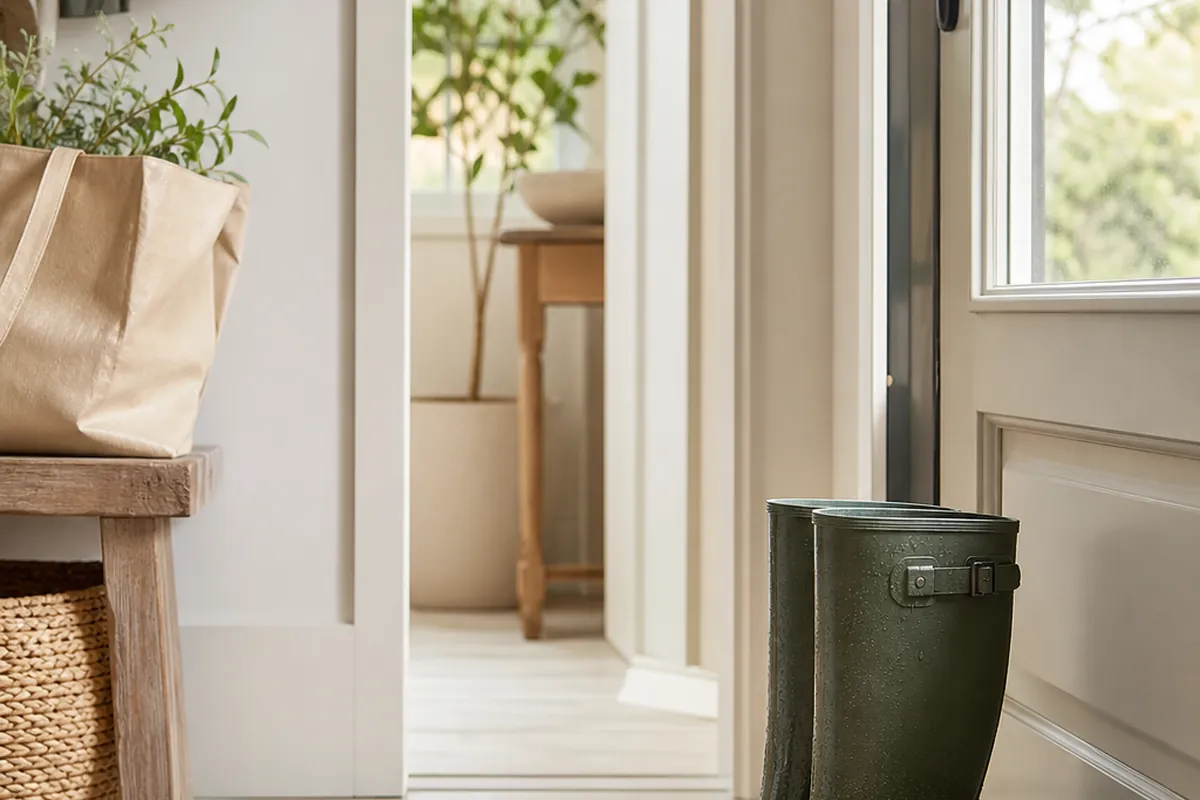
A pair of rain boots dripping onto laminate right inside your front door is the fastest way to turn a five-minute walk into a stain, a slip risk, or a line item on your move-out inspection. Renters without a mudroom do not have a floor drain, a boot-scraper grate, or even a closet at the entry, just whatever flooring the landlord chose and a deposit riding on its condition. The fix is not a renovation. It is a tray sized to what you actually own, a place for the boots to dry standing up, and a plan for mud and salt that keeps both off the floor and out of the carpet fibers three rooms away.
1. Measure your boots before you size the tray
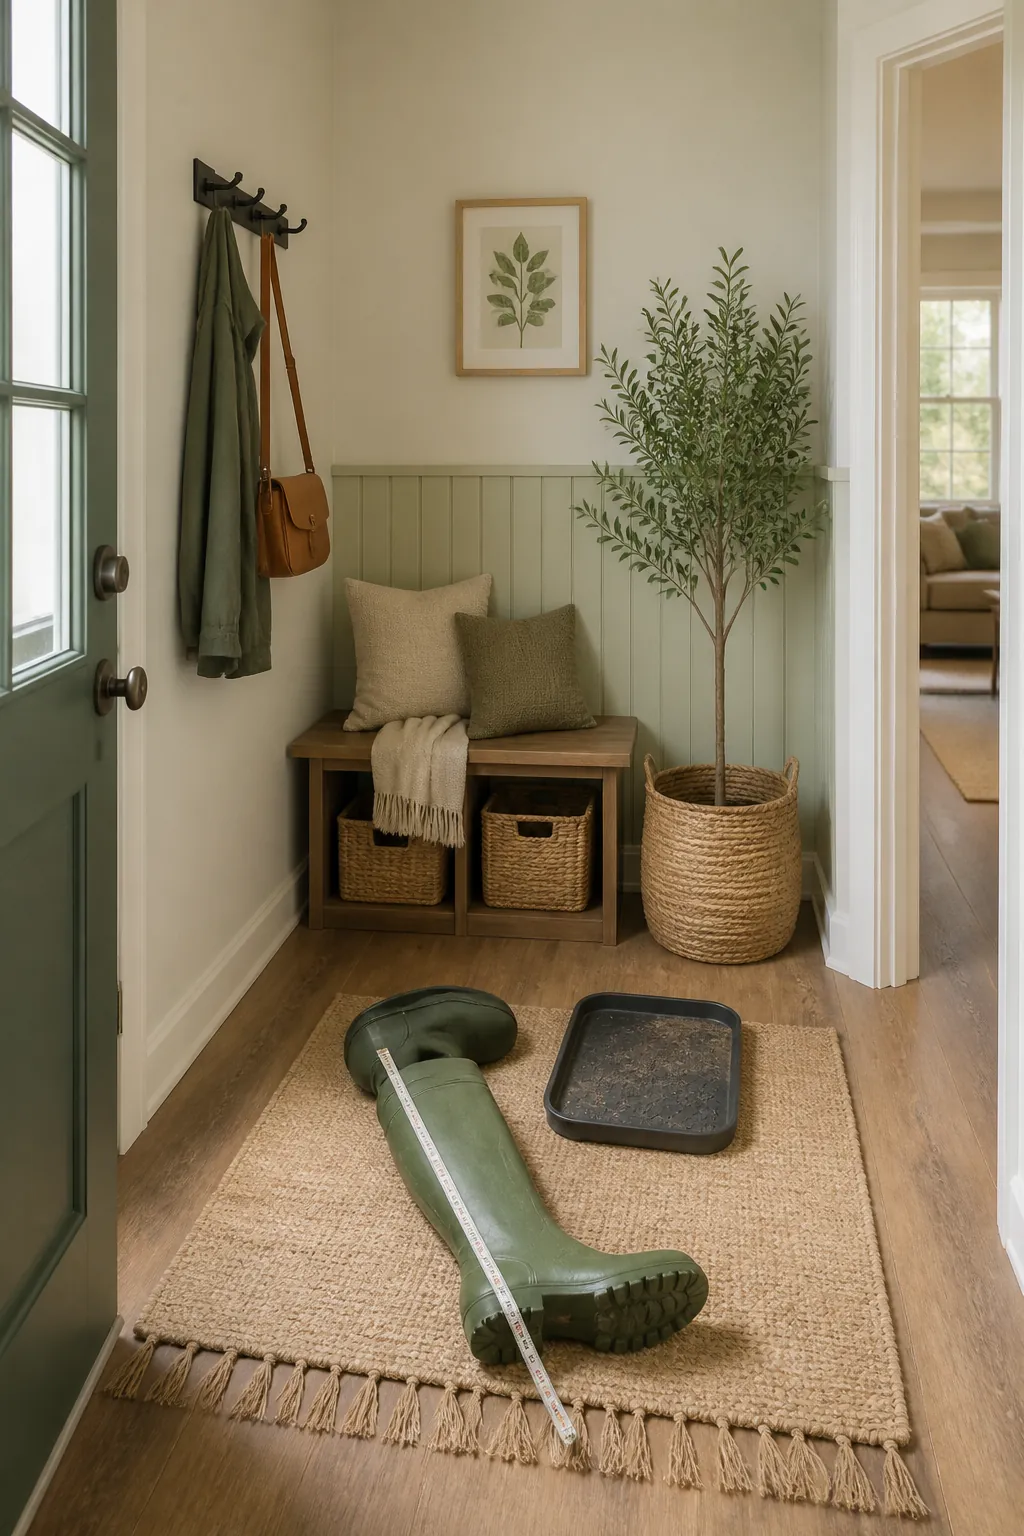
Rain boots run twelve to sixteen inches at the shaft and about eleven inches heel to toe, and a snow boot with a folded cuff adds another inch of width at the sole. A boot tray bought to match the space by the door instead of the boots that will sit in it fails one of two ways: too shallow, and a tall boot topples off the lip the first time someone bumps it, or too cramped, so two pairs touch and the tray becomes one continuous puddle instead of two contained ones. Lay your muddiest pair against the tray’s printed floor dimensions before ordering, not the outer plastic edge, since listings usually quote the bigger number.
2. Choose a tray with a raised floor, not a flat pan
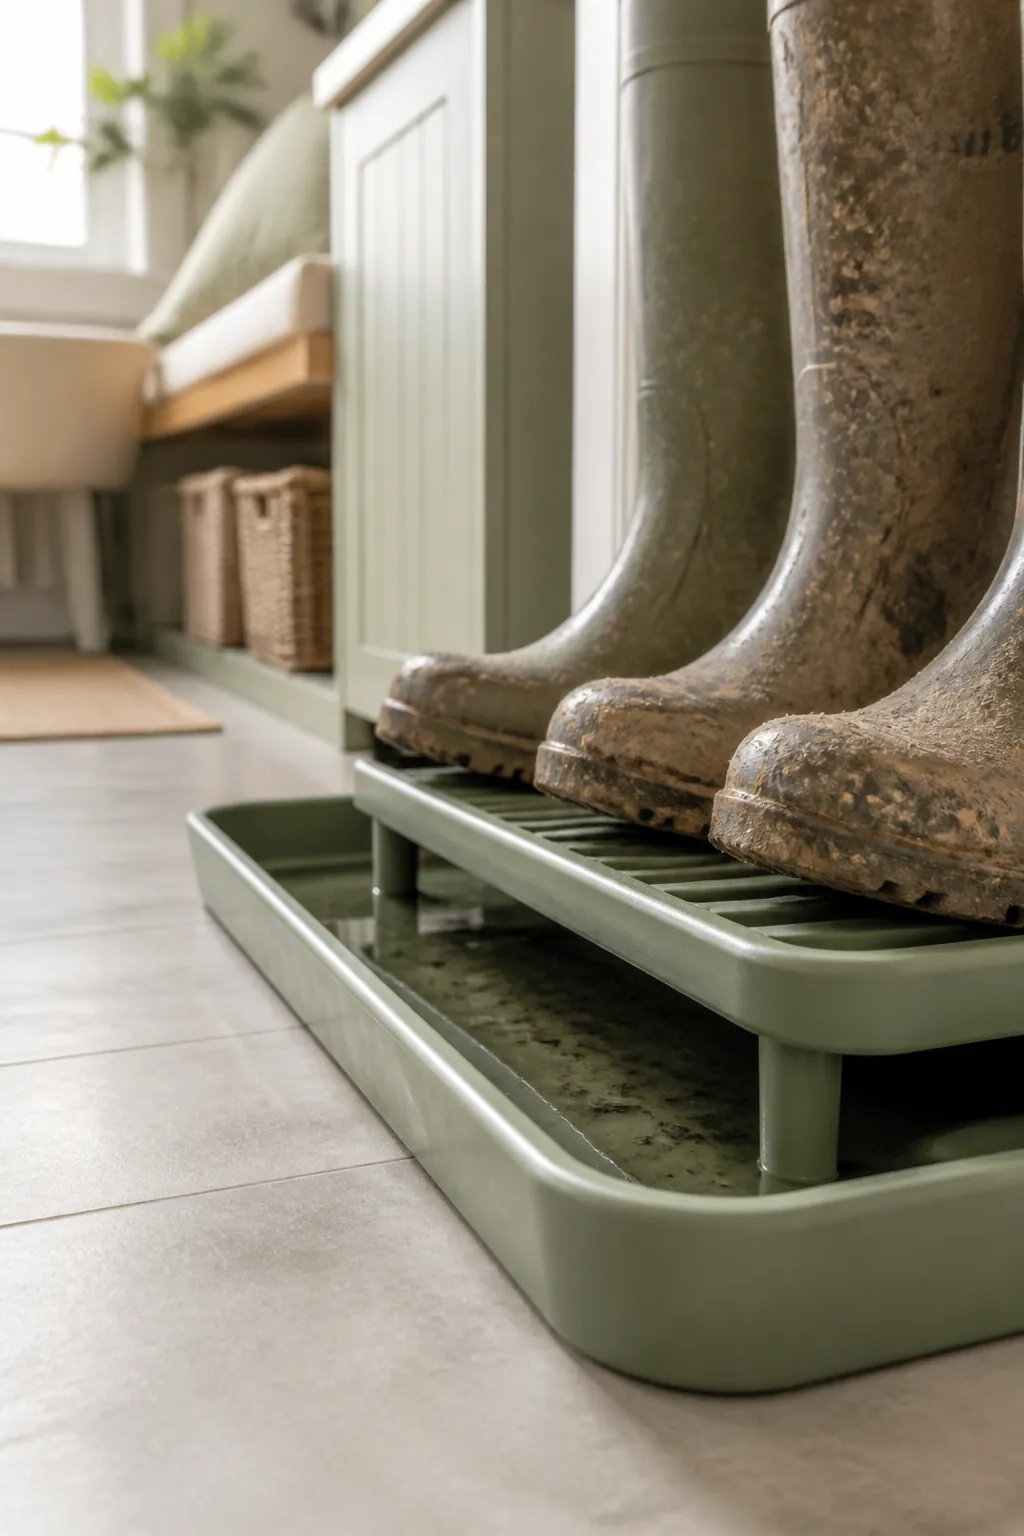
A flat rubber mat looks like a boot tray and is not one. Mud and melted snow need somewhere to go that is not directly under the sole, or the boots sit in their own runoff and the smell shows up within a week. Look for raised ribs or a slotted insert that lifts the boot above the water line by even a quarter inch. That gap is the entire difference between a tray that dries out between uses and one that stays a shallow puddle no matter how often you empty it.
3. Protect the floor under the tray, because the tray alone is not enough in a rental
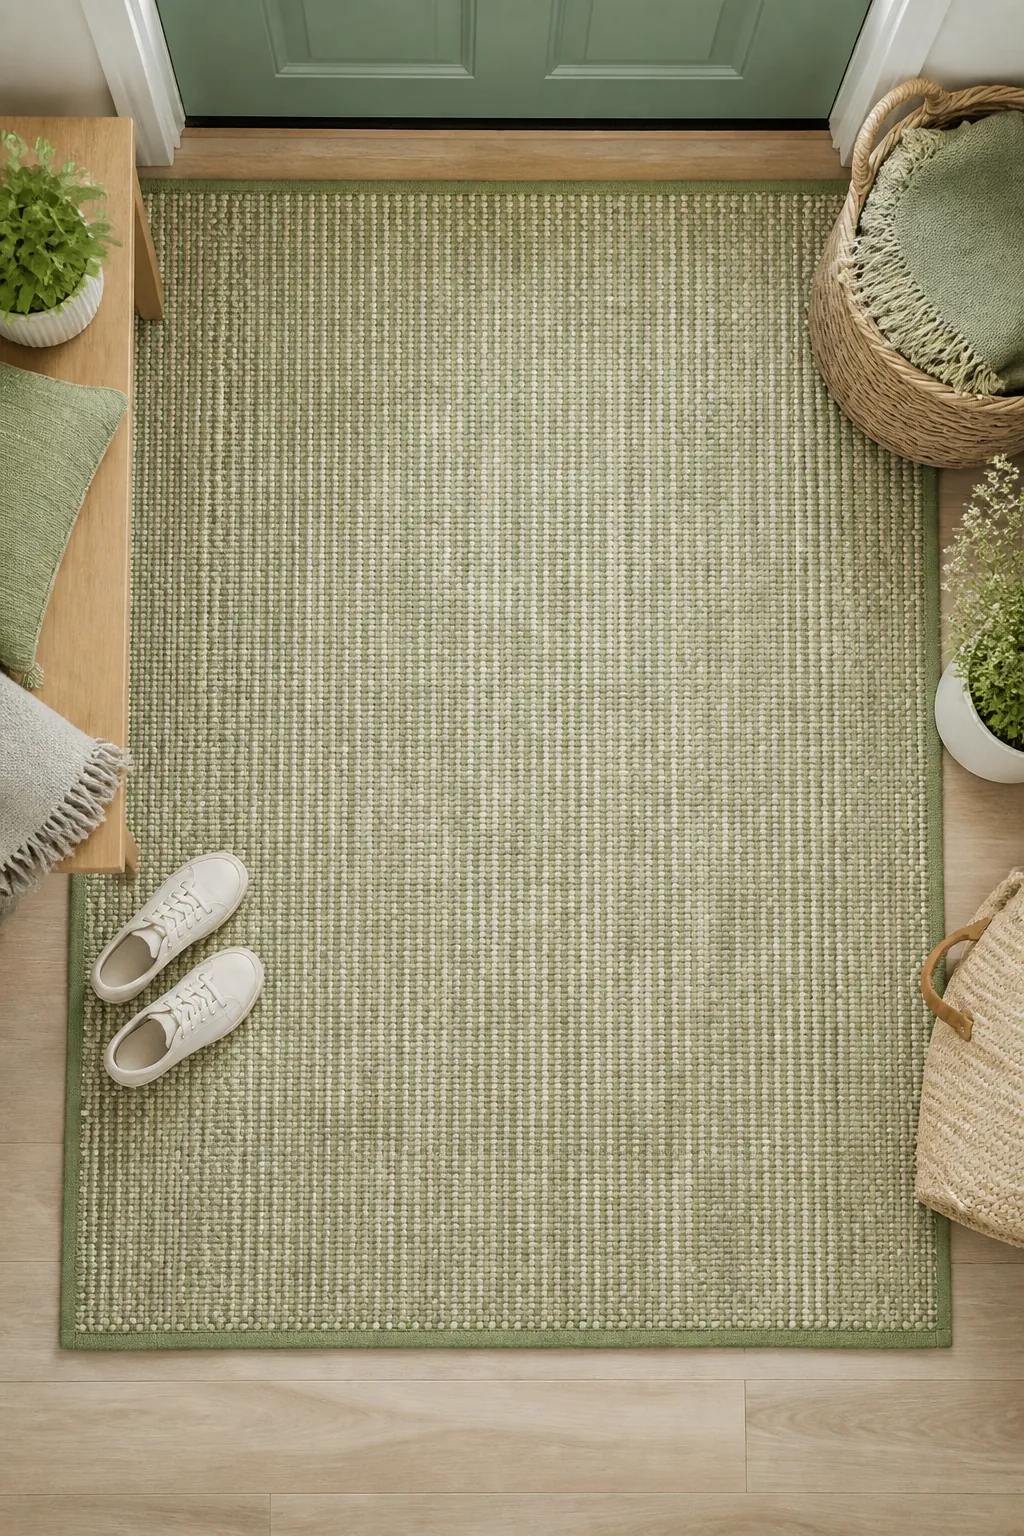
Rubber and PVC trays can leave a faint outline on laminate and vinyl plank if they sit in one spot for months, especially in a warm entry where the plastic softens slightly against the floor finish. A washable rug or a sheet of felt cut two inches larger than the tray on every side solves two problems at once: it catches splashback the tray’s lip misses, and it stops direct rubber-on-floor contact for the length of the lease. Wash the rug, not the floor. It is the part actually taking the abuse.
4. Stand tall boots up instead of laying them flat
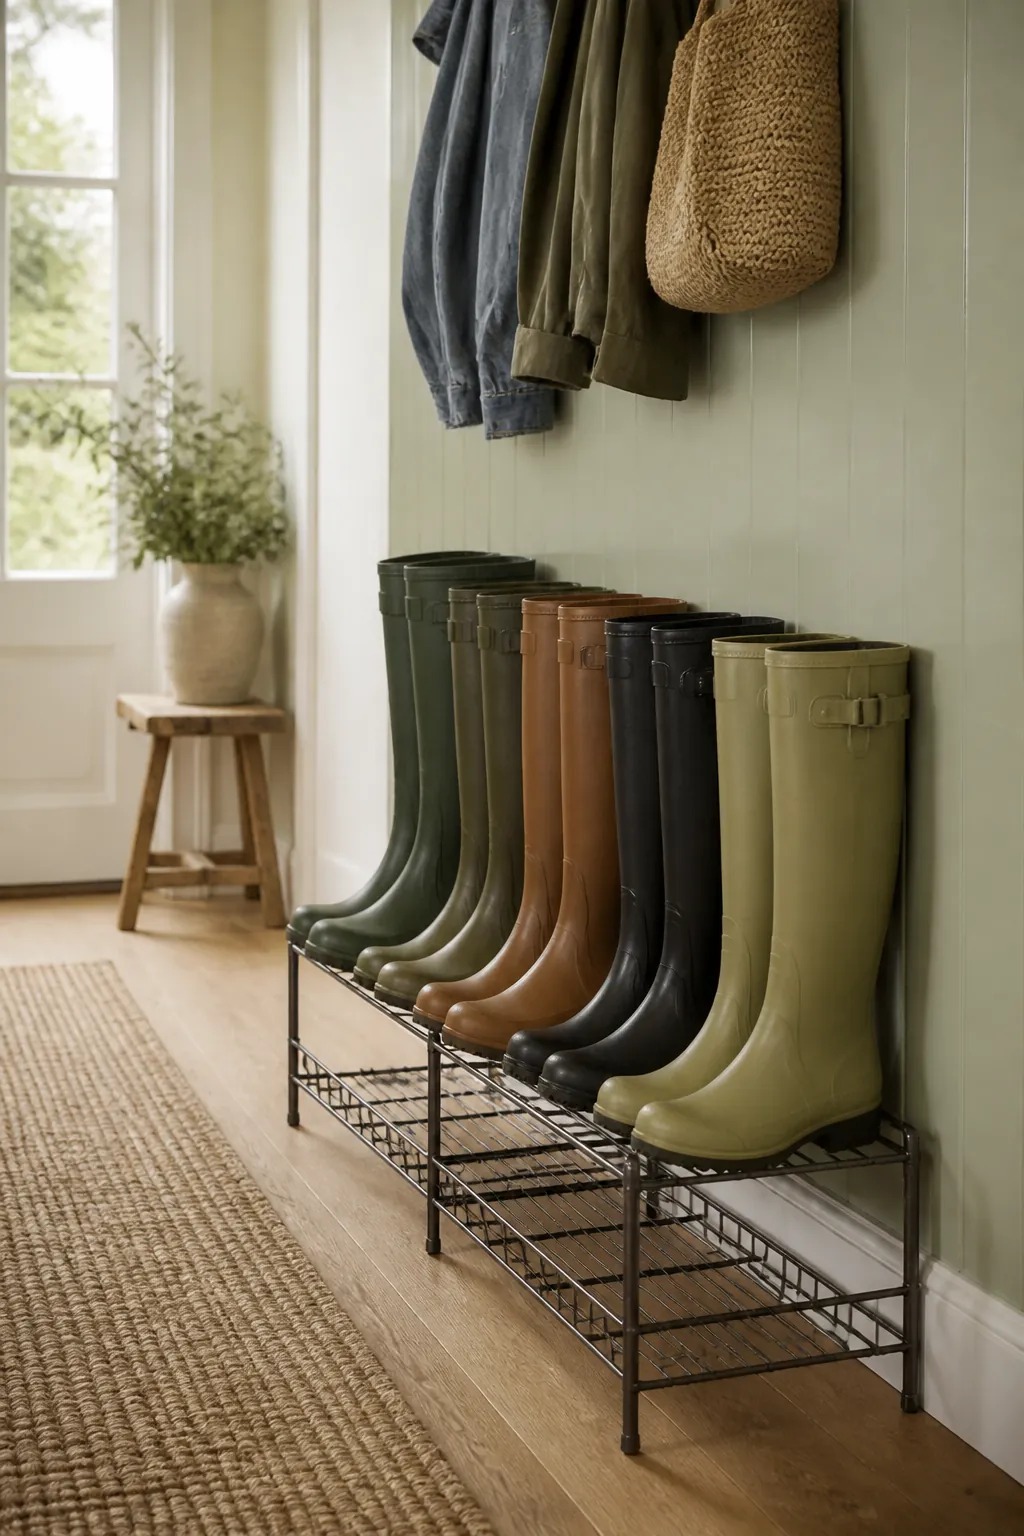
A boot laid on its side on a shoe rack takes up the same footprint as a boot standing upright, plus about eight extra inches of depth it does not need. A narrow freestanding shoe rack, one of several shoe storage options built for tight entryways, solves the space problem, but check the shelf clearance before buying: most racks are built for sneakers, with six to eight inches between shelves, and a sixteen-inch rain boot shaft will not fit upright in that gap, it will lean the rack forward or get crushed sideways instead. Look for a rack that lists boot clearance specifically, or reserve the bottom shelf, the one with open space above it to the next tier, for anything taller than a sneaker.
5. Dry them standing, not slumped
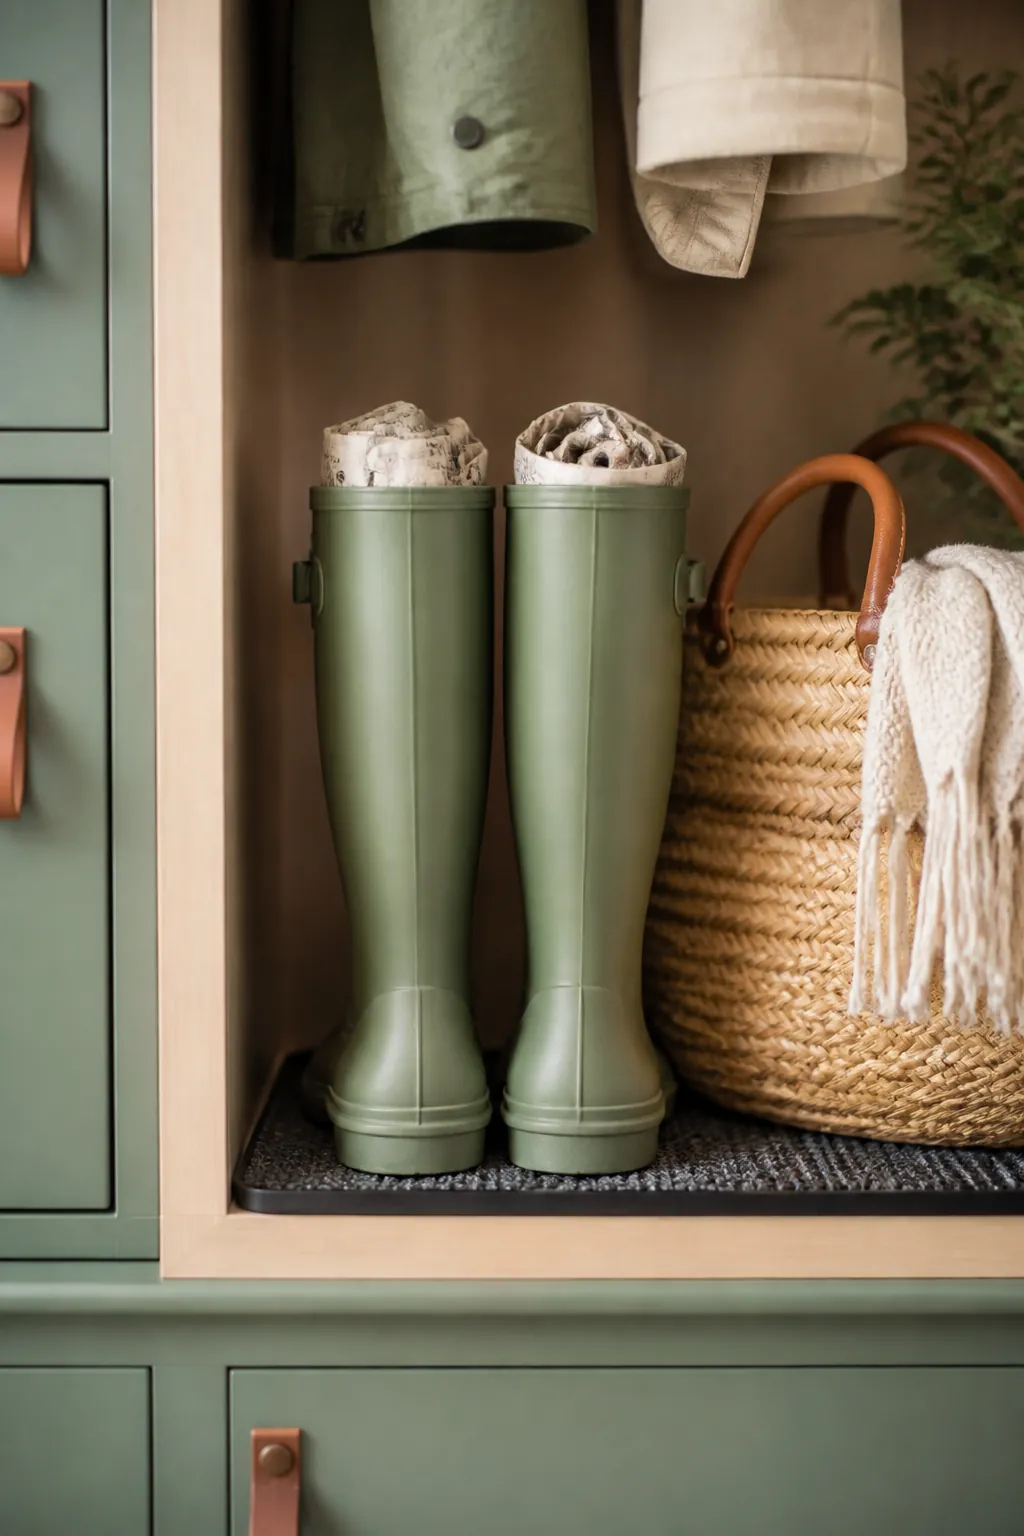
A wet boot left to collapse in on itself dries with a crease that gets worse every season, and a boot that never fully dries between wears grows mildew inside the liner within days in a warm apartment. Stuff the shaft with balled newspaper or a boot shaper right after you take them off, pull the insole out if it lifts free, and let both dry somewhere with airflow rather than sealed inside a closet. Swap the newspaper once it goes limp with moisture, usually within the first hour for a genuinely soaked boot, since wet paper stops absorbing and starts just sitting there.
6. Get salt off before it sets
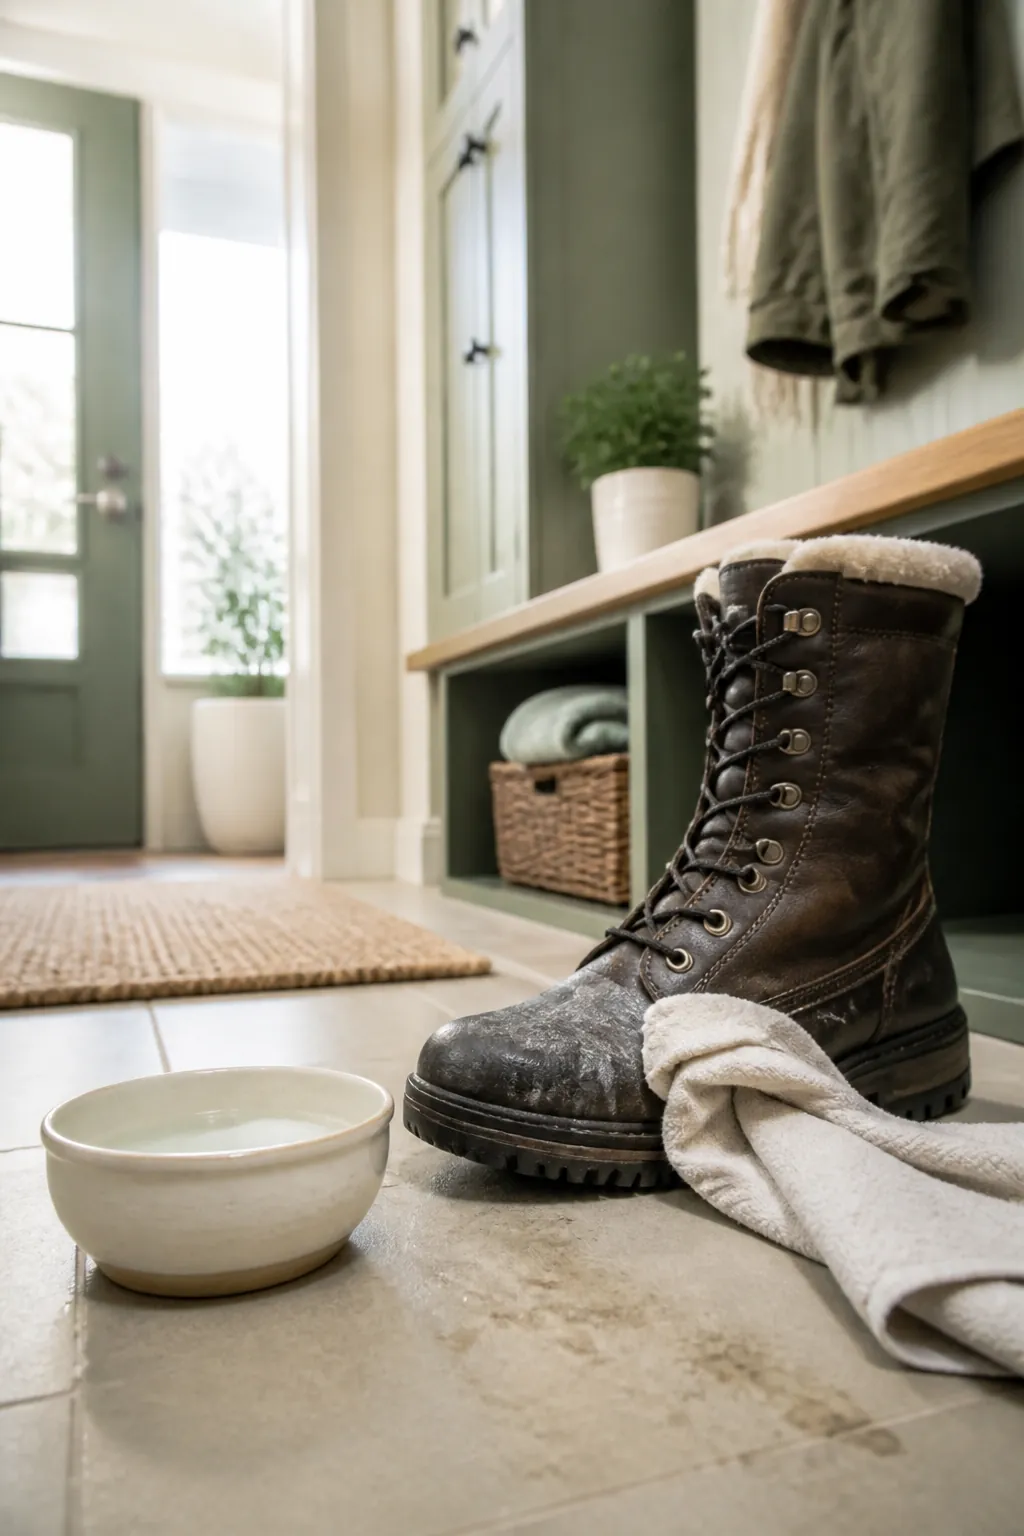
Rock salt and the de-icer tracked in on a winter boot is not cosmetic. Left to dry on leather or suede, it pulls moisture out of the material and leaves a chalky line that never fully brushes off once it has set. Wipe boots down with a cloth dampened in a one-to-one vinegar and water solution as soon as they come off, before they go anywhere near the tray or the rack, and let them dry fully before the next wear. Skip this step twice in one snowy week and the stain stops being removable.
7. Keep the muddy pair away from the pairs that are actually clean
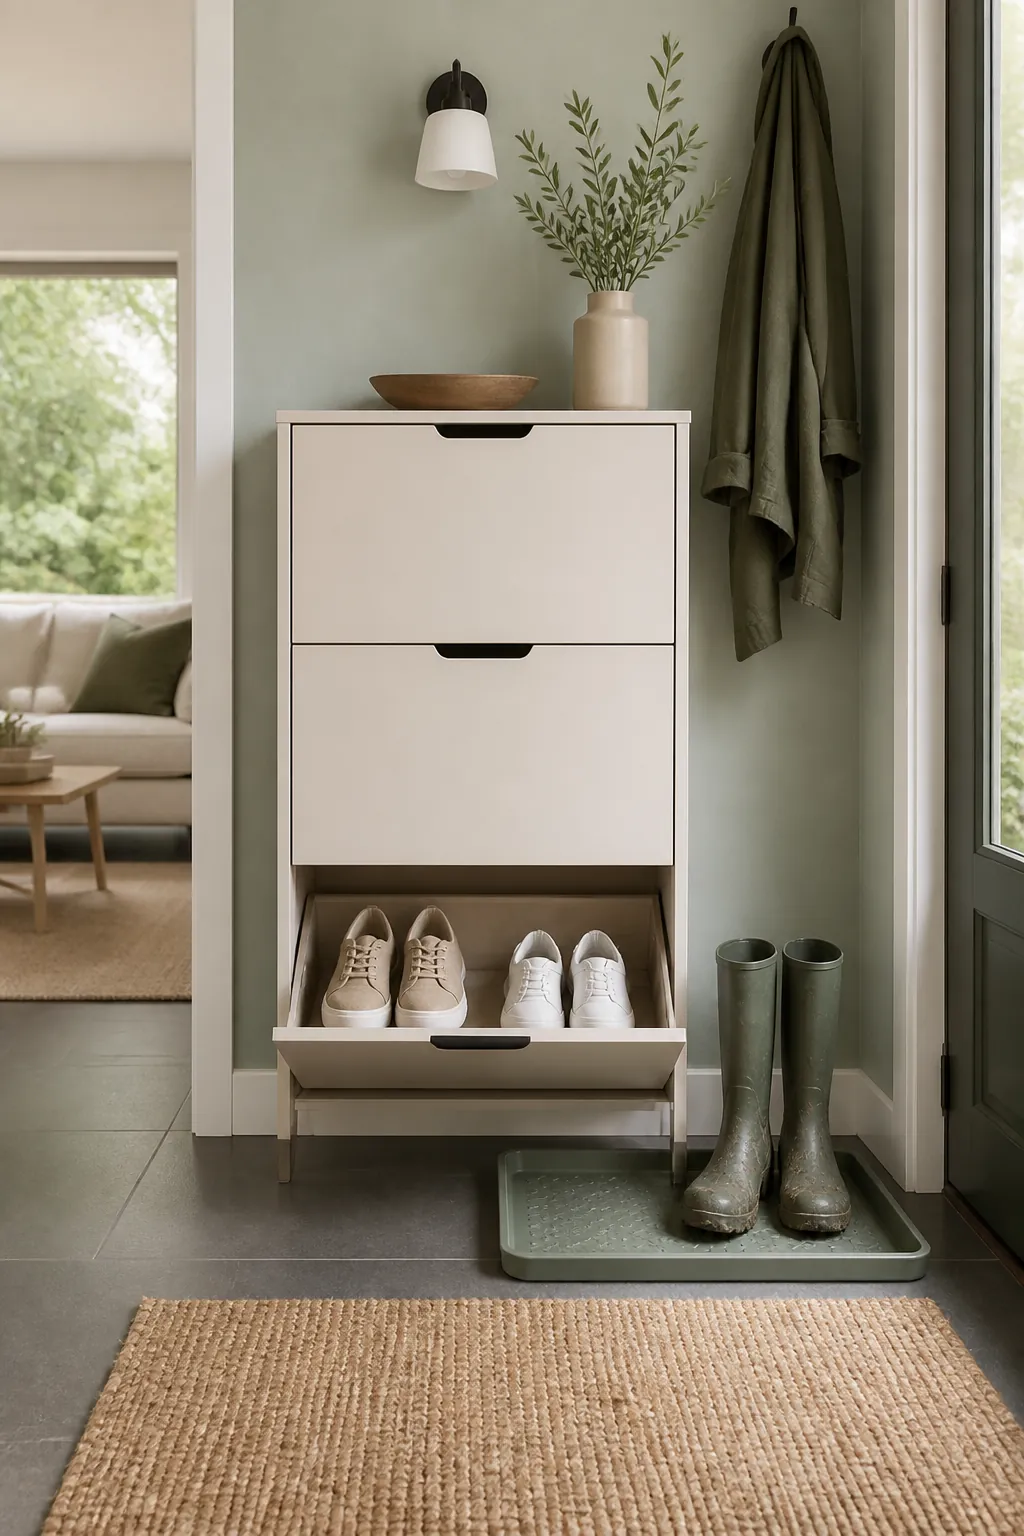
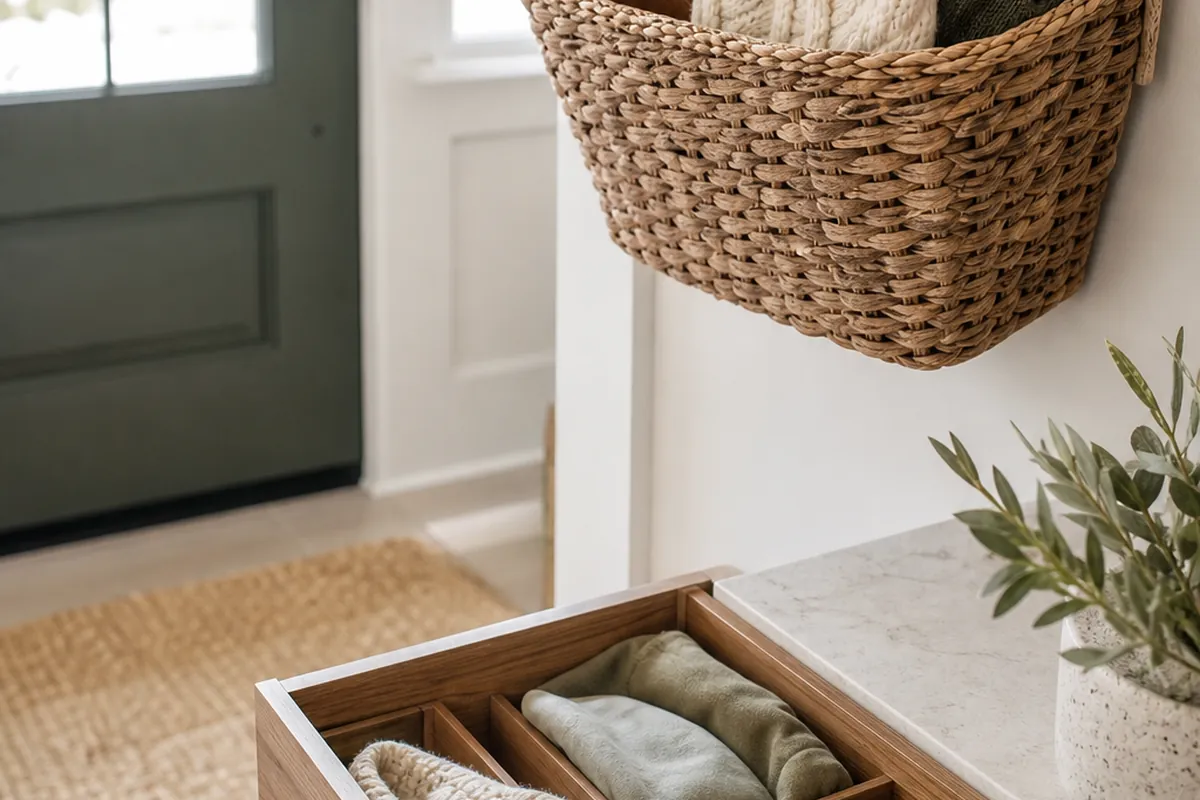
Everything above assumes one job: containing the boots that are wet or dirty right now. The shoes worn to an office, or the sneakers a kid wore to school with clean feet, do not belong in the same tray, since even a dry-looking boot can transfer grit onto a clean sole sitting an inch away. A slim flip-drawer shoe cabinet against the wall, most run under nine inches deep, gives the clean pairs a closed, separate home a few feet from the wet zone, and a closed drawer keeps the mud contained even if a boot goes in less than fully dry.
8. Give the shortest person in the household a tray they can actually reach
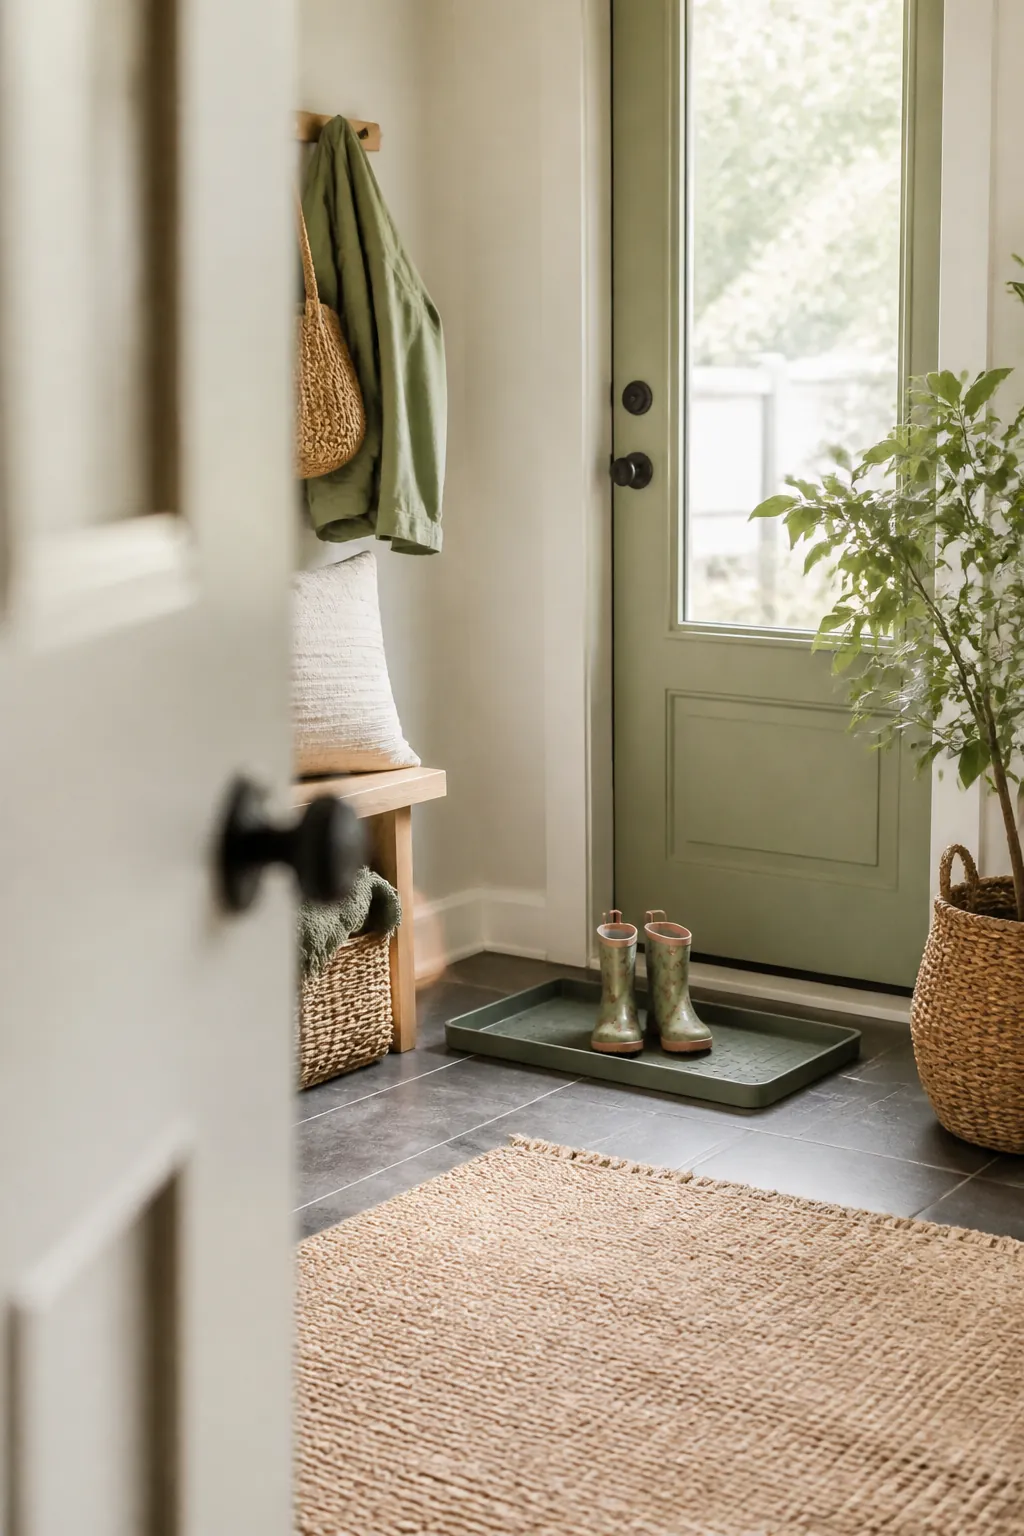
A boot tray mounted or pushed against a bench too tall to see into gets ignored by a kid who cannot tell if it is full. Keep at least one tray flat on the floor, fully visible from a four-foot-tall vantage point, and skip anything with a lip over two inches if a toddler is the one stepping in and out of it. The rule that matters more than the furniture: a tray nobody can see into is a tray that gets missed, and missed trays are how mud ends up three steps past the door instead of in it.
9. Rotate the off-season pairs out of the entry completely
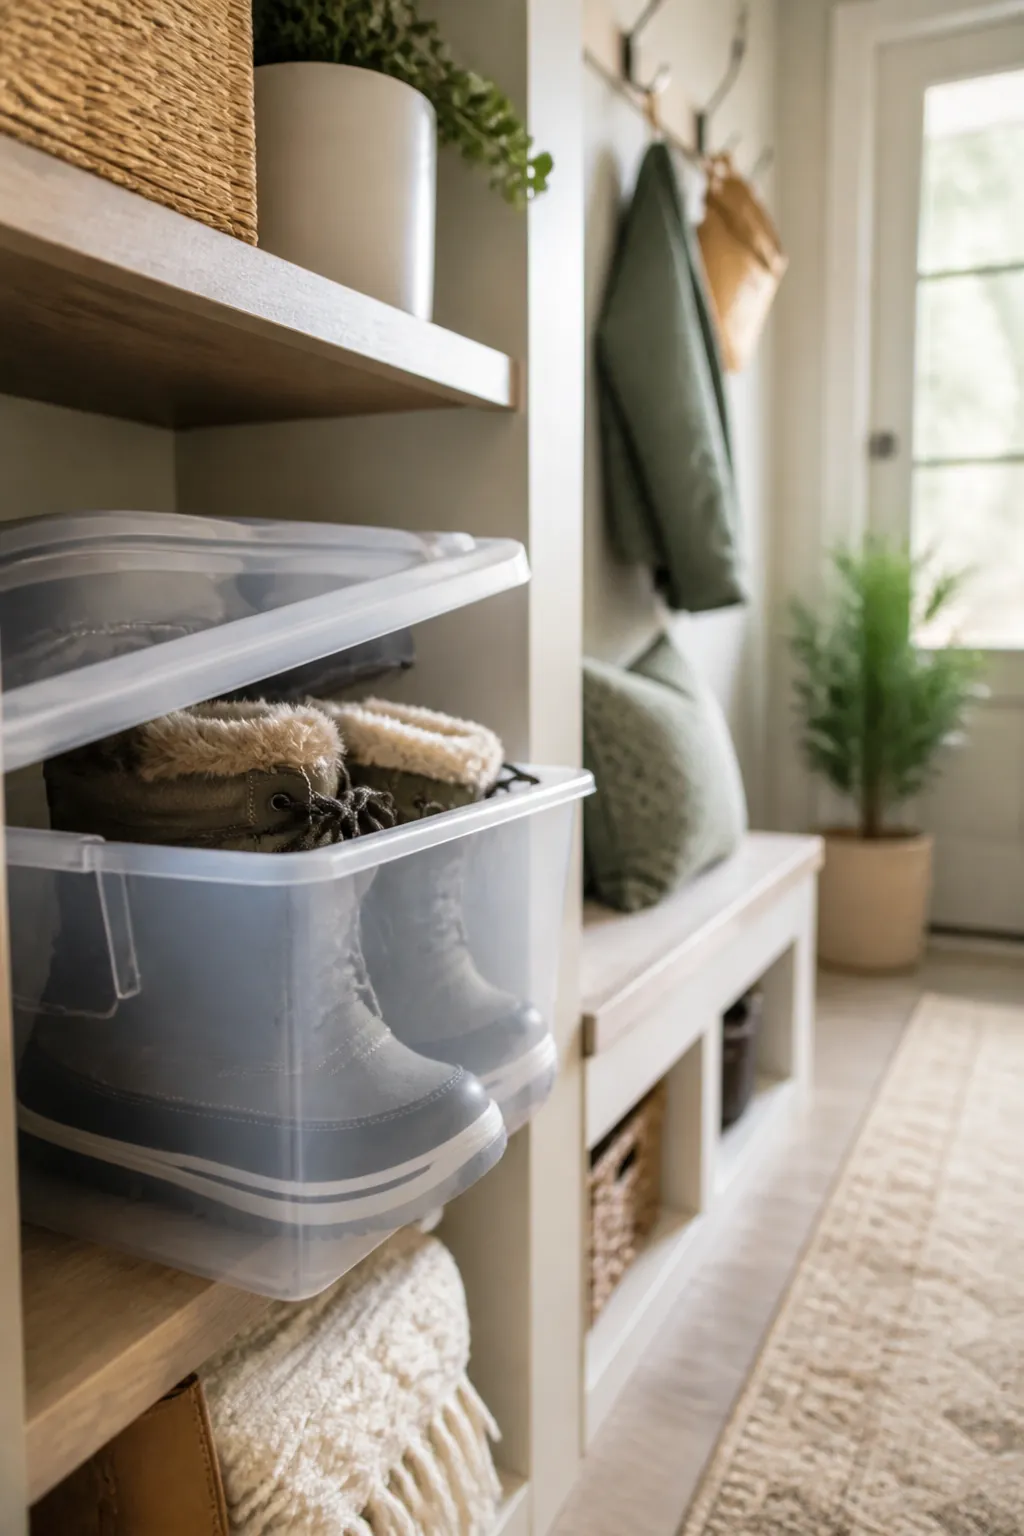
A boot tray sized for the two or three pairs actually in rotation gets overwhelmed fast if it is also holding the snow boots in July or the rain boots that have not seen use since March. Box out-of-season pairs and move them to a closet shelf or an under-bed bin sized for a season’s worth of clothes and shoes, cleaned and fully dry first so nothing goes into storage carrying the salt or mud that caused the problem in the first place. What is left at the door should be only what got worn in the last week, which for most households is two pairs, not six.
10. Split the load when more than one person tracks in mud
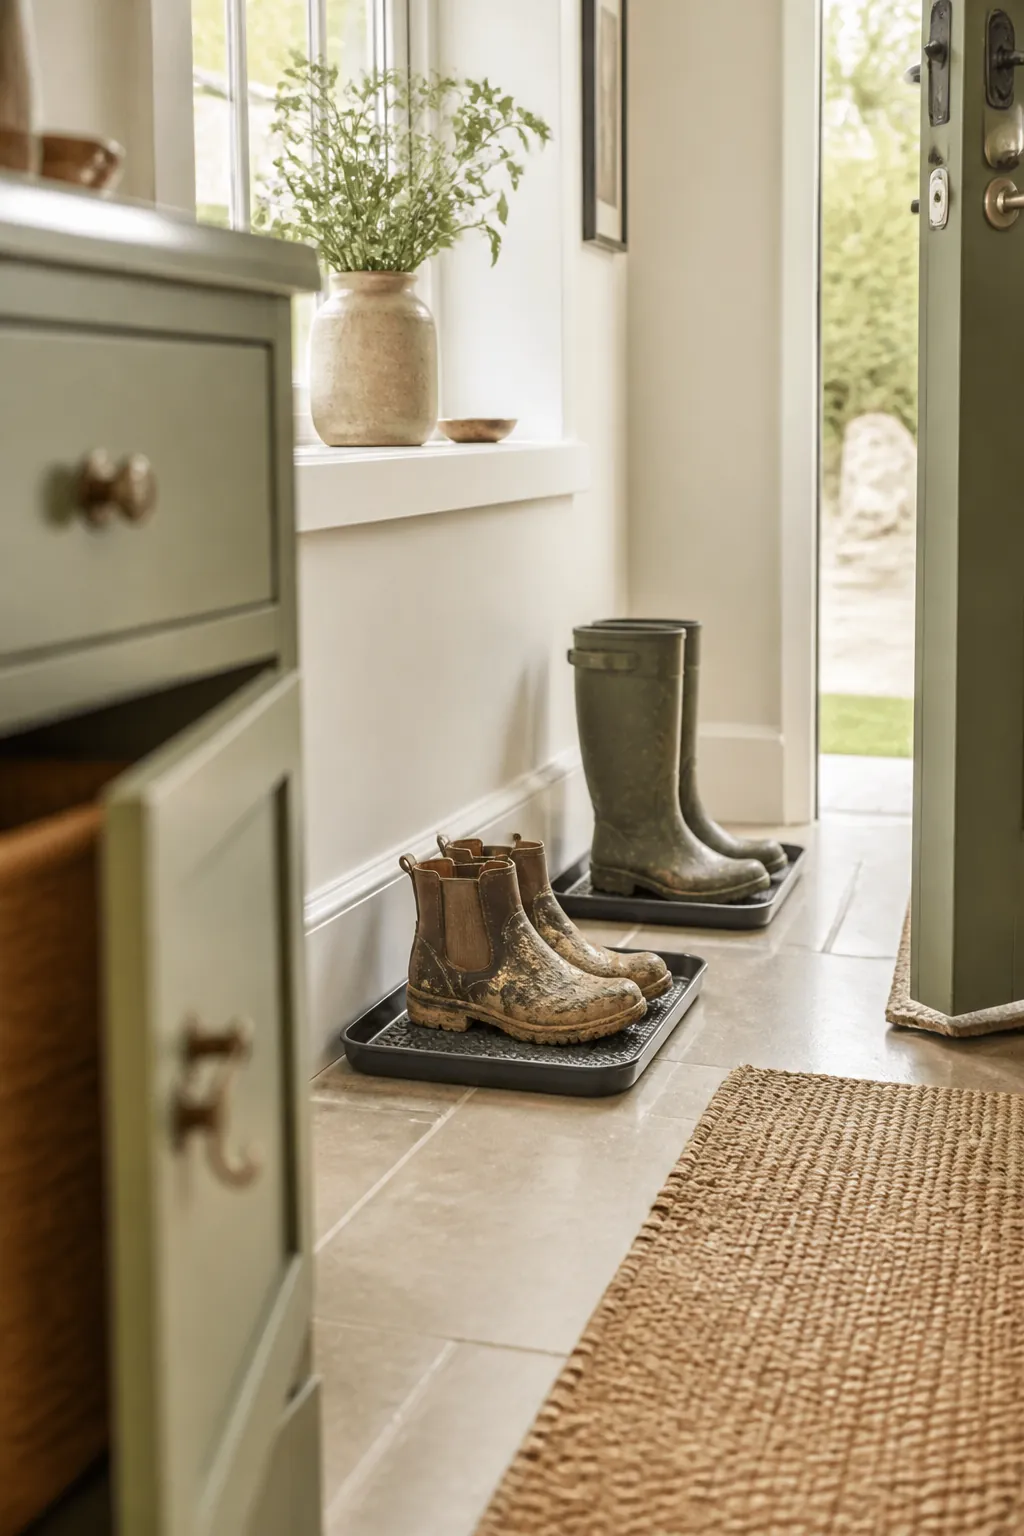
One tray works for one or two people with predictable schedules. A household of four with two dogs on rainy-day walks overwhelms a single tray within a weekend, since boots pile up faster than anyone empties it. Add a second, smaller tray a few feet away rather than buying one oversized tray to cover everyone. Two trays split the load, dry faster because boots are not touching, and make it obvious at a glance whose pair still needs wiping down.
11. Protect the deposit twice: the floor and the wall
Everything above protects the flooring. The other half of a rental deposit is the wall and the door frame, and a boot situation left unmanaged tends to migrate there too: scuffs from a rack pushed too close, adhesive hook residue from a rushed fix, a tray dragged sideways that scores a line into vinyl plank. Choose freestanding pieces over anything wall-mounted for this specific zone, keep felt pads under any bench or cabinet leg, and do a five-minute walk-through of the entry before your final inspection the same way you would check under a rug. The floor near a rental’s front door takes more daily abuse than almost any other square foot in the unit, and it is also the first thing a landlord looks at.
Where to start
Start with the tray, sized to the boots you actually own rather than the space you wish you had, and something underneath it to protect the floor for the length of the lease. Add the standing rack or the flip-drawer cabinet once you know whether your real problem is height or separating wet from clean, since buying both on day one usually means one of them sits empty. The rest, the vinegar wipe-down, the second tray, the off-season rotation, is maintenance you build in over the first month, not furniture you need before you move in.