Count the pairs sitting by your front door right now. Most people guess six and find eleven, and that gap explains why so many shoe storage entryway setups collapse within a month: the furniture got sized for the fantasy pile, not the real one. Get the count right and even a cramped entry can hold every daily pair with nothing left on the floor.
Twelve ideas below, roughly in the order I’d install them in a rental. You don’t need all twelve. Pick two or three that match your door swing and your actual pair count, and the problem stops recurring.
Measure the Door Swing Before You Buy Anything
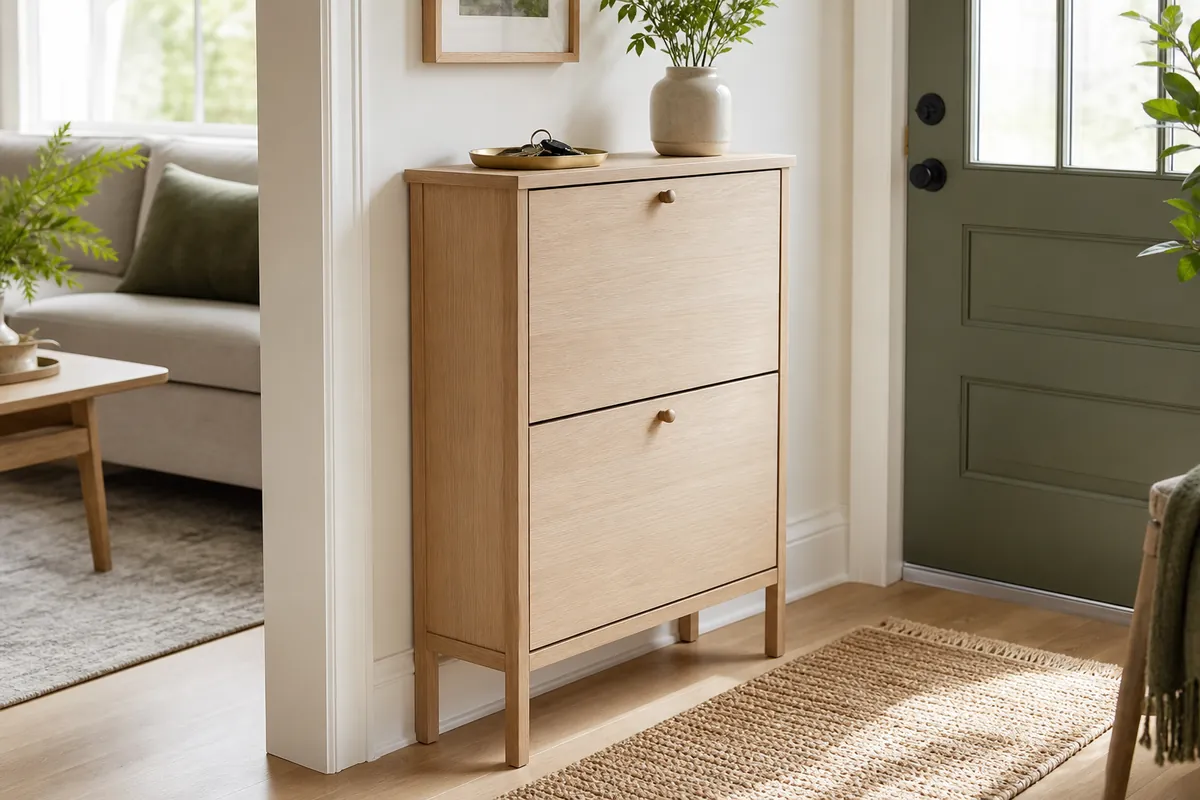
The mistake I see most often is a shoe cabinet bought for the one stretch of wall the front door slams into. Open the door all the way and mark where it stops. Anything on the hinge side of that arc can only hold things shorter than a shoe; everything past it is fair game for furniture.
Depth matters more than width, and almost nobody measures it. A men’s size 11 sneaker runs about a foot long, so storage shallower than roughly ten inches has to hold shoes tilted or on their side. That one number settles the whole debate between an open bench (deep, forgiving) and a flip-drawer cabinet (shallow, fussier about what fits). Put your usable width, usable depth, and pair count in your phone notes before you shop. It saves a return trip and a bruised doorframe.
The one-shelf-per-person rule
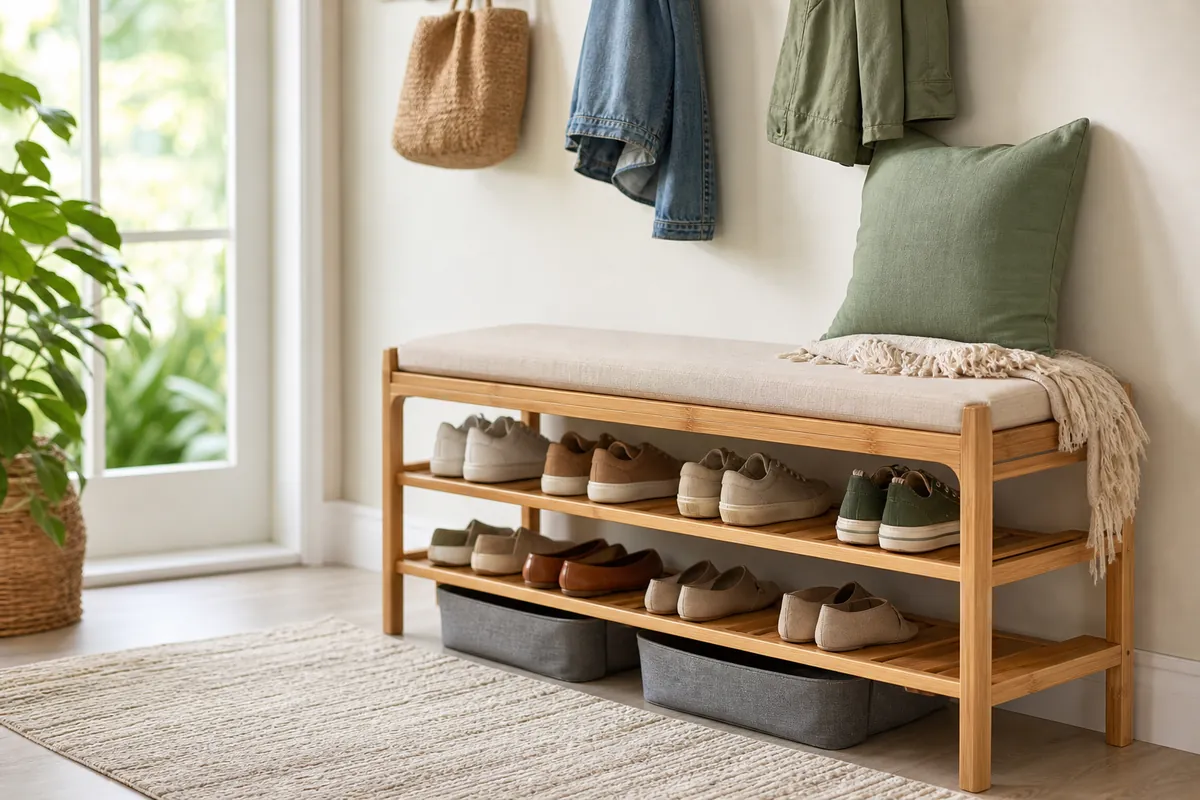
Decide up front how much shoe storage entryway real estate each person gets: one shelf, one basket, or one drawer tier. Anything beyond the allowance lives in a bedroom closet. Skip the cap and whatever you build fills to bursting in about three weeks, because shoes expand toward available space the way clutter always does.
Seating That Earns Its Footprint
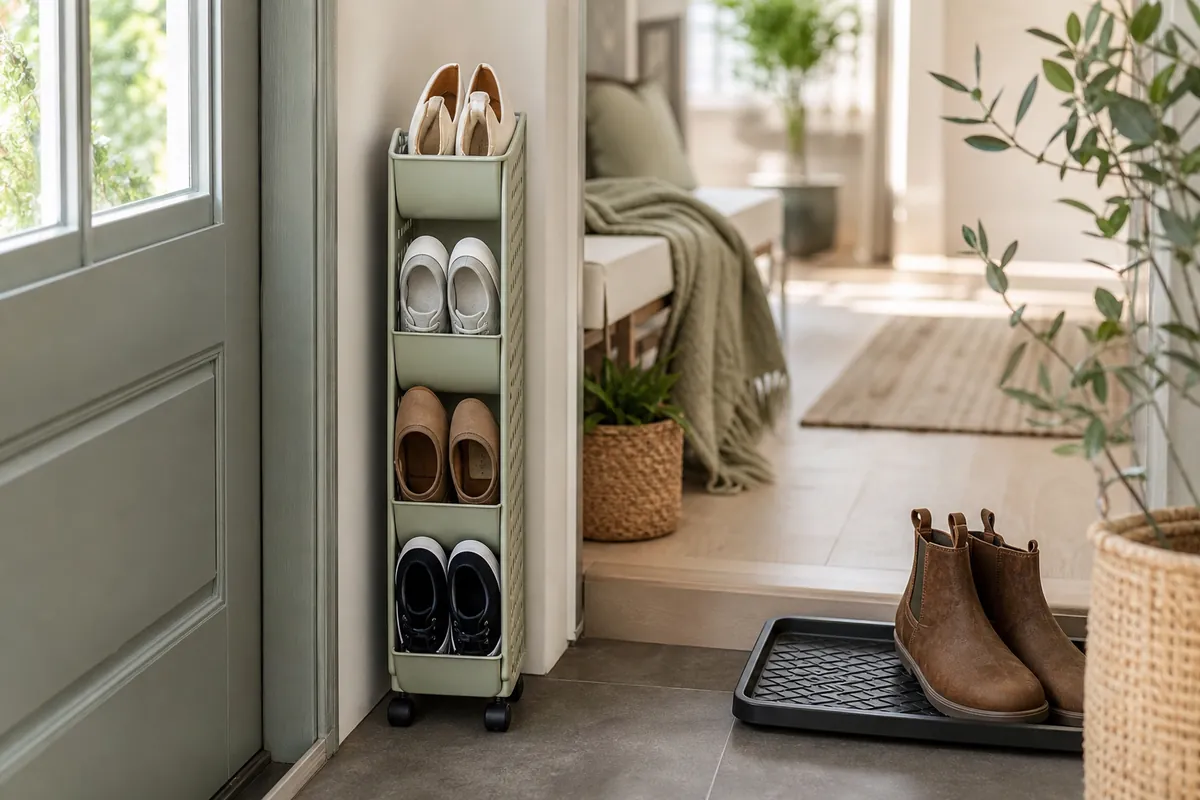
1. A bamboo shoe storage bench does two jobs in one footprint
A bamboo shoe storage bench does two jobs in one footprint. With thirty inches of clear wall, this is the single best buy for a small entry. The seat is the part that changes behavior: people who sit down to deal with laces actually put shoes away instead of kicking them off halfway down the hall. Underneath you get two or three open tiers. Bamboo shrugs off humidity and wet soles, while particleboard swells and blisters at the edges the first rainy week.
2. Load the bench tiers by frequency, not by owner
Daily shoes go on the bottom tier, because that’s the one you can reach with a foot. Two-or-three-times-a-week pairs sit in the middle. Give the top tier, closest to the seat, to whoever is shortest in the house. Sorting by how often a pair gets worn saves you a dozen unnecessary bends every morning.
3. Add one basket per person under the bench
Woven or fabric bins turn a neat shelf into a system a five-year-old can follow, because “put it in your basket” is a rule that survives a rushed morning. Buy baskets about an inch shorter than the shelf opening so they slide instead of scrape, and don’t bother with lids. Lids on entry baskets stay open forever.
4. Park a lidded ottoman at the end of the run for off-season overflow
Snow boots in July have no business by the front door, but they don’t need to travel far either. A lidded cube swallows two or three bulky pairs, doubles as a seat when guests show up, and keeps seasonal stuff out of your prime tiers. Too narrow for a bench at all? The no-mudroom hallway plan covers slimmer seating.
Go Vertical When the Floor Is Gone
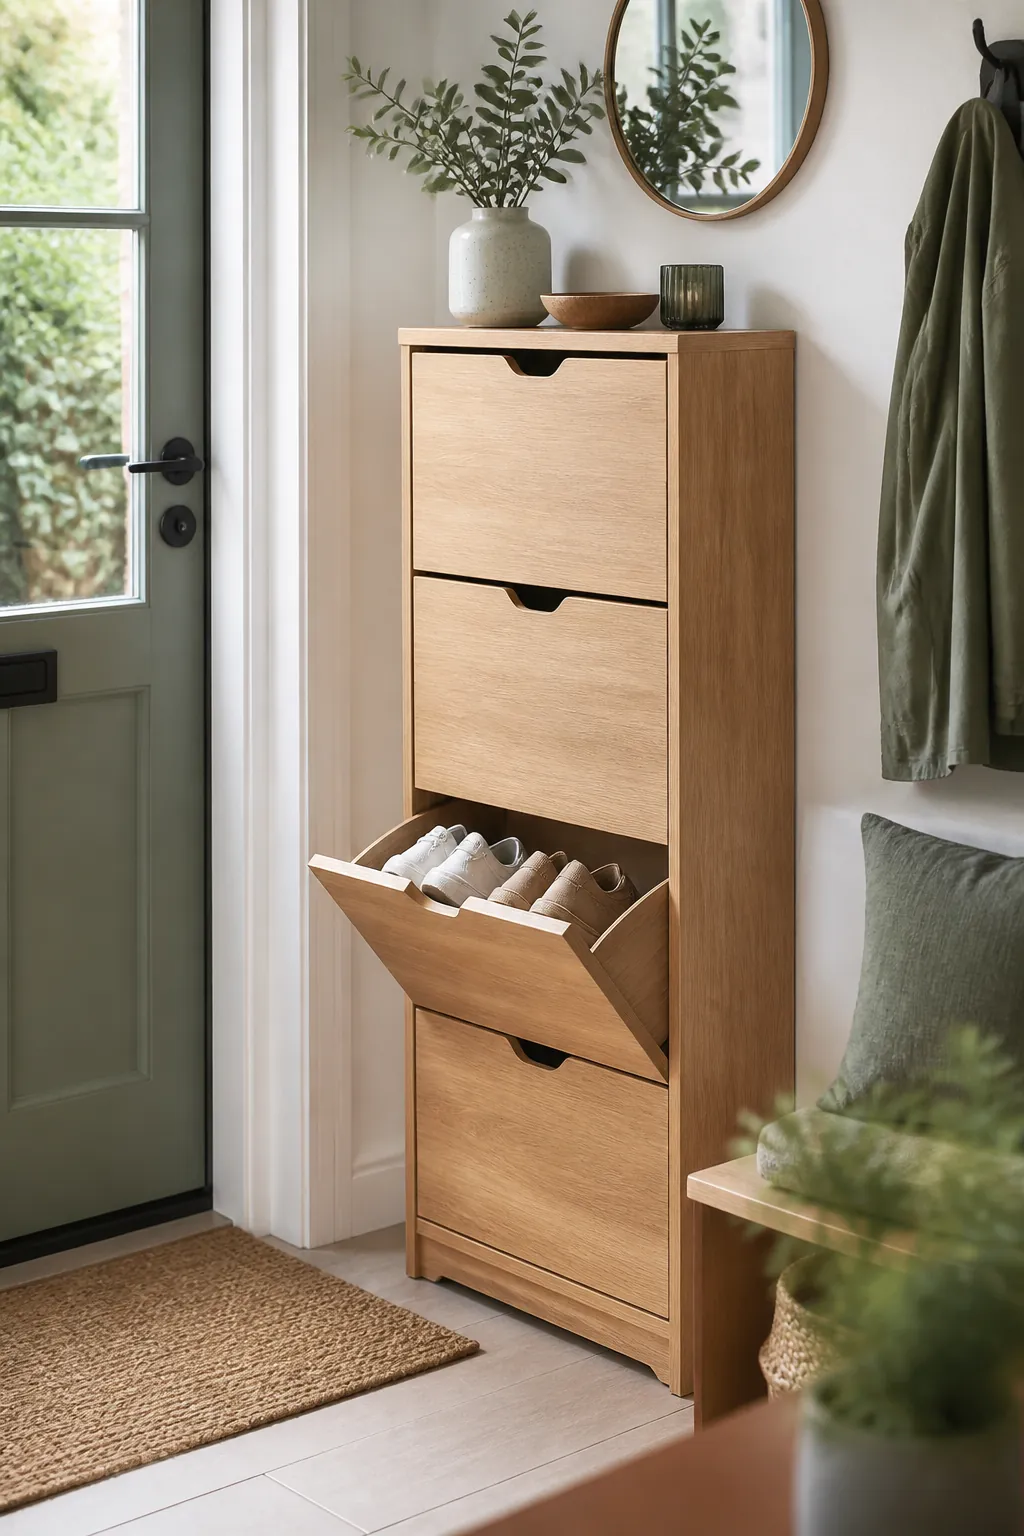
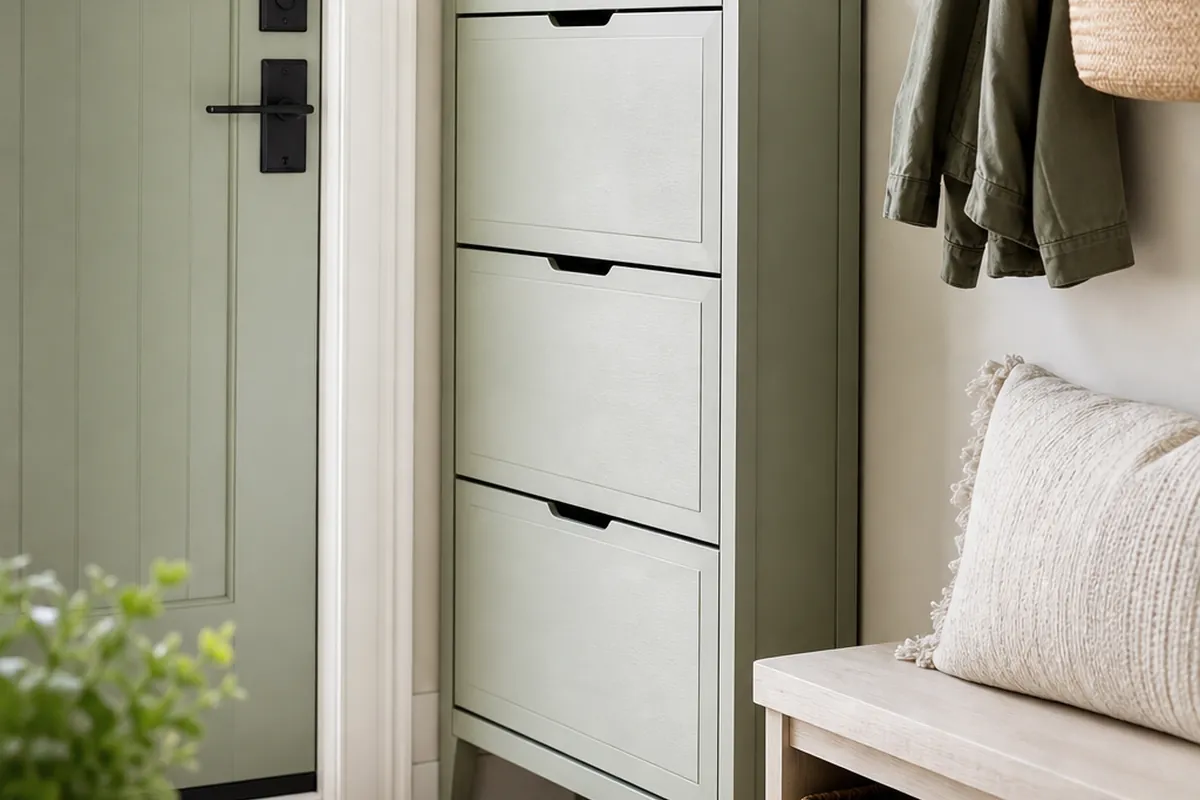
5. A slim flip-drawer shoe cabinet fits where nothing else will
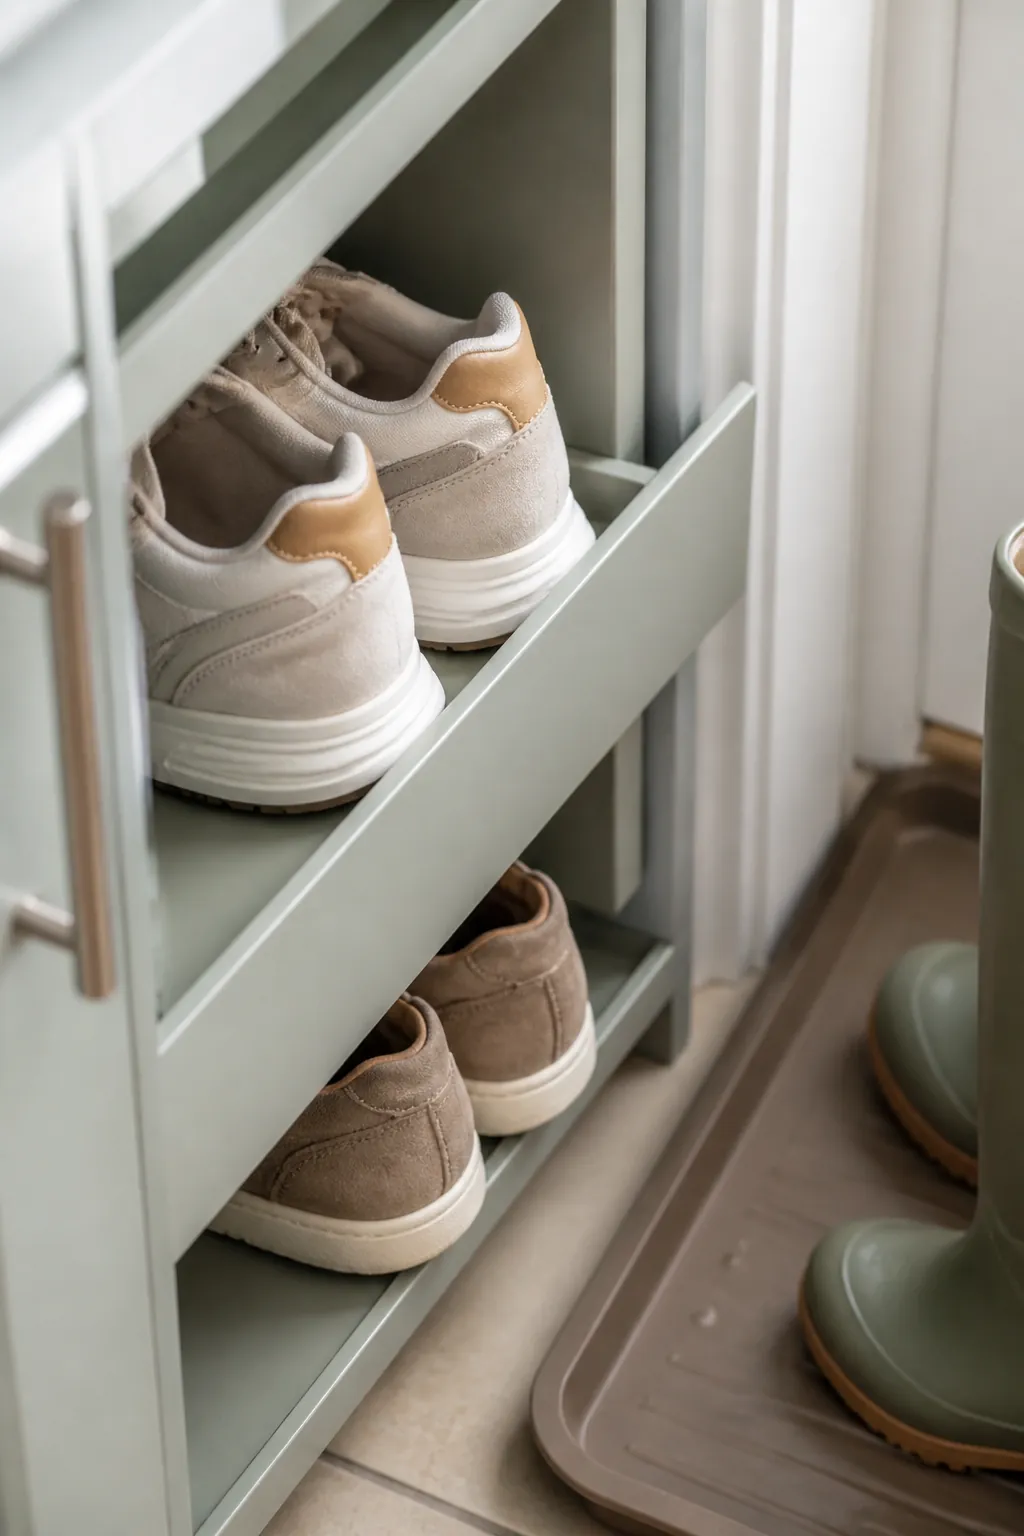
A slim flip-drawer shoe cabinet fits where nothing else will. These are the shallow tilt-front cabinets, commonly around nine or ten inches deep, that cradle shoes on their side in a hinged tray. Shallow is the entire selling point. It fits a hall where a bench would force you sideways, and the flat front reads as furniture rather than storage. Flats, sneakers, and loafers do well in one. Tall boots and chunky hikers will fight the tray, so give those a plan of their own.
6. Two narrow cabinets beat one wide one
Split them by person and the arguments stop. They also fit more wall shapes than a single long console, which matters the next time you move. Use the top surface as a keys-and-mail landing strip, with a small tray to give loose items a boundary.
7. Hang the door-mounted shoe organizer on a closet or bedroom door, never the front door
Hang the door-mounted shoe organizer on a closet or bedroom door, never the front door. Front doors are heavy, often steel, and swing constantly, so the pockets flap and knock against the deadbolt and weatherstripping. On a closet door, that same organizer is genuinely useful for light, flat things: sandals, ballet flats, kids’ shoes, flip-flops. Clear pockets beat fabric because you can read the contents from across the room. Thick-soled sneakers stretch the pockets permanently, so keep those on a shelf.
8. Mount an angled wall rack at shin height
Metal or wood racks that tilt shoes toe-up hold a pair in roughly six inches of depth and float off the floor, so you can actually vacuum underneath. Keeping them low, somewhere between ankle and knee, leaves the wall above free for hooks and a mirror. Two rows is the practical ceiling before the wall starts looking like a shop display.
Overflow Tricks Almost Nobody Uses
9. Claim the narrow gap beside the door with a rolling bin
An eight or ten inch gap isn’t wasted space, it’s a slot. A tall narrow bin or a small cart on casters slides in, holds four or five pairs standing upright, and rolls out when you need the back row. Cheapest fix here by a mile, and it uses the exact strip of floor everyone writes off.
10. Double the closet floor with a tension rod
In a coat closet, run a spring-loaded rod about ten inches off the floor and rest heels on it with toes pointed down. You get a second tier for the price of a rod. More closet floor tactics live in these coat closet organization ideas.
11. Give wet shoes their own tray with a raised lip
One boot tray, placed so it’s the first surface a wet sole can reach, saves your floors and your bench finish. Aim for a lip at least half an inch high so melt water and grit stay put instead of running onto the baseboard. From November to March this tray outranks every other piece of shoe storage entryway furniture in the house, because a designated wet zone is what keeps puddles from spreading down the hall.
12. Rotate twice a year and cull without mercy
Every March and October, pull everything out, move off-season pairs to the ottoman or a bedroom closet, and be honest about the shoes you didn’t touch once. Eight pairs in a well-chosen system looks intentional. Fifteen pairs in that same system looks broken, and no amount of nice furniture hides it.
Building It Into a Real Entry
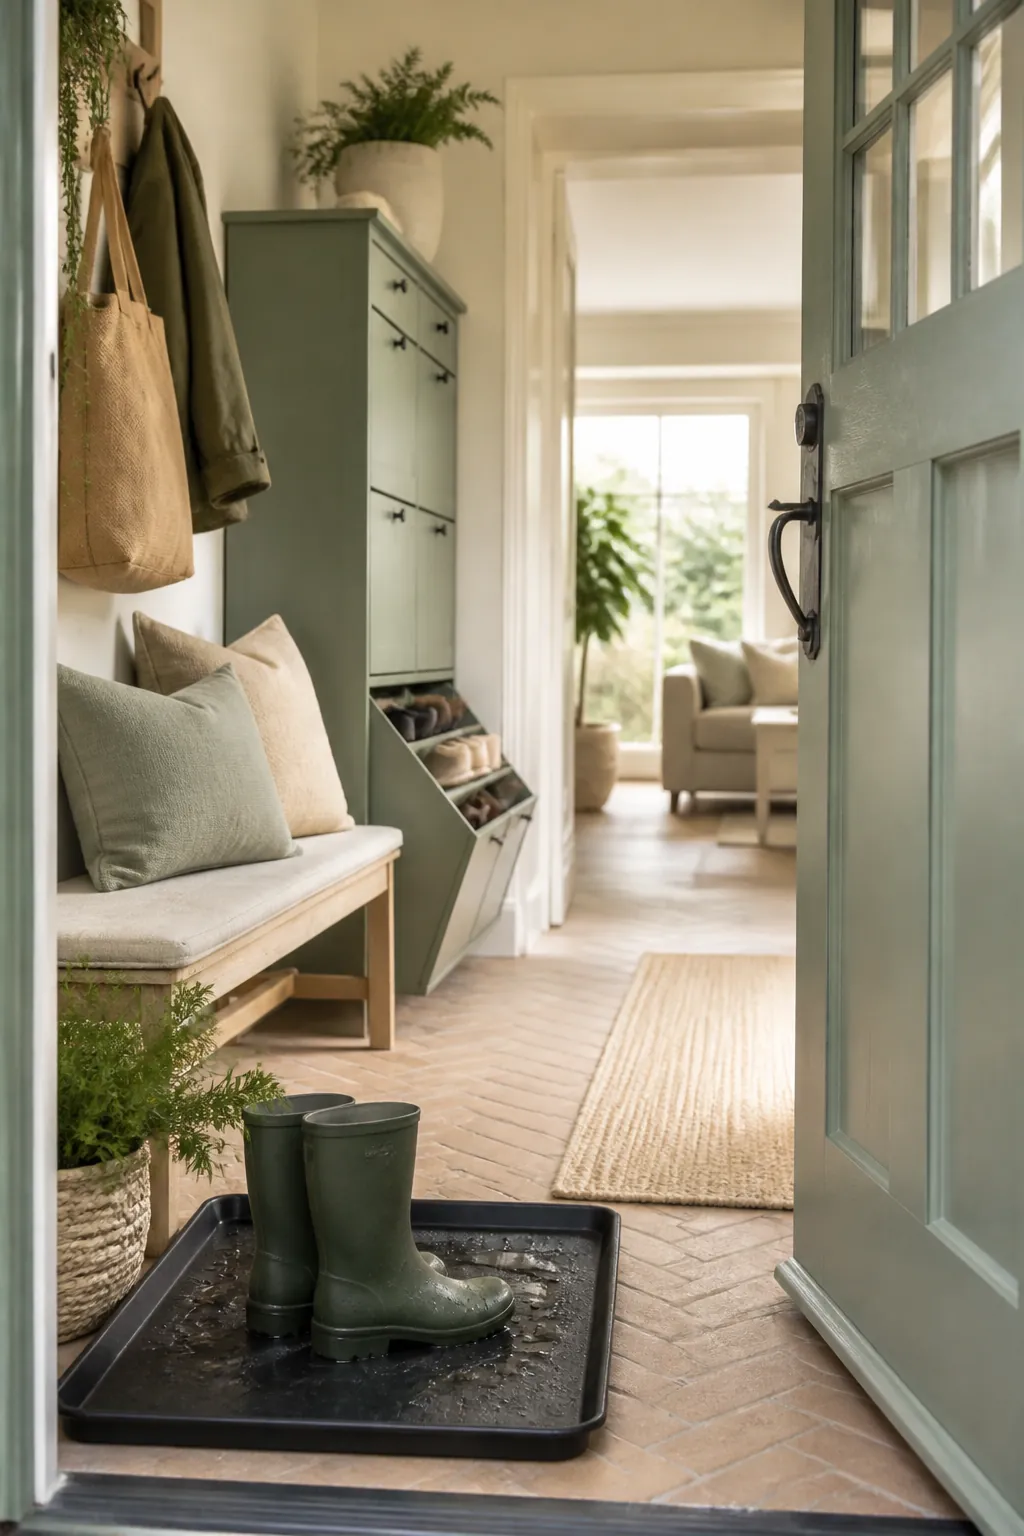
Layer the pieces front to back: wet tray on the floor nearest the door, seating next, vertical storage on the wall the door misses, and door-mounted pockets tucked out of sight. Protect a walkway of at least two feet. If you have to turn sideways to get past a bench or cabinet, it’s the wrong piece for that hall no matter how many pairs it swallows.
Shoes are only half the entry problem, too. Bags, coats, and school gear all land in the same three square feet, so plan hooks and shoe storage in one pass instead of solving shoes and then re-crowding the floor with backpacks. Speaking of which, these backpack storage ideas pair neatly with a bench-and-basket setup.
If you only buy one thing
Wide entry, kids, piles of sneakers: bamboo shoe storage bench plus one basket per person. Narrow hall, adults, mostly flat shoes: slim flip-drawer shoe cabinet, and add a second one later if the count grows. No usable floor whatsoever: an angled wall rack at shin height with a door-mounted organizer on the nearest closet door. Match the piece to your door swing and pair count, cap what’s allowed to live at the door, and the pile stops coming back.