A small apartment without a pantry has a kitchen that stores food in the cabinets, which means the cabinets are full of food and the pots live on the stove. Meanwhile there is a closet in the hall holding three coats, a vacuum, and a box that has not been opened since the move. The closet is the pantry. It just does not know it yet.
The conversion is mostly about two problems a closet has that a pantry does not. It is too deep, so things vanish at the back, and it is dark, so you cannot see what is in there anyway. Fix those two and the rest is arranging. Ten steps below, in the order to do them, and none of them needs a drill.
1. Choose the closet by its distance from the stove
The closet that is free is not always the one to use. A pantry gets opened several times a day while cooking, so it needs to be within a few steps of the kitchen, or it turns into the closet you forget about. The hall closet nearest the kitchen is the usual answer. A bedroom closet is almost always too far.
Then rule a closet out for what is behind its walls. One that shares a wall with the bathroom is damp. One beside a water heater, a radiator, or a dryer is warm, and warm shortens the life of everything in it. A closet on an outside wall that gets afternoon sun is warm too. Cool, dry, and close to the kitchen, in that order.
2. Empty it completely and measure four things
Take everything out, including the shelf contents you have not looked at in a year. Then measure the width between the side walls, the depth from the door frame to the back wall, the height from the floor to the underside of the existing top shelf, and the door: which way it swings, and whether it is a hinged door or a bifold.
Those four numbers decide every purchase. Most apartment closets are around thirty to thirty-six inches wide, twenty-four deep, with a shelf at about sixty-six inches. Write them on painter’s tape on the inside of the door frame so they are there when you are ordering.
3. Put the shelves on wheels, because the closet is deeper than a pantry should be
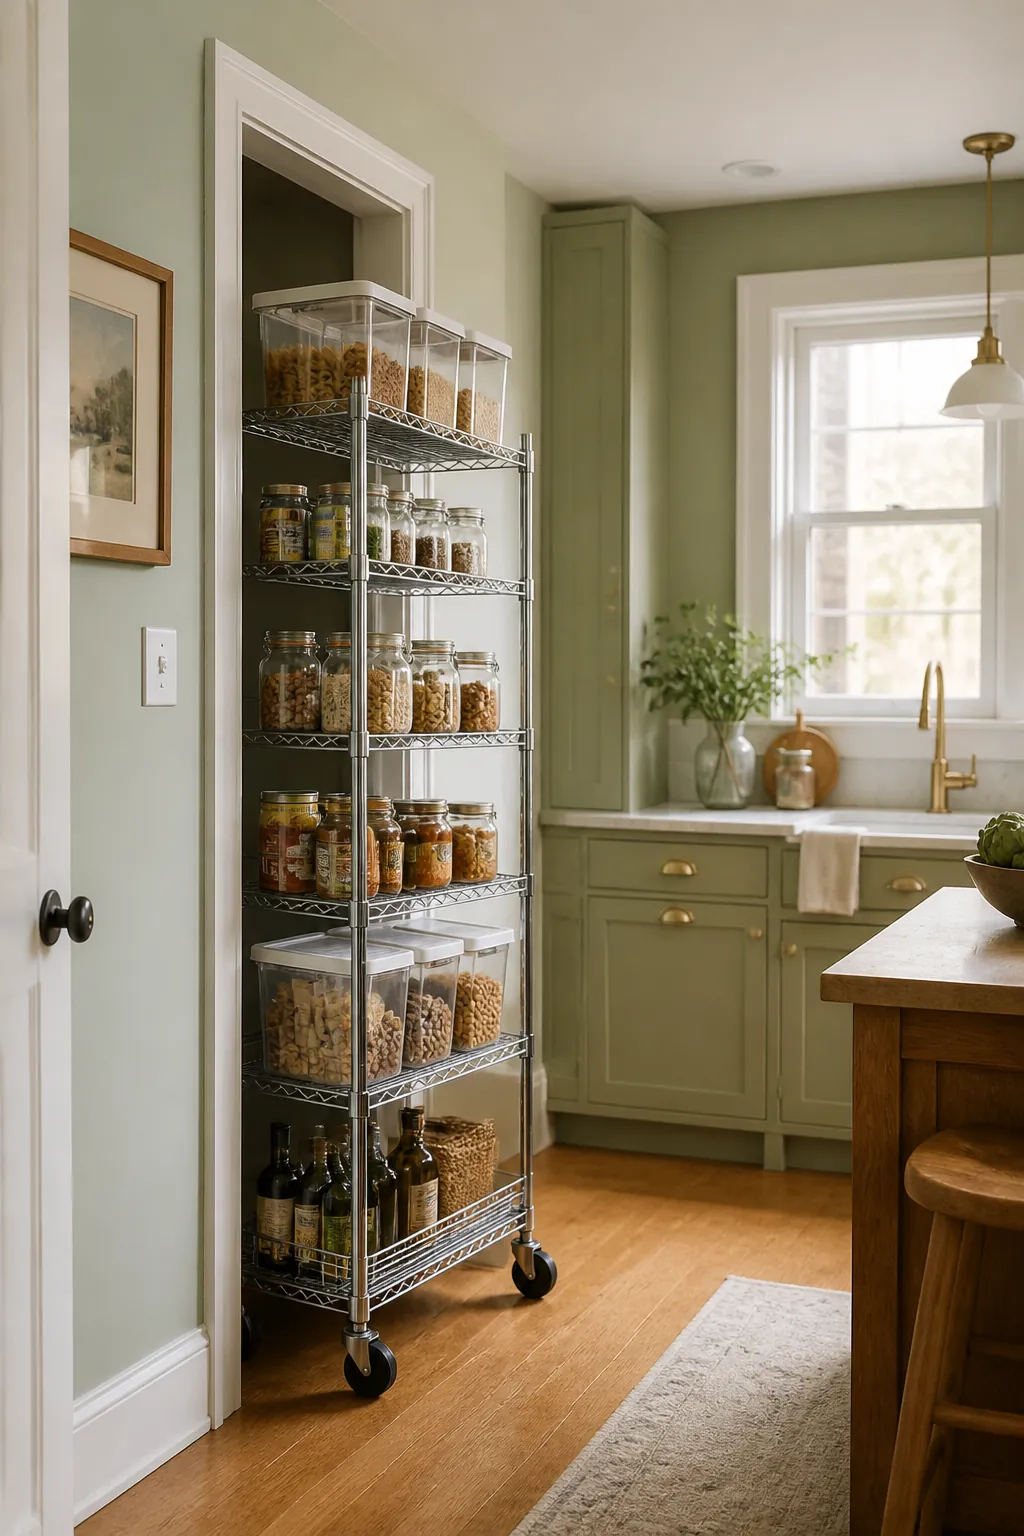
A closet is about twenty-four inches deep. A pantry shelf should be twelve to sixteen, because that is as far as you can see and reach. Fixed shelves at the full closet depth are how a can of beans becomes an archaeological find.
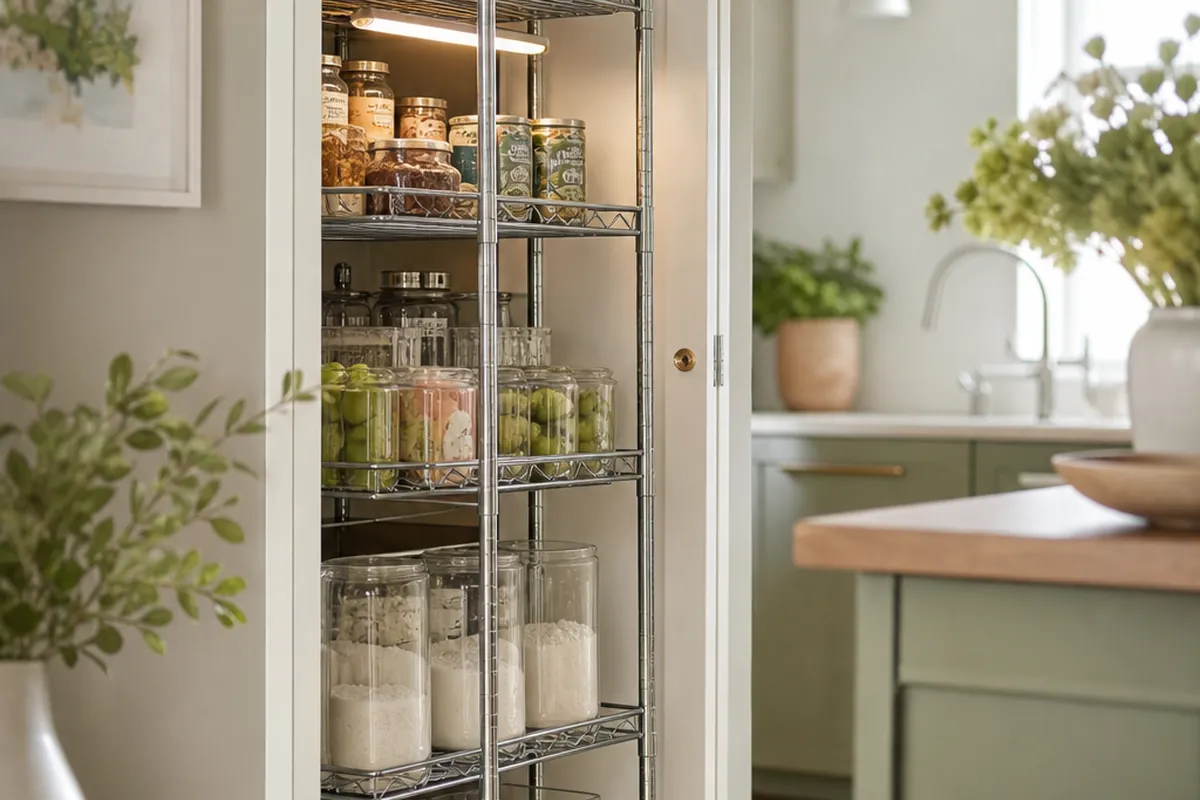
A rolling 5-tier wire shelving unit at fourteen inches deep, thirty wide, and sixty tall fits inside a standard closet under the existing shelf, and the wheels are the whole point. Roll it forward and every shelf is at arm’s reach in good light. Roll it back and the door closes. The ten inches of depth left behind it is where the tall things go: the mop, the folding step stool, the paper towel multipack standing on its end. Load the heaviest things on the bottom two shelves before you roll it anywhere, because a wire unit with the weight up high will tip on the first pull, and lock the front wheels once it is parked so the door does not nudge it every time it closes.
The shelves adjust, so set the gaps to what you own rather than evenly: one tall gap for cereal boxes and bottles, tighter gaps for cans and jars. Check the height against your closet shelf before ordering, because a seventy-two inch unit will not fit under a sixty-six inch shelf, and the sixty inch one will.
4. Keep the existing top shelf for the bulk
The shelf that was already in the closet is the deep, high, awkward one, and that makes it perfect for the things you buy in multiples and reach for monthly: the extra flour, the case of sparkling water, the backup oil, the multipack of canned tomatoes. Nothing you need to see daily goes up there. Label the front edge of each group so the shelf can be read from the doorway.
5. Light it, because no closet has a light
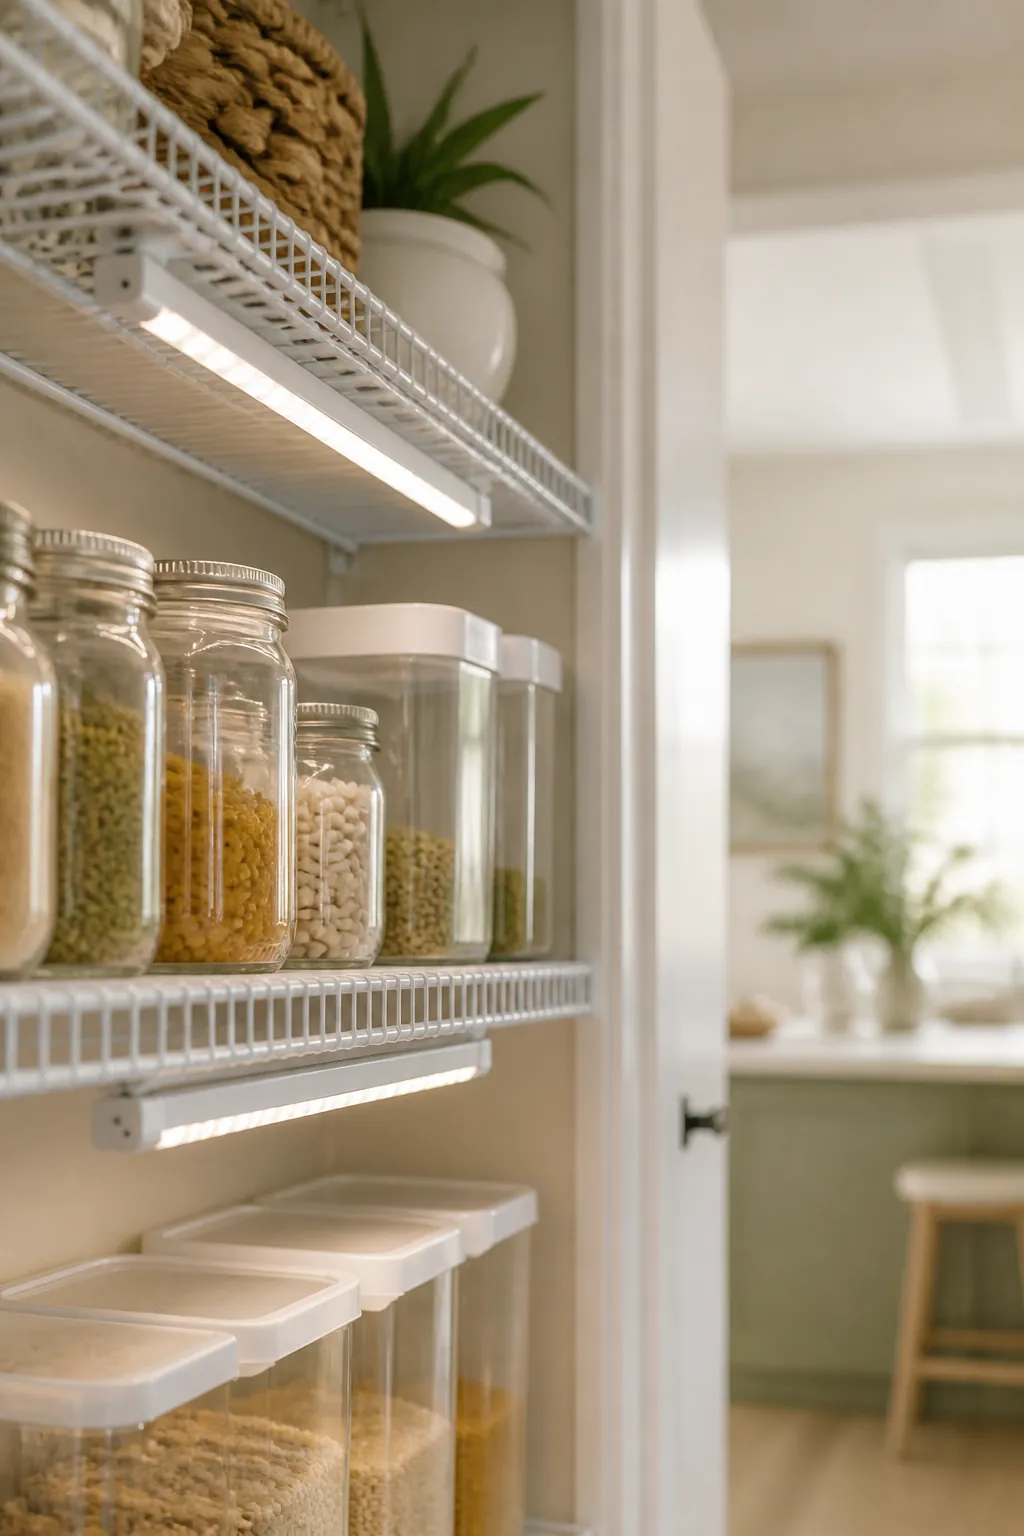
This is the step most people skip and then wonder why the pantry never quite works. A closet has no light, and the hall light behind you throws your own shadow onto the shelves. A pair of rechargeable motion-sensor closet lights sticks to the underside of two shelves on magnetic strips, comes on when the door opens, and charges by USB every few weeks. No wiring, no outlet, no holes.
Put one high and one at eye level. The high one lights the bulk shelf; the eye-level one lights the shelves you use daily. A dark pantry gets treated like a closet, which is the thing you are trying to stop.
6. Use bins for anything loose and anything at the back
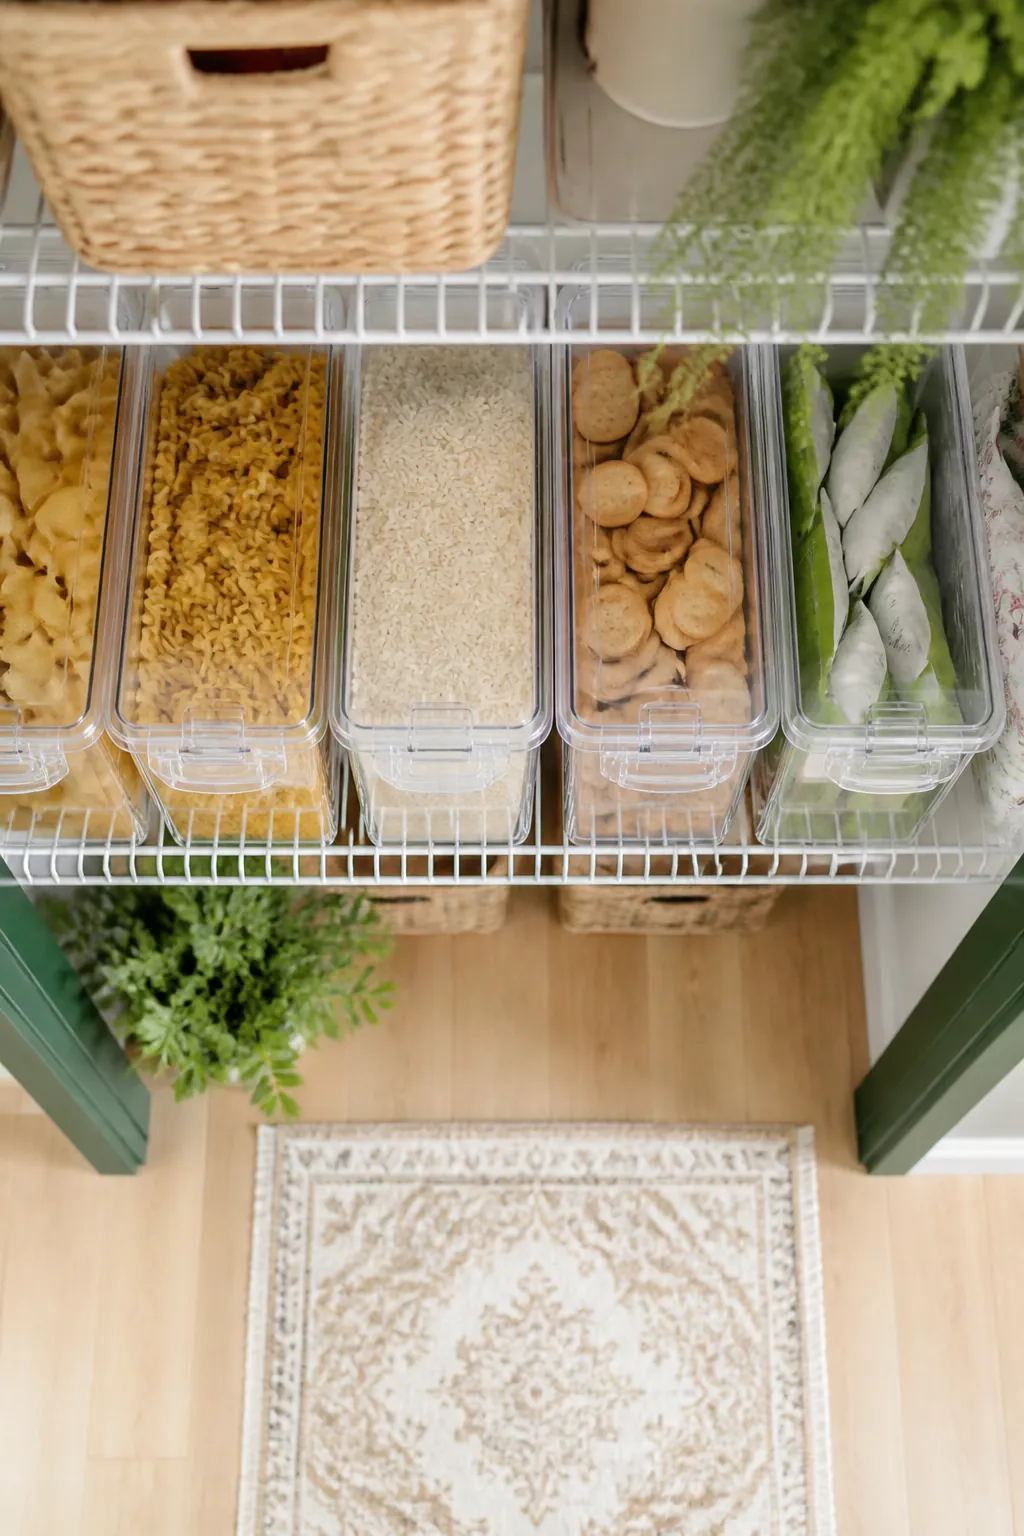
Wire shelves have two habits: small things tip through, and anything at the back of even a fourteen inch shelf gets forgotten. Clear bins fix both. Clear stackable pantry bins with lids hold the packets, the snacks, the baking supplies, and the opened bags, and because they are clear you read the contents from the doorway.
One bin per category, pulled out like a drawer, is faster than any arrangement of loose packets. The lids matter more in a closet than in a kitchen: a closet is less air-tight than a cabinet, and anything opened wants a seal. The pantry organization guide for a small space covers how to divide the categories once the bins are in.
7. Put the door to work, whichever kind it is
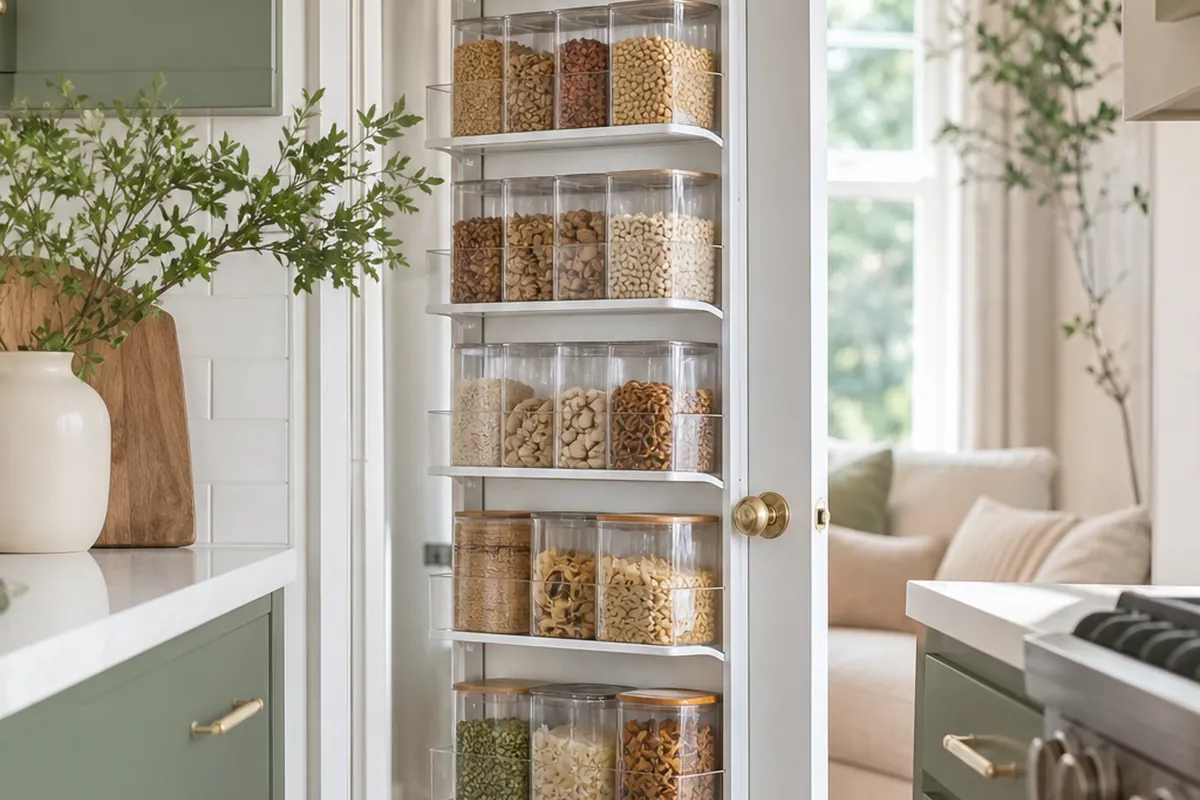
A hinged door is a bonus wall. An over-the-door rack hangs over the top with no fixings and takes spices, packets, foil, and the small bottles, which frees a whole shelf. A bifold door cannot carry a rack, because the fold has no top edge to hang from and the panels are thin. If the closet has a bifold and you rent, leave it and use the shelving. If you own, swapping a bifold for a hinged door is the single most useful change you can make to the closet. The renter pantry guide has the no-drill options for the door and the walls.
8. Zone by height, then by frequency
Heavy on the bottom shelf: the oil, the rice sack, the water. Daily at eye level: the cereal, the coffee, the pasta, the cans for weeknight dinners. Bulk on the top shelf, as in step four. In between, group by how you cook rather than by what the packaging says, so a “weeknight dinner” shelf holds the pasta, the sauce, and the canned tomatoes together, and a “baking” shelf holds the flour, sugar, and the bits that only come out on a Sunday.
The test is whether someone else in the household can find the coffee without asking. If they cannot, the zoning is not done, and the fix is usually a label on the shelf edge rather than a rearrangement.
9. Keep it dry, cool, and free of chemicals
Three rules that a kitchen pantry gets for free and a closet does not. Keep food off the floor, on the bottom shelf at least, because a closet floor collects dust and the occasional damp. Keep the door closed when the bathroom is steaming or the cooking is heavy, since a closet has no exhaust fan. And keep every cleaning product out of it entirely. The old closet probably held the bleach; the pantry cannot, because it shares air with the food and a leak goes straight onto the rice.
If the closet turns out to run warm in summer, that is the closet telling you it was the wrong one, and it is worth moving the pantry rather than the food.
10. Give the coats a new home before you give up their closet
The reason most people never convert the hall closet is the coats. So solve the coats first. The three coats that are worn this season go on a row of wall hooks by the door, which is where they were going to end up anyway. The rest go on an over-the-door rack on the bedroom door, or under a bed with the off-season coats. Most households discover the coat closet held a lot of things that were not coats, and that the actual coats fit on five hooks.
Once the coats have a home, the closet is empty, and the pantry is nine steps of arranging.
Where to start
Pick the closet by its distance from the stove and what is behind its walls, then empty it and take the four measurements. Everything else follows from those.
Then the two purchases that make a closet into a pantry: shelves on wheels, so depth stops being a problem, and lights, so darkness does. Bins, the door, and the zoning are the finishing work. Solve the coats before you touch any of it.