A single reusable water bottle is easy to put away. A household’s worth of them, in three sizes, half with straws and half without, is a different problem, and it is one most kitchens solve badly: a deep cabinet where bottles get laid on their sides and roll to the back, or a shelf where they stand until someone opens the door too fast and half of them fall out onto the floor. A small kitchen cannot spare a whole cabinet just for bottles, so the fix has to fit the one cabinet, or the one shelf, that already exists.
1. Measure your tallest bottle and your shelf gap before buying anything
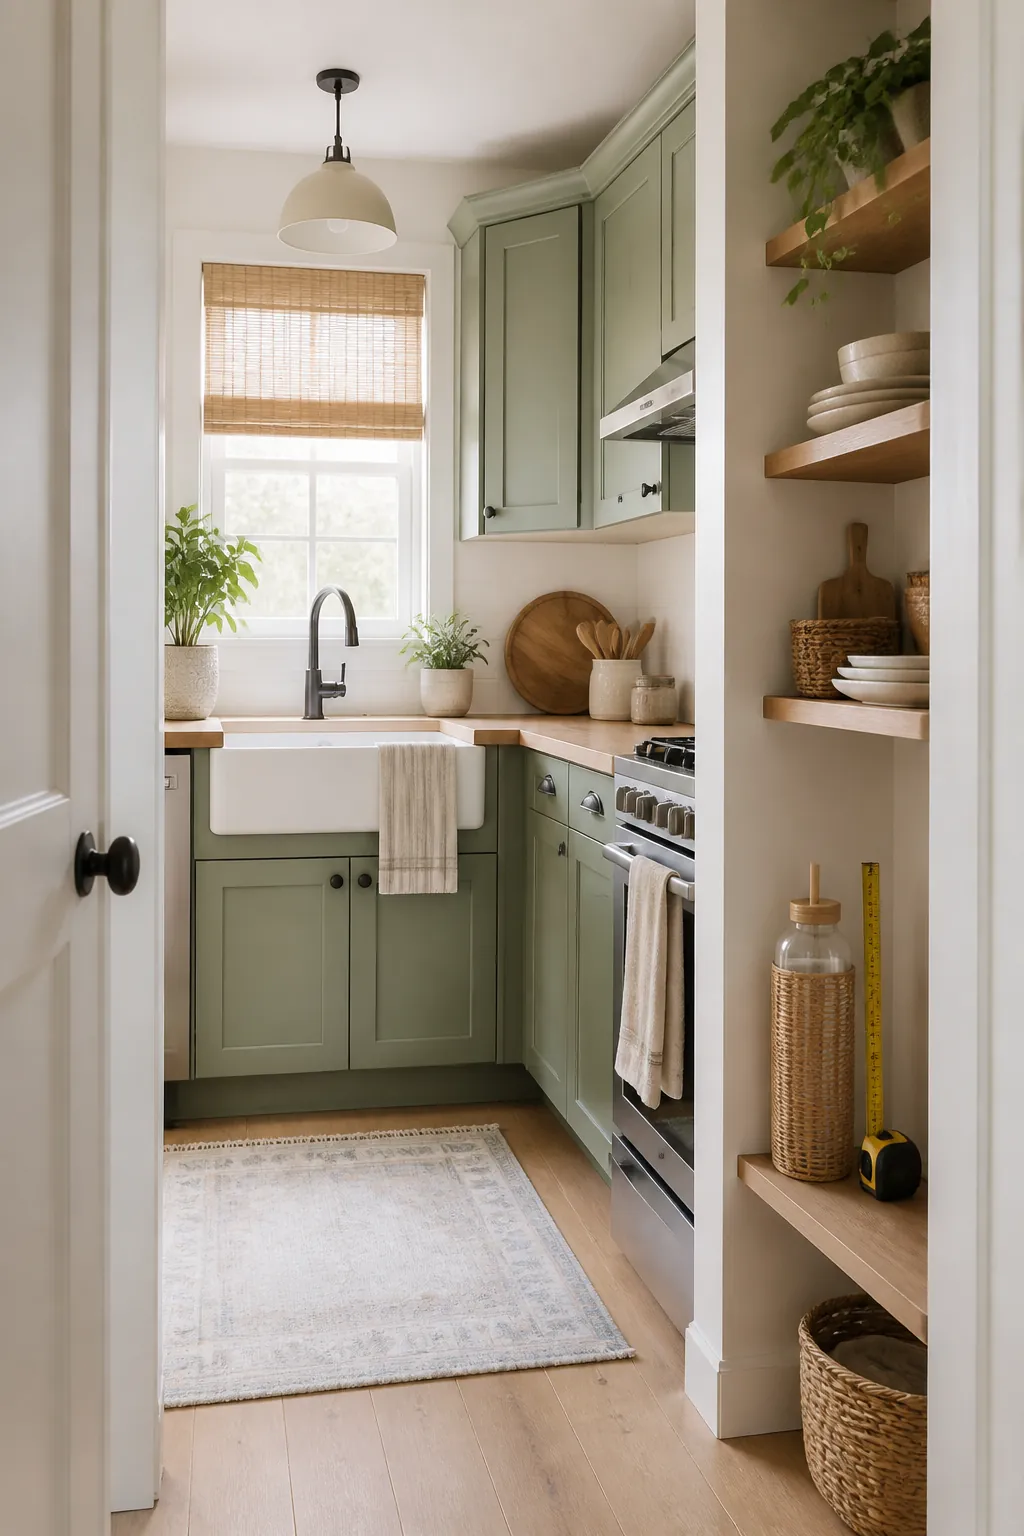
A 26-ounce bottle runs about 10 to 11 inches tall. A 32-ounce runs 11 to 12. A 40-ounce tumbler-style bottle, the kind with a handle and a straw lid, is often 12 to 14 inches including the lid, and that extra couple of inches is where most storage plans fail. Open the cabinet you have in mind and measure the clear height between the shelf you’d use and the one above it, not the cabinet’s total height. Base cabinets under the counter frequently have 10 to 12 inches of usable gap on the bottom shelf; upper cabinets are often less. If your tallest bottle doesn’t clear that gap with its lid on, either that bottle gets stored lid-off on that shelf, or it needs a different shelf entirely. Decide this before you buy a bin, because a bin bought to the wrong height just becomes another container that doesn’t fit.
2. Stand bottles upright in a bin so every one is visible
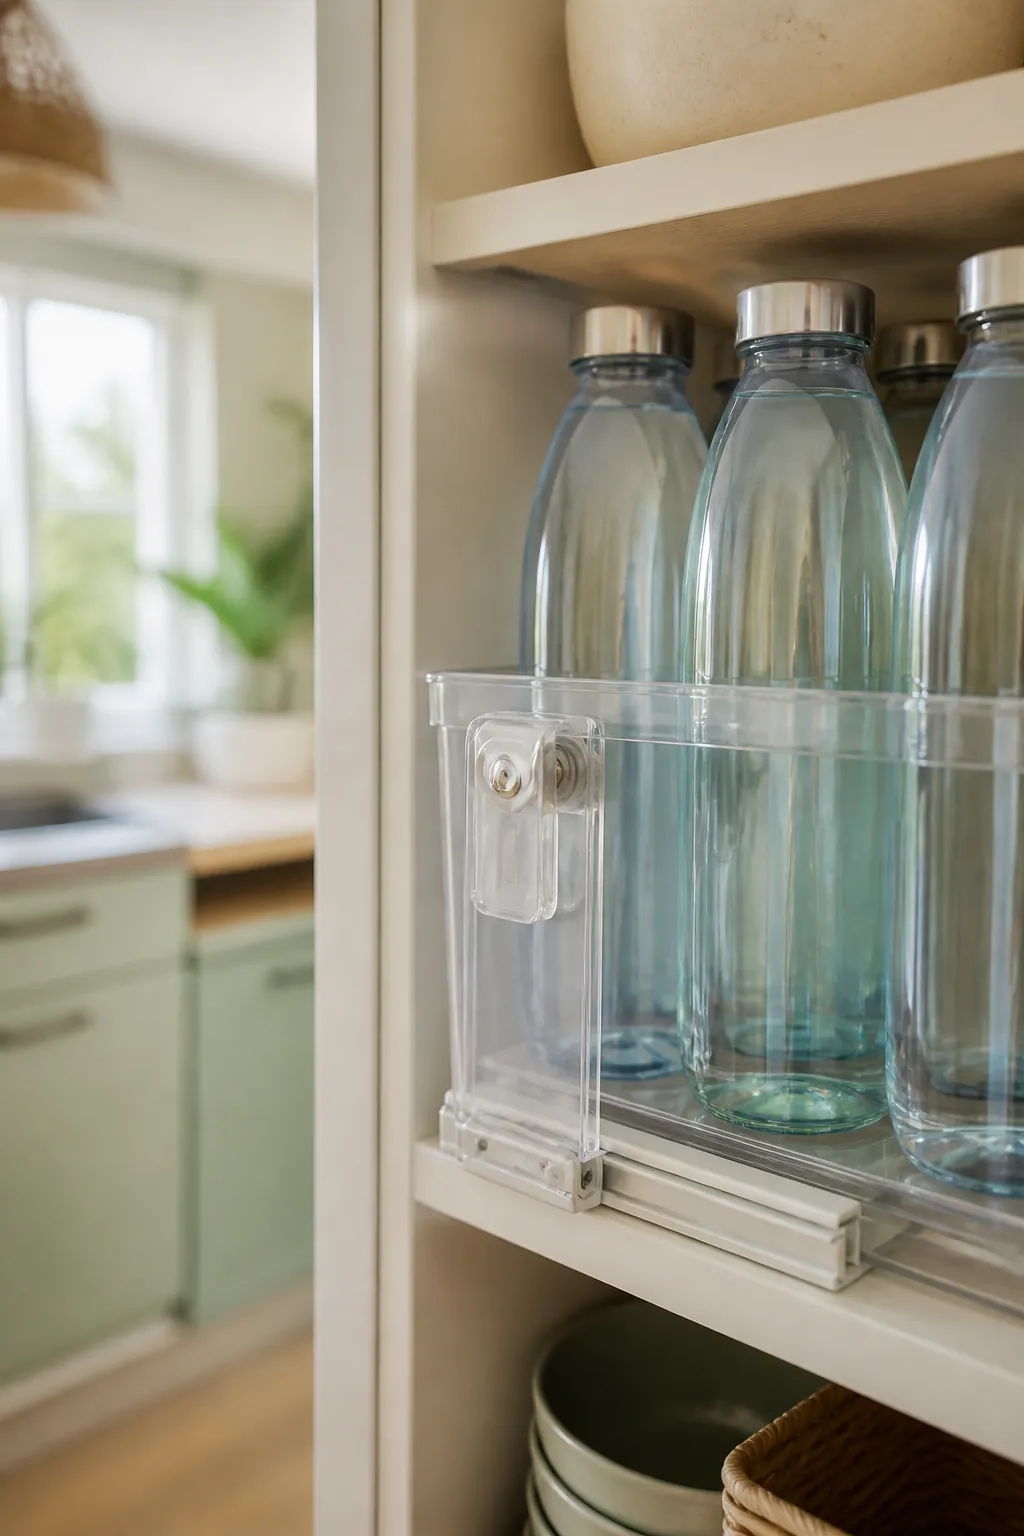
A bottle set directly on a shelf has almost nothing holding it up beyond its own base, so the first bump of the shelf sends it over, and it usually takes two or three neighbors with it. A clear stackable pantry bin fixes that by giving the whole group one shared wall to lean against. Stand the bottles up rather than laying them down, since a bottle on its side rolls the moment the door swings, and a bottle standing has a visible cap that tells you at a glance which one is which.
Measure the bin against your shelf depth before ordering, not just its stated capacity. A bin that’s two inches deeper than the shelf sticks out past the cabinet edge, which is fine on an open shelf and a problem on a door that has to close over it.
3. Add a shelf riser to use the dead air above short bottles
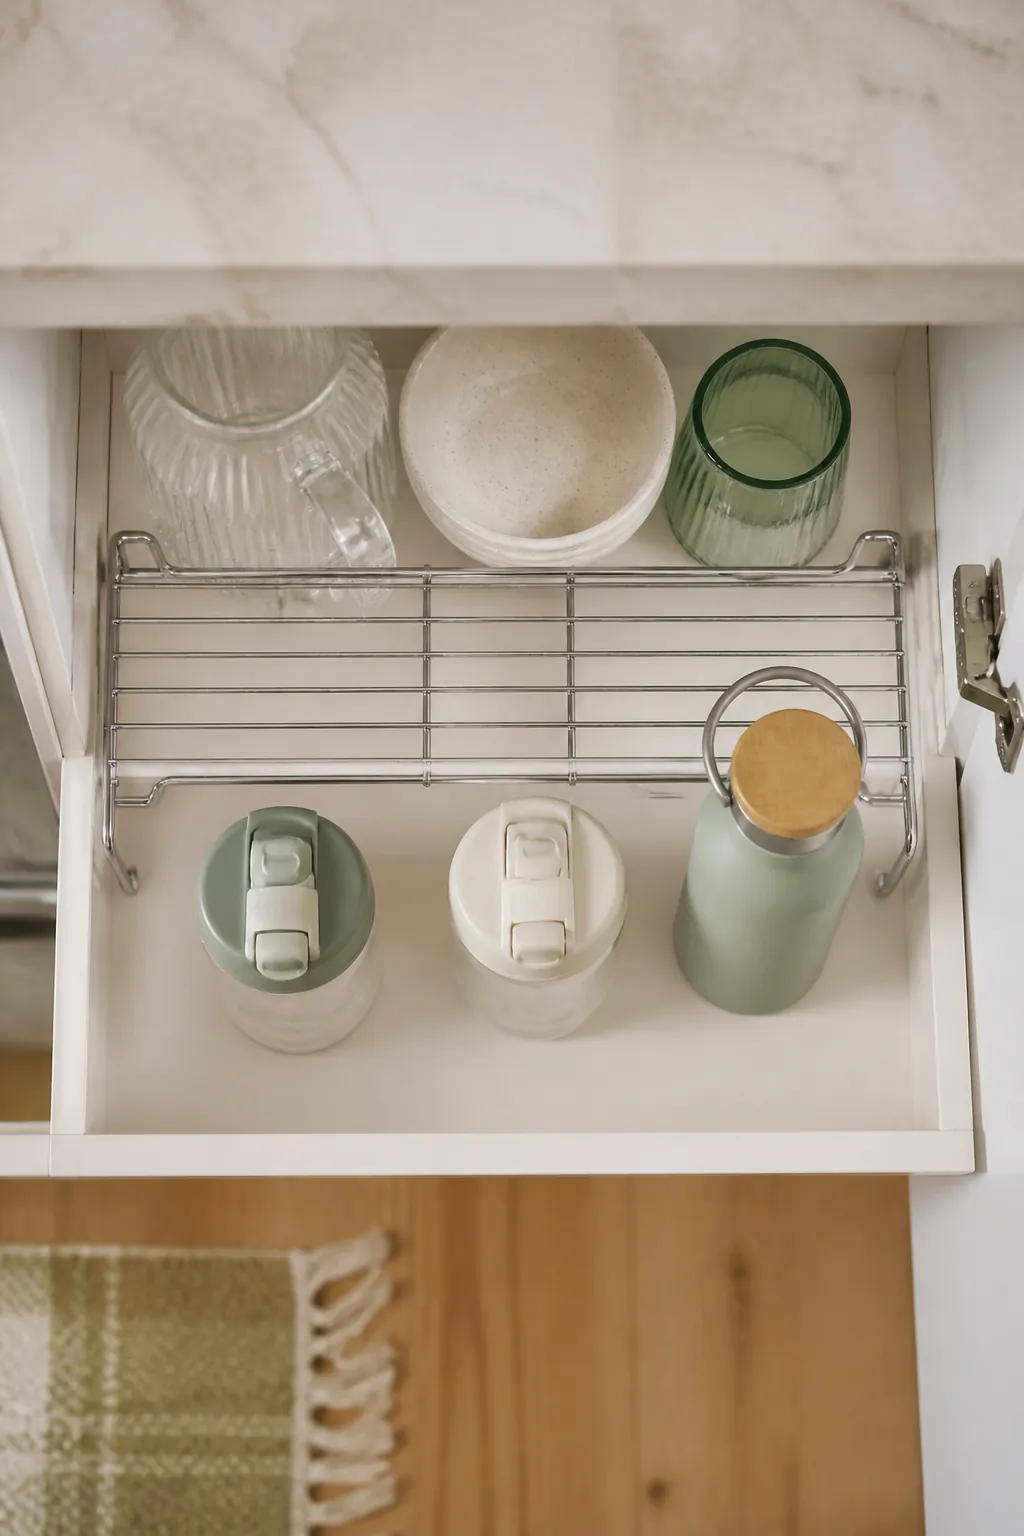
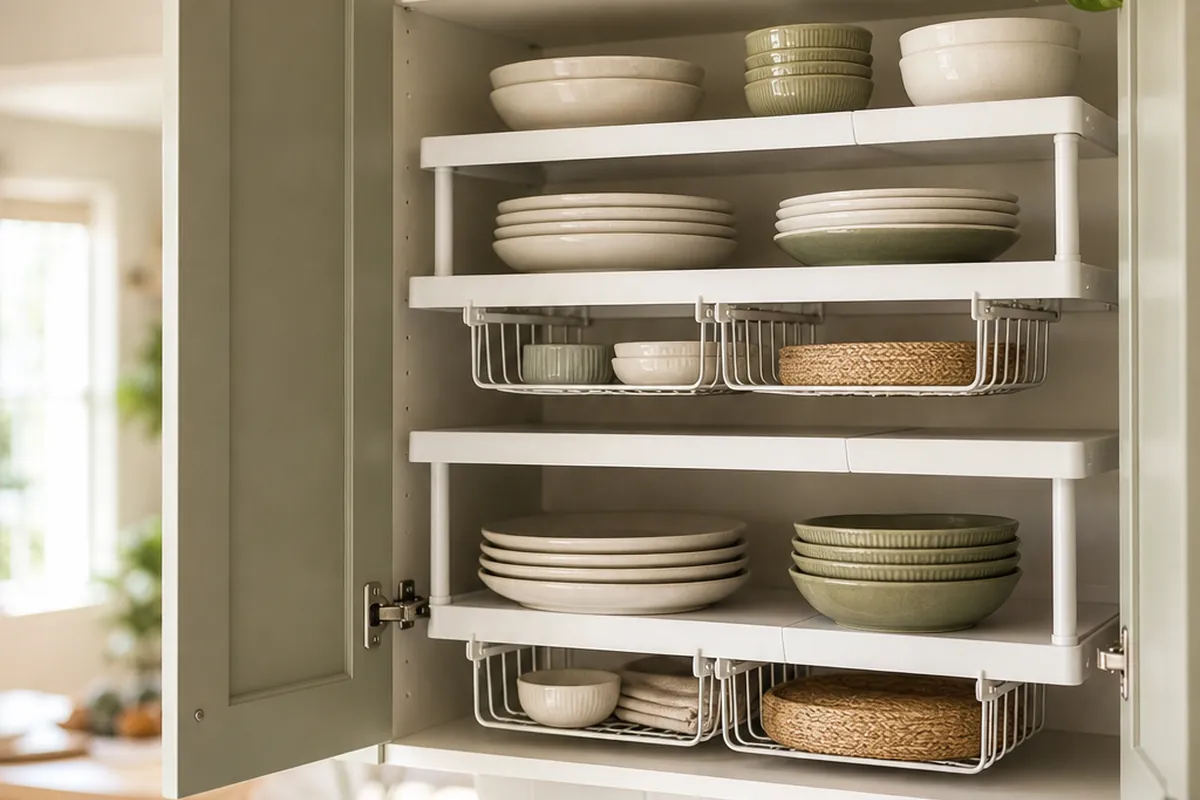
A shorter bottle, a kid’s 12-ounce or a plain 16-ounce, leaves eight to ten inches of dead air above it in most cabinets, and that space usually goes to waste because nothing else fits it either. An expandable cabinet shelf riser turns that gap into a second tier, low enough that it still clears the cabinet’s own shelf above it. Put the short bottles on the bottom level and loose lids, straws, or a second row of bottles on top.
The one measurement that matters here is the riser’s own height once it’s expanded to your cabinet’s width, since a wider stance drops the platform lower on some models. Check that figure against your tallest bottle on the bottom shelf before you commit, or the top tier ends up too low to hold anything but the lids.
4. Use the cabinet door for the one or two bottles you grab daily
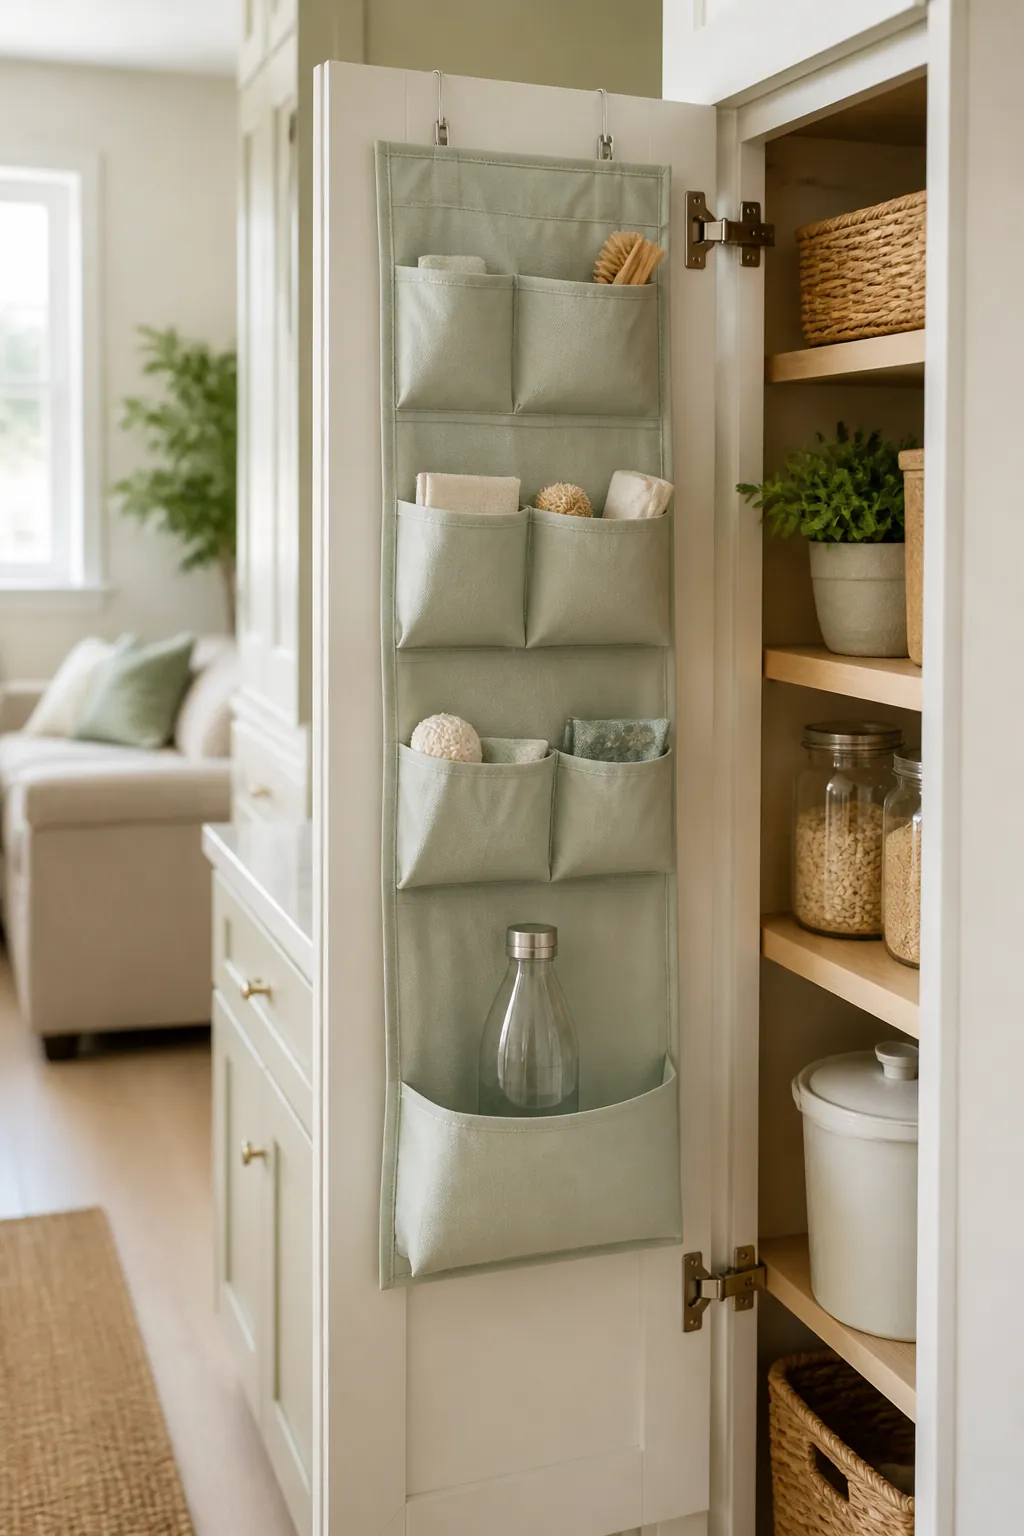
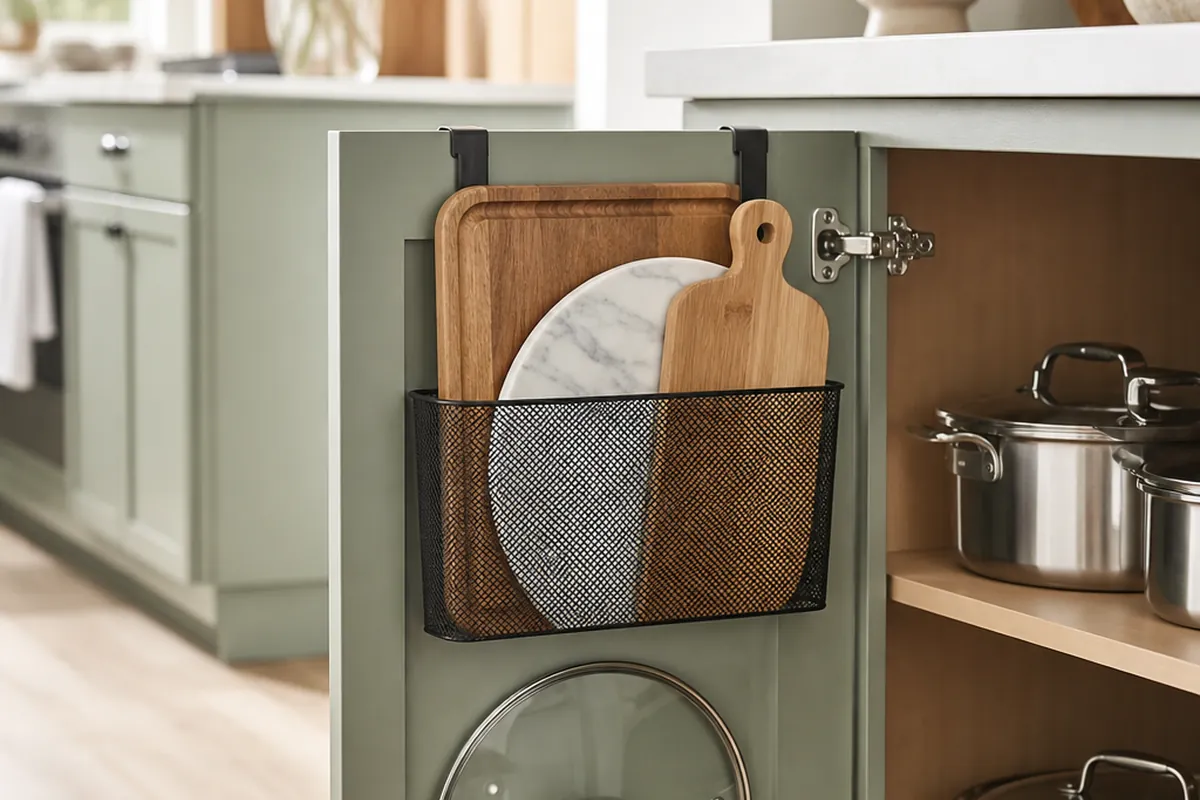
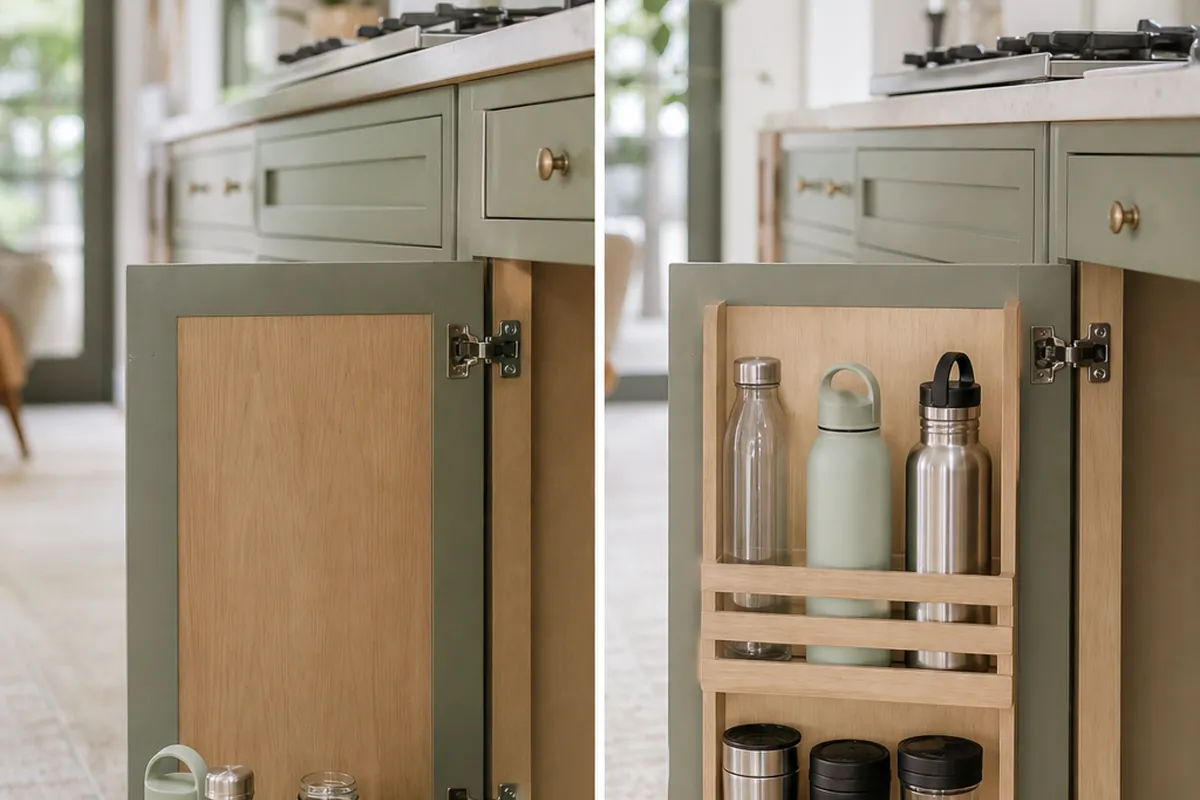
An over-the-door pantry organizer hung on the inside of a cabinet door has pockets three to four inches deep, which is enough to hold a bottle upright by its lower half without the pocket buckling. This is not a place for the whole fleet. A full bottle weighs close to a pound before you count the water, and a door loaded with six of them is carrying six pounds at the end of two hinges built to carry the door. Use it for the one or two bottles that get filled and grabbed every single day, and leave the rest on a shelf.
Measure the door’s swing clearance with an empty bottle in the pocket before loading it for real, since a full pocket adds two to three inches of depth that can catch the countertop edge in a tight galley kitchen.
5. Separate lids and straws from the bottles the day you buy them
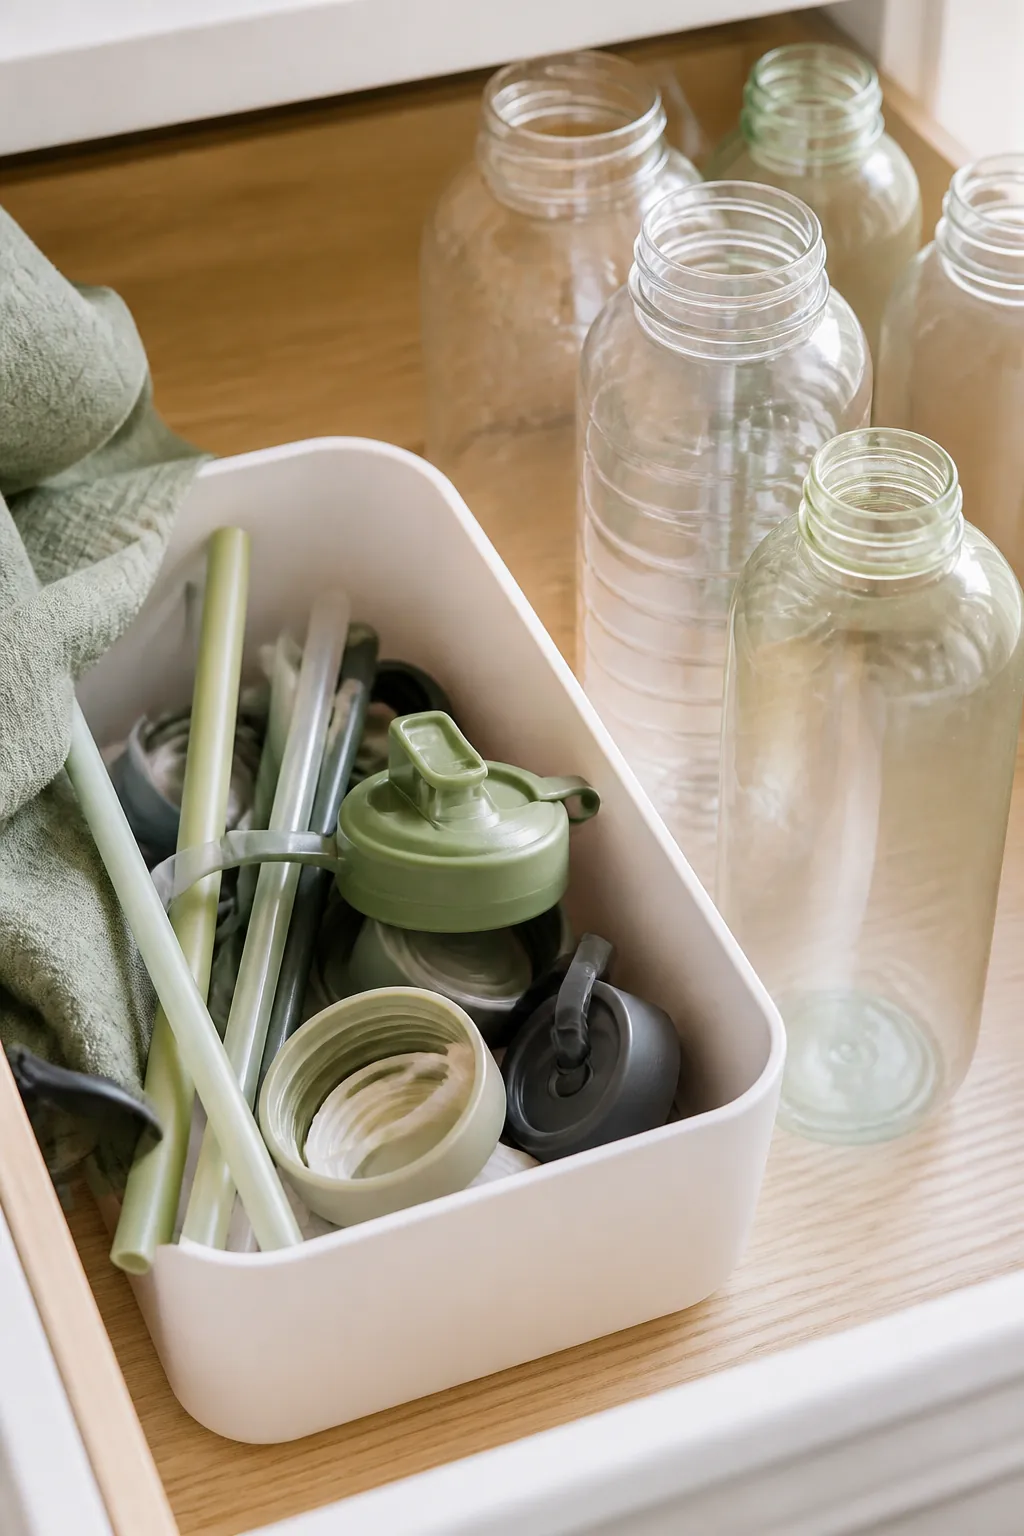
Every bottle in a small kitchen eventually loses its lid to a drawer, a dish rack, or the bottom of a bin, and once that happens the matching becomes a standing chore nobody wants. Keep lids attached to their bottles at the point they go into storage, or if lids come off for washing, give them one small bin of their own next to the bottles rather than letting them drift into the general kitchen drawer. A matched set stored as a set stays matched. A set that scatters across three locations in the kitchen never gets reassembled, and the bottle with no lid is the one that quietly stops getting used.
6. Sort by lid type before deciding how anything gets stored
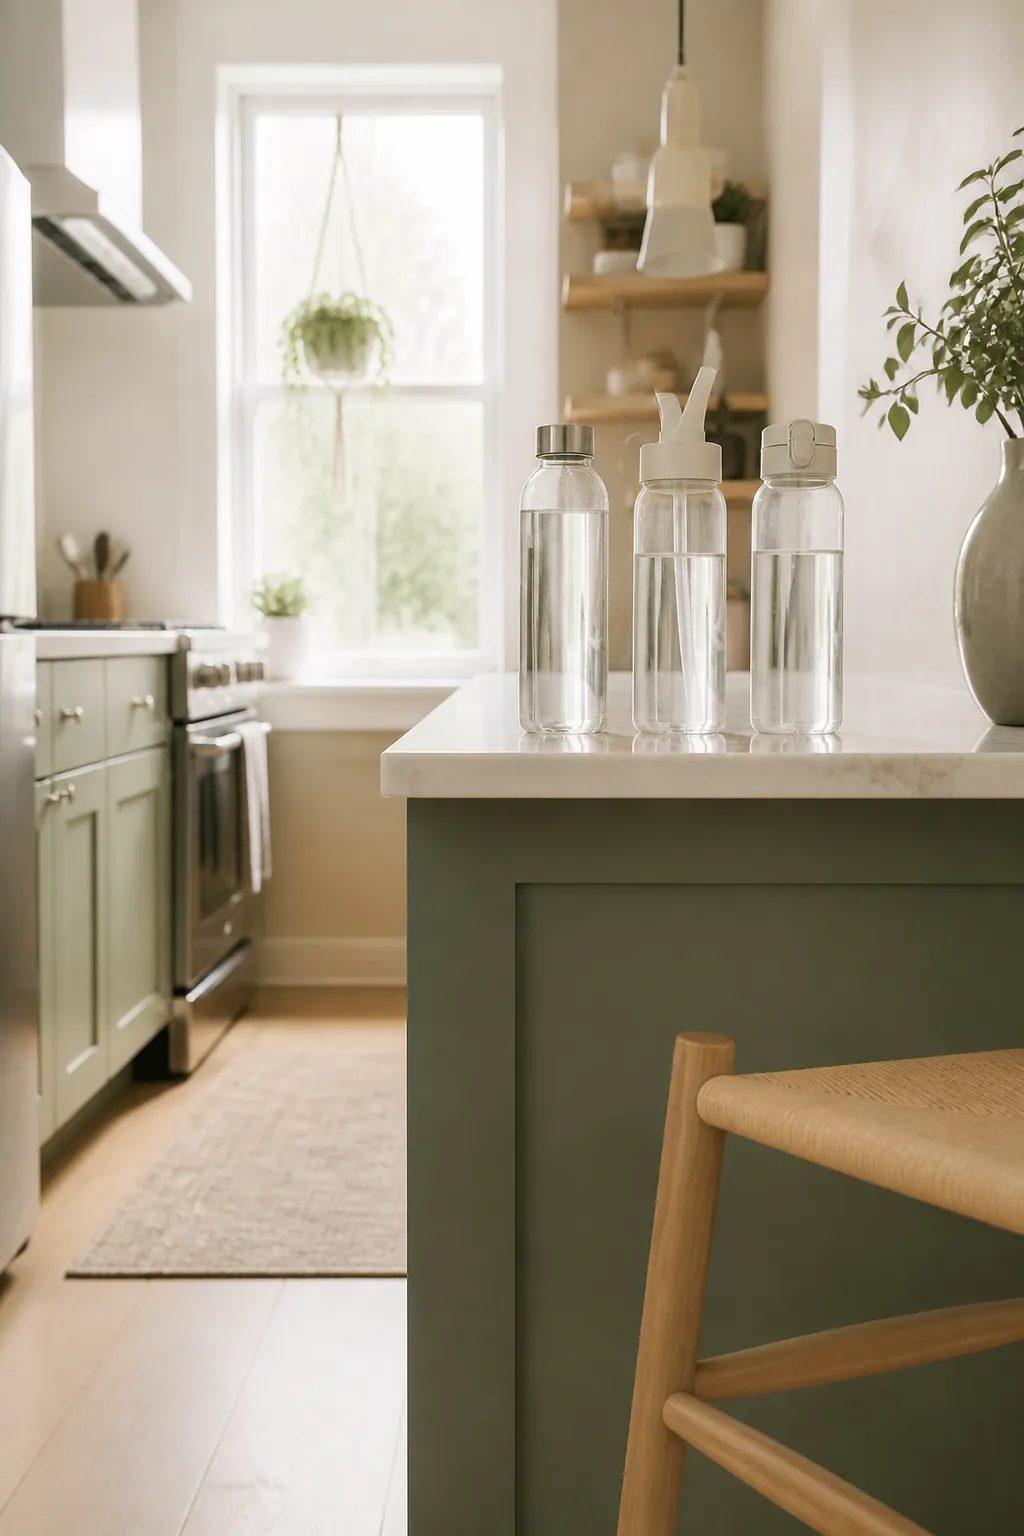
Not every water bottle behaves the same way once it’s empty. A screw-cap bottle is a simple cylinder and stands or stacks however you like. A straw-lid bottle has a long plastic stem that holds water inside it long after the bottle body looks dry, and storing it lid-on traps that moisture against the straw every time. A flip-top has a hinge that can crack if it’s wedged shut under other bottles in a crowded bin. Group by type rather than by size: screw-caps in the deepest part of the bin where crowding doesn’t matter, straw-lids on the shelf where they have room to sit lid-off until fully dry, and flip-tops somewhere they won’t take a shelf’s worth of weight on the hinge.
7. Keep spares out of the everyday cabinet entirely
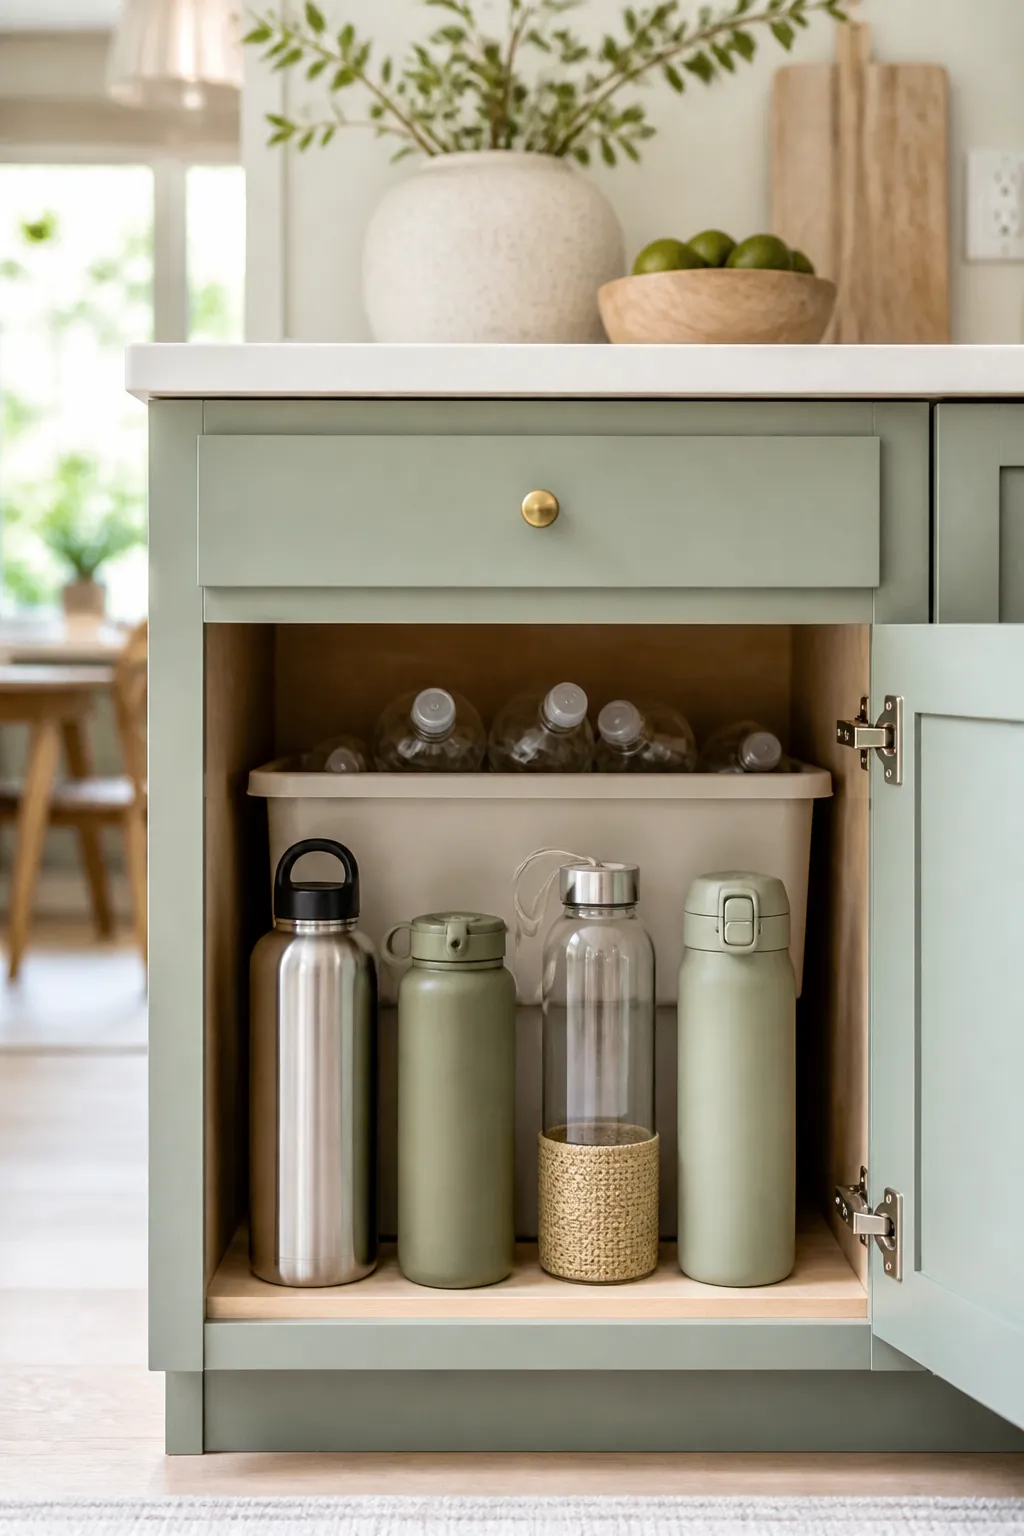
If the household owns ten bottles and uses four on a normal day, the other six don’t need to compete for space in the cabinet closest to the sink. Move spares to a higher shelf, the back of a pantry, or a bin in a hall closet, and keep the primary cabinet down to what actually gets filled during a normal week. This is the same principle that works for reusable grocery bags: storage placed where it’s used gets used, and storage placed for convenience of stacking, three steps further than it needs to be, quietly turns into dead stock.
8. Give kids’ bottles their own low shelf if little hands reach for them
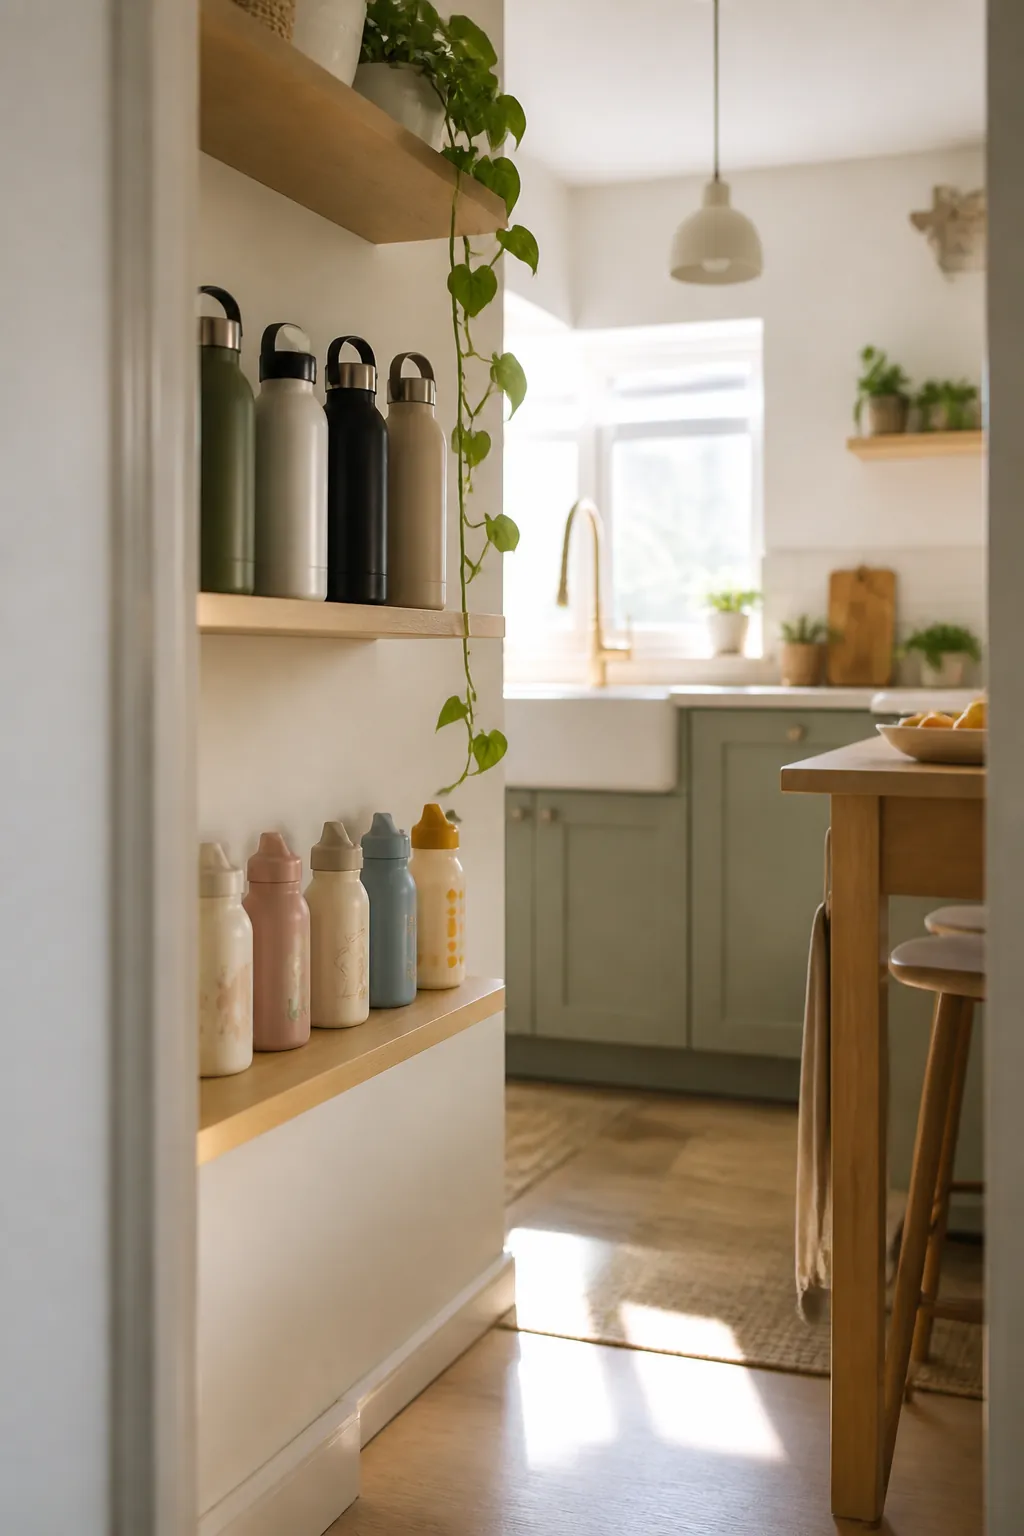
A kid old enough to get their own water bottle is not old enough to safely dig through a shelf of adult bottles stacked two deep to find it. If small bottles are part of the fleet, give them the lowest, easiest shelf in the cabinet, ideally the same one a child could reach without a step stool, and keep the taller adult bottles on a shelf above. This also solves the practical problem from Idea 3: short bottles are exactly the ones that leave dead air above them, so the low shelf is where the riser and the small bottles belong together.
9. Let every bottle dry completely before it goes back into a closed bin
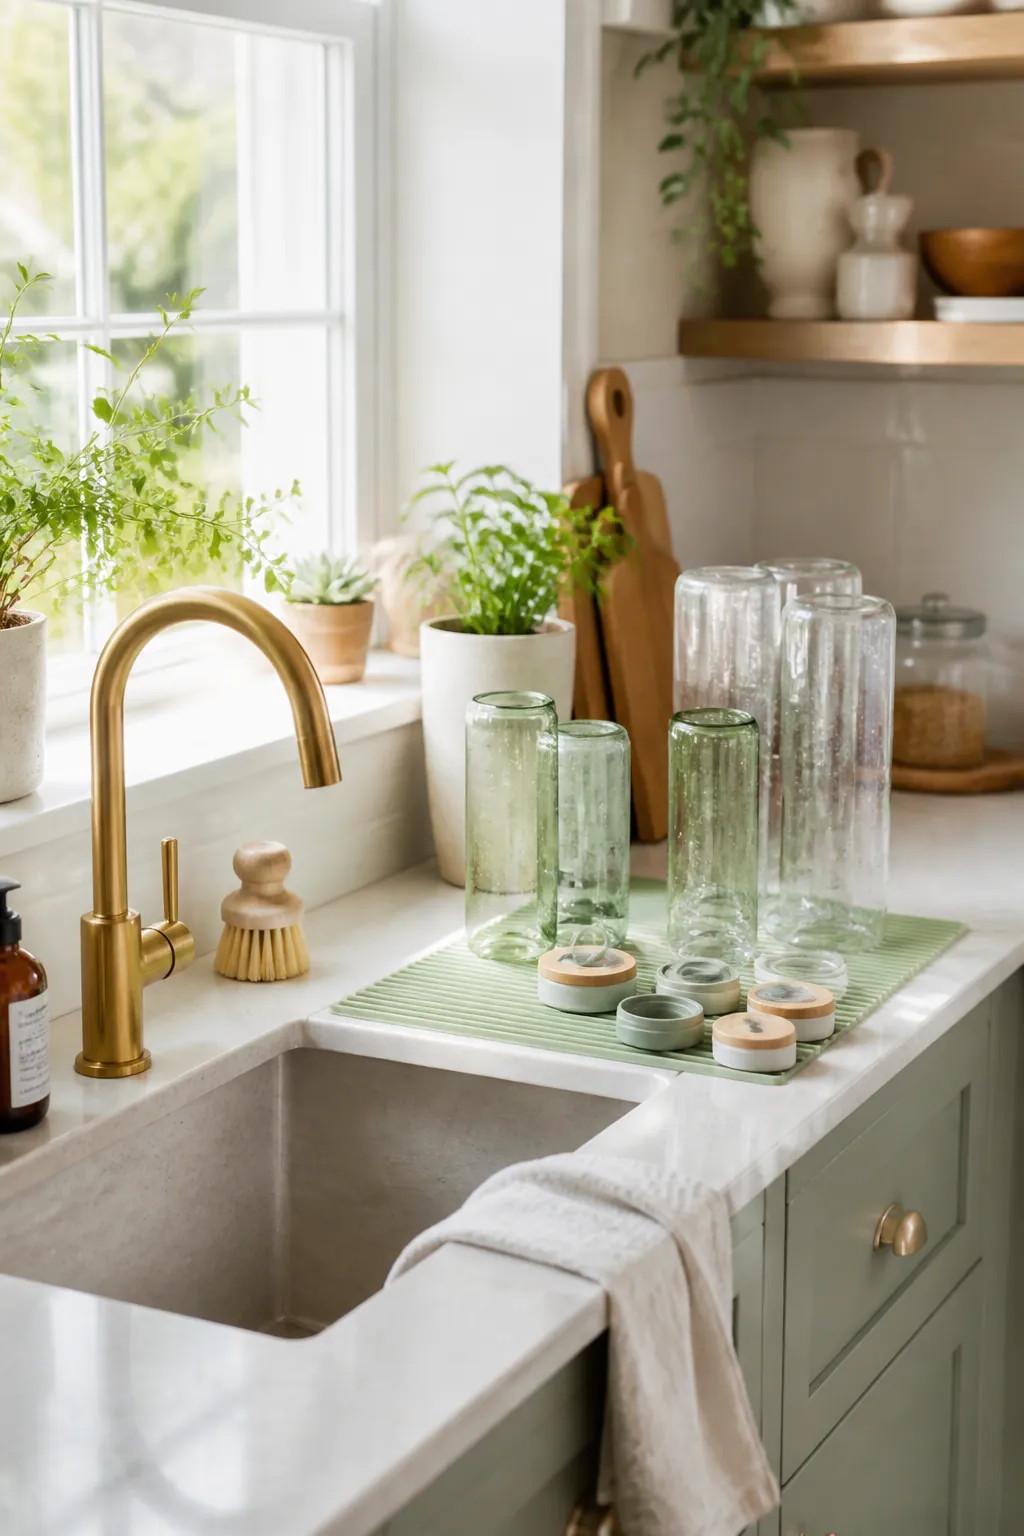
The single fastest way to turn a water bottle cabinet into a smell nobody can trace is sealing a bottle away before it’s dry, especially a straw-lid bottle whose stem holds water invisibly. A closed bin with even one damp bottle inside can develop a musty smell within a day or two, and once mildew sets into the silicone gasket of a lid, a normal wash rarely gets all of it back out. Air-dry bottles upside down on a rack or draped over the dish rack rail for a couple of hours before they go into the bin, lids off, and treat this step as non-negotiable rather than optional. It costs nothing but time, and it’s the difference between a cabinet that smells like nothing and one that smells like a gym bag.
Where to start
Measure first: your tallest bottle with its lid on, against the clear shelf gap in the cabinet you’re planning to use. That single number rules out half the wrong options before you spend anything.
Then start with a bin for the bottles that live on the shelf and a small container for loose lids and straws. Those two moves solve the avalanche and the matching problem, which are the two complaints that come up in nearly every water bottle storage question. Everything else here, the riser, the door pocket, the sorting by lid type, is refinement once the basics are in place.