Reusable bags multiply faster than anything else in a kitchen. Buy three, get five free at checkout, inherit a dozen from a relative who switched to paper, and inside a year you have a drawer that will not close and a wad of bags jammed under the sink that you dig through every time you actually need one. A small kitchen cannot spare a whole drawer for something that flattens to nothing and breeds on its own. The fix is not owning fewer bags, though that helps. It is a system that takes up less width, holds more, and does not require excavation to find the one you want.
1. Stuff them into one bag instead of folding each one
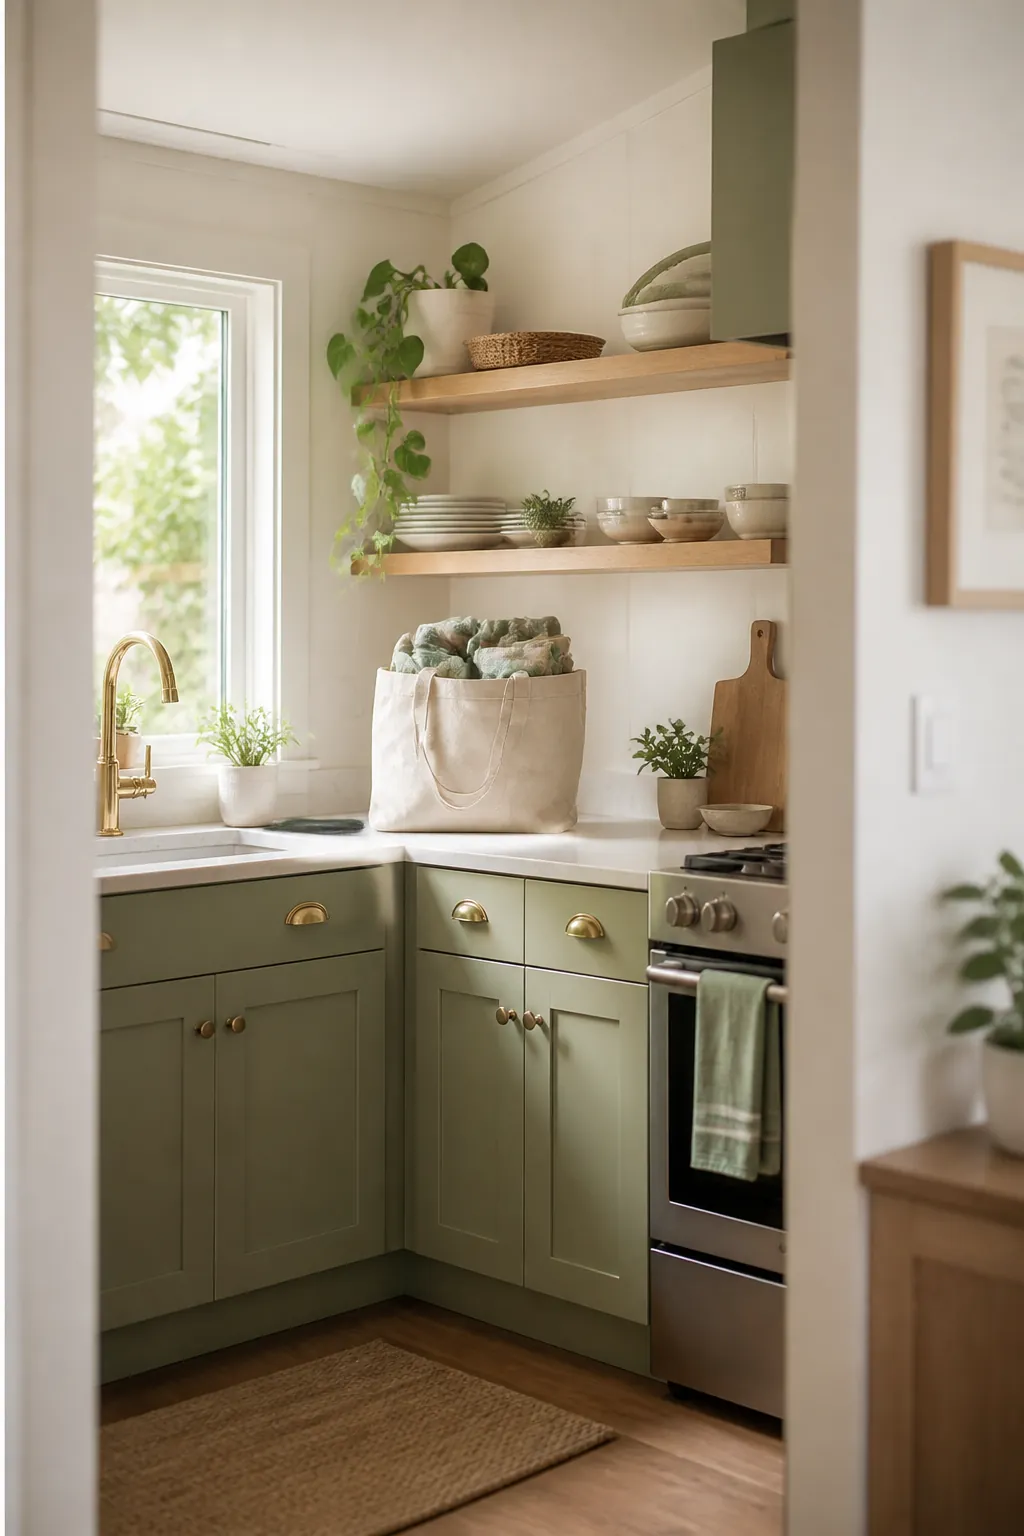
Folding a reusable tote flat takes it down to roughly seven by eight inches, and a drawer stacked with folded totes holds maybe eight to ten before the runners start binding on the pile. Stuffing beats folding for sheer volume. Take your single largest tote, push every other bag inside it, and you get one soft bundle that holds fifteen to twenty bags in the same footprint one folded bag would take.
Dedicated fabric bag dispensers do exist too, sewn as a tube with elastic at both ends so you stuff bags in the top and pull them out the bottom one at a time. They work well if you can find one built to a size that suits your bags, but a spare tote does the same job for free and you already own it.
The one thing to watch: never stuff a damp bag in with the dry ones. A single wet produce bag sealed inside that bundle is how the whole thing starts to smell within a couple of days.
2. Hang a hook rack on the inside of a cabinet or pantry door
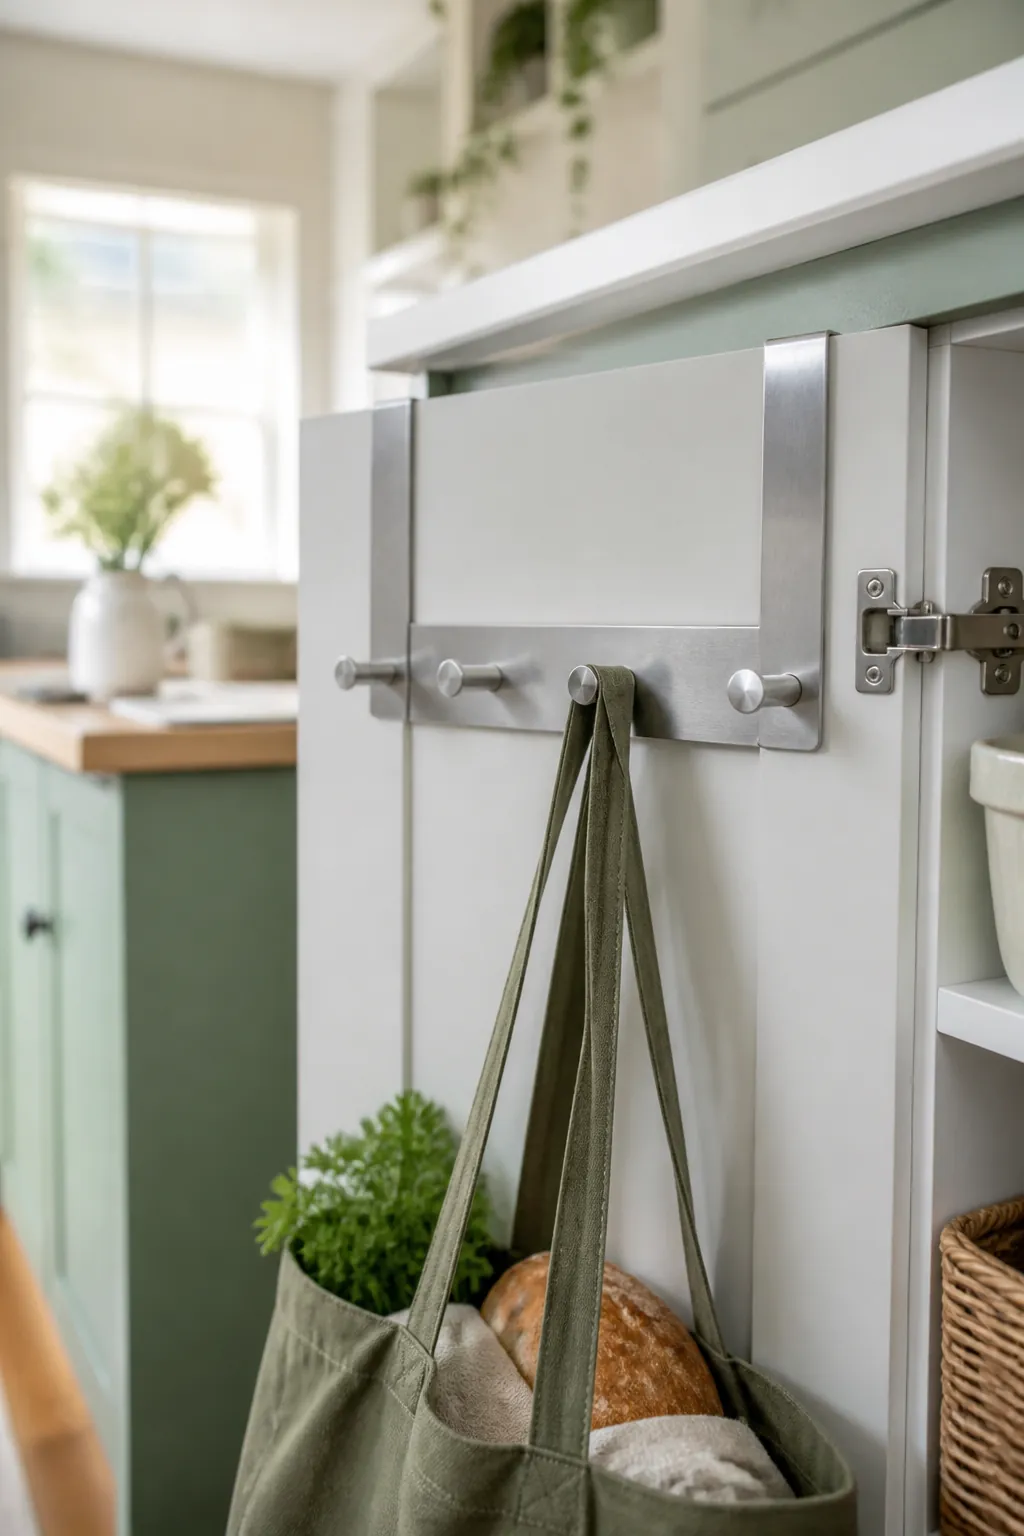
An over-the-door hook rack turns the one surface in a kitchen nobody uses, the back of a cabinet or pantry door, into bag storage. Most racks carry six to eight hooks rated for ten to fifteen pounds each, and a fully stuffed tote of twenty bags weighs well under two pounds, so weight is never the limiting factor here.
Clearance is. Measure the gap between the door and the frame with the door shut before you buy anything. Most racks sit half an inch to an inch proud of the door once loaded, and on a shallow cabinet that is enough to stop the door closing over whatever else lives inside it. Test with the door shut and the rack empty first, then load it.
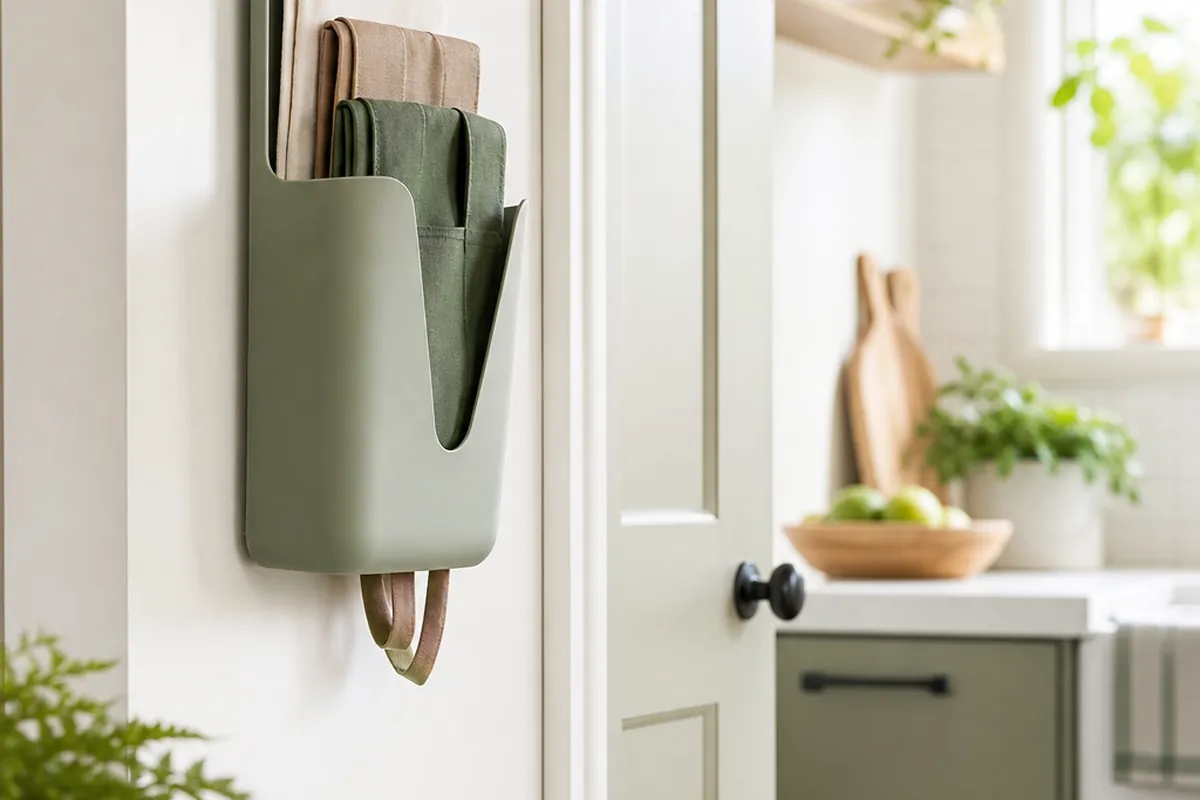
3. Give bags their own pockets with an over-the-door organizer
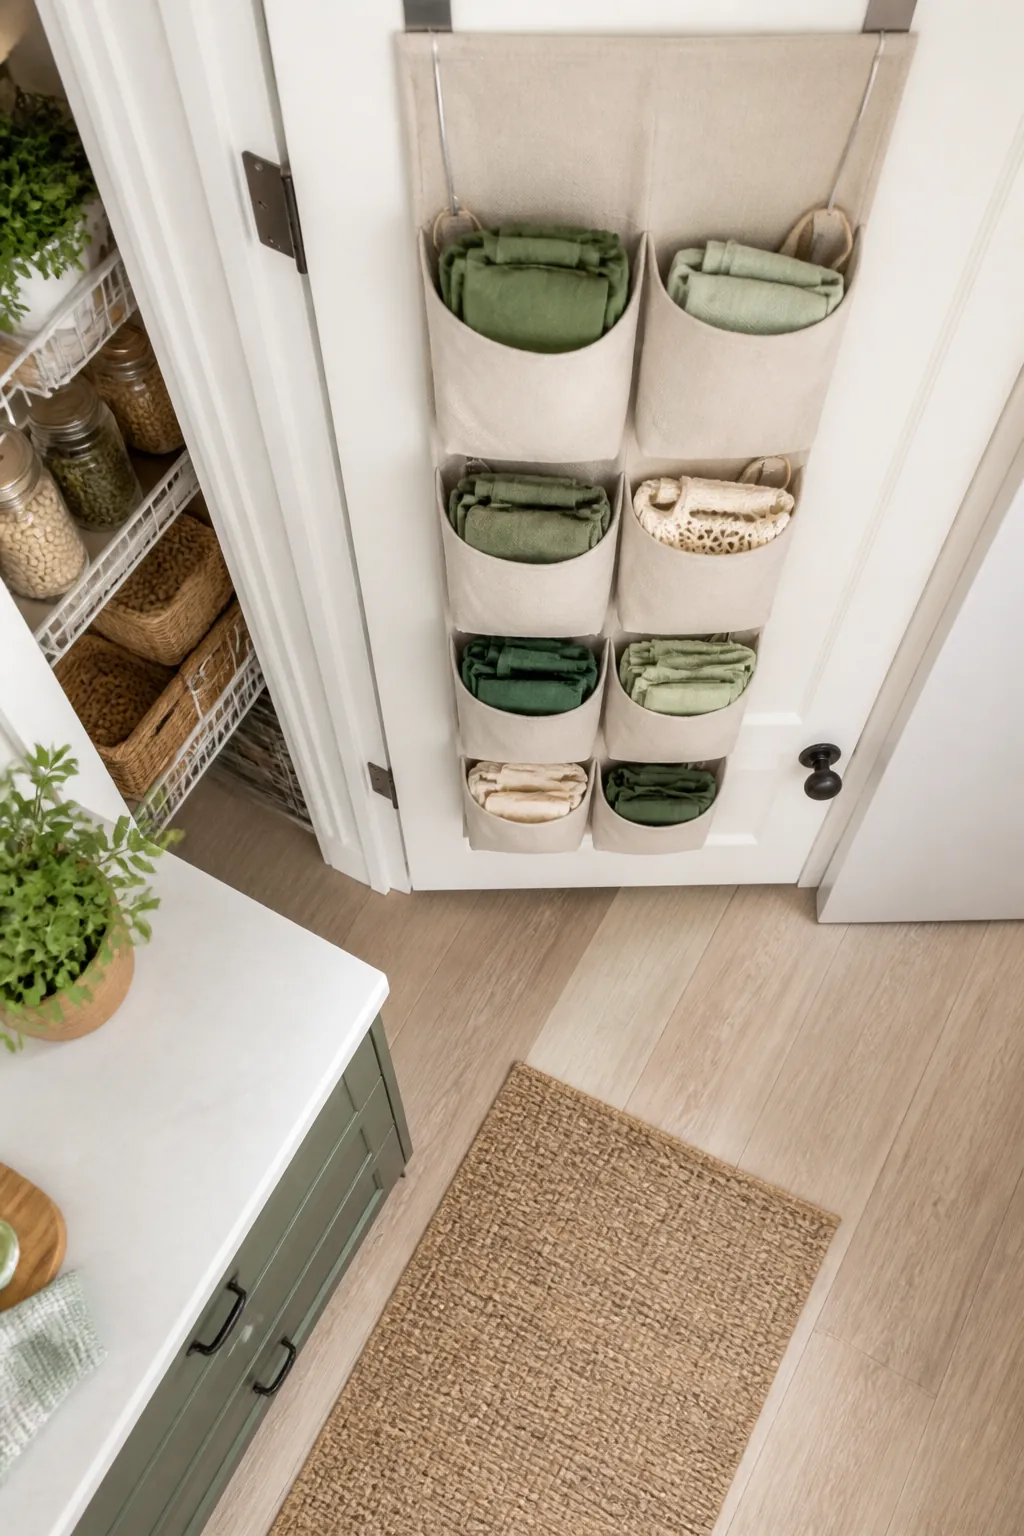
For bags you want kept flat rather than stuffed, an over-the-door pantry organizer does the job with less bulk than a hook rack. Pockets on most models run three to four inches deep, which fits a folded tote or a flattened insulated bag but not a fully stuffed one, so this is the better pick for bags you prefer to keep looking presentable rather than crammed.
Measure your pantry or cabinet door’s swing before committing. A loaded organizer adds two to three inches of depth to the door, and in a narrow galley kitchen that is enough to catch the edge of an island or the opposite counter when the door opens all the way.
4. Corral loose bags in a bin instead of a pile
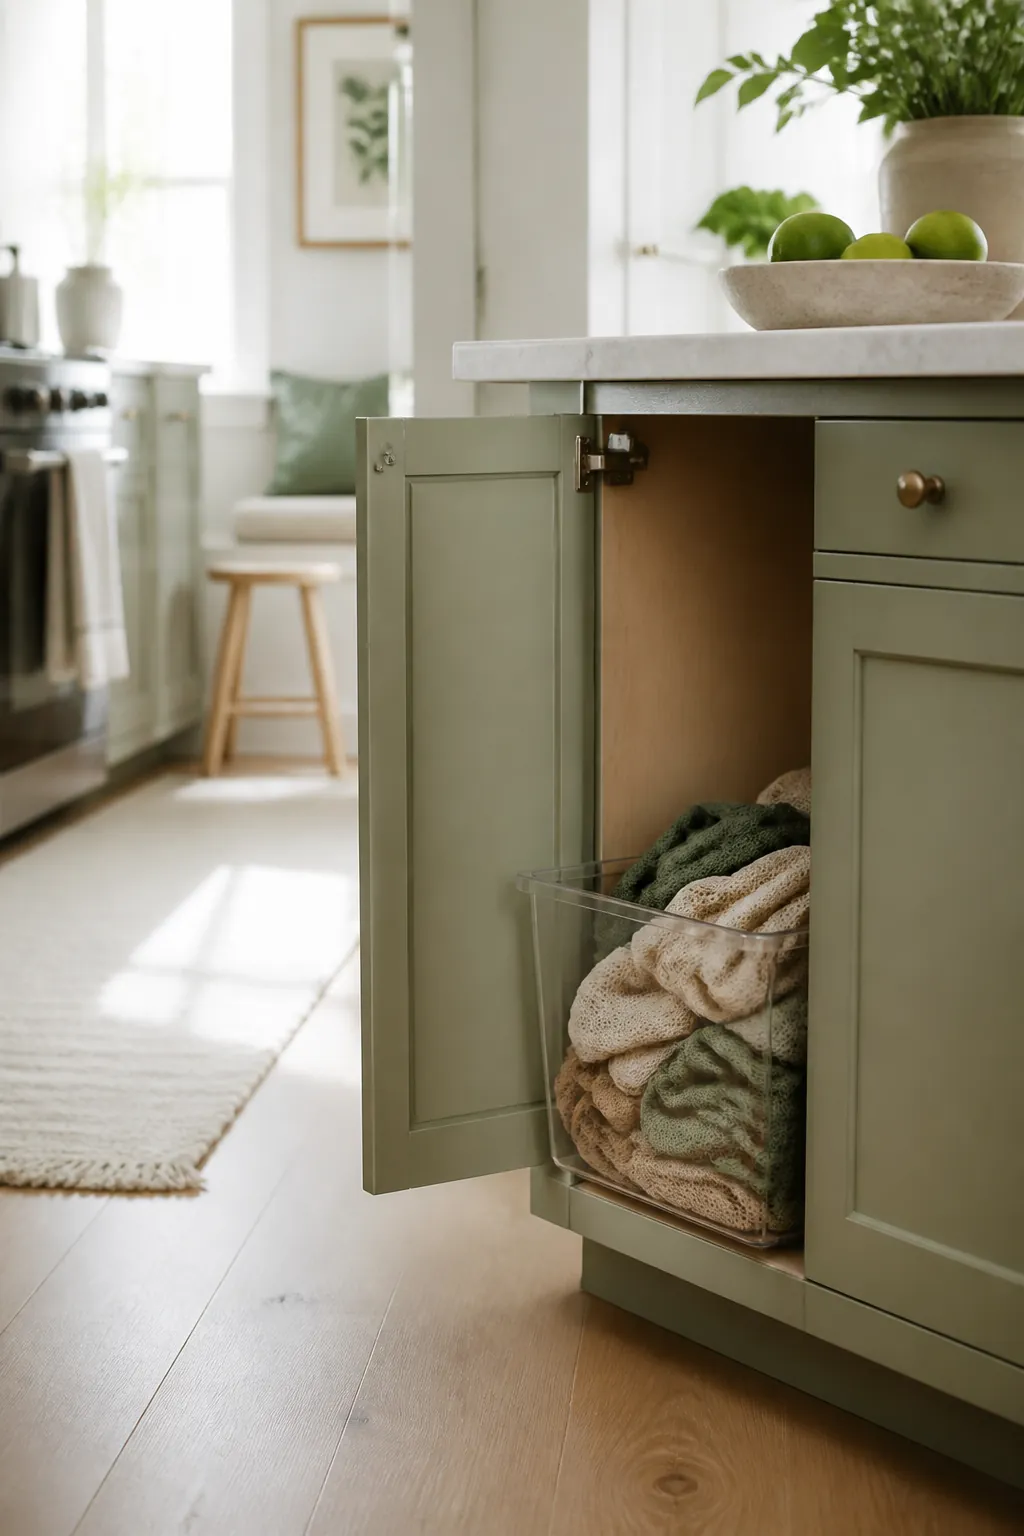
Not every bag earns a hook or a pocket, and the overflow needs somewhere that is not the cabinet floor by itself. A clear stackable pantry bin set on the floor of a base cabinet holds around thirty loosely wadded bags, which is more capacity than most households need for the bags that do not make the cut for a hook or pocket.
Clear sides matter more here than almost anywhere else in the kitchen, since a bin of bags looks identical from the outside whether it holds two bags or twenty. Being able to see the level without lifting the lid is the difference between grabbing one on the way out and tipping the whole bin onto the counter to find it.
5. Sort bags by type before you store any of them
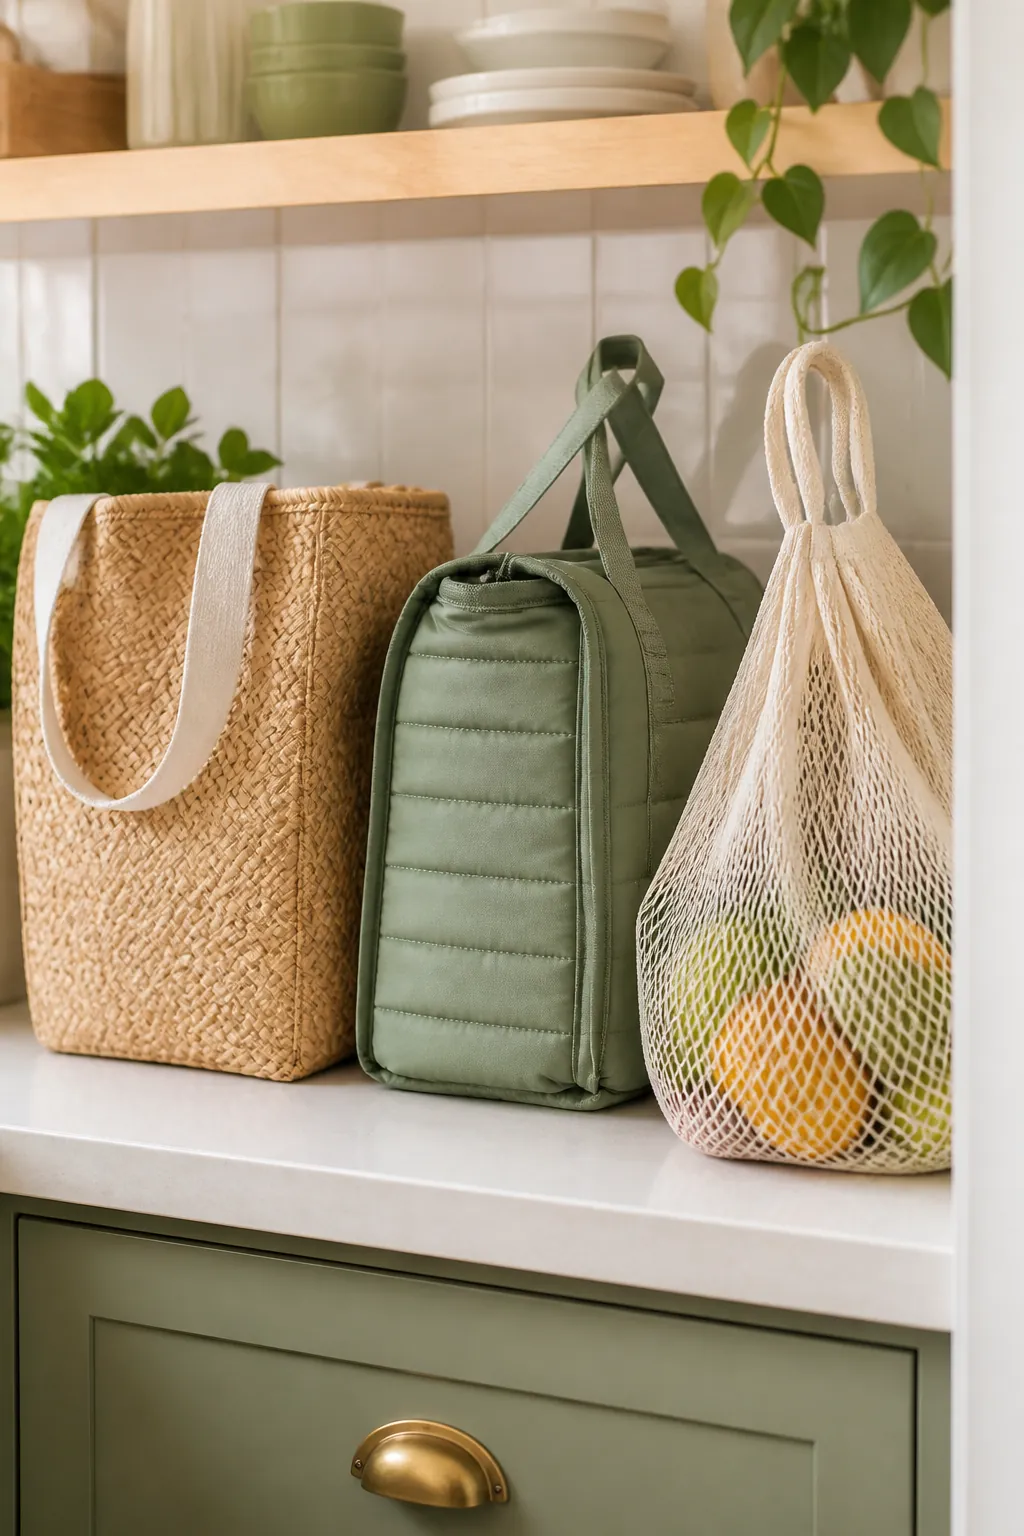
Not all reusable bags behave the same way, and treating them as one category is where most storage systems fail within a month. Standard woven totes fold flat and tolerate being stuffed or hung. Insulated bags have a padded liner that loses its shape if crushed under a pile of totes week after week, so they do better stored flat and separate. Mesh produce bags snag on hook prongs and metal rack edges, tearing the fine weave, so a bin or a pocket suits them far better than a hook.
Wine and bottle totes are their own category again: rigid dividers inside them mean they do not stuff or fold the way a flat tote does, and they are usually better hung on their own hook than mixed in with everything else.
6. Keep the everyday bags near the door you leave through
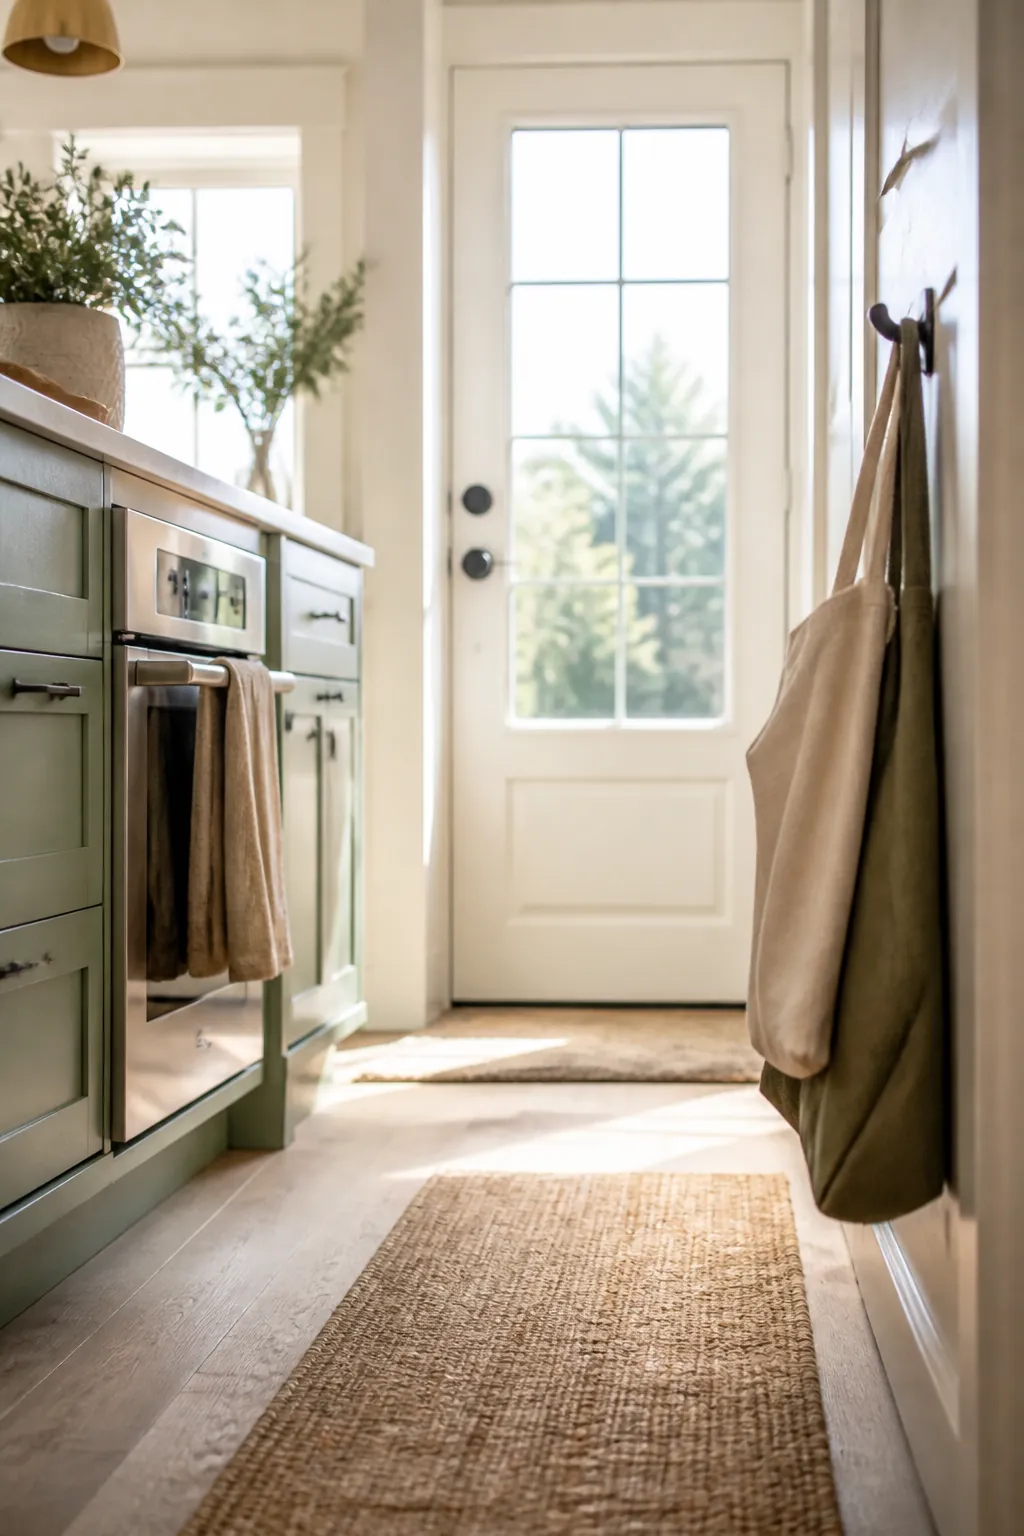
Placement decides whether any of this actually gets used. A hook by the door you take to the car or the elevator is three steps away on your way out. A pantry at the back of the kitchen is fifteen steps away, past the fridge and around the counter, and bags stored there get forgotten until you are already unloading a cart of paper ones at checkout.
Keep your most-used four or five bags on the near hook, and let everything else, the spares and the specialty bags, live further back in the pantry organizer or the bin. The bags you actually grab should never be the ones that require a detour.
7. Set a hard cap and pass the rest along
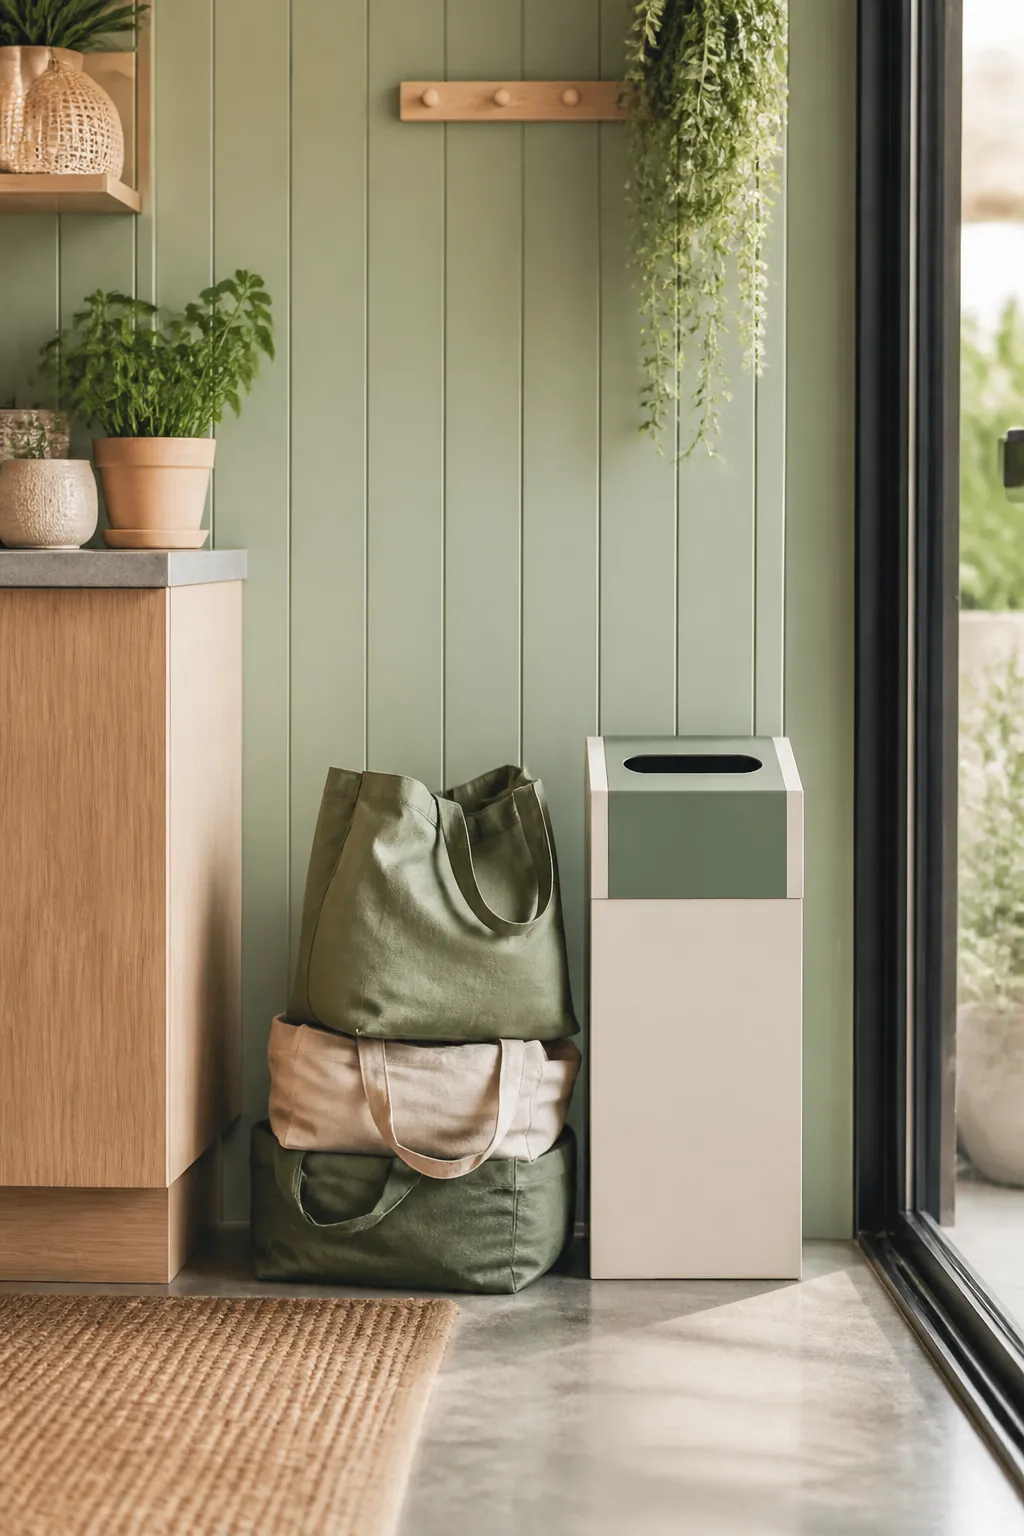
Bags breed because stores keep handing out free ones, and any storage system eventually overflows if nothing ever leaves it. Pick a number that matches your storage: if the hook rack and bin between them comfortably hold fifteen, that is your cap. New bags coming in mean old, torn, or duplicate ones going out, usually to a donation bin at the grocery store entrance where many chains collect them.
A kitchen with a fixed cap on bags stays organized without ongoing effort. One without a cap needs re-sorting every few months as the pile creeps back.
8. Store oversized bags separately from the totes
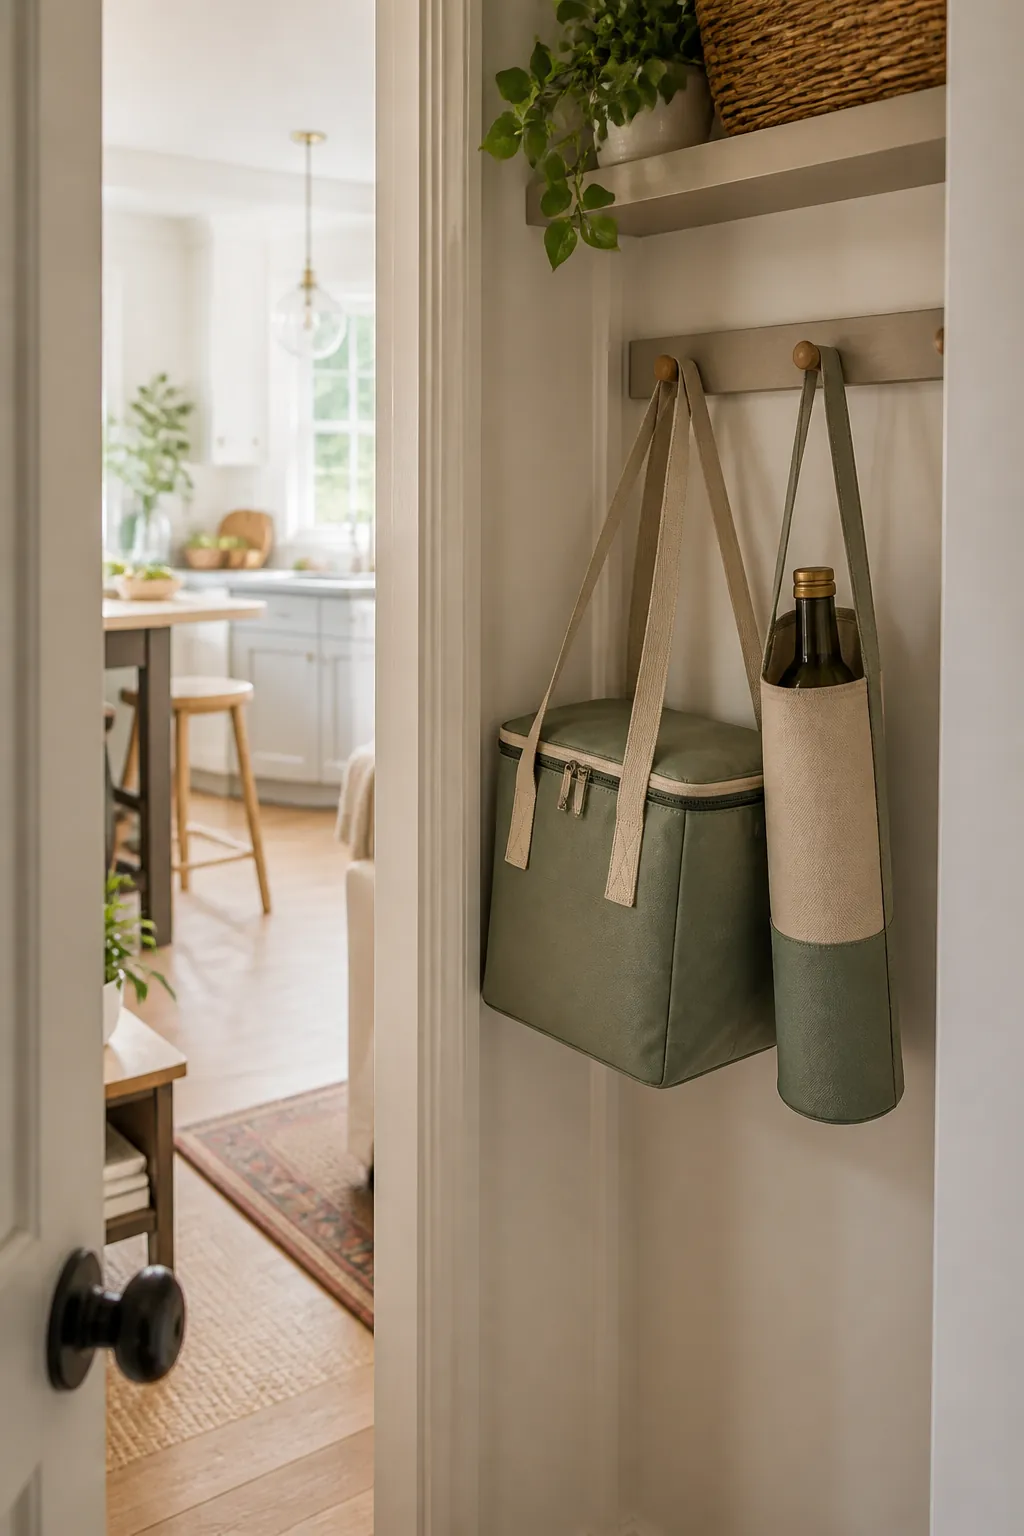
Insulated coolers, wine bottle carriers, and garment-style bags rarely fit a standard hook or a pocket sized for a folded tote, and forcing them in strains both the rack and the bag. These belong somewhere else entirely: the top shelf of a hall closet, a hook in the entryway, or a bin outside the kitchen if you have one. Keeping them out of the kitchen system frees that space for the bags you use on every trip, which are almost always the plain totes rather than the specialty ones.
9. Dry them before you put them away
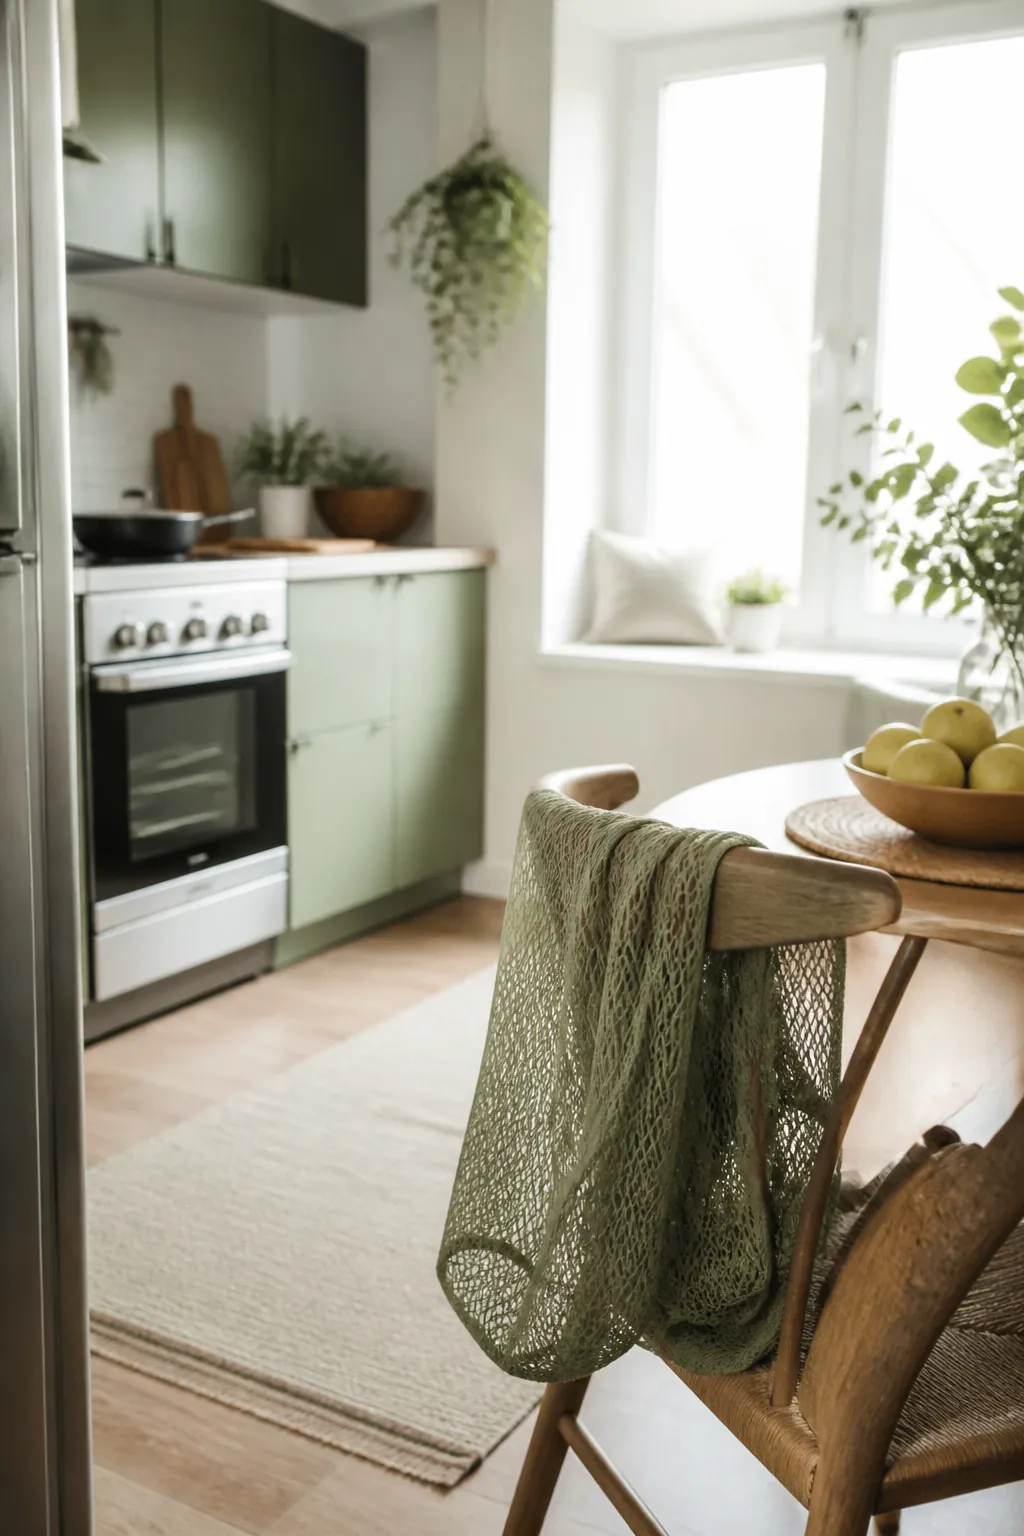
The last step is the one people skip, and it is the one that causes the most regret. A produce bag that carried spinach straight from a wet colander, or a tote that got rained on walking from the car, needs to air out before it goes back into a stuffed bundle or a sealed bin. Mildew smell can show up within two days inside anything airtight, and once it sets into the fabric it rarely washes all the way out.
Hooks are more forgiving here since air moves around a hanging bag. Bins and stuffed totes are not, so give anything damp a day draped over a chair back or a spare hook before it joins the rest. Wash mesh and insulated bags every few weeks regardless, since they carry more raw meat drips and produce dirt over a month than almost anything else in the kitchen.
Where to start
Empty every bag out of wherever they currently live and count them. Most households own more than they use, and a handful will be torn or duplicated from store freebies. Those go.
Pick one system for the bags you use weekly, a hook rack for the near-the-door habit, and one for the overflow, a bin or an organizer further back. Sort by type as you load them in, keep the damp ones out until they are dry, and set a cap so the pile does not creep back to where it started. A small kitchen was never short of a home for these bags. It just needed one that did not depend on them lying flat.