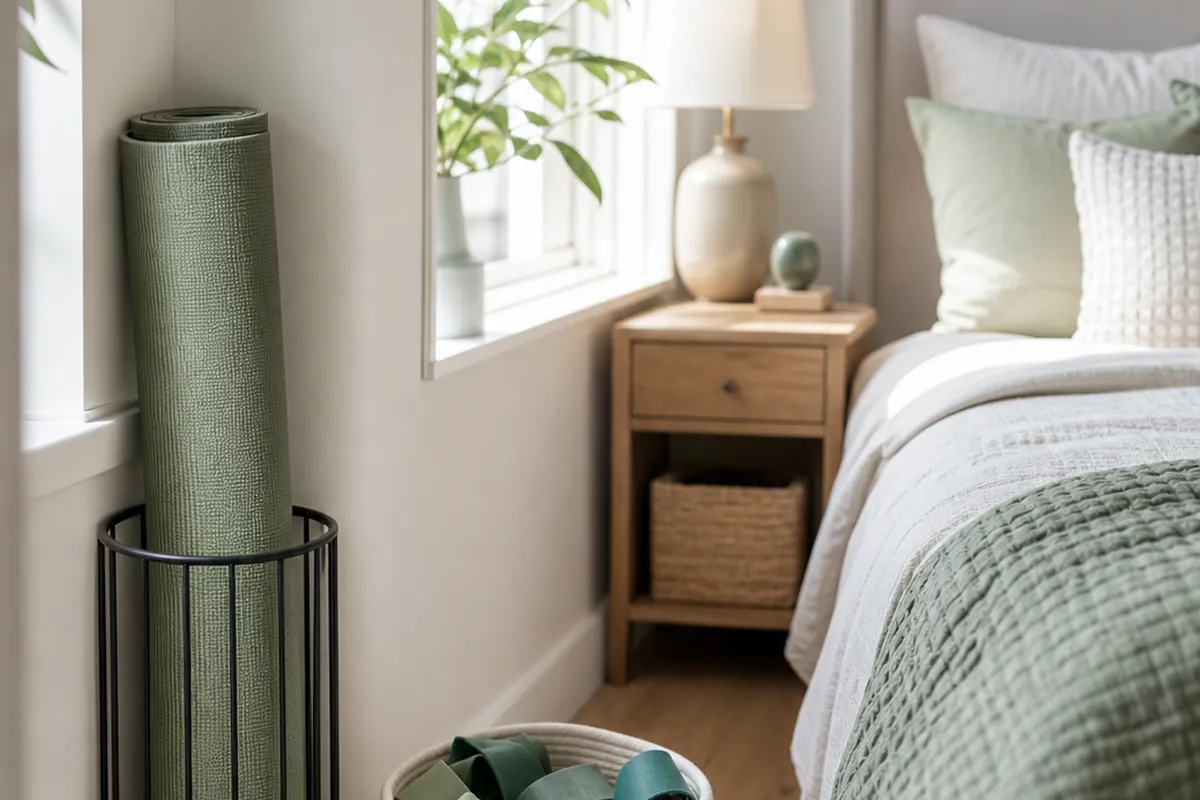
A yoga mat unrolled on the floor of a small bedroom eats the one clear patch of carpet you have, and the moment the workout ends, it usually just stays there, rolled or half-rolled, leaning against the dresser until it slides down behind it. Add a set of resistance bands, a pair of dumbbells and a foam roller, and a home workout habit quietly turns into a permanent obstacle course between the bed and the closet. None of this gear needs a home gym. It needs nine specific homes, sized to what each piece actually is, in a room that has no square foot to spare.
1. Measure your gear before you buy a single rack
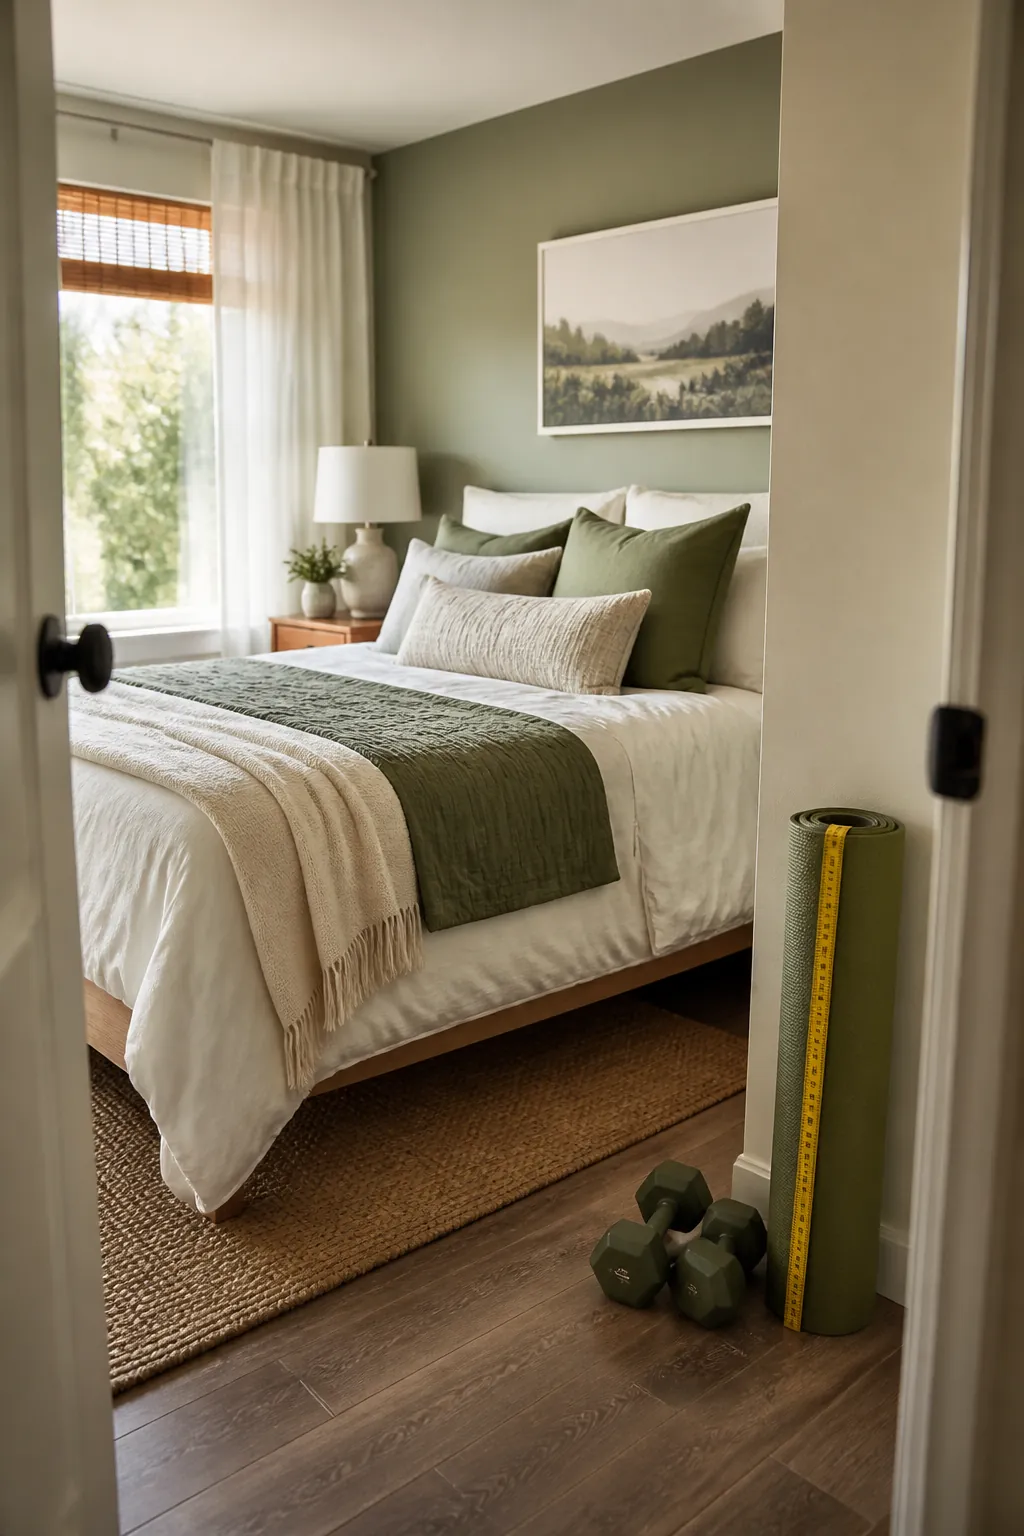
A rolled yoga mat runs four to six inches across and about twenty-four to twenty-six inches long, whether it started as a standard 68-inch mat or a 72- to 84-inch extra-long one, since a mat rolls up by its width, not its overall length. A shallow bin sized for shoes, usually a foot tall or less, will not swallow a mat that long standing up, so it ends up propped diagonally across a corner, which is exactly the leaning pile you’re trying to avoid. Measure the rolled mat itself, not the yoga studio’s rack photo, before choosing anything for it.
Do the same for the rest of the kit. A pair of ten-pound dumbbells is a different storage problem than a resistance band, and a nine-by-six-inch foam block behaves nothing like a three-foot foam roller. Sort what you own into three rough piles, mat-shaped, weight-shaped and band-shaped, before you decide where any of it goes.
2. Stand rolled mats upright instead of leaning them
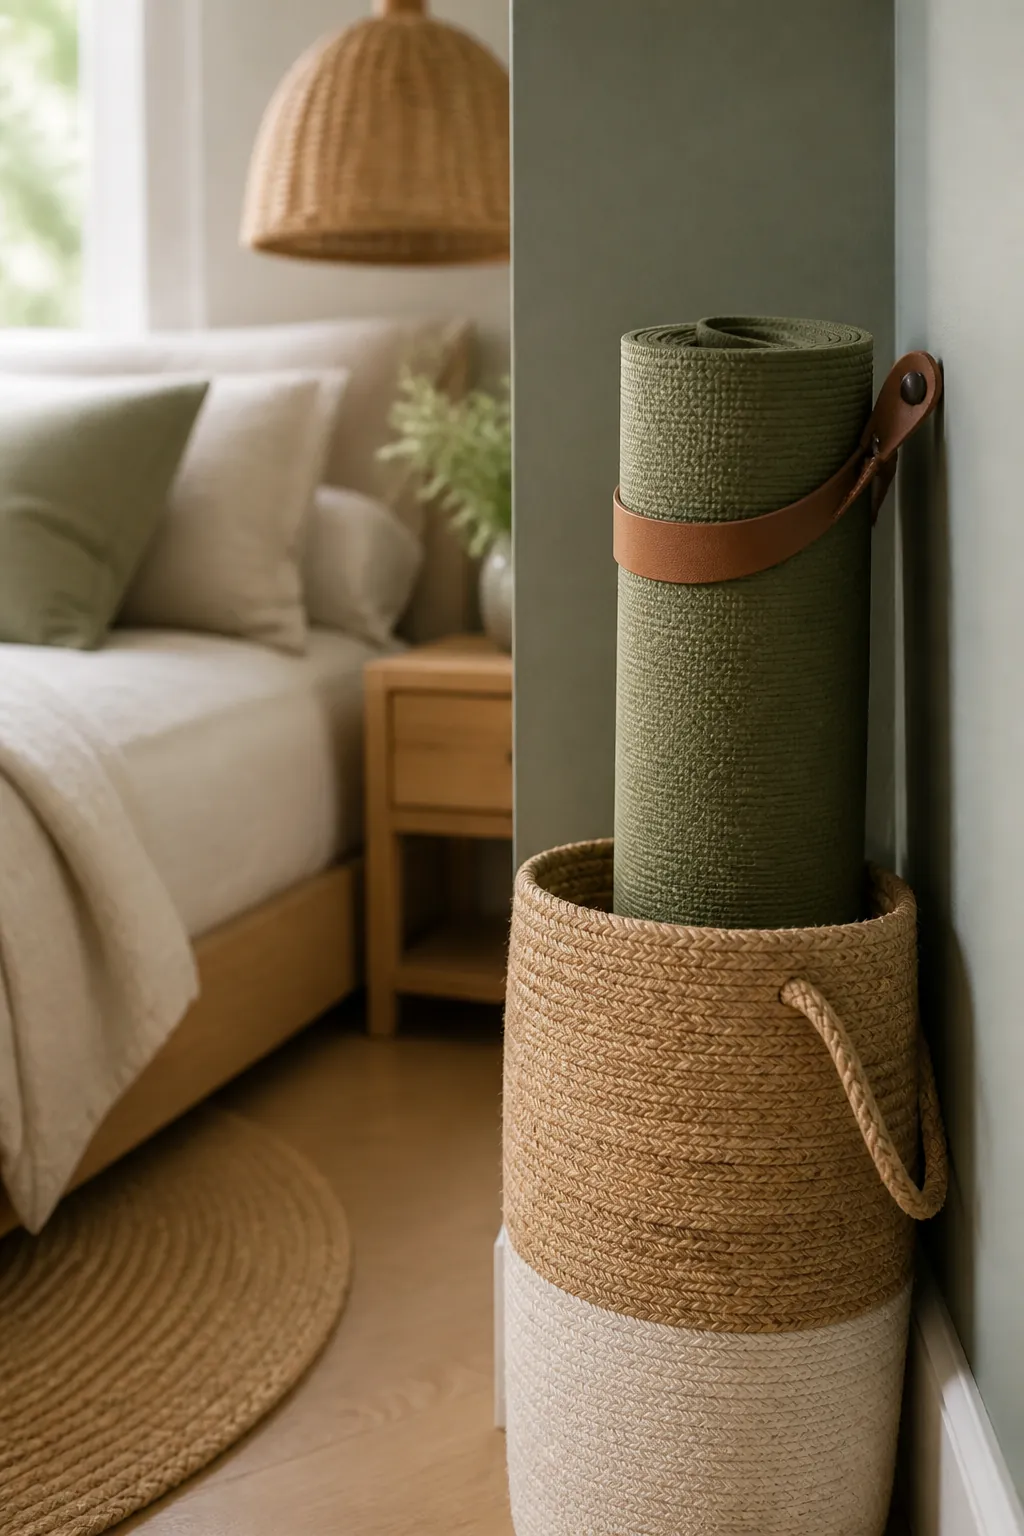
A mat leaned against a wall slides an inch every time the door opens, and within a week it’s lying flat on the floor again. Standing it up in a tall, narrow basket or a slim corner bin fixes the geometry: gravity holds a vertical mat in place, where it only fights a leaning one. A basket about six inches across and at least two feet tall handles one or two mats without tipping, and putting it in an actual corner, where two walls brace it, beats the middle of a closet shelf every time.
If floor space by the closet is already spoken for, a 3-tier rolling cart does double duty. Stand one or two mats in the gap beside the shelves and use the tiers themselves for the smaller gear below, and the whole kit rolls out from under a bed or a closet shelf as one unit instead of getting excavated piece by piece.
A dedicated freestanding yoga mat rack is worth considering too if you own three or more mats or want them fully off the floor, though it’s a piece of furniture in its own right and earns its footprint only in a room with a genuine spare corner.
3. Hang straps and loops on an over-the-door hook rack
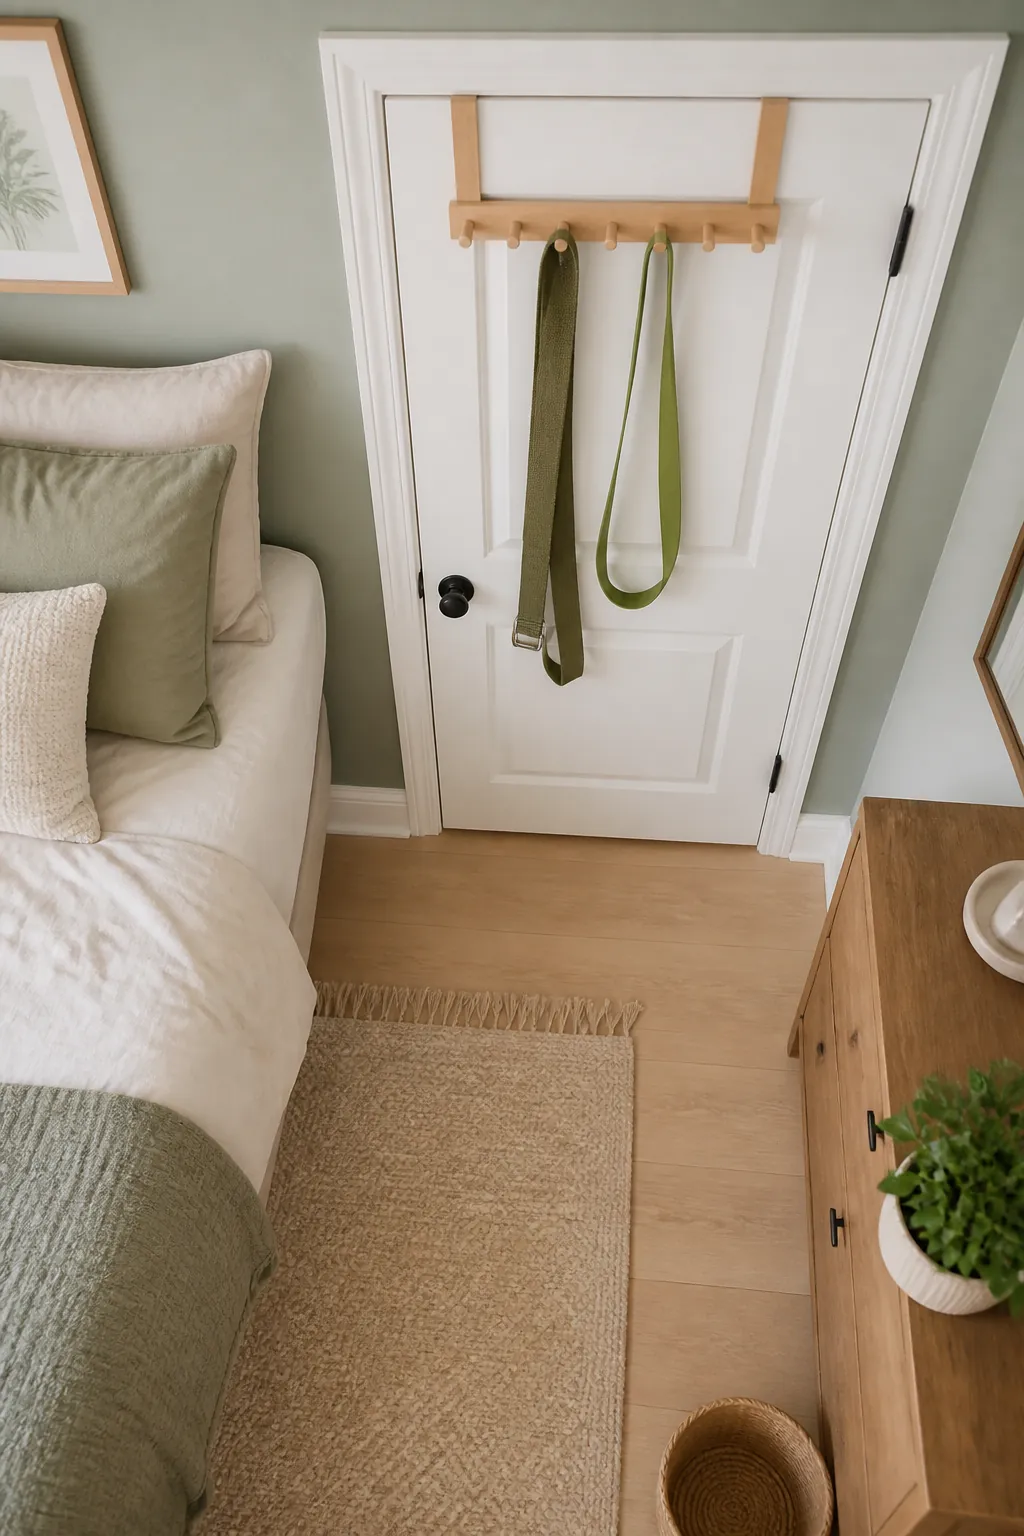
Yoga straps, jump ropes and loop-style resistance bands share one trait: they’re flat, light, and miserable to store folded in a drawer, where they knot themselves into a single mass within a month. An over-the-door hook hanger solves this with zero wall damage, since it hooks over the top of a standard door and adds no holes at all, which matters in a rental where every drilled hole is a line item at move-out.
Give each item one hook rather than piling several bands onto a single peg. A single loop band hung flat keeps its shape; three bands crowded onto the same hook stretch unevenly and tangle every time you grab for one. Reserve the lowest hook for whatever you use most, since a rack mounted at door height puts the top hooks out of easy reach for anyone under about five foot four.
4. Give resistance bands and blocks one labeled bin, not the closet floor
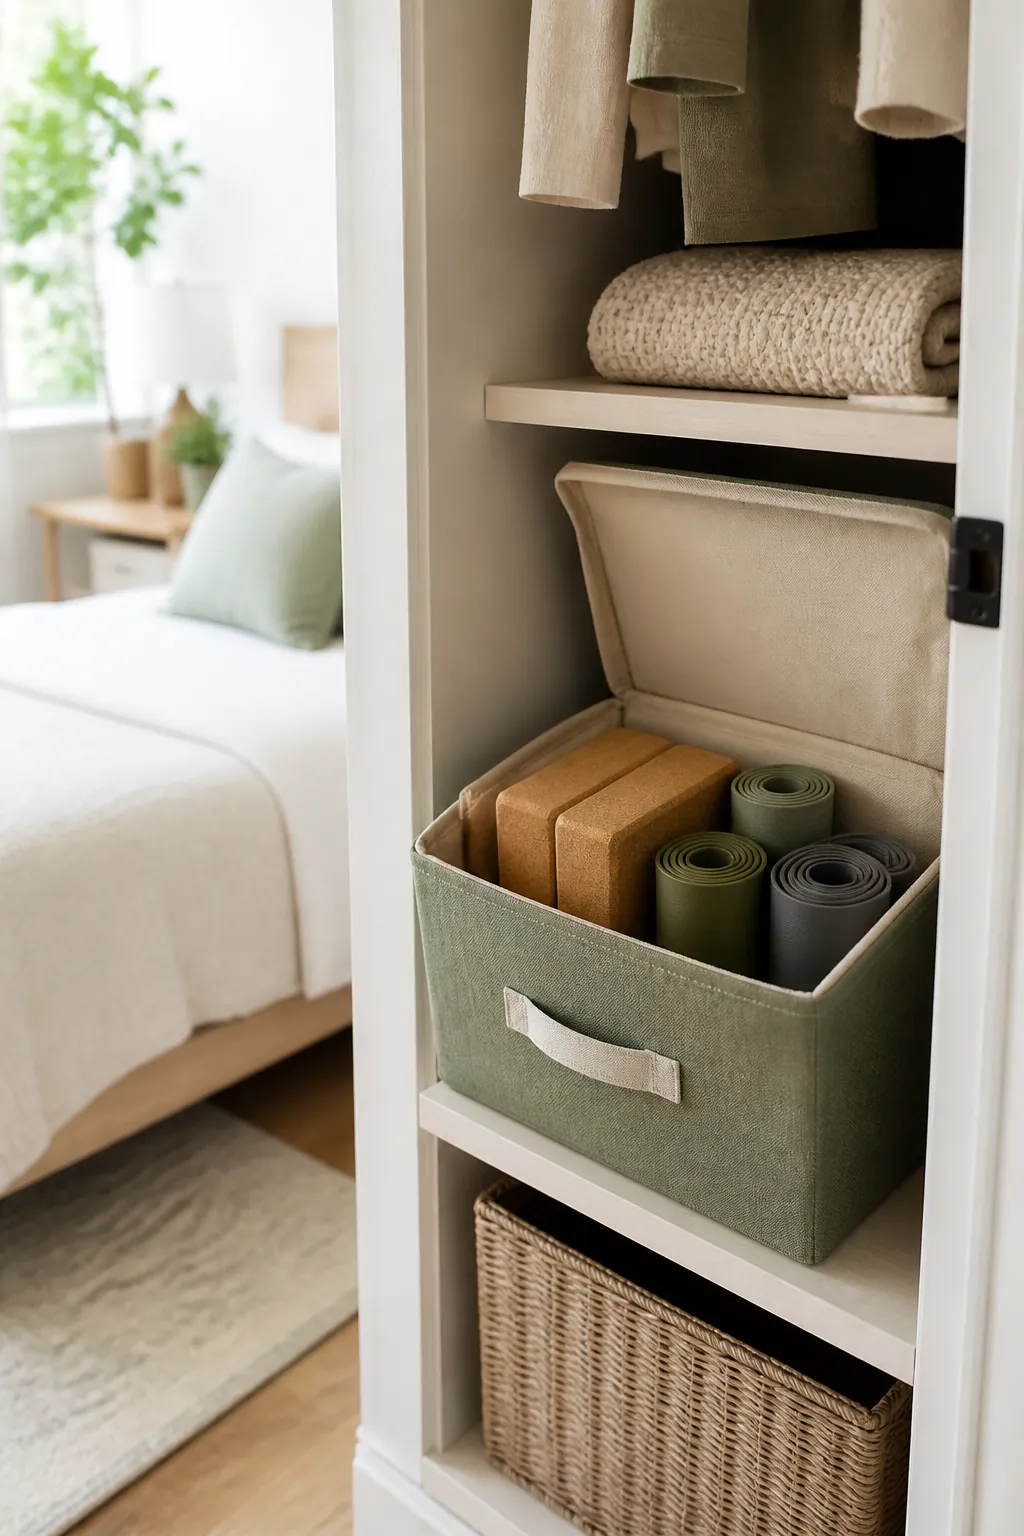
Tube-style bands with handles don’t hang as cleanly as loop bands, and yoga blocks don’t hang at all, so both need a container rather than a hook. A fabric storage bin with handles sized around twelve by twelve inches holds a full set of bands, two blocks and a strap without anything sliding to the bottom and disappearing.
Roll tube bands and stand them on end inside the bin instead of coiling them flat, since a coiled band left under the weight of a block for a few weeks holds a slight curl afterward. Label the bin, even just a strip of masking tape that says “workout,” because an unlabeled fabric bin on a closet shelf reads as identical to every other unlabeled fabric bin, and this is the one nobody wants to open three times looking for a lost hand weight.
5. Keep hand weights low, heavy, and off anything that flexes
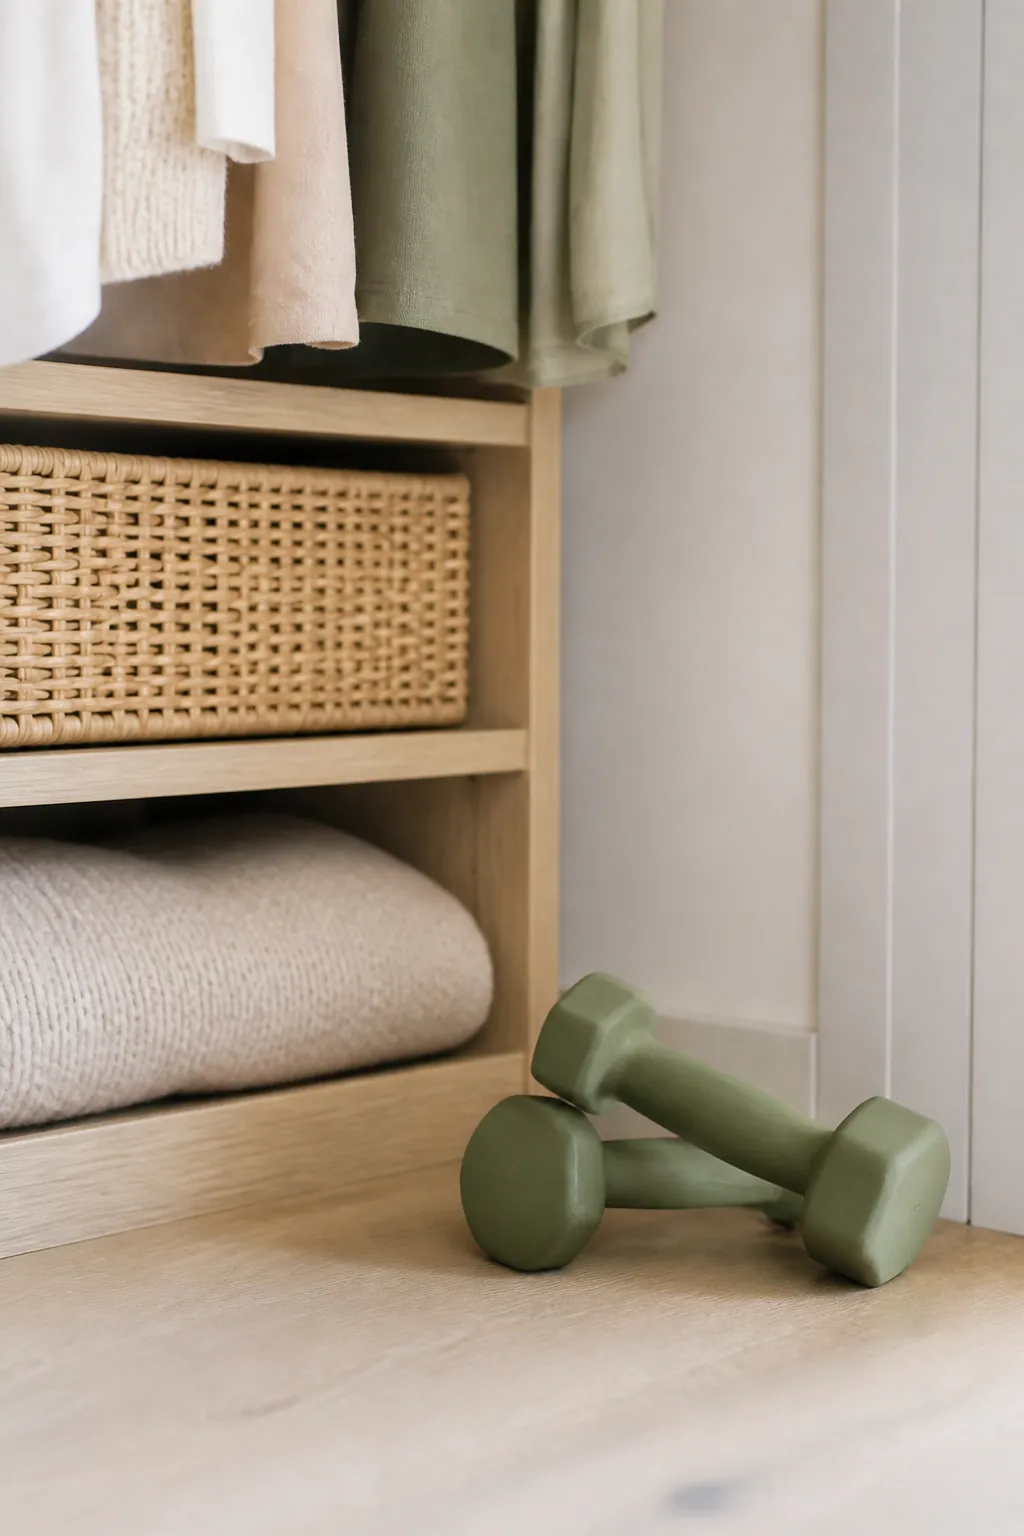
Dumbbells are the one item on this list that punishes a wrong storage choice immediately rather than gradually. A pair of twenty-pound dumbbells is forty pounds resting on a few square inches of contact, and a thin particleboard shelf spanning more than about two feet unsupported will visibly bow under that load within a season, even if it never fully breaks. Put hand weights on the floor of a closet, on the bottom tier of a rolling cart, or on a shelf you’ve confirmed is rated for the weight and well supported at both ends.
Lower is also safer in the everyday sense: a dumbbell that slips off a high shelf is a genuine hazard in a room where the bed sits three feet away, while the same weight rolling a few inches off a floor-level shelf just needs picking back up.
6. Roll the whole kit into a closet corner on a cart
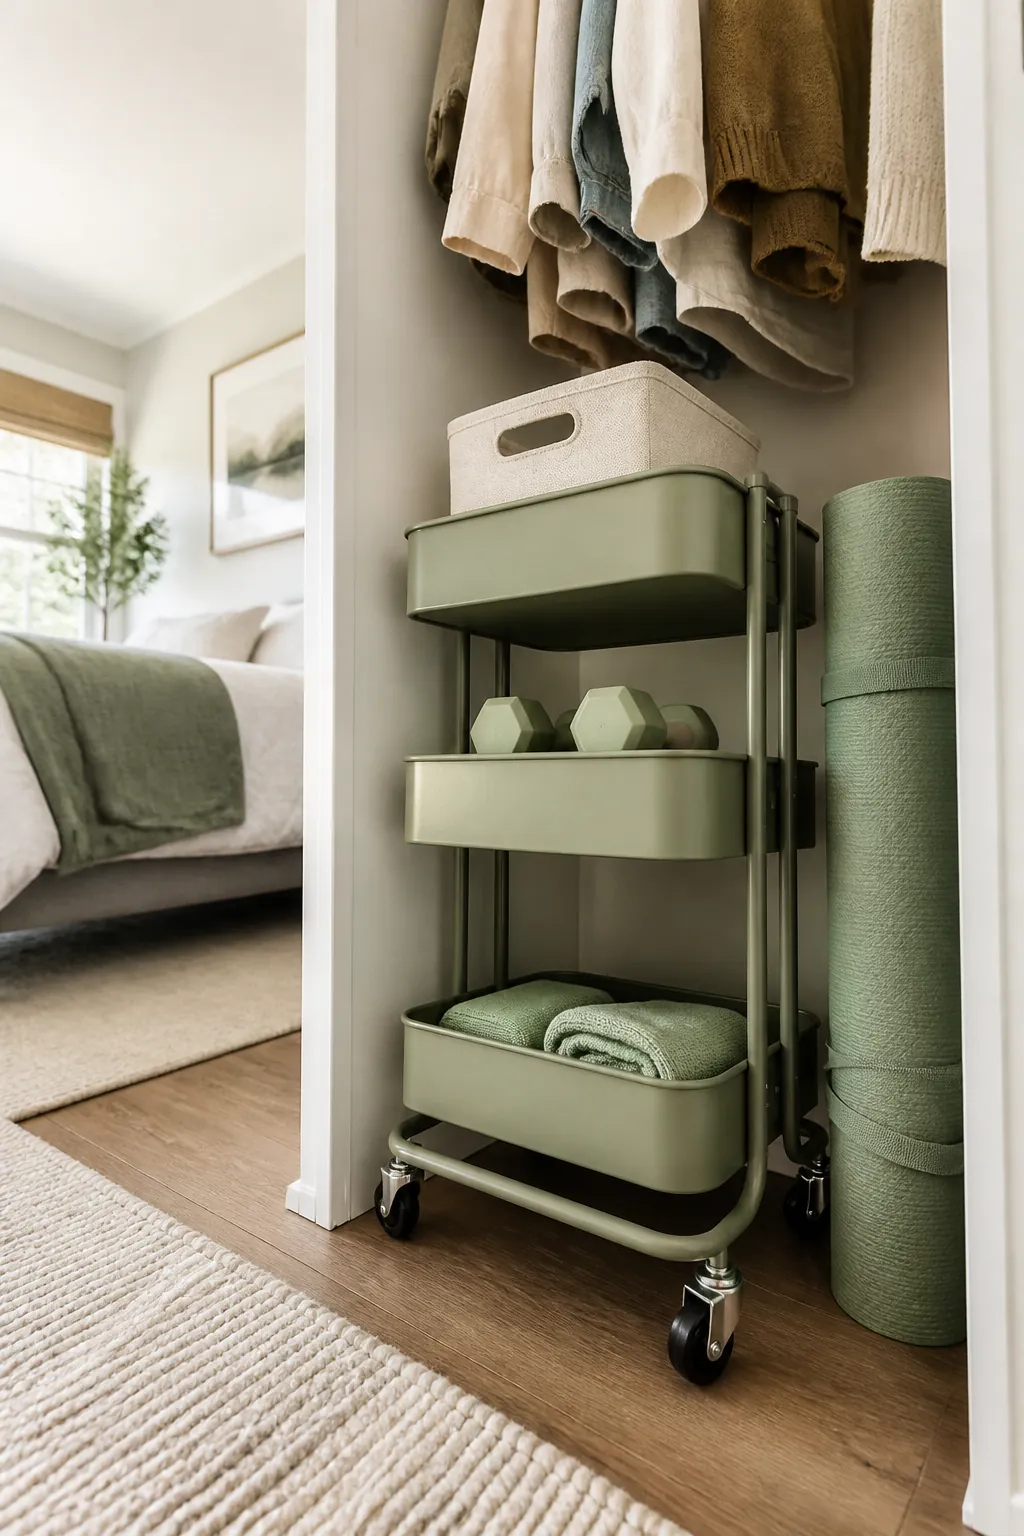
Once you’ve sorted mats, bands, blocks and weights into their own zones, the fastest way to reclaim floor space is to put the entire collection on wheels. A three-tier rolling cart tucked into an unused closet corner holds the fabric bin on one shelf, dumbbells on the bottom, and a mat standing in the gap beside it, and the whole setup rolls out onto open carpet for a workout and rolls back afterward in under a minute.
This matters most in a bedroom that doubles as a workout space, since the alternative is dragging four separate items out from four separate spots every time, which is exactly the friction that makes a home workout habit quietly stop. One cart, one trip, both directions.
7. Corral the foam roller so it can’t roll away
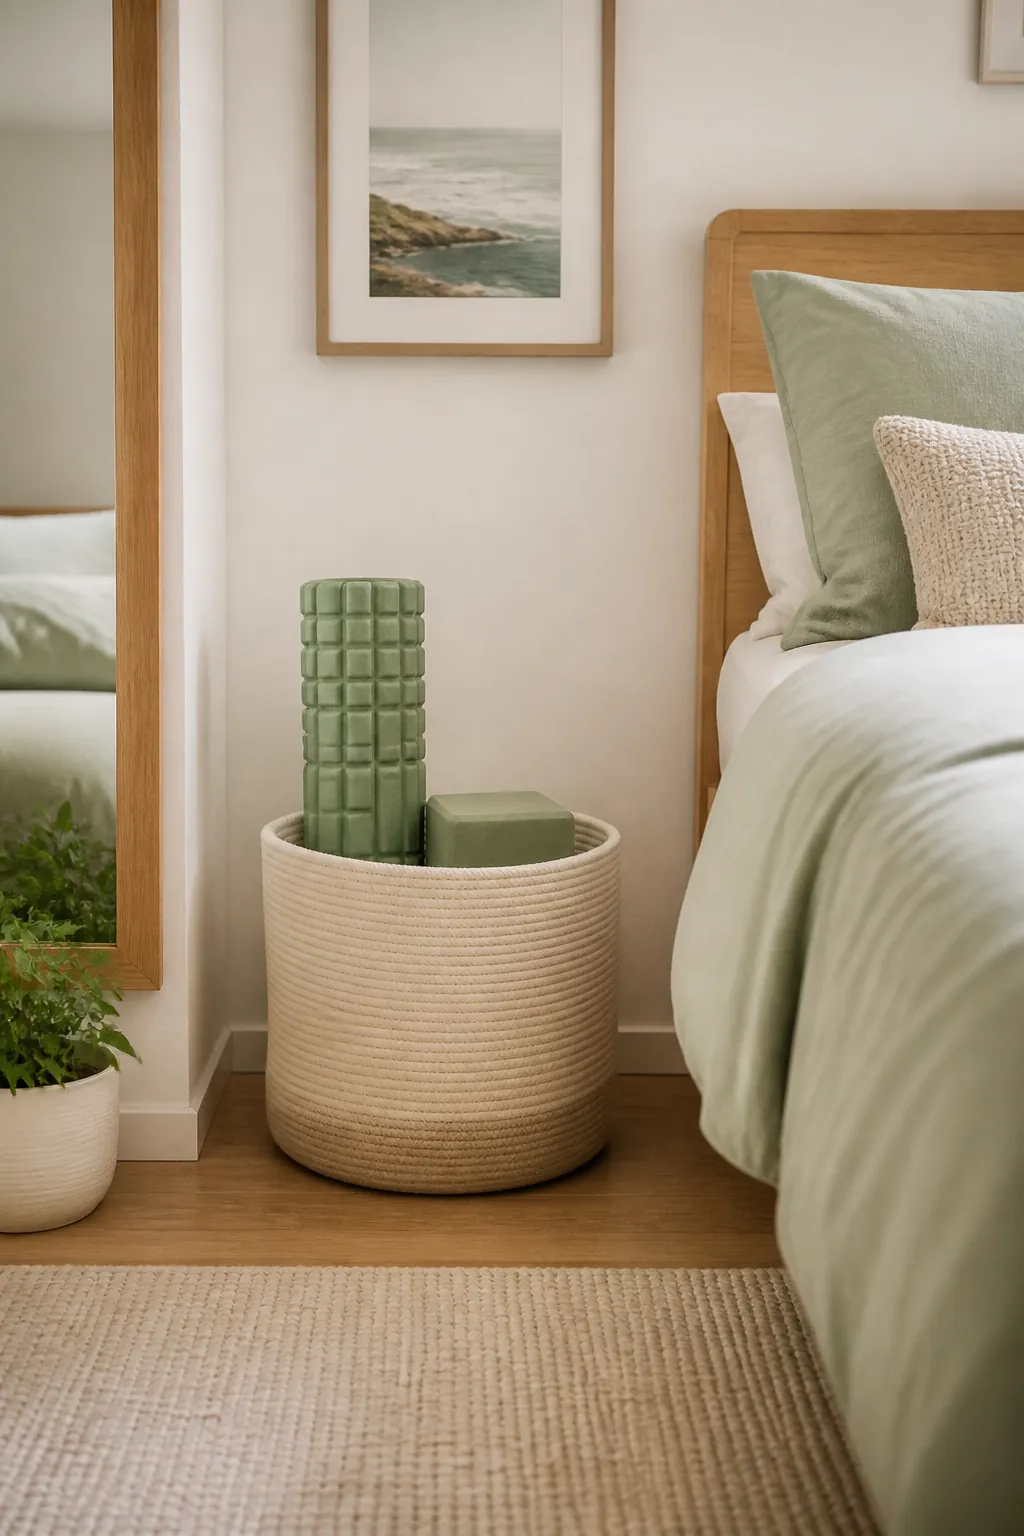
A foam roller left loose does exactly what its name promises the second anything nudges it, and a roller that’s rolled under the bed tends to stay lost for weeks. Standing it upright inside the same bin as your blocks stops the escape entirely, since a roller balanced on one end in a twelve-inch bin has nowhere to go. If you’d rather keep it separate, a second small bin or even a wide-mouth basket works, as long as the roller stands on end rather than lying on its side.
Skip stacking anything heavy on top of a stored roller. Foam recovers from light use fine, but weeks of a dumbbell resting on one section leaves a permanent dent that changes how the roller performs.
8. Separate sweaty gear from clean laundry the same day
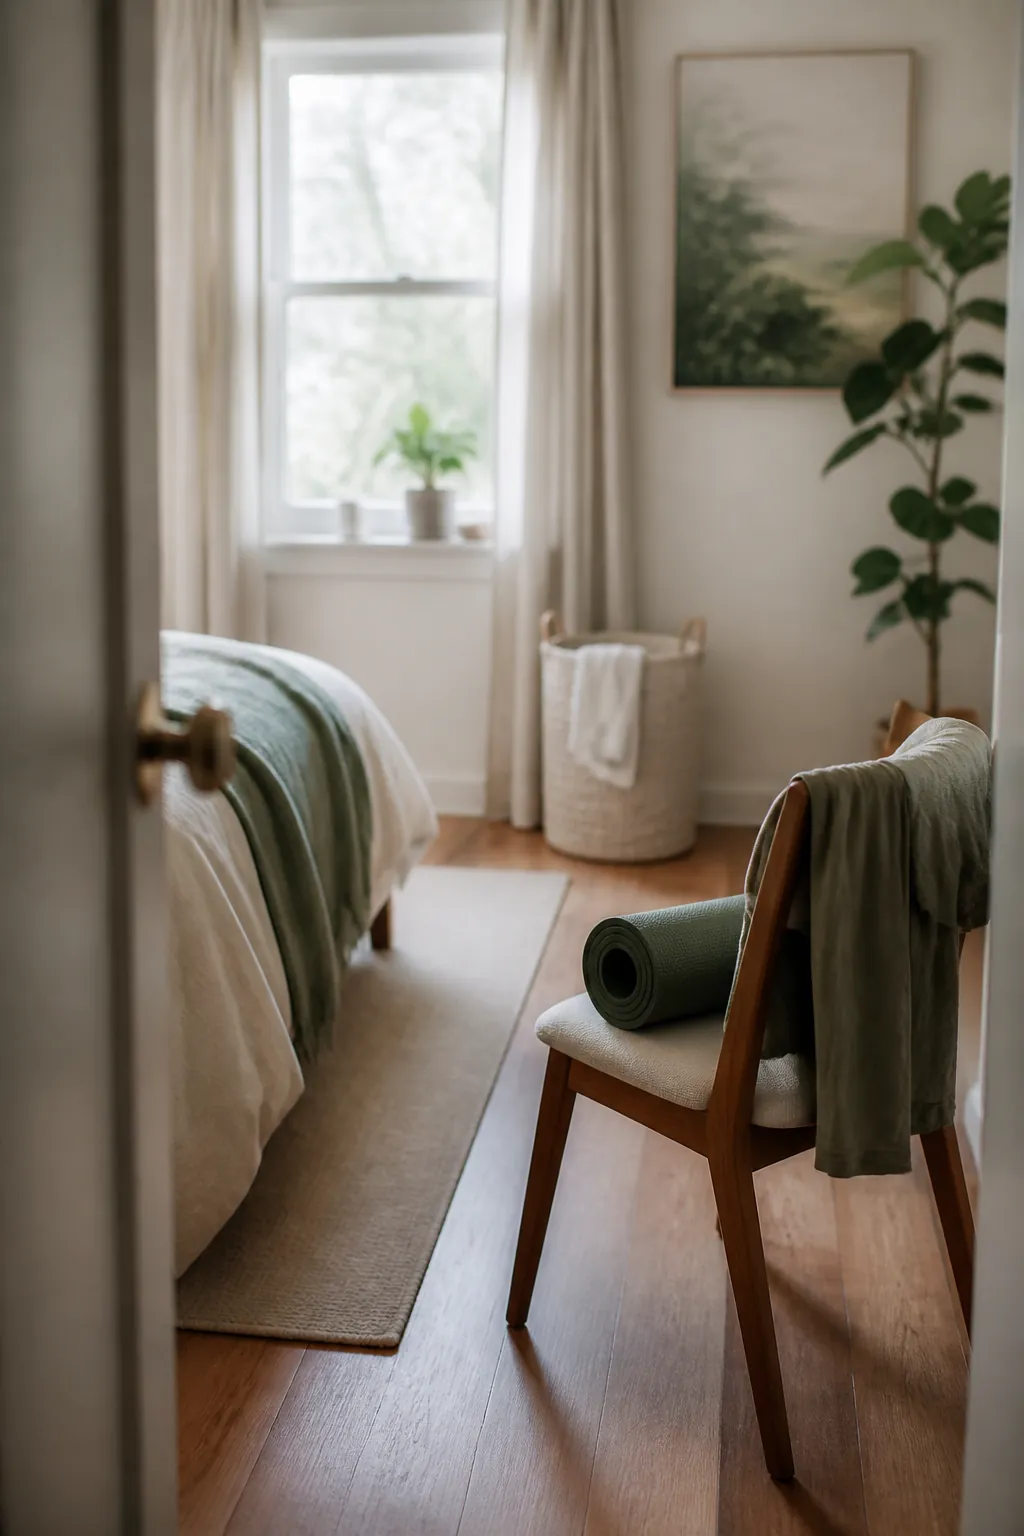
A mat, a set of bands or a workout shirt tossed into a bin still damp is the single fastest way to turn a tidy storage system into a smell problem. Give sweaty gear a few hours of airflow, draped over a chair or a drying rack, before it goes back into a closed bin or a rolled position. A mat rolled up while still damp traps moisture inside the coil, and that moisture doesn’t fully evaporate again for days, which is long enough for odor to set in.
Keep the workout bin and hamper physically apart too, even if they’re on the same shelf. Gear that’s dry but still carries workout residue shouldn’t share space with clothes headed for a drawer, since the transfer goes one direction only.
9. Build a two-minute reset so gear never colonizes the bed

Every system above fails the same way eventually: gear comes out for a workout and lands on the bed “just for now,” and just-for-now becomes the new normal within a week. Build a two-minute reset into the end of every session instead of leaving it to willpower. Mat back in its basket, bands back on their hooks, weights back on the cart’s bottom shelf, roller back in its bin.
The test that tells you whether the setup is actually working: stand in the doorway right after a workout and count what’s still visible on the floor or the bed. Zero is the goal. One or two items left out occasionally is normal life. A pile that reappears every single session means the storage is in the wrong spot, not that you need more willpower, so move the rack or the bin closer to where the workout actually happens and try again.
Where to start
Start with the mat, since it’s the largest object and the one most likely to end up leaning somewhere it shouldn’t. A tall basket in a genuine corner, or the gap beside a rolling cart, solves it in one purchase. Add the over-the-door hook rack for bands and straps next, since it costs the least and needs zero holes in the wall, then the labeled bin for blocks and tube bands once you know how much you actually own.
Dumbbells are the one piece worth planning around rather than improvising, so give them a low, sturdy spot from day one rather than a shelf you’re hoping will hold. Everything else, the two-minute reset, keeping sweaty gear separate, is a habit you build once the furniture is in place, not something you need to solve before you start working out in the first place.