Most bedrooms were wired decades before anyone owned a phone, a smartwatch and a pair of earbuds that all need power somewhere within arm’s reach of the bed. The outlet is usually on the wrong wall, the nightstand has one shallow drawer and no room for a brick-sized adapter, and by the second week the charging setup is three cords crossing the floor and a phone balanced on the lamp base. That isn’t a nightstand problem. It’s a routing and placement problem, and it’s solvable in a bedroom too small to fit anything that actually calls itself a charging station.
The nine ideas below start with the measurement everyone skips and end with the maintenance nobody schedules. In between, there’s a genuine fire-safety point worth taking seriously, not just a tidiness one.
1. Find the outlet before you buy anything

Most bedroom outlets sit 12 to 18 inches off the floor, which is well below the top of a standard 24 to 28 inch nightstand. That gap is the entire problem: whatever you buy has to carry power from floor height up to tabletop height, and almost nothing sold as a “charging organizer” mentions that vertical run at all.
Measure three numbers before ordering anything: the outlet’s height off the floor, the horizontal distance from the outlet to where the nightstand sits, and how far the nightstand’s leg or edge sits from the wall. A cord that’s 3 feet short of covering that path is far more common than the box says, especially once you add the length lost to routing it along a baseboard instead of straight across open floor.
2. Corral the adapter and the slack in a cable management box
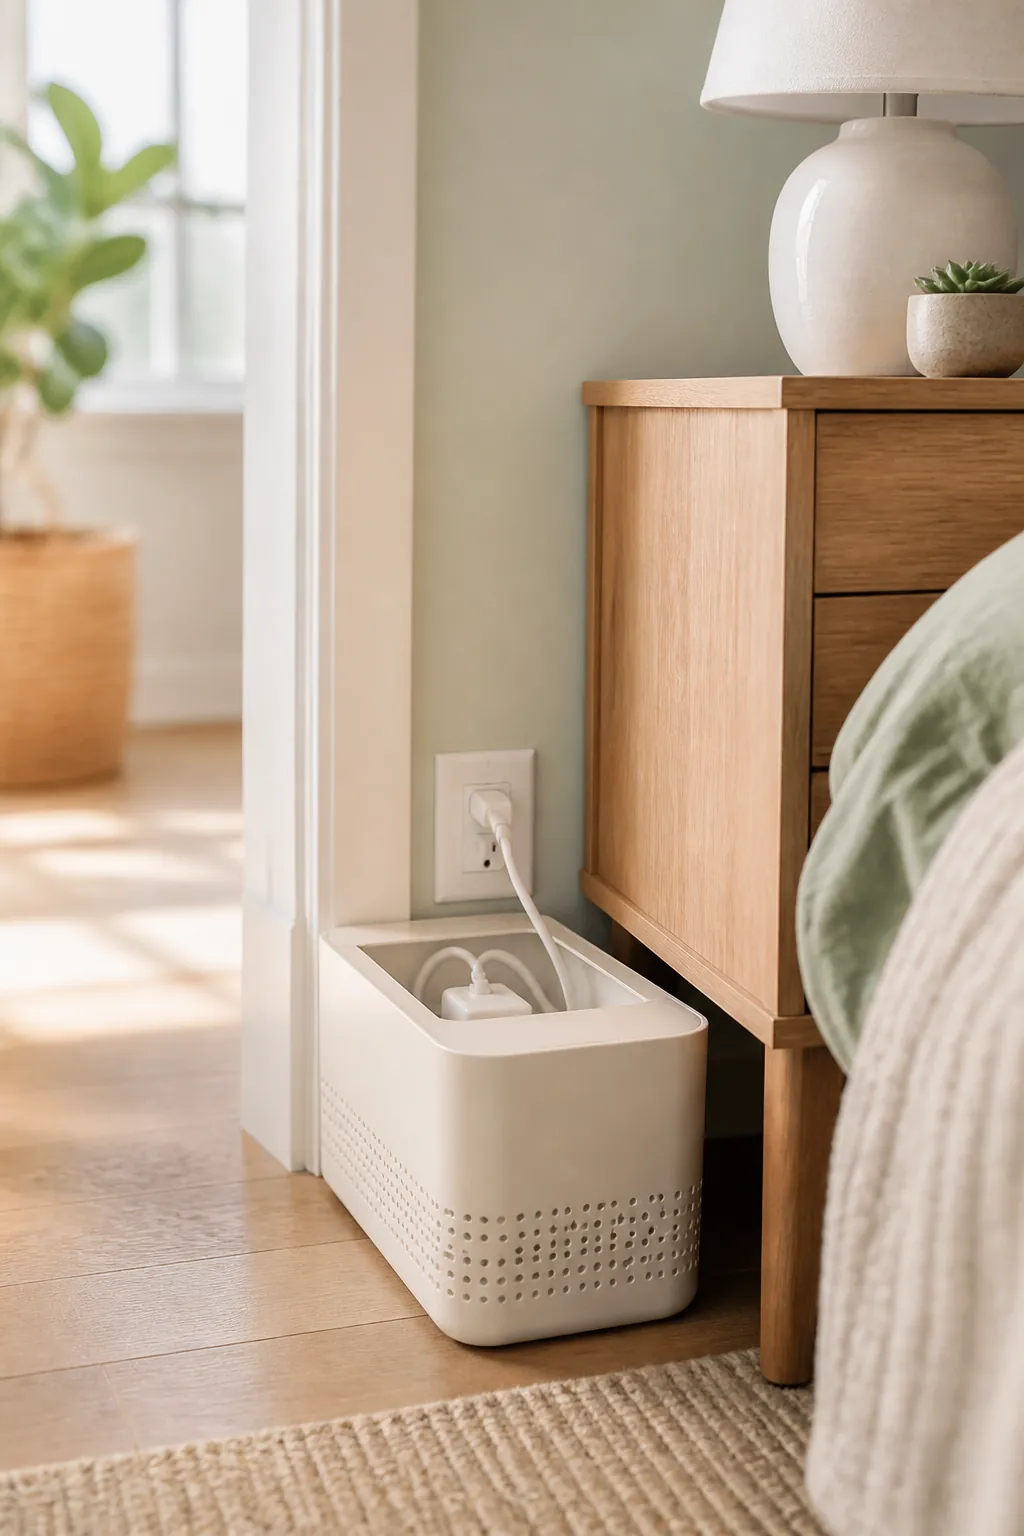
A cable management box swallows the wall adapter, the power strip if you’re using one, and the two feet of extra cord almost every charging cable comes with, turning a visible tangle into one closed shoebox-sized object tucked behind or beside the nightstand.
Buy the vented version, not a sealed bin repurposed from the closet. A phone charger left plugged in overnight runs warmer than it looks like it should, and a box with no airflow traps that heat against the plastic walls instead of letting it dissipate. Keep the box off the carpet too; a few inches of clearance underneath lets air move rather than pooling heat against a fiber surface that can’t wick it away.
3. Route the cord up to nightstand height with adhesive clips
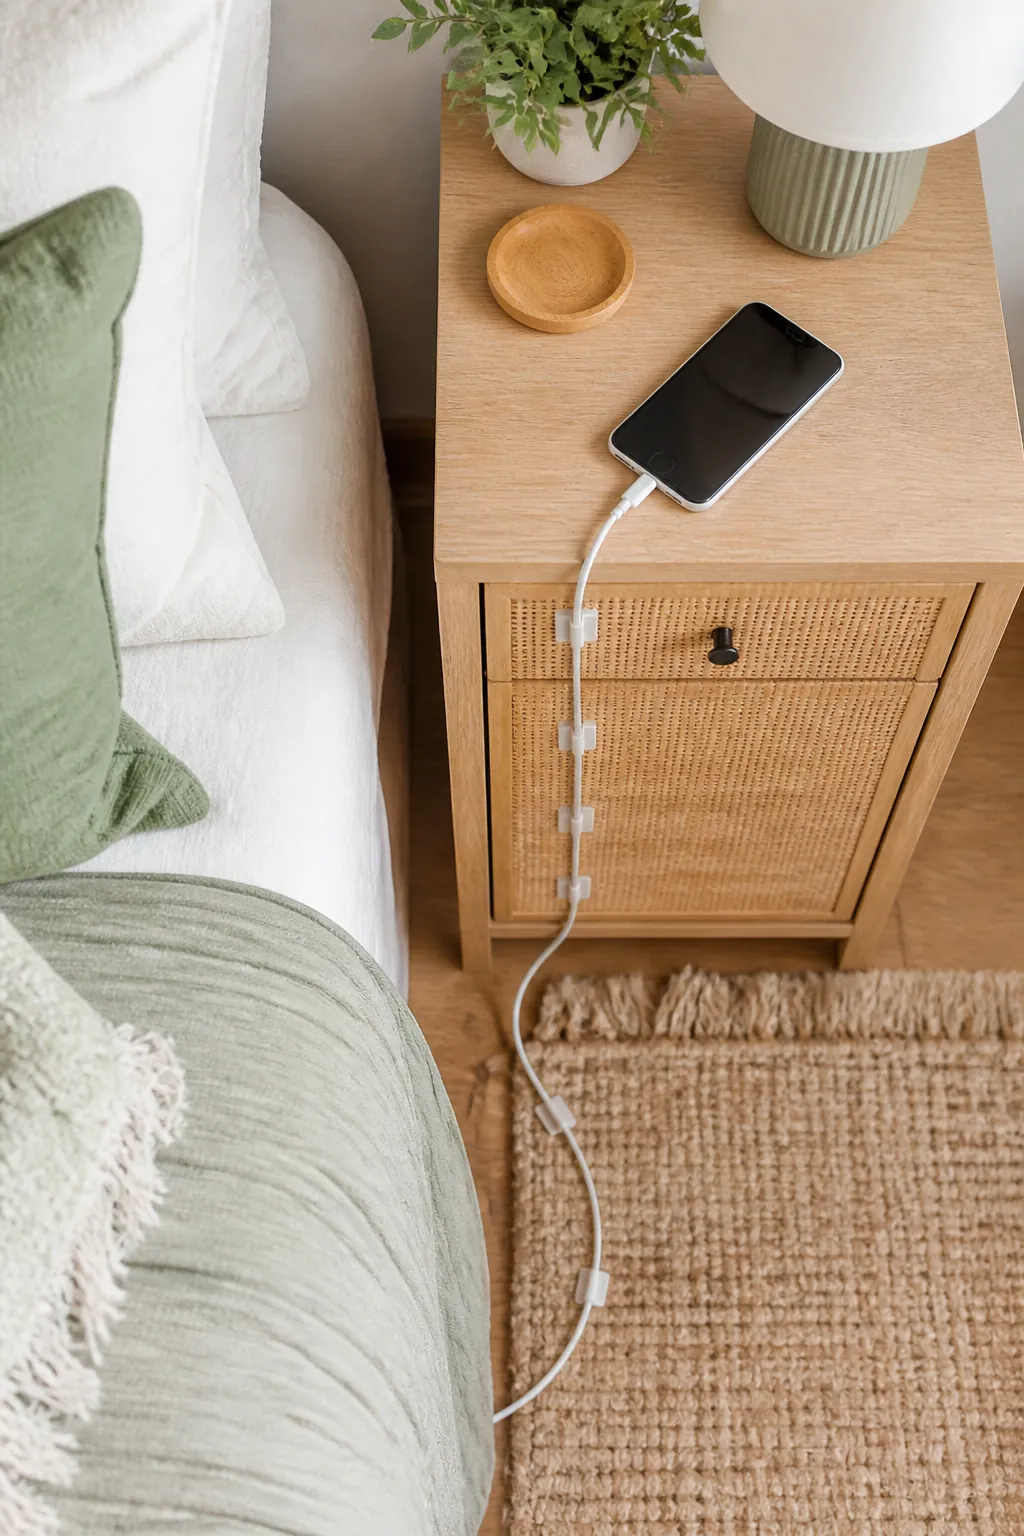
Adhesive cable clips carry the cord the rest of the way, from the box near the outlet up the leg of the bed frame or nightstand to the surface where the phone actually sits. Space them every 6 to 8 inches and put one at every point the cord changes direction, since an unsupported bend is exactly where a cord gets caught by a foot swinging out of bed at 6 a.m.
Choose an adhesive rated for more than the cord weighs on its own, because the connector end and any inline switch add real weight that a bare-cable rating doesn’t account for. If you’re renting, warm each clip with a hairdryer for a few seconds before prying it off at move-out; pulled cold, adhesive clips have a habit of taking a flake of paint with them.
4. Stick a charging catch-all to the wall instead of drilling one in
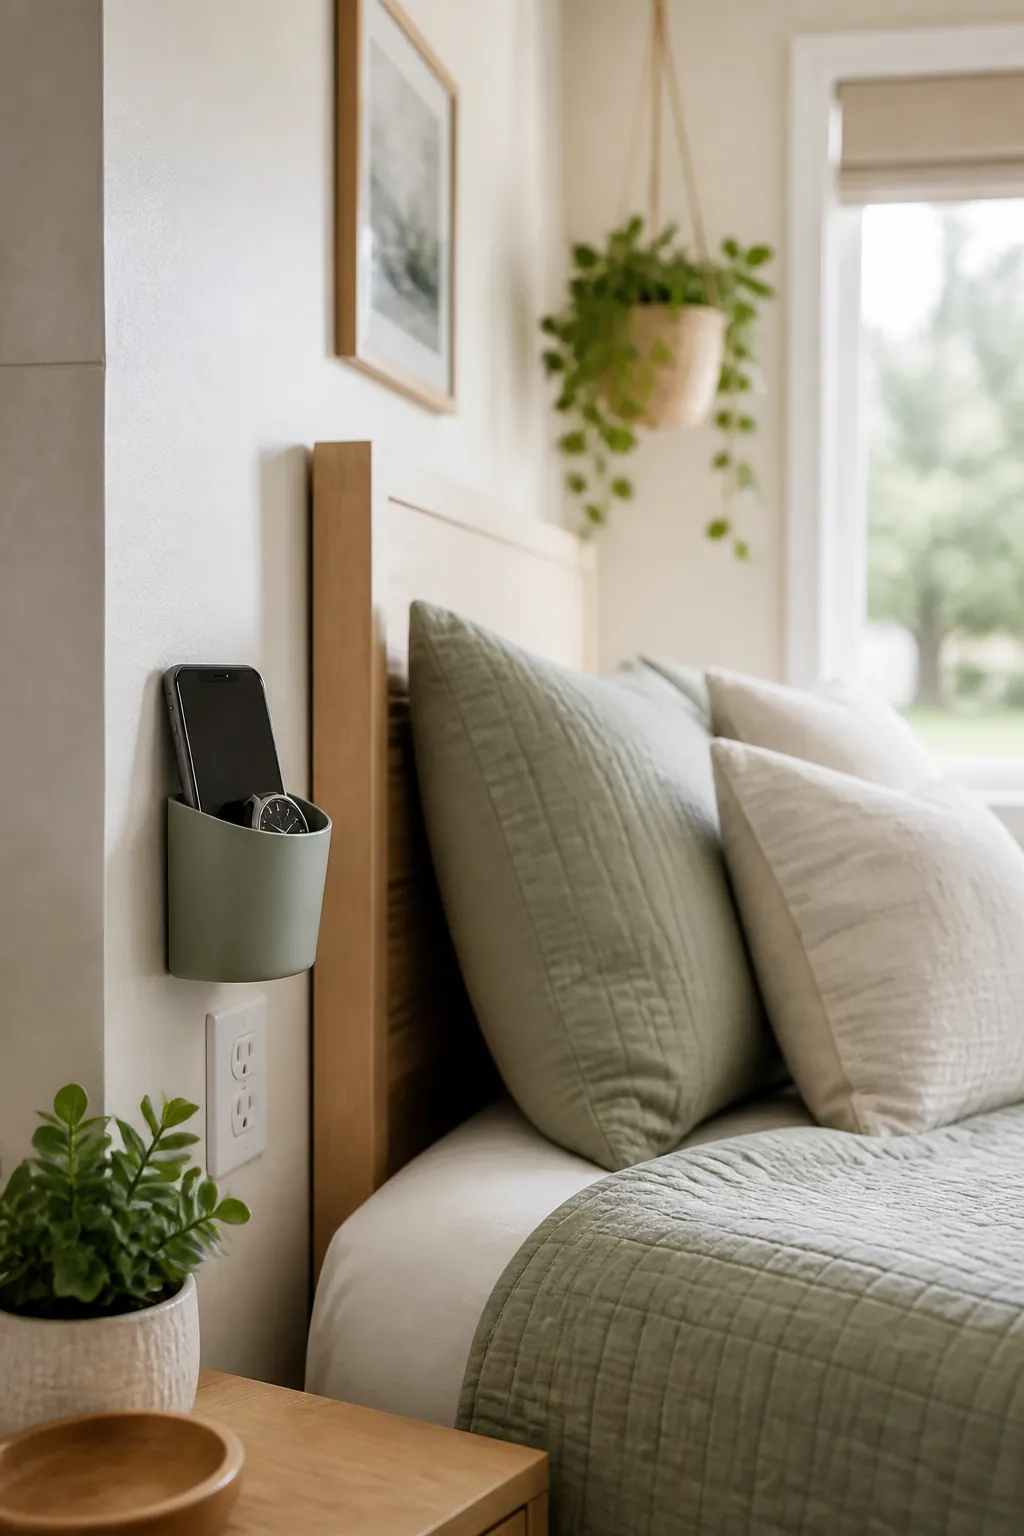
A small adhesive-mount wall cup near the outlet gives a phone or watch a fixed overnight spot without a single hole in the wall, which matters in a rental where even a nightstand shelf bracket is off the table. Mount it low enough to reach from bed without sitting all the way up, and high enough that it clears the baseboard and any outlet cover plate.
Check the weight rating before you trust it with anything heavier than a phone. Most adhesive cups top out around 1 to 2 pounds, which covers a phone and a set of earbuds but not a phone plus a tablet propped against the same cup, and a cup that’s holding more than it’s rated for tends to let go with no warning, usually onto the floor at 2 a.m.
5. Upgrade to a nightstand with a built-in charging station
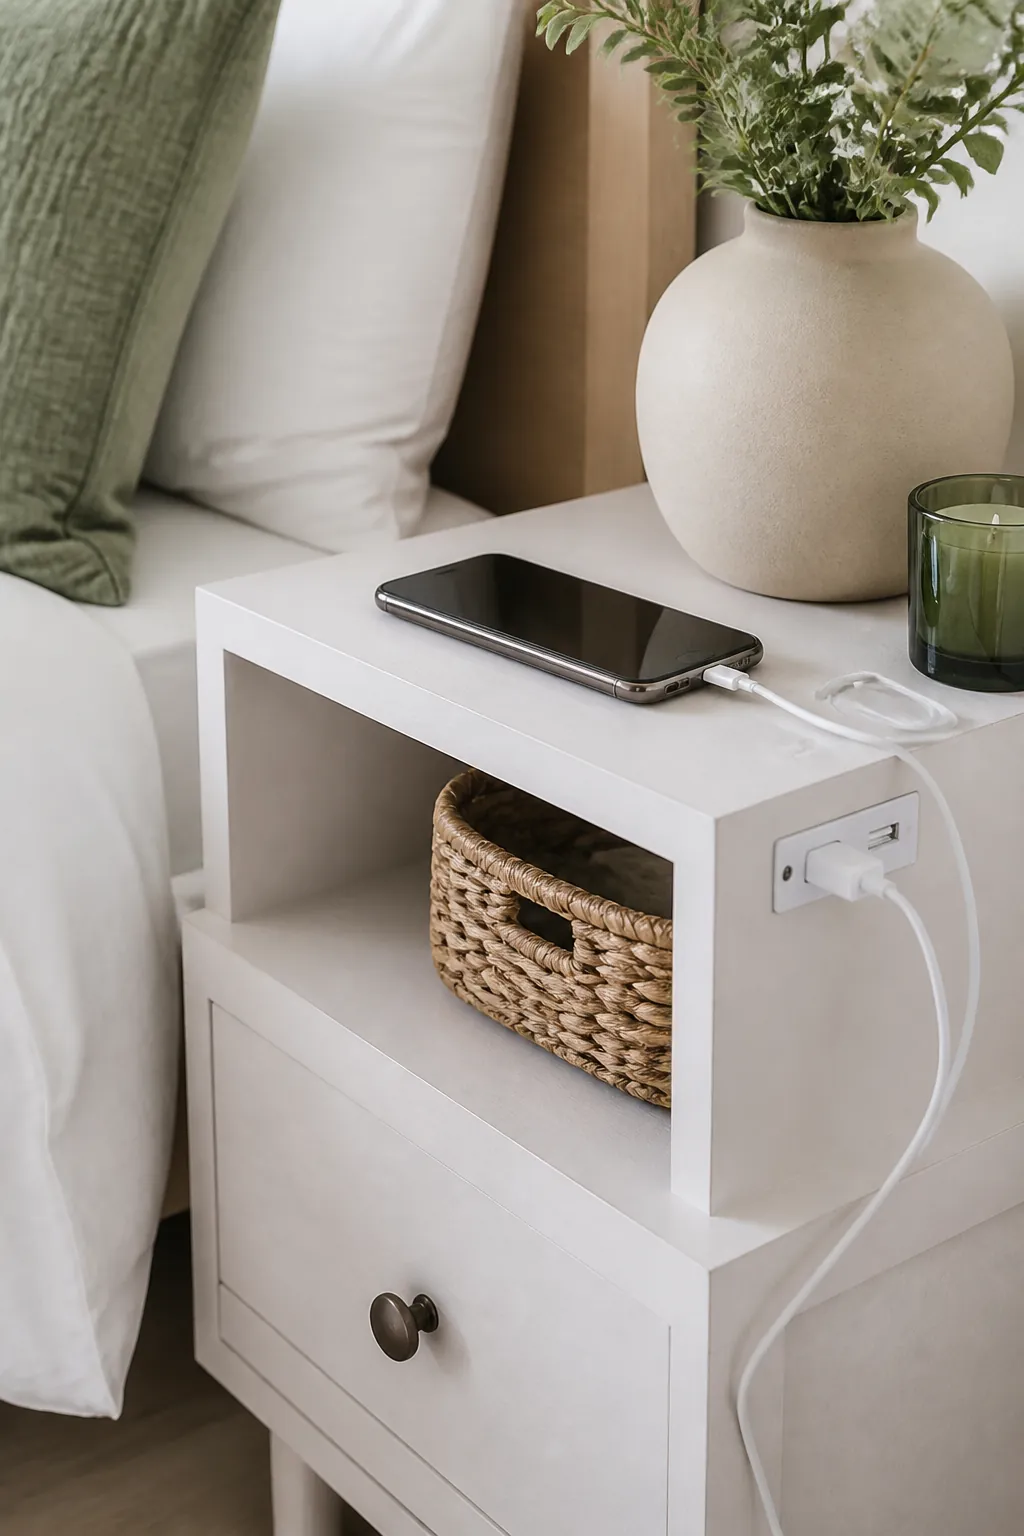
A slim side table with a charging station solves the whole problem in one purchase: built-in USB ports at tabletop height mean the phone charges where it sits, not on the carpet where a cord used to run. It’s the closest thing on this list to a real solution rather than a workaround, and it earns whatever floor space it takes up.
Check the port wattage against your devices before assuming it’s an upgrade over what you already have. Older built-in USB ports cap out around 5 to 12 watts per port, which charges a phone slowly overnight but won’t fast-charge a tablet, and the table still needs its own outlet nearby since the charging ports don’t generate power, they just distribute what’s already coming through the cord behind it.
6. Size the charging hub to the devices actually charging there
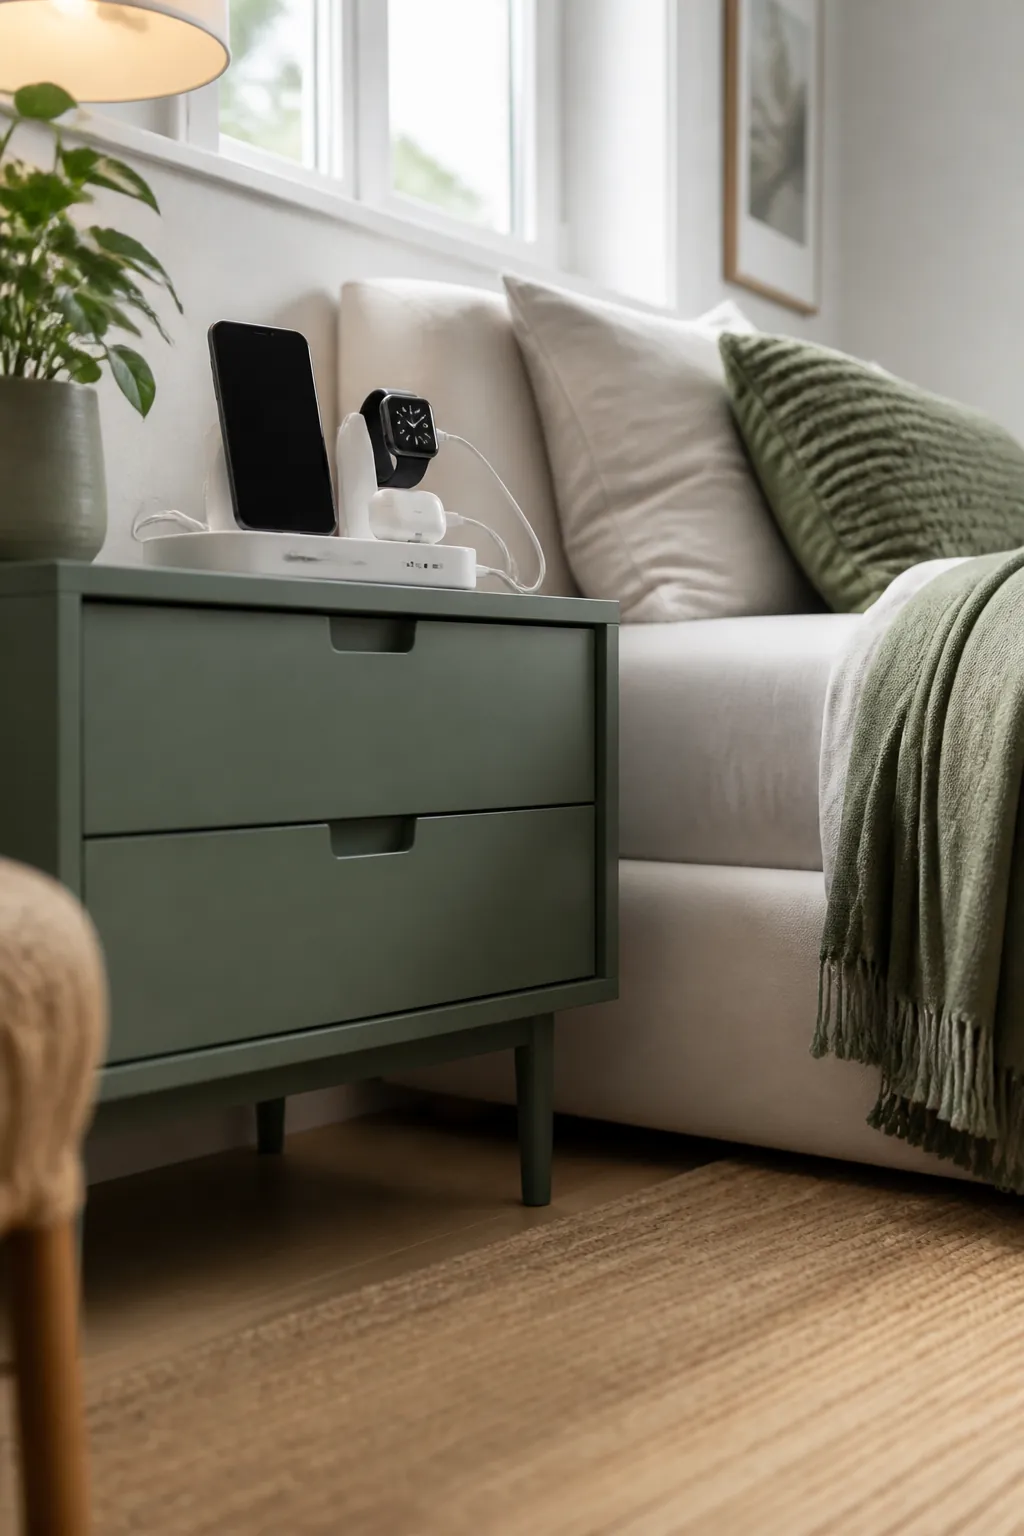
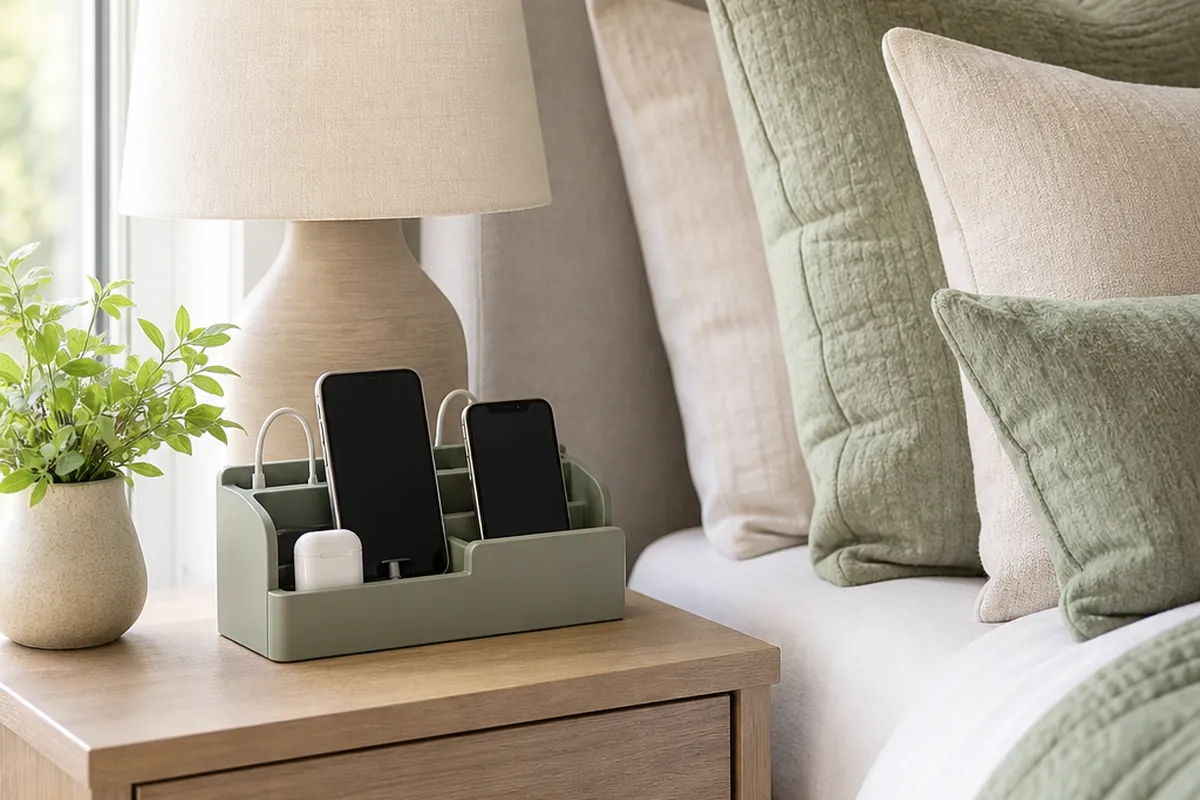
Buy for the number of things that actually plug in each night, not for what looks minimal in a product photo. A phone, a smartwatch and a pair of earbuds is already three devices for one person, and two people sharing a bed doubles that to six, which a compact 2-port hub bought for “just a phone” runs out of room for within a week.
Count first, then shop. If the true number is four or more devices between two nightstands, a single hub at one bedside forces someone to charge across the bed or skip a night, and that’s the moment the tidy setup falls apart and the cords go back to crossing the floor.
7. Keep the charging spot clear of pillows and blankets
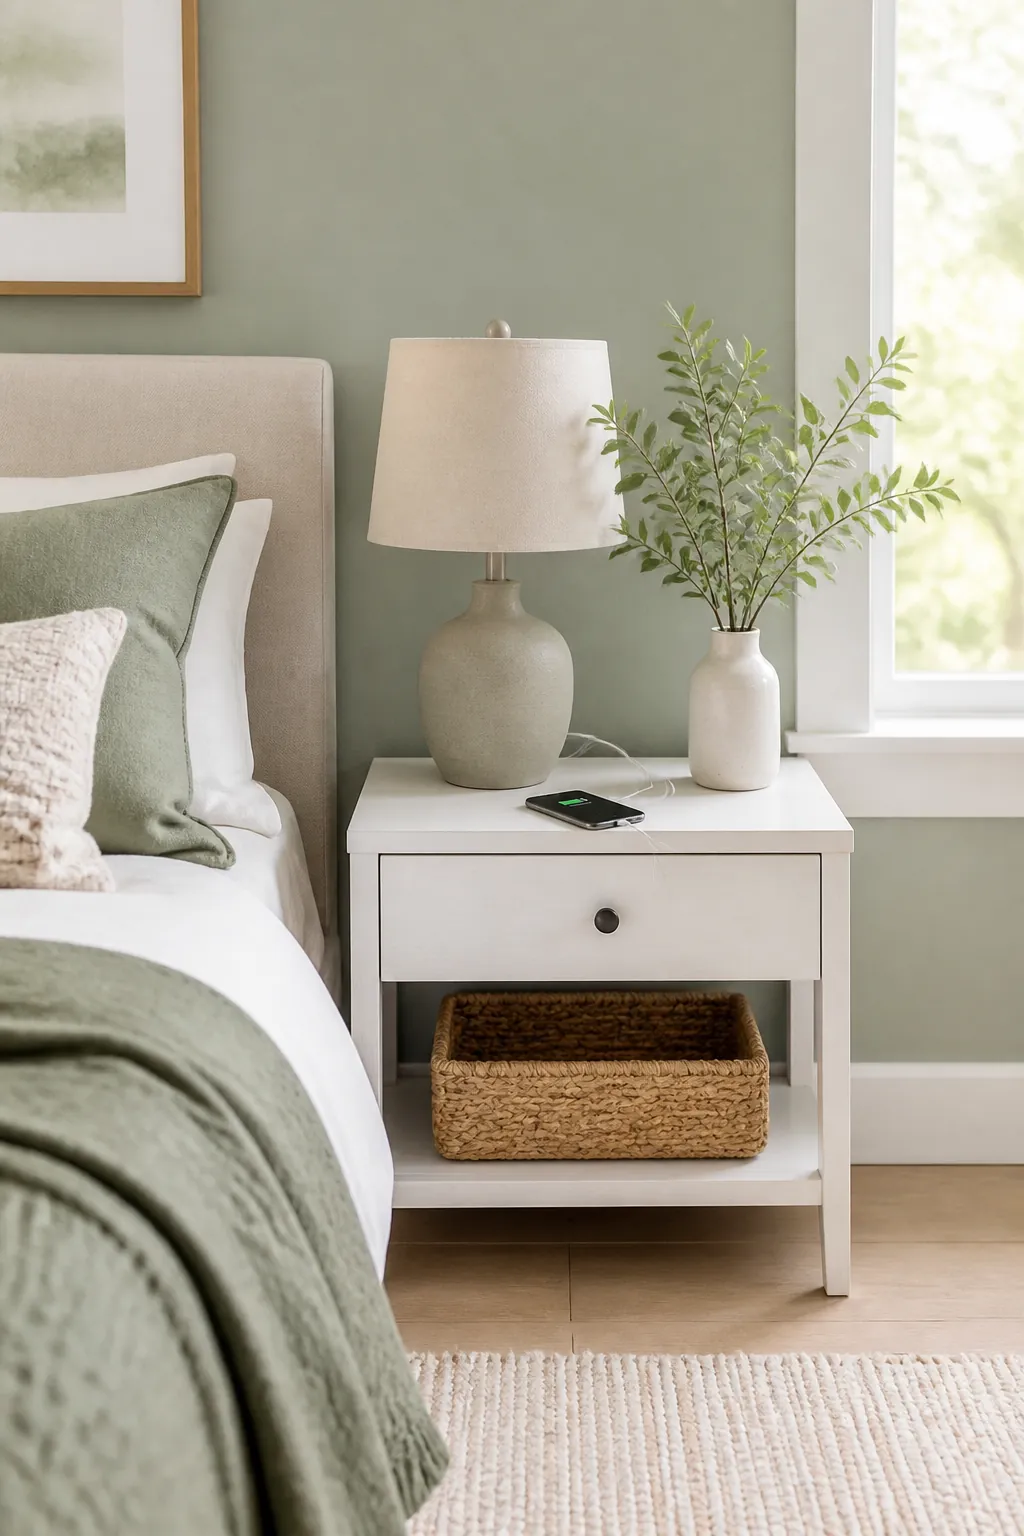
This is the one rule on this list that isn’t about tidiness. A phone or adapter that’s charging needs open air to shed the heat it generates, and a pillow, a folded blanket, or even a stray sock piled on top of it traps that heat instead of letting it go. Charging equipment left covered like this is a documented cause of house fires, not a hypothetical worst case, and it happens most often exactly where this article is aimed: a crowded nightstand in a small bedroom where bedding constantly drifts over the edge.
Keep a bare few inches of clearance around wherever a device actually charges, every night, not just the nights you remember to check. If the charging spot is inside the cable box from section 2, make sure the box’s vents stay uncovered too, since a blanket draped over a vented box defeats the ventilation just as thoroughly as a sealed lid would.
8. Cut the cord count with a wireless charging pad

A wireless charging pad removes one cord entirely for any phone that supports it, leaving only the pad’s own cable running to the outlet instead of a separate cable for every device that gets set down at night. There’s no wireless pad with a verified listing on this site yet, so rather than link a product nobody here has checked, the honest move is to name the category: look for one rated for at least 10 watts and wide enough that a phone in a thick case still makes contact with the coil.
The tradeoff is that a wireless pad only helps the one device sitting directly on it. A watch and earbuds still need their own cords or a separate charging case, so this is a reduction, not a replacement, for everything else covered above.
9. Recheck the cords and connectors every few months
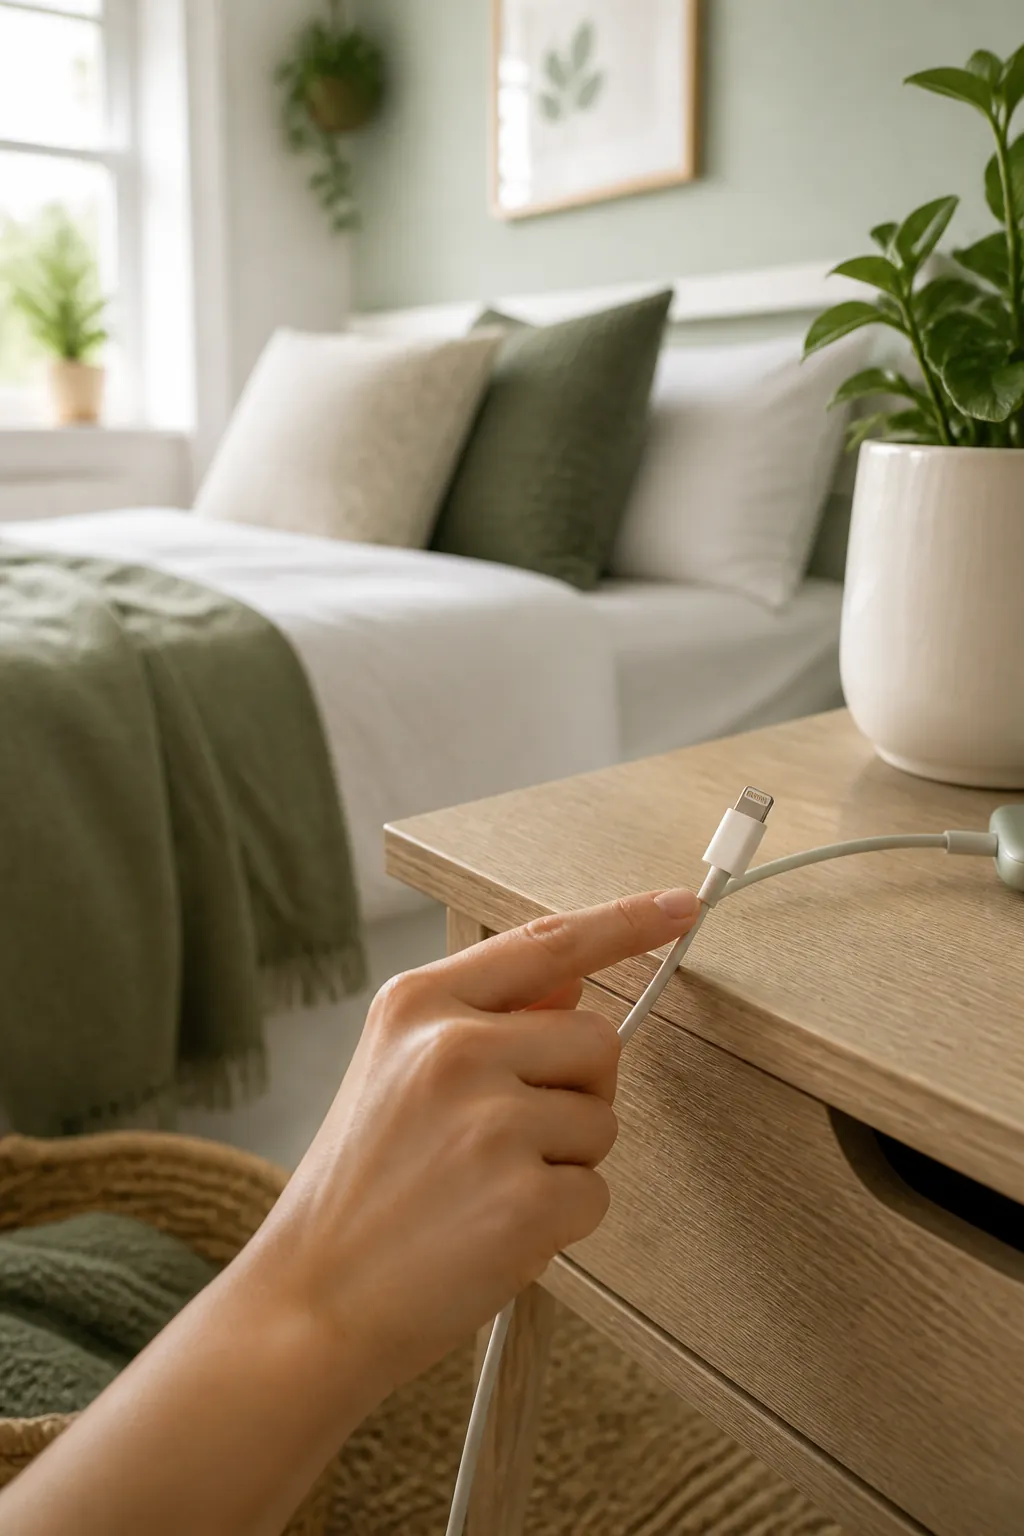
Charging cords fray at the connector end long before they fail outright, usually from the same daily motion of unplugging a phone one-handed in the dark. Every three or four months, run a finger down each cord near both ends and look for a crack in the insulation, a connector that’s started to wobble in the port, or an adhesive clip that’s lost its grip and is letting the cord sag against the floor.
Retire anything that’s cracked or exposing bare wire immediately rather than waiting for it to fail outright, since a damaged charging cord left plugged in overnight is a real risk, not just a cosmetic one. This is also the moment to confirm nothing has quietly migrated under a pillow since the last check.
Where to start
Measure the outlet’s height and distance from the nightstand first, since that gap decides whether you need a box, clips, both, or a table with the charging built in. Contain the adapter and slack in a vented box, route the last stretch with adhesive clips or a wall cup, and size whatever hub you land on to the real device count for both sides of the bed. Keep the charging spot clear of bedding at all times, cut a cord where a wireless pad can, and recheck the whole setup every few months for wear. None of these steps take more than twenty minutes on their own, and together they’re the difference between a nightstand you’re proud of and one with a phone perched precariously on a lamp.