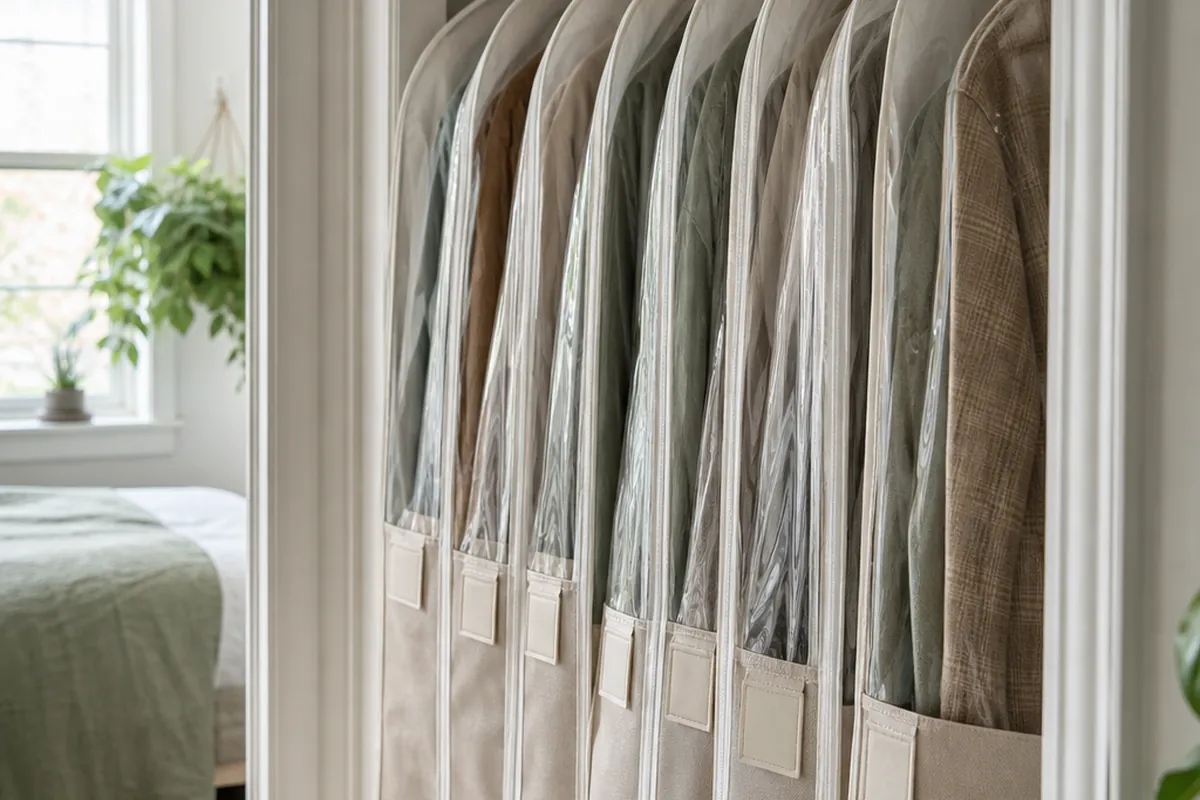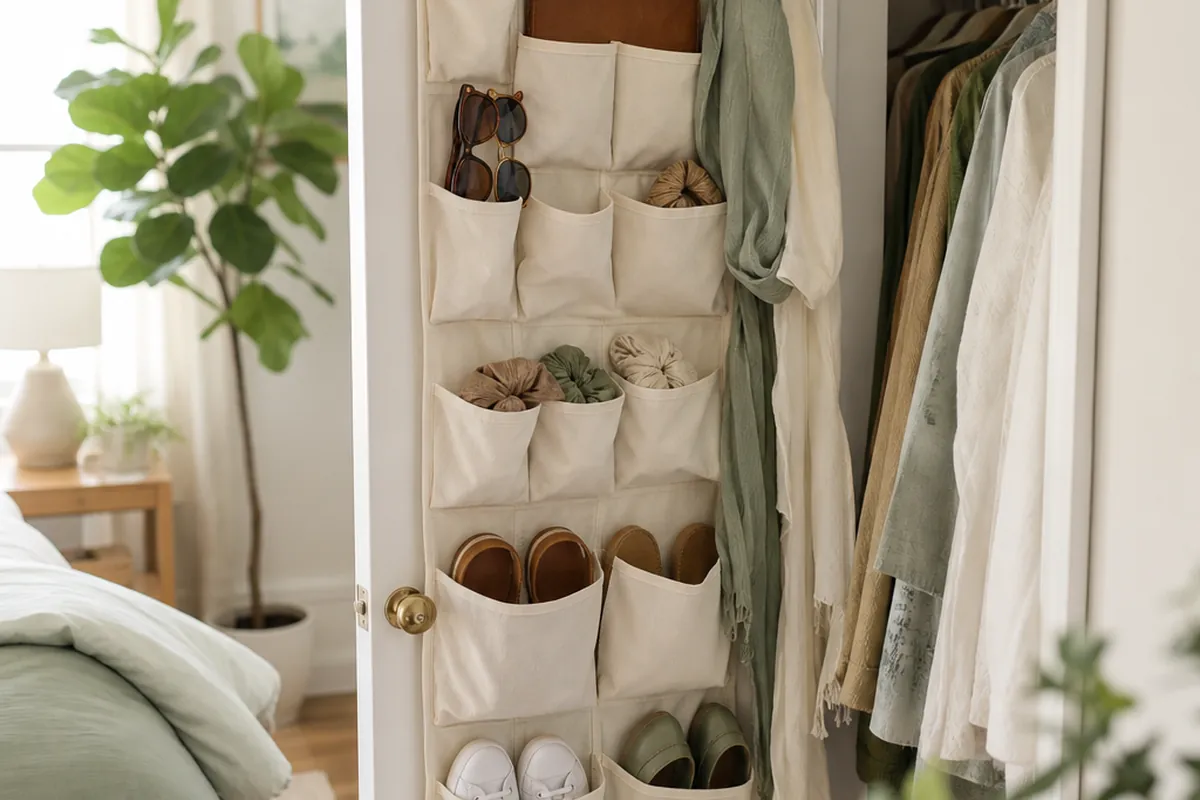
The back of a closet door is the largest unused surface in most rented homes. It is a flat vertical panel, roughly seven feet tall, doing absolutely nothing, and the only reason it stays empty is that most storage for it assumes you can put screws in. You cannot, or you would rather not, because the deposit is real money. Everything here hangs from the door itself or sticks to it, and comes off cleanly when you leave.
1. Check the door thickness before you buy anything
Over-door brackets are made to a size, and the size is not universal.
Most are built for doors around one and three eighth inches thick, which covers standard hollow interior doors. Older doors, solid doors and some apartment fire doors are thicker, and a bracket that does not seat properly will either not fit at all or will hold the door permanently ajar.
Measure the edge of the door with a tape before ordering. It takes ten seconds and it is the single most common reason these get returned.
2. Check it still closes when loaded
This is the test people skip, and it is different from the first one.
An empty rack clears the frame. The same rack full of shoes may not, because the contents stick out further than the bracket does. Before committing, hang the empty organizer, load it with what you actually intend to store, and close the door properly.
If it catches, you have two options: move the heavier items to the lower pockets where the door frame is deeper, or accept a shallower organizer.
3. Clear pockets beat solid ones

The material matters more than the pocket count.
A over-the-door shoe organizer with clear pockets lets you find what you want without patting down the whole thing. Opaque fabric pockets look tidier and cost you a search every single time.
They also work for far more than shoes. Cleaning supplies, hair tools, small accessories, gloves and scarves all suit a pocket grid better than a shelf, because each item gets its own slot and nothing buries anything else.
4. Hooks for bulk, pockets for small things
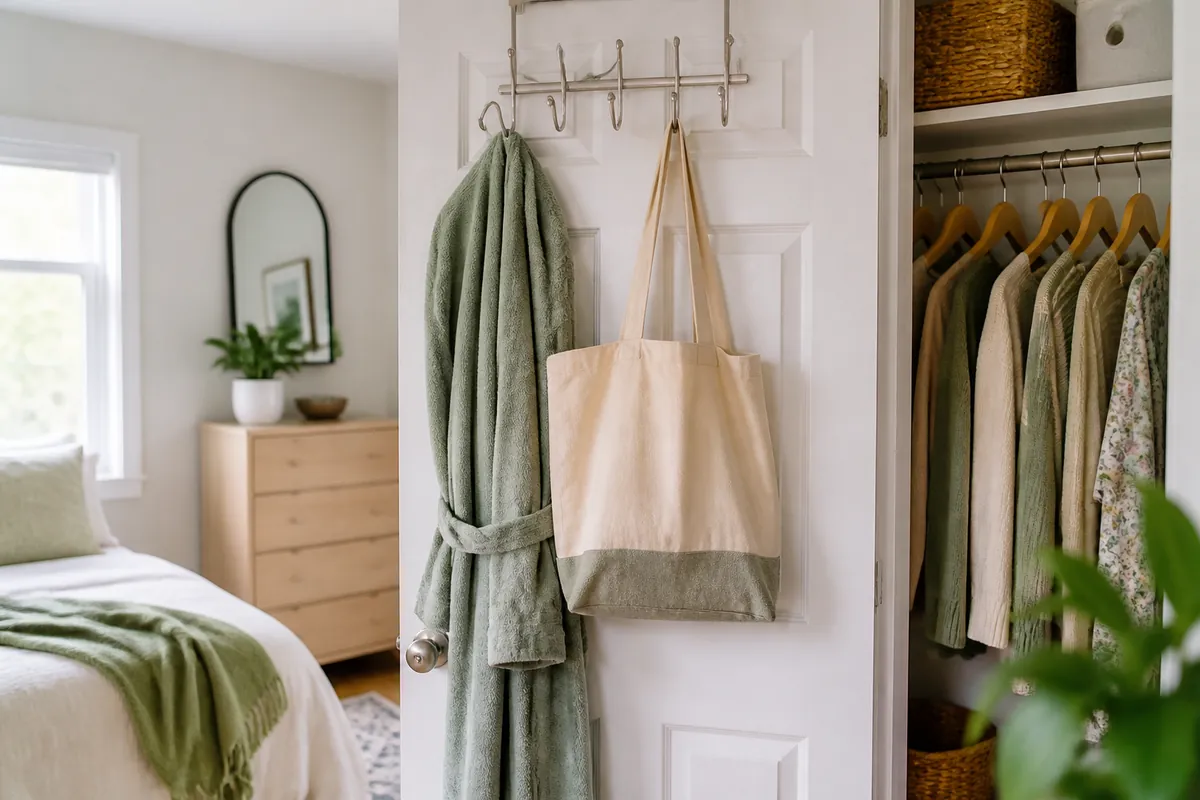
The two systems do different jobs and most people only install one.
Pockets handle the small and the many. An over-the-door hook rack handles the bulky and the few: a dressing gown, a tote bag, a belt loop, tomorrow’s outfit. Those things do not fit a pocket and they do not want folding.
If the door is tall enough, run hooks at the top and pockets below. If you have to choose, choose by what actually accumulates on your floor.
Door hooks are also the best cure for the chair full of worn-once clothes, and clothes chair organization ideas for a small bedroom shows how to use them for exactly that.
5. Treat the hinges as the real weight limit
The rack is rarely what fails. The door is.
Hollow interior doors have light hinges, and a heavily loaded door starts to sag on them. The symptom is a door that begins catching on the frame or refusing to latch, and it is the kind of damage a landlord notices. The rack’s stated capacity is about the rack, not about your door.
Keep the load light and spread it down the height of the door rather than concentrating it at the top. If the door starts to drop, take weight off before it becomes a repair.
6. Prepare the surface before using adhesives
Adhesive fittings fail for one reason, and it is almost never the product.
They need a smooth, clean, completely dry surface. Wipe the spot with rubbing alcohol, not a household spray, because most sprays leave a residue designed to repel exactly what you are about to stick down. Let it dry, press firmly for thirty seconds, then leave it a full hour before hanging anything on it.
Skip the curing hour and it will hold beautifully until the moment it does not, usually at three in the morning.
7. Adhesives belong on the flat panel, not the molding
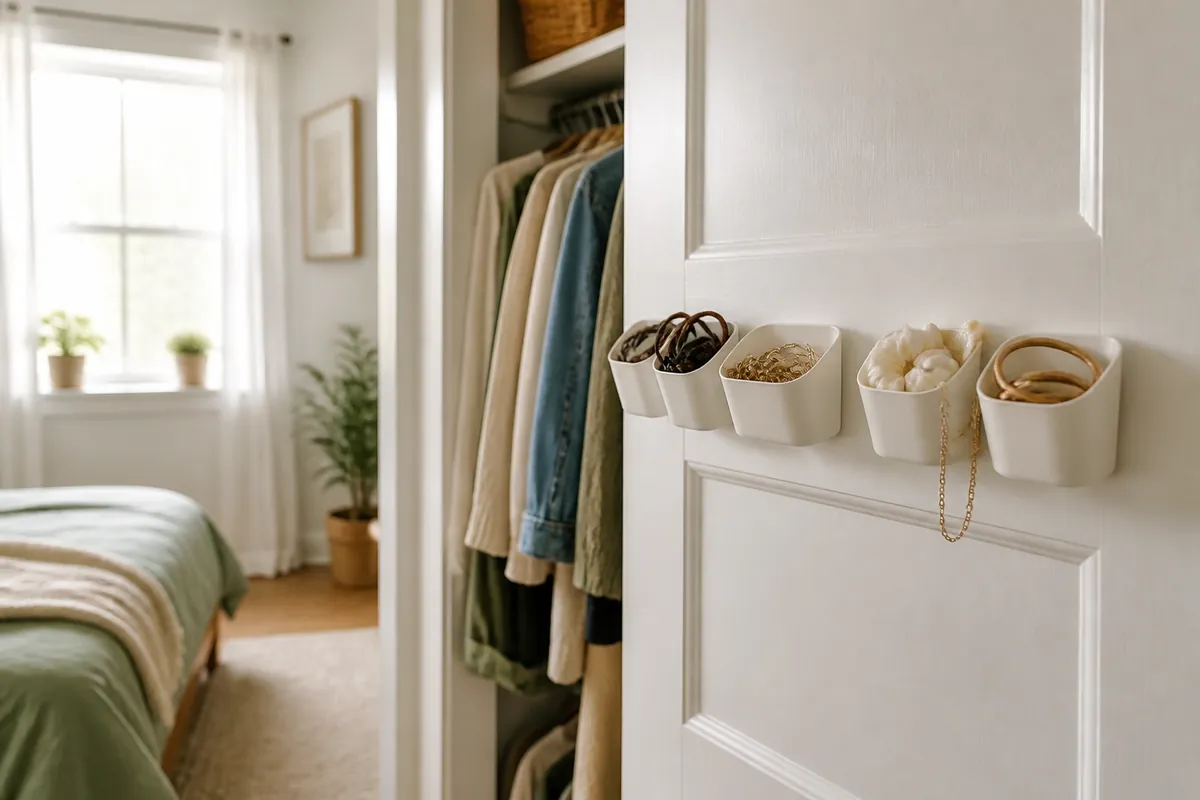
Where you stick matters as much as how.
Paneled doors have raised and recessed sections, and a fitting bridging two levels is holding on by a fraction of its pad. Find the flattest continuous area and keep everything within it. On a paneled door that is usually the stile down the hinge side or the center of a recessed panel.
Adhesive wall storage cups work well here for the very small things, jewelry, hair ties, clips, which otherwise vanish into the bottom of every container they are put in.
8. Sliding and bifold doors are a different problem
If your closet has sliding or bifold doors, none of the over-door advice applies.
There is no free top edge to hang from and no clearance behind the door for a bracket to sit. Forcing it jams the track, which is a repair rather than an inconvenience.
Use the inside walls of the closet instead, the back wall behind the hanging rail, or adhesive fittings on the face of the door where nothing needs clearance. The storage is still there, it just has to be flat.
9. Keep the total depth under a few inches
The discipline that keeps the whole thing workable.
Whatever ends up on the door has to pass the shelves, rails and boxes inside the closet when it swings shut. Keep the loaded depth to a few inches and it clears. Let it grow and you get the compromise nobody wants, a door that only closes if you push it, and a closet you stop using properly.
The simplest check: shut the door slowly with the closet fully packed. If you feel resistance, something on the door is too deep.
10. Know how to get the adhesives off again
The part that decides whether any of this was a good idea.
Adhesive strips come off cleanly if you pull the tab straight down, slowly, parallel to the wall or door, stretching it rather than levering it. Pull outward and you take paint, and on a rented door that is the deposit conversation you were trying to avoid.
If a strip has been up a long time and will not stretch, warm it first with a hairdryer on low for thirty seconds. The adhesive softens and releases instead of tearing.
Do this test before you commit to a wall of them: put one hook somewhere hidden, leave it a week, then take it off and see what the surface looks like. Cheap insurance on a door you do not own.
Where to start
Measure the door edge, then hang one over-door organizer with clear pockets and load it with the things currently living on your closet floor. That single item usually clears more floor than any amount of rearranging inside the closet does, and it costs nothing in deposit.
Add hooks above it for the bulky items, use adhesives only on the flat panel for small things, and watch the door for sagging. Everything comes off when you move, and the door goes back to being a door.