A garment bag is supposed to protect one good suit or one dress you wear twice a year, but in a small rental closet it usually ends up doing the opposite: eating four to six inches of rod space per bag, blocking the shirts behind it, and hiding whatever’s actually inside until you unzip three of them looking for the right one. The bag itself is the easy part. Fitting three or four of them into a closet that barely holds your daily rotation is where most people give up and just leave the good suit draped over a chair.
None of this needs a bigger closet or a garment rack in the middle of the bedroom, though sometimes a rack earns its square feet. It needs a plan for exactly how much rod a bag takes, what actually deserves one, and a way to tell them apart without unzipping every single one.
1. Work out what actually needs a garment bag
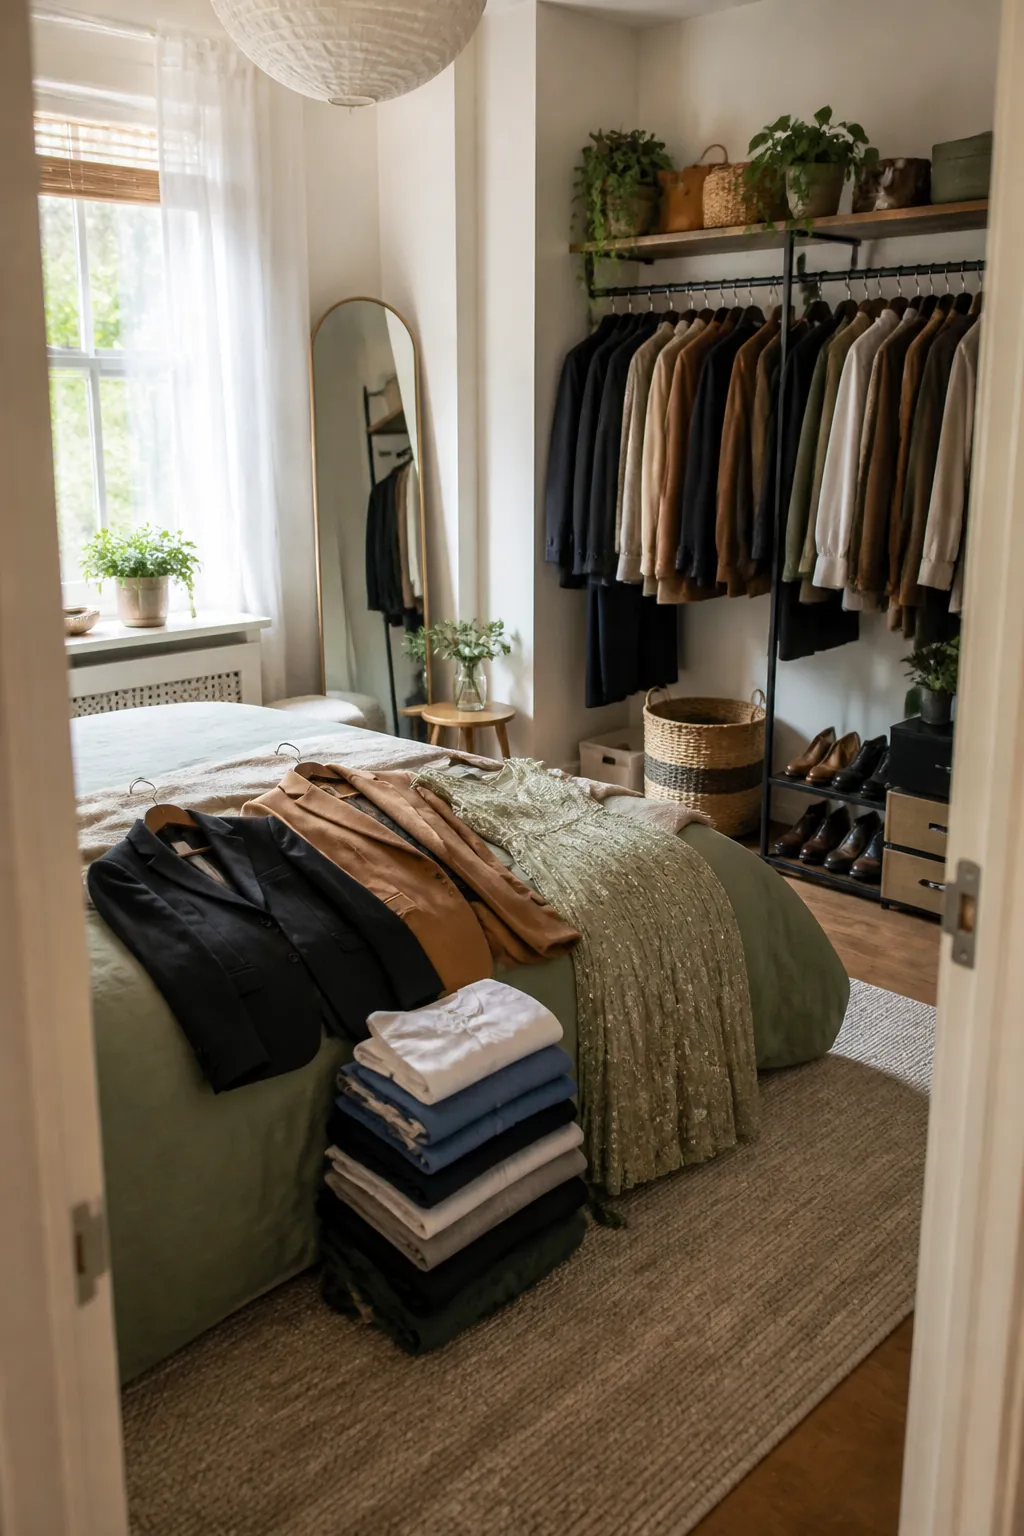
Not every hanging garment earns the extra bulk of a bag. Structured pieces that lose their shape from dust and light, a wool suit, a silk dress, anything beaded or sequined, belong in one. A cotton work shirt or a pair of everyday slacks does not, and bagging it just adds bulk for no protective benefit.
Sort your hanging clothes into these two piles before buying a single bag. Most closets, once sorted, need three to five garment bags total, not the ten or twelve people default to when every semi-formal item gets wrapped.
2. Measure the drop before you buy a single bag
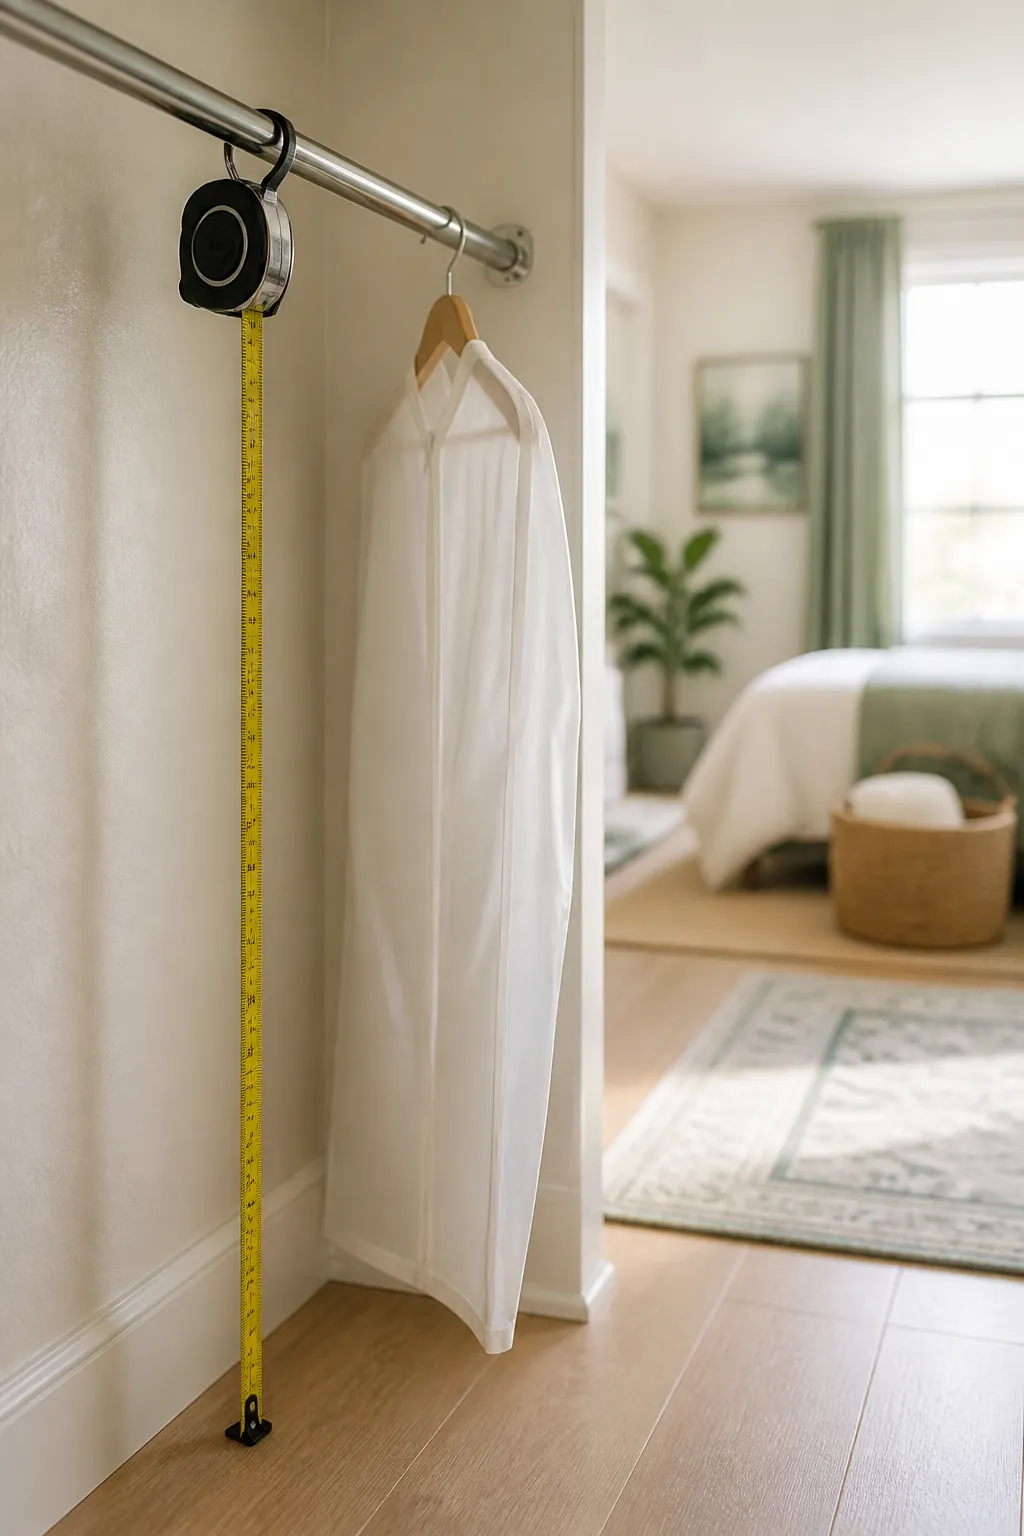
Garment bags come in two common lengths: sport length at around 42 inches, for jackets and shorter dresses, and full length at 60 to 72 inches, for suits, gowns, and full length coats.
Measure your rod height to the floor first. A standard rental closet rod sits about 66 to 68 inches up, which leaves barely enough room for a 60 inch bag to clear the floor and none at all for a 72 inch one. Buy a bag longer than your drop and the bottom folds over on itself every time the door closes, creasing exactly the hem you were trying to protect.
3. Group every garment bag at one end of the rod
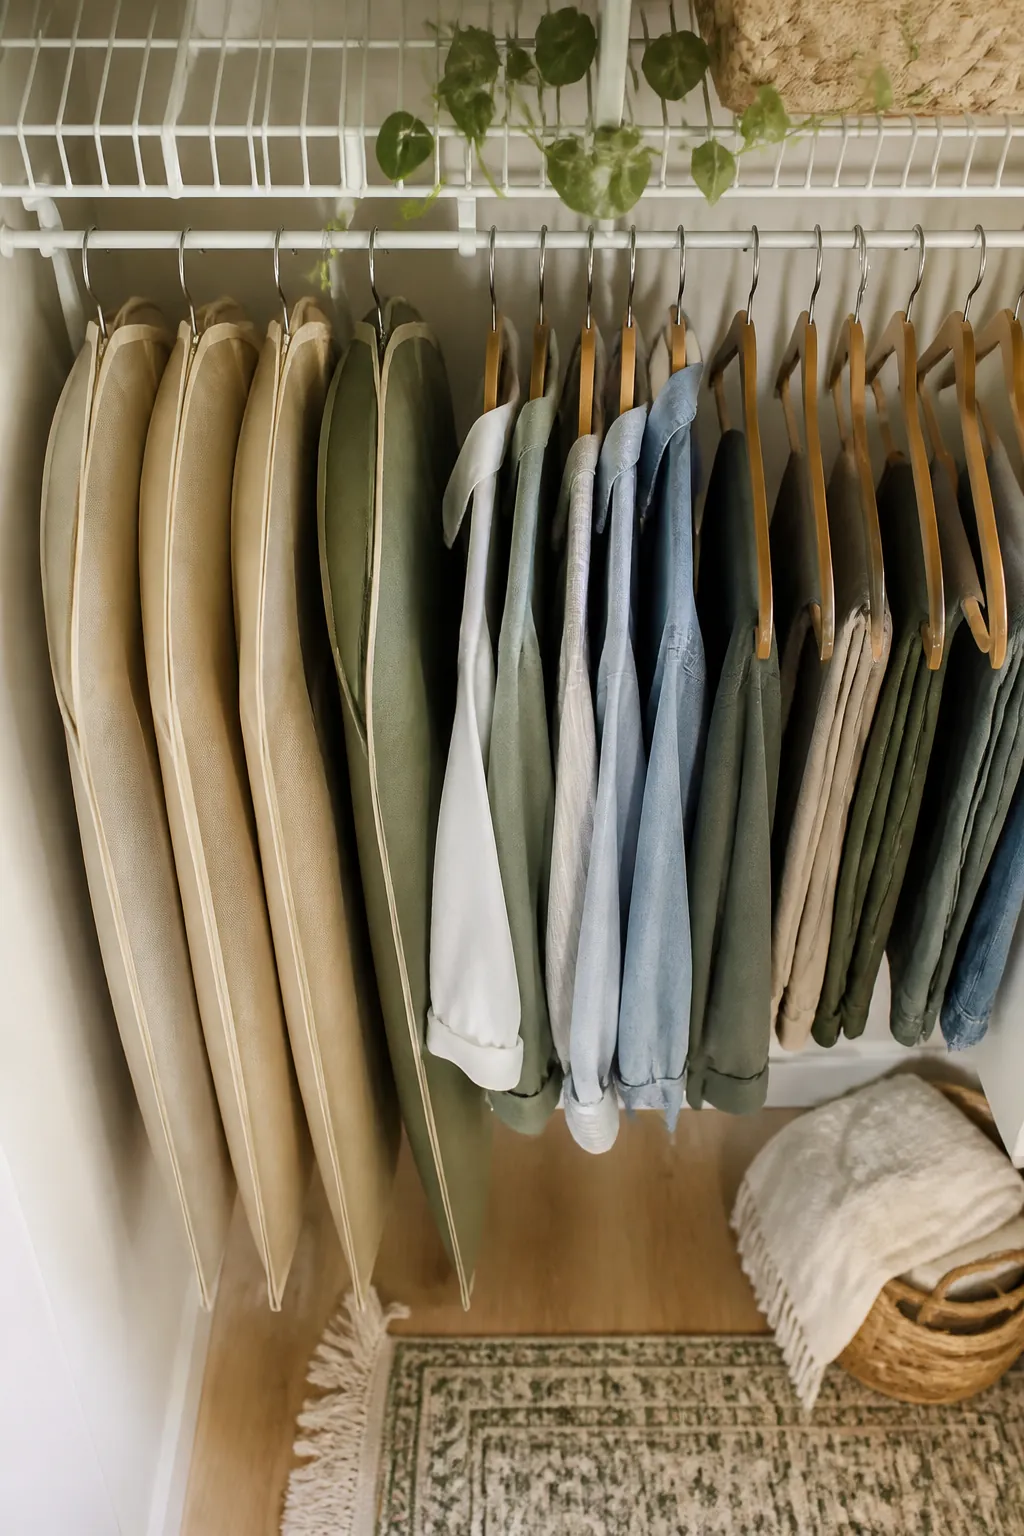
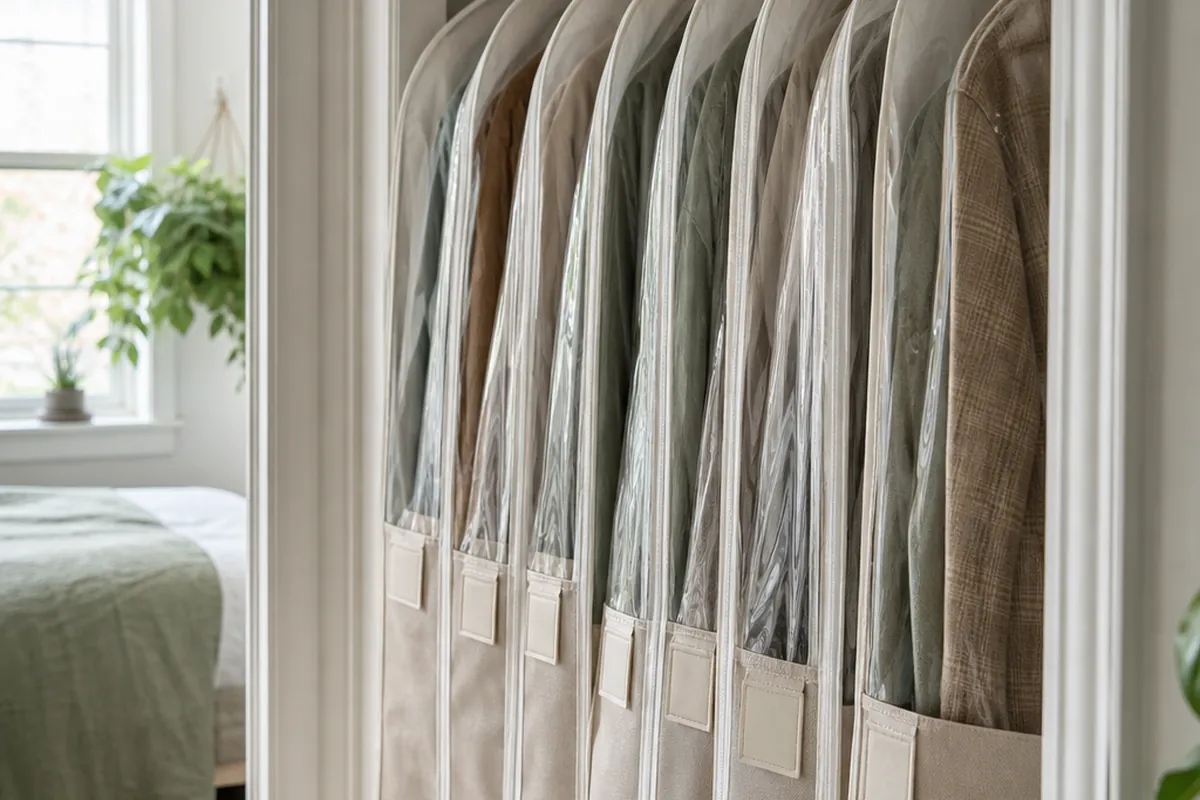
A garment bag sandwiched between two bare hangers gets squeezed from both sides every time you push clothes aside to grab a shirt, and that repeated pressure is what puts crease lines into fabric a bag was supposed to prevent.
Push all your bagged items to one end of the rod, together, so the only pressure they take is from each other, not from a rotation of daily clothes brushing past all day. This also means you’re not hunting through work shirts to find the one thing wrapped in plastic.
4. Give bagged items their own rod section with a doubler

Most closets waste the top two feet of hanging space on shirts and folded pants that only need half the drop a full length rod offers. An adjustable closet rod doubler adds a second, lower rod for exactly those shorter items, which clears the entire original rod height for full length garment bags without stealing an inch of total capacity.
This is a no-drill fix that clamps to the existing rod, which matters in a rental where a second rod bracket screwed into drywall is not an option. Check the doubler’s listed weight rating before hanging heavier folded items on the lower bar.
5. Choose breathable fabric over sealed vinyl

A garment absorbs moisture from the air around it whether it’s a wool suit or a cotton dress, and a sealed vinyl bag traps that moisture against the fabric with nowhere to go. Weeks later you unzip it to a faint musty smell that wasn’t there when you packed it.
Zippered garment storage bags in breathable fabric, canvas, cotton, or a woven non-woven material, let moisture escape while still keeping dust and closet grit off the surface. Save the vinyl bags that come free from the dry cleaner for the two days between pickup and closet, not for months of storage.
6. Never pack more than one or two garments per bag
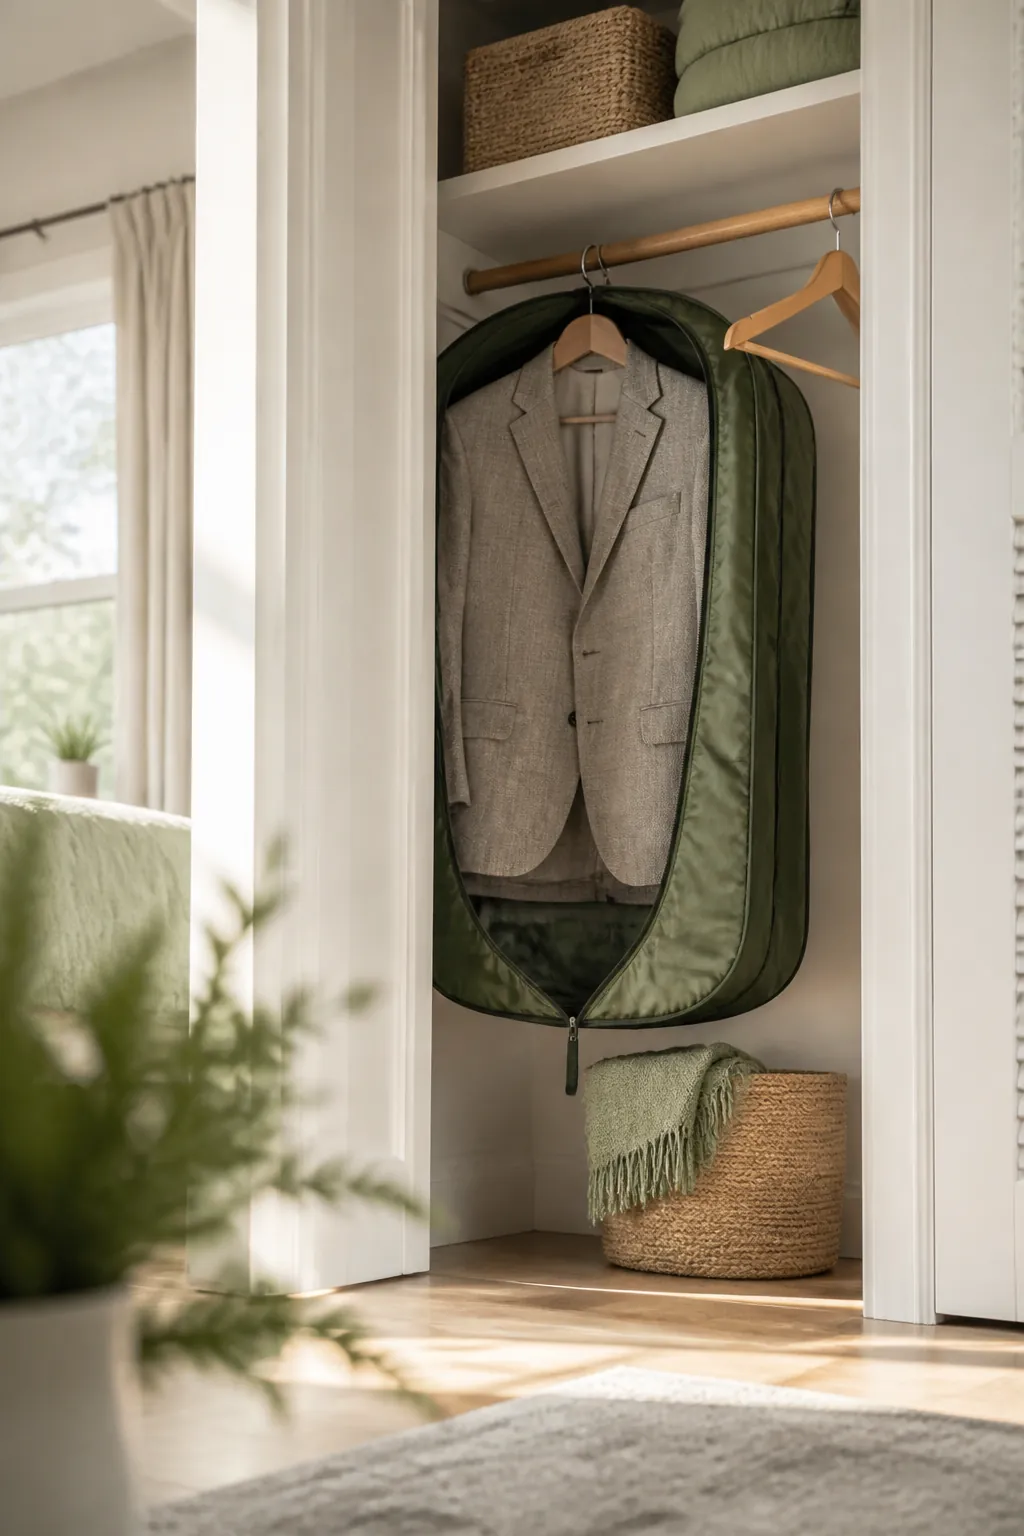
Stuffing three dresses into one bag to save on bag count seems efficient until you notice the friction marks where the fabrics have been rubbing against each other and the zipper for weeks.
One garment per bag is the standard for anything structured or delicate. Two is workable only when both pieces are similar weight and length, so neither one drags on the other’s hem. Beyond that, buy a second bag rather than doubling up, since the bag itself costs less than reweaving a snagged silk sleeve.
7. Swap heavy hangers for slim ones inside every bag
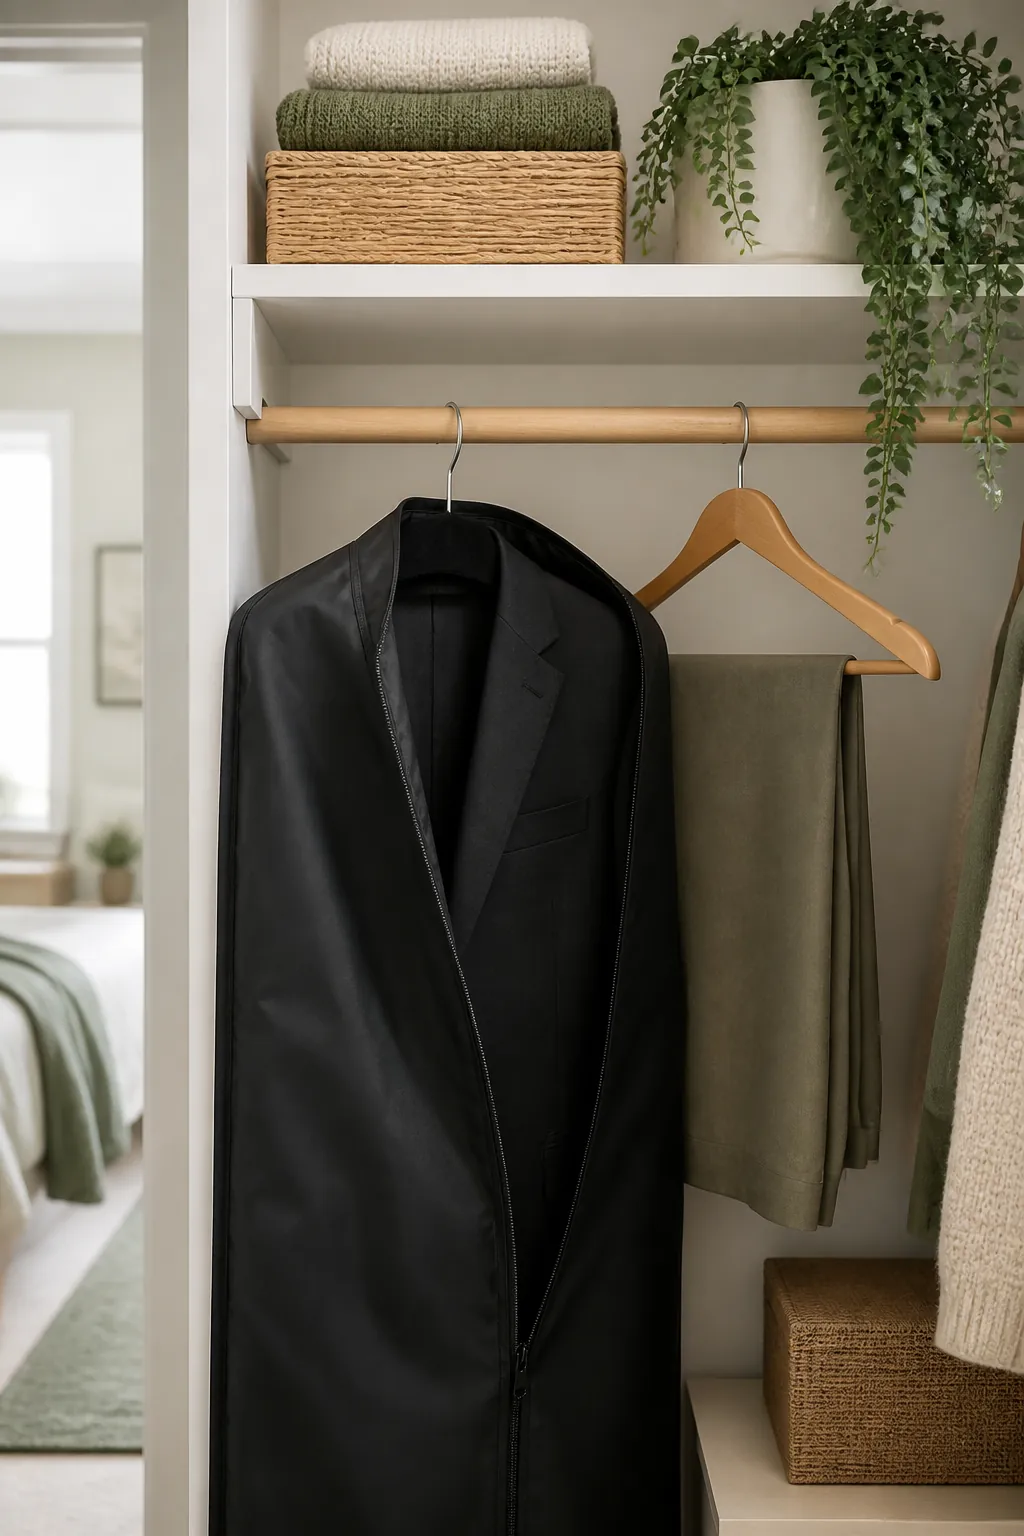
A wide wooden suit hanger inside a garment bag adds width the bag then has to accommodate, which is part of why bagged items crowd a rod faster than bare ones.
Slim velvet hangers hold their shape at roughly a third of the width of a standard wooden hanger, which across four or five bagged suits adds up to real rod inches back. The velvet surface also grips shoulder seams, so a jacket doesn’t slide toward the center of the hanger and stretch the shoulder line inside the closed bag.
8. Move overflow bags to a freestanding rack
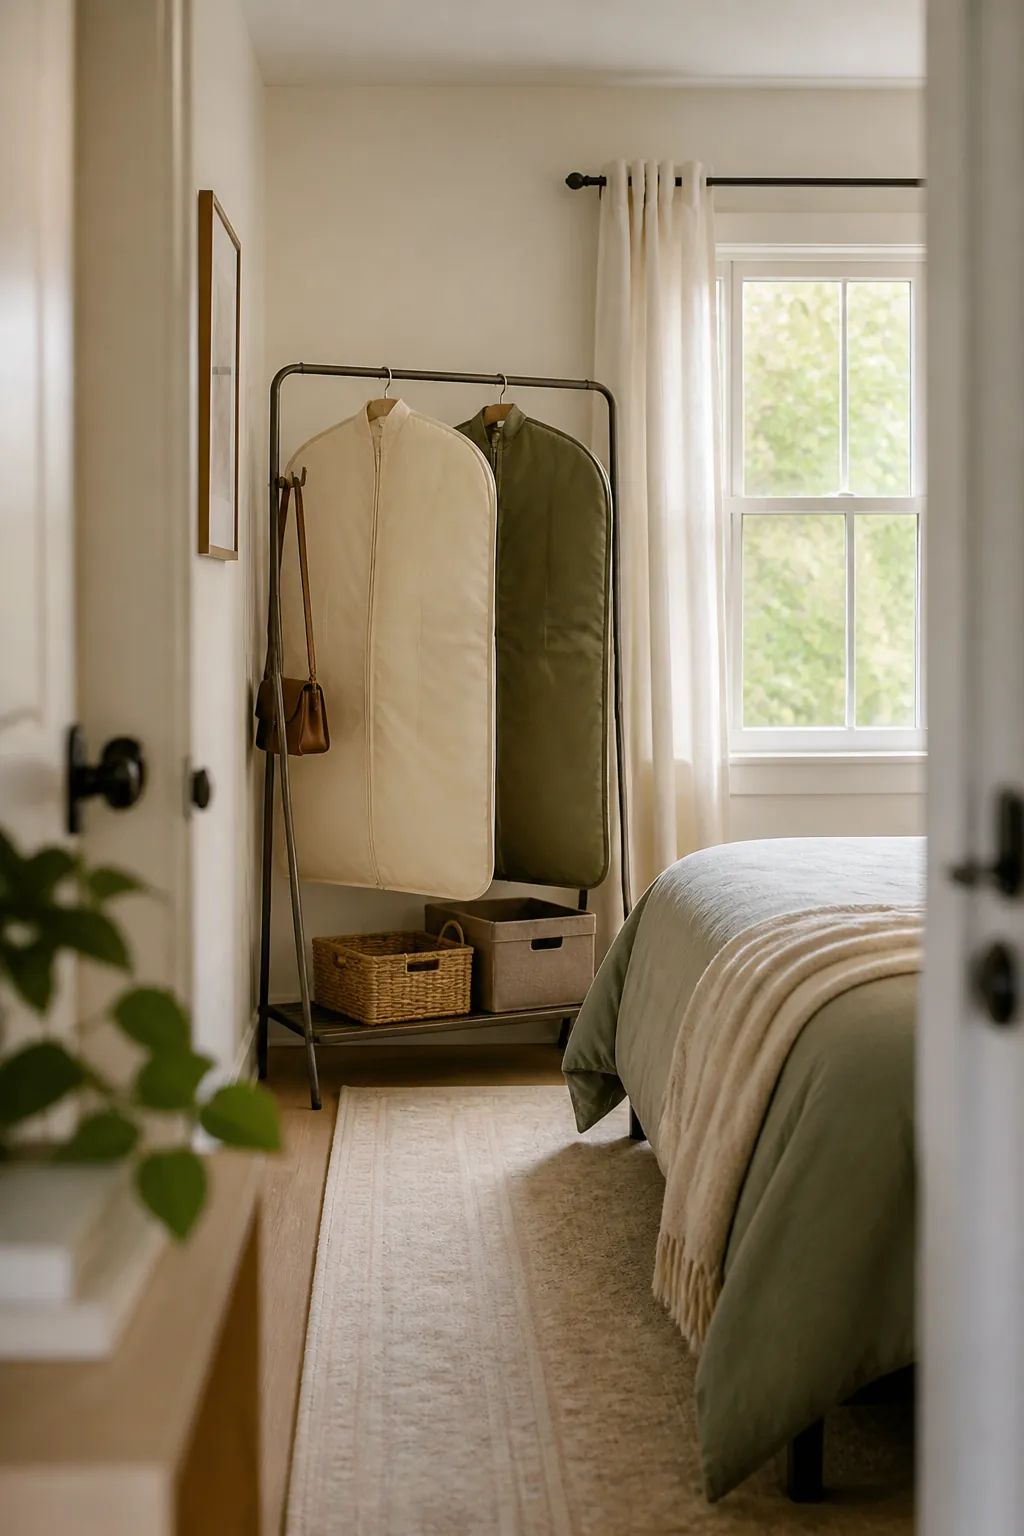
When the rod is genuinely full even after doubling and slimming down hangers, the honest answer is that some bags have to leave the closet.
A freestanding garment rack takes two to three square feet of floor and holds the overflow, typically the pieces worn only a few times a year, wedding and event wear especially. Put it against a wall you’re not using rather than in the middle of a room, and cover the rack itself with one long breathable cover if the room gets dusty, rather than relying on each bag alone.
9. Label the zipper pull, not the bag’s side

Once three or four garment bags hang side by side, they look identical, and the fastest way to find the right one becomes unzipping each one partway, which is exactly the friction and handling that shortens a garment’s life between wears.
Clip a small tag to the zipper pull with what’s inside: whose suit, what color, for what occasion. Read it face on, at eye level, rather than a label sewn into the bag’s side that you’d have to twist the whole bag around to see. This single habit is the difference between grabbing the right bag in five seconds and unzipping three to find it.
10. Check what the rod or hook is actually rated to hold
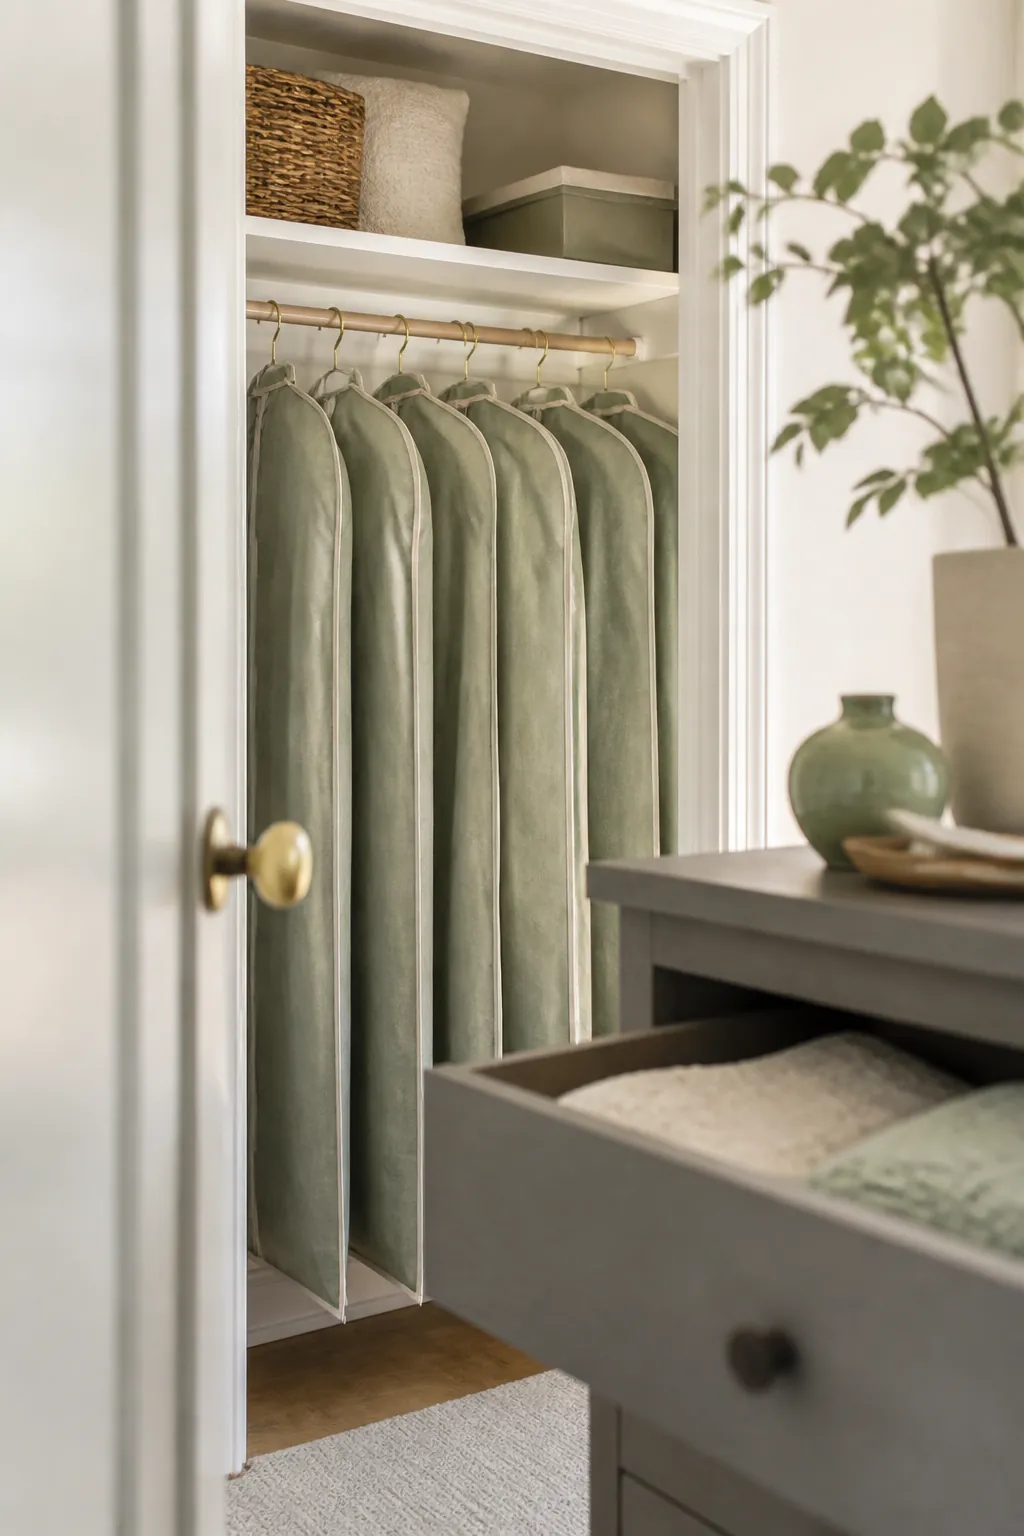
A wool suit in a bag with a matching overcoat can run eight to ten pounds, and four or five of those hanging together add up to real weight on a rod that a rental building may not have installed with garment bags in mind.
Most closet rods handle this fine, but a tension rod or a rod doubler clamped rather than bracketed has a published weight limit, usually printed on the packaging, that’s worth checking before you hang your heaviest bags on it. A rod sagging visibly in the middle is already over its limit, not a sign to add one more bag and see what happens.
Where to start
Sort first: figure out which garments actually need a bag, since that number is usually smaller than the pile you started with. Measure your rod’s drop against the bag length you’re buying, group every bagged item at one end of the rod, and swap in slim hangers before you assume you need more space than you do.
If the rod is still full after that, a rod doubler frees height for the bags that need it, and a freestanding rack takes the true overflow out of the closet entirely. Add a zipper tag to every bag and you’ll never unzip the wrong one again.