Most rental closets come with one wooden rod, one shelf parked near the ceiling, and a great deal of wasted air in between. That layout is why your sweaters end up stacked on the floor, and it’s exactly what good DIY closet organization fixes without a screw, a bracket, or a conversation with your landlord. Everything below hangs off what you already have, sits on a shelf, or sticks on with adhesive.
I’ll also be blunt about which popular closet products to skip. A few of the best sellers get bought constantly, used for about a week, then quietly shoved to the back of the shelf.
Start Your DIY Closet Organization by Measuring the Dead Air
Before you order anything, take a tape measure and write down three numbers: floor to rod, rod to shelf, and rod width wall to wall. Then hang your longest garment and measure from its hem to the floor.
That last number decides everything. In a typical reach-in closet you’ll find 24 to 36 inches of nothing under the shirts, plus another dead zone above the rod where the shelf sits. Every idea here attacks one of those two gaps. Guess instead of measuring and you’ll end up with a hanging organizer puddling on the floor or a second rod that clatters into the door every time you open it.
Sort by shape, not by season
Forget summer and winter for a minute. Group clothes by the vertical space they need: short hanging (shirts, jackets, folded pants), long hanging (dresses, coats, maxi skirts), and folded. Push all the long stuff into one narrow block at the far end of the rod. Once it’s clustered there, the rest of the rod is free for a second tier and the floor under the short items opens up for bins. Clothes scattered by season leave you with random long hems blocking three different sections.
Ideas 1-4: Build a Second Rod and a Hanging Shelf Tower
1. Hang an adjustable closet rod doubler
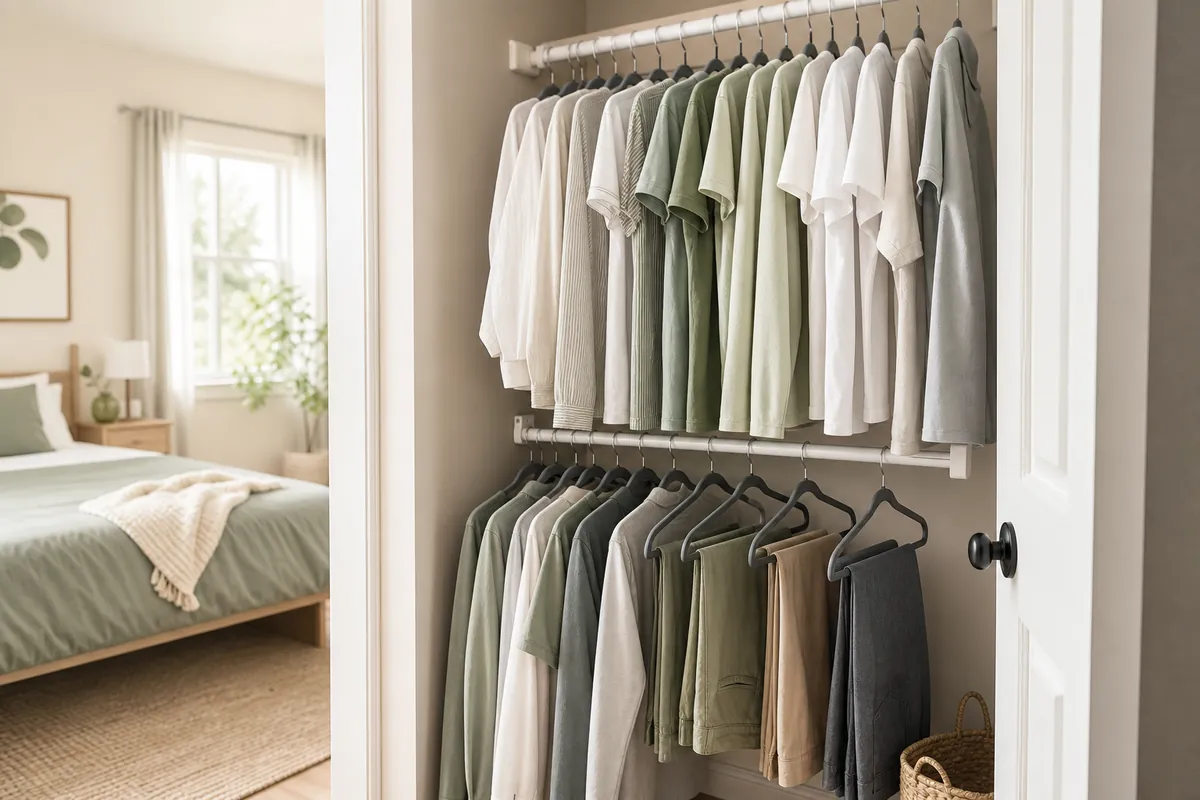
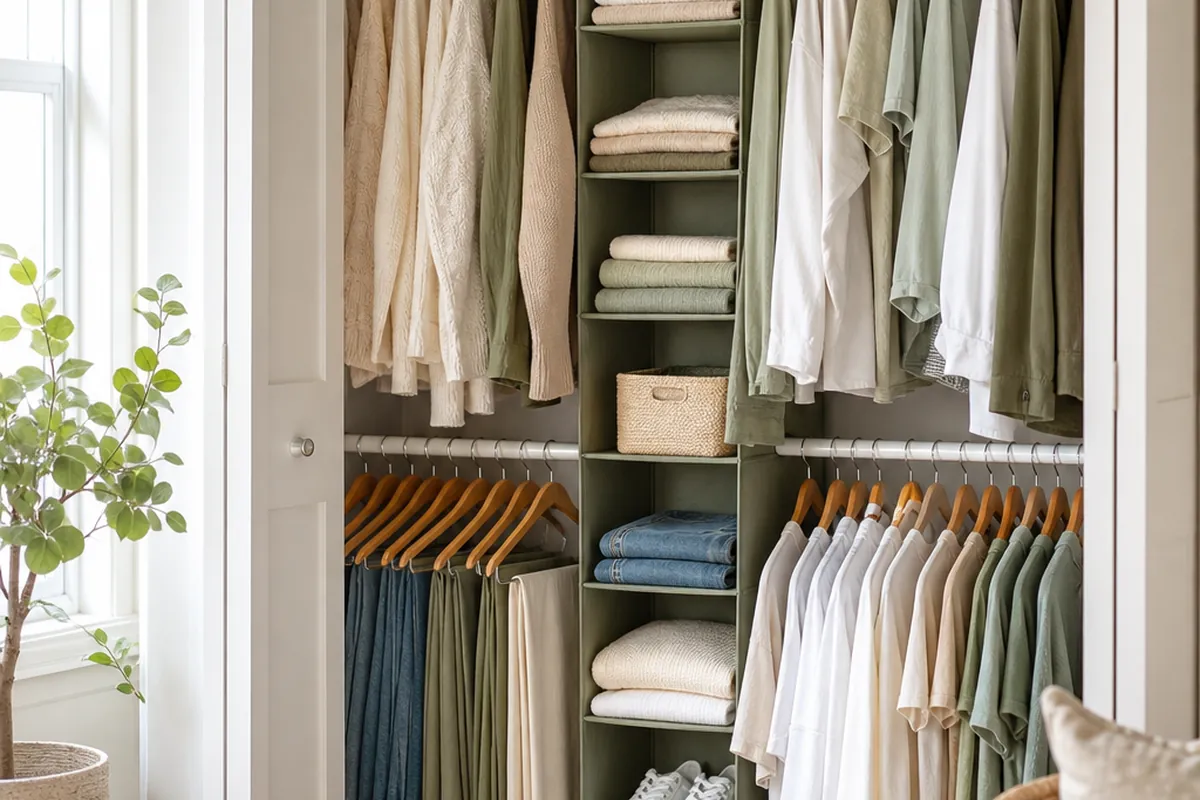
An adjustable closet rod doubler hooks over your existing rod and drops a second bar underneath it. Nothing touches the wall. In the short-hang zone, where most people keep 70 percent of their wardrobe, it roughly doubles capacity for the price of a takeout dinner.
Two details separate a good install from a useless one. Hang it under shirts and folded pants, never under long dresses, and set the drop so the lower hems clear the floor by at least a hand’s width. Lose that clearance and you lose the floor storage you were trying to create. For a fuller walkthrough on stacking rods and rethinking zones, see double closet space as a renter without any renovating.
2. Strap a fabric shelf tower where the rod is emptiest
If your closet has no built-in shelving, a hanging closet shelf organizer with six shelves is the highest-value thing you can buy. It velcros around the rod and converts about a foot of rod width into six shelves of folded storage: sweaters, jeans, t-shirts, workout clothes, handbags standing on their bases.
Put it at the hinge end of the rod, where hanging clothes are annoying to reach anyway. Then respect the load limit. Fabric shelves bow under ten pairs of jeans, so cap each one at roughly six folded items and keep the heavy piles on the bottom two shelves.
3. Load the tower at eye level with what you actually wear
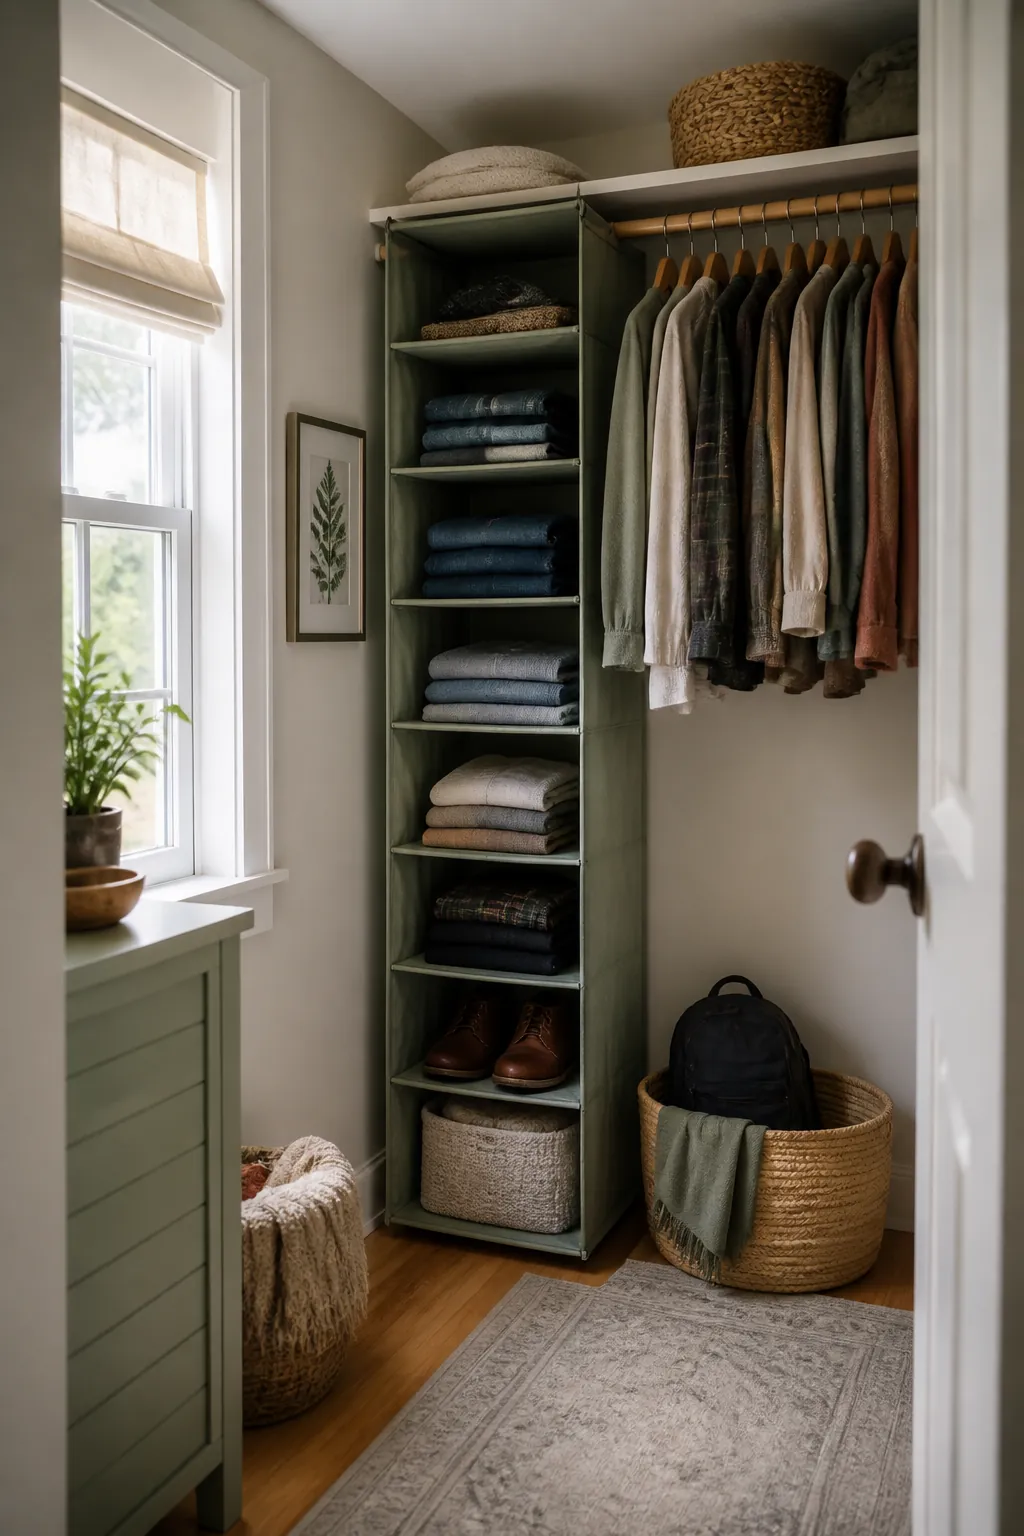
Most people fill a shelf tower top to bottom in the order things come off the floor, which is how pajamas end up at eye level and everyday jeans end up at ankle height. Reverse it. Chest and eye height belong to whatever you reach for every morning. Sentimental sweatshirts and off-season pieces go to the top shelf or the very bottom, where crouching once a month costs you nothing.
4. Reclaim the floor under the short-hang zone
A rod doubler eats floor space, so whatever is left has to work harder. Two or three fabric storage bins with handles, lined up under the shortest garments, hold bulk with no shelf required. If your closet floor is currently a shoe graveyard, clear that first with the tactics in shoe storage for a small space, then hand the reclaimed strip over to bins.
Ideas 5-8: Fix the Hangers and the Closet Fixes Itself
5. Swap everything for slim velvet hangers
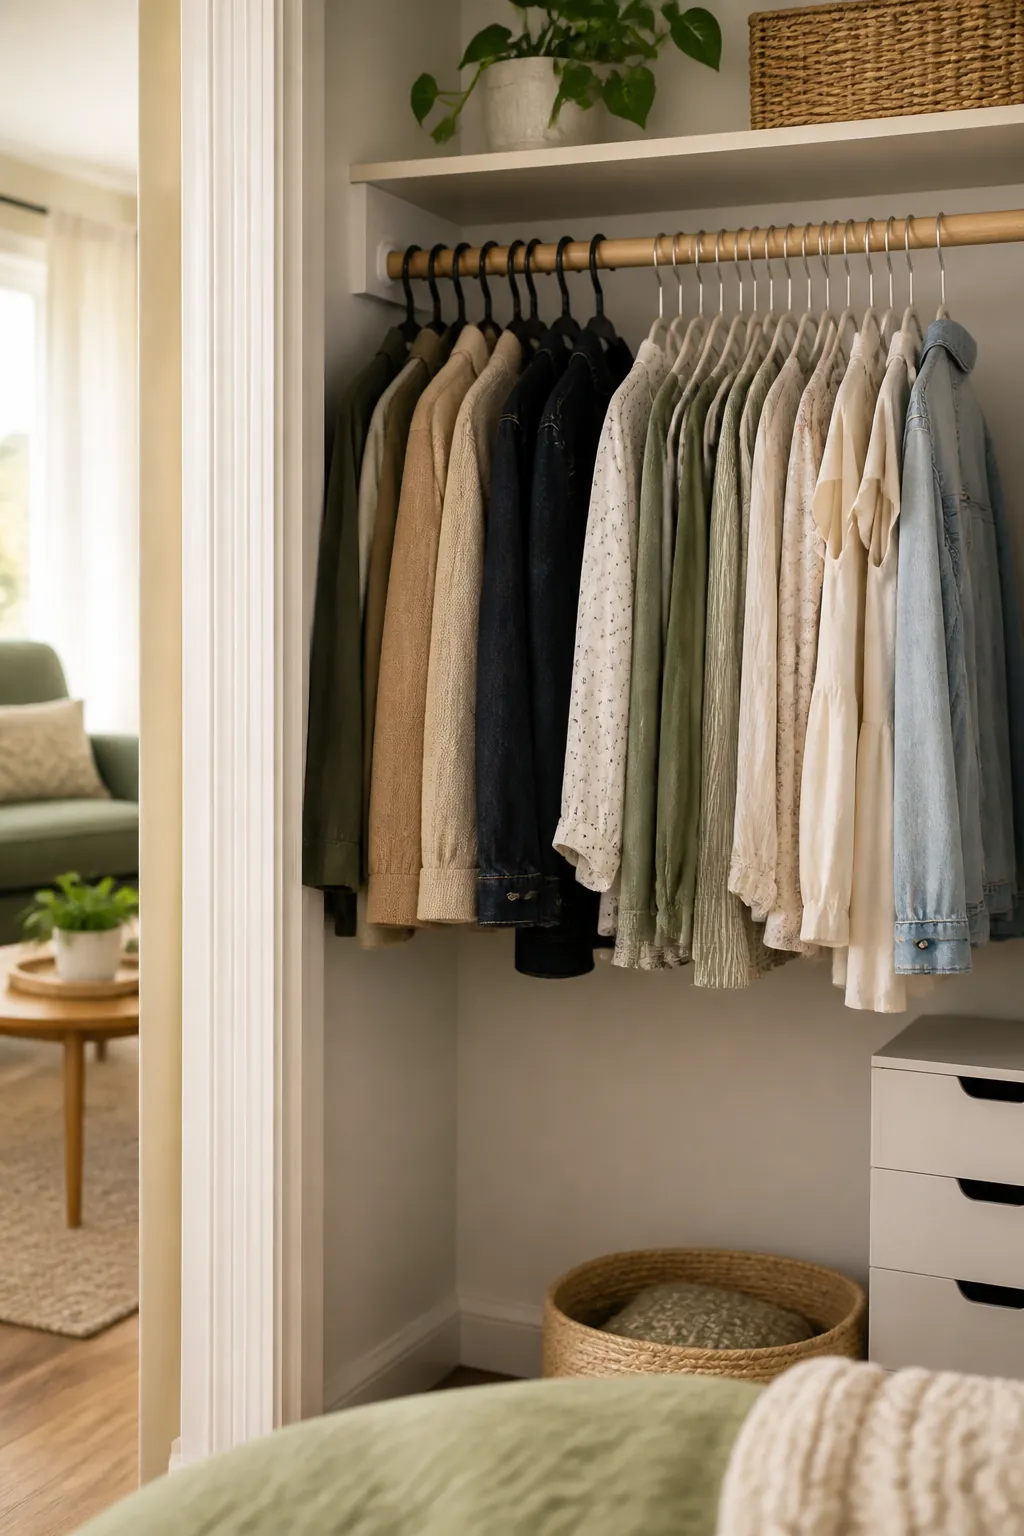
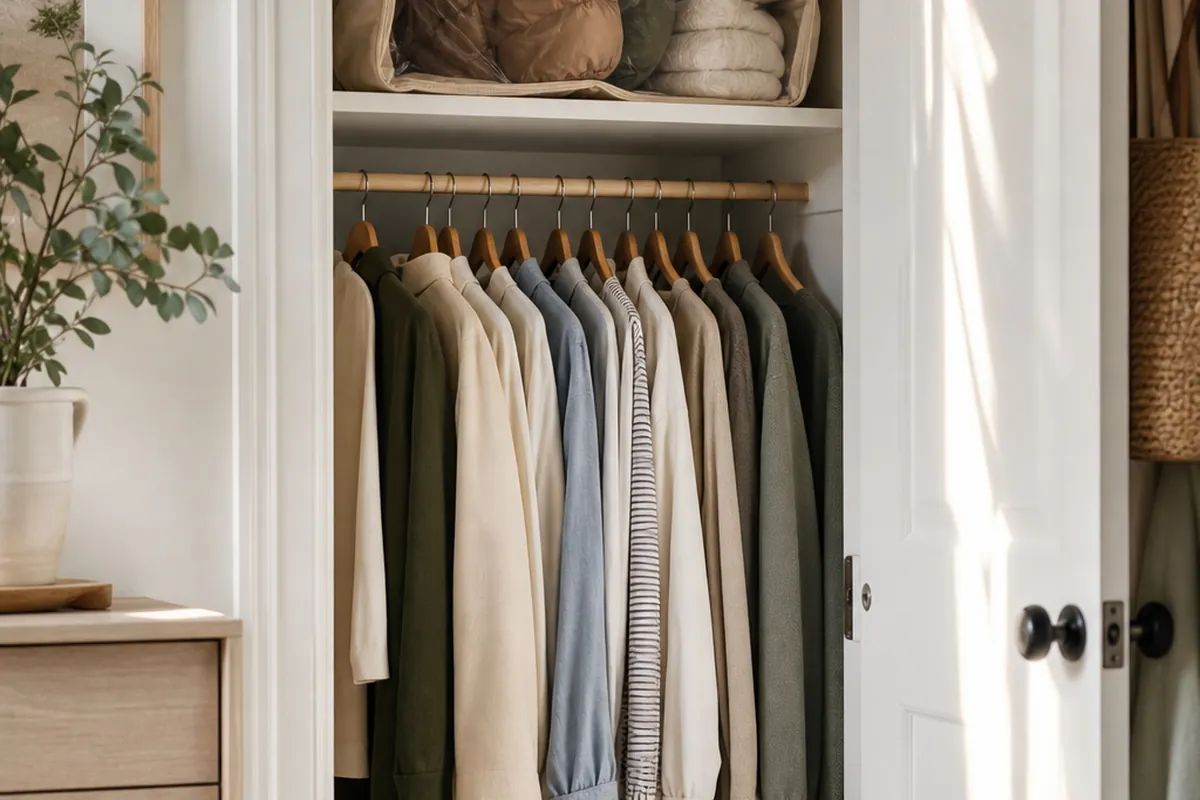
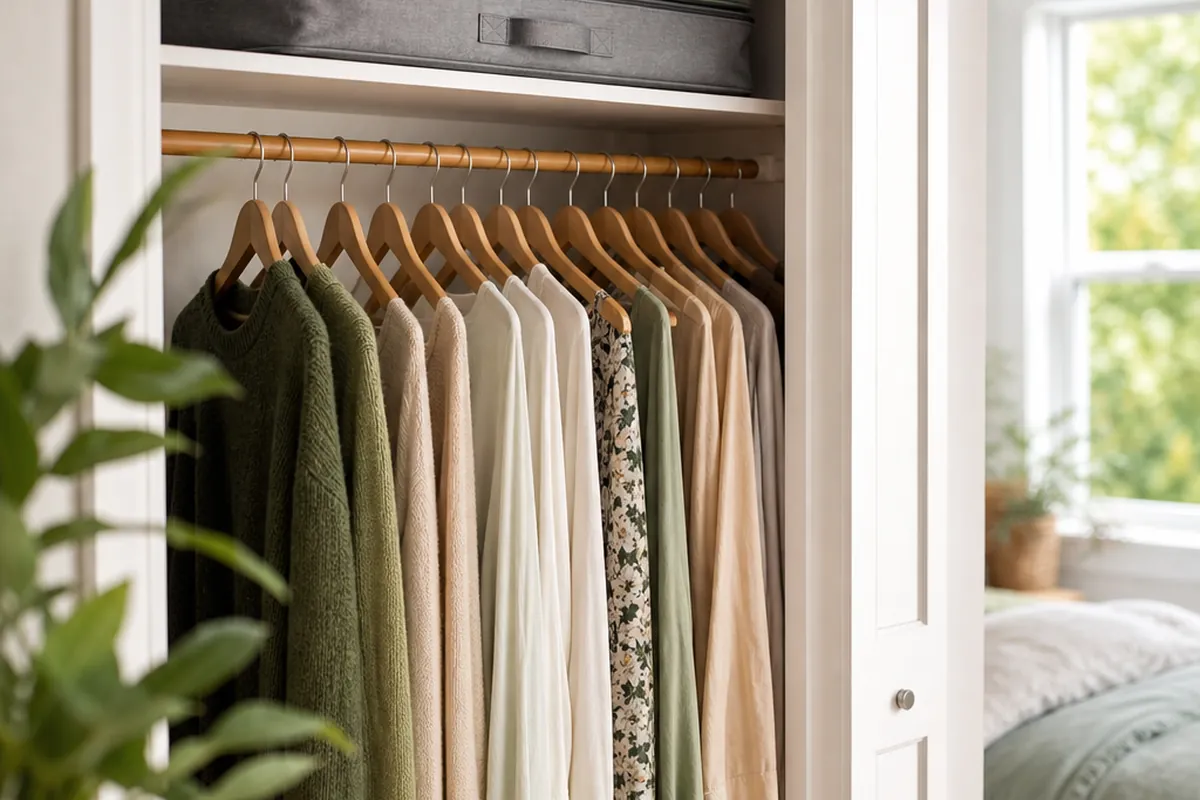
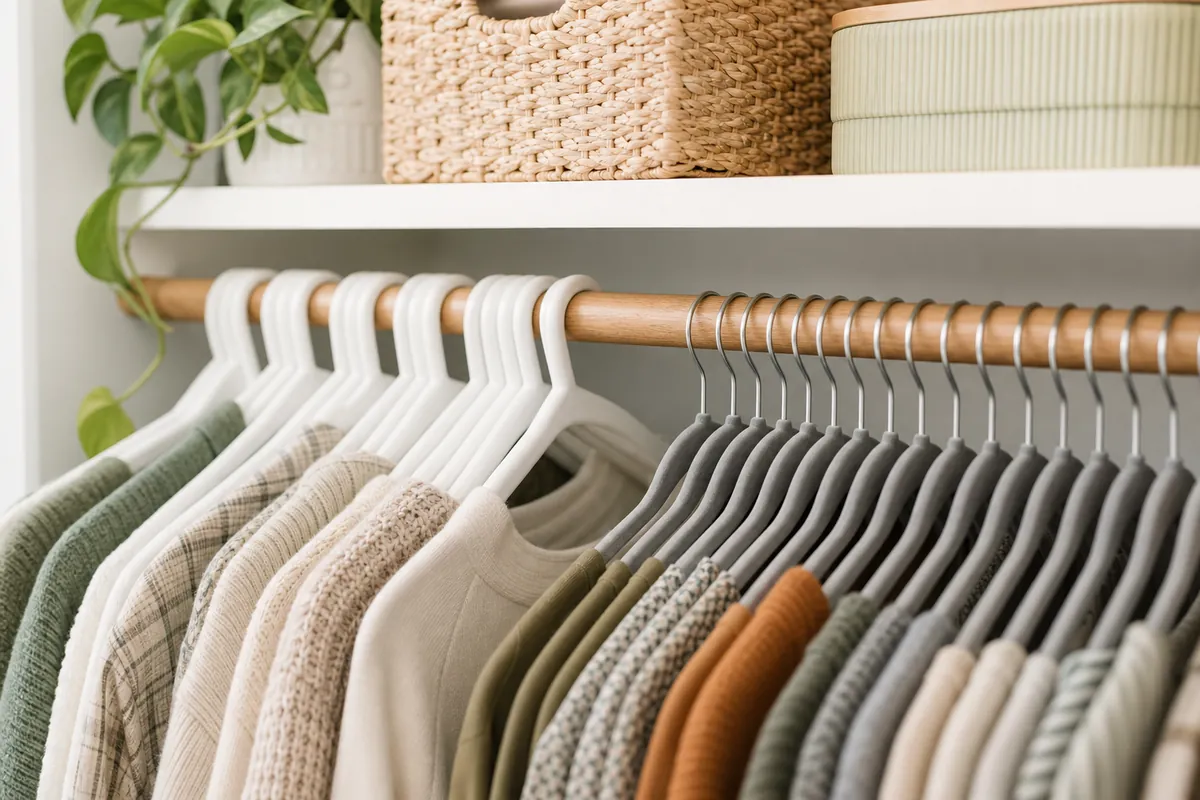
This is the cheapest square footage you will ever buy. A 50-pack of slim velvet hangers replaces chunky plastic and bent wire, and the effect on a packed rod is hard to overstate: shoulders that used to consume an inch each drop to a quarter of that, freeing up something close to a third of the rod. Flocking also grips camisole straps and silk, so garments stop sliding off and landing on your shoes.
Buy one color and finish the swap in a single sitting. Mixed hangers make a tidy closet read as chaotic, and half-done hanger projects have a way of never getting done.
6. Point every hook the same direction

Fussy? Slightly. Useful? Very. Uniform hooks let you slide a whole section along the rod with one hand and spot gaps at a glance. It also opens up the reverse-hanger audit: flip a hanger backward after you wear something, and six months later the hangers still facing forward are your donation pile.
7. Cascade hangers vertically for outfits and rare wears
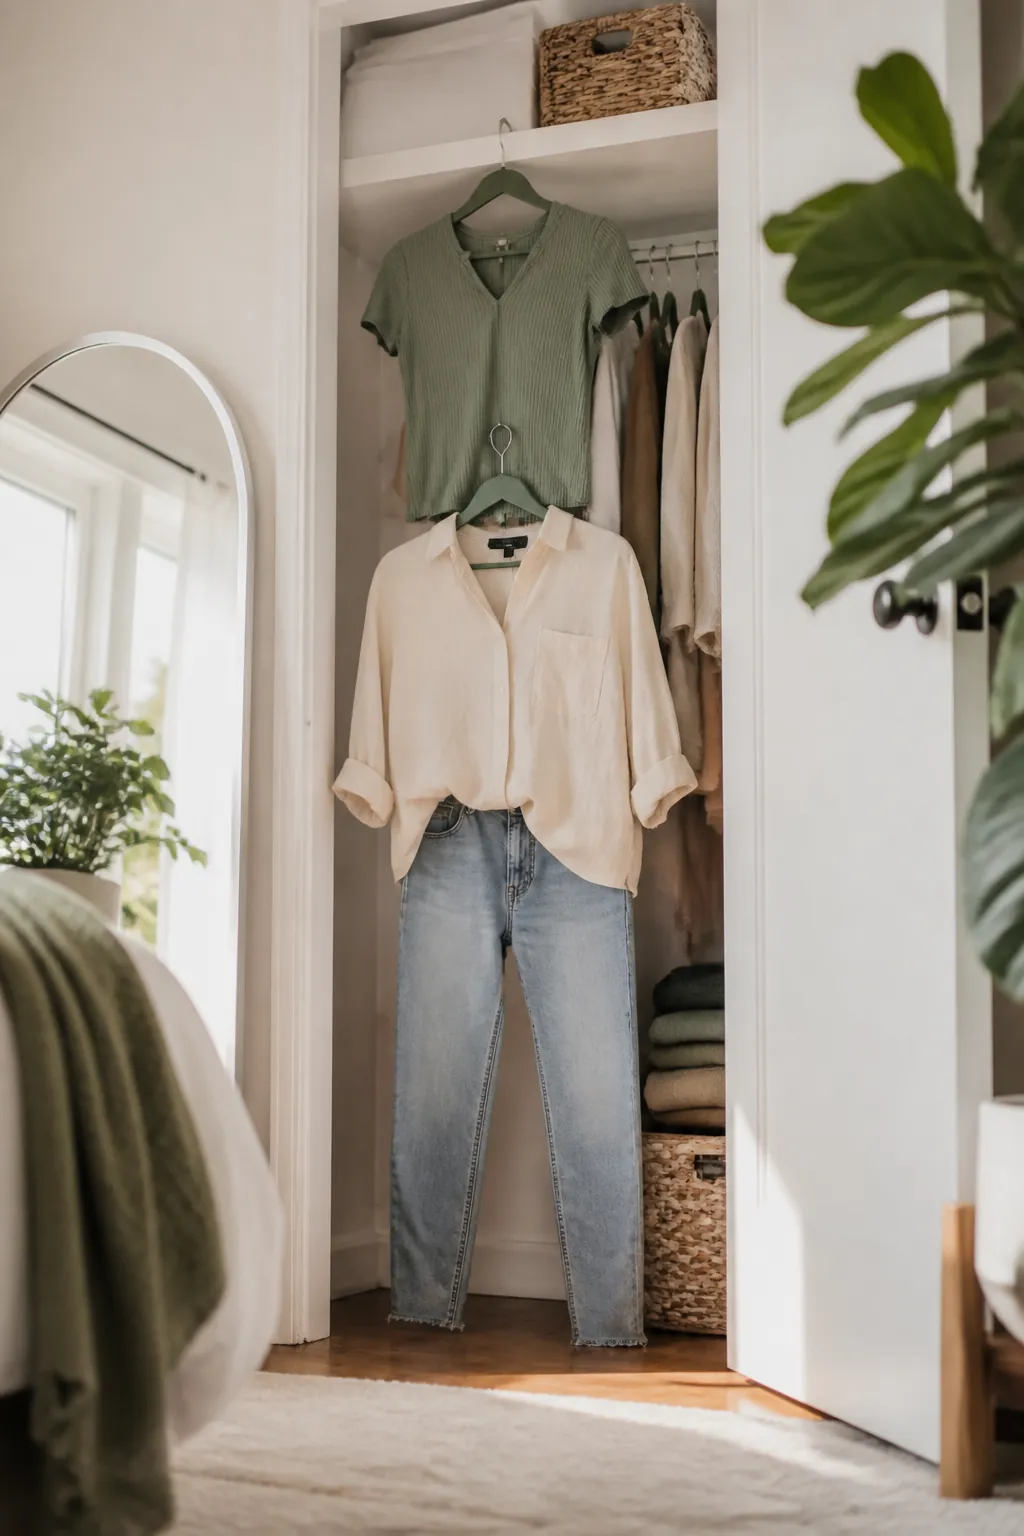
Most slim velvet hangers have a notch in the neck that accepts a second hanger below the first. Use it for two-piece outfits, a blazer with its matching pants, or the going-out tops you wear four times a year. One hook, two garments, zero extra rod width.
8. Retire the multi-tier skirt and pants hangers
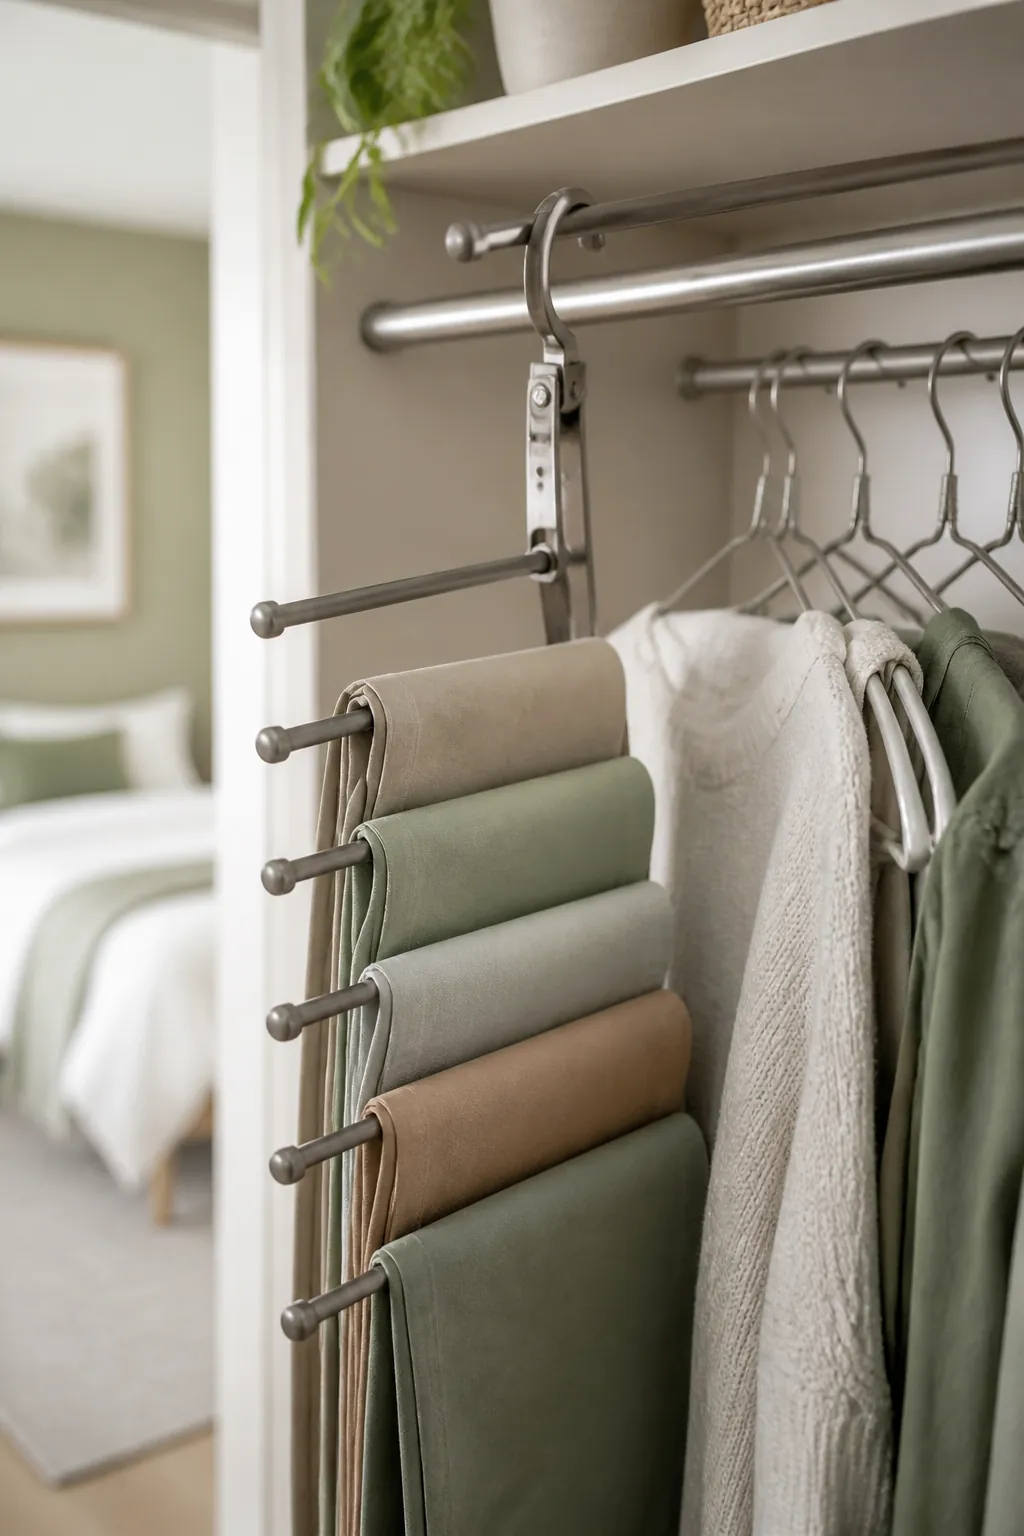
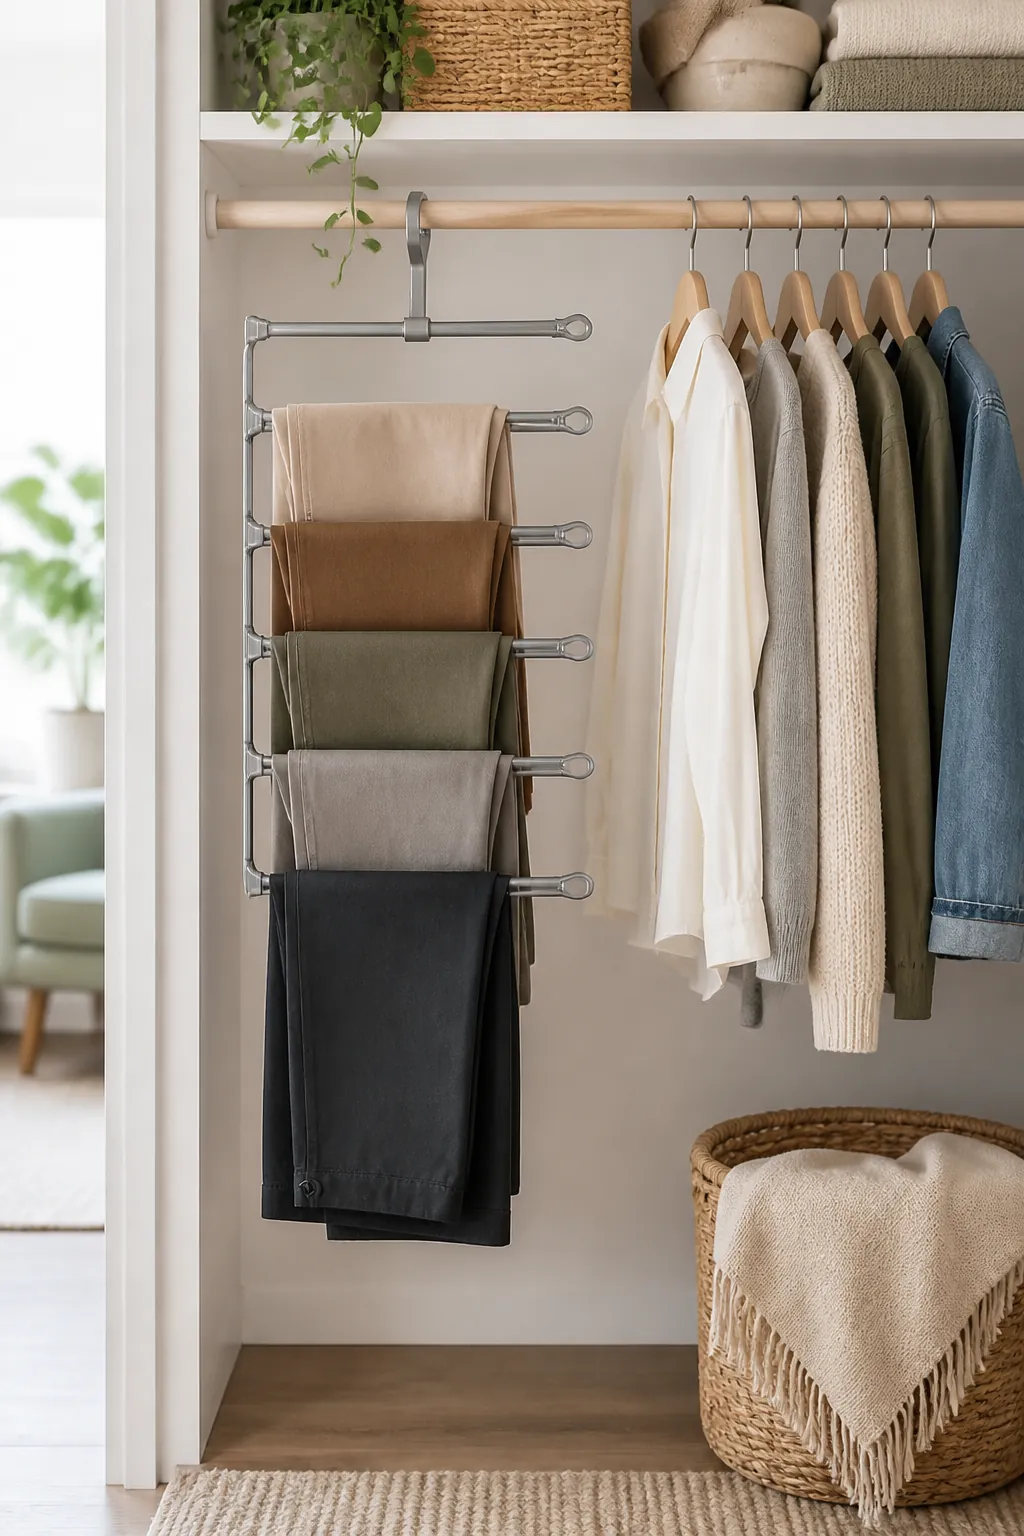
Those tiered metal hangers with five swinging arms look like a solution and behave like a punishment. Pants crease at the bar, the bottom arm is unreachable without unloading the top four, and the whole rack takes up an alarming amount of depth. Fold pants onto a shelf in the hanging tower or clip them at the waistband on individual hangers instead.
DIY Closet Organization Ideas 9-11: Bins, Labels and the High Shelf
9. Match bin size to shelf depth, not to what looks pretty
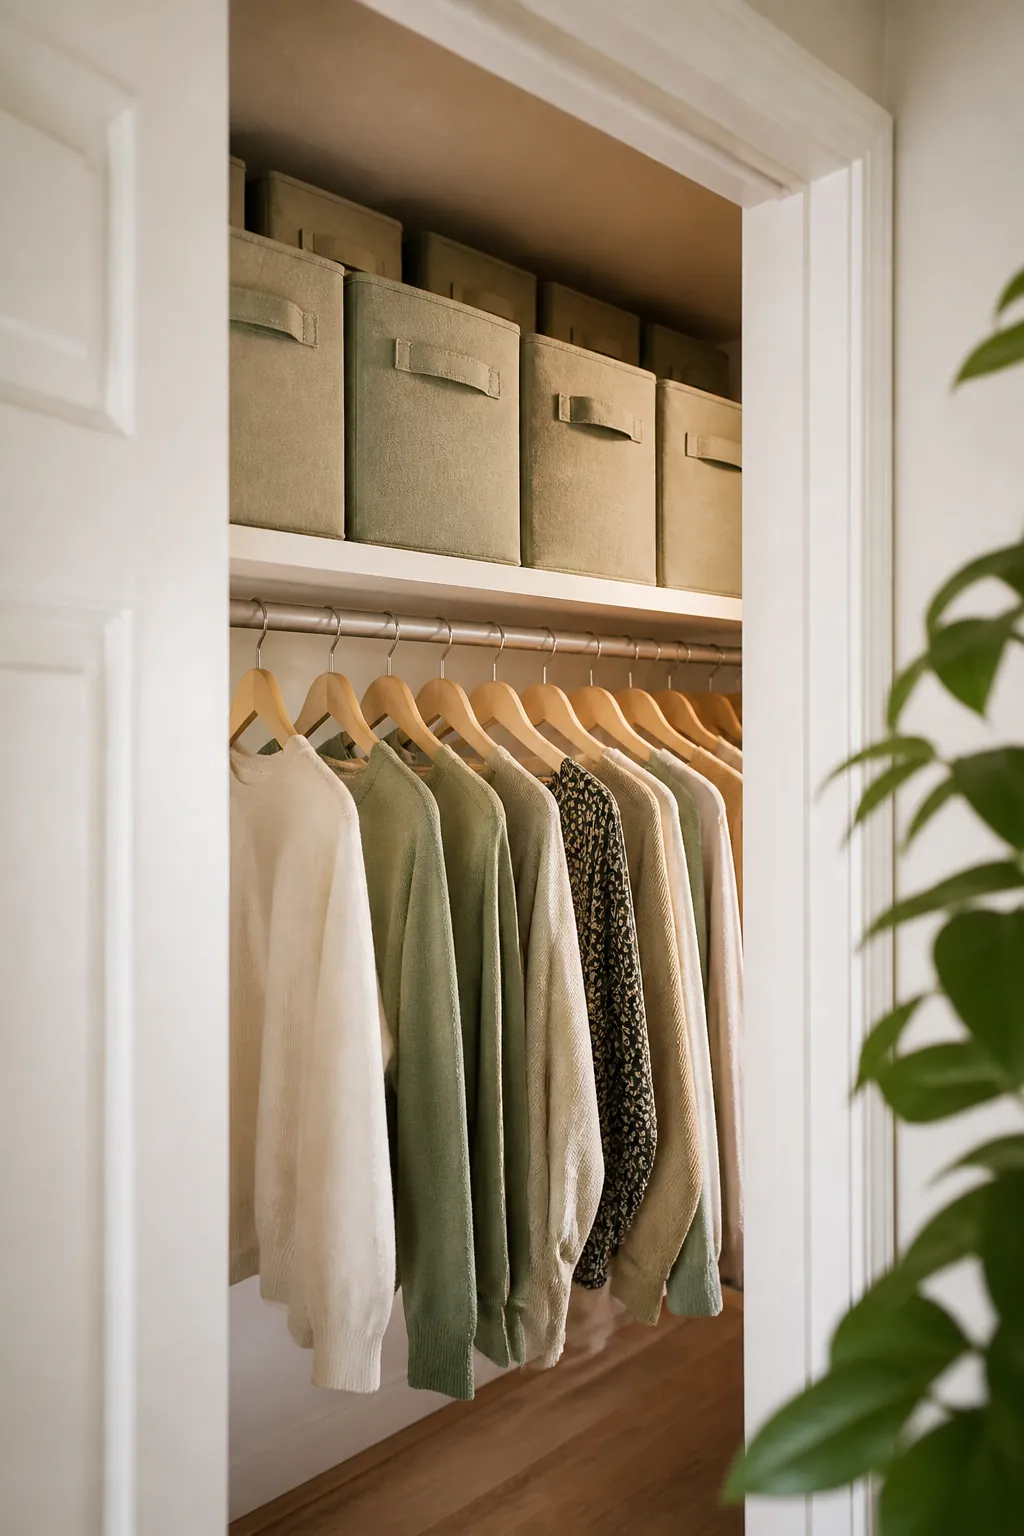
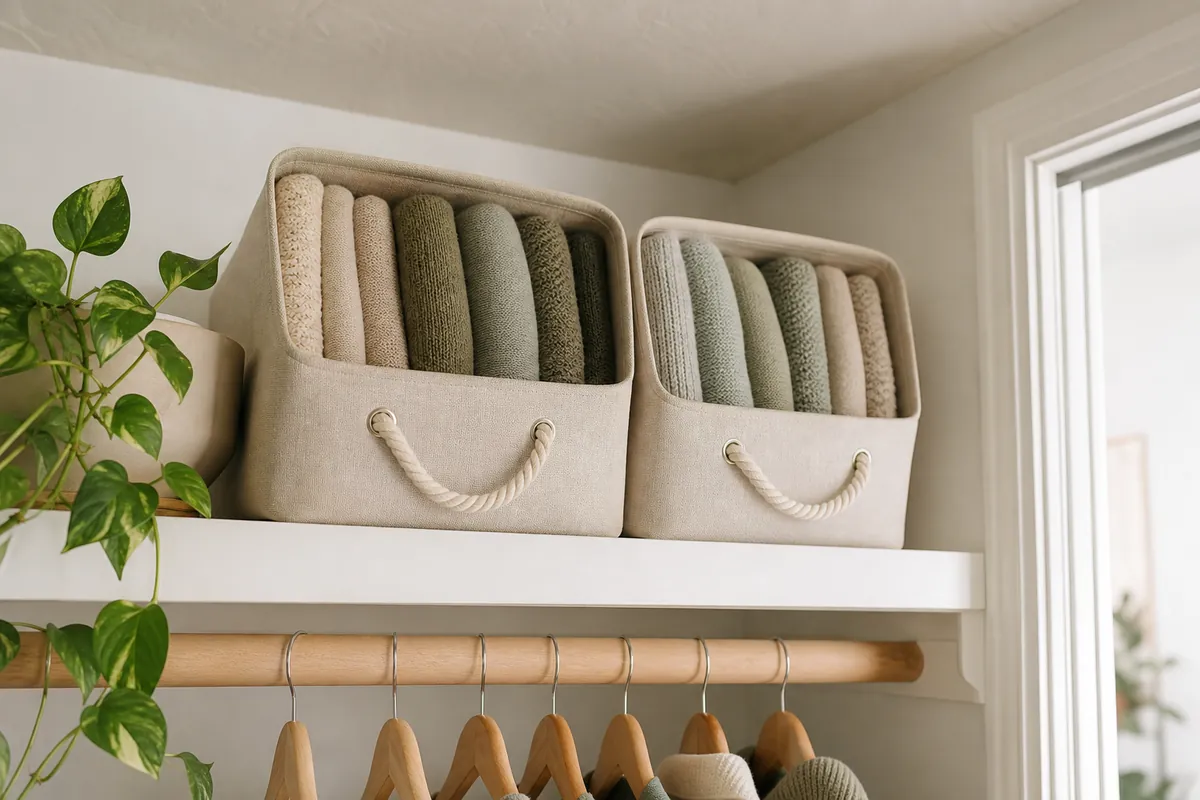
The high shelf in a rental closet is usually deep enough to swallow items whole. Fabric storage bins with handles solve the reach problem, because you can hook one finger through the strap and tip it down one-handed. Measure shelf depth first and buy bins that use nearly all of it, so nothing can hide behind them.
Also: two medium bins side by side beat one enormous bin, every time. Big bins become pits.
10. One category per bin, labeled on the front edge
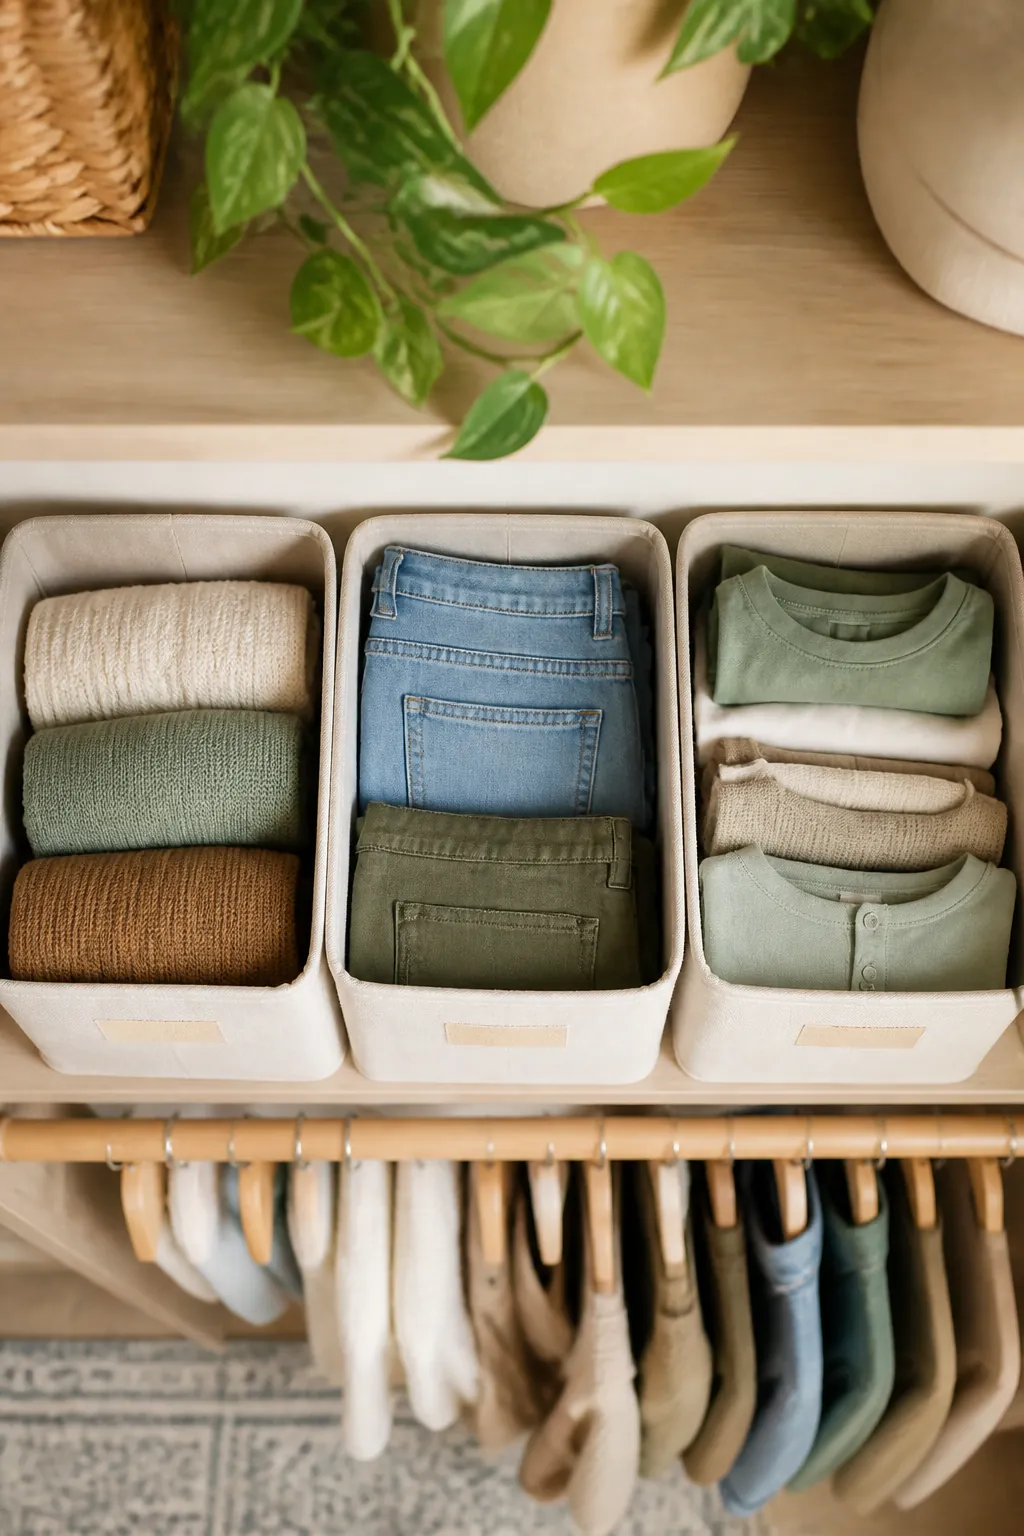
Bins fail the moment they become miscellaneous. Give each one a real category, winter accessories, gym gear, spare bedding, tote bags, and stop there. Write the label on a tag or masking tape along the front edge rather than the lid, since from below the front is all you can see.
11. File things on edge inside the bin
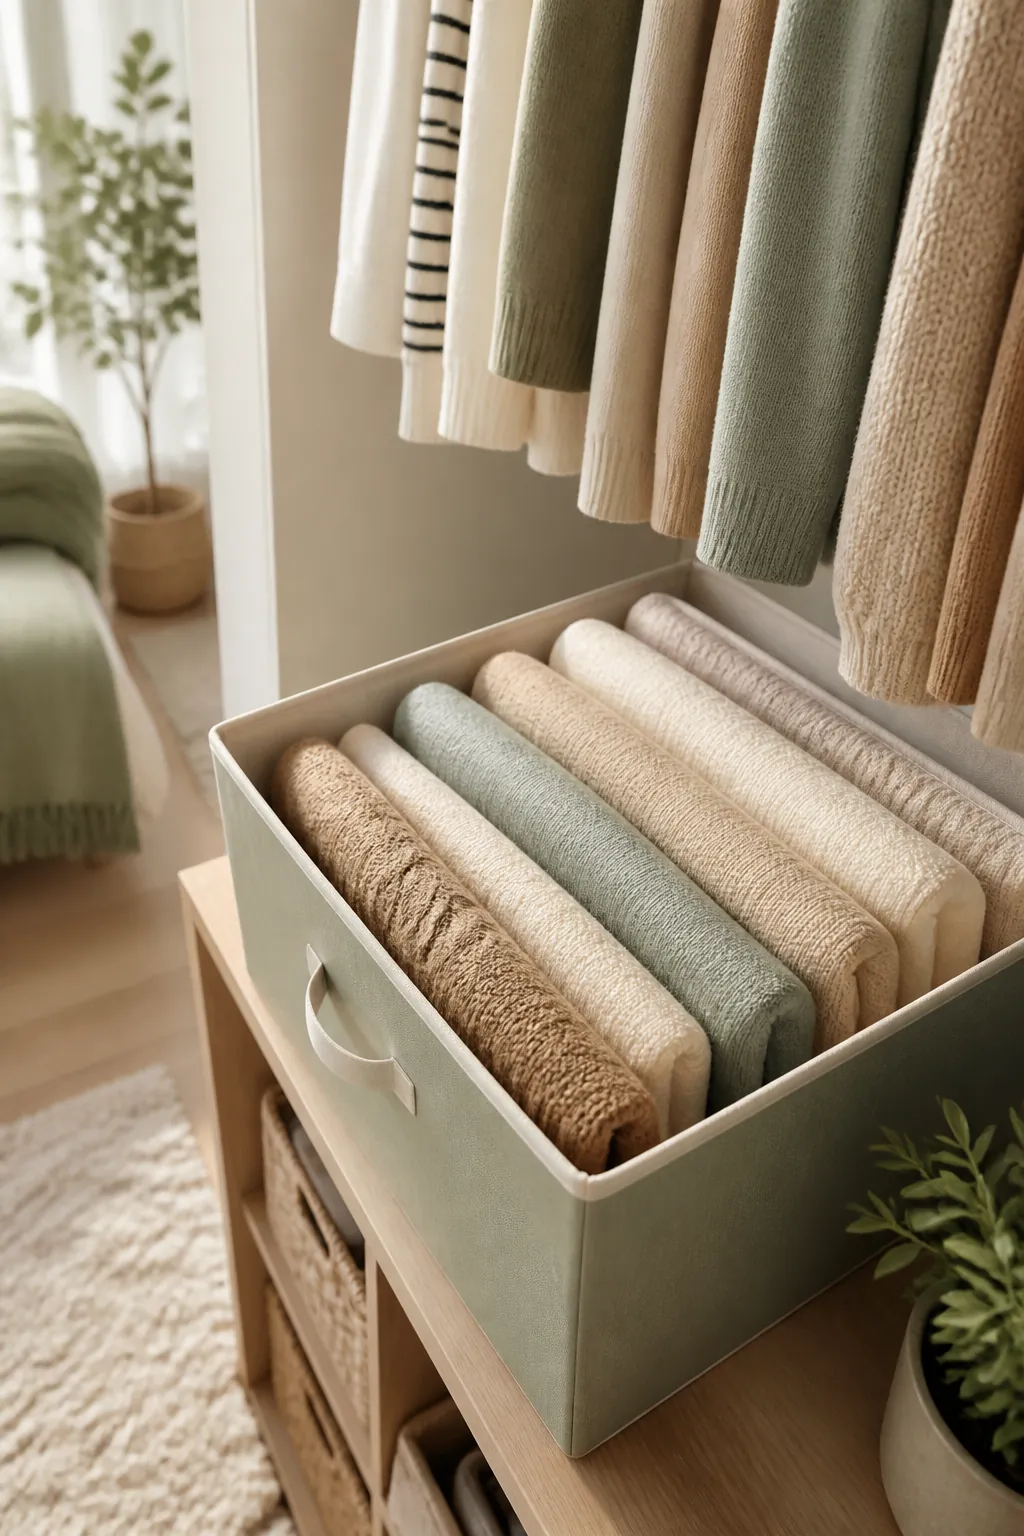
Stack folded items flat and you’ll only ever use the top layer. Stand them on their edges instead, like files in a drawer, so every item is visible and liftable without disturbing its neighbors. Same principle that makes drawers work, covered in drawer organizers for folding clothes.
Ideas 12-13: The Two Fixes People Skip
12. Move off-season clothes out of the closet completely
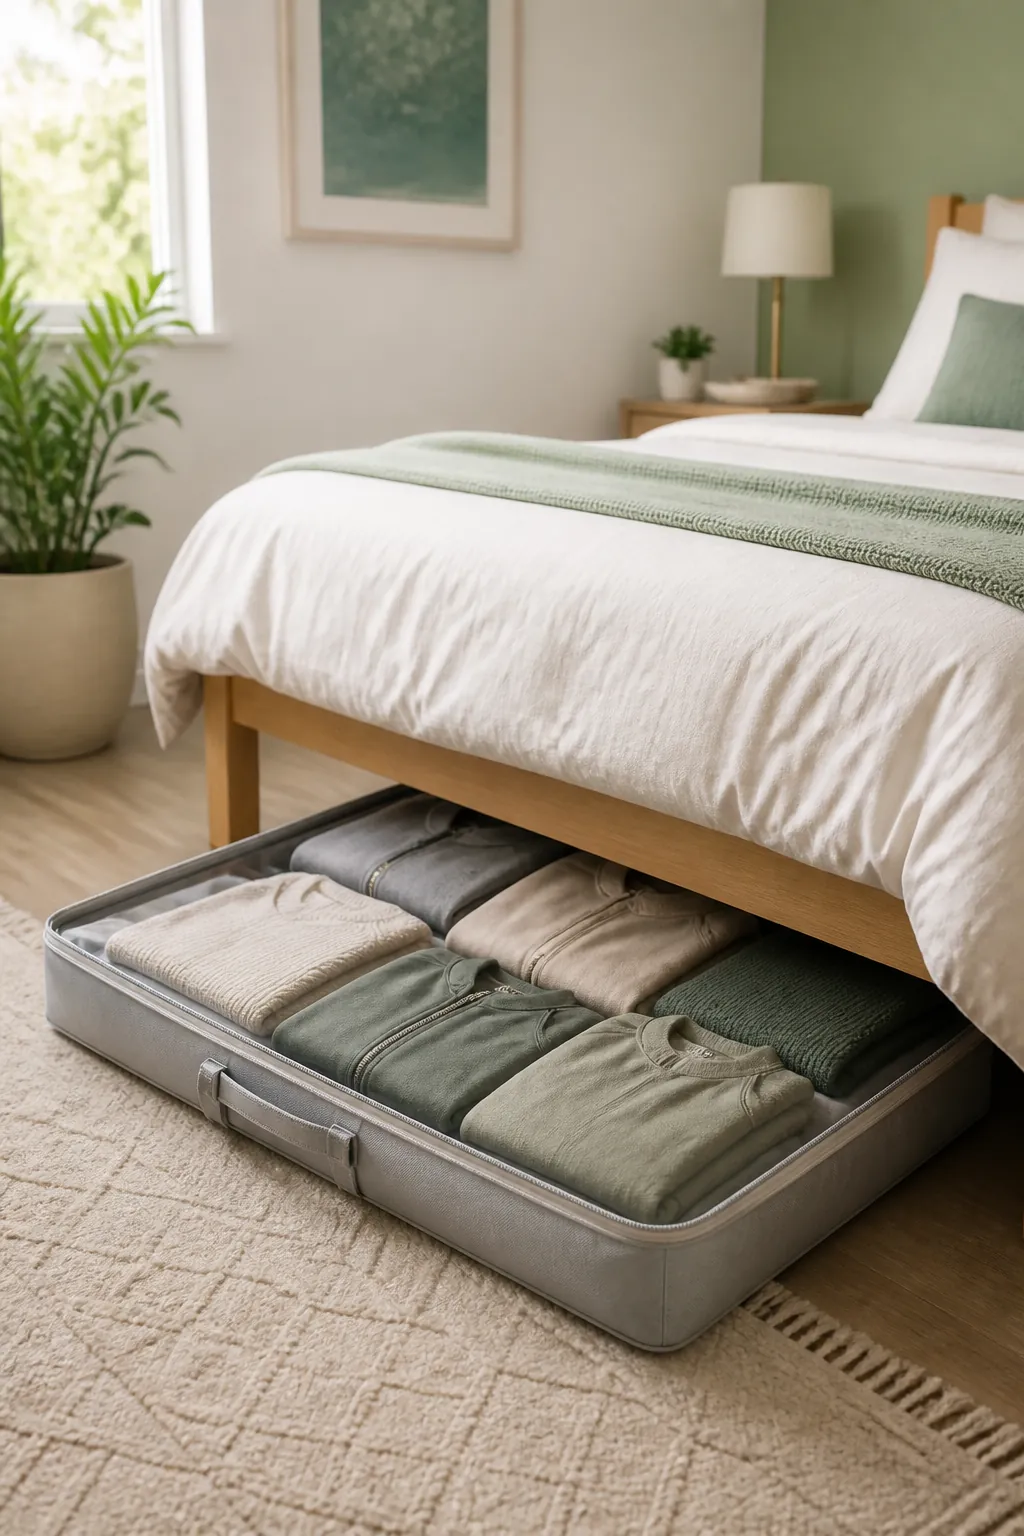
No organizer beats simply having fewer garments in the room. Roughly half your wardrobe is irrelevant for six months at a stretch, so it belongs in a lidded case under the bed. Flat zippered cases handle bulky knits and coats best; under bed storage for clothes covers how to fit a full season under there without the case jamming halfway out.
13. Add light, then use the back of the door
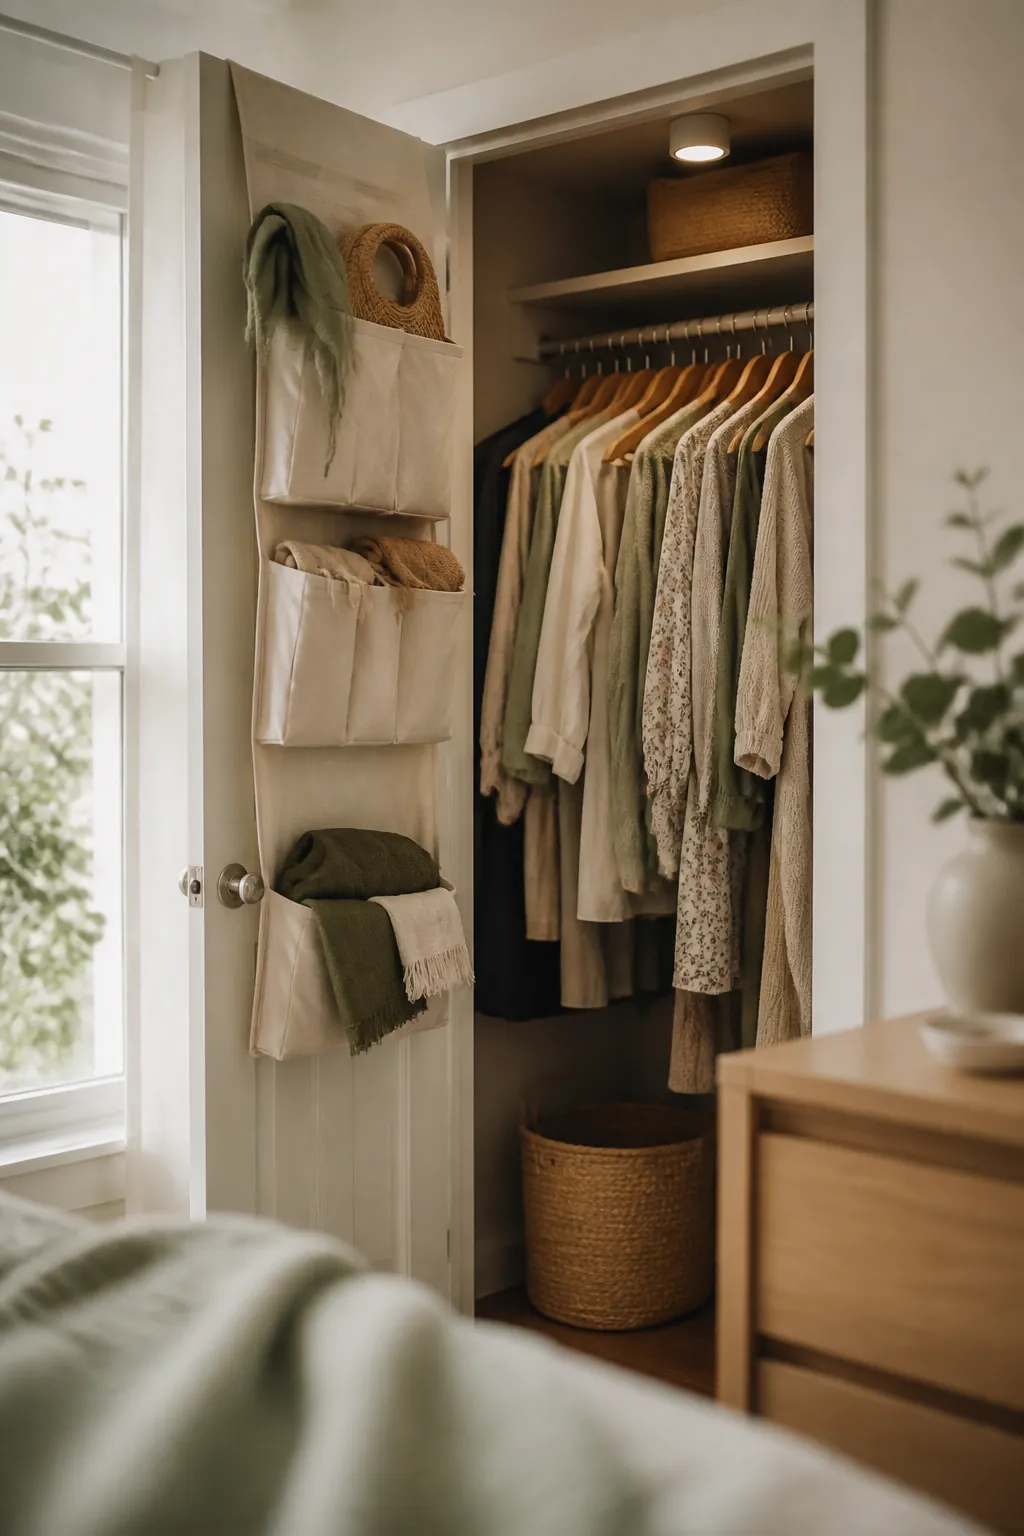
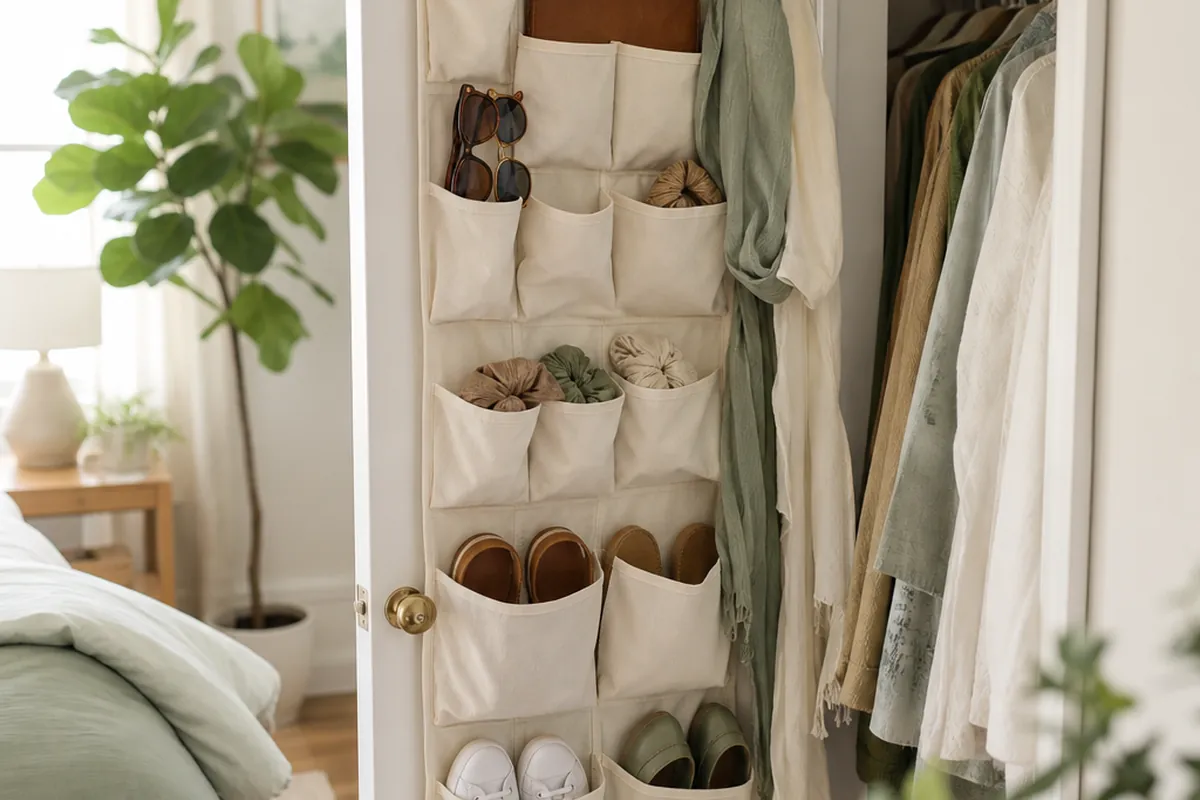
A closet you can’t see into slides back into chaos within a month. A battery puck light or a slim rechargeable LED bar with adhesive backing mounts in under a minute and genuinely changes how you use the space. Then work the door’s interior: adhesive hooks at hand height for belts, robes and tomorrow’s outfit, plus a slim hanging pocket panel for scarves. If your closet has no shelf at all to build from, start with how to organize a small closet without shelves, and dorm residents will find sizing notes in dorm closet organization ideas.
The Order That Saves You From Redoing Work
Sequence matters here, because half these steps block each other. Empty the closet completely and vacuum the floor. Sort into short hang, long hang, folded and off-season, then move the off-season pile straight under the bed. Swap every remaining garment onto slim velvet hangers. Rehang the long items in one block at the far end, then hook the adjustable closet rod doubler under the short-hang section. Velcro the hanging closet shelf organizer to the hinge end and load folded piles onto it, heaviest at the bottom. Finish with fabric storage bins with handles on the high shelf and along whatever floor remains.
An afternoon in, ten minutes out on moving day. That’s the appeal of tool-free DIY closet organization: the system belongs to you, not to the apartment.
What to Skip in DIY Closet Organization
Some closet products sell brilliantly and get returned just as fast. Hanging shoe cubbies that dangle from the rod steal a foot of hanging length and sag out of shape by month two. Vacuum bags crease knitwear into oblivion and usually get reopened within weeks anyway. Wire shelf dividers slide around on painted wood and pinch fabric. And any bin heavy enough that you need both hands while on tiptoe will end up permanently on the floor.
Put your money into the four items that hold real weight while taking up almost none themselves: the rod doubler, the shelf tower, the hangers, and honestly labeled bins. Everything past that is decoration.