A rolling cart parked in the eight inches beside your sofa can do the work of an entire craft room. The catch is that it only works once you stop trying to store everything, which is exactly where most craft storage ideas for small spaces quietly fall apart: they assume you’ll cheerfully unpack and repack a hobby every time you want to sew on a button or glue a card. Deciding where crafting lives, how fast it can vanish, and what you’re willing to stop keeping matters far more than which bins you buy.
Why most craft storage ideas for small spaces fail
1. Pick a container size and let it be the limit
Supplies expand to fill whatever you hand them. So hand them a number first: one cart, two shelves, one ottoman, whichever your living room can genuinely spare. Everything lives inside that footprint, and the day it stops fitting, something leaves.
Here comes the unpopular part. Half a skein of yarn in a color you never liked, markers that dried out two years ago, fabric scraps from a project you finished in a different apartment, none of it earns square footage in the room where people watch TV. Do one brutal edit and the system stays easy afterward.
2. Split active supplies from the archive
Active means you’ll touch it this month. Archive means someday, maybe. Put active supplies at hand height in the room where crafting actually happens, then send the archive to a high closet shelf, a lidded bin behind the coats, or under the bed, where inconvenience costs you nothing because you open it twice a year.
Blending the two is the real reason people insist they have no room. Most of them have plenty of room for what they use and none for what they’re storing out of guilt. Tape a short handwritten inventory inside the archive bin lid, too, so you stop rebuying felt sheets you already own.
The rolling cart is a craft room on wheels
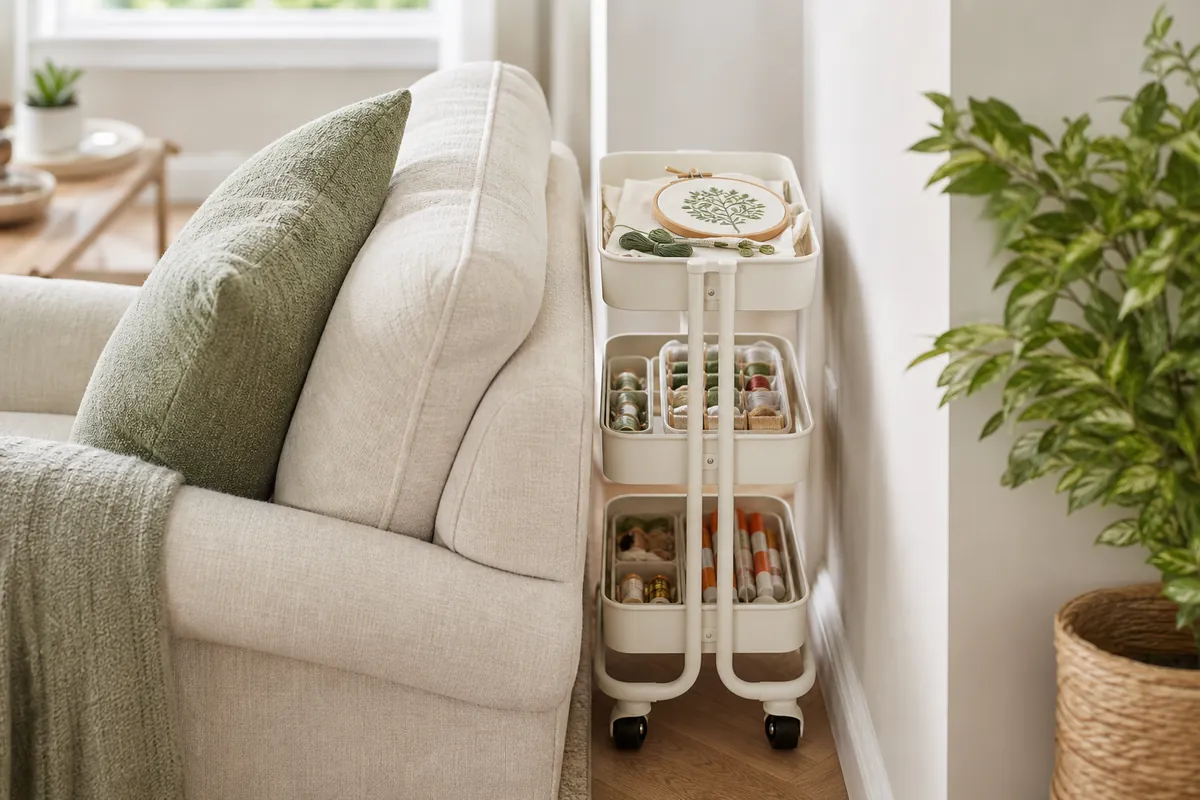
3. Park a 3-tier rolling craft cart in the gap beside the sofa
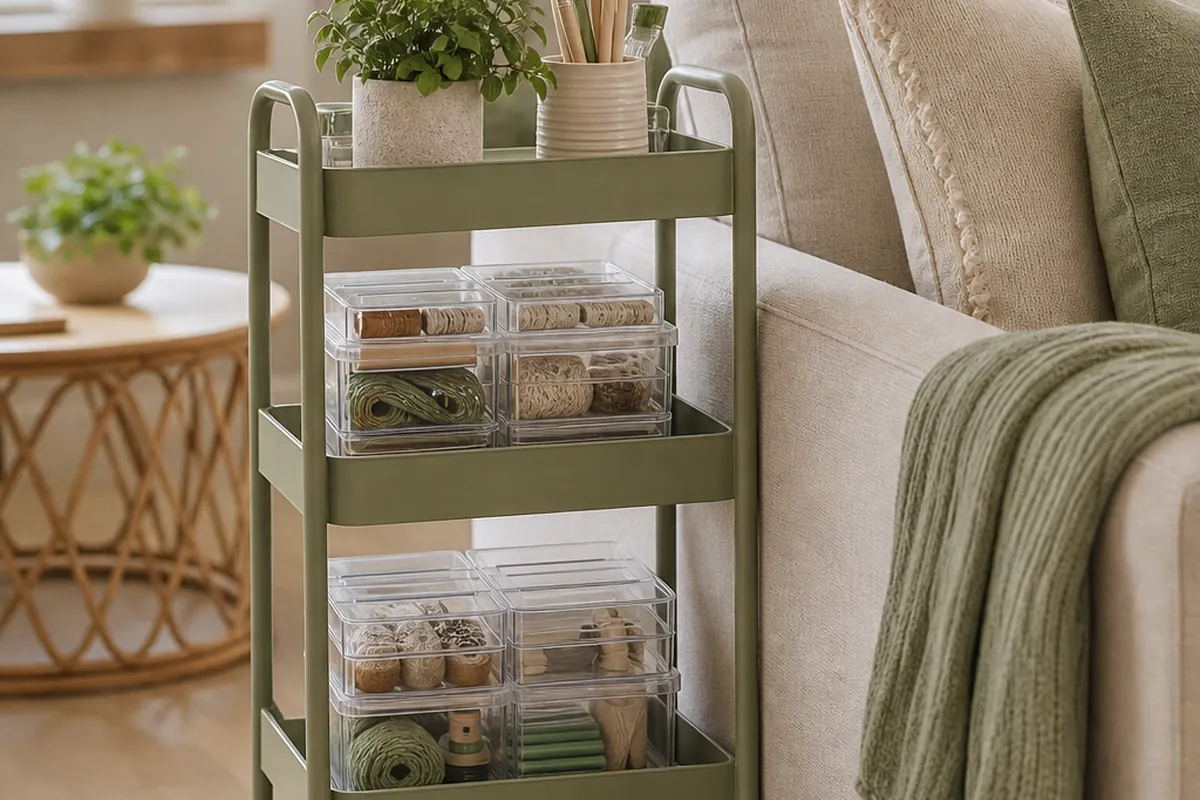
Buy one thing, buy this. A 3-tier rolling craft cart slides into the narrow slot between a sofa arm and the wall, tucks against a bookcase, and disappears into a closet before guests arrive. Mobility beats capacity here: a cart you can pull to the coffee table and push back converts a living room into a part-time studio with zero furniture shuffling.
Measure the gap at its narrowest point, baseboard trim included, and check that the handle clears the sofa arm before you commit. If the cart will sit in plain view, turn the open side toward the wall so the smooth back panel faces the room instead of a stacked wall of supplies. Locking casters are worth hunting for on hardwood, since an opened up cart drifts away every time you reach for the scissors.
4. Give each tier one job
Top tier: the current project, scissors, and the tool your hand goes to constantly. Middle: medium-frequency things like thread, adhesives, brushes. Bottom: bulk and refills, which are heavy and belong low anyway.
Small items sink to the bottom of an open wire basket and effectively cease to exist, so drop shallow trays or small lidless boxes inside each tier to carve it into zones. Skip that and the cart becomes a junk drawer standing on end.
5. Add a lap tray so the cart becomes a full workstation
A firm serving tray or a lap desk gives you a stable surface on the sofa, keeps glue and ink off upholstery, and lets you lift a half-finished project out of the way the second somebody needs the seat. Slide it flat against the side of the cart or behind the sofa between sessions.
Sort by project, not by supply type
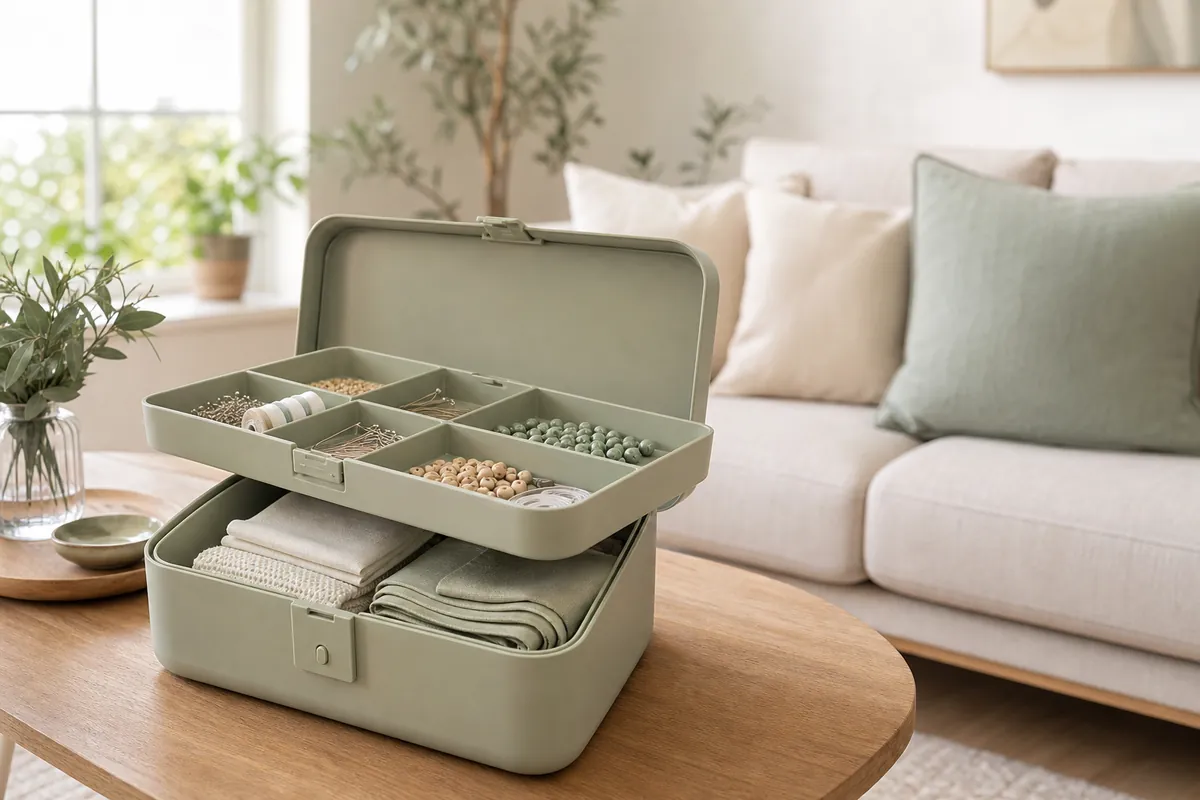
6. Build kits in a craft organizer box with removable tray
Sorting by supply type photographs beautifully and works badly in a small home, because one evening of crafting means opening four separate containers. Kits mean one grab. A craft organizer box with removable tray is built for this: the lift-out tray corrals needles, beads, clips and small tools, while the deep well underneath takes the bulky pieces of that same project.
One box, one project. Card making. Jewelry repair. Embroidery. Rainy-day kid crafts. When a project is done, empty the box and reassign it rather than letting it turn into a permanent shrine to a hobby you abandoned in March.
7. Keep one open basket for the project in progress
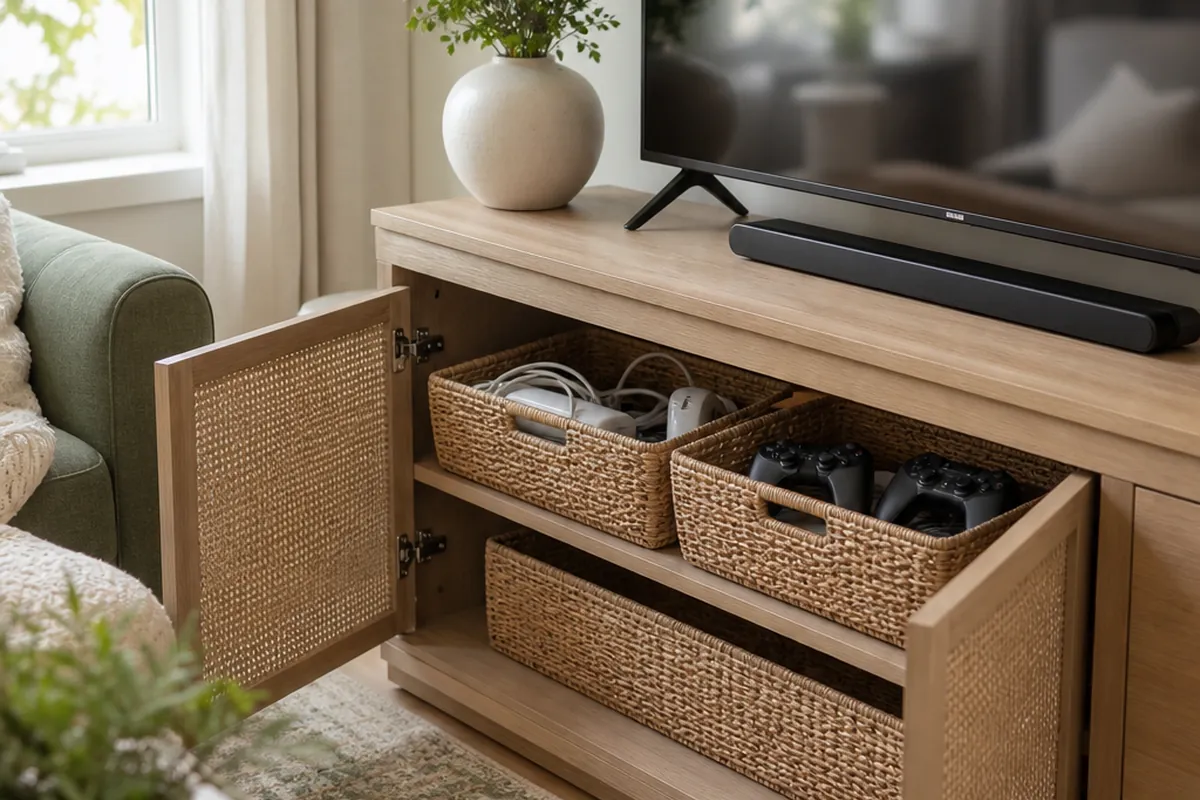
Beside the kits, keep a single open basket or fabric bin for whatever you’re mid-way through: half-knitted sleeve, cut fabric pieces, a partly glued model. Leave it open, because a lid is one extra step and you’ll pile the project on the coffee table instead. My rule is simple. When the basket is full, no new project starts. That one sentence has rescued more living rooms than any product on this list.
Stack flat supplies in stackable craft keeper cases
8. Turn one closet shelf into a supply wall
Paper, stickers, vinyl, die sets, punches, ribbon spools: flat, awkward, impossible to pile neatly. Stackable craft keeper cases handle that whole category better than anything else, because they interlock instead of wobbling and their clear sides let you find the right one without dismantling the tower.
Store them like books wherever you can, standing on edge with the narrow side facing out, in the bottom of a coat closet or along a bookcase shelf. Two or three stacked flat is fine. By case number five you’re lifting four to reach the one you want. Got a deep shelf? Monthly-use cases go at the front, archive cases behind them.
9. Use wall space, but be honest about weight
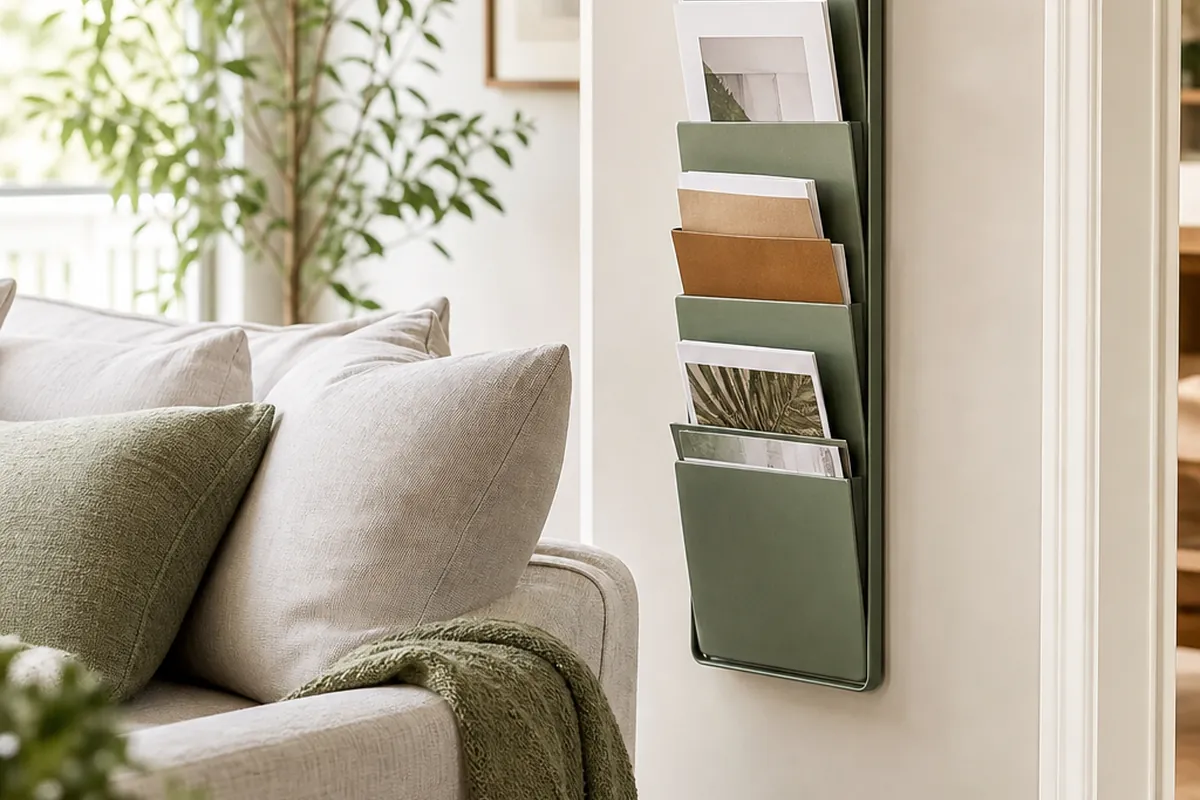
A pegboard or a slim floating shelf above a desk or console clears the surface underneath, which is the entire point. Renters can often mount a lightweight board with heavy-duty adhesive strips. The honest limit: sticky mounts hold spools, scissors, and small jars, not loaded tool caddies or a full rack of paint bottles. Anything with real heft needs a stud, a proper anchor, or a spot on the floor. Hanging a fully loaded pegboard on adhesive strips is how you end up with a gouged wall and buttons all over the rug.
Furniture-based craft storage ideas for small spaces
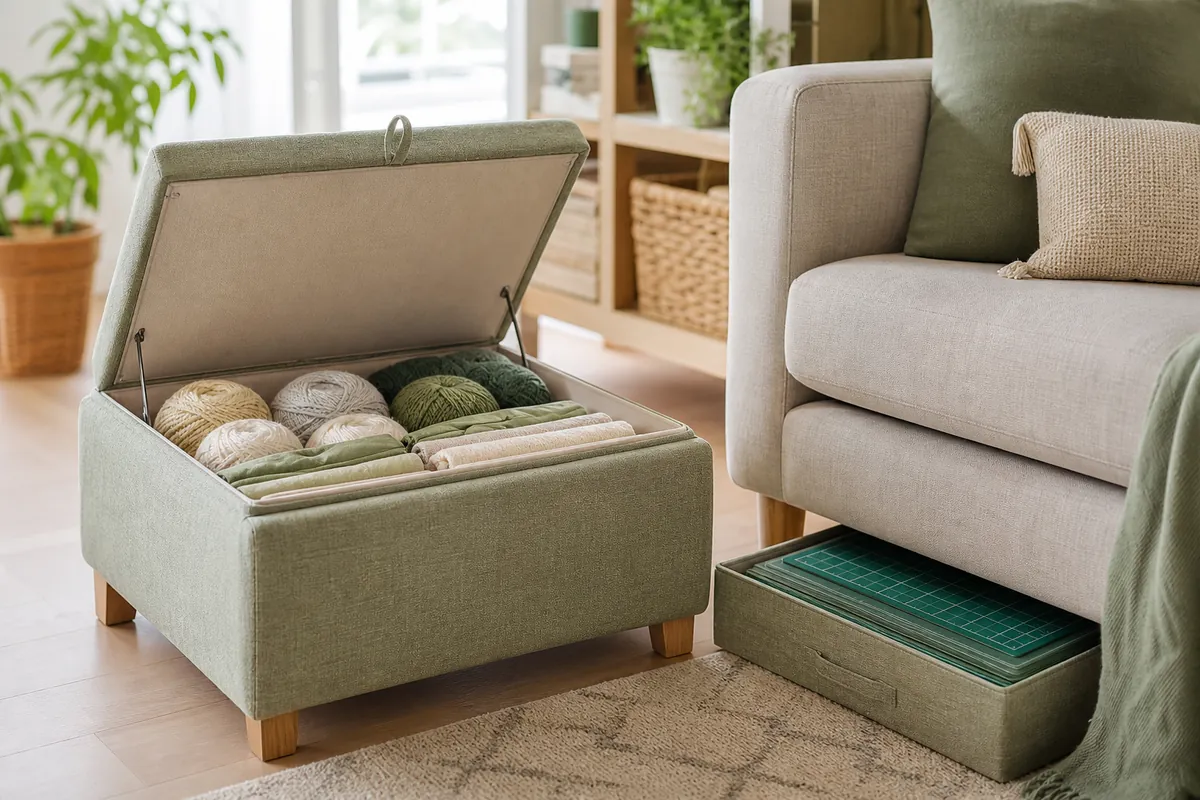
10. Ottomans, under-sofa gaps, and the strip behind the sofa
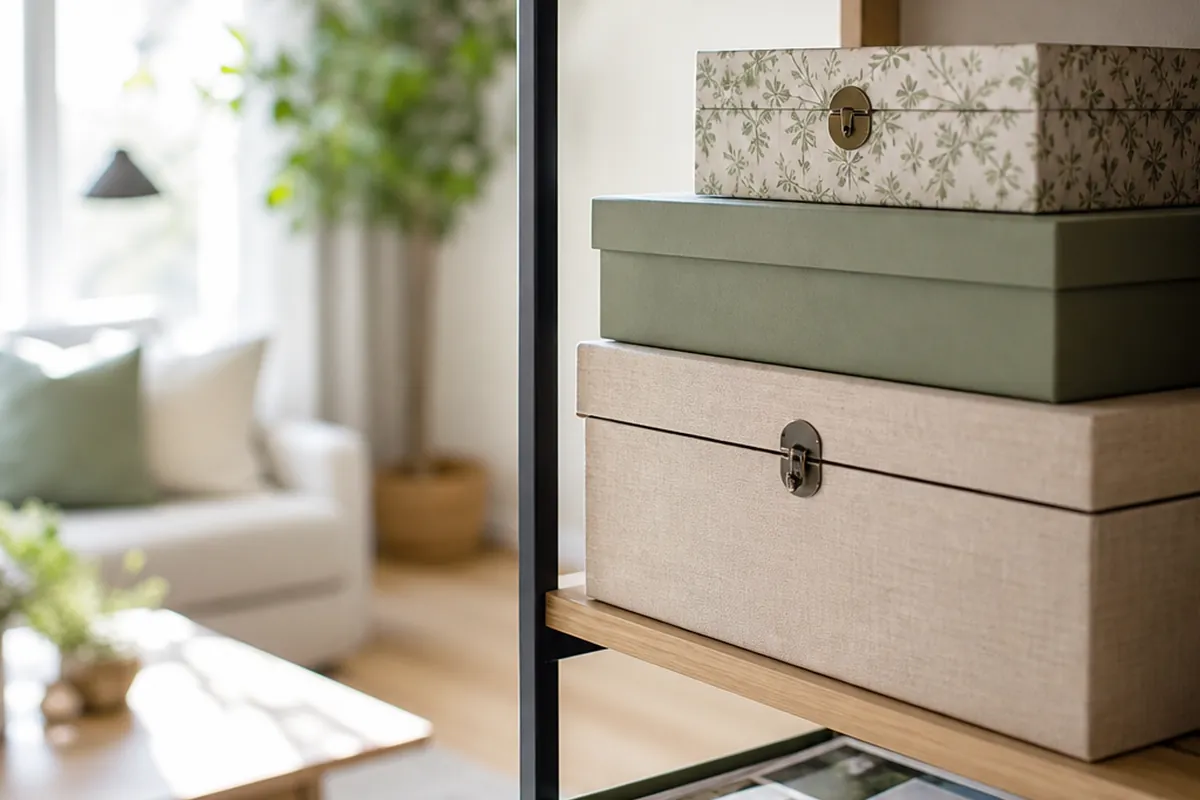
Soft bulky supplies compress in a way rigid ones never will, so yarn, fabric, batting, and felt belong inside hollow furniture. An ottoman with a hinged lid swallows an alarming quantity of yarn and still works as a footrest, and there are more ways to put one to work than most people try in these storage ottoman ideas for a small living room. If you already corral throws in a basket, the same containers suit a fabric stash, and the tactics in this guide to blanket storage that looks good in a living room transfer straight across.
The gap under a sofa is the right home for flat, annoying items: cutting mats, poster board, stretched canvases, scrapbook paper. Use a low lidded bin with a handle or a rolling under-bed tray, and measure your clearance before ordering, because four inches and six inches shop very differently. Behind the sofa, if it floats a few inches off the wall, a slim rolling cart or a narrow bin vanishes completely.
The same hollow furniture trick works for everything else in the room, and clever storage ideas for small spaces lists the other places a small home is hiding space.
Label for the version of you who is in a hurry
Clear containers reduce the labeling work, they don’t erase it. Label the outside edge of each stackable case and the lid of every organizer box with a project name rather than a fuzzy category. “Cross stitch, bird pattern” beats “threads” every time. Removable label tape or a strip of masking tape keeps kits reassignable without residue or regret.
Label the cart tiers too, at least while you’re building the habit. It feels ridiculous in your own apartment. A tier marked “adhesives” gets adhesives put back in it, though, and an unlabeled tier collects whatever happens to be in your hand.
The two-minute teardown test
The real test of a craft setup in a shared room isn’t how it looks mid-project. It’s how many minutes stand between working mode and living-room mode. Two is the target: project into its box, box onto the cart, tray behind the sofa, cart into the closet.
Anything longer means too many moving parts. Retire a container, demote something to the archive, or cut yourself back to one active project. Start with a rolling cart plus a single craft organizer box, add stackable craft keeper cases once the flat supplies pile up, then stop buying. Craft storage ideas for small spaces only survive contact with real life when putting things away is genuinely easier than leaving them out.