You open the utility closet and the mop handle swings out at shin height while a spray bottle rolls off the shelf onto the vacuum. Tucked behind it: three bottles of the same all-purpose cleaner, bought one at a time because you could never see the first two. Cleaning supplies organization in a closet this size comes down to two moves. Get the long handles onto a wall, and make everything else readable in a single glance. Bins come last, if they come at all.
Most utility closets are about two feet wide, with one or two shelves too deep to reach the back of and a floor that swallows whatever gets set down on it. That shape works against you. The nine fixes below work with it, and none of them takes more than an afternoon.
1. Cleaning supplies organization starts with a cull, not a bin
Resist the urge to order containers before you know what you own. Pull every bottle, brush, rag and refill out onto the hallway floor and stand the duplicates next to each other. The usual haul looks like four glass cleaners, two degreasers doing the same job, and something bought for a stain that happened three apartments ago.
Combine partials of the same product into one bottle. Anything gummy, separated, or wearing a label you can no longer read goes in the bin. What survives should be a short list: an all-purpose spray, a bathroom cleaner, glass cleaner, dish soap, a bleach or oxygen product, and a stack of microfiber cloths. Past that, you’re looking at specialists you reach for twice a year, and specialists belong on the top shelf where they can’t crowd out the weekly stuff.
2. Wall-mount the broom and mop before anything else
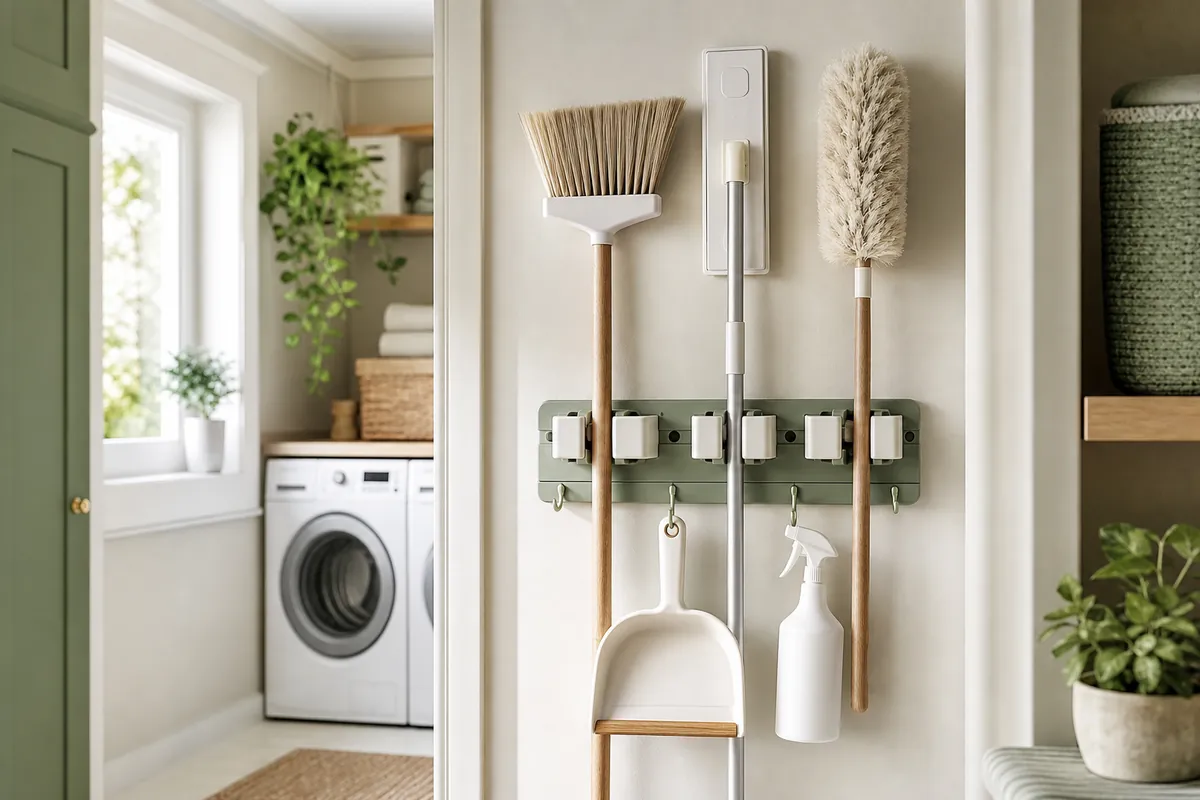
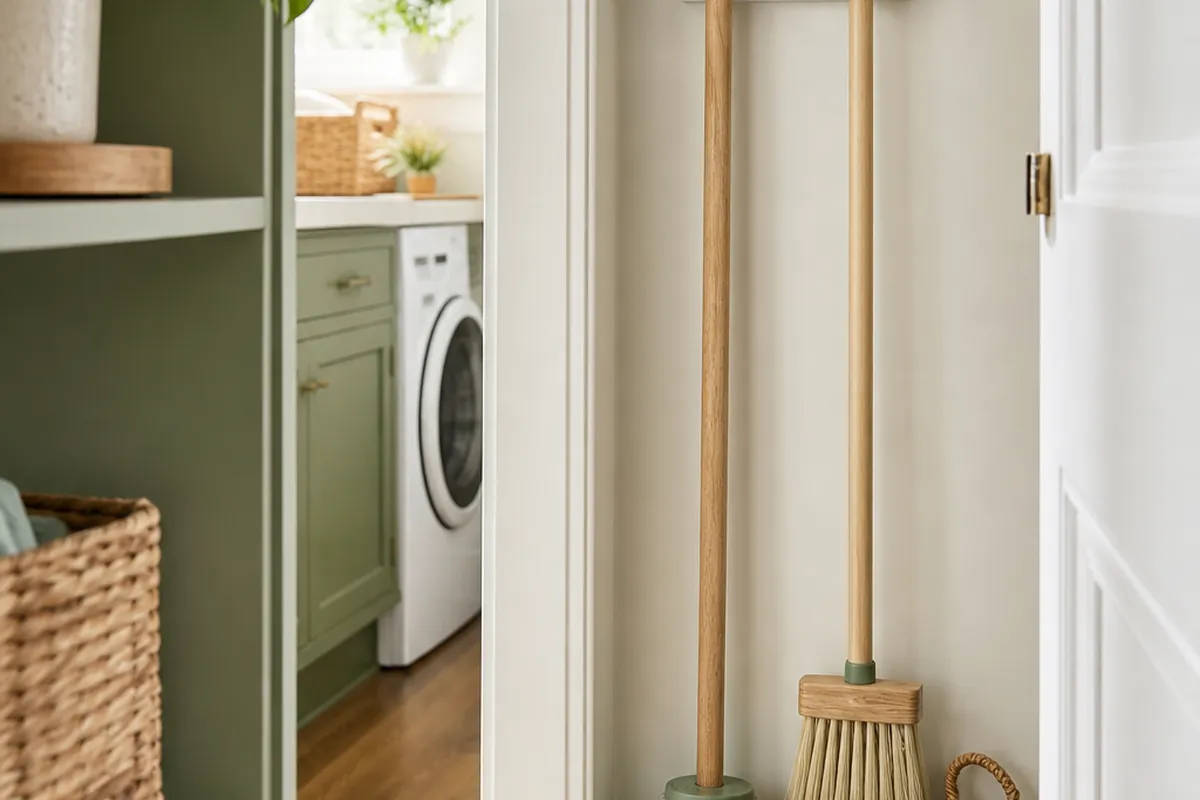
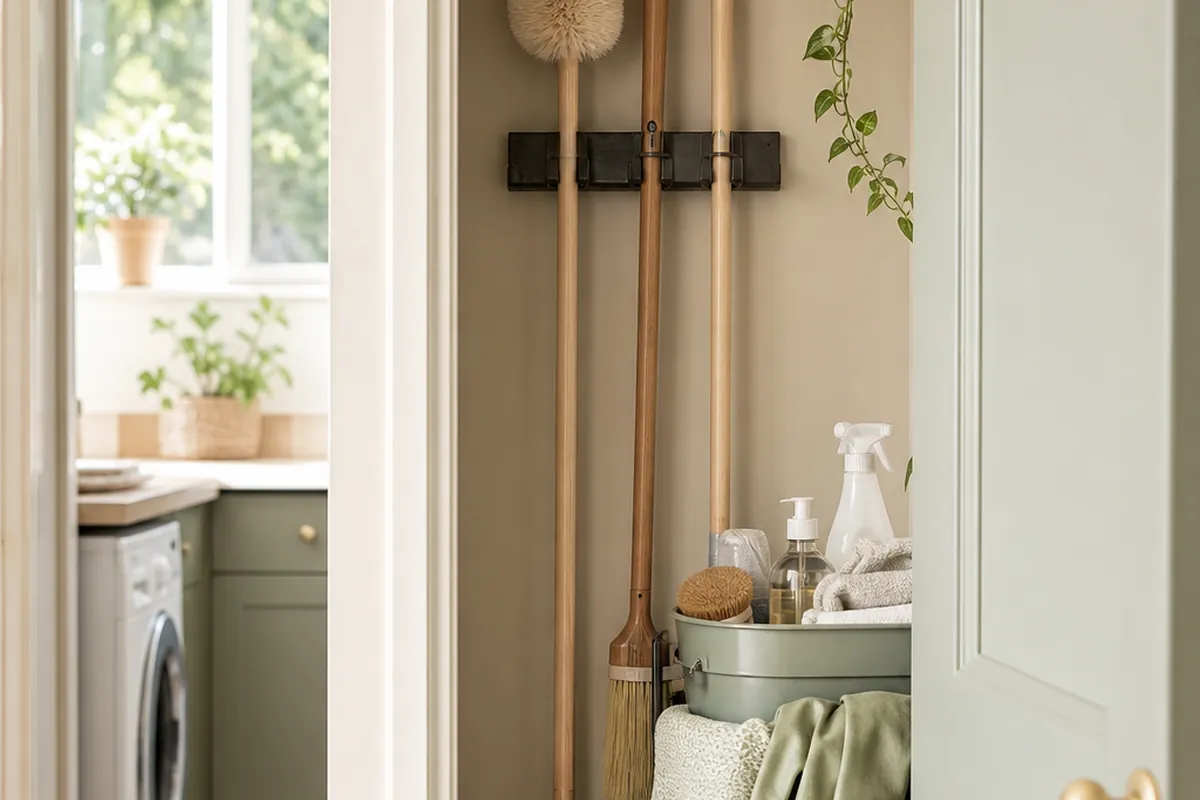
Of everything here, this is the change you’ll feel first. Long handles leaning in a corner eat the whole footprint, tangle in the vacuum cord, and slide out the door the moment you open it. A wall-mount broom and supply organizer fixes that in about a quarter of an hour: spring-loaded grippers hold a broom, mop and duster upright against the wall, and the hooks along the bottom rail take a dustpan, a hand brush and a spray bottle by its trigger.
Put it on the side wall rather than the back wall if your closet is deep and narrow, so handles run front to back and don’t steal shelf depth. Height is the part people get wrong. Set the grippers so the tops of the handles clear the underside of your lowest shelf, which usually lands somewhere around chest height. Renters who can’t drill have two decent options: screw the organizer to a scrap of plywood and prop it against the wall behind the vacuum, or use heavy-duty adhesive mounting plates rated well above the combined weight of what you’re hanging. Adhesive works, but only on smooth, clean, fully cured paint, and I’d still keep the mop bucket off it.
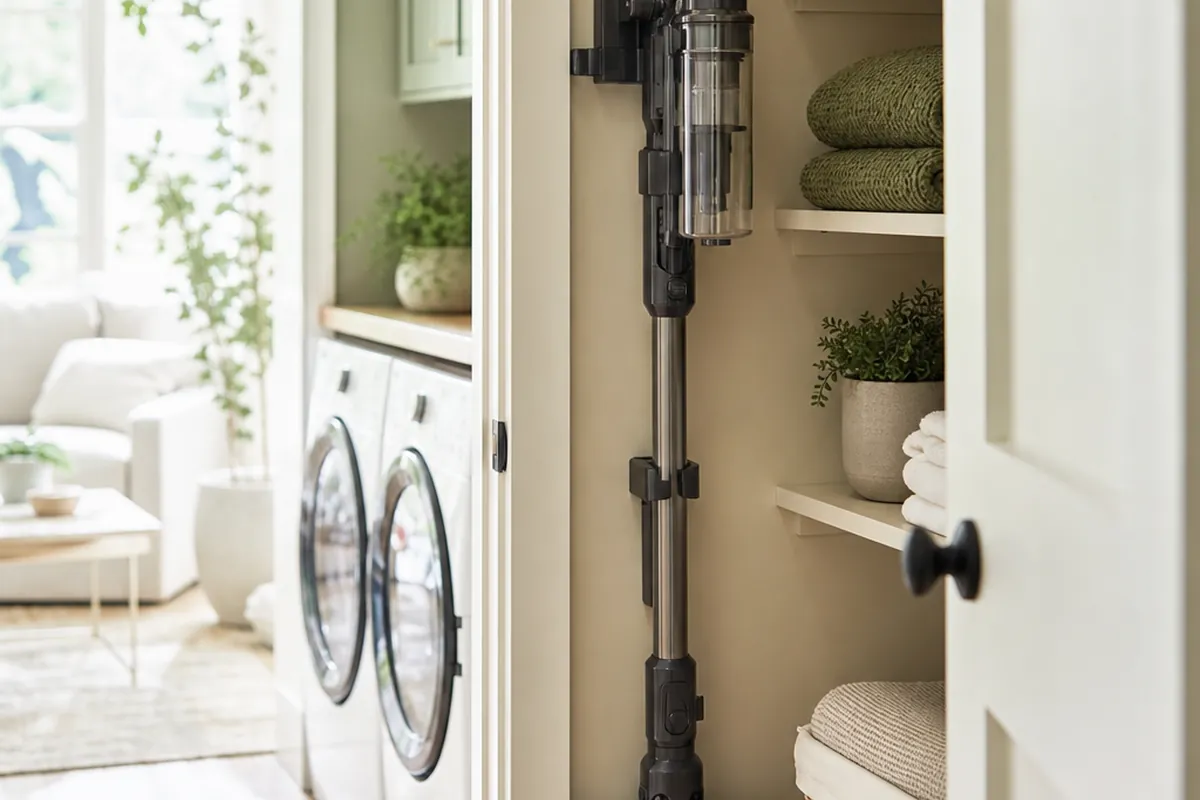
The vacuum is the harder case, because it is heavier and has attachments. Vacuum storage ideas for a small utility closet covers how to hang it and where the parts go.
For the holder types that actually grip a wet mop handle, and what to do when the wall is too narrow for a rail, mop and broom storage ideas for a small utility closet covers that step in detail.
3. Build one caddy that leaves the closet
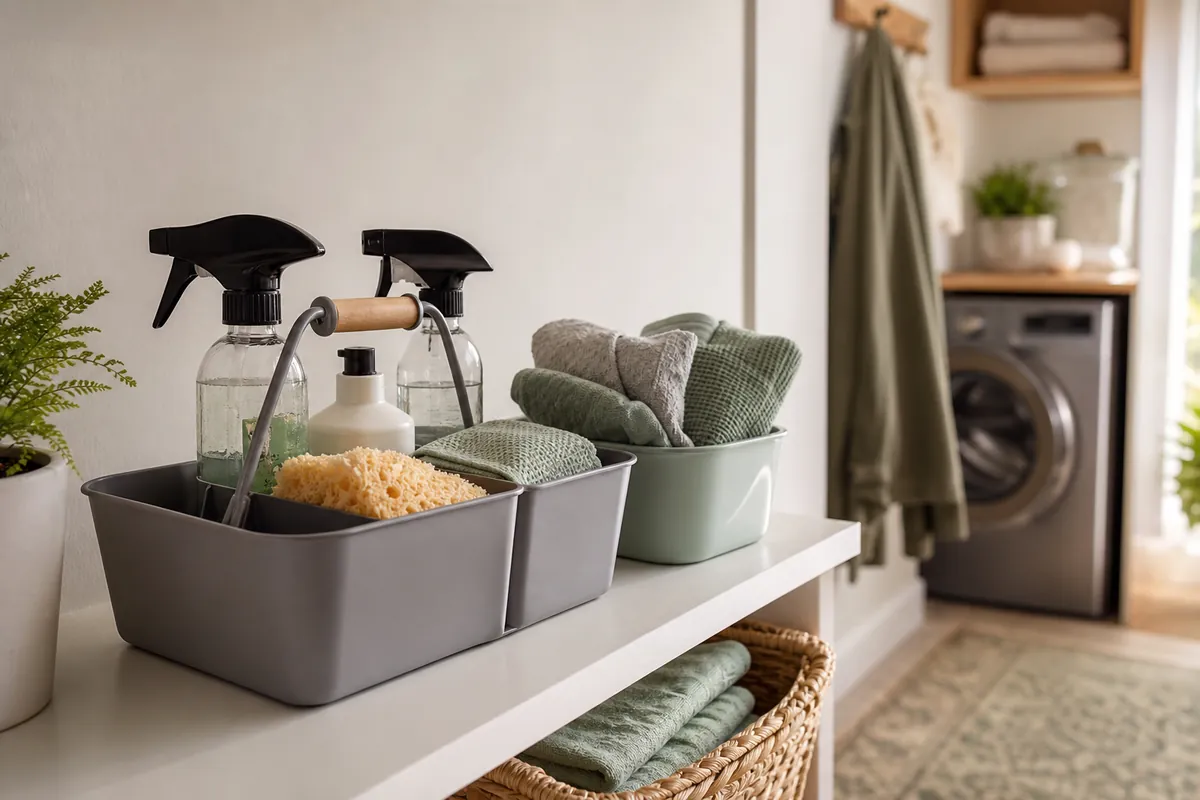
Stop cleaning out of the closet. Load a cleaning caddy with handle with the four or five products you use on a normal clean, plus a sponge, two or three microfiber cloths, and gloves. That caddy rides to the bathroom, then the kitchen, then back to its parking spot. No more shuttling bottles two at a time and abandoning them on the stairs.
Divided compartments and a rigid handle beat a plain tote for this. Bottles stay upright instead of clattering into each other, and you can lift the whole thing one-handed. Weight is the trade-off to watch: if you can’t carry it comfortably in one arm, you’ve packed backstock into it, and backstock belongs on a shelf.
Give the caddy a dedicated landing spot at chest height so putting it away is one motion, not a negotiation. The second it has to be wedged in behind something, it starts living on the bathroom floor instead.
4. Claim the back of the door
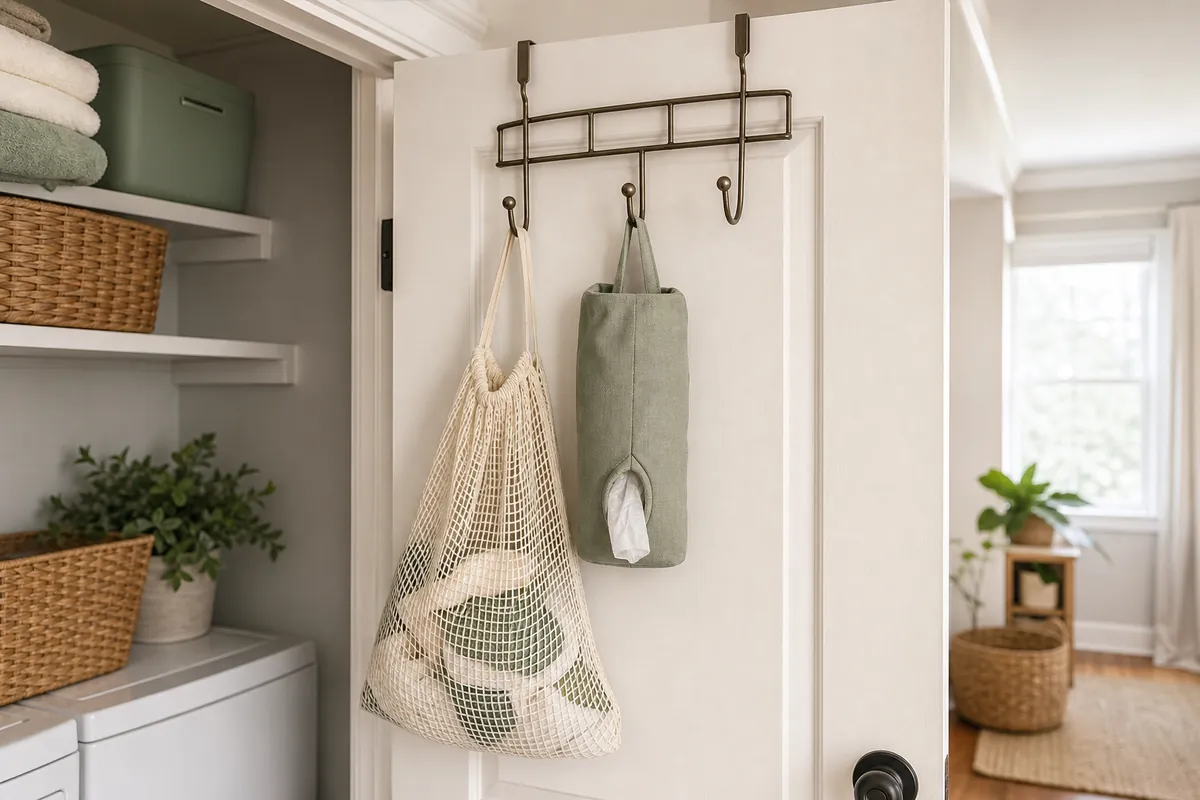
The inside face of the door is the most wasted surface in any utility closet, and it needs no tools. An over-the-door hook hanger slips over the top edge and gives you a row of hooks for a dustpan, a mesh bag of rags, a plastic-bag stuffer, a handheld vacuum, or a compact ironing board.
Keep what you hang here flat and light, and keep the total depth under a few inches so the door still closes over your shelf contents. Swing the door slowly before you load it up, because a hanger that catches on the top shelf will drive you mad within a week. Bifold or sliding doors rule this one out entirely; in that case, spend the same effort on adhesive utility hooks along the side walls, which are usually emptier than you think.
5. Zone shelves by reach, not by category
Sorting by category sounds tidy and falls apart in a two-foot closet, because your bathroom products and your floor products don’t get used at anything like the same rate. Frequency is the better organizing principle. Waist to chest height goes to the caddy, the sprays in current use, and the cloth bin. The shelf above takes refills, backstock and the bulk sponges. Anything higher (or shoved to the back) is seasonal and specialist: carpet solution, oven cleaner, the grout brush, that gadget for the blinds.
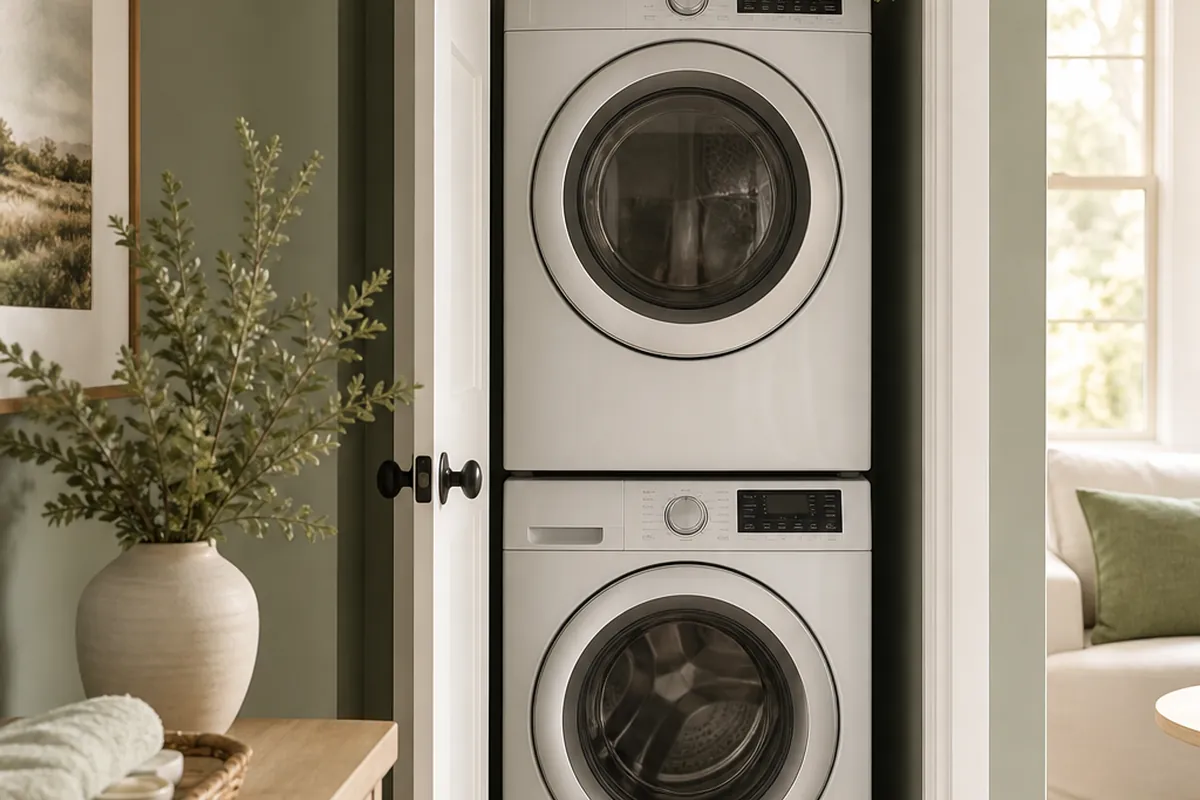
Below waist height, allow only tall and heavy items, so the vacuum, a bucket, and a jug of detergent. Small things on a closet floor turn into a pile you have to excavate, every time. When laundry shares the same cabinet, run the identical frequency logic across both, and there’s more on that in small laundry closet organization.
If the closet also has to hold the vacuum, spare linen and the seasonal boxes, storage closet organization for a small apartment covers how to zone a closet that is doing three jobs at once.
6. Split deep shelves into a front row and a back row
A deep shelf in a narrow closet is a black hole; whatever slides to the back is functionally gone. Treat each shelf as two deliberate rows. A shallow open bin at the front pulls out like a drawer, so you can reach behind it without unloading three bottles first. At the back, a low riser lifts those bottles a few inches so you can read their labels over the front row.
One bin per theme (bathroom, floors, laundry) works far better than a scatter of small containers. Fewer and bigger means faster to grab and, more importantly, easier to put back correctly. Putting things back correctly is the whole ballgame after week three.
7. Corral rags, sponges and bags before they migrate
Soft supplies expand into any space they touch. Give microfiber cloths one lidless bin at grab height and fold them the same way every time so the stack stays square and nothing gets pulled out sideways. Sponges and scrub pads get their own small bin rather than floating loose. Dirty rags waiting for a wash go into a drawstring mesh bag on a hook, where the airflow stops damp cloths from souring.
Plastic grocery bags are the repeat offender. Stuff them into an empty tissue box or a fabric dispenser hung on the door rack, then treat that container as a hard limit. Full means the next batch goes to the store recycling bin on your way in.
8. Store chemicals safely and drip-proof the shelf
Bleach and ammonia products live on separate shelves or at opposite ends, full stop, and neither one ever gets decanted into an unlabeled bottle. Anything prone to weeping (bleach, drain cleaner, oil-based polish) sits on the lowest shelf inside a shallow plastic tray, so a slow drip pools somewhere you can rinse instead of soaking into laminate you’ll never fully clean.
With children or a nosy dog in the house, a high shelf plus a cabinet latch beats any clever container. Leave the vacuum cord in loose coils on its own hooks too; wrapping it tight around the body cracks the sheath over a few years.
9. Label the shelf edge, not the container
Containers get swapped, refilled and repurposed. Shelf edges stay put. Stick a small label on the front edge of each shelf or at a bin’s landing spot, and the location keeps its meaning even after the bin changes. Fussy for a closet only you open? Maybe, but it’s what makes the system self-correcting, because the caddy comes back from the bathroom and there is exactly one obvious slot for it.
Skip labels on anything transparent and self-evident. Save them for the judgment calls, like which bin holds refills versus twice-a-year specialists.
The two-foot cleaning supplies organization layout, wall to door
Here’s how the pieces fit in a genuinely tiny closet. Side wall: the wall-mount broom and supply organizer, holding broom, mop and duster, with dustpan and a spray bottle on its lower hooks. Floor: vacuum, with the bucket nested against it if the shapes cooperate. Chest-height shelf: the cleaning caddy with handle parked at the front, cloth bin beside it, sprays in use behind. Top shelf: refills at the front, specialists at the back on a riser. Door: over-the-door hook hanger with the rag bag, the bag dispenser, and one hook left deliberately empty.
Why cleaning supplies organization fails in month two
That empty hook is not an accident. Systems collapse at the exact moment there’s nowhere to set down the thing in your hand, so build in slack and then refuse to fill it. The other failure mode is quieter: duplicates creeping back into the second row because you couldn’t see what you already had. Twice a year, pull the front row off each shelf and look behind it, combine partial bottles, and re-cull. Ten minutes buys you another six months. If the closet doubles as your laundry zone, the same rules scale up in these laundry room organization ideas for a tiny space.