A small kitchen usually loses the trash can fight before it starts. The bin that fit the display floor at the store turns out to be two inches too deep for the cabinet, the recycling ends up in a paper bag propped against the pantry door, and every load-out to the curb means threading a full bag past the dish rack because nothing was ever set up to carry it there. None of that is a space problem so much as a sizing and routing problem, and both are fixable without a renovation.
The nine ideas below start with the measurements that actually matter, then work through where trash and recycling can live, and end with what to avoid entirely.
1. Measure the cabinet before you buy a single bin
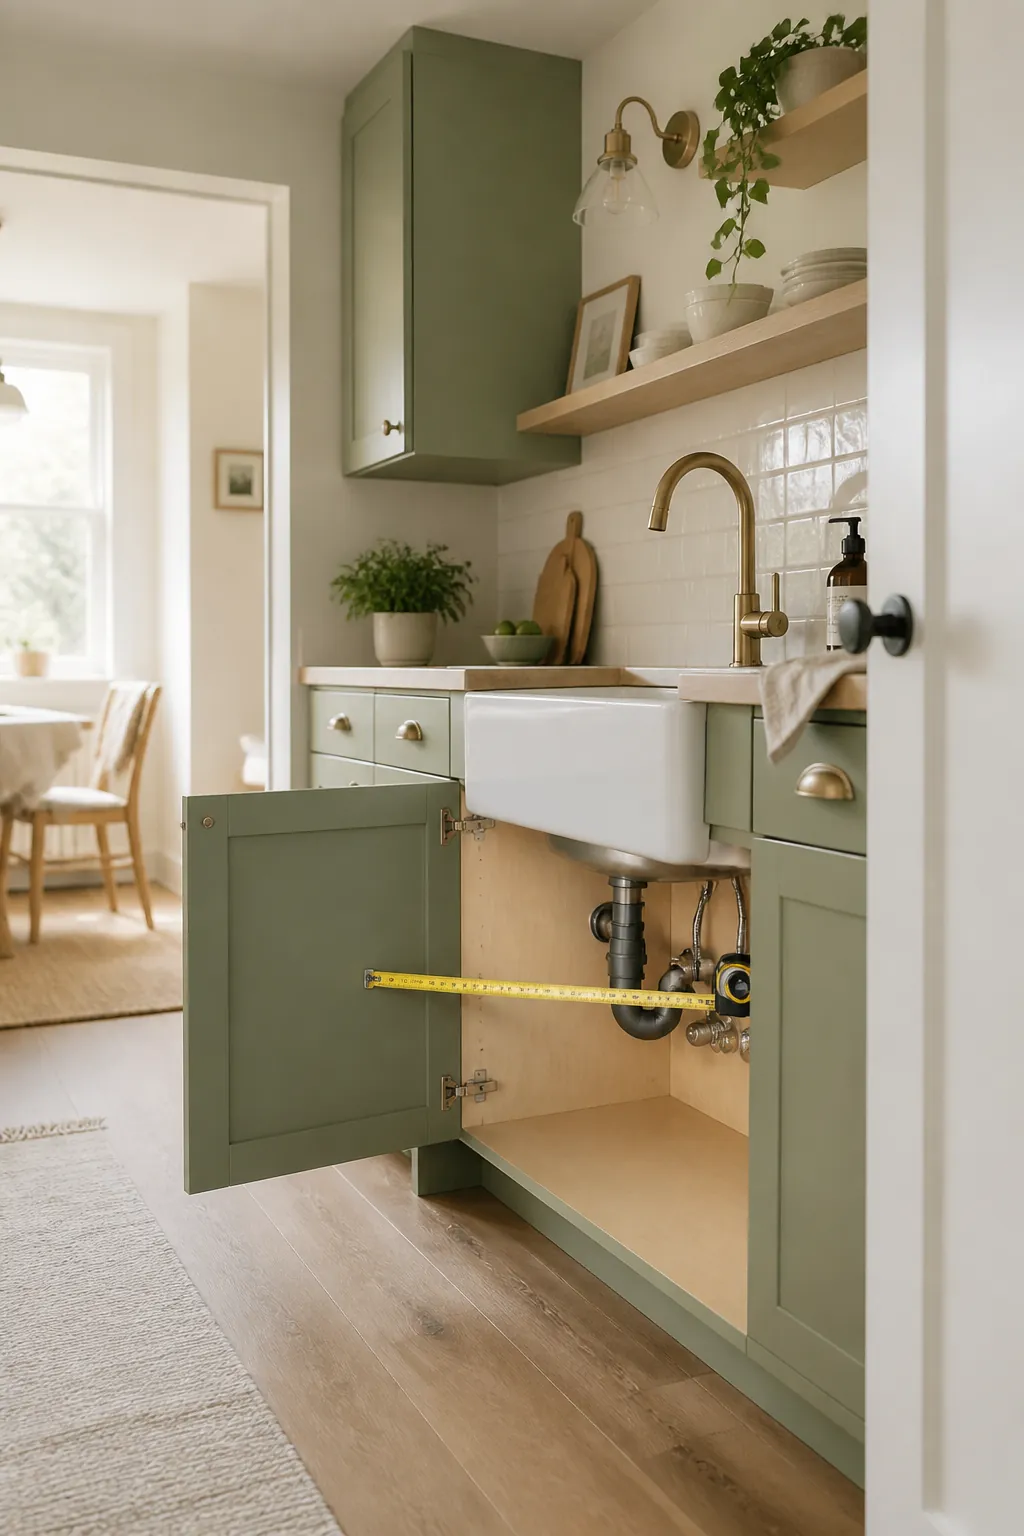
Every return starts the same way: a bin bought to match the room instead of the specific gap it has to sit in. Measure the door opening itself, not the cabinet box behind it, because a hinge plate and the door’s own thickness can steal close to an inch on each side.
Then check depth with the door swung fully open. Under a sink, the drain trap and the two shutoff valves usually claim 4 to 6 inches of floor space, and they rarely sit centered, so the usable width is often lopsided rather than symmetric. Write down the narrowest point, not the average, since that is the number the bin has to clear.
2. Split trash and recycling on a pull-out tray under the sink
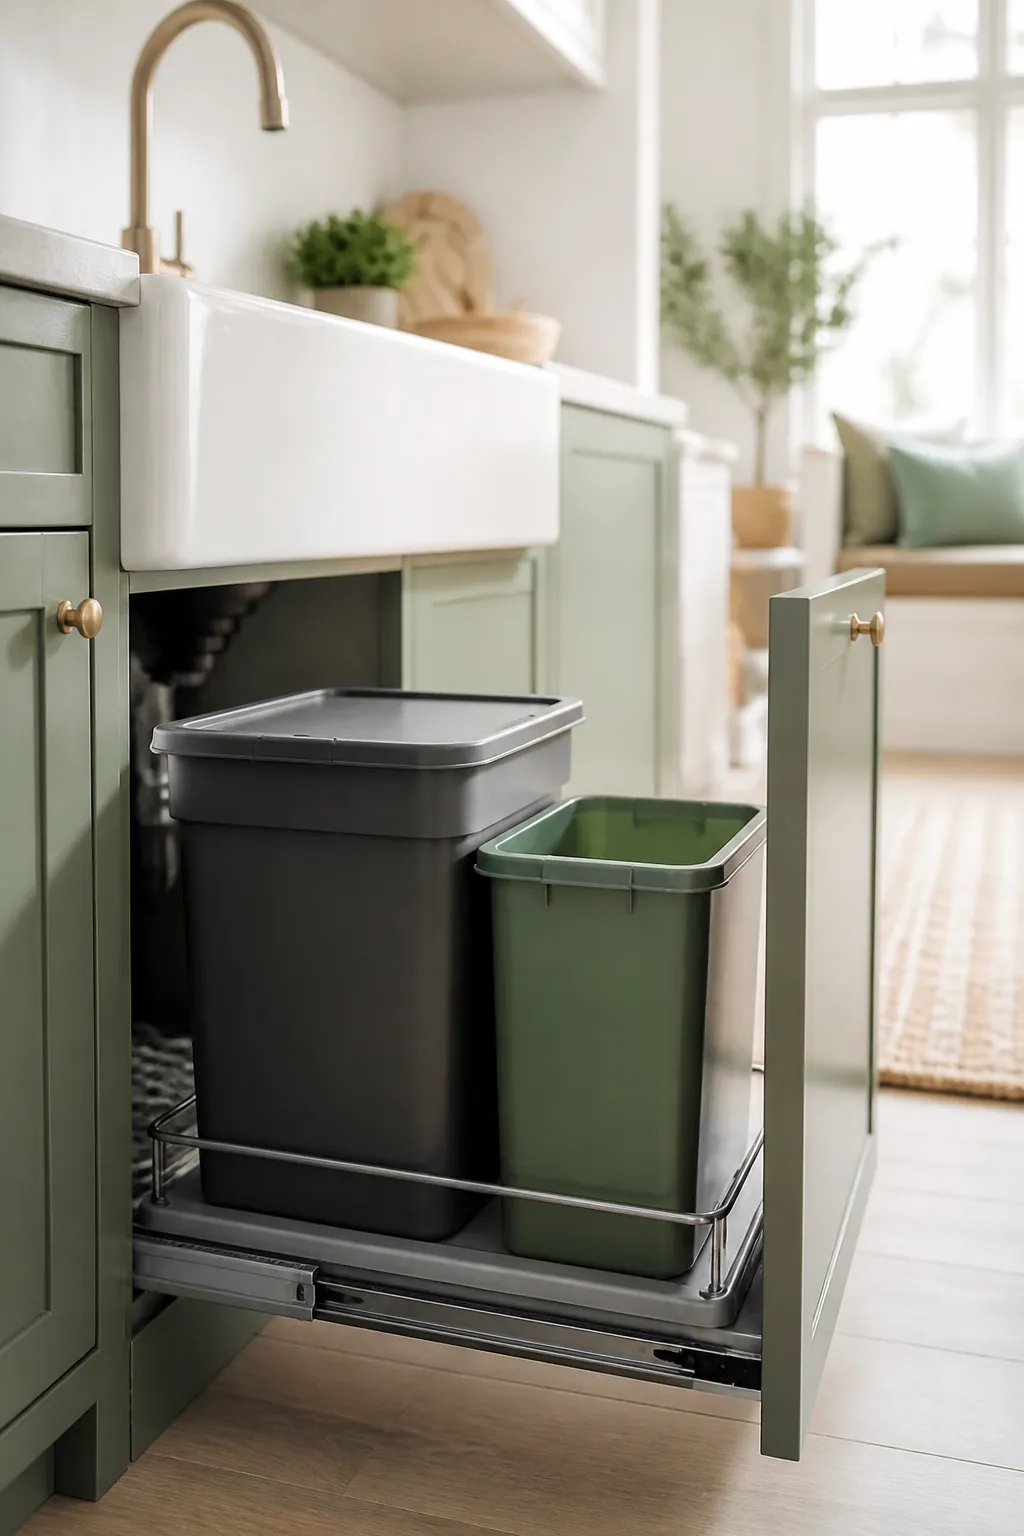
Even where there is room for one bin under the sink, cramming a second one beside it usually means digging past the first every time. A pull-out under-sink organizer puts both on a tray that glides forward on its own rails, so trash and recycling ride out together instead of one blocking the other in the back of a dark cabinet.
Leave the back two inches of the tray empty and clear of the shutoff valves. A full bin pushed hard against them turns an emergency shutoff into a two-handed excavation instead of a five-second reach, and that is exactly the day you do not want to be moving a trash bin first. Check the weight rating too. A loaded 13-gallon bin plus a bin of cans and bottles adds up fast, and an undersized tray sags at the front within a few months.
3. Choose a dual-compartment bin over two separate cans
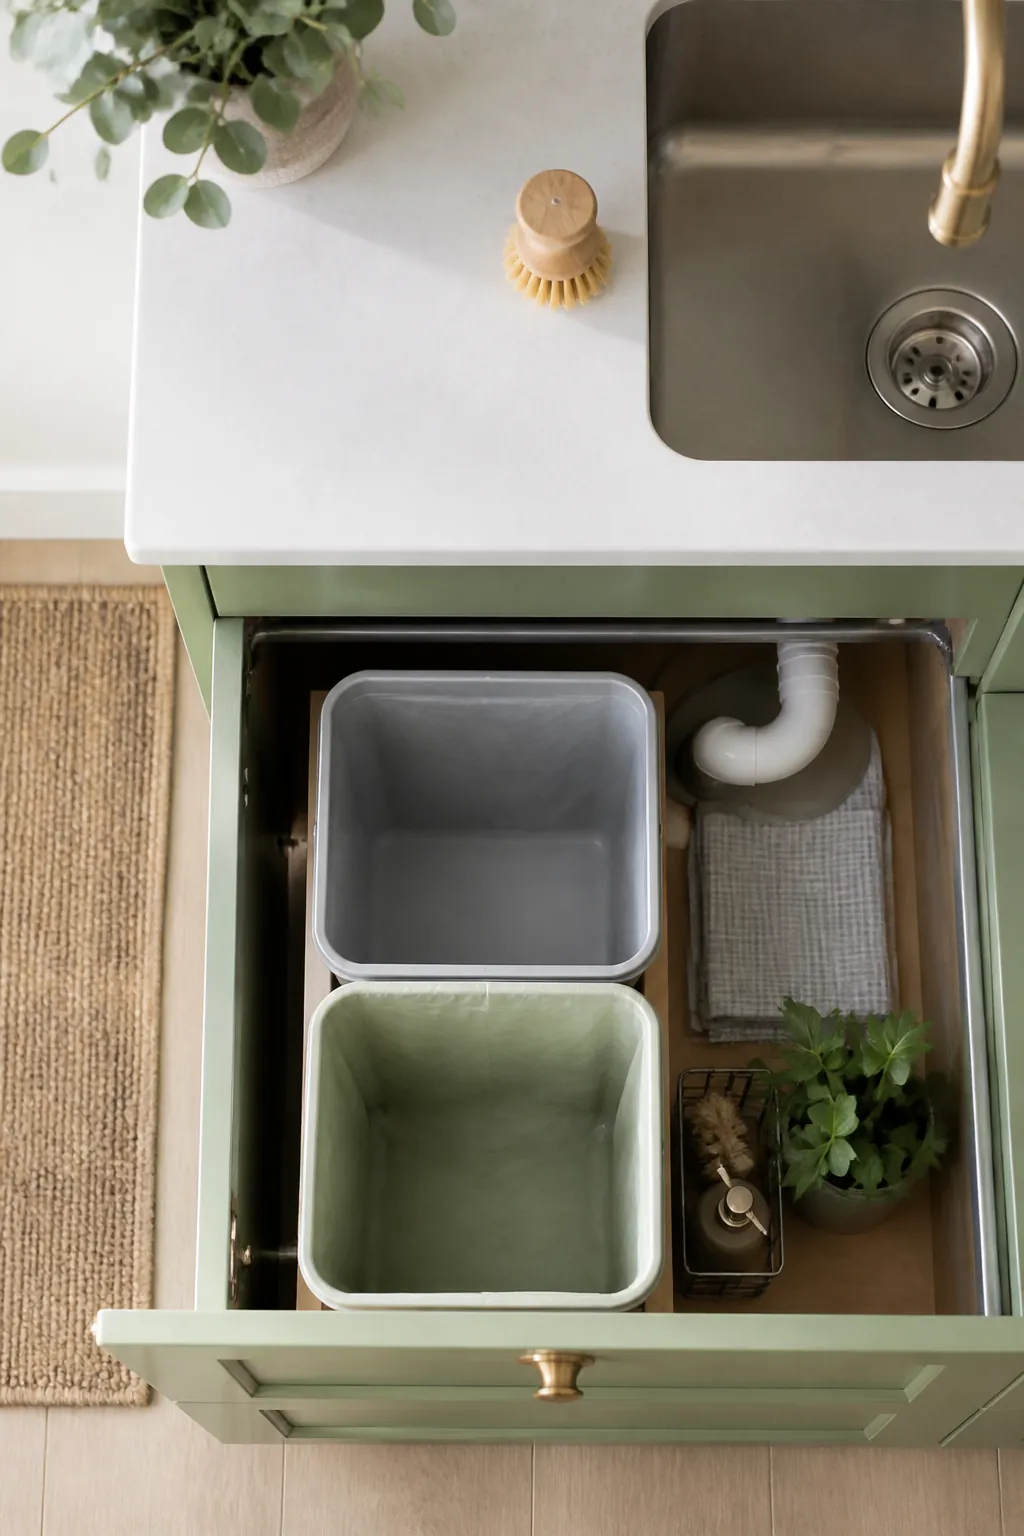
A single slim dual-compartment bin, one side for trash and one for recycling, uses the width of one bin instead of two, which matters most in a cabinet that is already tight after the plumbing takes its share. This is the option to reach for first if your under-sink measurement from step one came back under about 14 inches wide, since two full-size cans rarely fit that gap side by side.
The trade-off is capacity on each side. A dual-compartment bin splits its total volume roughly in half, so the recycling side fills faster than a dedicated recycling bin would, and needs emptying on its own schedule rather than whenever the trash side happens to be full. No single dual-compartment model has a track record solid enough to point you to here, so measure your cabinet width and shop by that number rather than by a specific listing.
4. Hang the overflow bag off the back of the pantry door
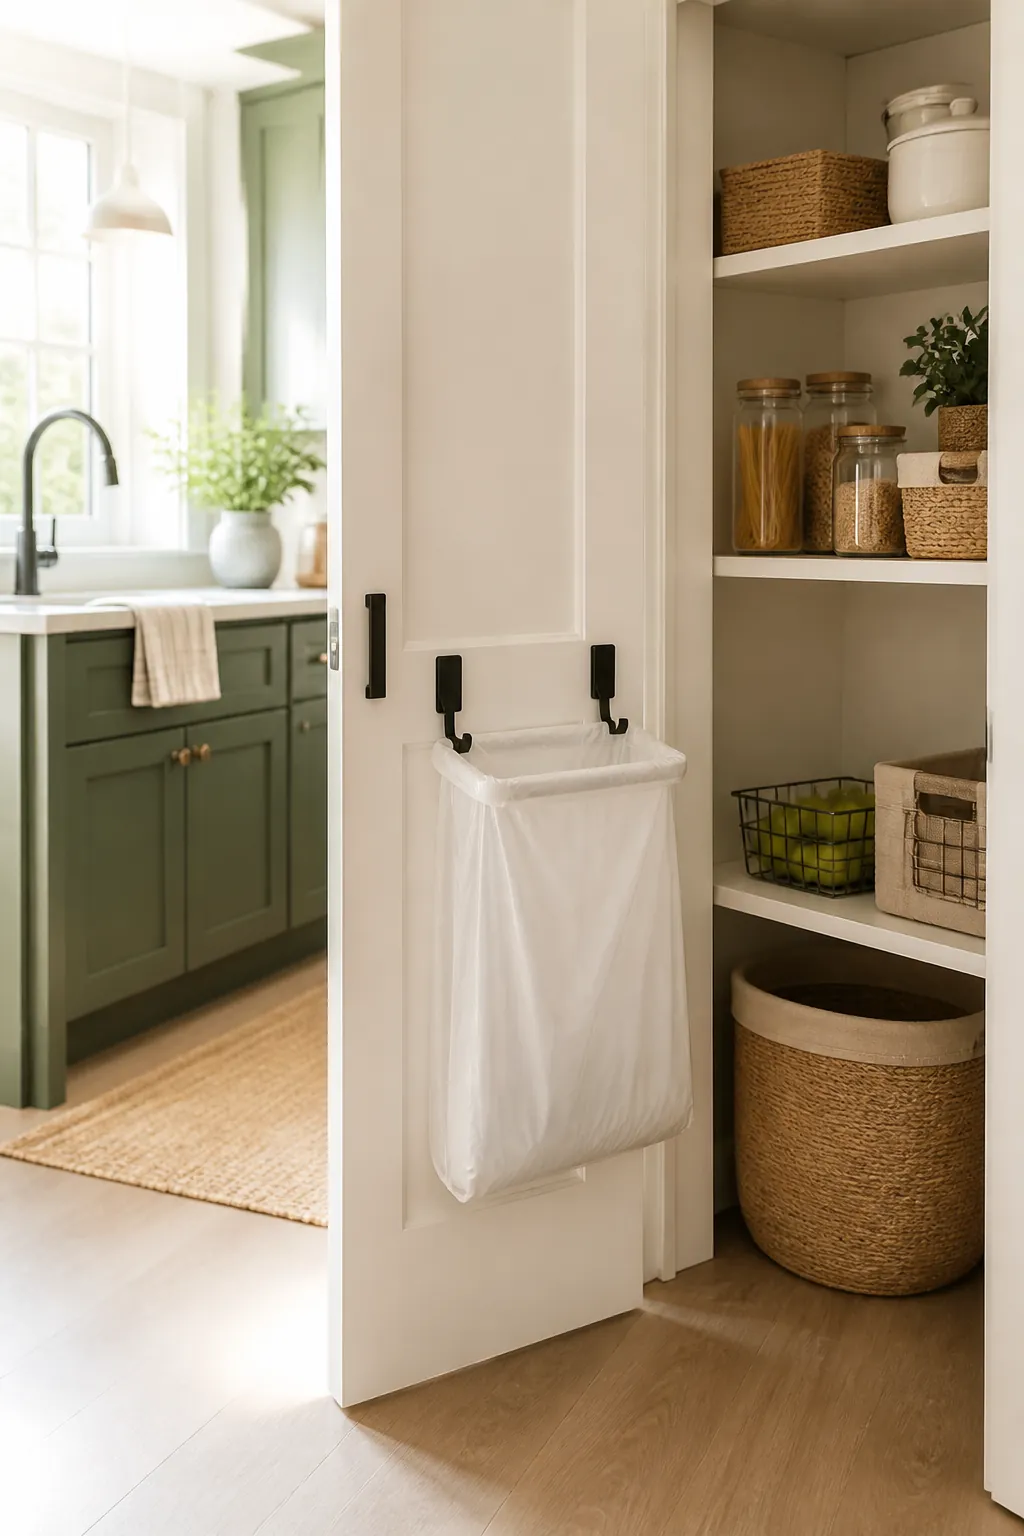
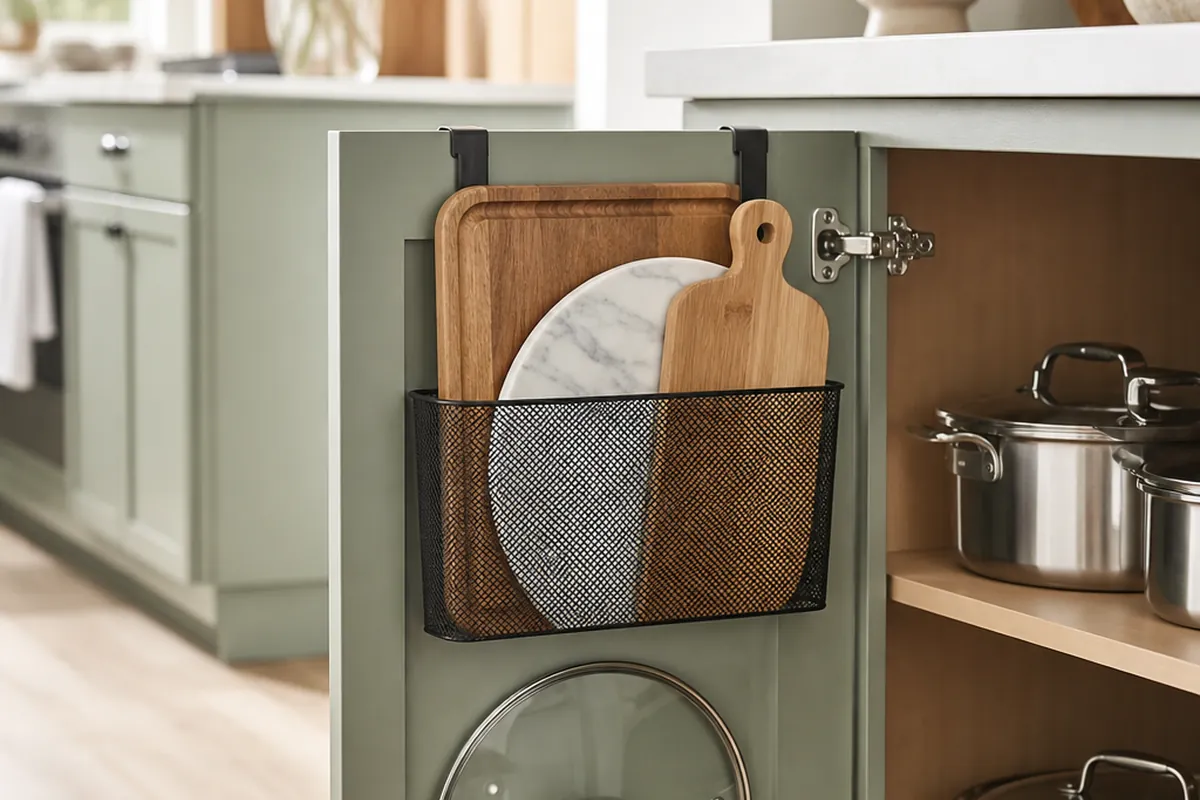
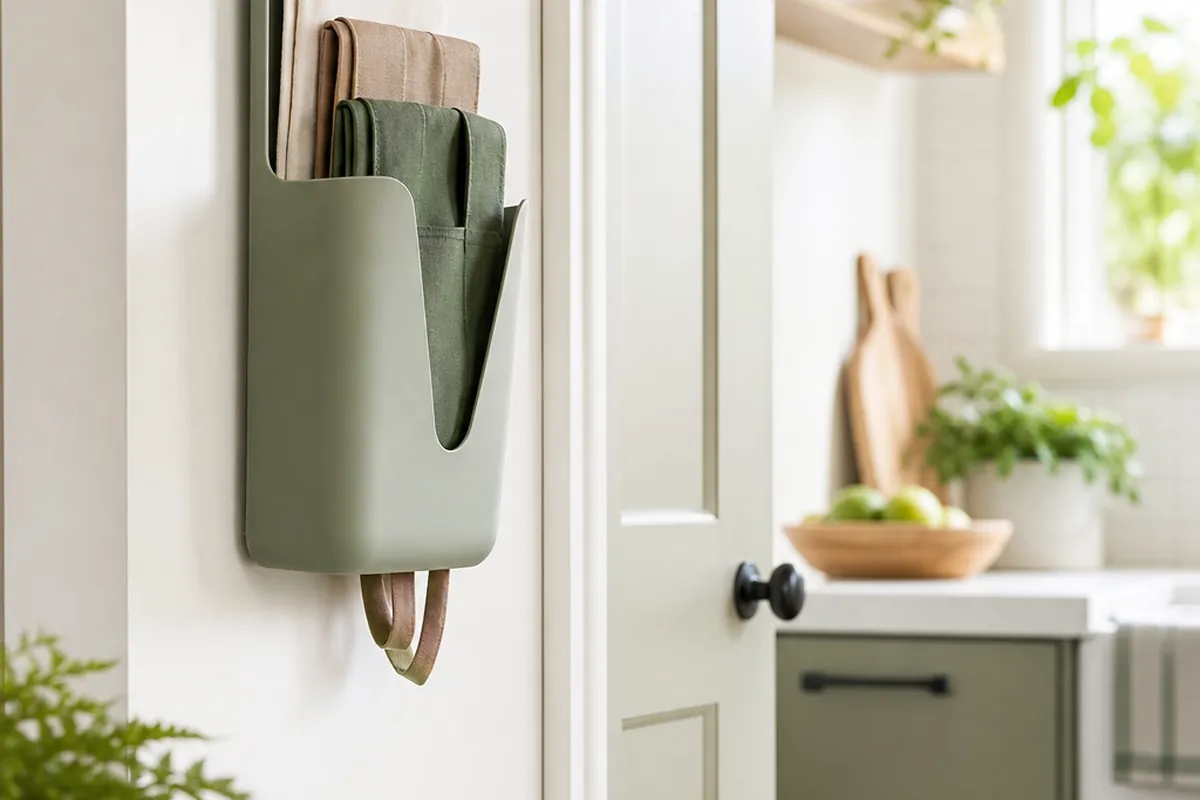
When the sink cabinet is too shallow for any bin and recycling has nowhere to land, the back of the pantry door is still open real estate. An over-the-door hook hanger on the inside of that door holds a liner bag at a height nobody has to bend for, and it costs nothing in floor space either direction.
Two things to check first. Measure the gap above the door itself, since a thick hanger bracket can keep the door from closing flush against the frame, and keep whatever hangs there light. A heavy bag of cans swings every time the door moves and will eventually pull the hooks loose, even rated ones, so save this spot for paper and light packaging rather than glass.
5. Give bottles and cans a stackable caddy instead of a floor bin
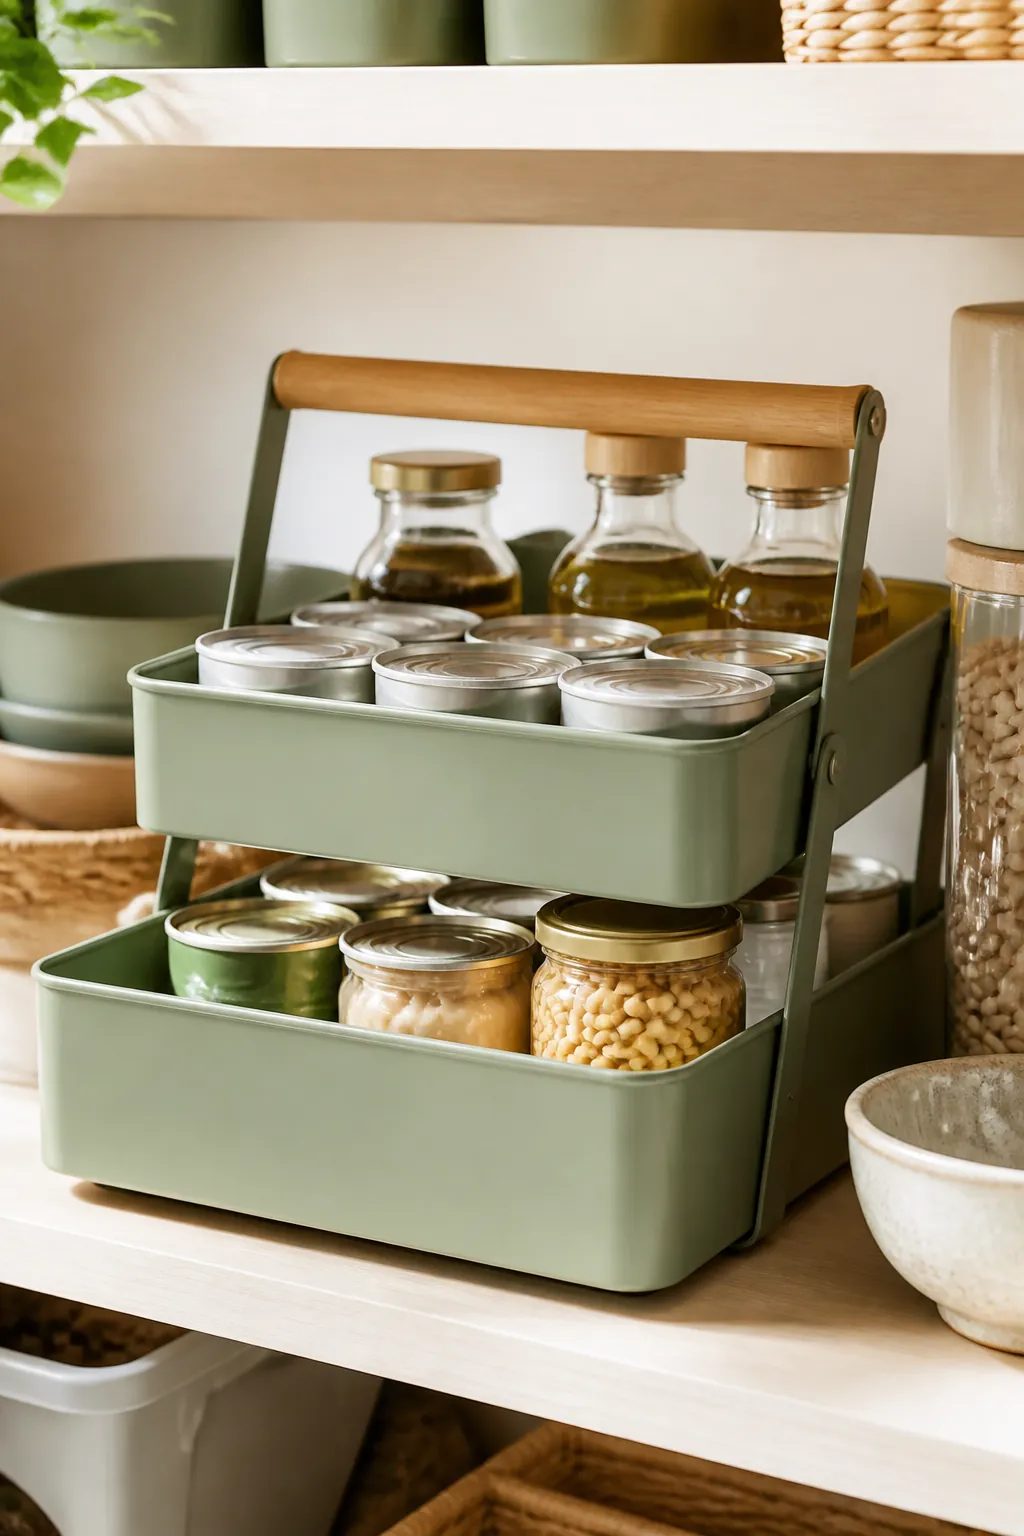
Recycling does not need a bin at all if it is mostly cans and bottles rather than bulky cardboard. A stackable supply caddy with handle on a pantry shelf or the counter end holds a sorted load and carries straight out to the recycling bin on pickup day, no transfer bag needed in between.
This solves the load-out problem that a fixed bin does not: nothing has to be dumped or bagged before it leaves the kitchen. Rinse cans before they go in, though, since a caddy without a liner picks up residue that a lined bin never would, and give it a quick wipe every week or two so it does not start attracting the same insects a dirty trash can does.
6. Use the toe-kick space most small kitchens waste
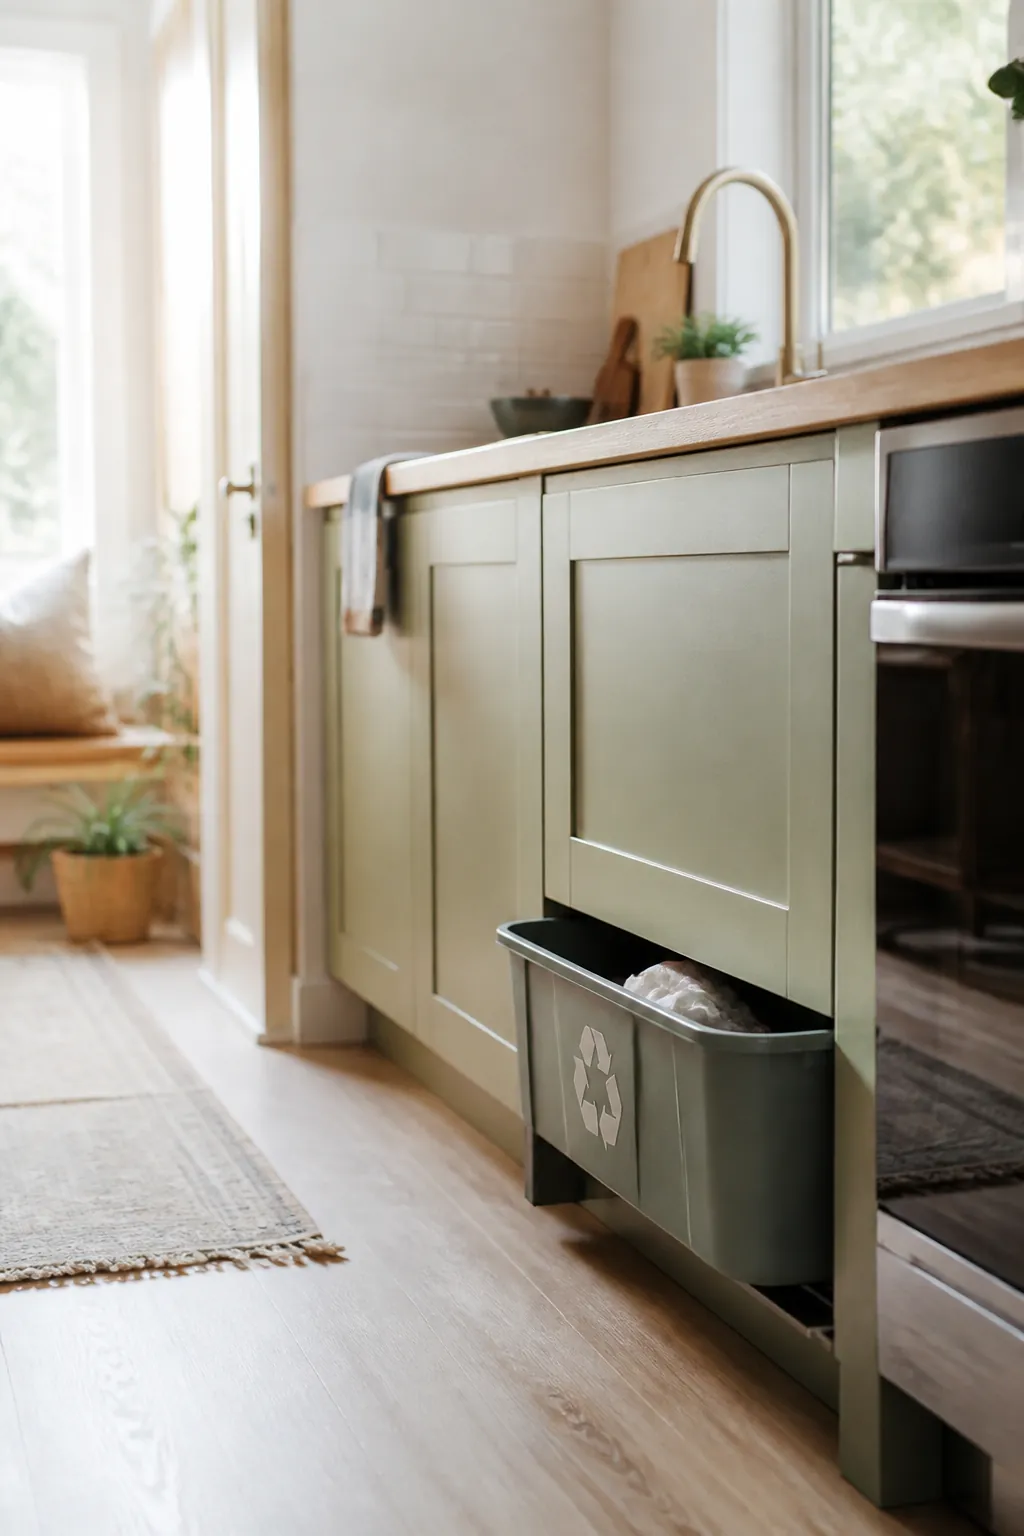
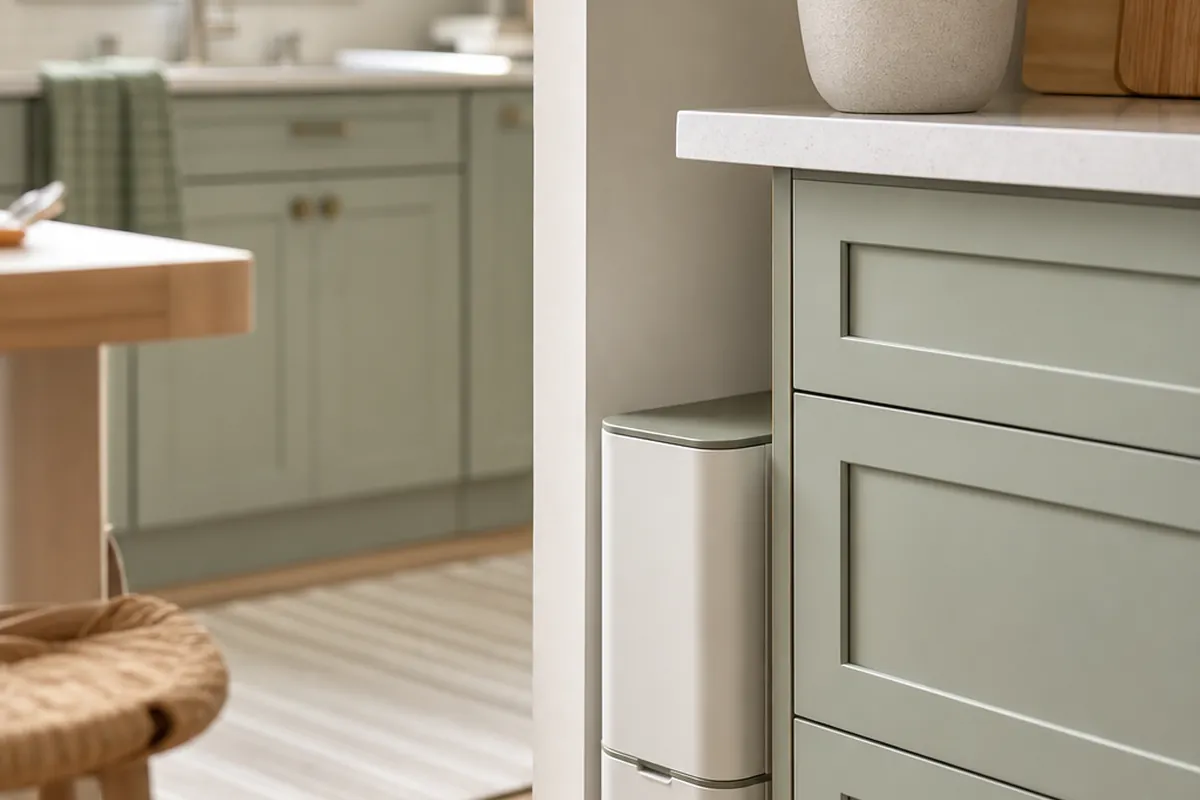
Most lower cabinets have a recessed toe-kick at floor level, usually 3 to 4 inches deep and running the width of the cabinet, and it almost never holds anything. A slim, low-profile bin built to slide into that recess sits entirely outside the main cabinet, visible only as a thin strip at floor height, and it works well for dry recyclables like flattened cans that do not need much depth.
If the toe-kick has a fixed decorative panel screwed across it, this idea needs that panel removed or converted to a hinged one, which is more of a project than most renters want to take on. Skip it if the panel does not come off cleanly and look at a different gap instead.
7. Keep odor out of a kitchen with no room to spare
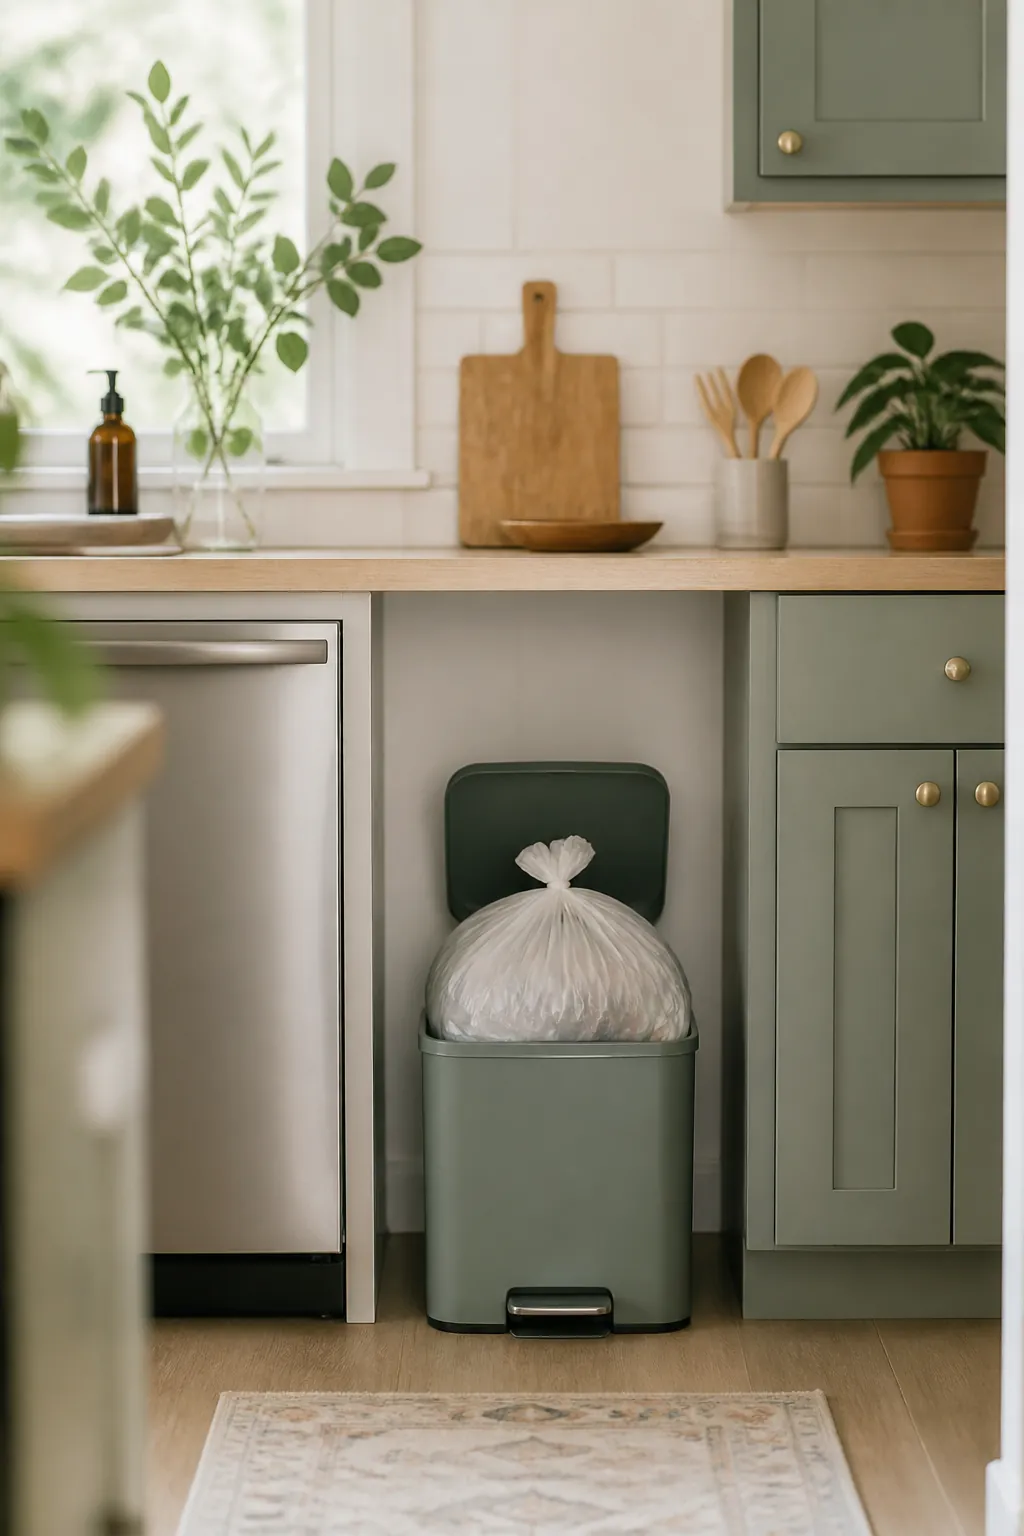
A trash bin in a warm kitchen develops smell faster than the same bin anywhere else in the house, and a bigger bin is rarely the fix. Use liners sized to the bin instead of a larger bag folded down to fit, since folded excess traps air and moisture against the inside wall where odor starts.
Tie the bag off once it is two-thirds full rather than waiting until it will not close, because a bag compressed shut at the top is what actually starts to smell, not a bag that still has headroom. And keep the bin a few inches clear of the dishwasher and the stove if the cabinet layout allows it. Both appliances run warm, and a bin pressed against either one heats up faster than the rest of the kitchen does.
8. Build a path from counter to curb that actually gets used
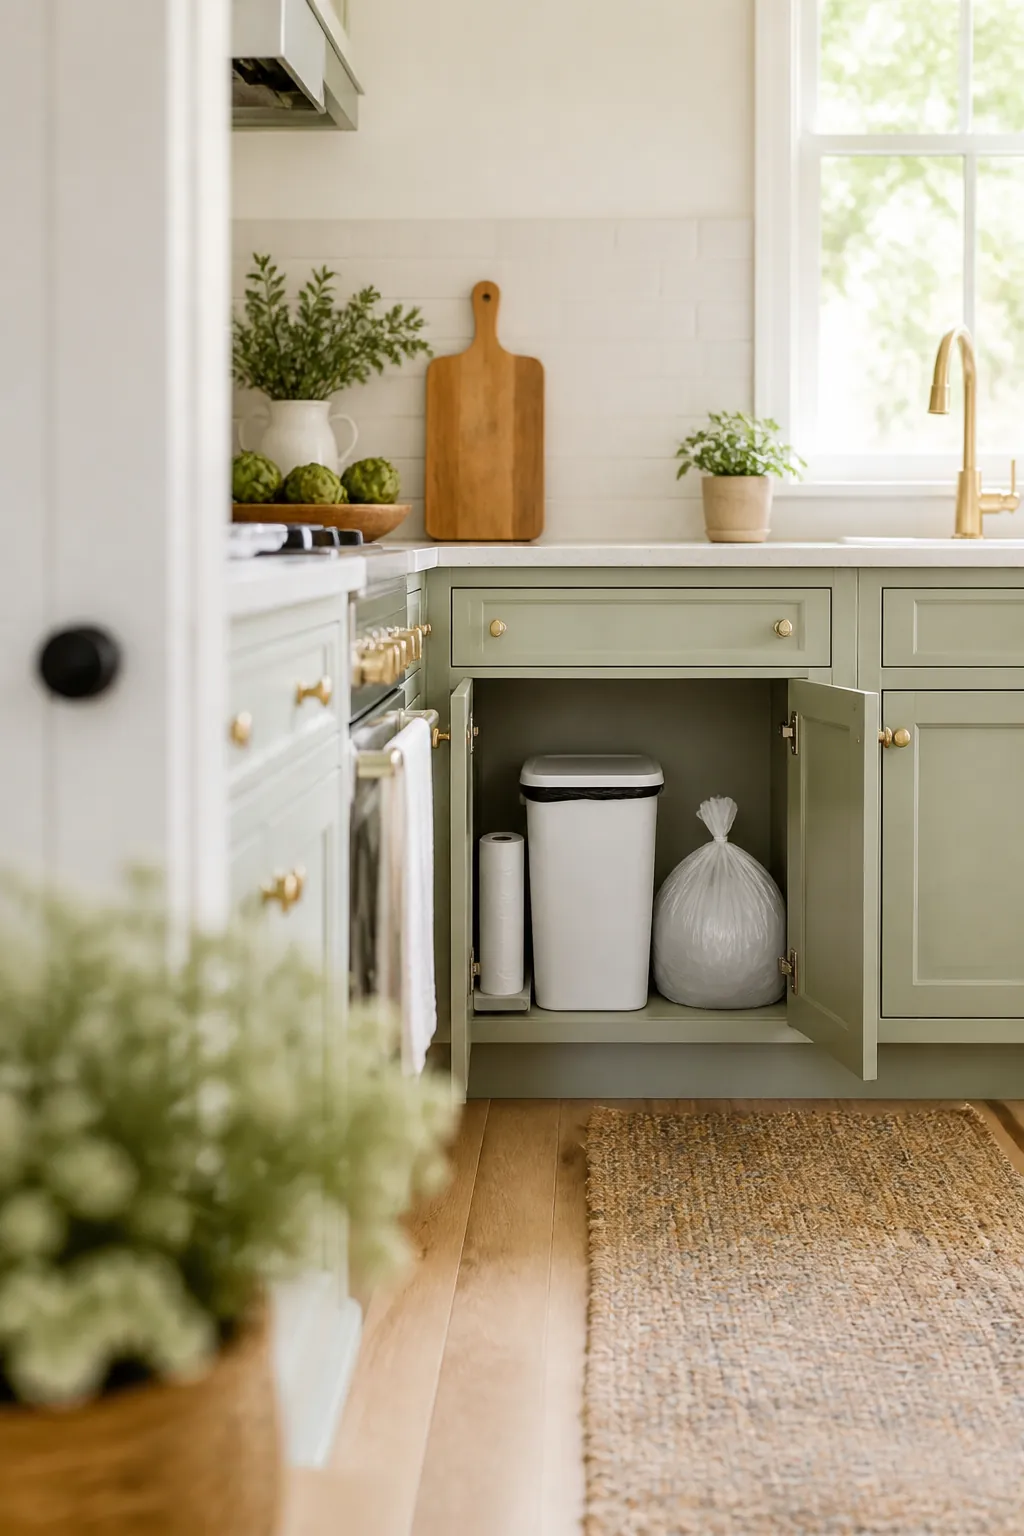
The system falls apart most often not at the bin itself but on the walk from the kitchen to wherever the full bags actually go. If that path runs through a narrow hallway or past a step, a full 13-gallon bag becomes a two-hand, two-trip job that gets put off, and a put-off bag is a smelly one.
Keep a spare roll of liners in the same cabinet as the bin, not in a drawer across the kitchen, so replacing a full bag takes seconds instead of a search. And if pickup day means carrying sorted recycling out separately from the trash, do that carry in one trip with the caddy from step five rather than two, since a second trip is the one that gets skipped on a busy night.
9. Know where a bin should never go
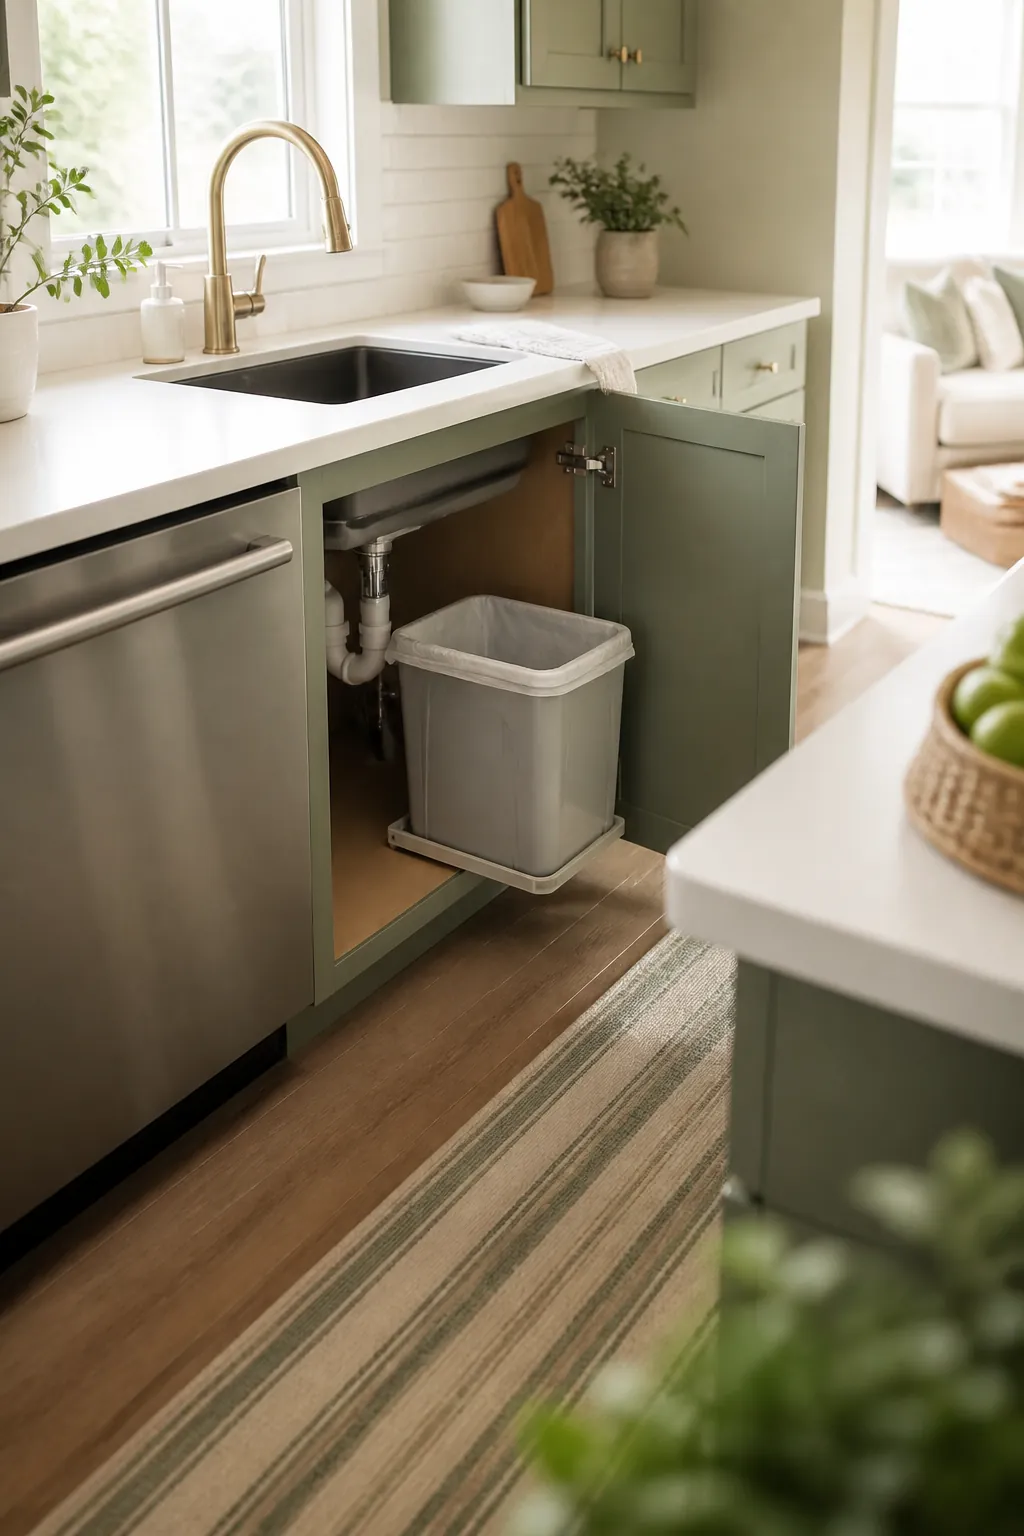
The wrong spot causes more daily friction than a bin that is slightly too small. Never place a trash bin directly in front of a cabinet or dishwasher door, since you will be shuffling it aside every time you need what is behind it. Never wedge one against the shutoff valves under the sink, for the reason covered in step two: you want fast access to those valves the one day a supply line fails, and a bin is not worth the delay.
And never put the recycling caddy where it blocks the path to the trash bin. If reaching one means moving the other, one of them stops getting used within a few weeks, and it is never the one that is easier to reach.
Where to start
Measure the cabinet first, at the narrowest point, with the door open. If the gap under the sink clears about 14 inches wide, a dual-compartment bin on a pull-out tray handles trash and recycling in one spot. If it does not, split the two: trash under the sink, bottles and cans in a stackable caddy on a shelf or counter end. Either way, fix the emptying and load-out path before buying anything else, since a bin sized perfectly for the cabinet still fails if the walk to the curb is the part nobody planned for.
None of this needs a permanent fixture. Adhesive door hooks and a caddy that lifts off a shelf both leave a rental exactly as you found it, which matters as much here as it does anywhere else in a kitchen you do not own.