A record collection grows a few sleeves at a time, which is exactly how it ends up too big for whatever shelf first held it without anyone noticing the moment it happened. By the time there are 80 albums leaning at an angle against a bookend that was never meant to hold that much weight, the collection is already warping, and the living room it lives in was never built with 12-inch square objects in mind. The fixes below are less about finding more space than about matching the storage to what a record actually needs, which is narrower and more specific than most furniture assumes.
1. Measure for the sleeve, not the shelf you already own

A standard LP sleeve is 12.375 inches square, a number that sounds close enough to 12 to round down and close enough to 13 to assume any deep-ish shelf will do. Neither rounding survives contact with the object. A shelf at 11 or 12 inches deep leaves the back third of every jacket hanging in open air, which is how spines get crushed against a wall the first time someone leans a lamp cord behind the shelf.
The number to build around is 13 inches of clear interior depth, which is also why IKEA’s Kallax cubes, at 13 by 13 inches inside, became the record shelf of the internet almost by accident. Anything shallower needs to be ruled out before it is bought, not discovered after the first crate arrives and does not fit.
2. Store every record standing up, never flat
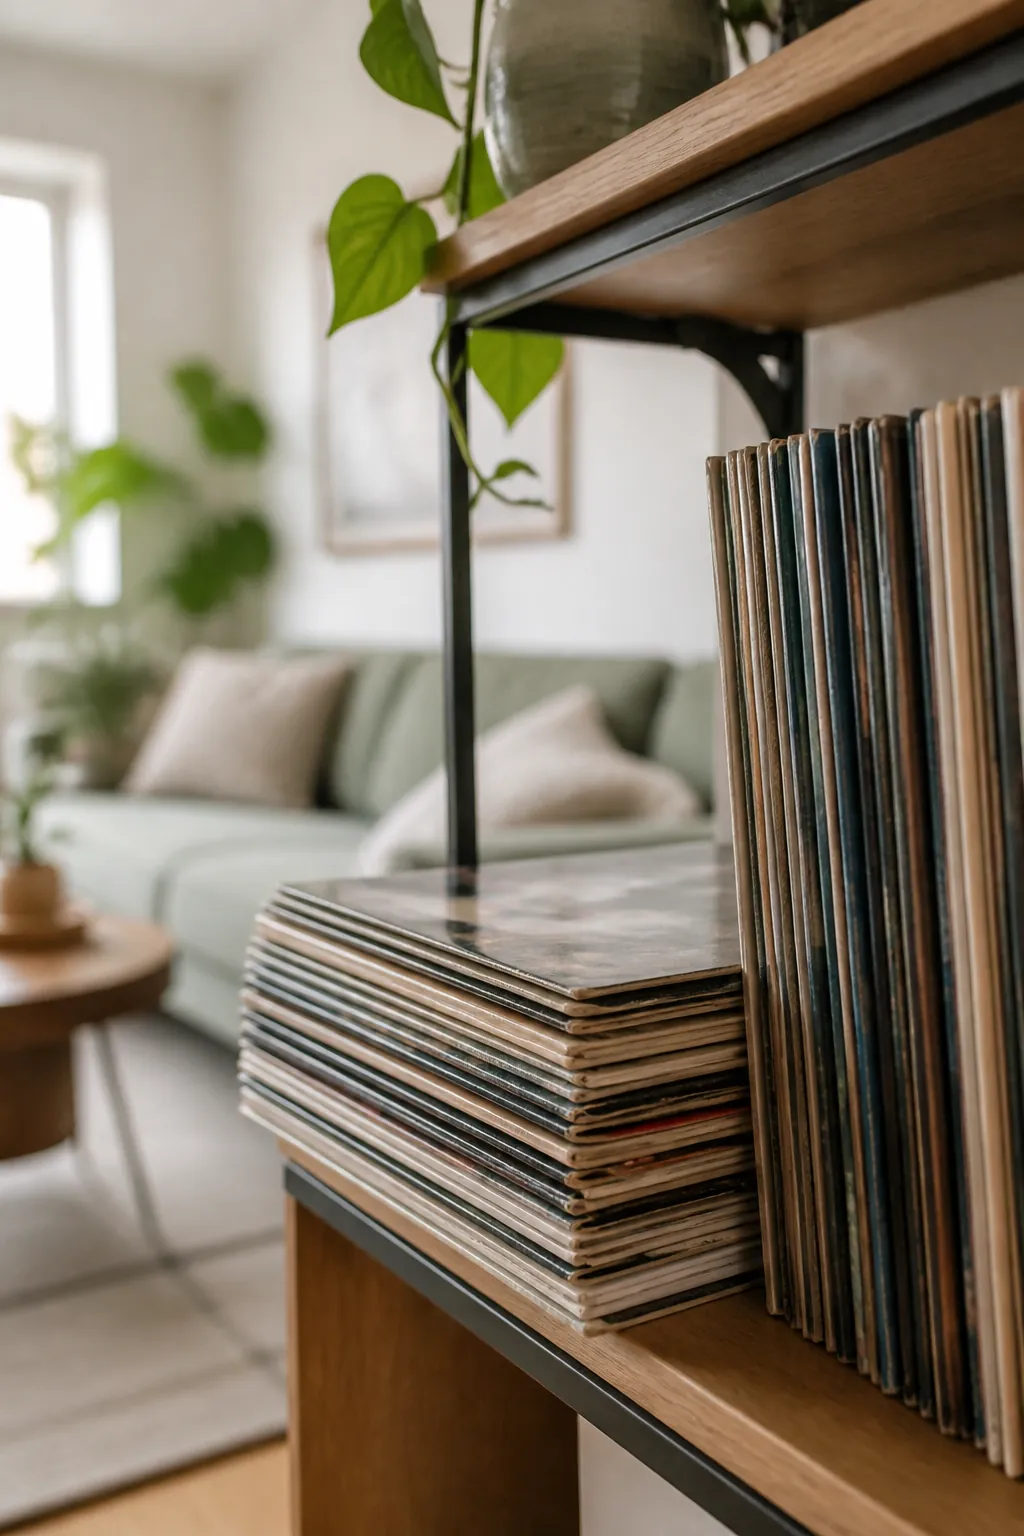
Vinyl is a thermoplastic, which means it softens under load well before it feels warm to a hand resting on top of the stack. A pile of ten records exerts real pressure on whichever one is on the bottom, and left flat for a season, that bottom record takes on a permanent dish-shaped warp that no amount of upright storage afterward will reverse.
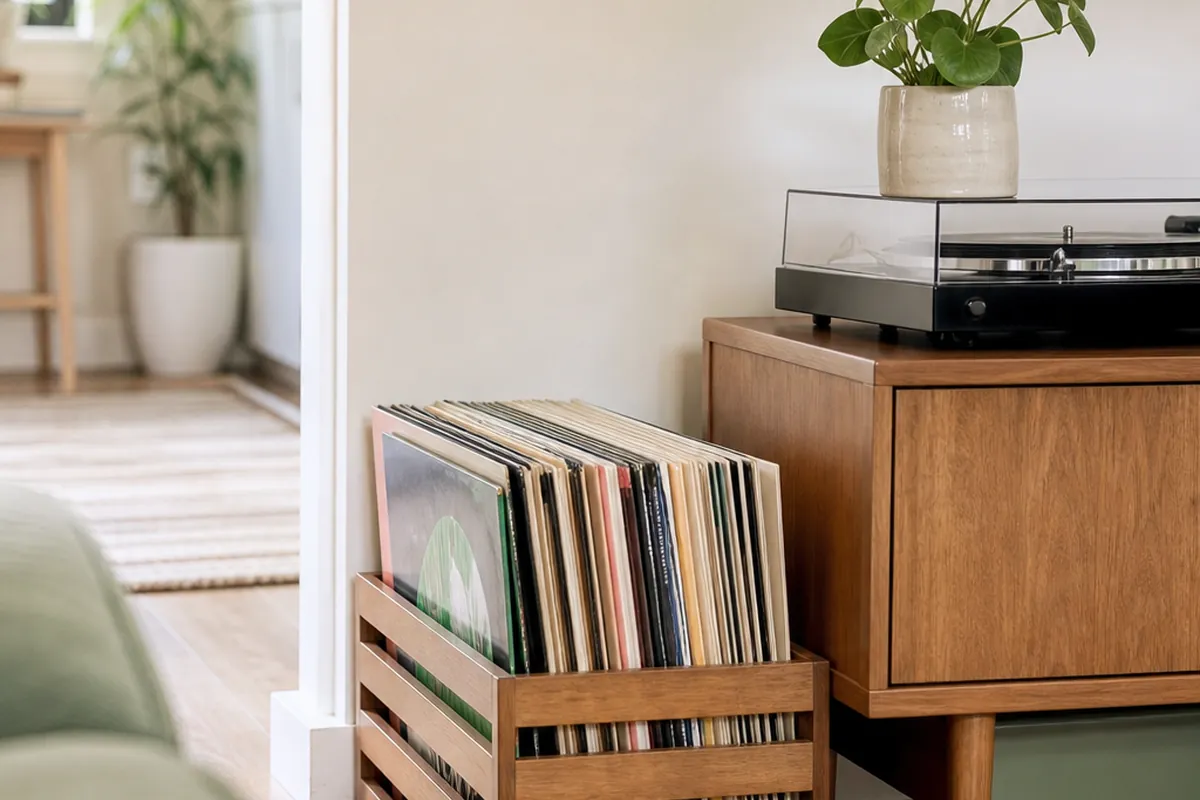
Records belong on edge, like books, full stop. The handful of albums people still store flat are almost always ones that arrived that way in a box and never got moved, which is worth checking if a collection was inherited or bought secondhand rather than built one purchase at a time.
3. Break long rows into sections a hand’s width apart

A single unbroken row of 60 records looks tidy until the ones in the middle start leaning, because nothing at either end is holding the row rigid enough to resist its own weight. Vinyl that leans past roughly five to ten degrees for months at a time develops the same bow as a flat-stacked record, just sideways, and warehouse workers call the result a banana warp for a reason.
Break the row every twelve to fifteen records, roughly every six inches, with a bookend, a shelf divider, or simply the edge of a bin. A crate that is only ever a third full does this automatically. A shelf that runs the full width of a wall does not, and needs the dividers added on purpose.
4. Keep the collection away from heat and direct sun

Vinyl starts to soften at around 140 degrees Fahrenheit, a surface temperature a sunny windowsill reaches by early afternoon in summer and a spot directly above a baseboard heater reaches all winter. Neither of those feels dangerously hot to a hand held there for a few seconds, which is exactly why records get left in both spots for years before anyone notices the warp.
The safest living room location is an interior wall, away from a south- or west-facing window and at least two feet from any heat vent or radiator. If the only available shelf is against a sunny window, a set of blackout curtains closed during the hottest part of the day does more for the collection than any shelf material choice.
5. Put the turntable and the current rotation on a rolling cart
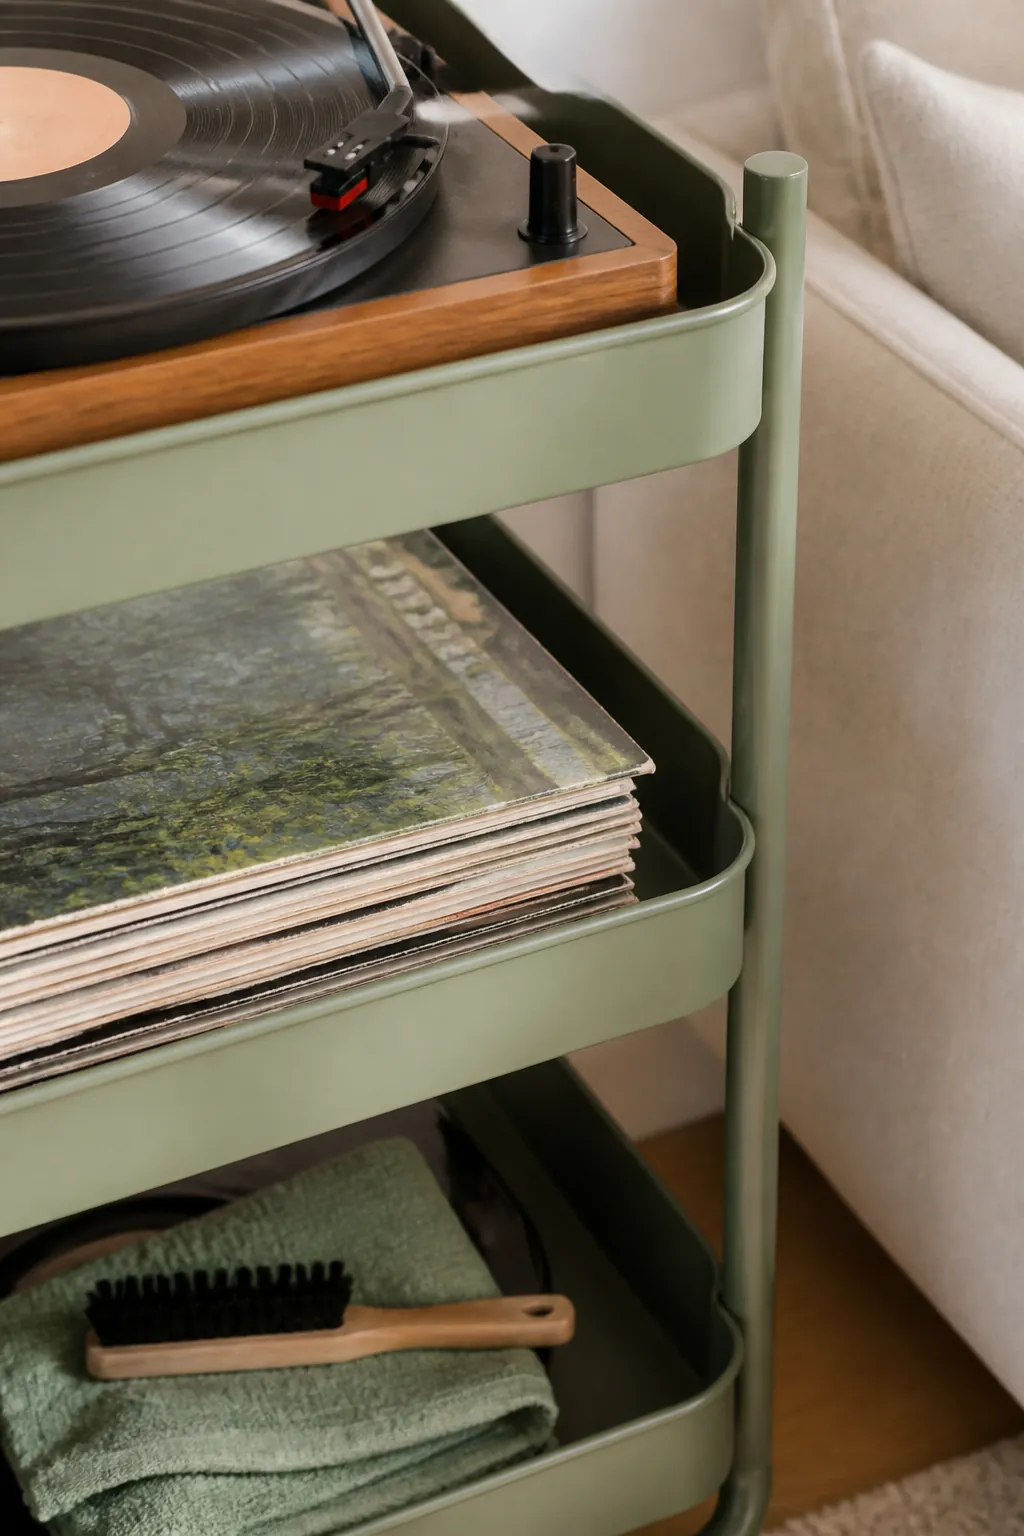
The records in active rotation, the ones pulled out weekly rather than archived, do not need to live with the rest of the collection at all. A 3-tier rolling cart puts the turntable on top, a dozen or so current albums standing upright on the middle shelf, and a cleaning cloth and spare stylus brush on the bottom, all within arm’s reach of the seat where they get played.
The casters matter more than they sound like they would. Vacuuming, rearranging for guests, or getting behind the cart to check a cable all take one push instead of the awkward crouch a fixed shelf demands, and moving the whole setup at the end of a lease is a five-minute job rather than a disassembly.
6. Use a floating ledge to display album art face-out
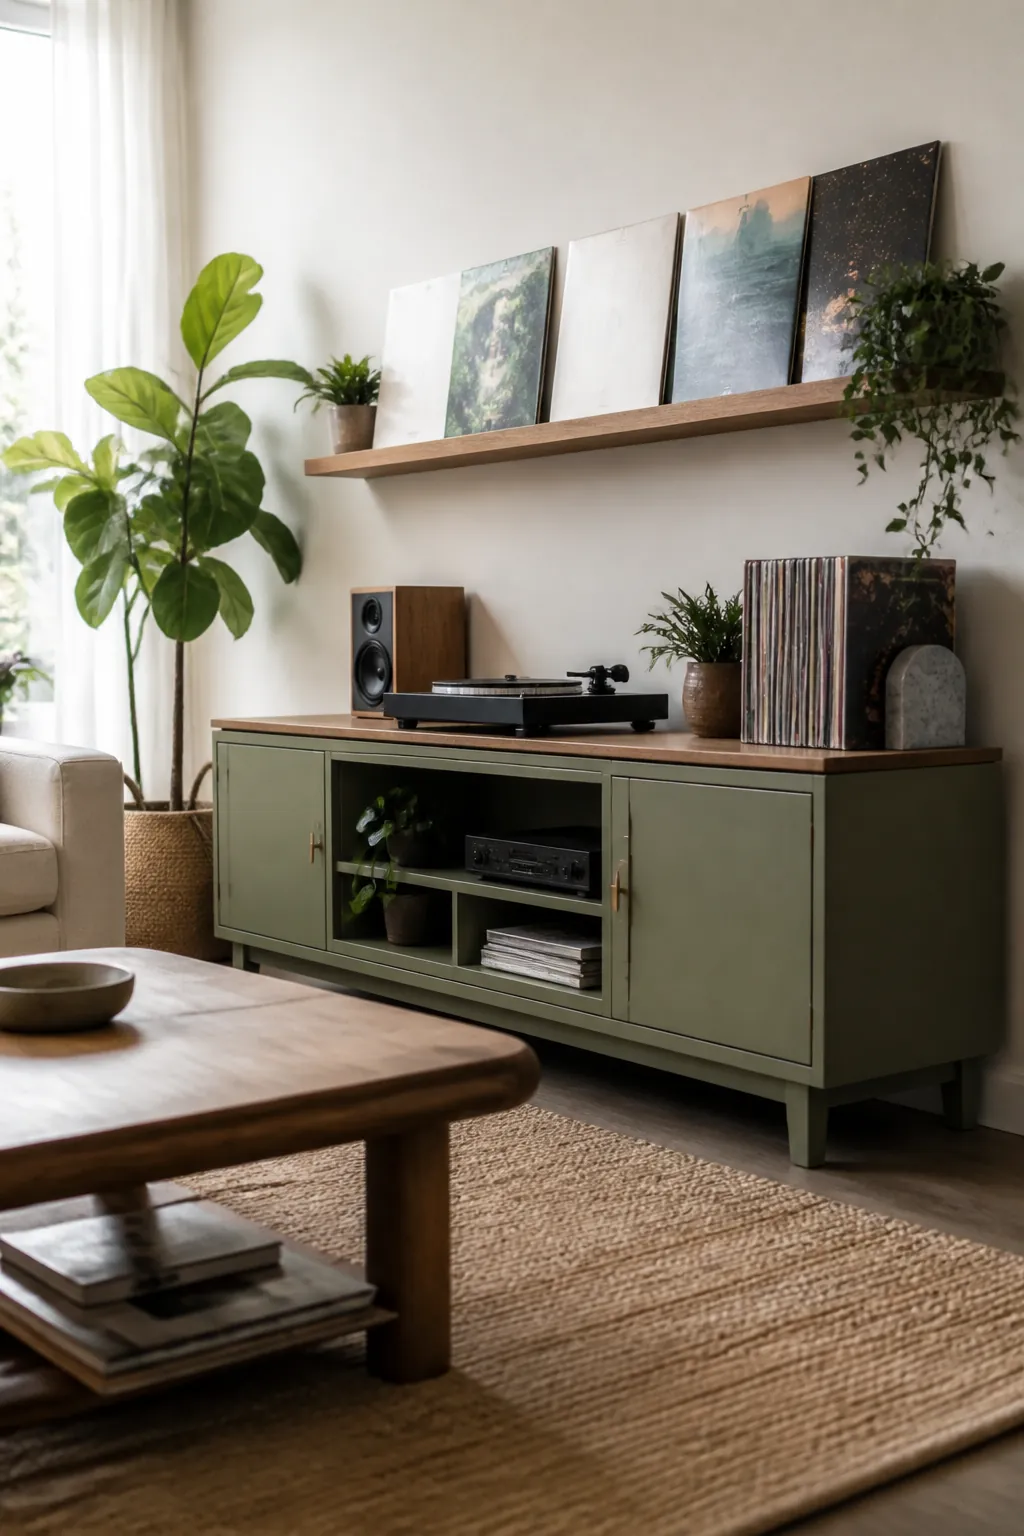
Full-depth shelving is not the only legitimate way to store records, and for a rotating handful of favorites, it is not even the best one. A set of floating wall shelves mounted a few inches apart works as a picture ledge: records lean against the wall face-out instead of sitting flush in a compartment, so the shelf itself only needs a few inches of depth rather than the full 13 a flush-fit storage shelf requires.
The tradeoff is weight and quantity. A run of ten leaned records is roughly ten pounds hanging off two or three anchor points, which most wall anchors handle without trouble, but this is a display for a rotating handful of covers, not a home for the whole collection. It is also worth checking a lease before drilling. A leaning ladder shelf or a crate propped against the wall gets most of the same face-out look with no holes to patch at move-out.
7. Route 7-inch singles and accessories to cube bins, not the LP shelf
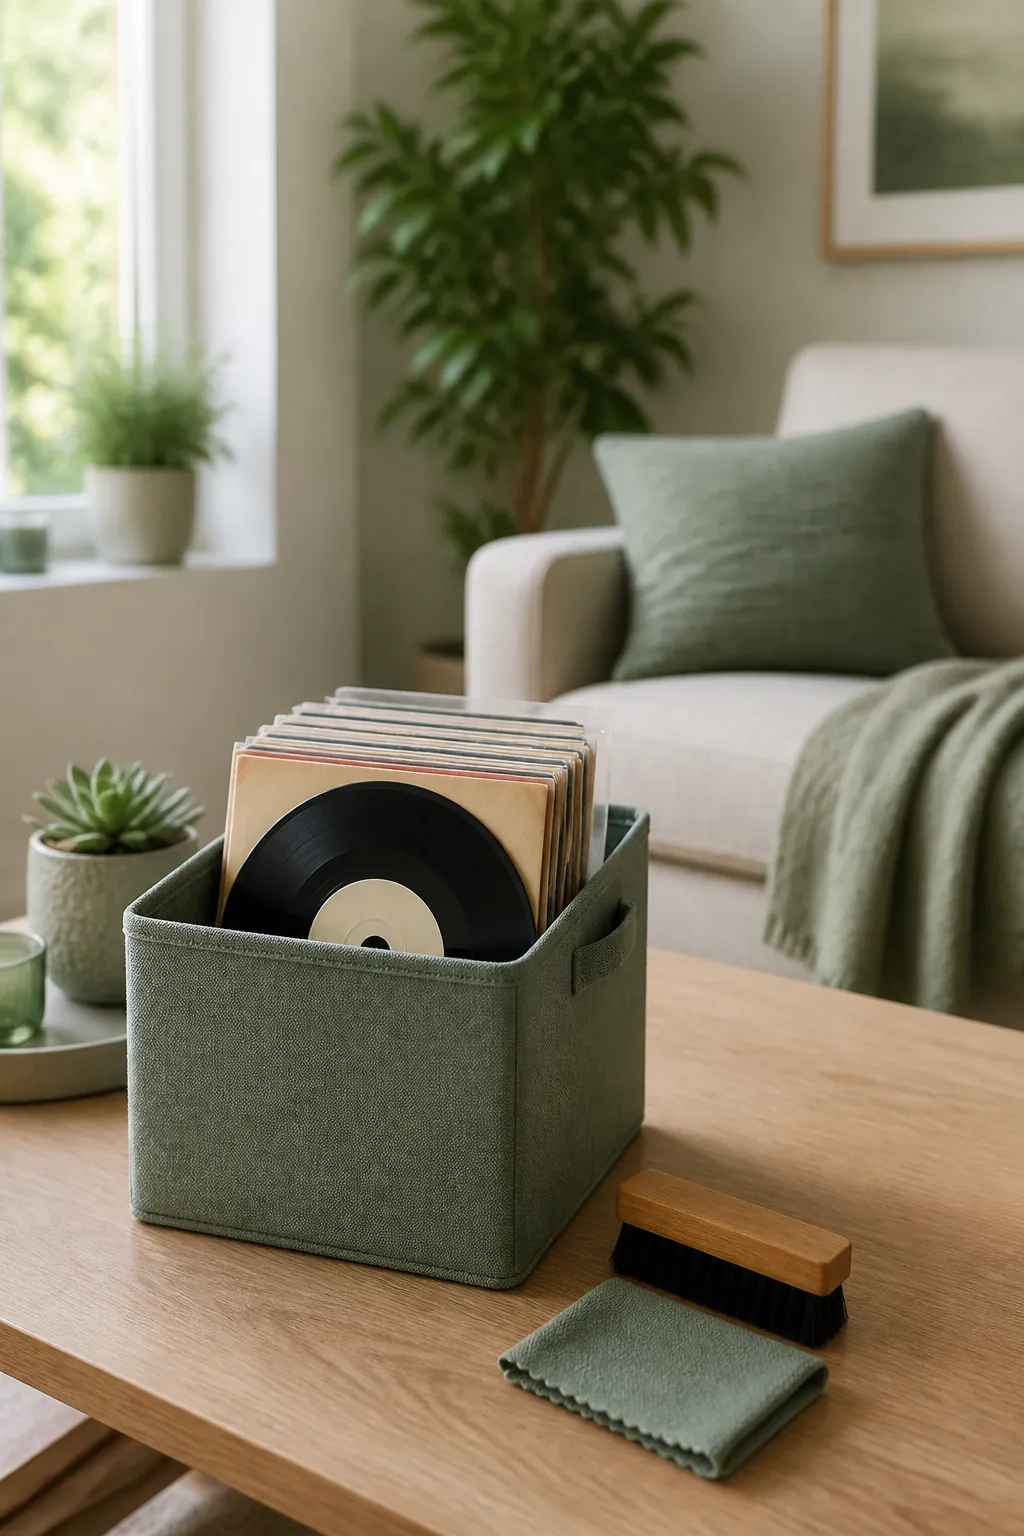
A 7-inch single is close to 7.5 inches square, small enough to disappear at the back of any shelf sized for LPs and small enough to get crushed if a 12-inch record ever gets racked on top of it by mistake. A set of cube storage bins, at 11 inches inside, is too shallow for full LPs but exactly right for singles standing on edge, plus a stylus brush, spare inner sleeves, and a cleaning cloth in the same cube.
This is the same trap board game storage runs into with oversized boxes: a bin that looks like it should hold the big thing is actually sized for the small thing, and forcing the mismatch is how corners get crushed. Keep the two formats in separate containers and neither one damages the other.
8. Leave a finger of slack in every packed row
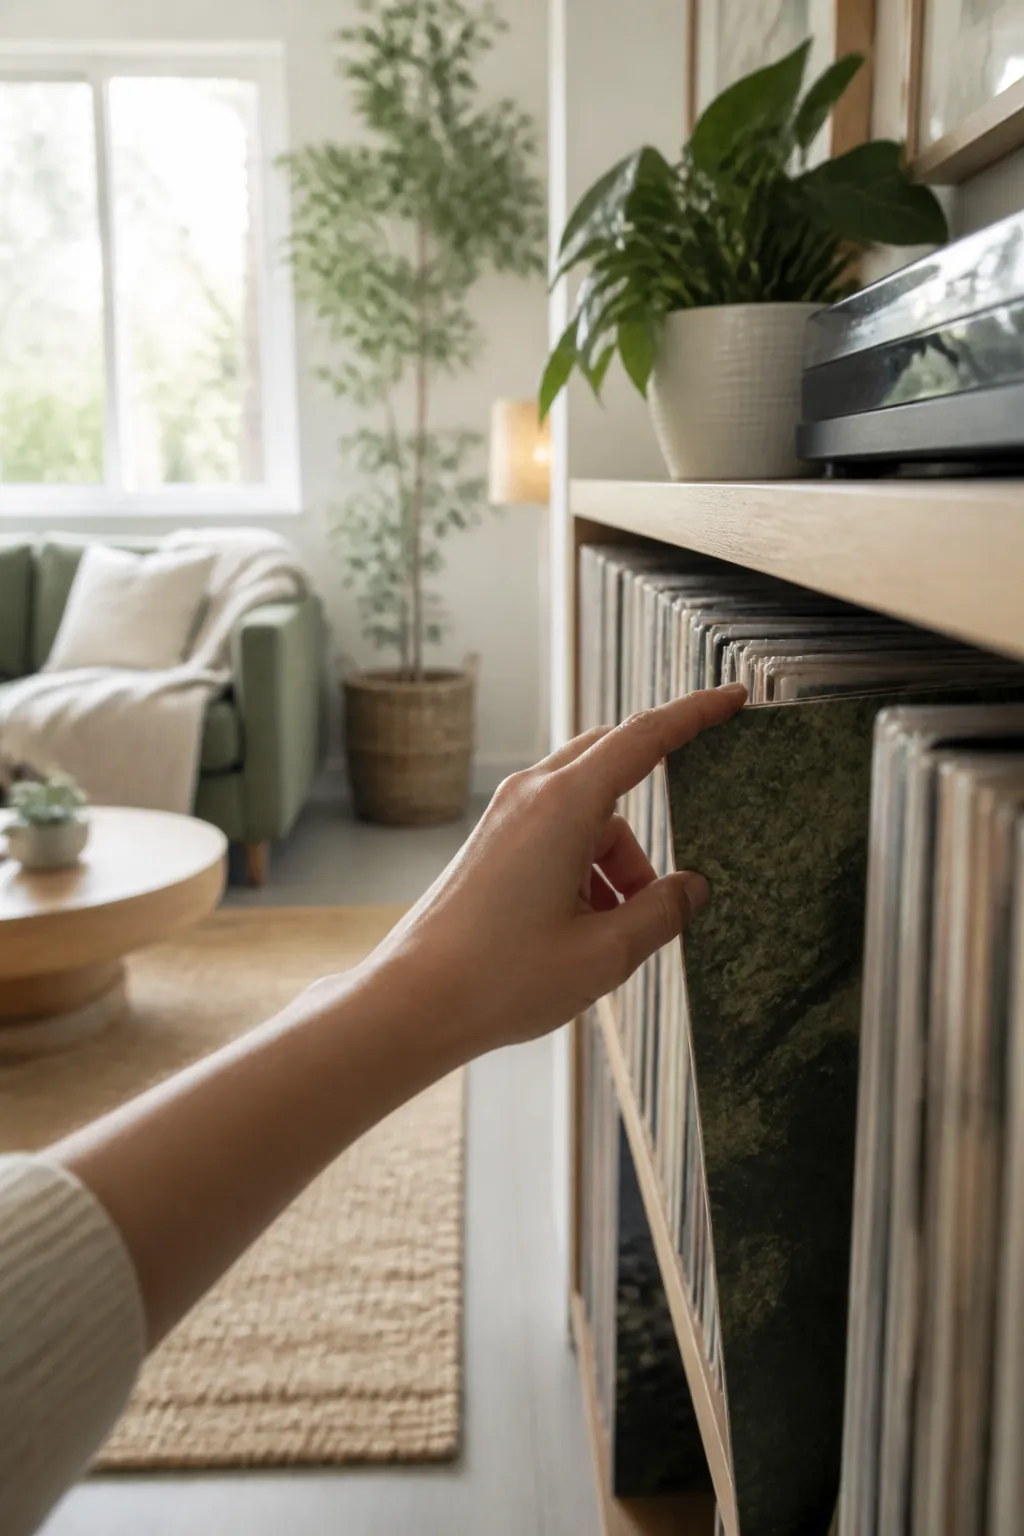
A shelf packed edge to edge looks efficient and behaves like a locked drawer, because there is no gap left to hook a finger over the top of a sleeve and pull it forward. People compensate by pinching the top corner and yanking, which is how seams split and how the paper laminate on an album cover starts to peel at the edge.
Leave about half an inch of slack at the end of every row, or one section short of full in a crate. That gap costs almost nothing in capacity and is the difference between records that come out clean and jackets that slowly shred at the corners over a few years of regular handling.
9. Slip outer sleeves on jackets that live in the open
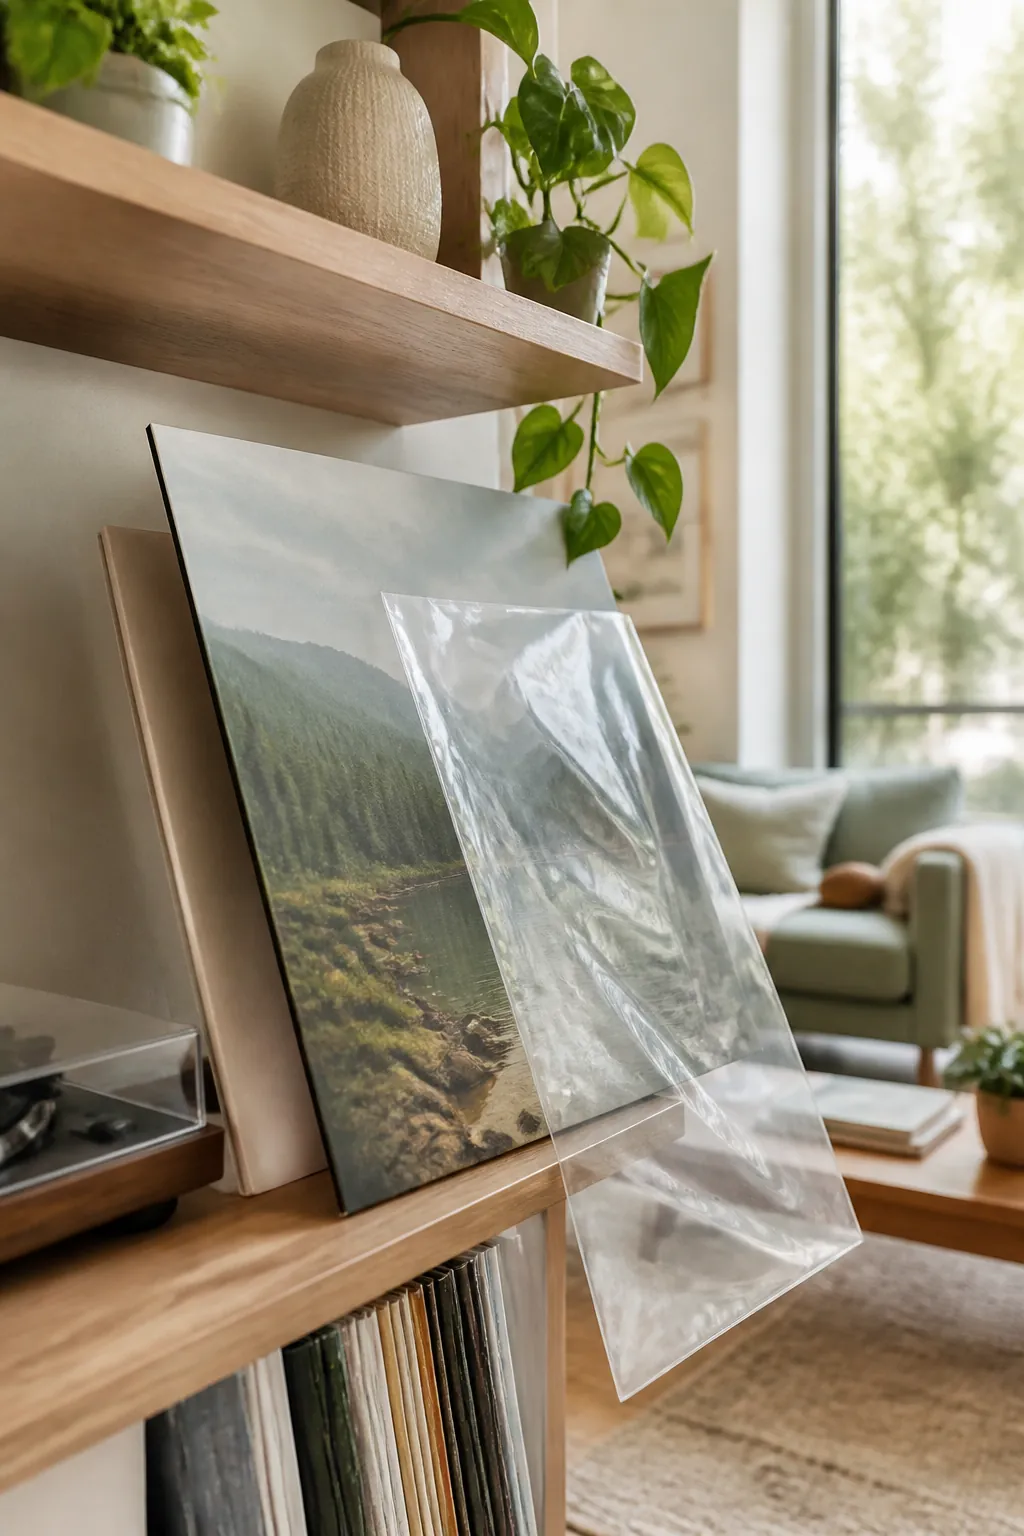
Any record on open display, whether that is the floating ledge or the top of the rolling cart, spends its life rubbing against whatever is next to it and picking up dust that a shelved collection mostly avoids. A plastic outer sleeve over the jacket stops the printed cover from developing ring wear, the faint circular scuff a record leaves on its own sleeve from years of sliding in and out, and it keeps dust off the exposed edge that a closed cabinet would otherwise protect on its own.
Reserve the sleeves for what is actually on display rather than the whole collection. A record standing in a dense, undisturbed row inside a crate is not rubbing against anything, and sleeving all 200 of them is a lot of plastic for a problem that only exists at the front of the shelf.
Where to start
Measure your deepest shelf before you measure anything else. Thirteen inches or more takes an LP flush, and anything less only works as a face-out display for a handful of favorites, which is a different storage job with a different set of shelves. From there, split the collection by how it actually gets used: the current rotation goes on a rolling cart next to the turntable, singles go in cube bins sized for their smaller sleeve, and the bulk of the archive goes upright in a crate or a shelf with a divider every six inches so nothing has room to lean. Get the depth and the dividers right, and the collection stops being something that slowly warps in the corner of the room.