A small living room usually has one wall for the TV and one piece of furniture doing every job around it: holding the screen, hiding the cable box, storing the remotes, and somehow still looking like furniture instead of an equipment rack. Most consoles fail at the hiding part, either because the doors will not close over what is behind them or because nobody checked what would actually fit inside before buying. Ten fixes below, starting with the measurement that prevents the other nine from mattering.
1. Measure the TV and every component before you shop for a console
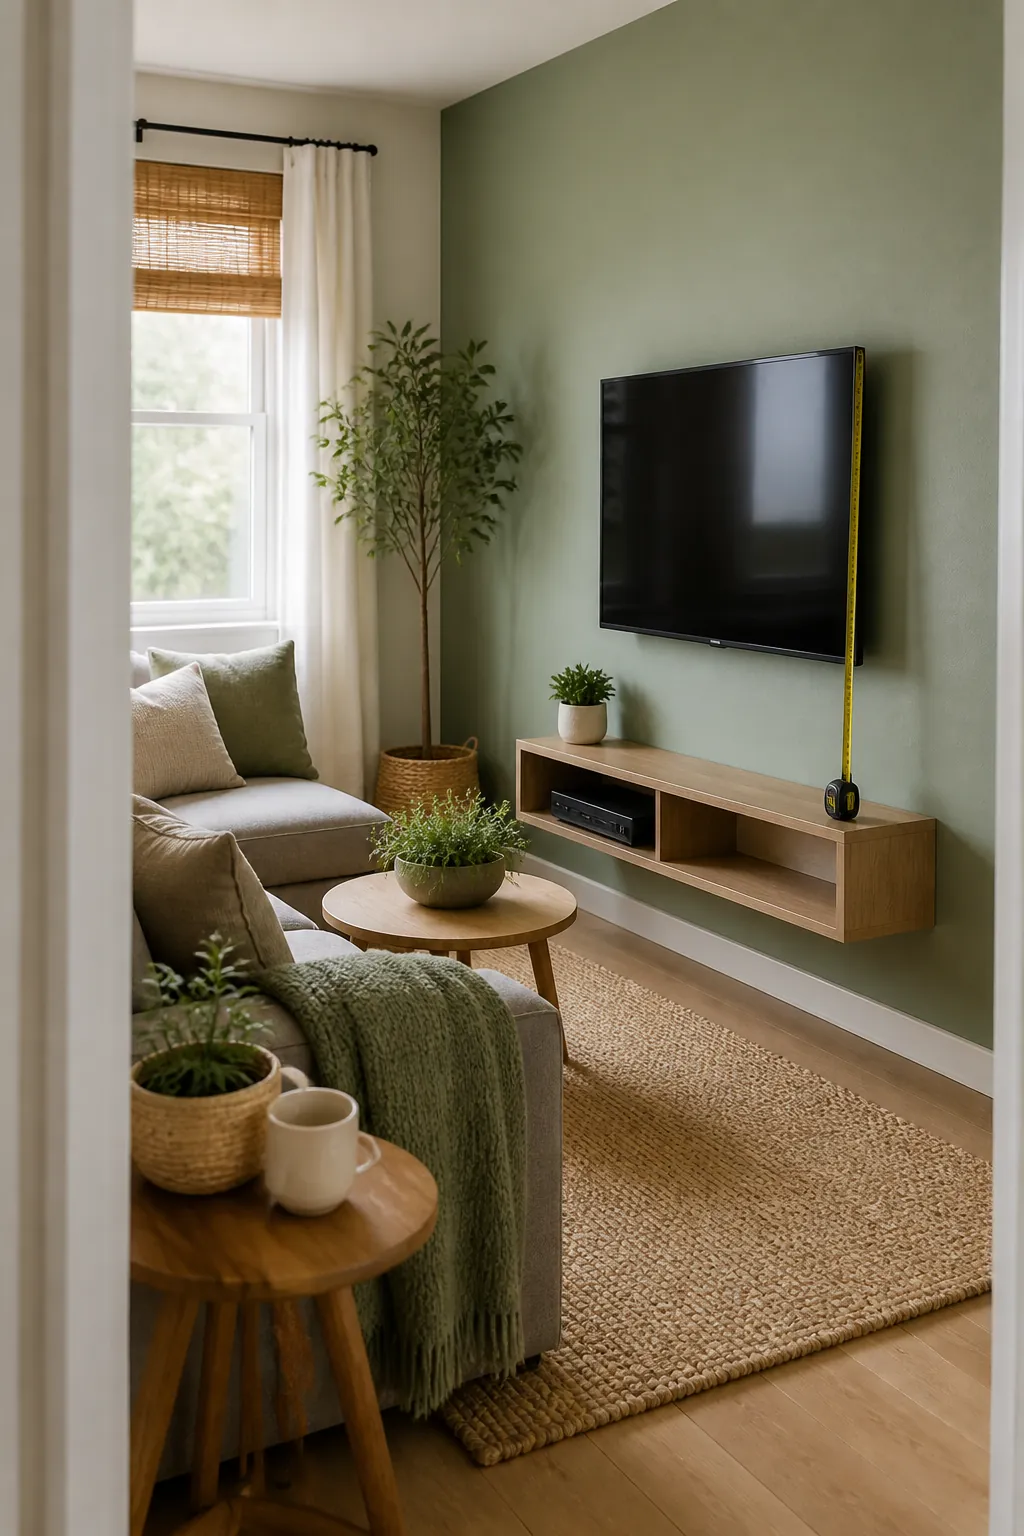
Buy for what sits on and inside it, not for the wall it will stand against.
Width should roughly match the TV, or run up to four inches wider on each side for visual balance. Depth is where people get caught out: a cable box or AV receiver ten to twelve inches deep, plus another two inches for the cables plugged into its back, needs at least fourteen inches of interior depth to close a door over. Measure the component, not the console’s outer dimension on the product page, since a listing often quotes the case depth and skips the two inches sticking out the back.
2. Choose closed storage over open shelving for anything with a remote
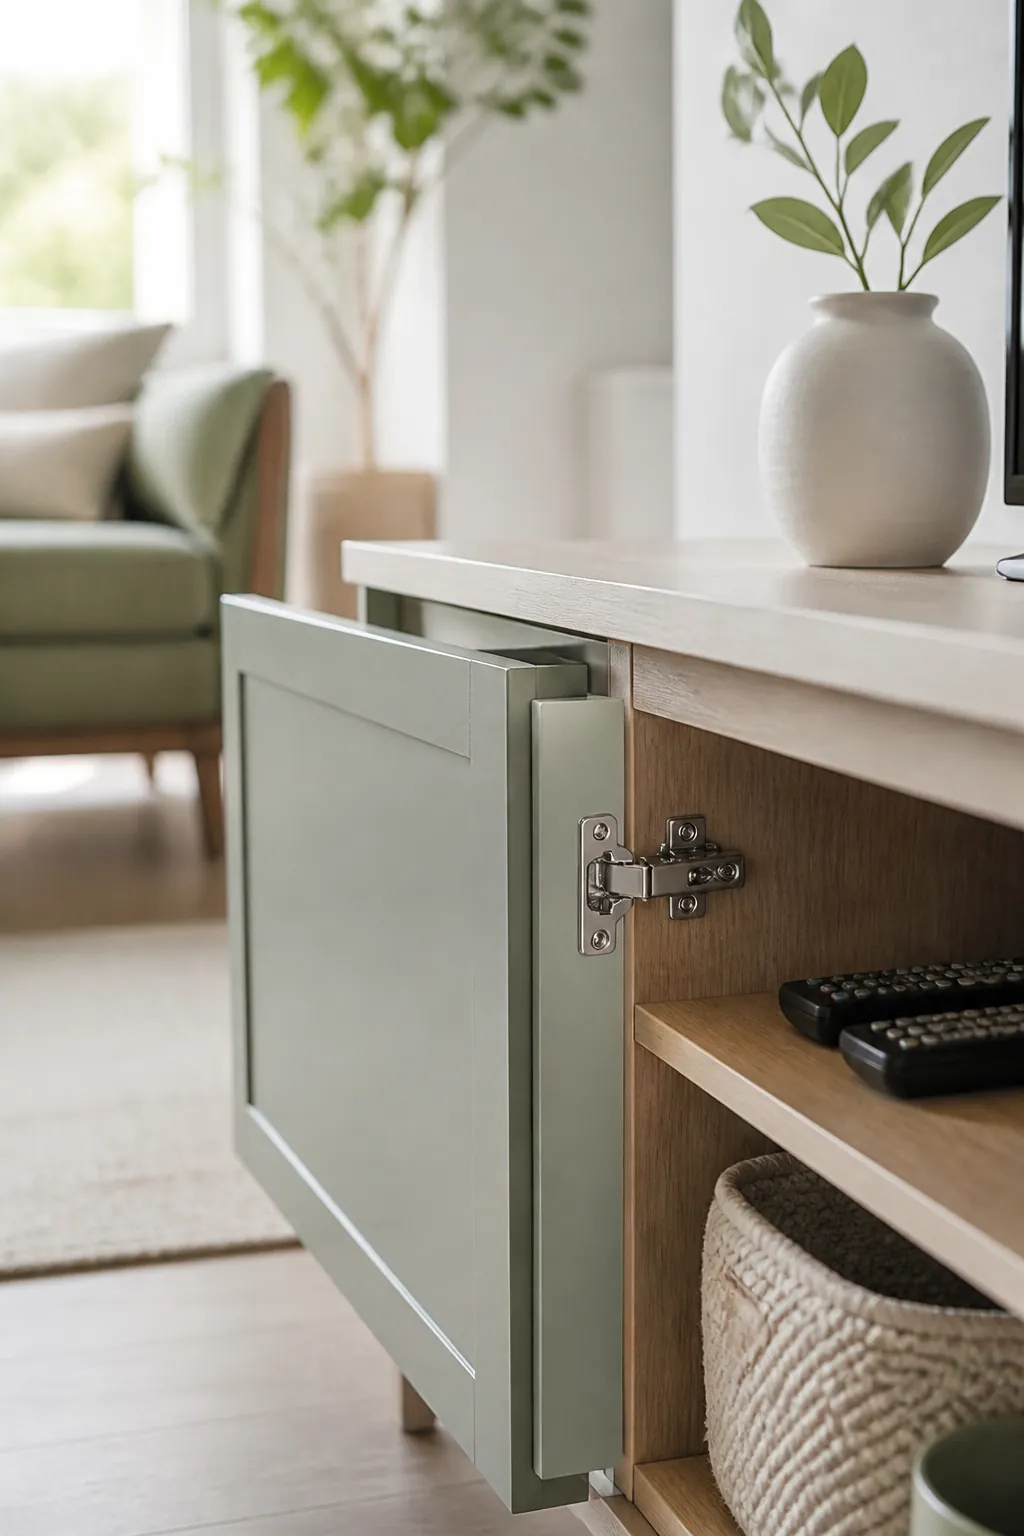
Open shelving photographs well and holds a mess within a week.
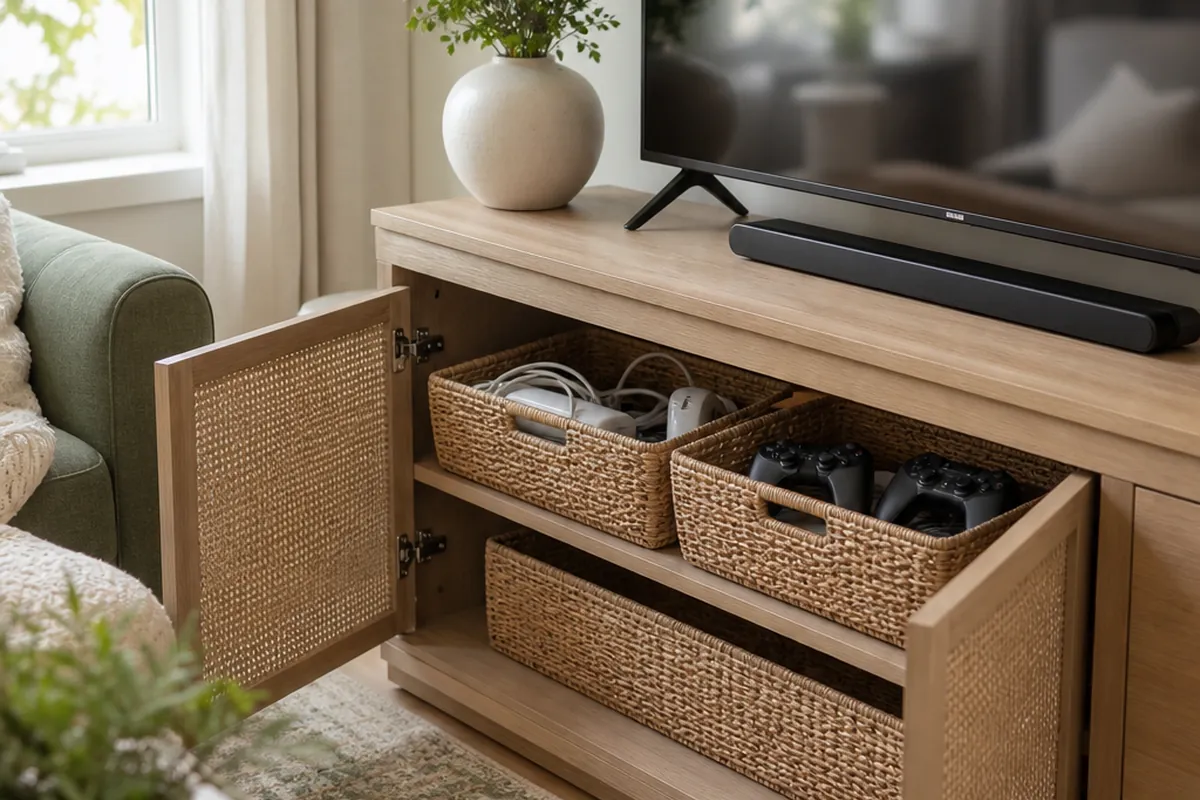
Anything with a button, a light, or a remote that goes with it reads as clutter the moment there is more than one of them in view. A console with at least one closed section hides the cable box, the game console, and the tangle of controller cables behind a flat front, which does more for how the room looks than any amount of tidying the open shelves.
Keep one open section too. A shelf you can reach without opening a door is the one that actually gets used for the remote you need six times an hour.
3. Confirm the back panel actually vents and has cord cutouts
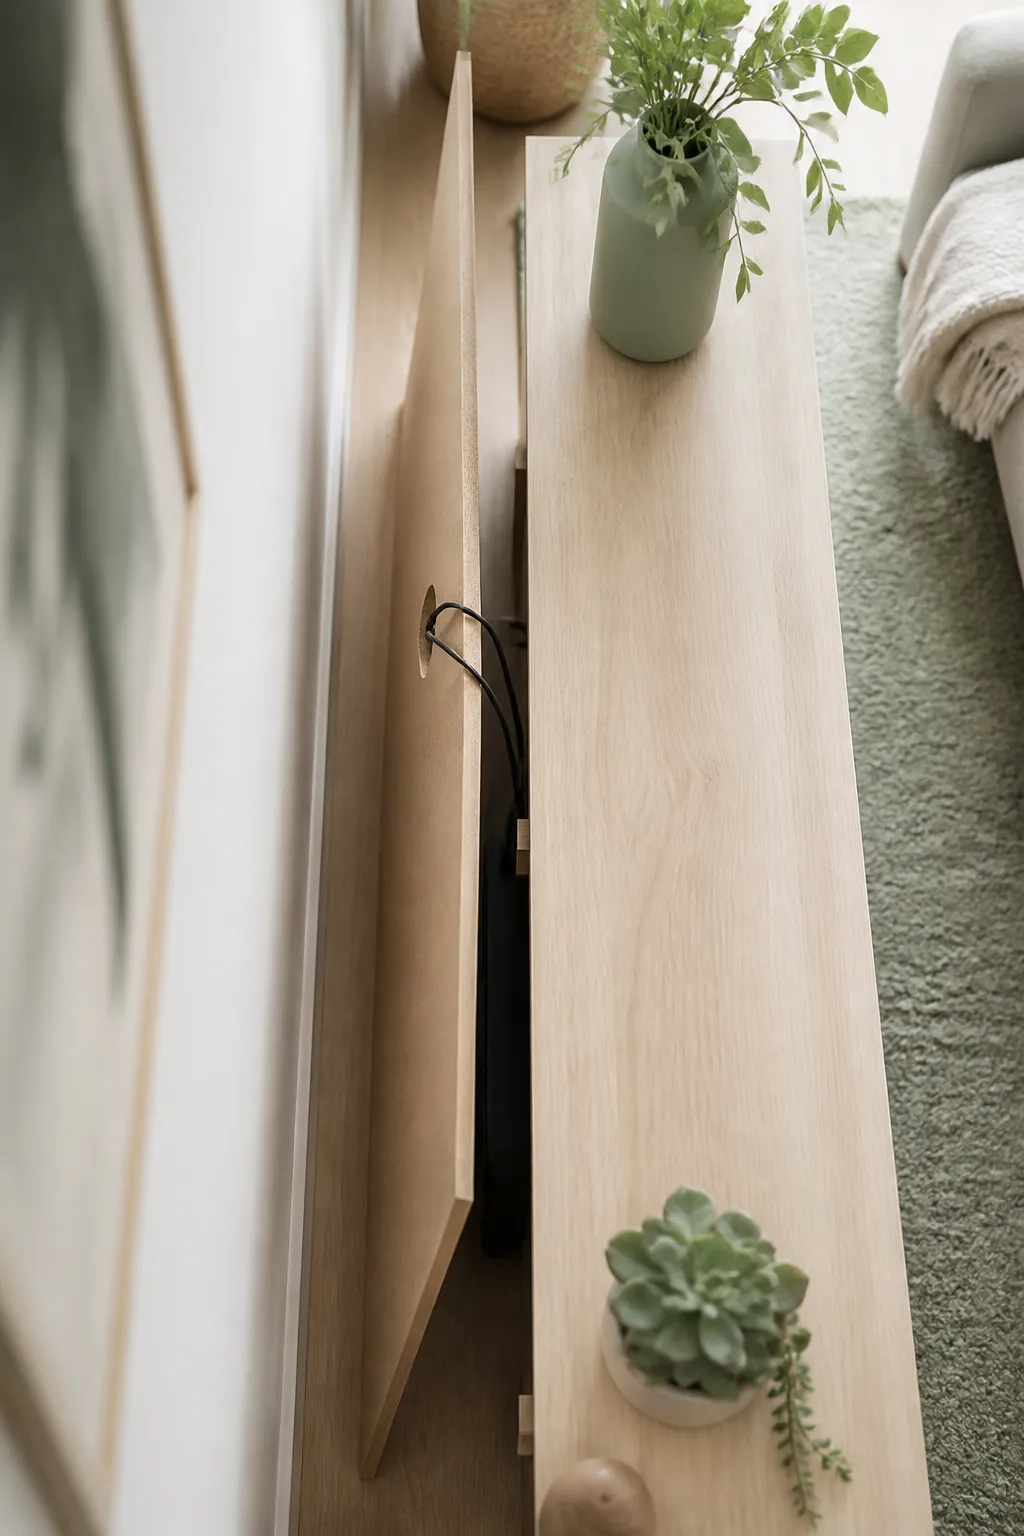
A closed console only works if the cords can get out and the heat can get out with them.
Look for a back panel with a cutout, usually a two to three inch grommet hole, rather than solid board. Consoles without one force you to leave the door propped open to run cables through the gap, which defeats the entire point of buying a console with doors. Check the product photos for the back, not just the front, since listings rarely show it and it is the detail that decides whether this piece works for you.
4. Contain the power strip instead of letting it sit loose behind the console
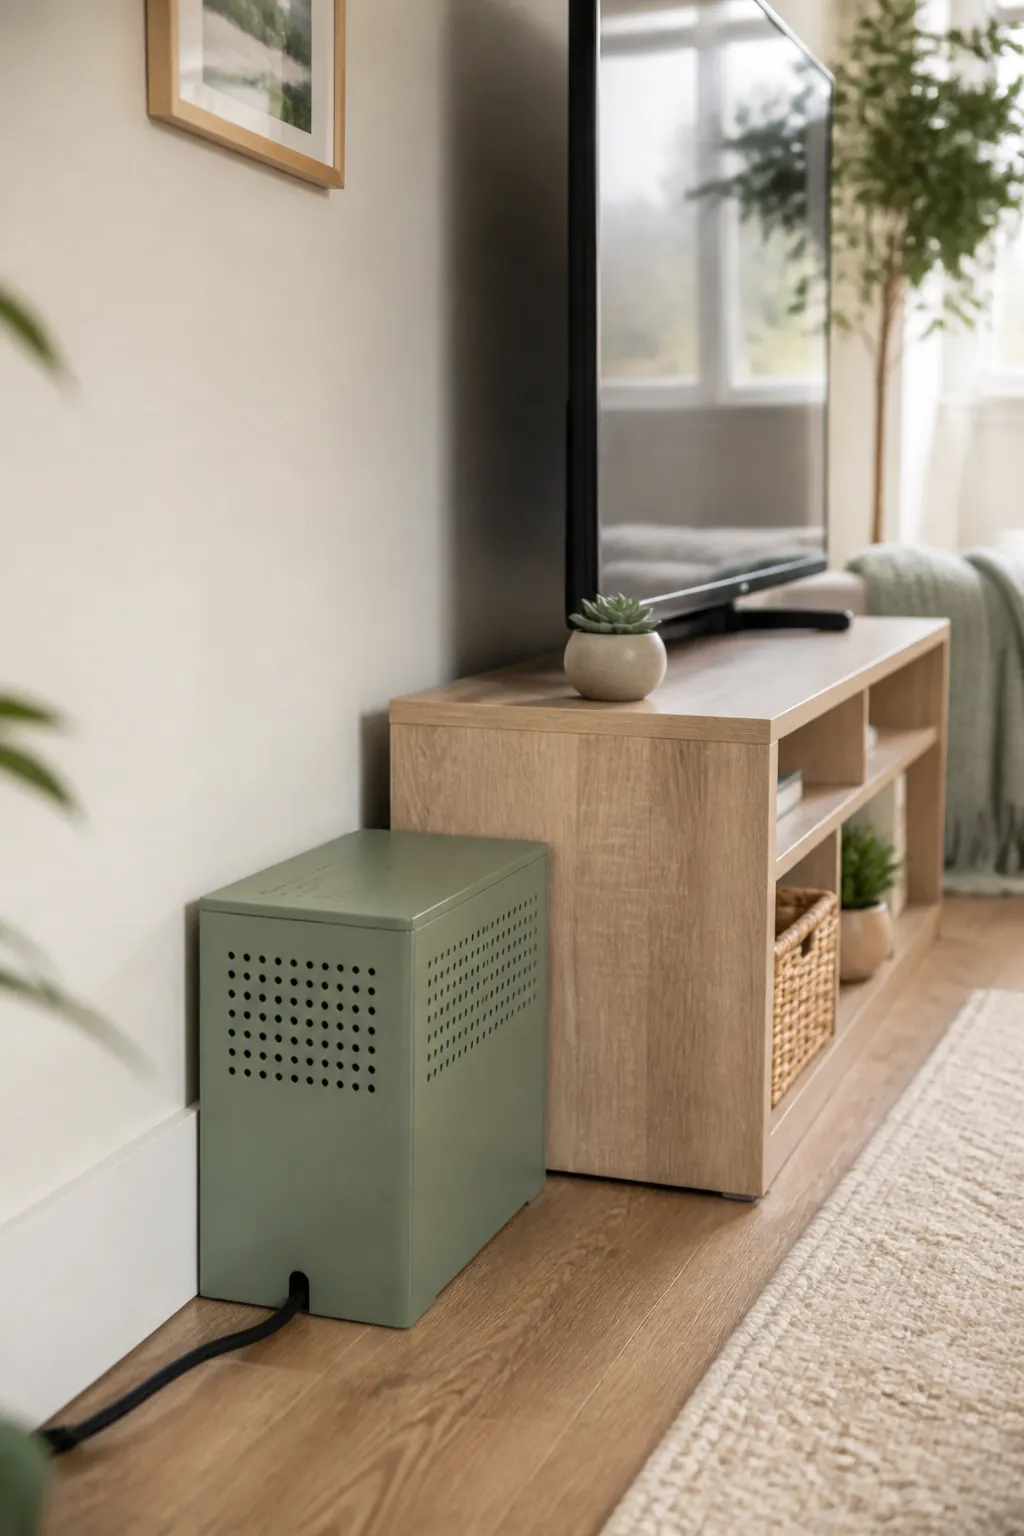
The power strip behind a TV console is usually the single messiest object in the room, and it is completely out of sight, which is exactly why nobody fixes it.
A cable management box swallows the strip and the slack from every cord plugged into it, so what is technically visible if you look behind the console is one closed box rather than a nest. Buy the vented type built for the job. A cable box, router, and streaming stick all draw power at once behind there, and a sealed container with no airflow will get warmer than any of them are rated for.
5. Let a narrow charging console double as the TV stand in a tight room
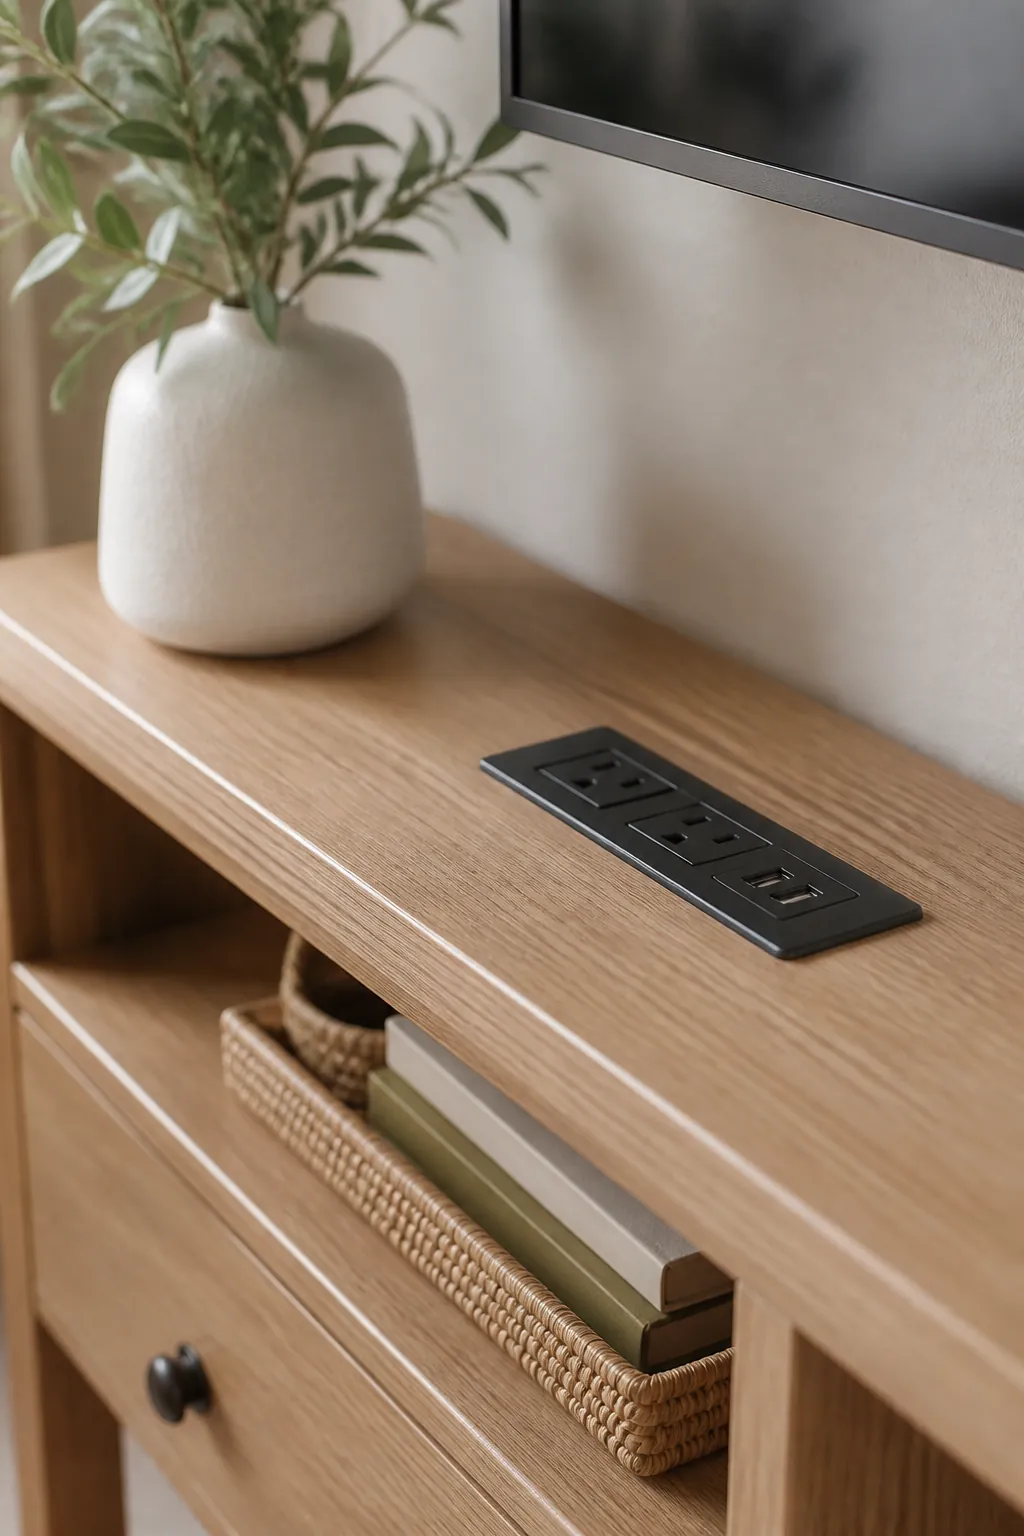
If the console is doing double duty as the only surface near the seating area, look for one that solves two problems instead of one.
A narrow console table with charging station runs a shallower footprint than a full media cabinet, usually twelve to fourteen inches deep, which suits a small room where a deep unit would eat into the walkway. The built-in outlets on the top or side mean phone and controller chargers stop draping down the front, since they now have somewhere to plug in without reaching behind the console at all.
The trade-off is storage volume. A console this shallow will not hide a full-size receiver, so it suits a setup that is mostly a streaming stick and a game console rather than a stack of AV equipment.
6. Give remotes and controllers a basket instead of a shelf
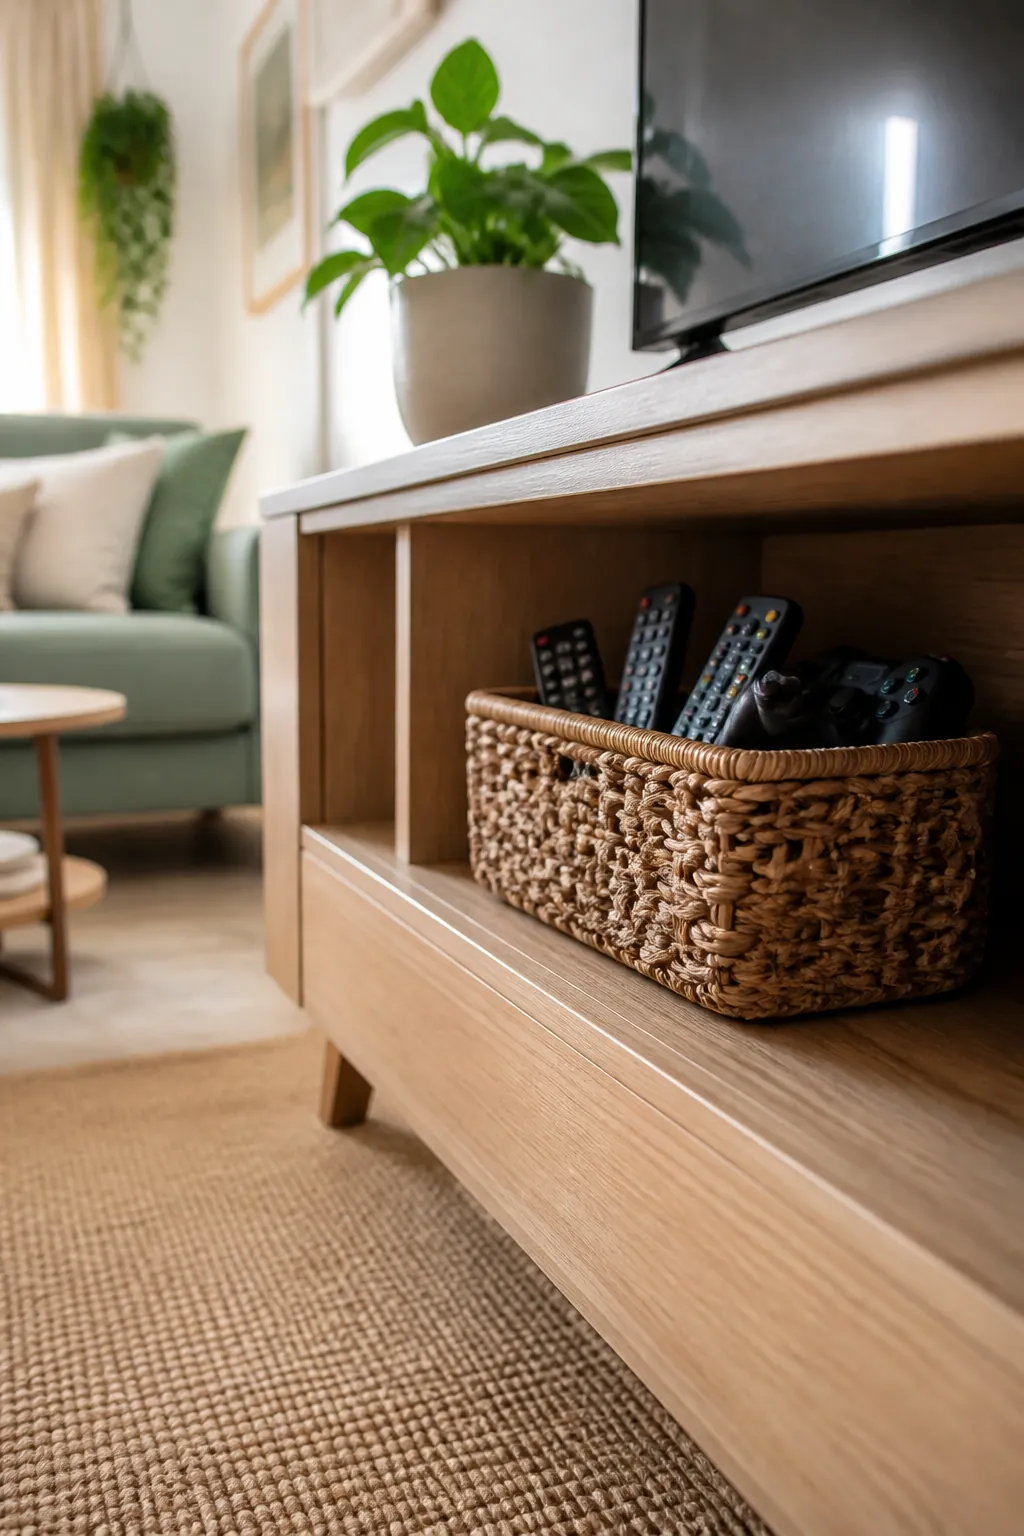
A bare shelf collects remotes the way a coffee table collects mail: loosely, and in whatever orientation they landed in.
A large woven storage basket gives the same shelf a boundary. Remotes, a controller, and the occasional HDMI cable you keep meaning to put away all go into one container instead of spreading across the surface, and the whole basket can be pulled out and set on the coffee table during movie night, then put back in one motion afterward.
Measure the shelf’s clearance before you buy, not just its width. A basket tall enough to bump the shelf above it just becomes one more thing sitting in front of the console instead of on it.
Skip a lidded bin here. The point is fast access several times an hour, and a lid you have to lift every time is friction that ends with the remote back on the open shelf instead.
7. Split the interior so cords and controllers do not merge into one pile
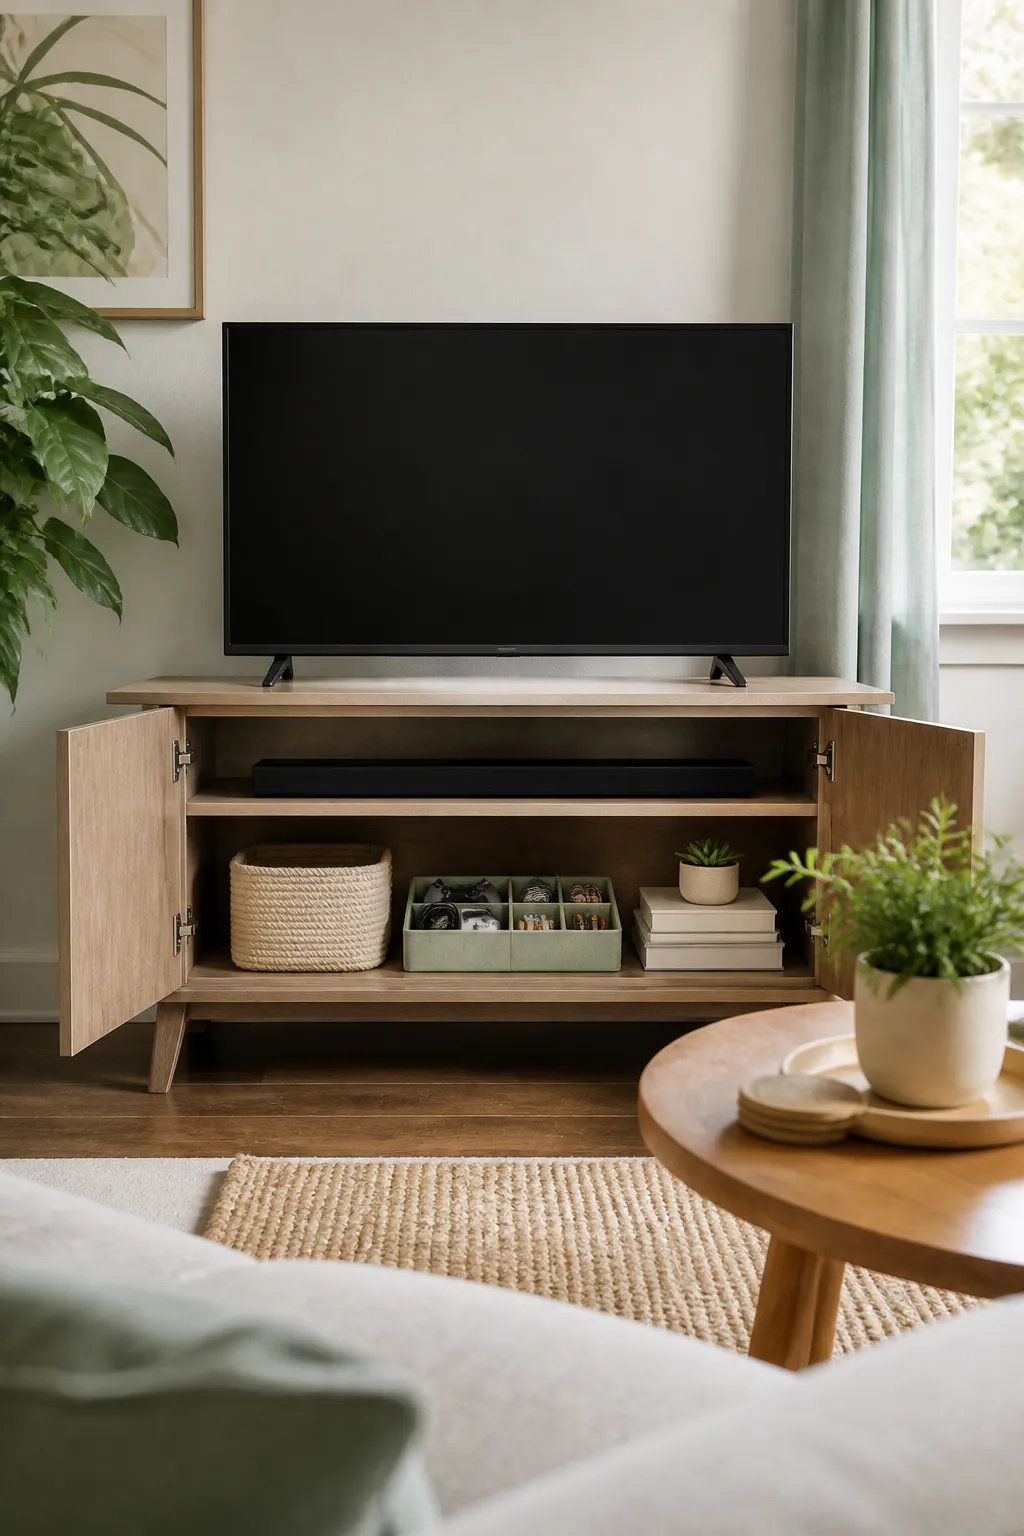
A single open cavity behind a door is where a tidy console goes to become a junk drawer with a door on it.
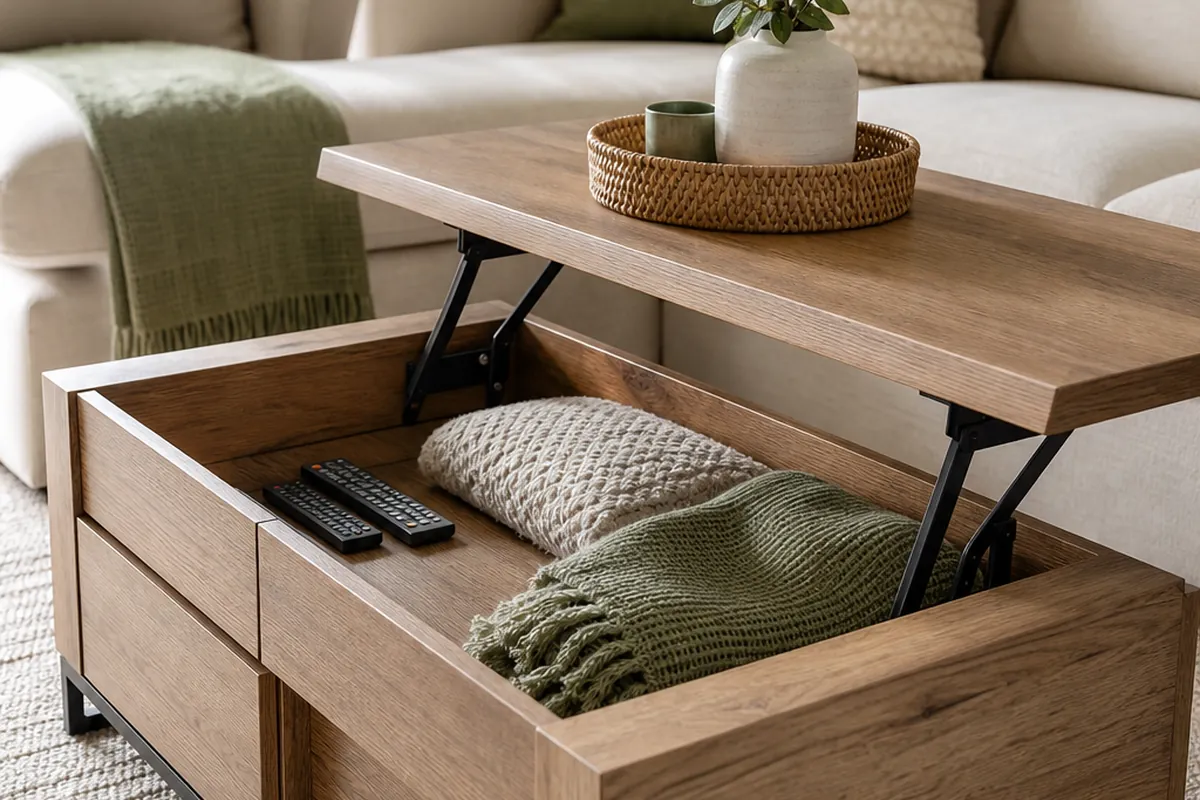
Add dividers, a small basket, or even a shoebox-sized bin inside a deep cabinet section so cords, spare batteries, and controllers each get a zone. Without a divider, the first cable you need is always at the bottom, and every search after that undoes whatever order existed a week ago. This is the same problem coffee table storage runs into with a single deep cavity, and the fix is identical: split the space before it fills up, not after.
A cable sleeve or zip-tie bundle inside the cabinet works for the actual cords if you would rather not add another container. We could not verify a specific model to link here, so treat it as a category to shop for rather than one item to buy on faith.
8. Keep the console height at or just below the sofa sightline
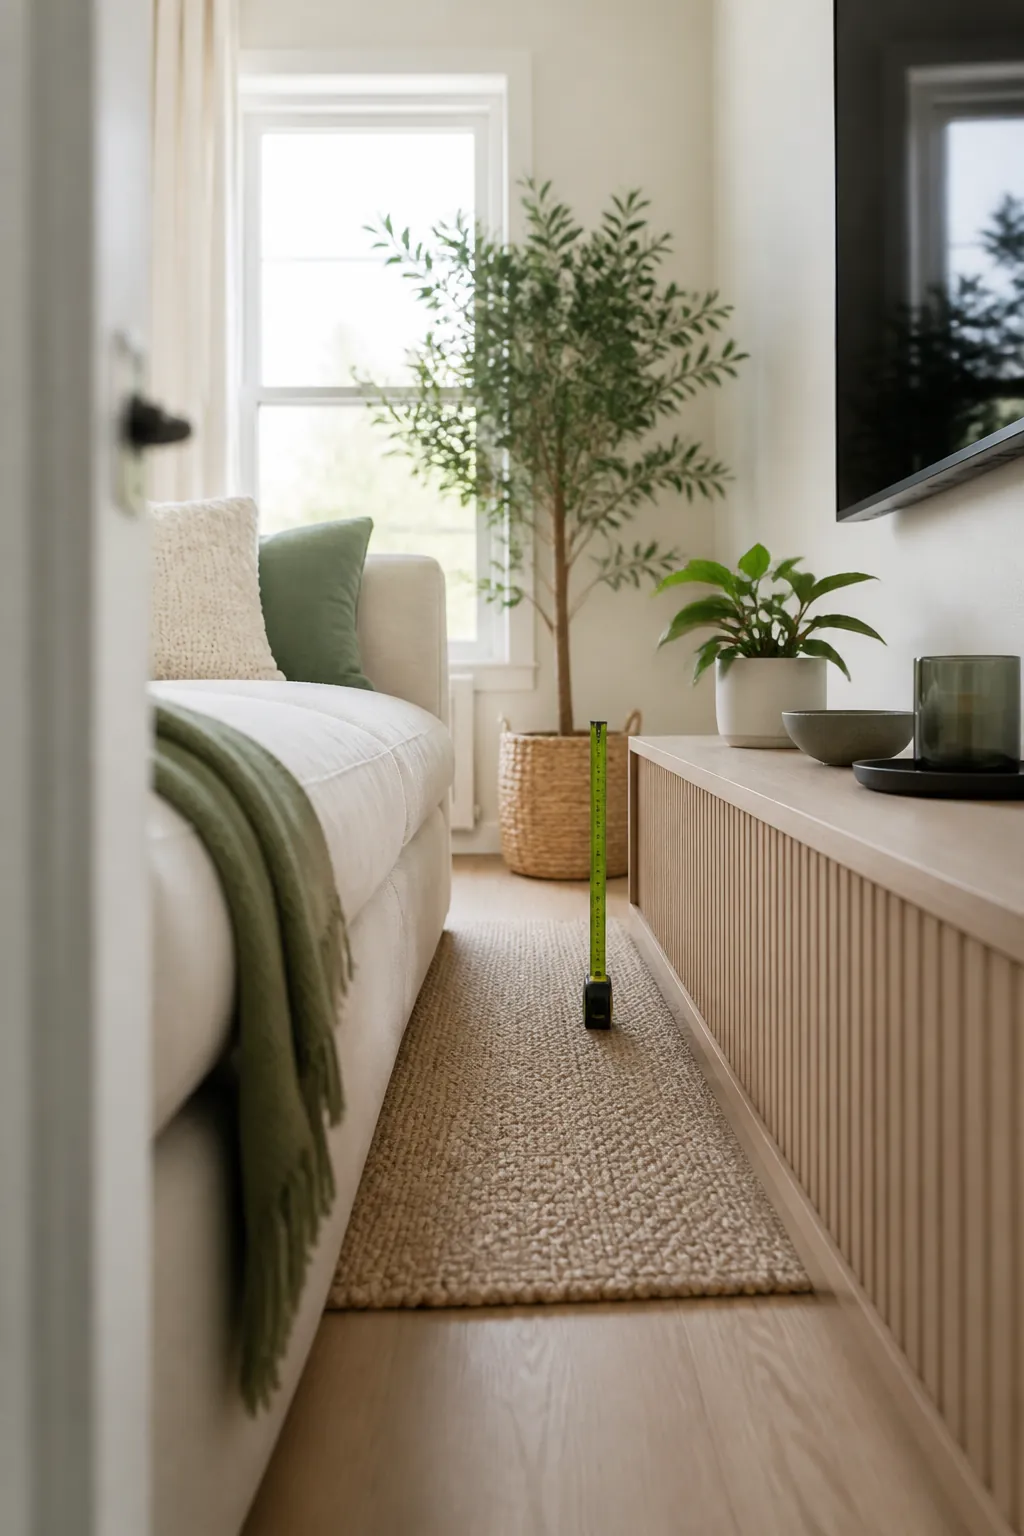
Console height decides where the TV’s center lands relative to a seated person’s eyes, and getting it wrong is not a look, it is a neck problem.
Most sofas put the seat at seventeen to nineteen inches, and eye level while seated lands somewhere around forty-two to forty-six inches from the floor for an average adult. A console that runs twenty to twenty-four inches tall, holding a forty-inch TV, puts the screen center close to that range without a wall mount. Go taller than that and everyone in the room ends up tilting their head back, which nobody notices consciously but everyone feels after two hours.
9. Anchor tall consoles before a TV goes on top
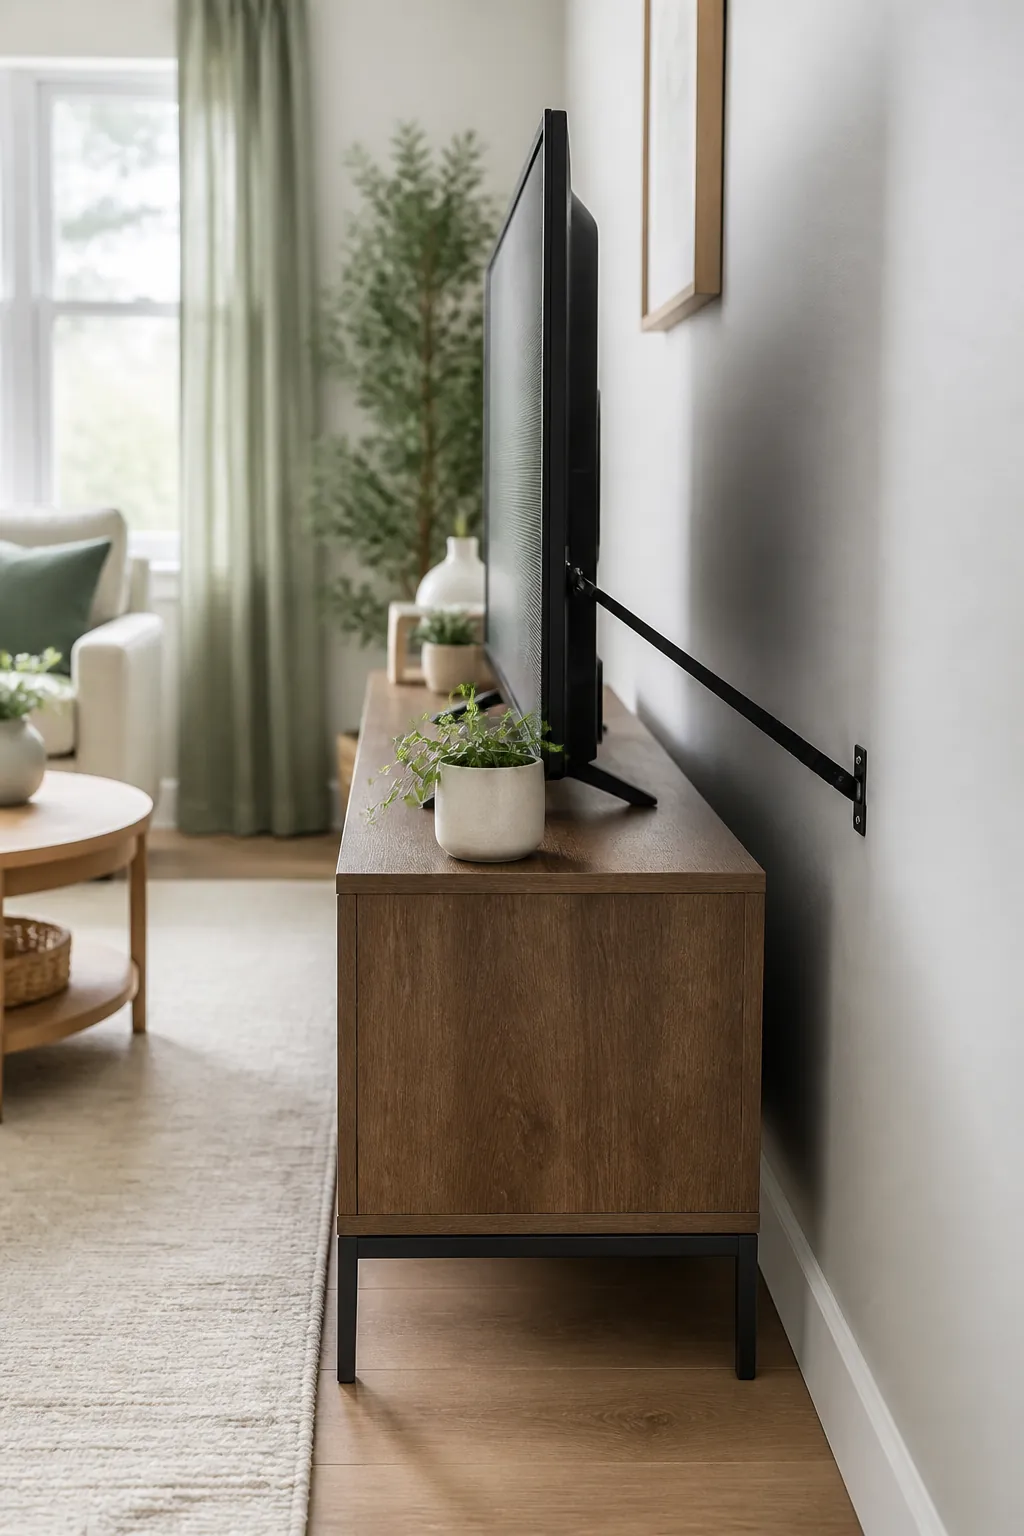
Anti-tip hardware is the one safety step people skip on furniture that is not attached to anything else, and it is the one that matters most here.
A TV sitting unsecured on a console is stable right up until someone leans on it, a toddler climbs the open shelf below it, or a dog jumps up chasing something on screen. An anti-tip strap running from the back of the console to the wall, or a dedicated furniture-and-TV anchor kit, stops the whole thing pulling forward. It is inexpensive, it takes ten minutes, and unlike wall-mounting the console itself, a strap comes off cleanly at move-out since it attaches to the furniture, not the wall’s structure.
10. Route cords along the console, not across the floor
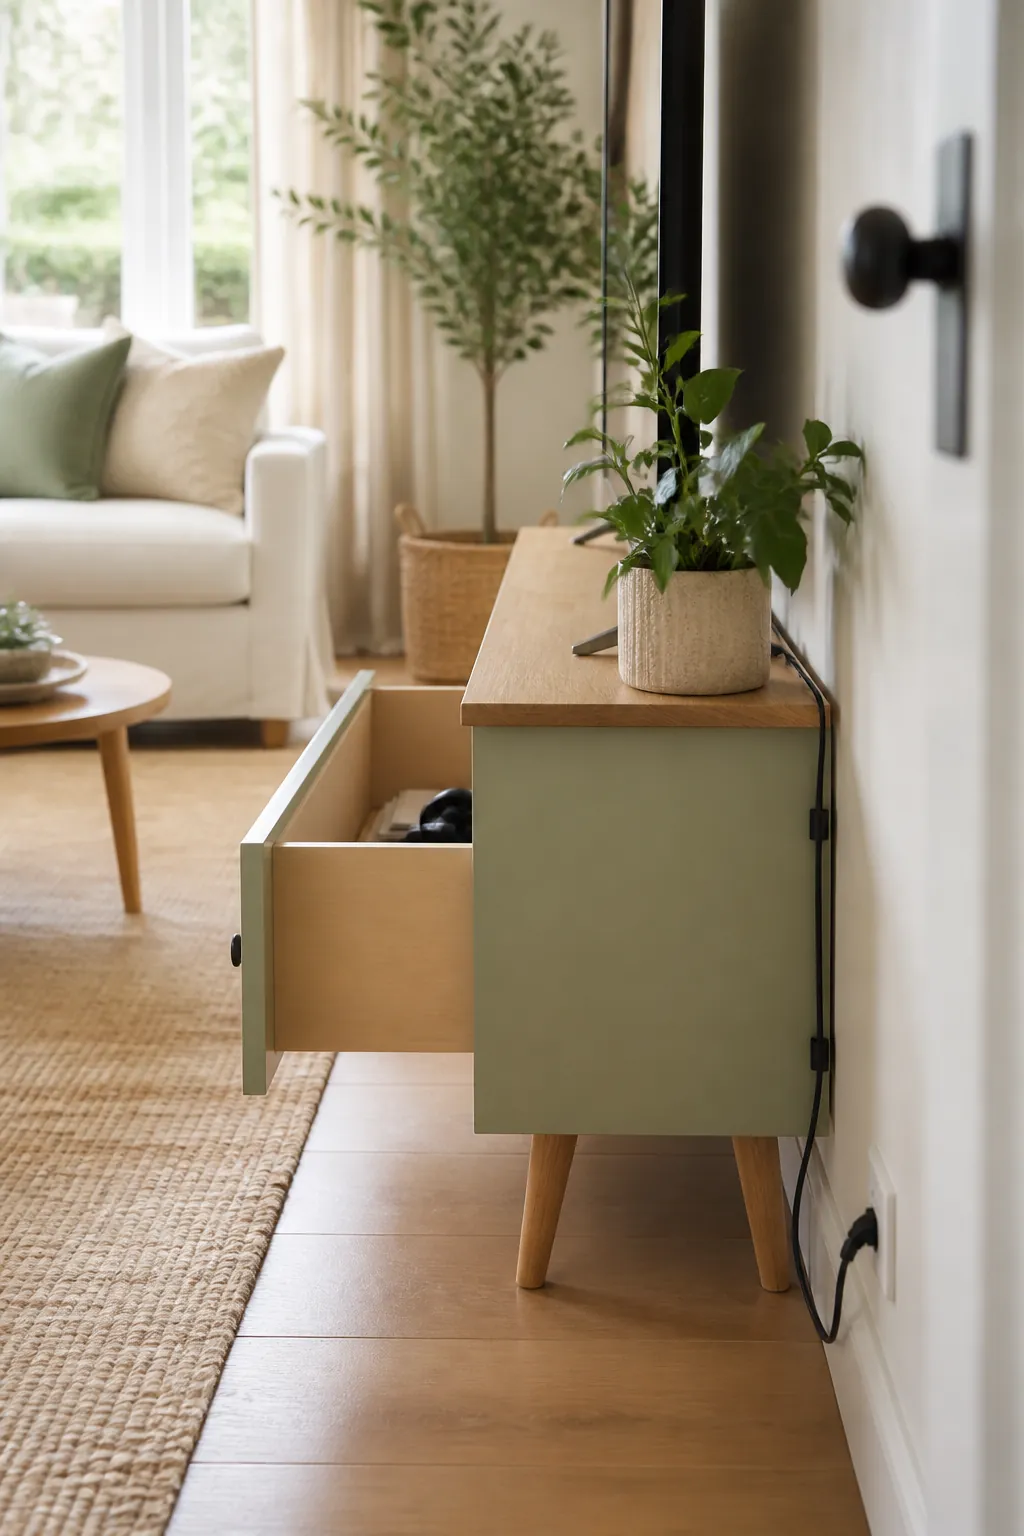
The last stretch of cord, from the console to the nearest outlet, is the one everyone forgets because the console itself already looks finished.
Run it along the back edge of the console or down a rear leg using adhesive clips rated for the cable’s weight, rather than letting it cross open floor where it gets stepped on or vacuumed against. If the console sits away from an outlet, an under-desk cable tray mounted to the underside carries the run in mid-air instead. Leave a little slack at both ends so moving the console a few inches to clean does not put strain on a plug.
Where to start
Measure your actual components before you look at a single console listing: TV width, the depth of anything with a cord plugged into it, and whether that depth includes the two inches those cords add at the back. That measurement rules out more bad options than any style choice will.
Then split the storage by how often you touch it. Daily objects, remotes and controllers, go in an open basket. Anything with a blinking light goes behind a vented door. The power strip goes in its own box. Get those three zones right and the console does the job a small living room actually needs from it, which is making the gear disappear without anyone standing up to find the remote.