Wrapping paper is the wrong shape for almost every storage system a small apartment already owns. It is too long for a drawer, too awkward for a shelf twelve inches deep, and it comes with a loose tail of ribbon, tape, and gift bags that never quite fits in the same place twice. So it ends up propped in a corner, tipping over every time someone opens the closet door, until the good roll with three uses left gets pinned under a stack of empties nobody has sorted since last December.
None of that needs a wrapping station or a spare closet. It needs a container sized to the actual dimensions of a roll of paper, a home for the loose parts that is not “wherever there’s room,” and a system for the awkward door and under-bed space every rental has whether you use it or not. Eight ways to get there below.
1. Measure your rolls before you buy anything to store them in
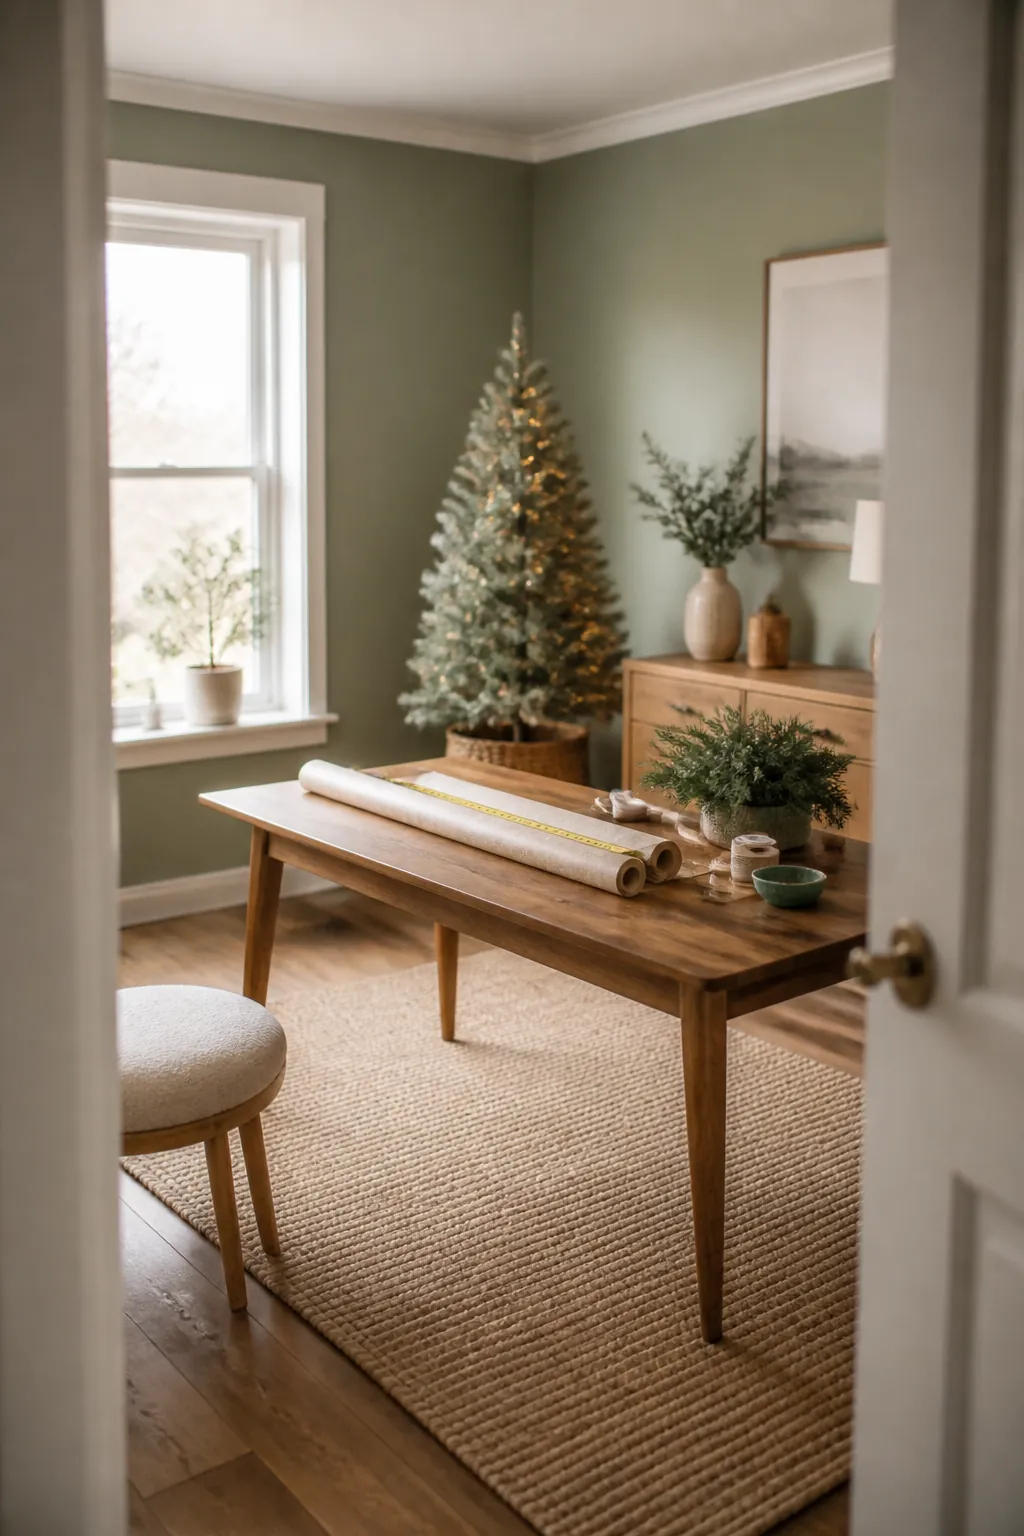
A standard roll of wrapping paper runs about 30 inches long with a tube diameter of roughly 2 inches when it is full, shrinking to under an inch as you use it up. Jumbo and extra-wide rolls, the kind sold for large gifts or sold in bulk around the holidays, run closer to 40 inches. That ten-inch difference is the single most common reason a wrapping paper bin ends up half-used: it was sized to the standard roll, and the two jumbo rolls in the collection stick out the end or get bent to fit.
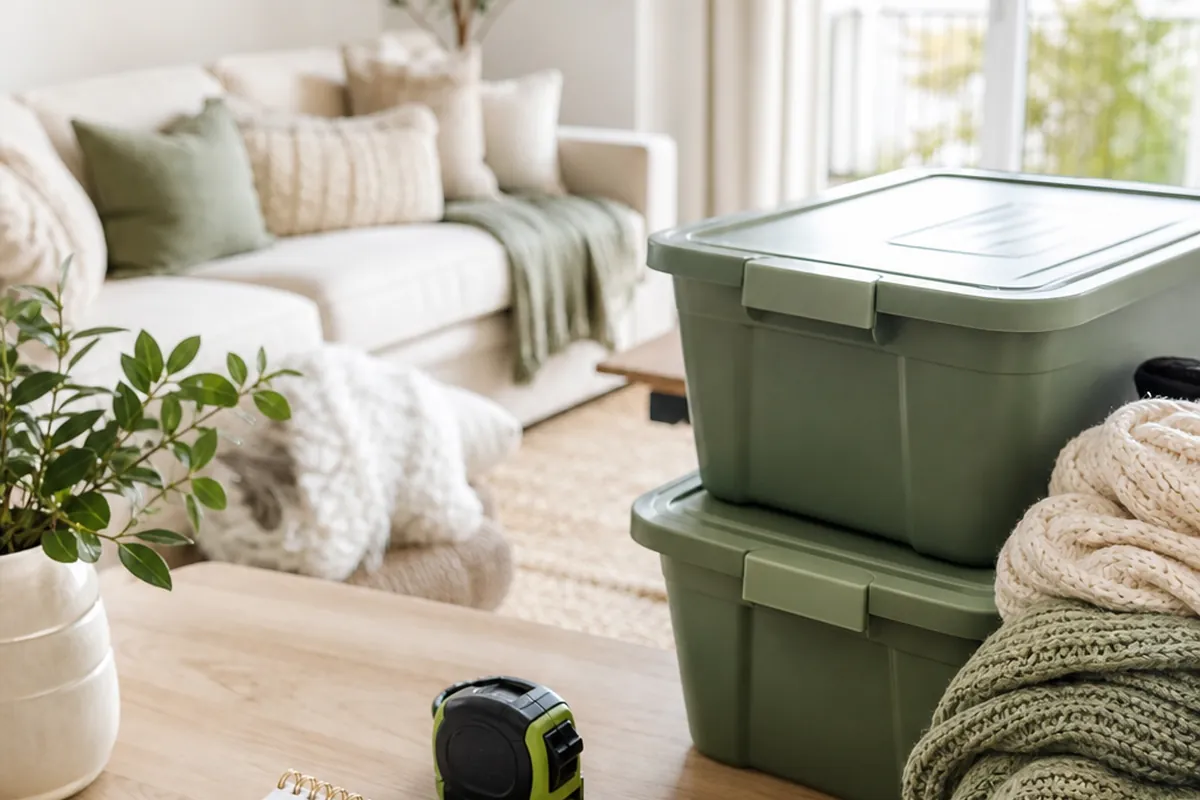
Lay your longest roll flat and measure it before you order any container. If you buy for the average roll instead of the longest one you own, you will be storing that one roll separately for the life of the bin.
2. Store rolls flat in a bin sized to your longest roll, not your shortest
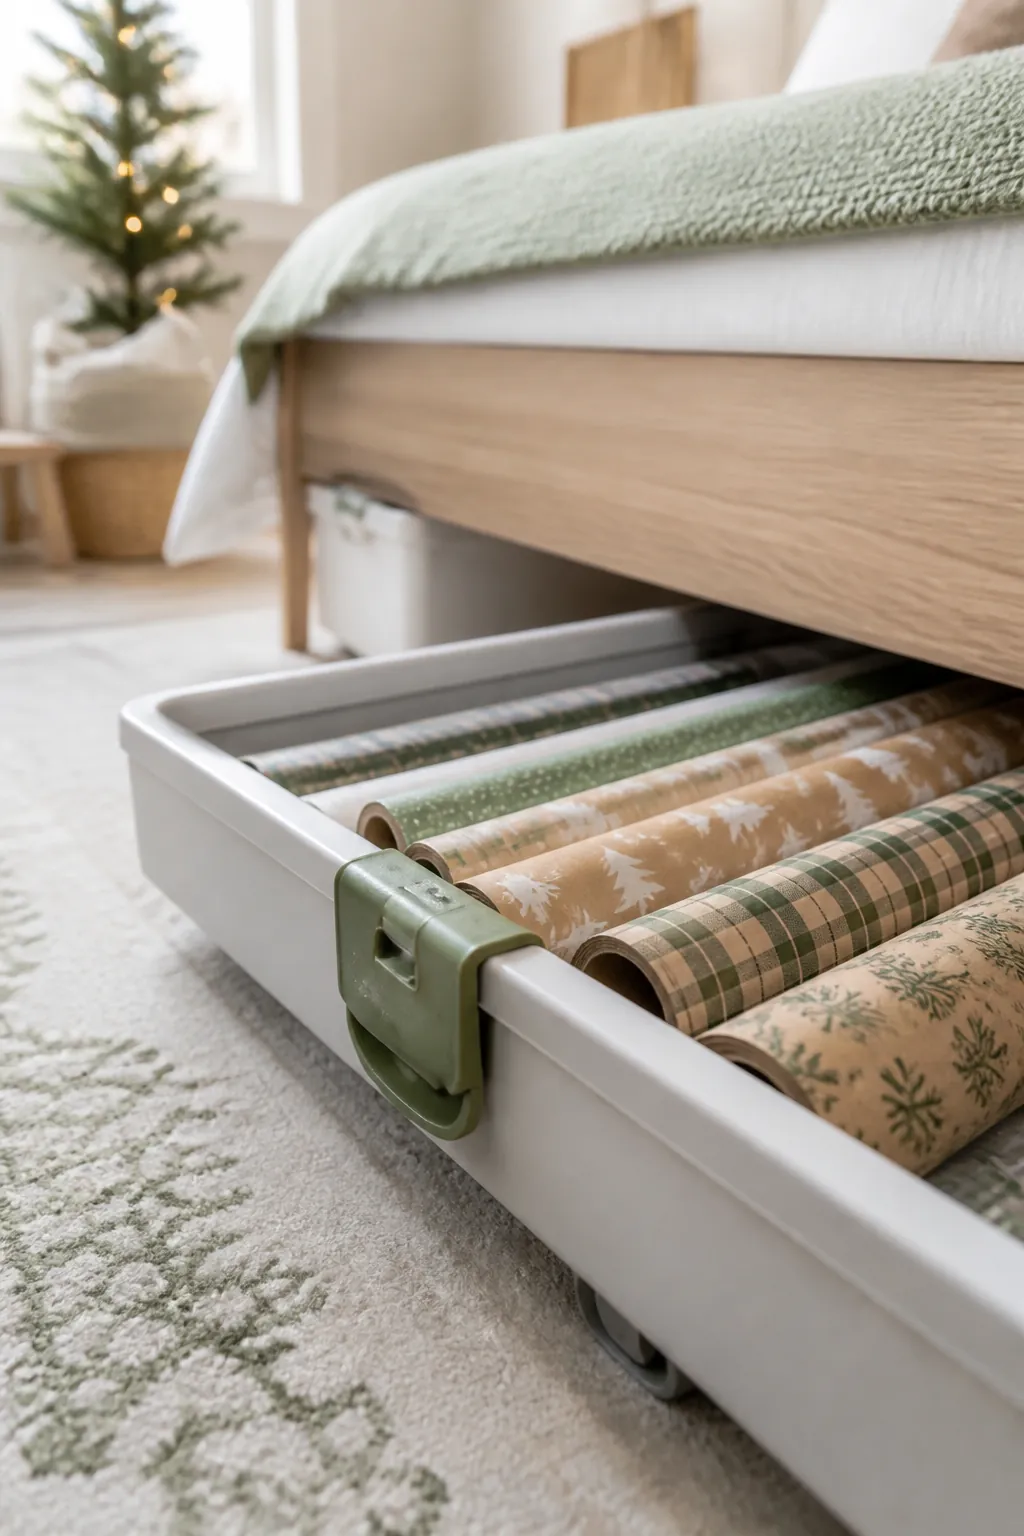
Stacking rolls on top of each other seems efficient until the bottom layer starts taking the weight of everything above it, and a roll left crushed for eleven months comes out with a permanent flat side that never quite lies right again. The fix is a single layer, not a stack.
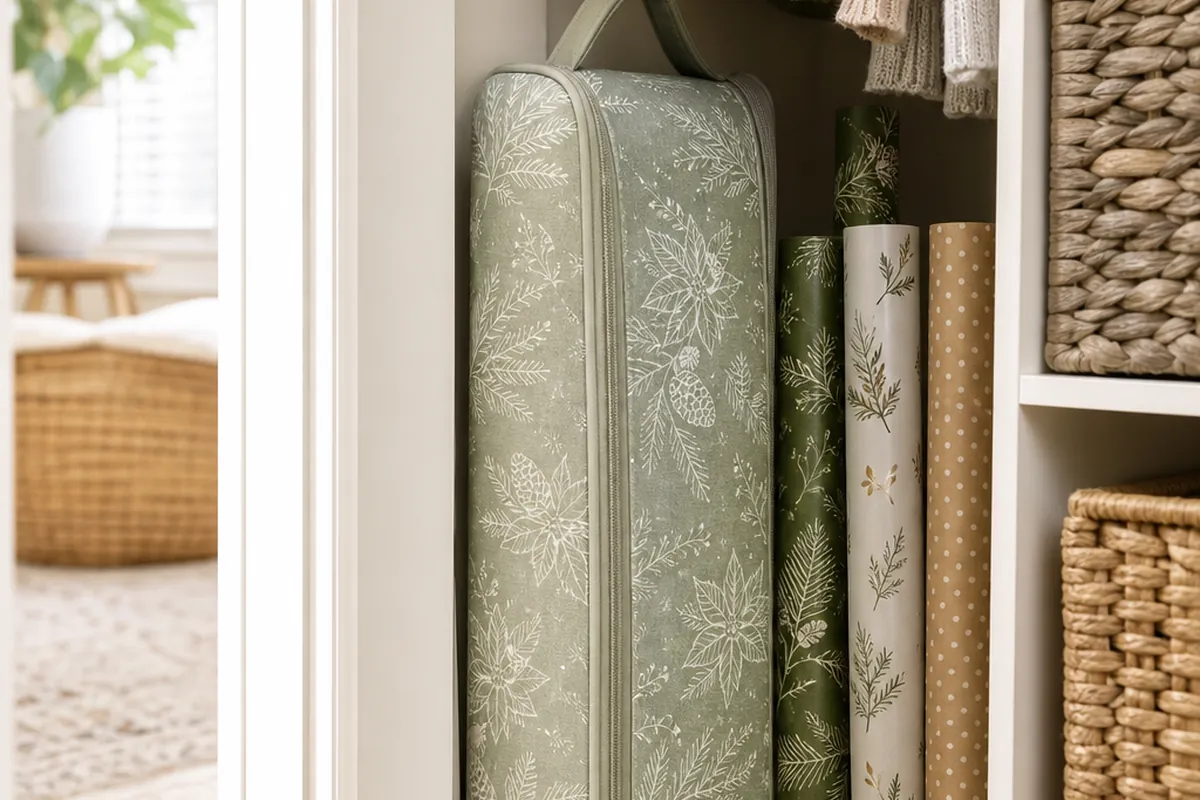
Under-bed storage containers are close to the right shape already: long, shallow, and built to slide into a gap most apartments already have going to waste. Measure the clearance under your bed frame from the floor to the underside of the frame, not the mattress, since that gap typically runs four to seven inches and a platform bed with center support slats can run lower. Slide the bin in from the foot of the bed so you can reach it without moving furniture, and lay rolls in side by side rather than at an angle, which wastes length you don’t have to spare.
3. Reserve the dead space beside a dresser for standing rolls

Not every apartment has under-bed clearance to spare, especially once seasonal clothes and out-of-season shoes are already down there. The next best spot is usually vertical: the three to five inches of gap that sits between a dresser and the wall, or beside a bookshelf, doing nothing for eleven months of the year.
Standing rolls upright in that gap works, but only with something to keep them from splaying out and sliding down the wall a little more each time the room gets vacuumed. A tall, narrow bin or a repurposed umbrella stand does the job for a handful of rolls. If you are buying something dedicated to the job, look for one sized to your longest roll’s 30 or 40 inches with a base wide enough that it does not tip when you pull one roll free, since a narrow base is the single biggest complaint about upright wrap organizers.
4. Corral ribbon, tape, and gift tags in a bin you can see into
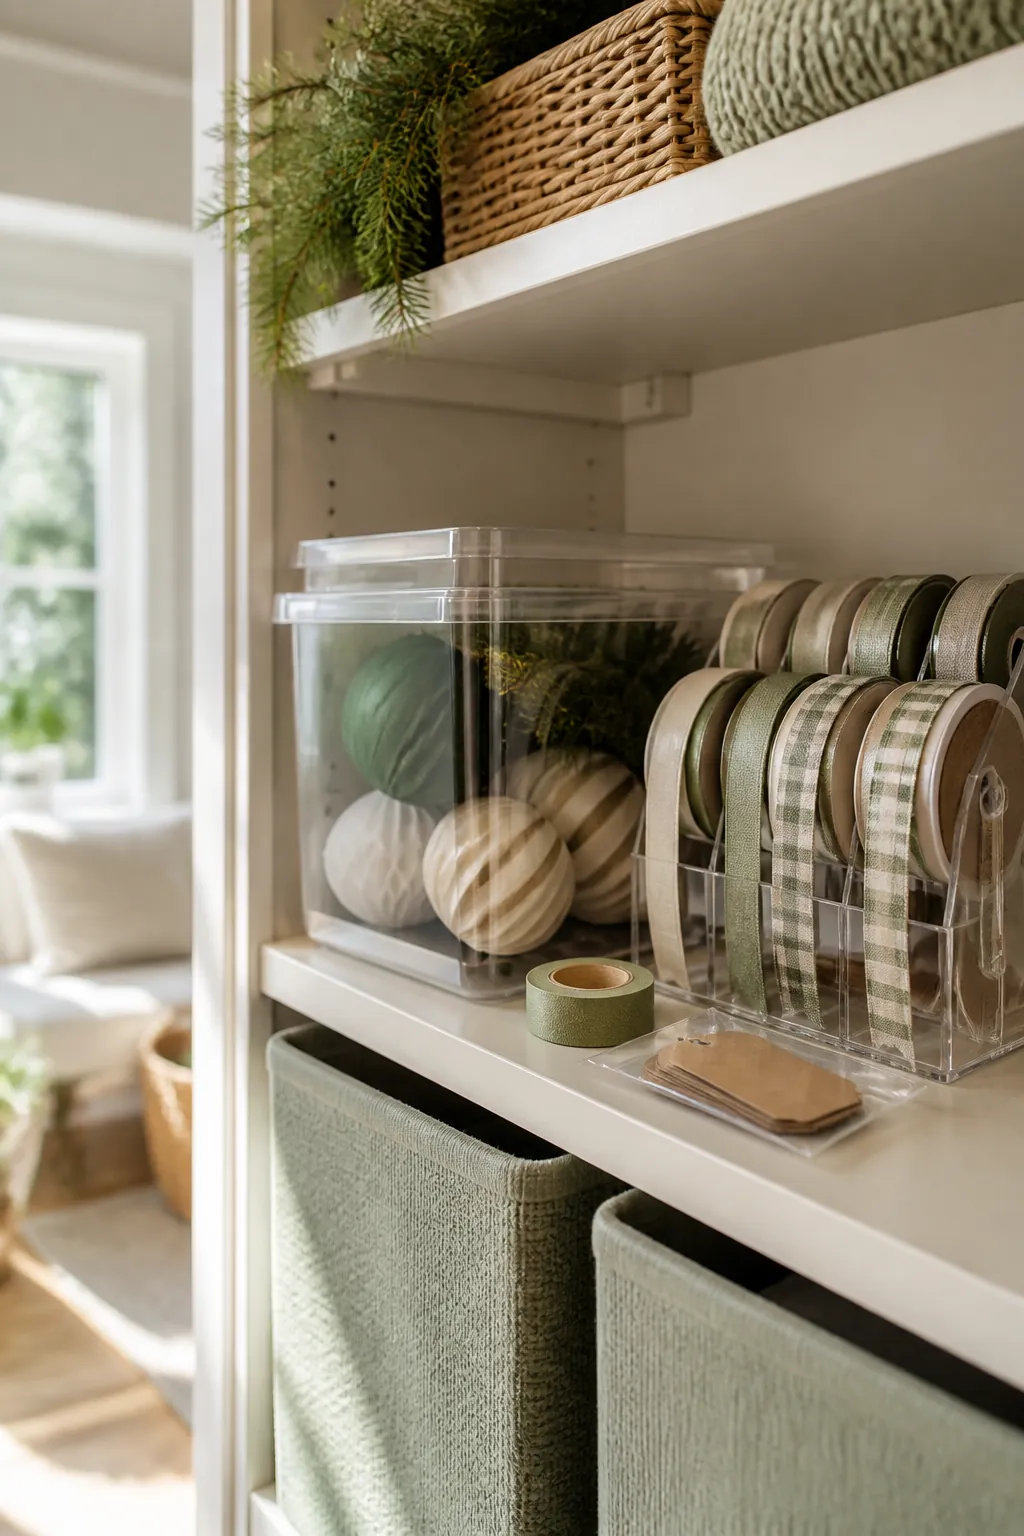
Loose ribbon spools do to a drawer what a nest of string lights does to a bin: the moment two spools touch, the loose ends catch on each other, and eight tidy spools become one tangled mass by the second time the drawer gets opened. Tape rolls lose their end the same way, and a roll of tape with no visible edge is a roll of tape you will cut a fresh corner off of rather than hunt for the start.
A clear stackable storage bin solves both problems at once. Give each ribbon spool its own small bag or a slot so the ends can’t reach each other, fold the tape’s loose end back on itself into a small tab before you put it away, and keep gift tags in a side pocket or a small zip bag inside the same bin. Being clear matters here more than it does for almost anything else on this list, since you are checking this bin every time you wrap something and a lid you have to open just to confirm what’s inside defeats the point.
5. Give gift bags and tissue paper a soft bin, not a shopping bag
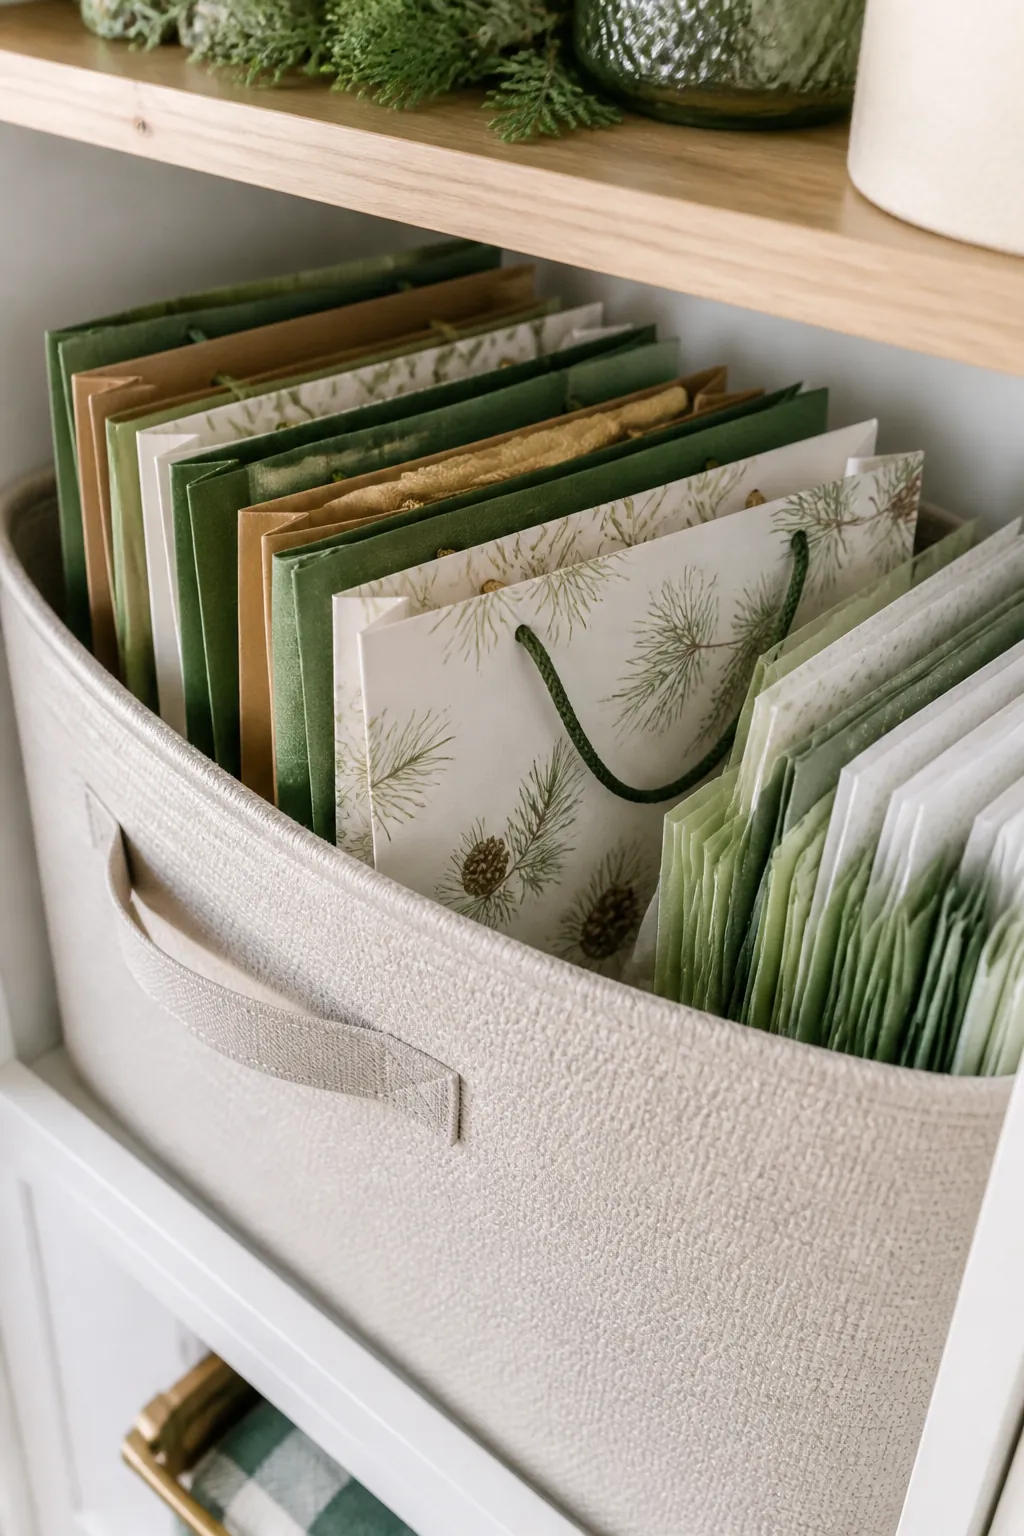
Gift bags are the item most likely to end up loose in a grocery sack shoved on a closet floor, which is also the fastest way to crease and tear the ones on the bottom. They deserve better treatment for a small reason: nested inside each other, a stack of a dozen bags takes up a fraction of the space they would loose, since a small bag slides inside a medium one and a medium slides inside a large.
Fabric storage bins with handles around 13 inches square hold a season’s worth of nested bags standing on their sides like files, plus tissue paper folded flat or rolled loosely on top, without the corners getting bent the way they do stuffed into a stiff box. The handles matter more here than on most closet storage, since this bin tends to come down off a shelf several times in the run-up to a holiday rather than sitting untouched for a year, and something with a rigid enough sense of itself to keep bags upright, not just a flat sack, holds its shape empty and full alike.
6. Hang the everyday wrapping kit from the back of a door
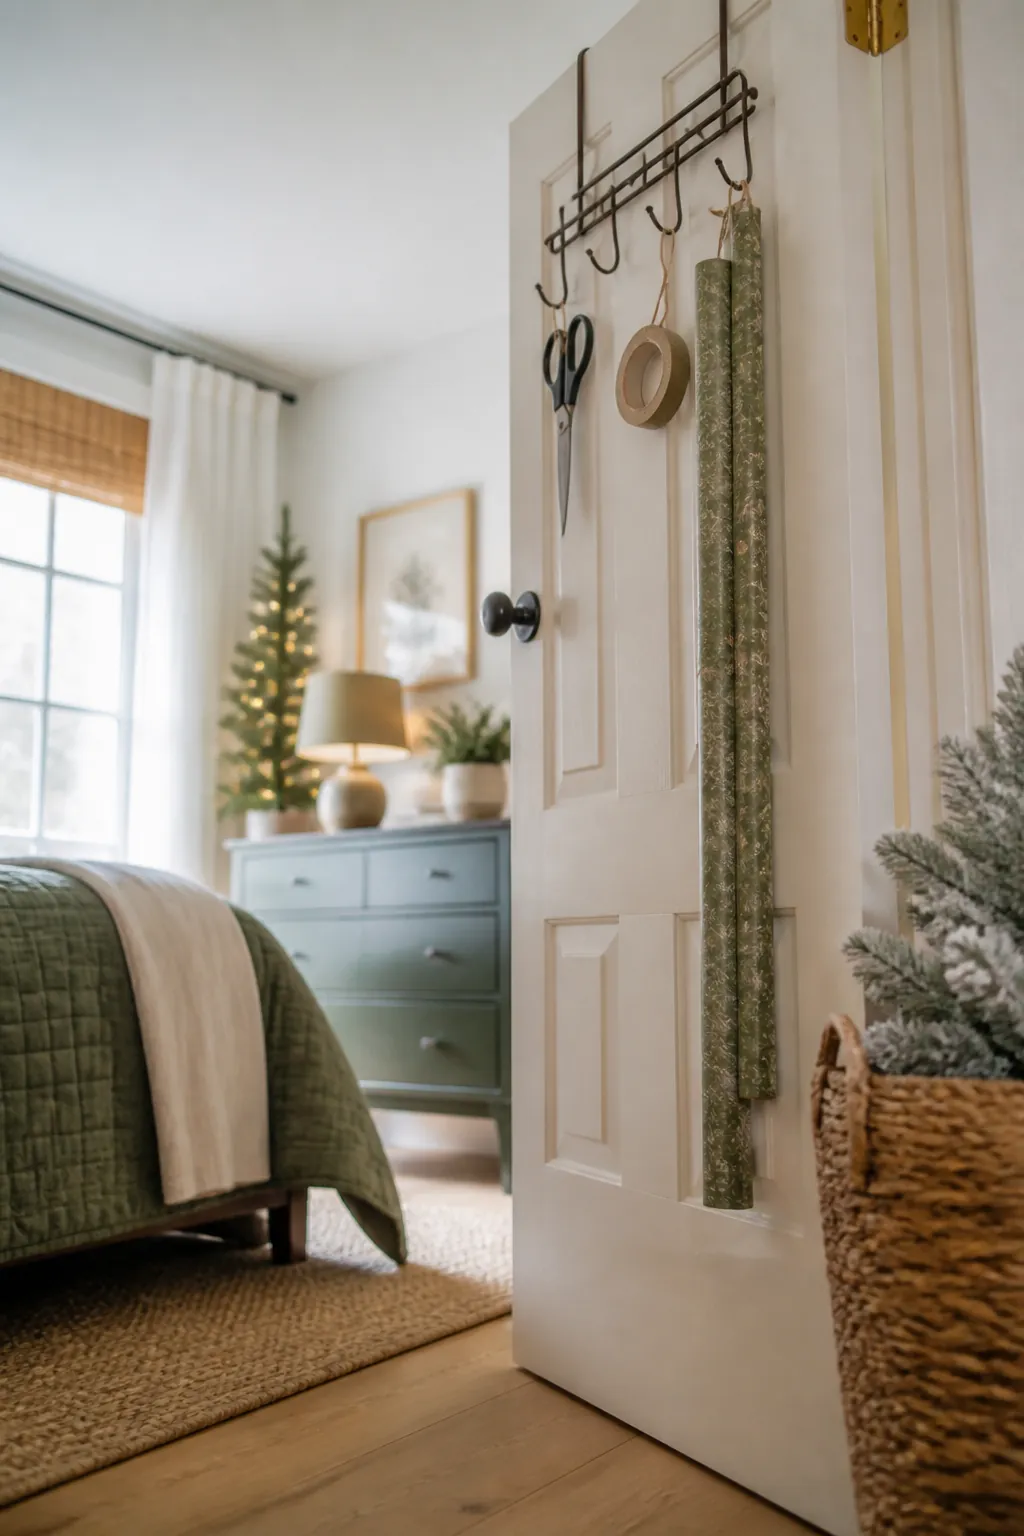
If a closet shelf or under-bed gap is already spoken for, the back of a door is the one surface almost every rental has spare. Most interior doors run about one and three-eighths inches thick, which fits the standard bracket on an over-the-door rack or hook set without any drilling and without a single hole in the door or the wall behind it.
Hang scissors, tape, and a folded roll or two of the most-used paper here for the wrapping you actually do throughout the year, birthdays, thank-you gifts, the odd care package, and keep the bulk of the collection in the under-bed or closet bin from the ideas above. Check that the door still closes fully once the rack is loaded, not just when it’s empty; a rack that clears an open door by an inch can still catch on the frame when the door swings shut.
7. Keep the scissors and pen with the kit, not in a kitchen drawer
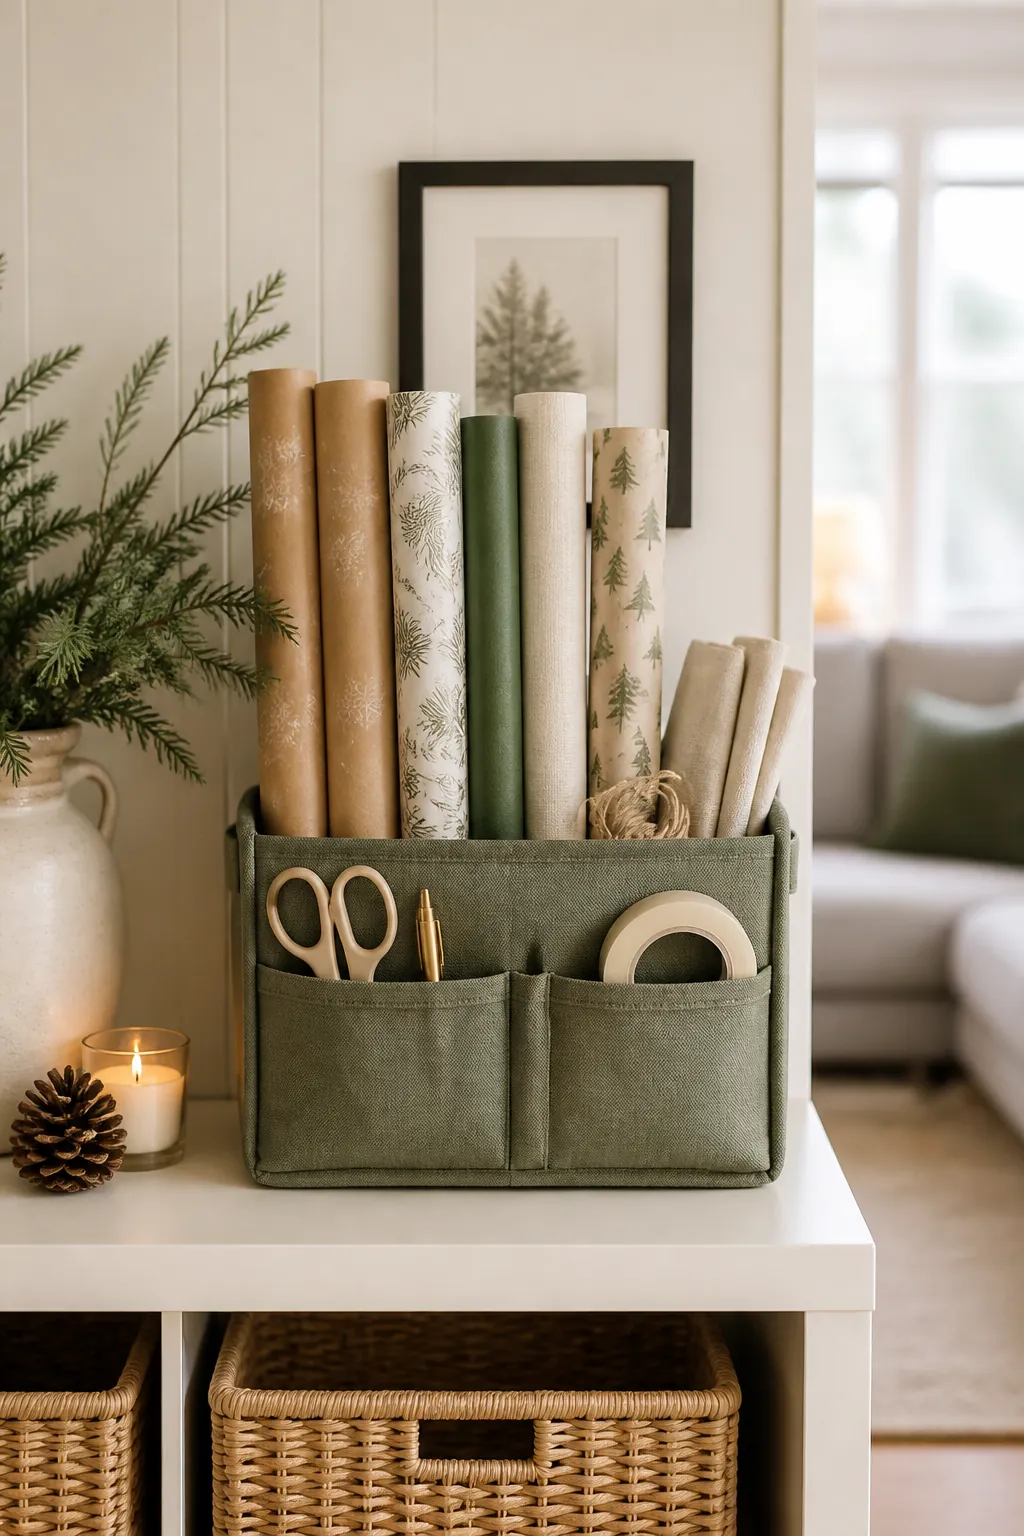
The single most common reason wrapping a gift takes twenty minutes instead of five is that the tape, the good scissors, and a pen for the gift tag are never all in the same place at the same time. One lives in a kitchen drawer, one is in a junk drawer, and the pen has vanished entirely.
Keep a dedicated pair of scissors, a pen, and a spare roll of tape inside whichever bin or hanging kit holds your ribbon and tags, and treat “borrowing” them for another job as the reason they always go missing. A cheap second pair of scissors, kept only for wrapping, costs less than the frustration of hunting for the real ones every time a birthday comes around.
8. Sort and label by occasion, not just “wrapping paper”
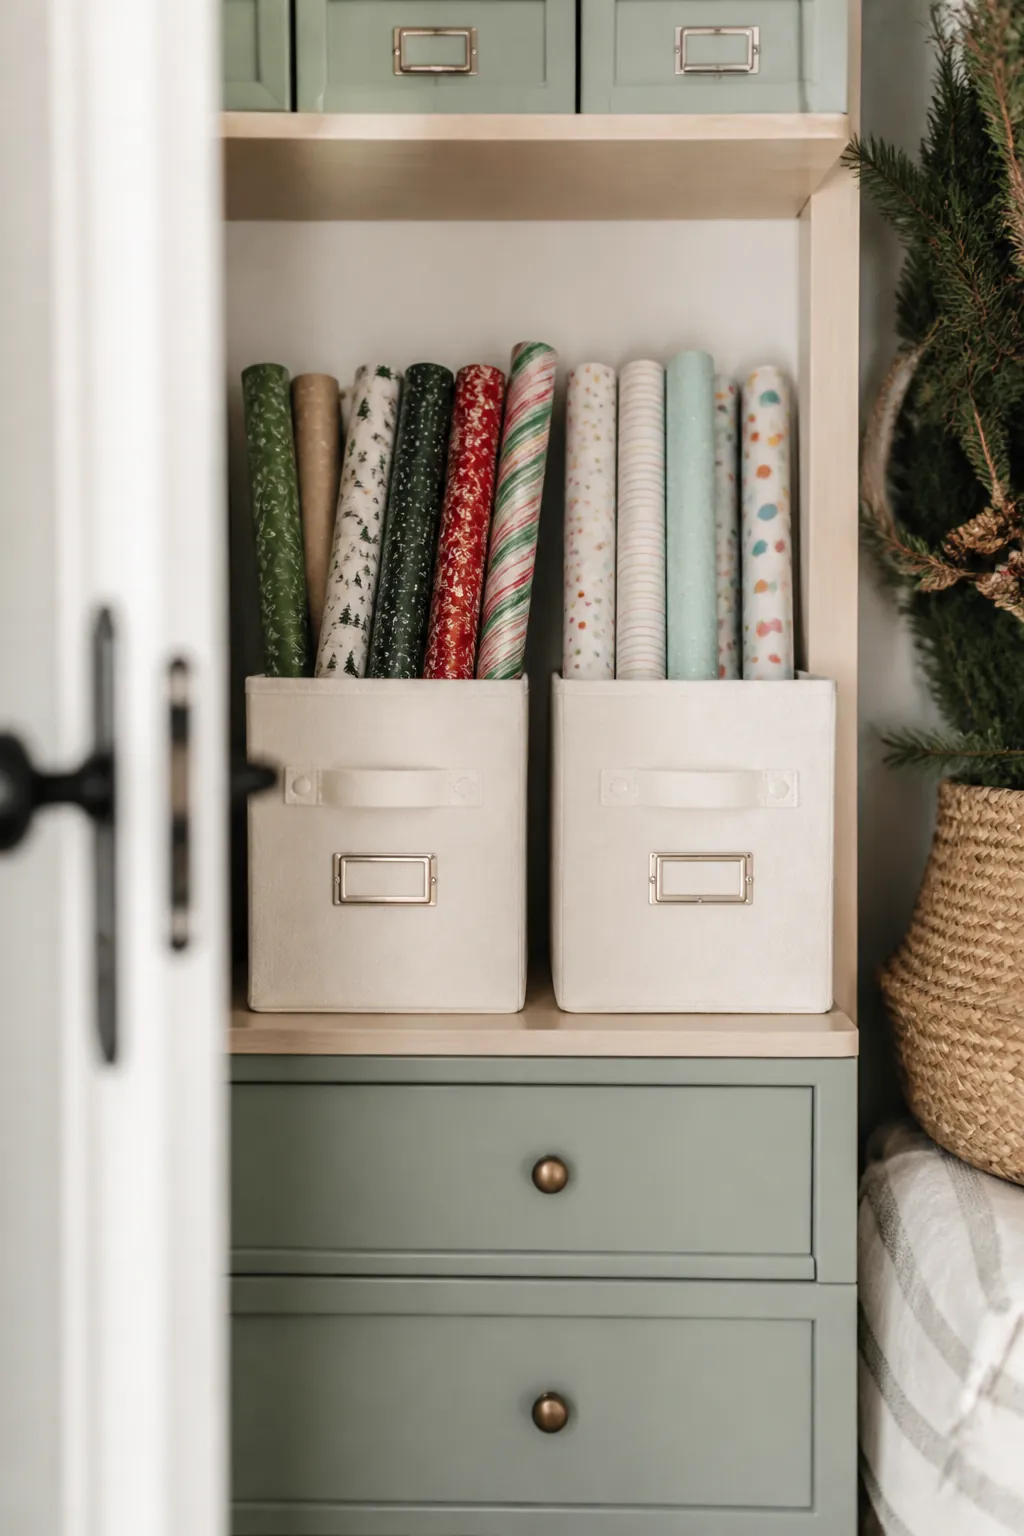
A box labeled “wrapping paper” tells you nothing about what’s inside until you dig through it, and the pattern you want for a kid’s birthday is not the one you want for a baby shower or a holiday gift exchange. Splitting the collection into two or three labeled groups, holiday, birthday, everything else, means grabbing the right roll without unrolling three others to check the pattern first.
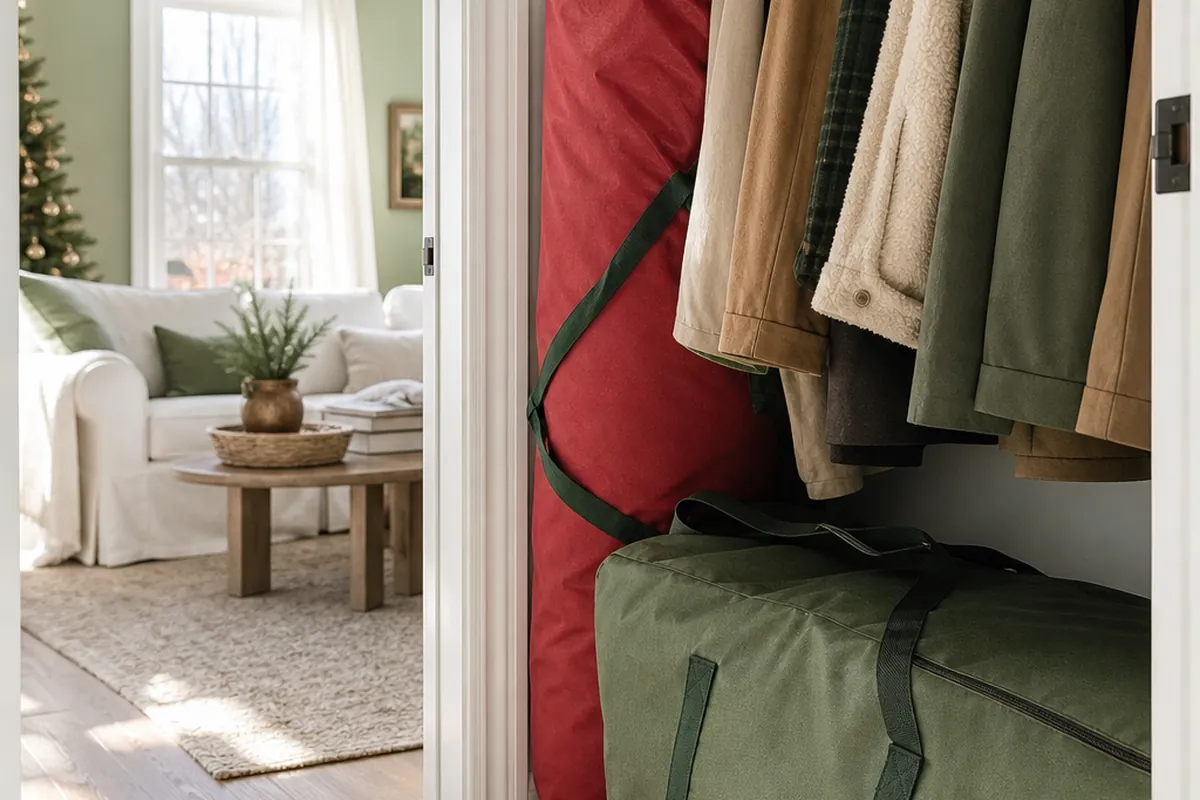
If your holiday paper already shares closet space with a boxed-up tree or other holiday decor, keep the two labeled separately even if they live on the same shelf, since “seasonal” as a single label just recreates the digging problem one level up. Write the occasion on the outside face of the bin, not the lid, since that’s the side you’ll actually see from across the closet or the foot of the bed.
Where to start
Measure your longest roll first, since every container on this list is sized around that number, not the average. Put the bulk of the collection flat under the bed or upright in the gap beside a dresser, keep ribbon, tags, and tape in one bin you can see into, and give bags and tissue their own soft bin where they can nest instead of crumple.
Then handle the loose ends: a hook on the back of a door for the kit you reach for year-round, a labeled split between holiday and everyday paper, and the good scissors kept with the roll instead of buried in a kitchen drawer. None of it needs new furniture, just containers that match the actual shape of what you’re storing.