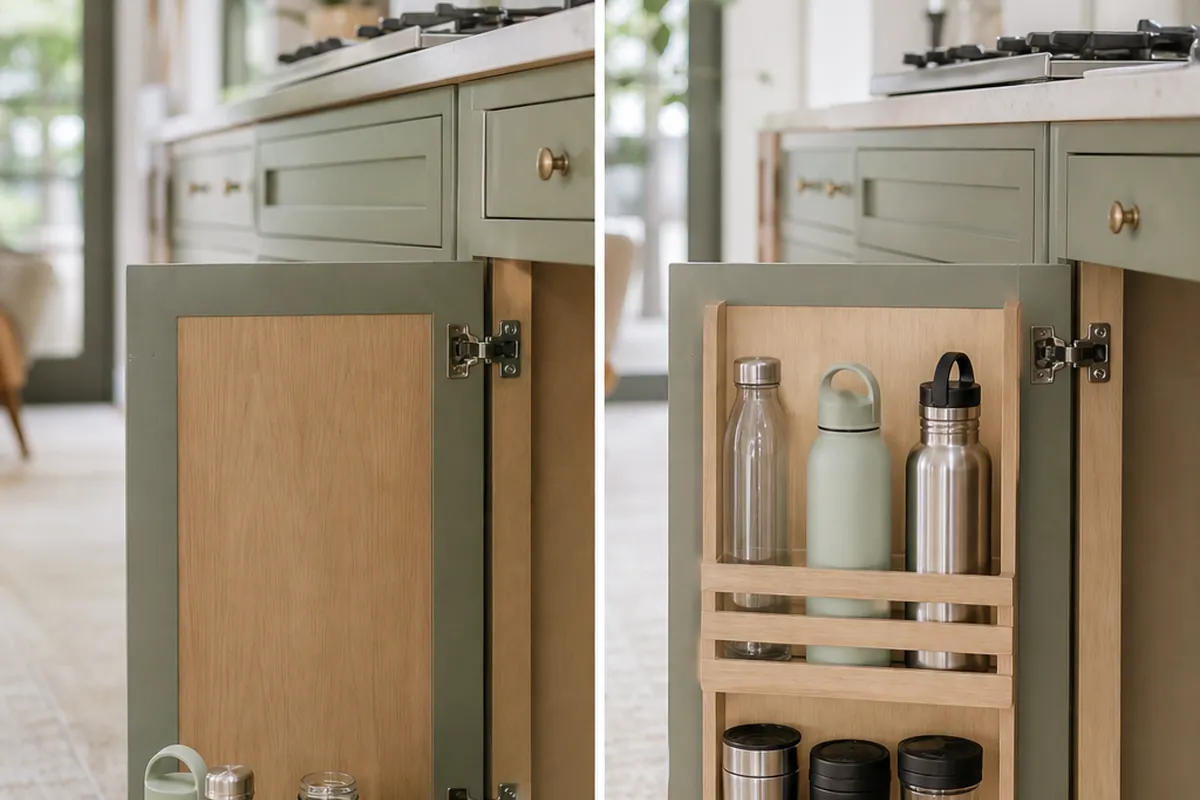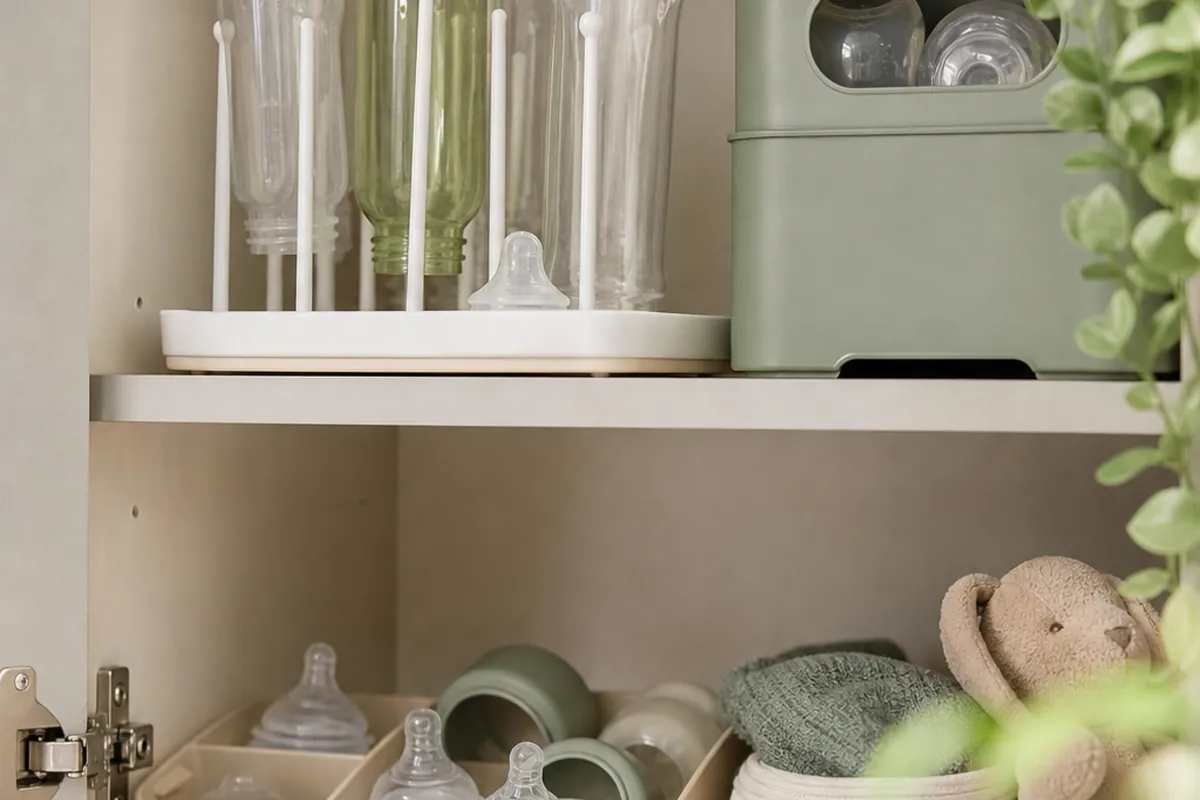
Baby bottles do not fit a kitchen built for adult dishware. A bottle stands taller than most stacked plates, its nipples and valves are small enough to vanish behind a mixing bowl, and the whole kit gets handled under time pressure, at 2am or with a crying baby on one hip, which is exactly when a drawer that jams or a lid that’s gone missing turns into a real problem instead of a minor annoyance.
The nine ideas below give bottle and feeding gear its own small footprint in a kitchen that was never built for it, measured against the gear itself rather than whatever cabinet happened to be free.
1. Measure the shelf before you measure the bottles
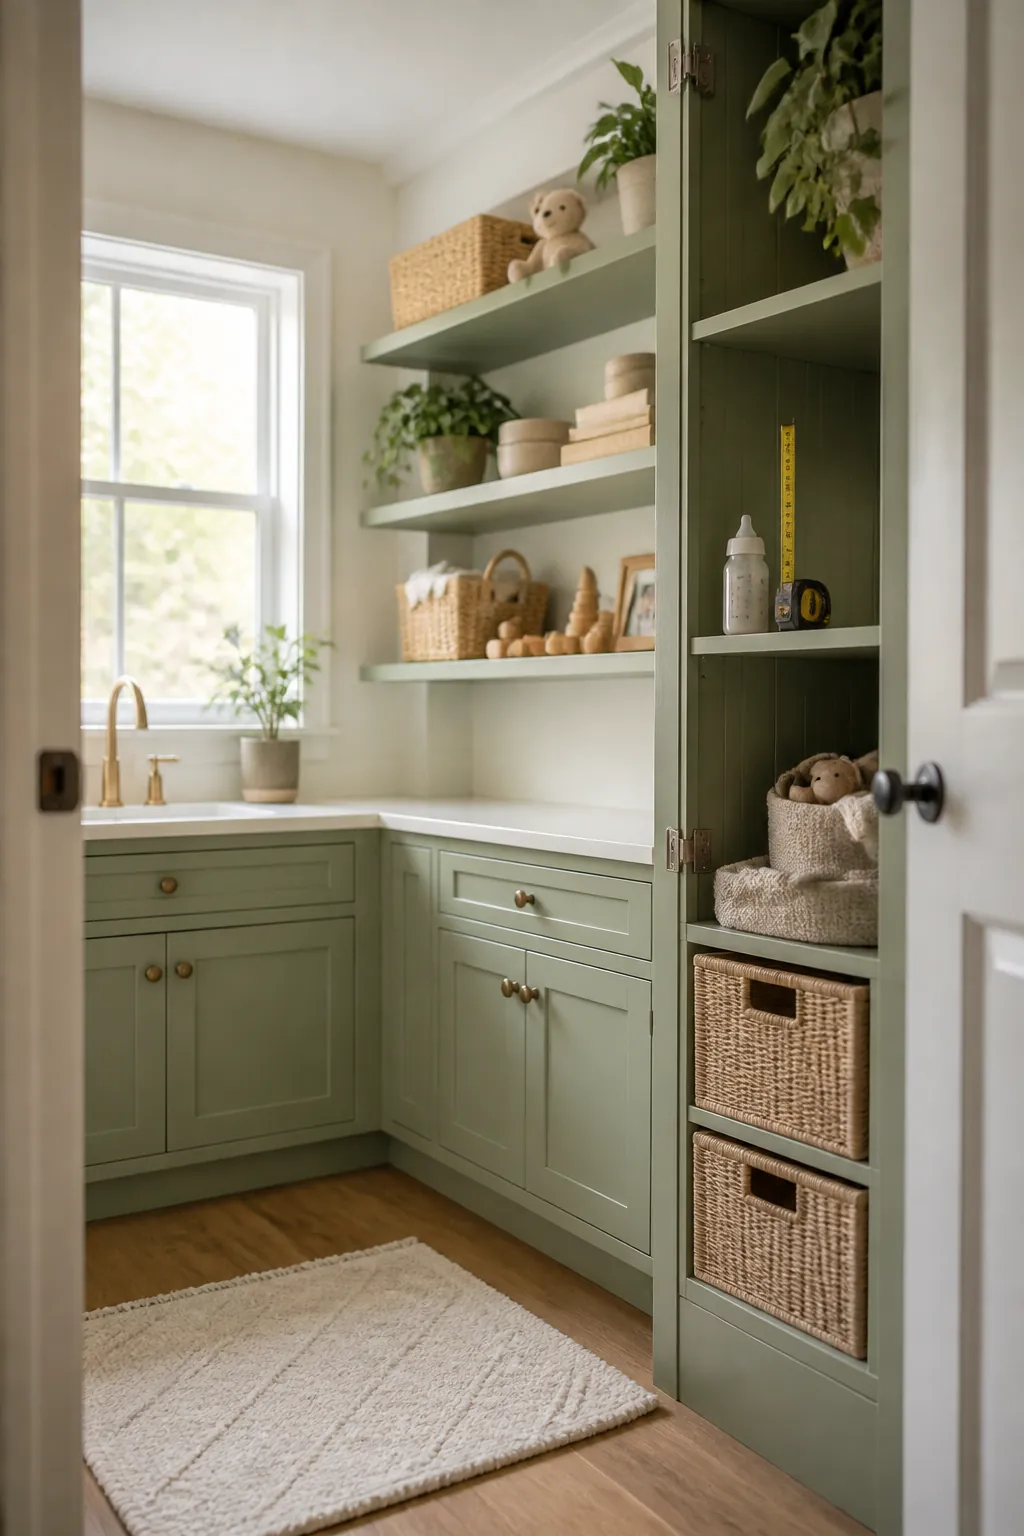
The usual mistake is buying an organizer sized to a shelf you’re picturing rather than the one you actually have. Open the cabinet you’re planning to use and measure its depth and the clearance to the shelf above, because a standard bottle with a collar on stands 7 to 9 inches tall, and a shelf with only 6 inches of clearance rules out upright storage before you’ve bought a single bin.
Do this before buying anything to hold the gear, not after. A 12-inch-deep shelf holds a single row of bottles standing with room to spare; a shallower 9-inch shelf forces you to lay bottles down, where they roll and nest into each other every time the cabinet door swings open.
2. Give feeding gear one shelf, not a shared one
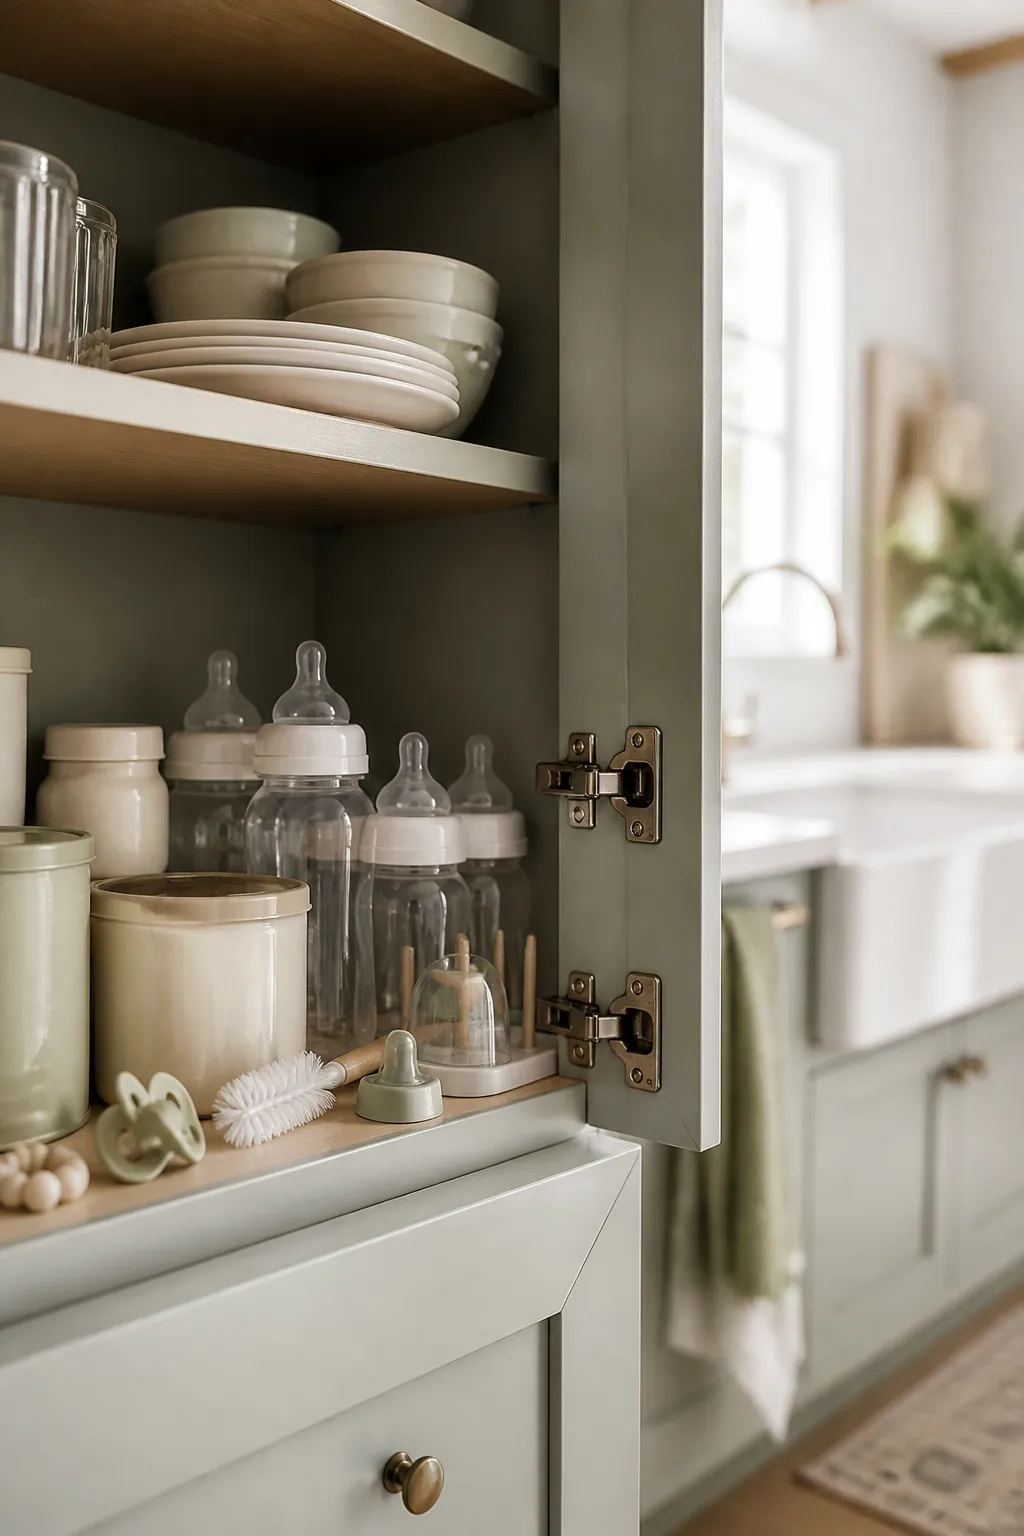
The fastest way to lose a bottle nipple is to store it next to the spice jars and the extra oven mitts, because loose, similar-sized gear migrates between whatever is stored together. Pick one shelf, ideally in the cabinet closest to the sink, and make it entirely about feeding: bottles, parts, formula, and nothing else competing for that space.
This matters more than the size of the shelf. A single 12-by-24-inch shelf dedicated to feeding gear holds more usable storage than a half-shared, half-bigger shelf, because nothing on it has to be moved aside to find what you actually need.
3. Stand bottles upright in a stackable bin instead of loose on the shelf
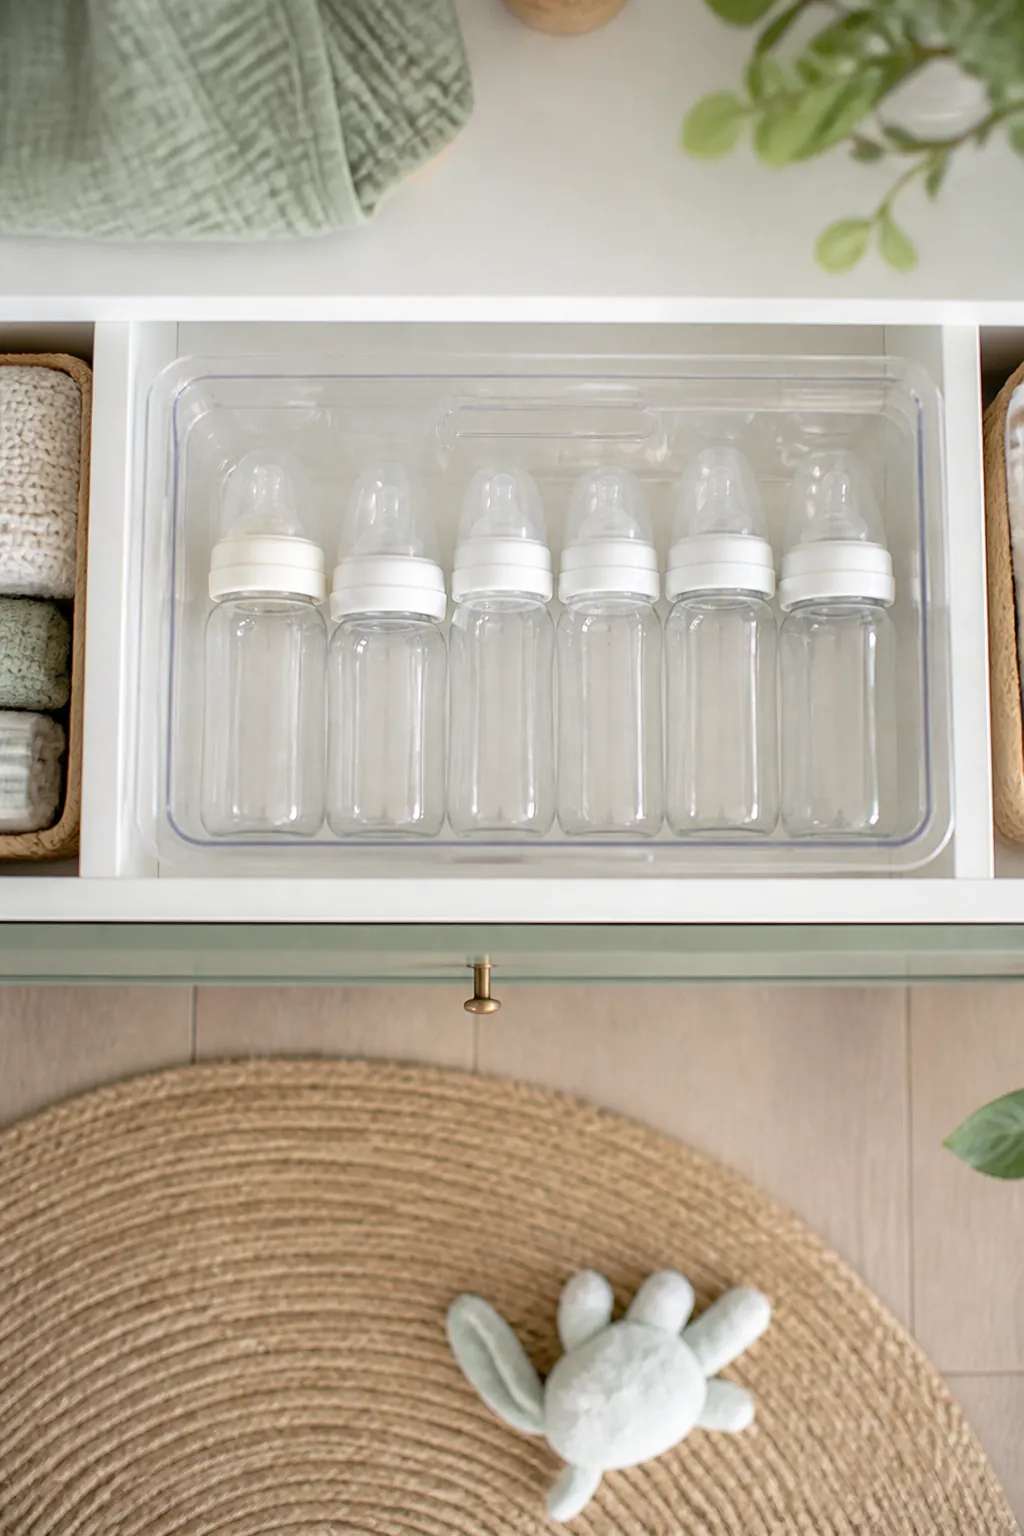
Bottles set directly on a shelf topple the first time the cabinet door swings shut, and a toppled bottle knocks the one next to it, which is how four clean bottles end up on their sides with nipples rolling toward the back. A clear stackable storage bin gives each bottle a fixed slot and a wall to lean against, so a bumped door doesn’t start a chain reaction.
Being clear matters here specifically because bottles for different ages look nearly identical from the side. You can check which size is low without pulling every bin off the shelf, and a second bin stacked on top handles the next size up once the baby grows into it.
4. Spin formula tins and spare bottles into reach with a turntable
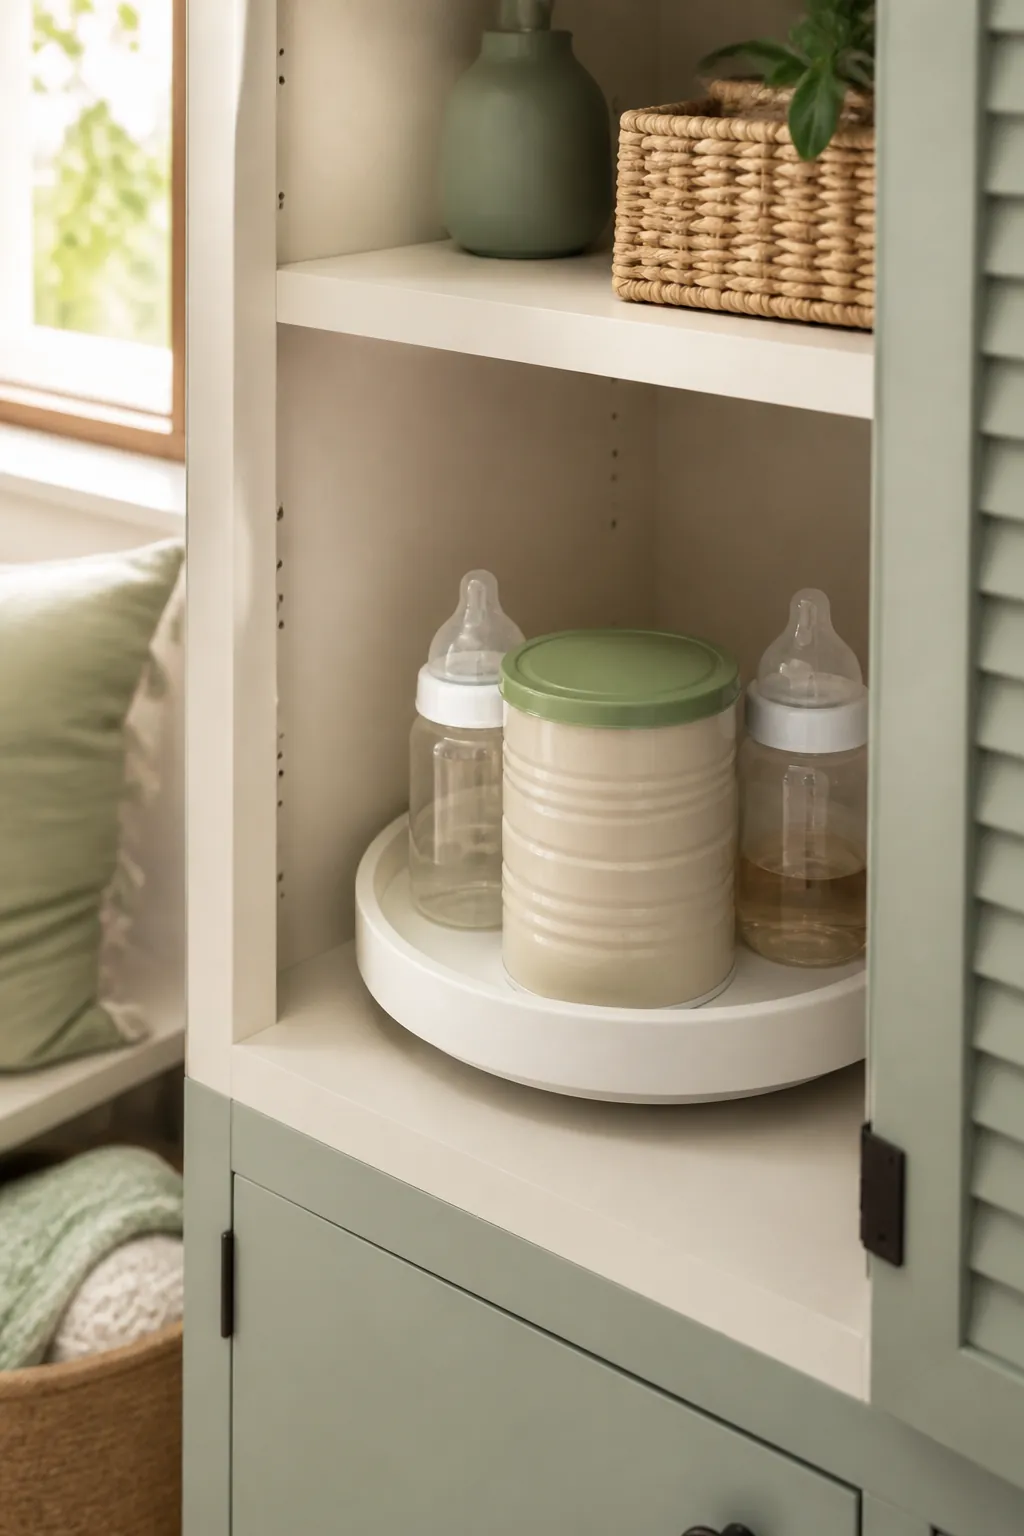
A corner or back-of-cabinet shelf is where a standard 8 to 10 inch formula tin disappears, because nobody wants to crouch and reach past the front row of gear to get it. A turntable organizer turns that dead zone into something you spin into reach instead of dig for, which matters most in the exact cabinets, corner units and deep lower shelves, where formula and bottle backups tend to get pushed.
Check the turntable’s diameter against the shelf width before buying. A 12-inch turntable needs a shelf at least that wide with no center support rail running through the middle, since a rail stops the disk from spinning freely and defeats the entire point of the thing.
5. Catch nipples, valves, and collars in small stackable drawers, not a junk drawer
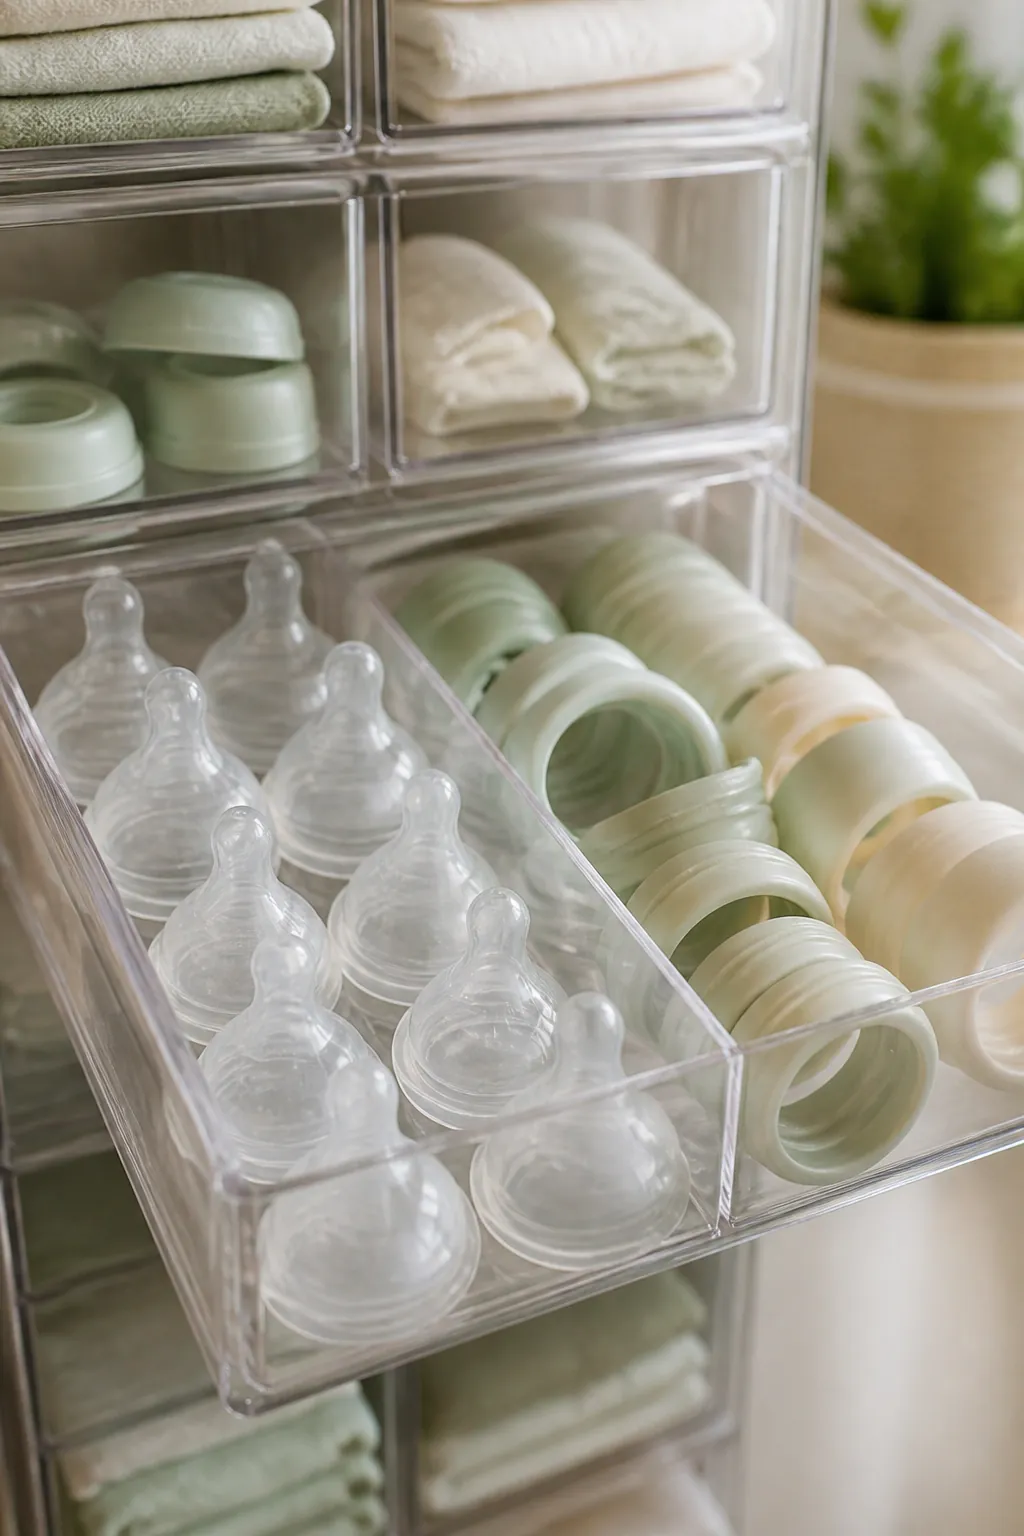
A bottle nipple, a valve, and a collar are all under 2 inches across, which means they slide to the back of a standard kitchen drawer and jam against whatever else lives there. A set of small clear stackable drawers sorts them by size and type instead, so you can grab the right valve without testing three of them while a bottle sits half-assembled on the counter.
Sort by part, not by bottle brand. One drawer for nipples, one for valves and collars, one for spare lids. That split survives a brand switch or a size-up far better than drawers labeled by a specific bottle line the baby may outgrow in a few months.
6. Add a shelf riser to stop stacking bottles two deep
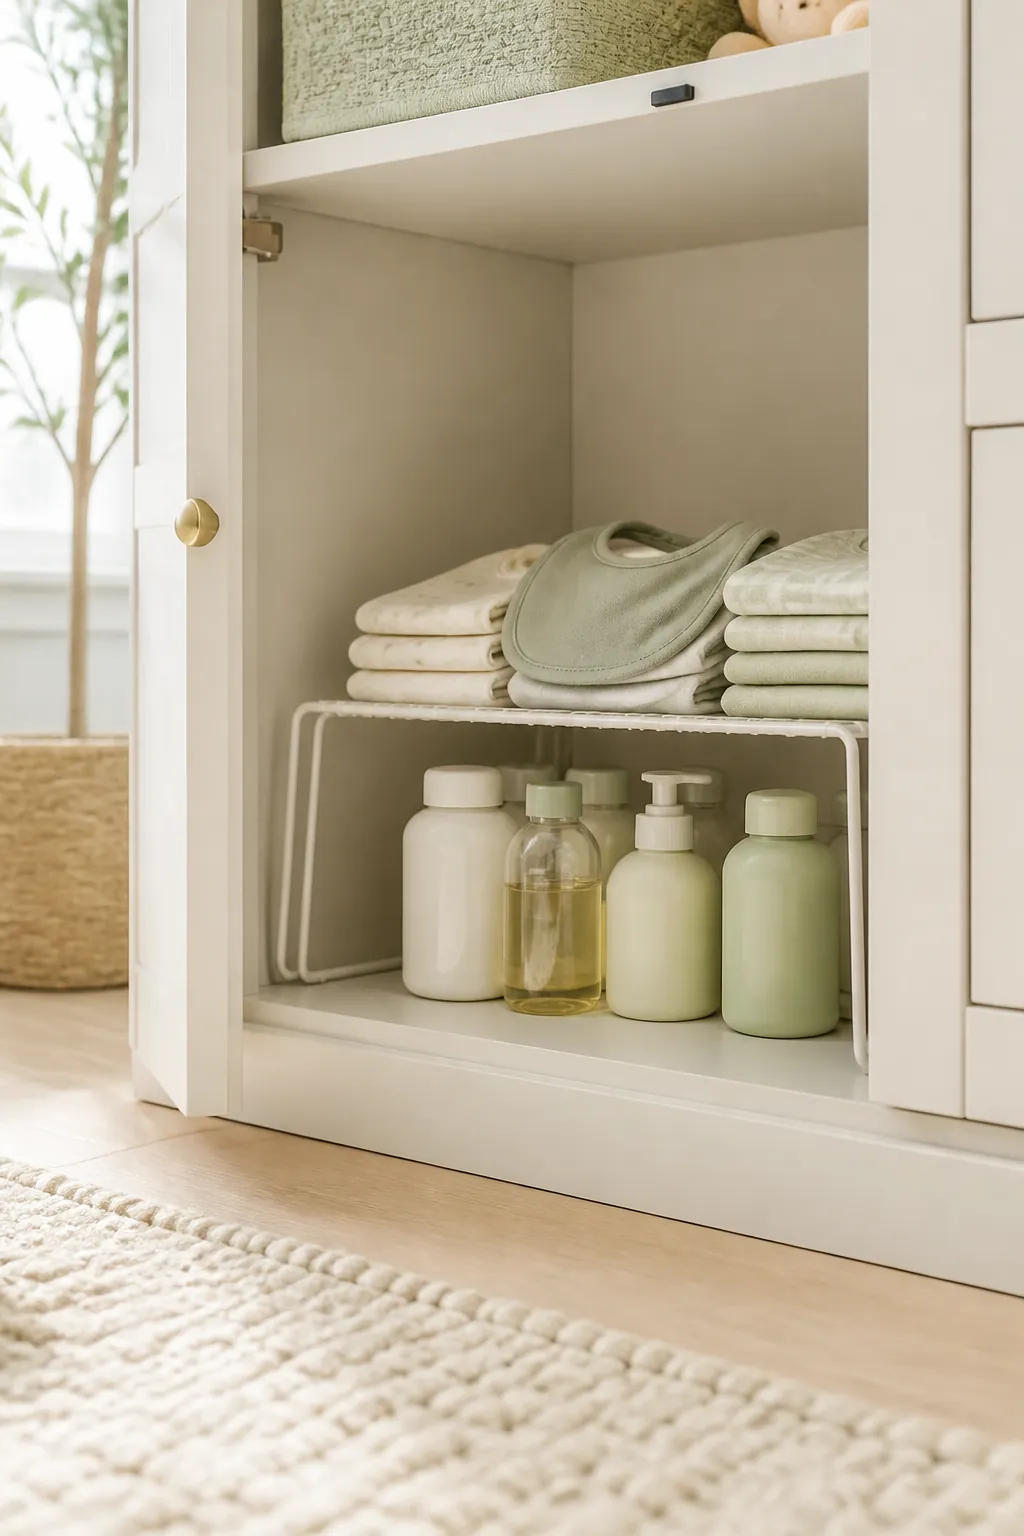
A shelf tall enough for a standing bottle usually has 4 to 6 inches of unused air above it, space that’s wasted if you just set more bottles on top, where they wobble and block the row below from being seen or reached. An expandable cabinet shelf riser splits that dead air into a second, shorter tier for whatever doesn’t need full bottle height, nipples, flat silicone bibs, a stack of burp cloths.
Measure the gap before buying. Most risers need at least 5 inches of clearance to sit level above the first row without crowding it, and a riser wedged into a 4-inch gap just tips the moment anything on the top tier shifts.
7. Pull bottles forward with a pull-out organizer in a lower cabinet
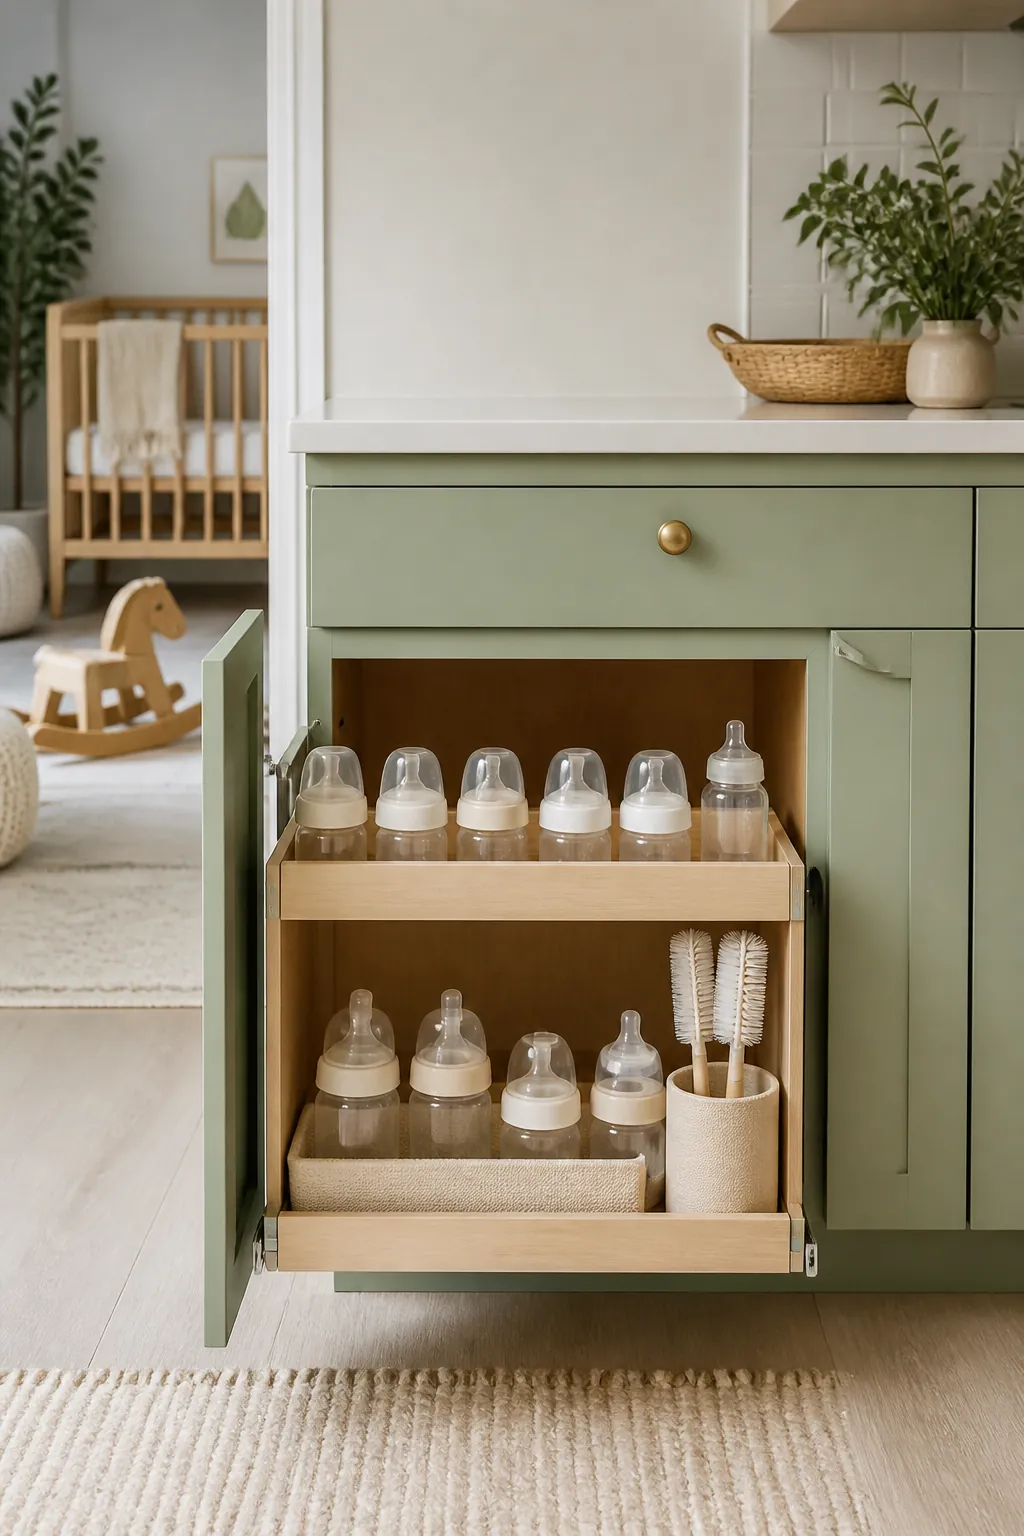
A lower cabinet forces a crouch and a blind reach to the back row, which is exactly how a bottle ends up forgotten until it’s the only clean one left. A pull-out cabinet organizer slides the whole shelf toward you on rails, so the back row comes out as far as the front one instead of staying permanently out of sight.
This earns its spot specifically in the lower cabinets, where feeding gear often lands because it’s heavy-feeling and bulky, bottle drying mats, a bottle brush caddy, the spare set of bottles not yet in rotation. Weight-rate the slide before loading it: most hold 25 to 35 pounds, which is a full shelf of bottles and accessories but not also a stack of mixing bowls shoved in alongside them.
8. Dry bottles over the sink instead of on a dish towel
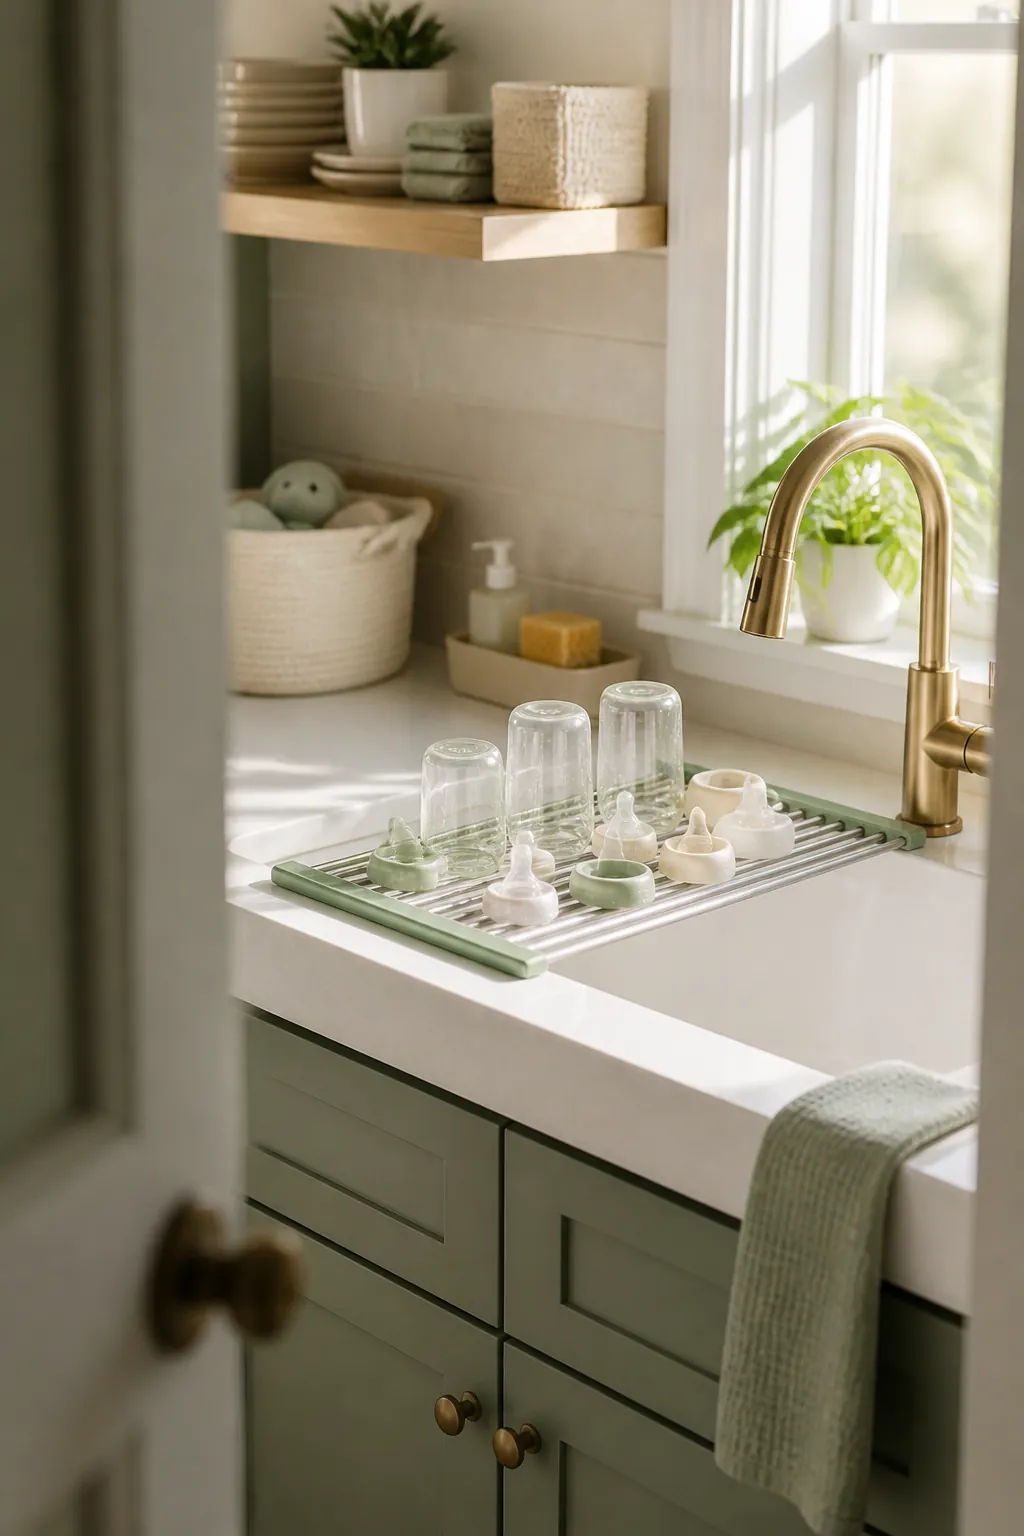
A dish towel under a drying bottle soaks through in a day and has to be wrung out, re-laid, or swapped, which is one more small chore stacked onto a day that already has plenty. An over-the-sink dish rack bridges the basin itself, so water from drying bottles, nipples, and pump parts drips straight down the drain instead of pooling on fabric that needs washing of its own.
Measure your sink’s outer rim width before buying, since these racks rest on the rim rather than inside the bowl, and a rack sized for a wider sink will rock instead of sitting flat. Skip it if your faucet has a tall gooseneck spout; a two-tier rack under a tall faucet means you’re bumping the rack every time you rinse something else.
9. Pack a grab-and-go caddy for the gear that leaves the kitchen
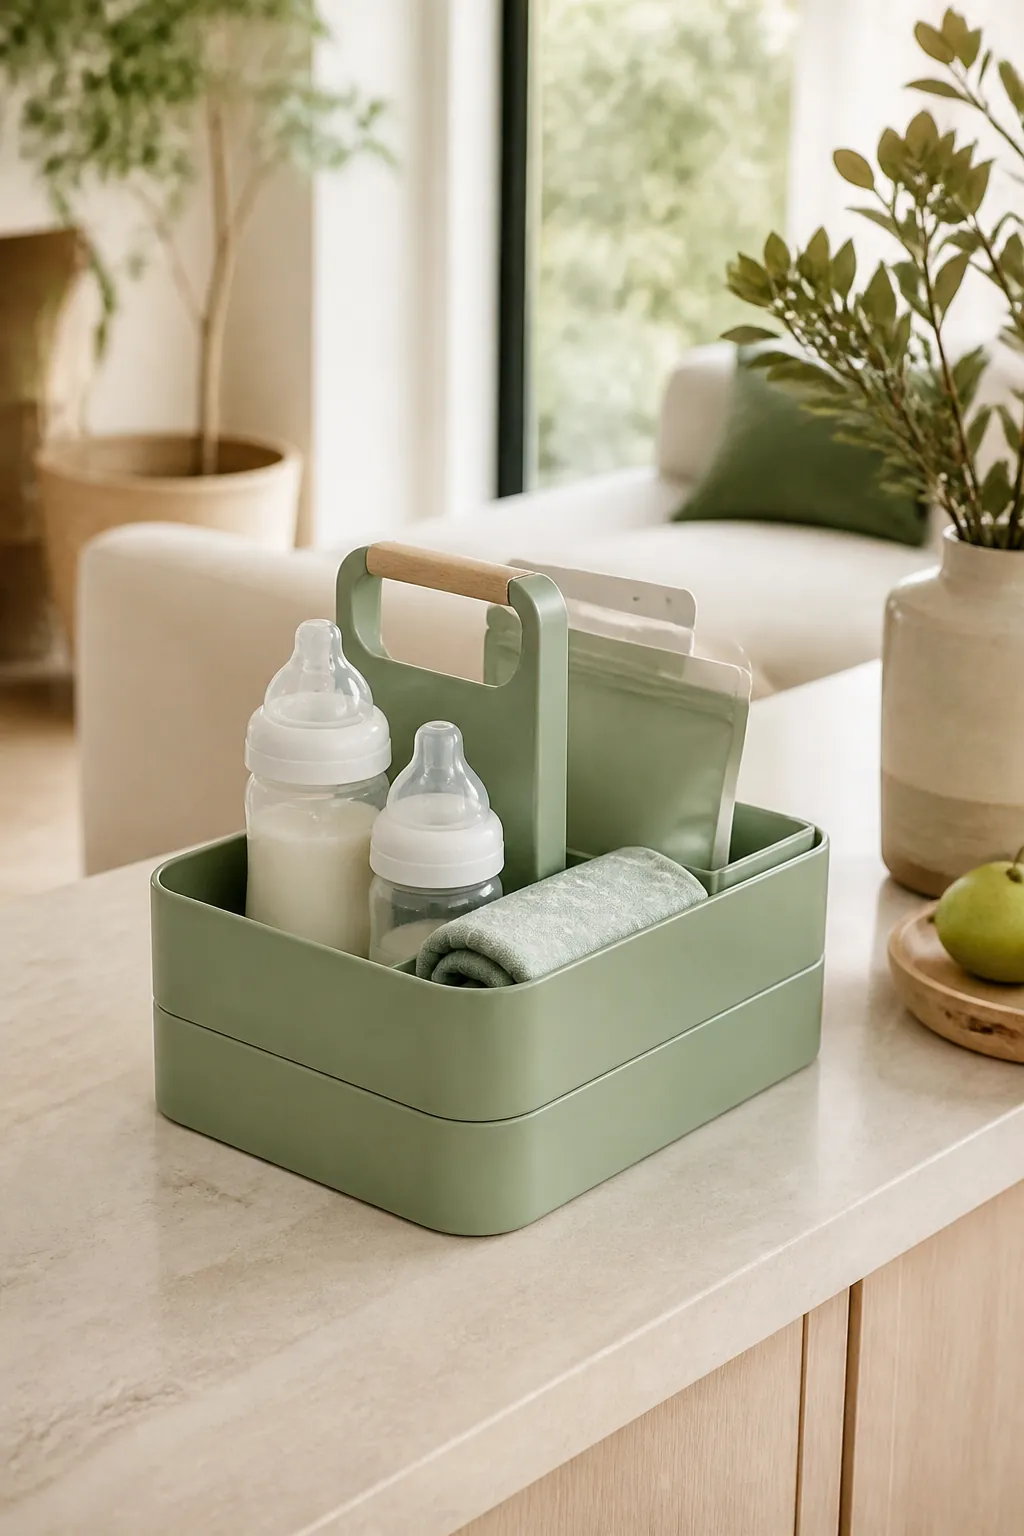
Not every piece of feeding gear stays in the kitchen. A bottle, a few ounces of pre-measured formula, and a burp cloth often need to travel to the nursery, the living room, or straight into a diaper bag, and hunting through a cabinet for each piece slows down exactly the moment you’re trying to move fast. A stackable supply caddy with a handle holds a small bottle-feeding kit together in one trip, instead of making three.
Keep the caddy stocked with only what actually leaves the kitchen, a couple of clean bottles, a travel pack of formula, nothing from the deep-storage shelf. A caddy that becomes a second junk drawer defeats the purpose just as fast as no caddy at all.
Where to start
Measure the cabinet shelf you’re eyeing before buying a single bin, since the depth and the clearance above it decide whether bottles stand upright or have to lie down. Give feeding gear its own shelf, corral bottles in a stackable bin, and let a turntable handle whatever lands in a corner cabinet or at the back of a deep shelf.
From there, small stackable drawers keep loose nipples and valves sorted, a shelf riser or a pull-out organizer claims the dead space most cabinets waste, and an over-the-sink rack gets drying gear off the counter entirely. Pack a caddy for whatever leaves the kitchen, and the whole system keeps working through size changes instead of needing a rebuild every few months.