A single stepped-on LEGO brick is memorable enough that most parents will reorganize the entire playroom to avoid a second one, and yet the bricks keep ending up on the floor anyway. The usual fix, one big plastic tub, makes the problem worse: a deep bin holding thousands of loose pieces has to be dumped out and spread across the floor before anyone can find the one flat gray plate they actually need. Building block storage in a small playroom isn’t about finding a bigger container. It’s about matching the container to how the pieces actually get used, bulk bricks in something wide, small parts in something with compartments, and finished builds somewhere they won’t get knocked over.
1. Sort the collection before buying a single bin
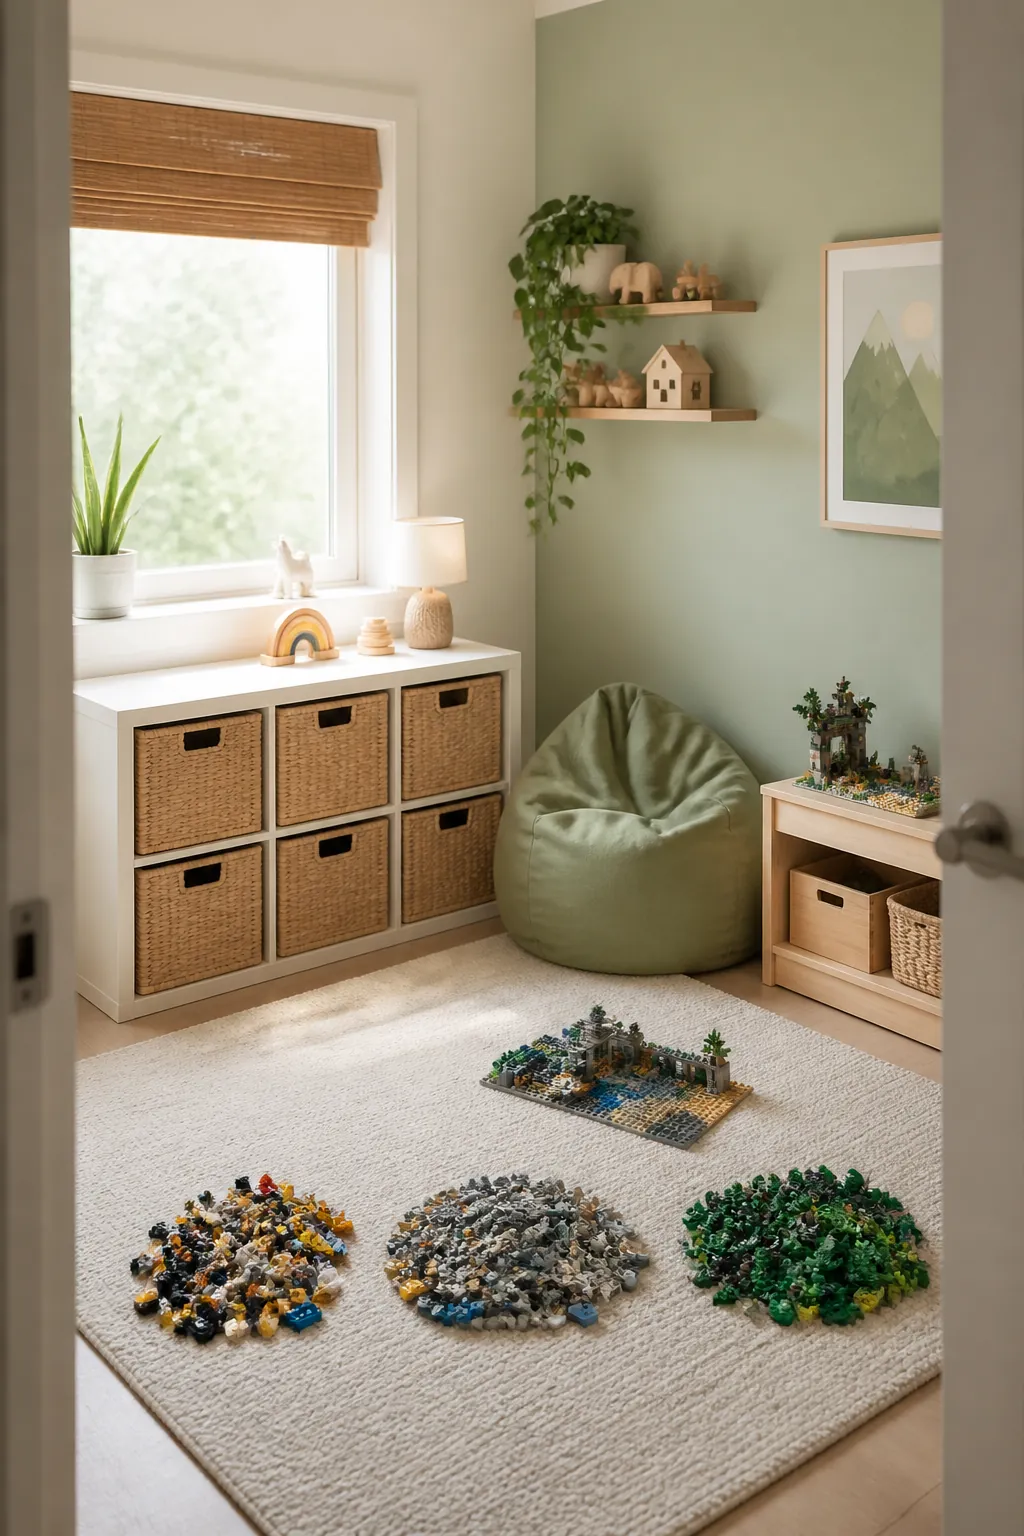
Pull every loose brick, minifigure, and half-built set into one place and split it three ways: bulk bricks and plates for open building, minifigures and small specialty pieces (wheels, hinges, clear “jewel” pieces), and sets your kid still wants to keep built and displayed. Each pile needs different storage, and buying one bin size for all three wastes space on the bulk pile and loses the small pieces in it.
This sort also tells you how big a problem you actually have. A modest collection fits in two or three wide bins; one built up over several birthdays needs a real system rather than one more tub squeezed onto a shelf.
2. Choose wide and shallow over deep for bulk bricks
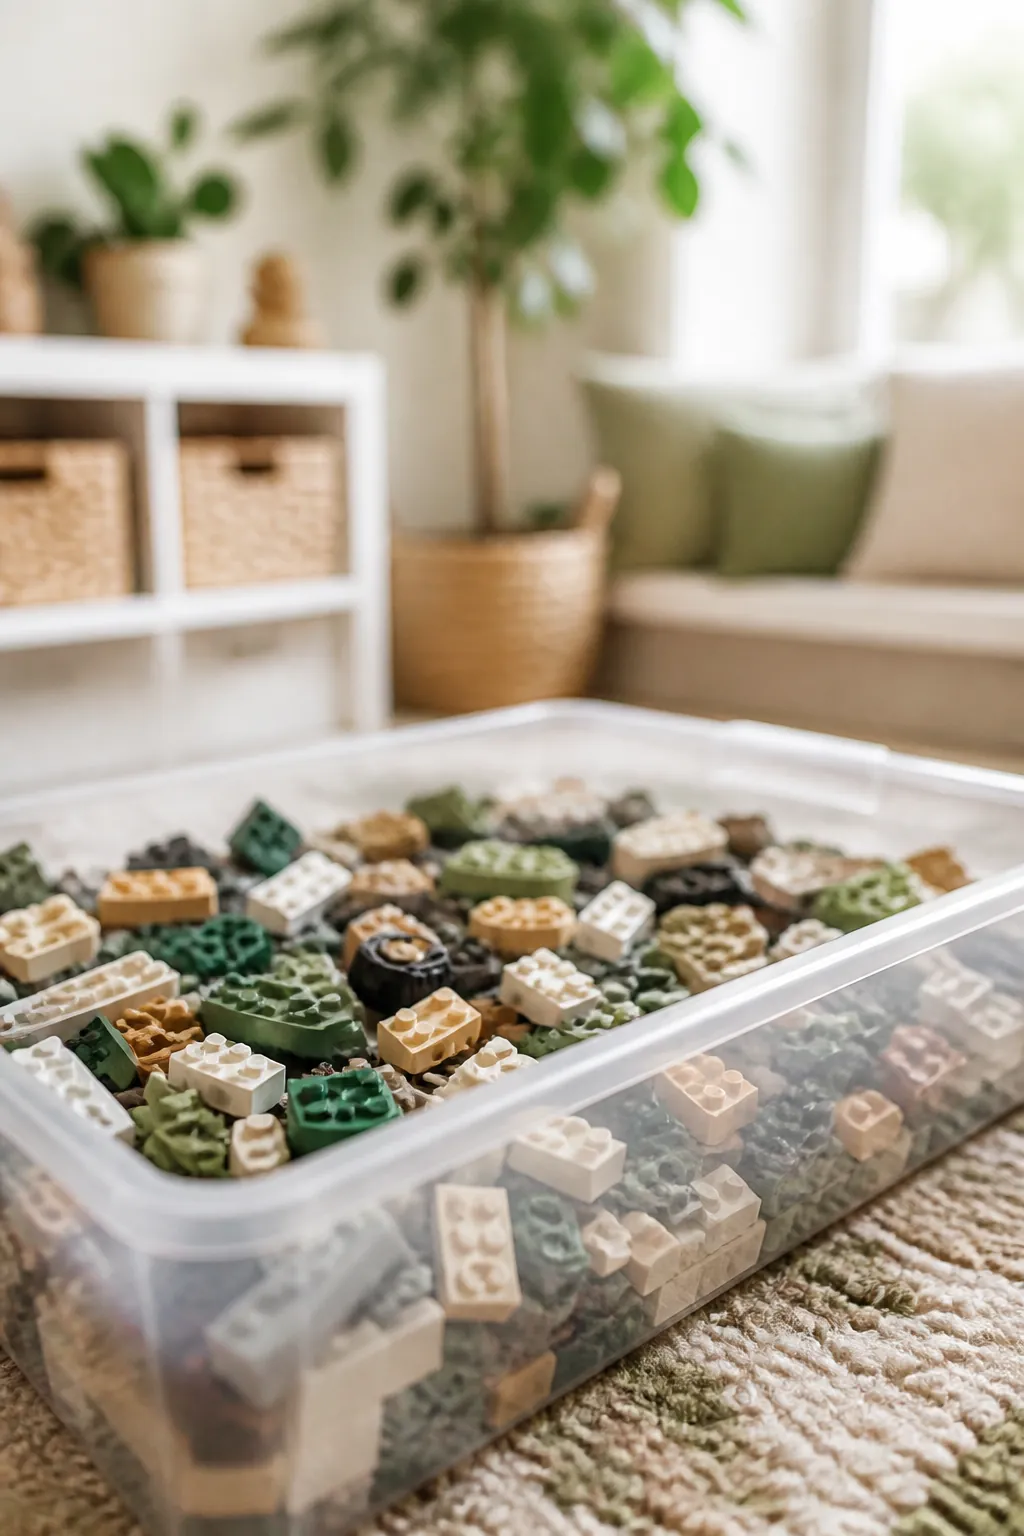
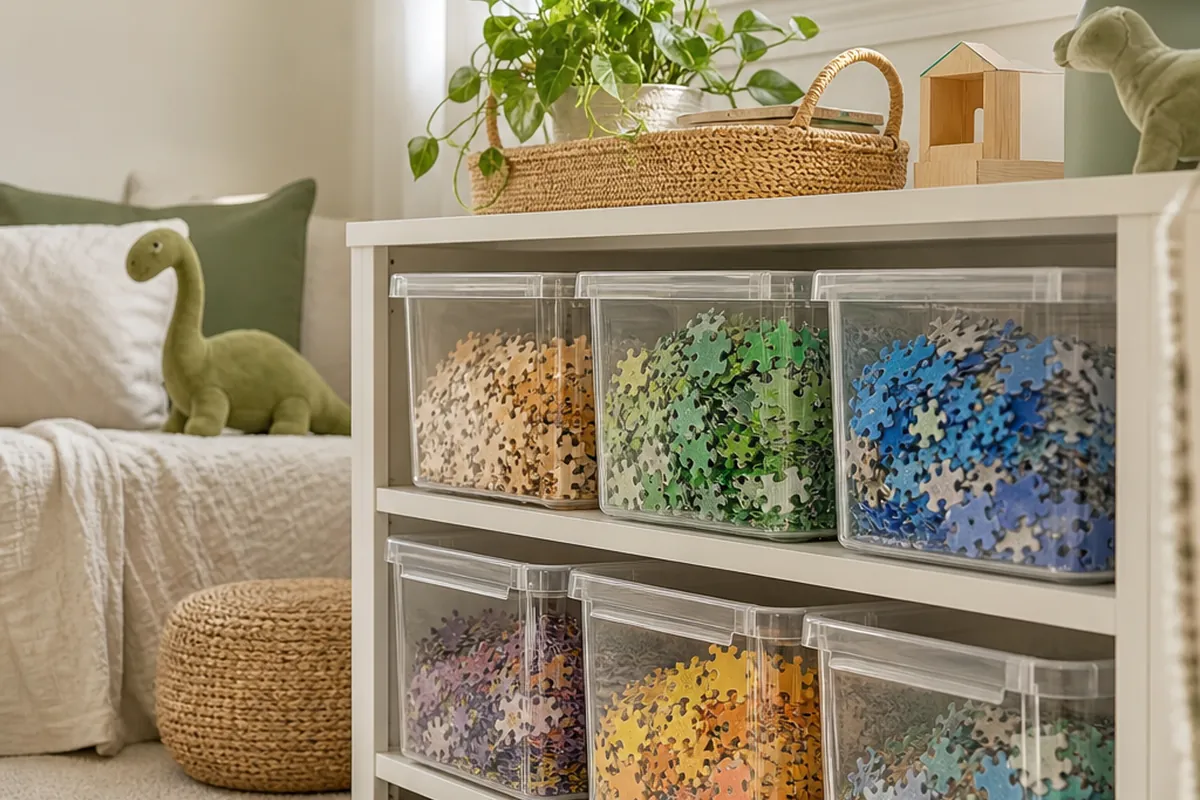
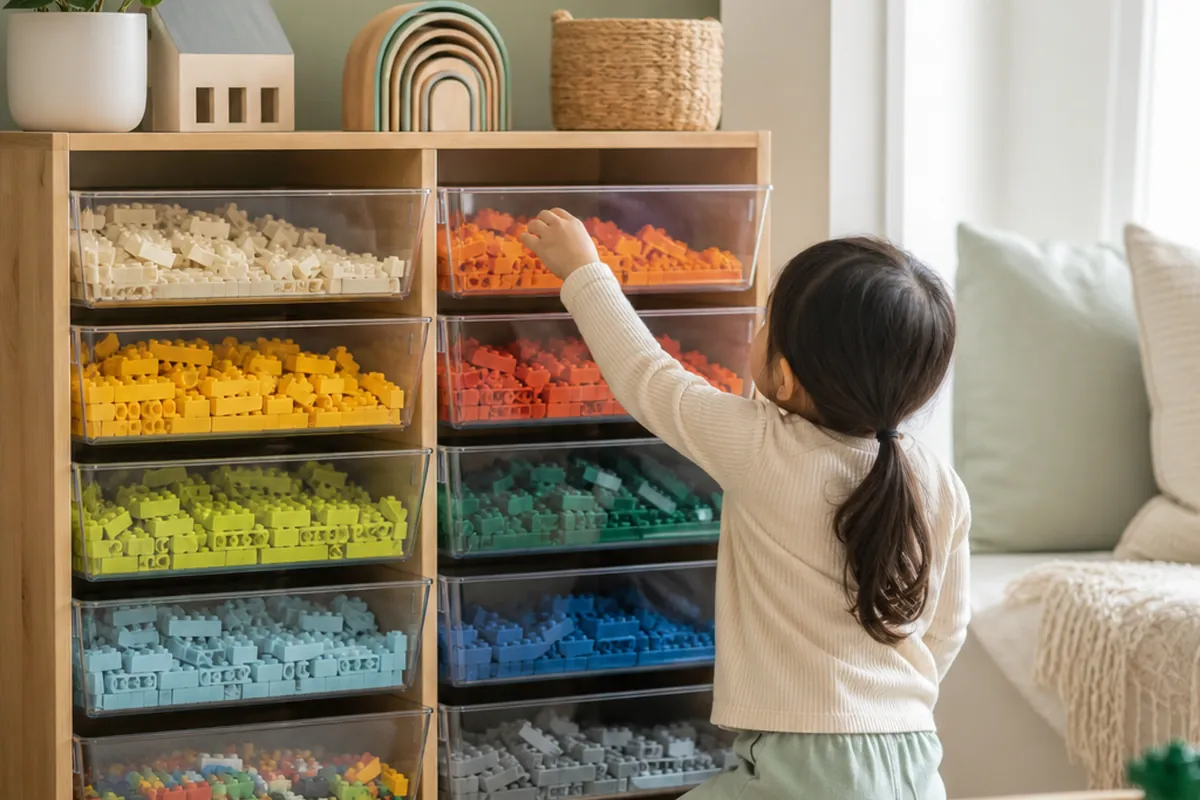
A deep tub holds more pieces per dollar, but a kid digging for one specific piece has to upend it onto the floor to see the bottom, which is exactly the spill this whole list is trying to prevent. Clear stackable storage bins in a wide, shallow profile let a kid spread bricks out in the bin itself, hands moving across the surface instead of down into it.
A bin roughly 16 by 11 inches and 6 inches deep holds a meaningful chunk of a bulk collection while still letting a small hand reach the bottom corner without tipping the whole thing forward. Stack two or three on a low shelf rather than one tall tub, and the stack stays stable even when a kid pulls the bottom one out first, which they will.
3. Give minifigures and small parts their own compartments
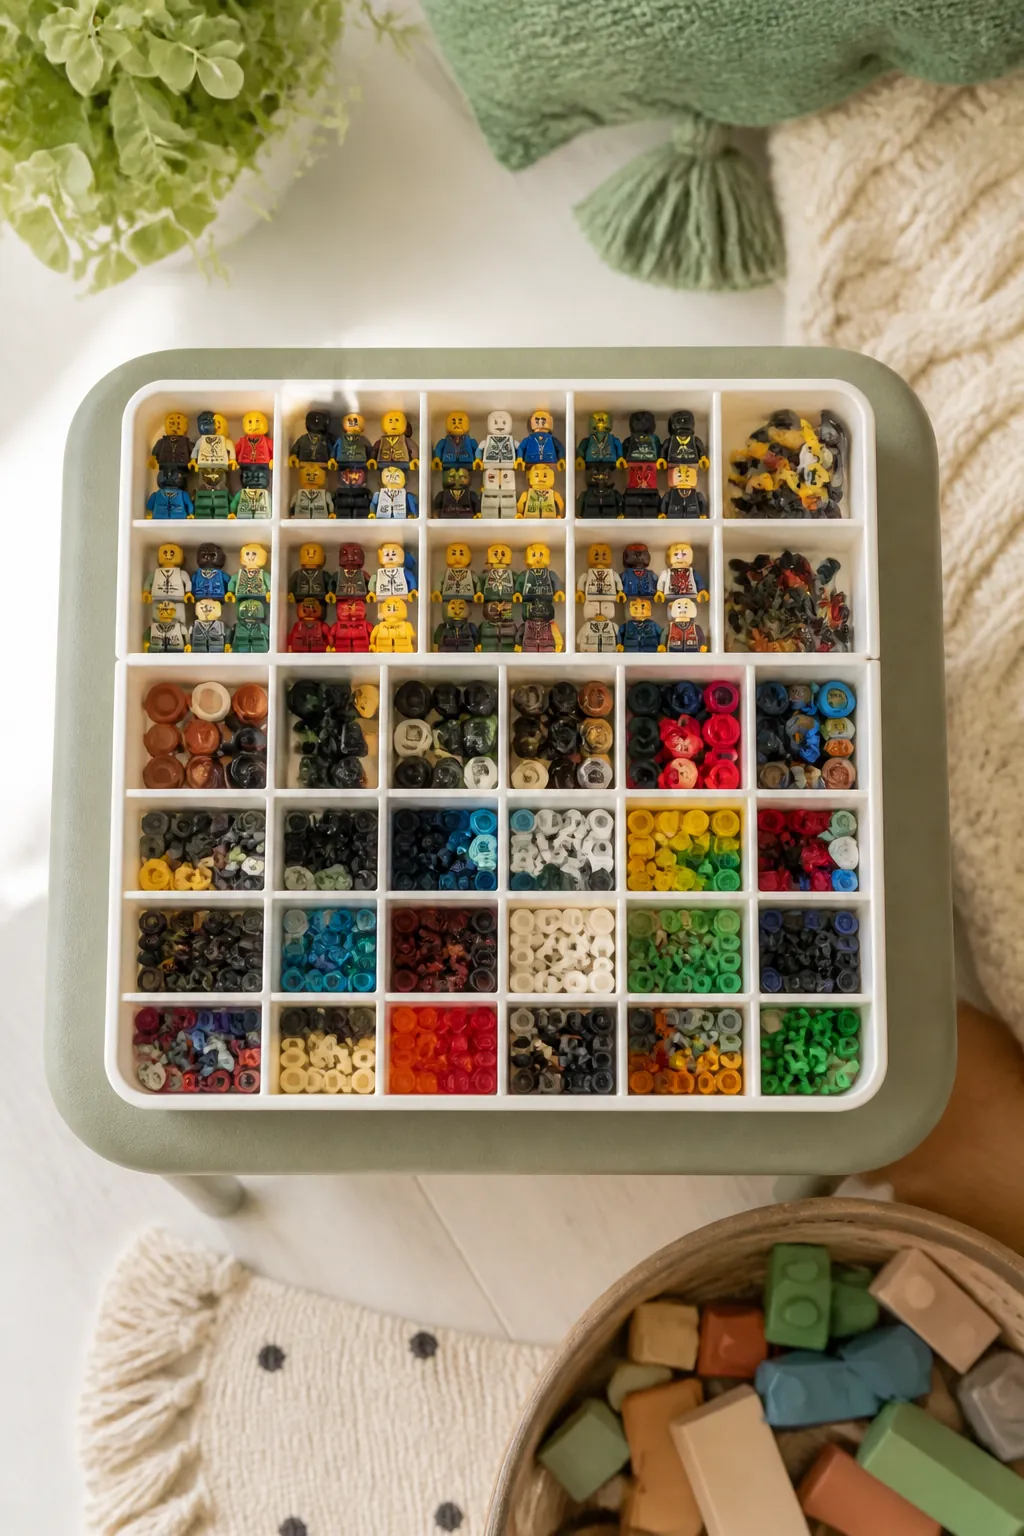
Minifigures, wheels, clear pieces, and anything smaller than a standard brick get lost inside a bulk bin within a week, sinking to the bottom under the weight of everything else. A small parts organizer with a dozen or more compartments keeps these visible and separated, which matters more here than almost anywhere else on this list, since a minifigure missing its helmet or a single 1x1 clear piece is often the part a specific build can’t finish without.
There’s no single verified small-parts organizer on this site yet built specifically for LEGO, so if you’re shopping for one, look for compartments at least 2 inches square; anything smaller loses accessories through the gaps when the tray gets jostled. A fishing tackle box from a hardware store works just as well as one marketed for toys.
4. Build a rolling cart as the daily building station
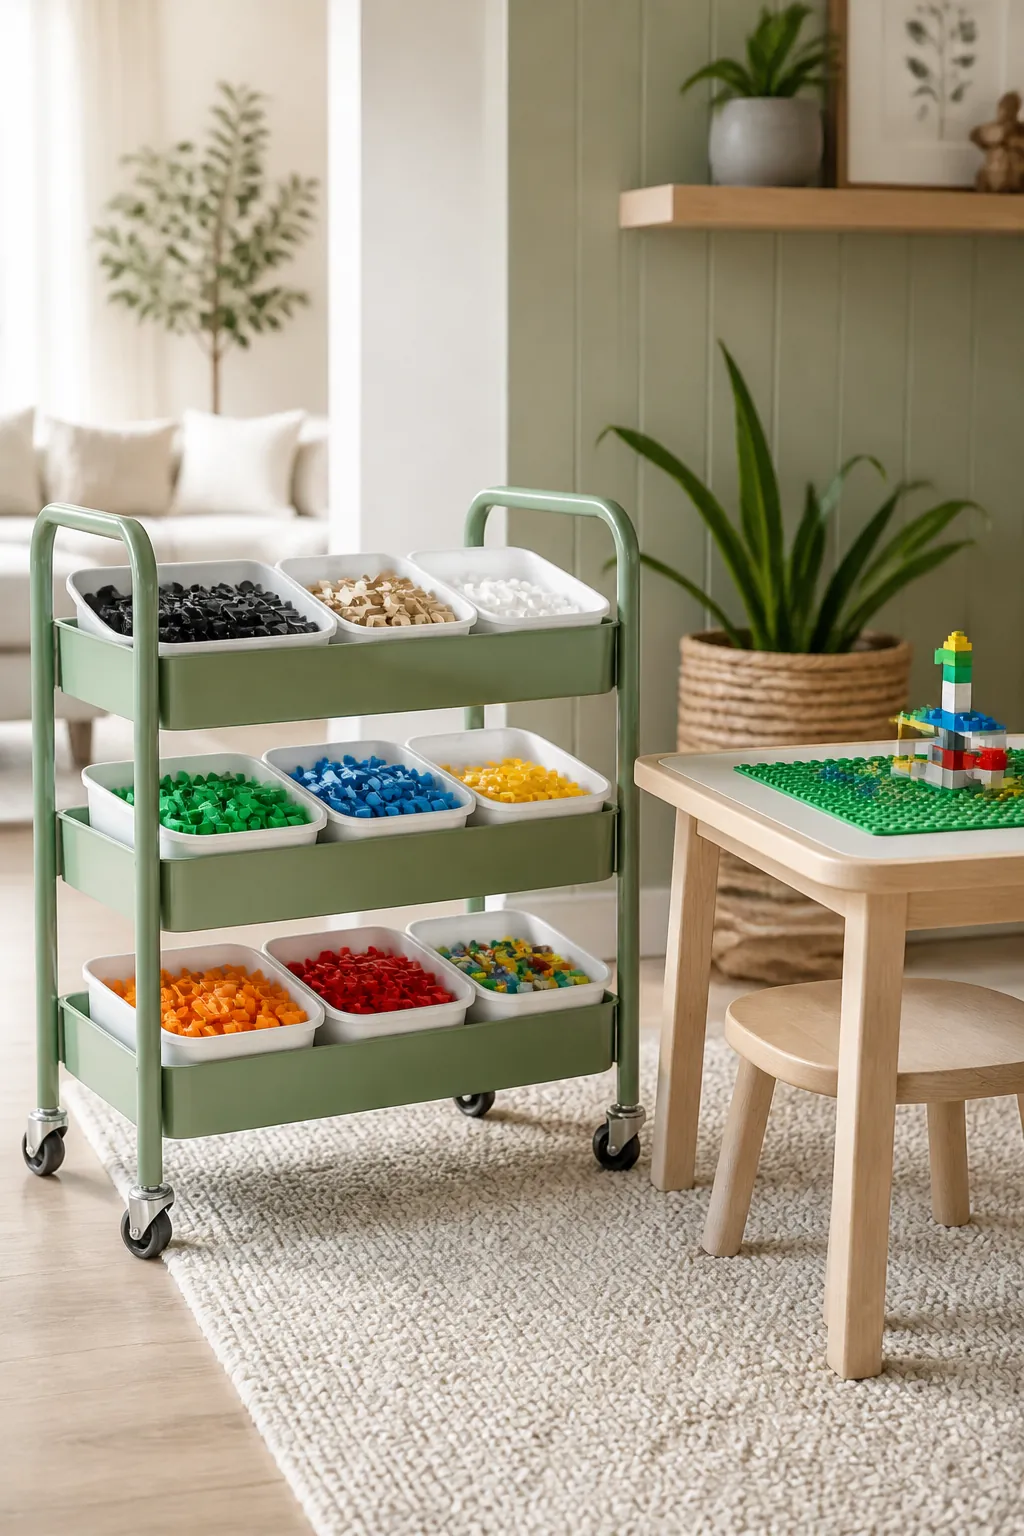
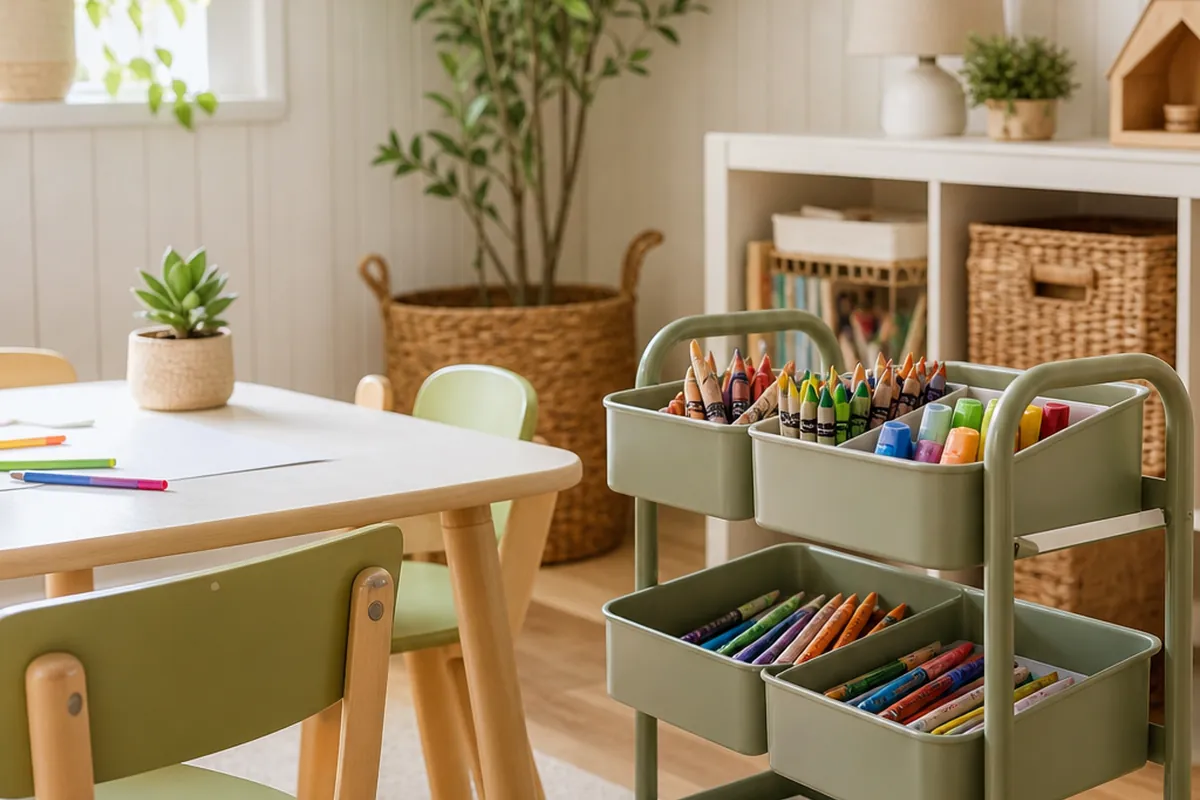
Most small playrooms don’t have a permanent LEGO table, so the storage has to travel to wherever the building is happening. A rolling storage cart loaded with the sorted bins from steps 2 and 3 solves that: wheel it to the living room floor or a low kids table for a building session, then park it against the wall when the floor needs to be a floor again.
Keep bulk bins on the bottom tier and small-parts organizers on top, since a three-tier cart is narrow and top-heavy, and a full bin of bricks stacked above lighter trays is how it tips when a kid leans on the top shelf to reach something. Check the caster locks before the first use; a cart that rolls away mid-build teaches nobody to put pieces back in it.
5. Store finished builds somewhere they can’t get knocked over
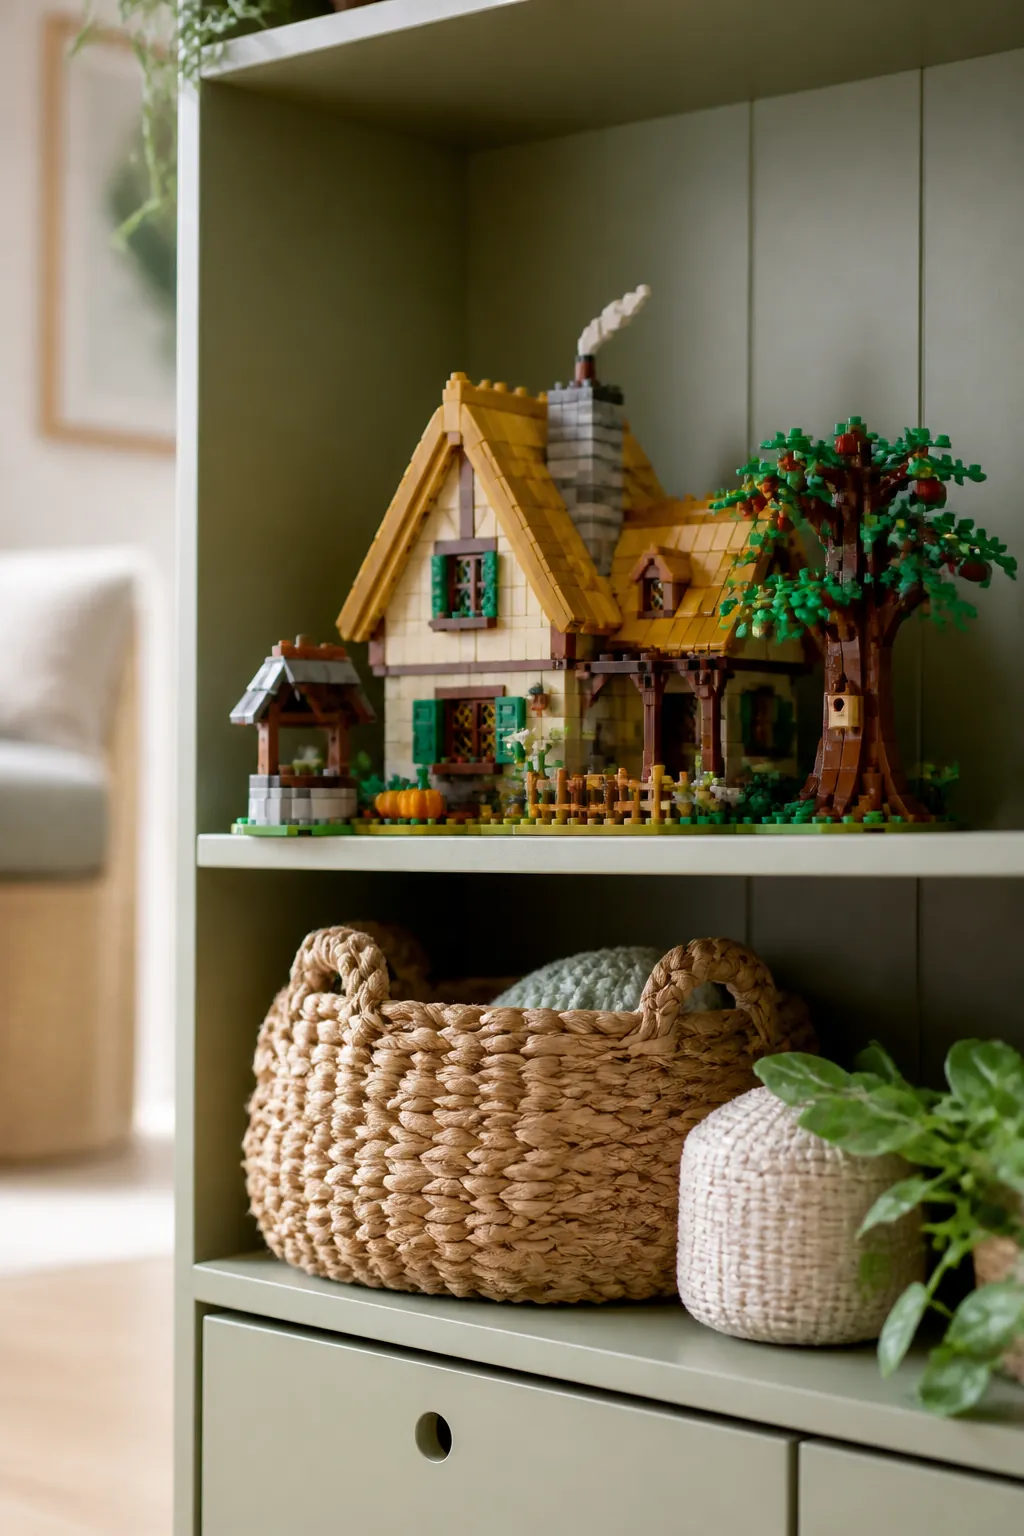
A finished build sitting on the floor or the edge of a table gets stepped on, sat on, or swept off by a sibling within days, and rebuilding a 500-piece set from memory is a much bigger ask than sorting bulk bricks back into a bin. Give completed builds a shelf out of the main walking path, ideally against a wall rather than freestanding where a passing elbow can reach it.
Eight to twelve inches of clearance above the shelf is usually enough for most finished sets, but measure your kid’s tallest recent build before assuming; a display shelf sized for last year’s projects can be too short for this year’s. If floor space is tight, a high shelf works, since displayed builds don’t need to be within a kid’s reach the way daily-use bricks do.
6. Keep instruction booklets in a labeled folder, not the bin
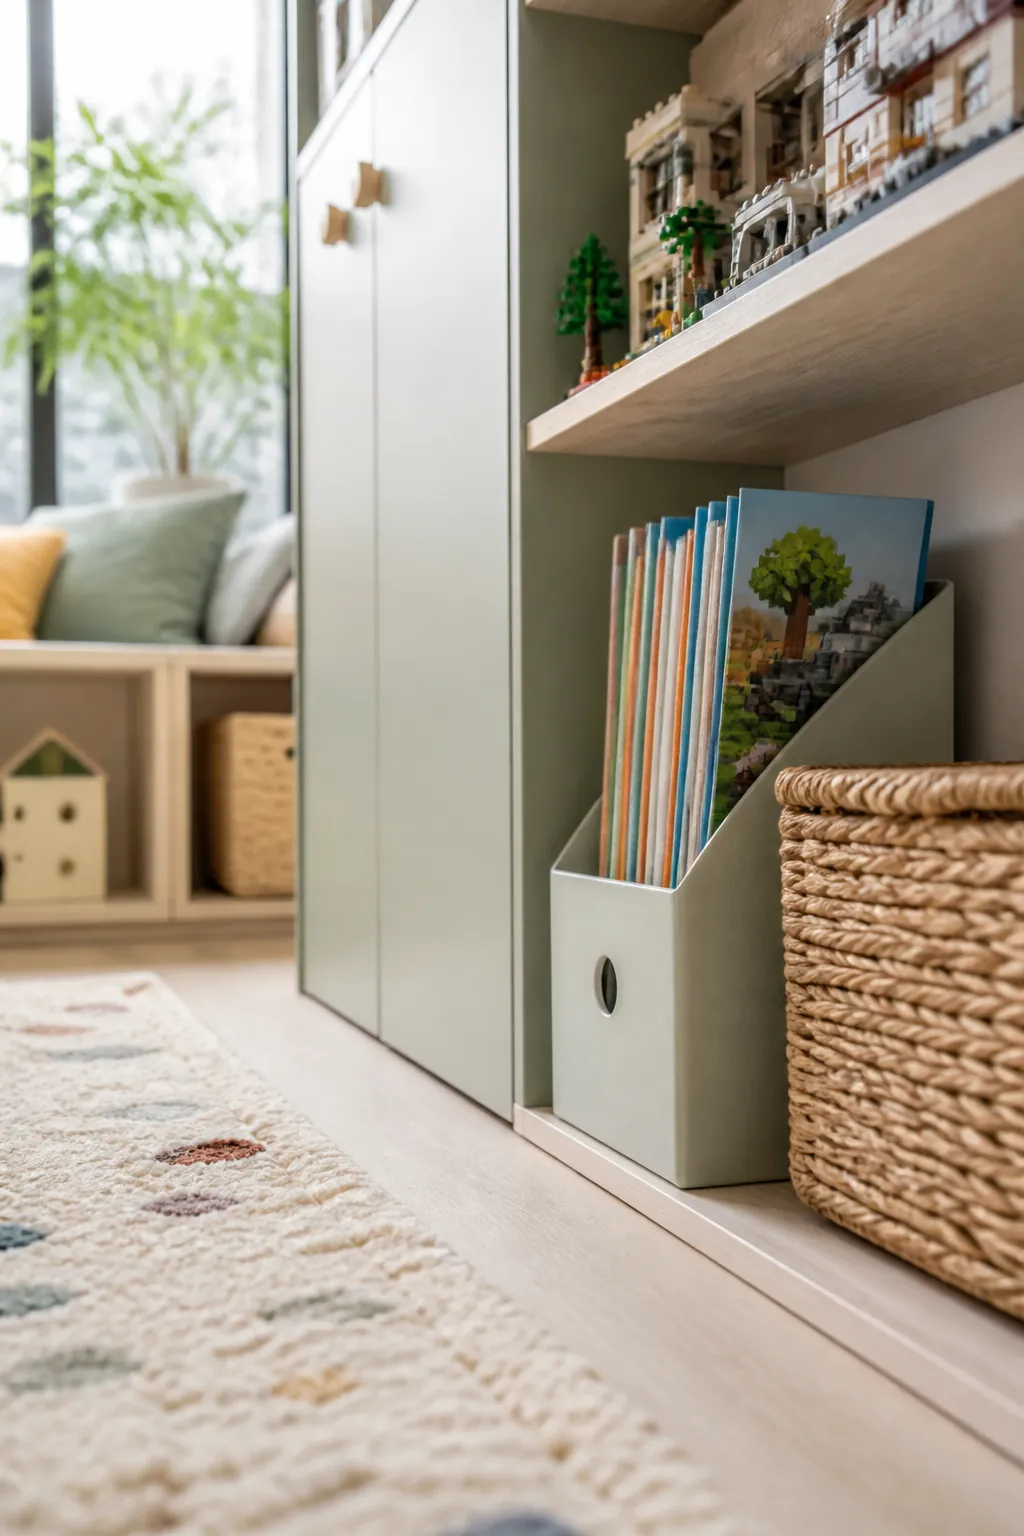
An instruction booklet tossed into the same bin as loose bricks gets torn, bent at the spine, and eventually buried under pieces until it’s functionally gone. A slim magazine file or a labeled folder, one per set or one for the whole collection sorted by set number, keeps booklets flat and findable near wherever the finished builds live.
This matters more for younger kids especially, since a child rebuilding a set they’ve already taken apart often needs the instructions more than an adult builder would. Write the set number on the folder tab in permanent marker; it’s printed small on the booklet cover and easy to lose track of once a few dozen are filed together.
7. Use a portable case for sets that travel
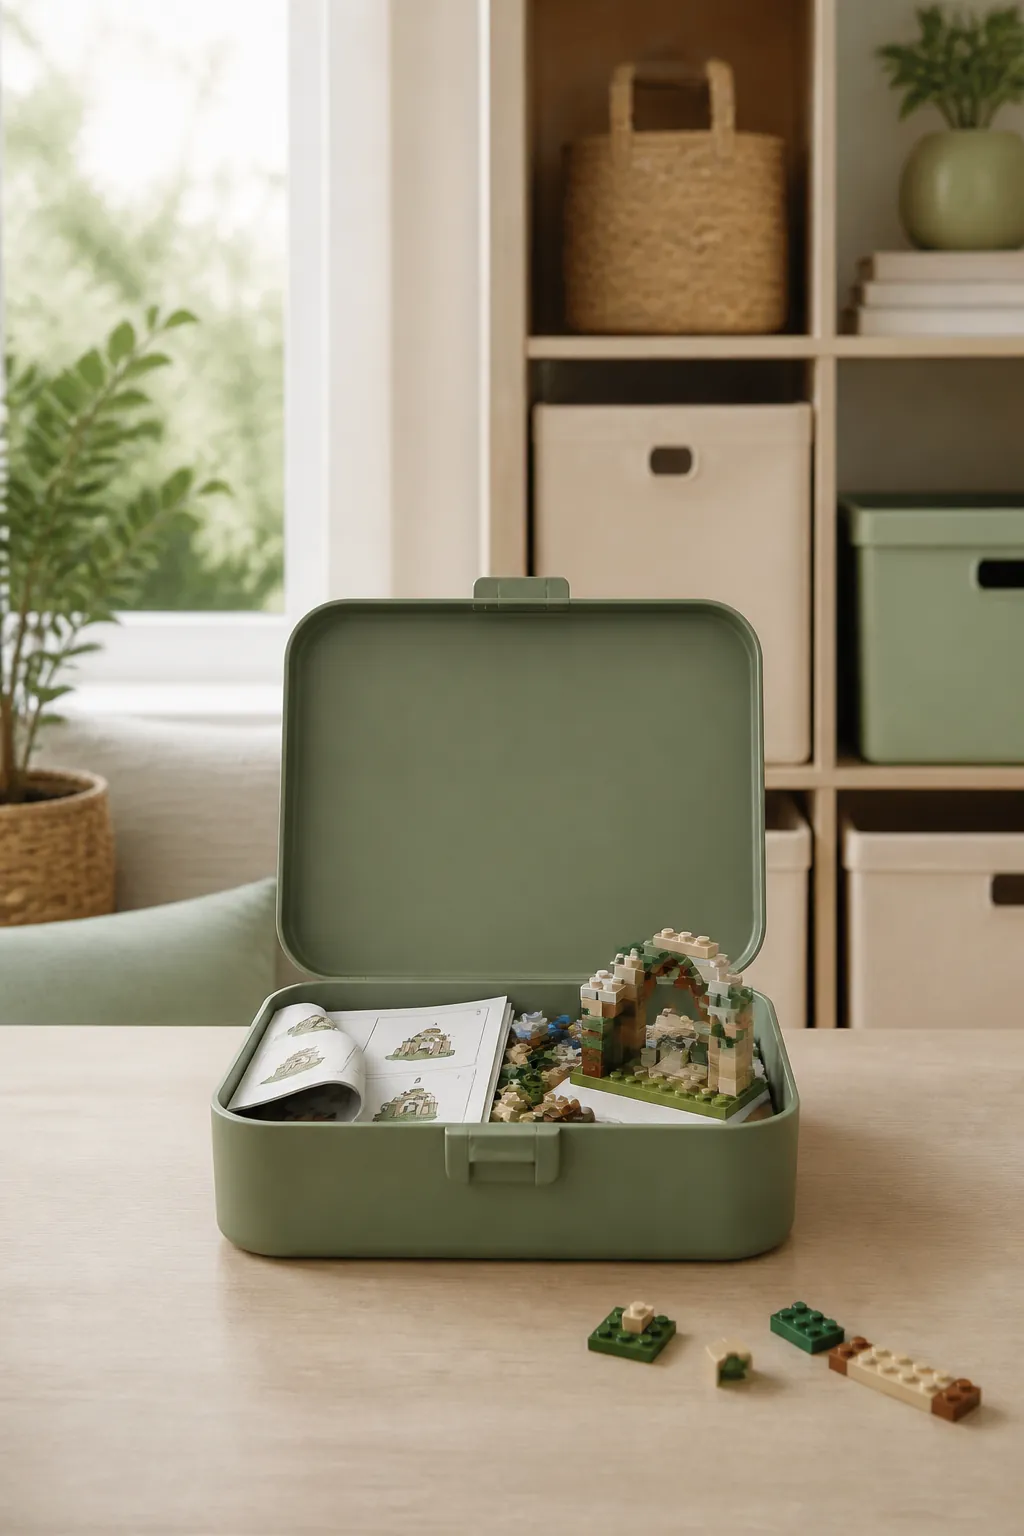
A set headed to a car ride, a grandparent’s house, or a waiting room needs a container that latches shut, not a sandwich bag that splits the moment it’s dropped into a backpack. Stackable craft keeper cases work well for this, since the latch keeps loose pieces contained through a bumpy ride and the case stacks back into a shelf or bin when it’s home.
Pack the instructions into the same case rather than leaving them behind, folded flat against one wall rather than loose on top where they’ll shift under the pieces. Count pieces back into the main collection after every trip; a piece left in a diaper bag or a car seat crack is one that won’t turn up again until the next time that bag gets cleaned out.
8. Give building sessions a tray that corrals stray pieces
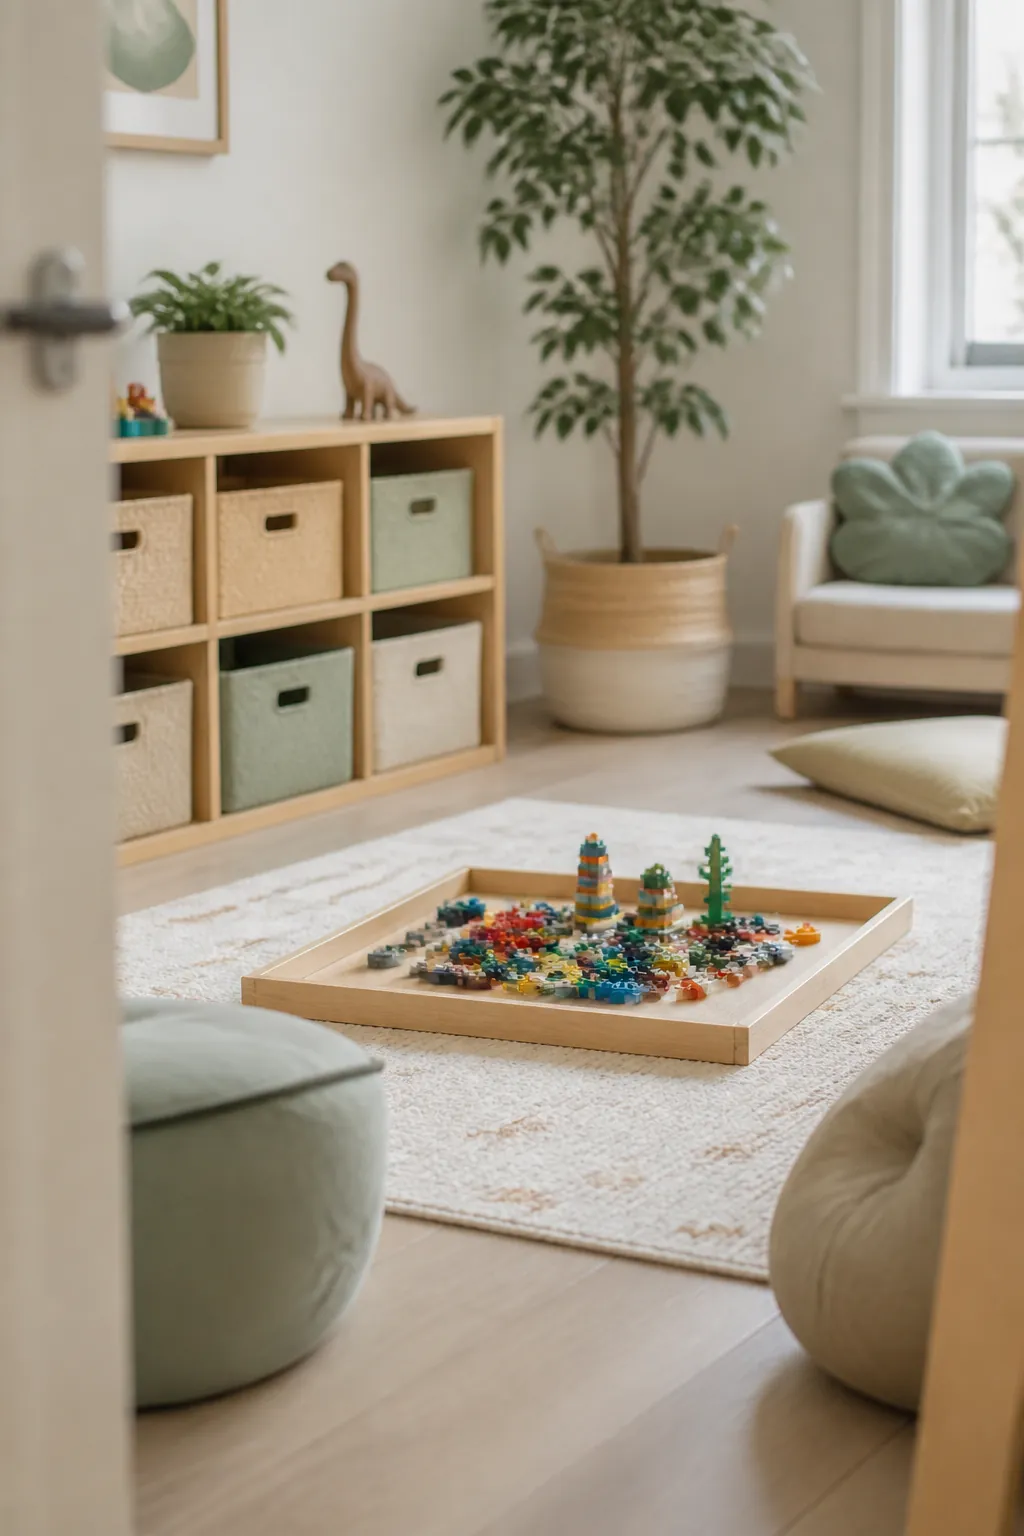
Bricks pulled out for an active build tend to drift across the whole floor as a kid reaches for pieces, tests them, and sets aside the ones that didn’t fit. A shallow building tray, even a large baking sheet or a low-sided under-bed lid repurposed for the job, keeps the working pile contained to one spot instead of spreading it edge to edge across the room.
This is also the easiest single habit to teach a young builder: pieces come out of the bin and onto the tray, not directly onto the carpet. A build that stays on a tray packs back into its bin in one motion when playtime ends, instead of requiring a floor-level piece hunt that a tired kid at bedtime is unlikely to finish properly.
9. Move overflow sets to a closet or under-bed space
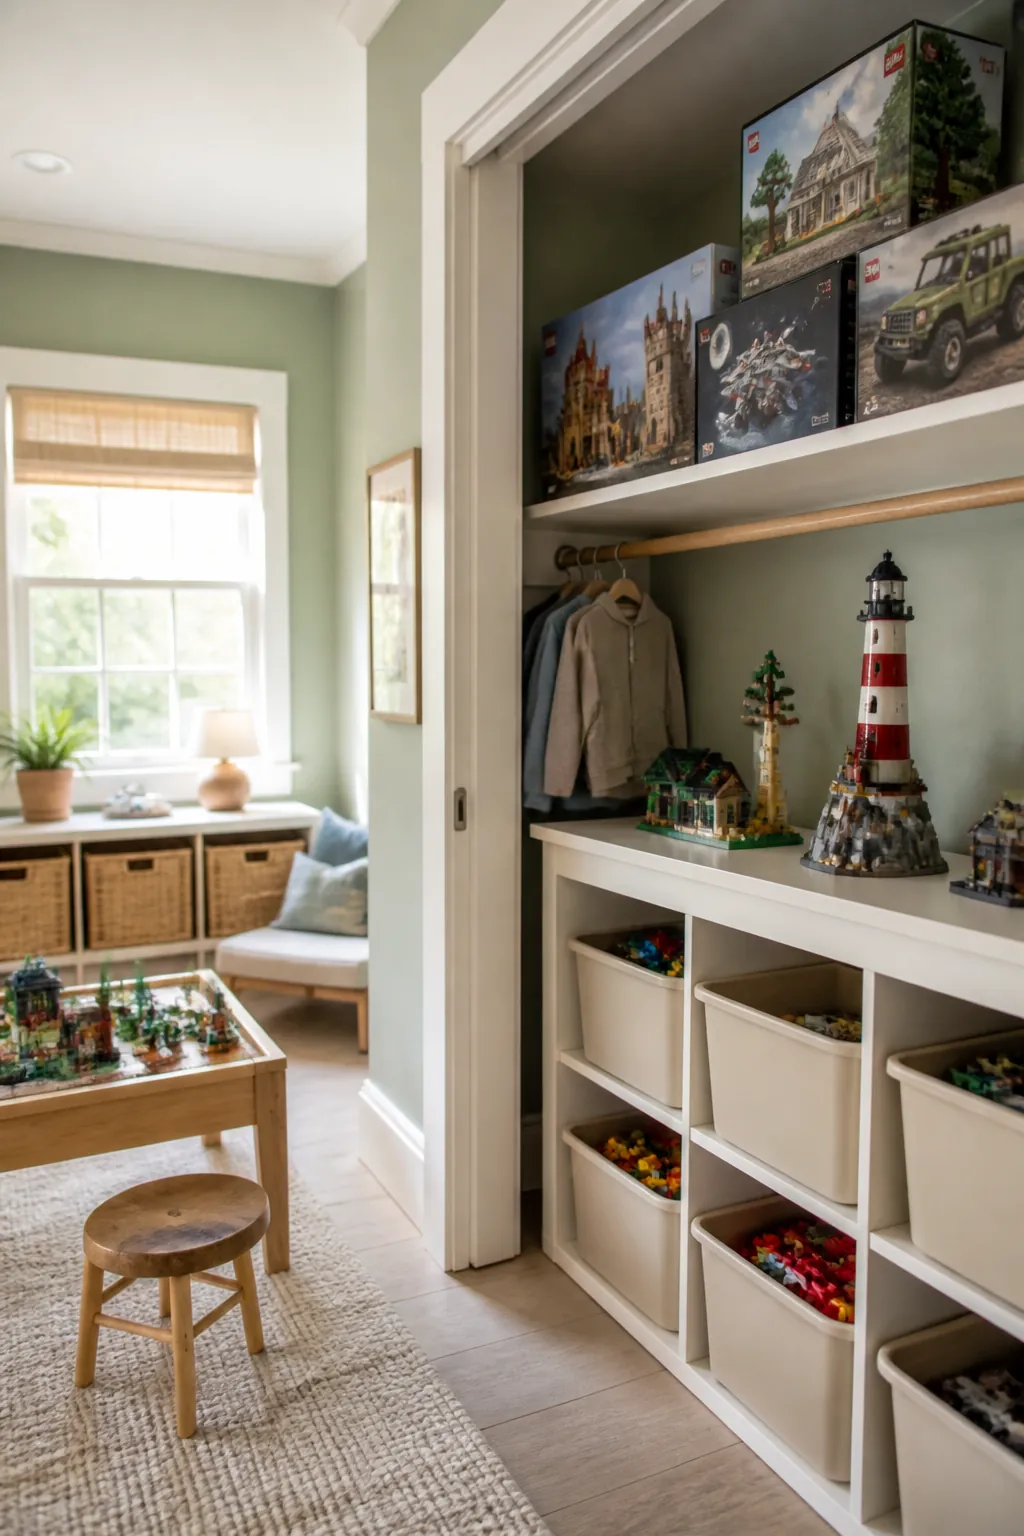
A playroom that tries to keep every set out at once runs out of shelf space long before the collection stops growing. Sets not currently in active rotation, especially large ones already built and photographed, can move to under-bed storage or a closet shelf without losing anything a kid actually plays with day to day.
Measure the clearance under the actual bed frame before buying a bin for this; a low platform bed can leave under 4 inches to work with, while a bed on risers often has 7 to 9. Rotate a set back into the active pile every month or two so the overflow doesn’t quietly become storage nobody remembers exists.
10. Set a swap-and-donate rule tied to birthdays
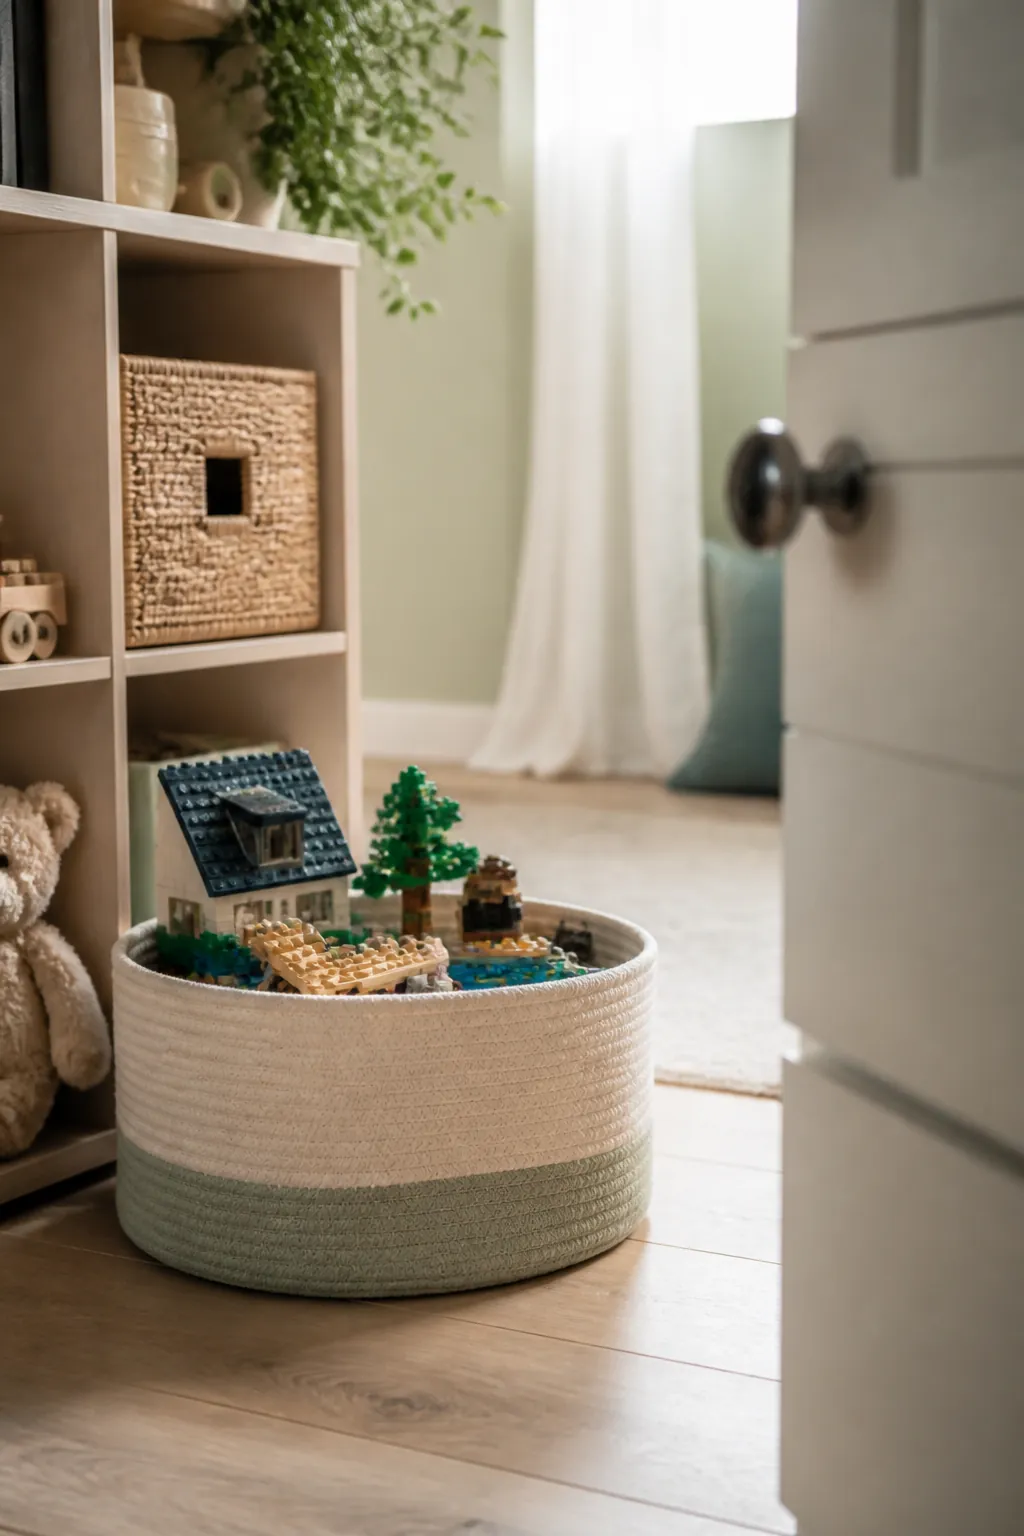
New sets arrive constantly, birthdays, holidays, a cousin passing down an outgrown collection, and without an exit point every bin on this list eventually overflows no matter how well it started out sorted. Tie a review to something that already happens on the calendar, a birthday or the start of a school break, and go through the collection before new sets get added.
Sets your kid has genuinely outgrown, duplicate large baseplates, or pieces from a set that’s missing too many parts to ever finish go to donation rather than a bin that’s already full. Loose, unidentifiable pieces with no set to belong to can move into the general bulk-brick bin from step 2 instead of taking up space in their own container. The goal isn’t a bare shelf, it’s a system that stays roughly the size it started at.
Where to start
Sort what you already have into bulk bricks, small parts, and finished builds first, since that single decision determines almost everything else on this list. Put the bulk pile into wide, shallow bins on a rolling cart, give minifigures and small pieces their own compartments, and move overflow sets to a closet or under-bed space once the shelf is full.
None of this needs a dedicated LEGO room. It needs each category of piece to have exactly one home, sized for how it actually gets used, so building back down to a clear floor is as easy as building up was in the first place.