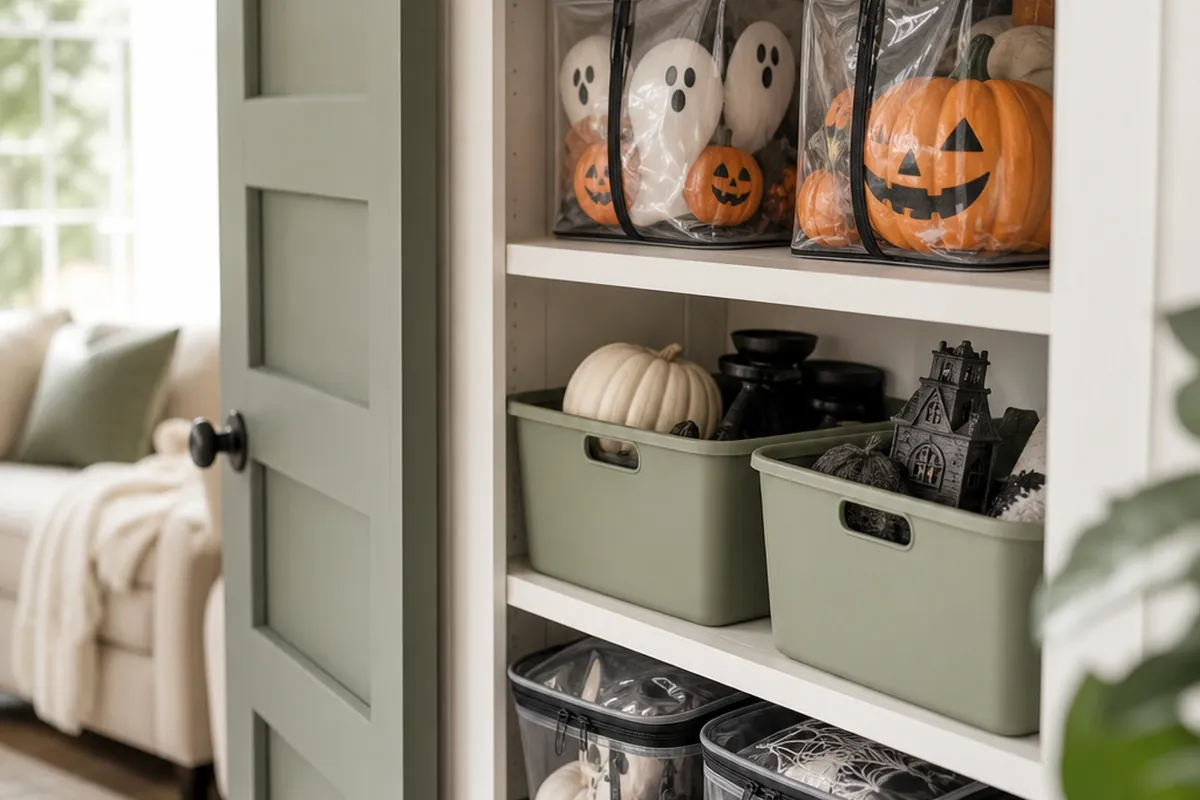
Halloween decor takes up more room than people expect for something that’s out one month a year. A foam headstone alone can eat a third of an eighteen-gallon tote, and a string of lights with no reel becomes a fist-sized knot by the time you find it again next October. In a small apartment or house with no attic, no garage and maybe one hall closet, all of it has to share space with everything you own for the other eleven months.
None of that needs a garage to solve. It needs the same three moves that fix any small-space storage problem: separate by what actually breaks, use bins that match what’s inside them, and label for where a thing goes up, not just what holiday it belongs to. Twelve ways to do that below.
1. Sort by what actually breaks before you buy a single bin
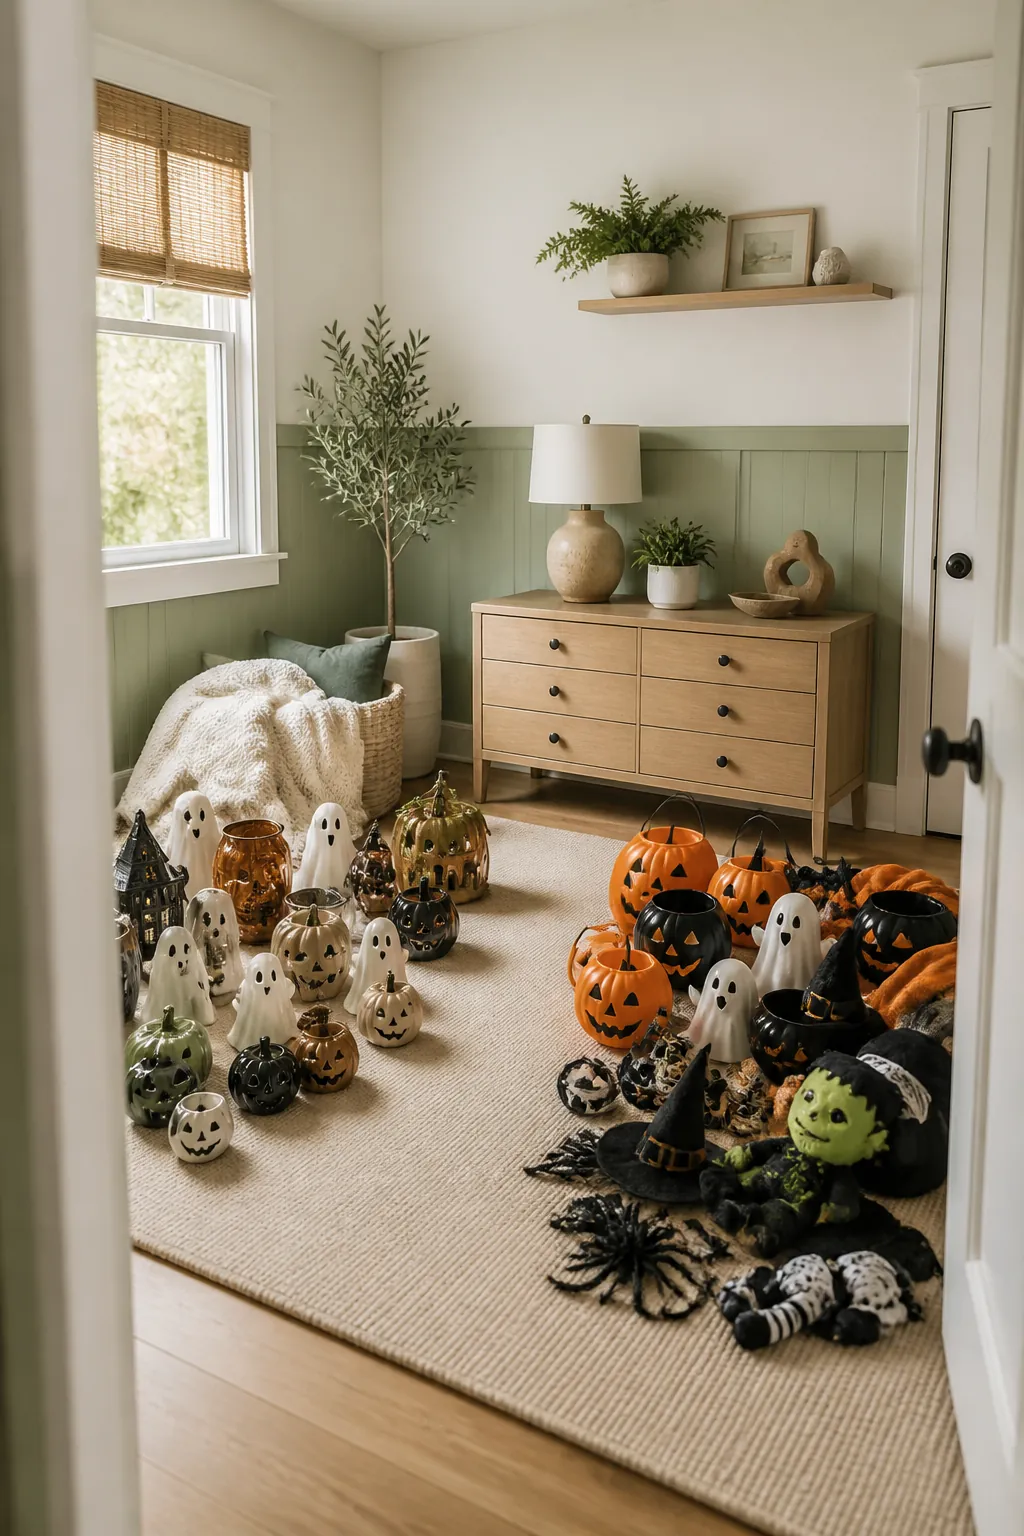
Before anything goes in a box, split the pile into two groups: things that shatter or crack (ceramic pumpkins, glass jars, resin figures) and things that don’t (plastic skeletons, fabric bunting, foam tombstones). This one sort decides almost everything else, since a bin built for a fifteen-pound plastic prop is the wrong container for a two-pound ceramic one that needs padding on every side, not just underneath.
Do this sort once, in year one, and every year after is just refilling the same two categories. Skipping it is how a single cracked jack-o’-lantern ends up wrapped in a grocery bag inside a box of stretchy webbing, which protects nothing.
2. Wrap lights around cardboard so they don’t turn into a knot
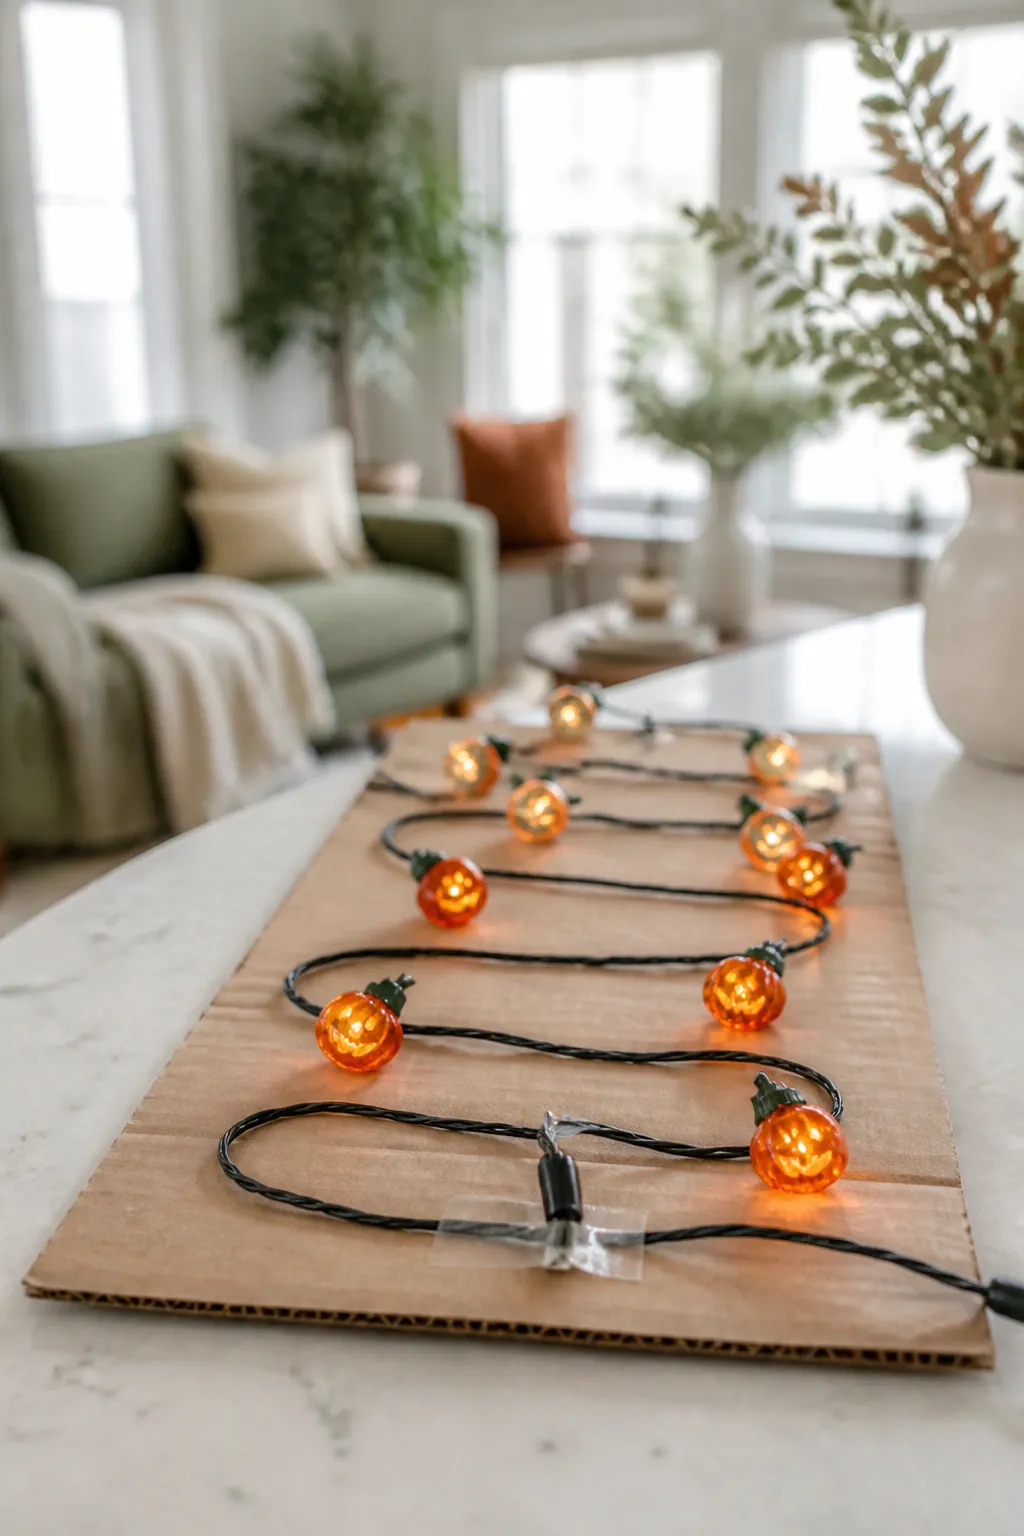
A string of forty or a hundred lights left loose in a bin comes out as one knot every single time, because the wire has nothing to hold its shape against and the strands cross each other on the way in.
Wrap each string around a flattened cardboard rectangle, a cut-down shipping box works, roughly six by ten inches, and tape the end down before it goes in the bin. Ten minutes spent doing this in November saves closer to thirty minutes of untangling under time pressure next fall, since you’re usually setting up lights the same week you’re already behind on everything else.
3. Send soft and inflatable props to a fabric bin, not a cardboard box
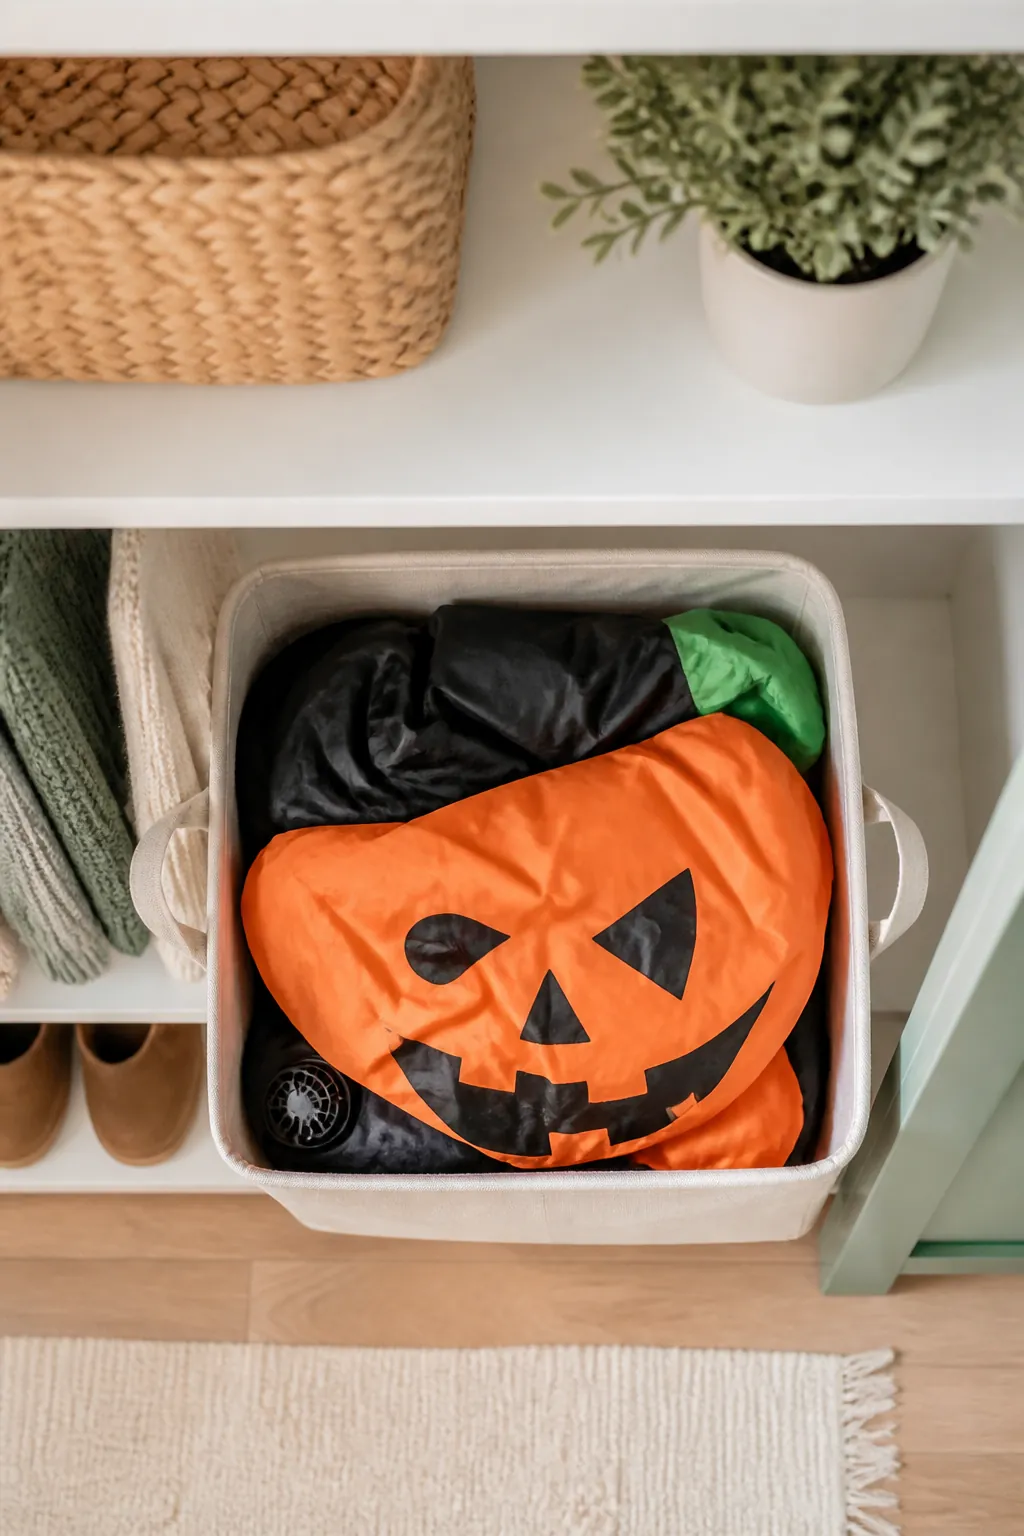
Inflatable yard props, fabric bunting, felt bats and any costume-adjacent soft goods do better in something that flexes than in something rigid, because a deflated inflatable folds into an odd, lumpy shape that a cardboard box’s square corners don’t accommodate.
Fabric storage bins with handles collapse flat for the eleven months they sit empty and hold their shape once loaded, and the handles matter more here than on a rigid tote, since these bins tend to get pulled off a high closet shelf rather than lifted from the floor.
4. Reach for clear stackable bins when you need to see what’s inside
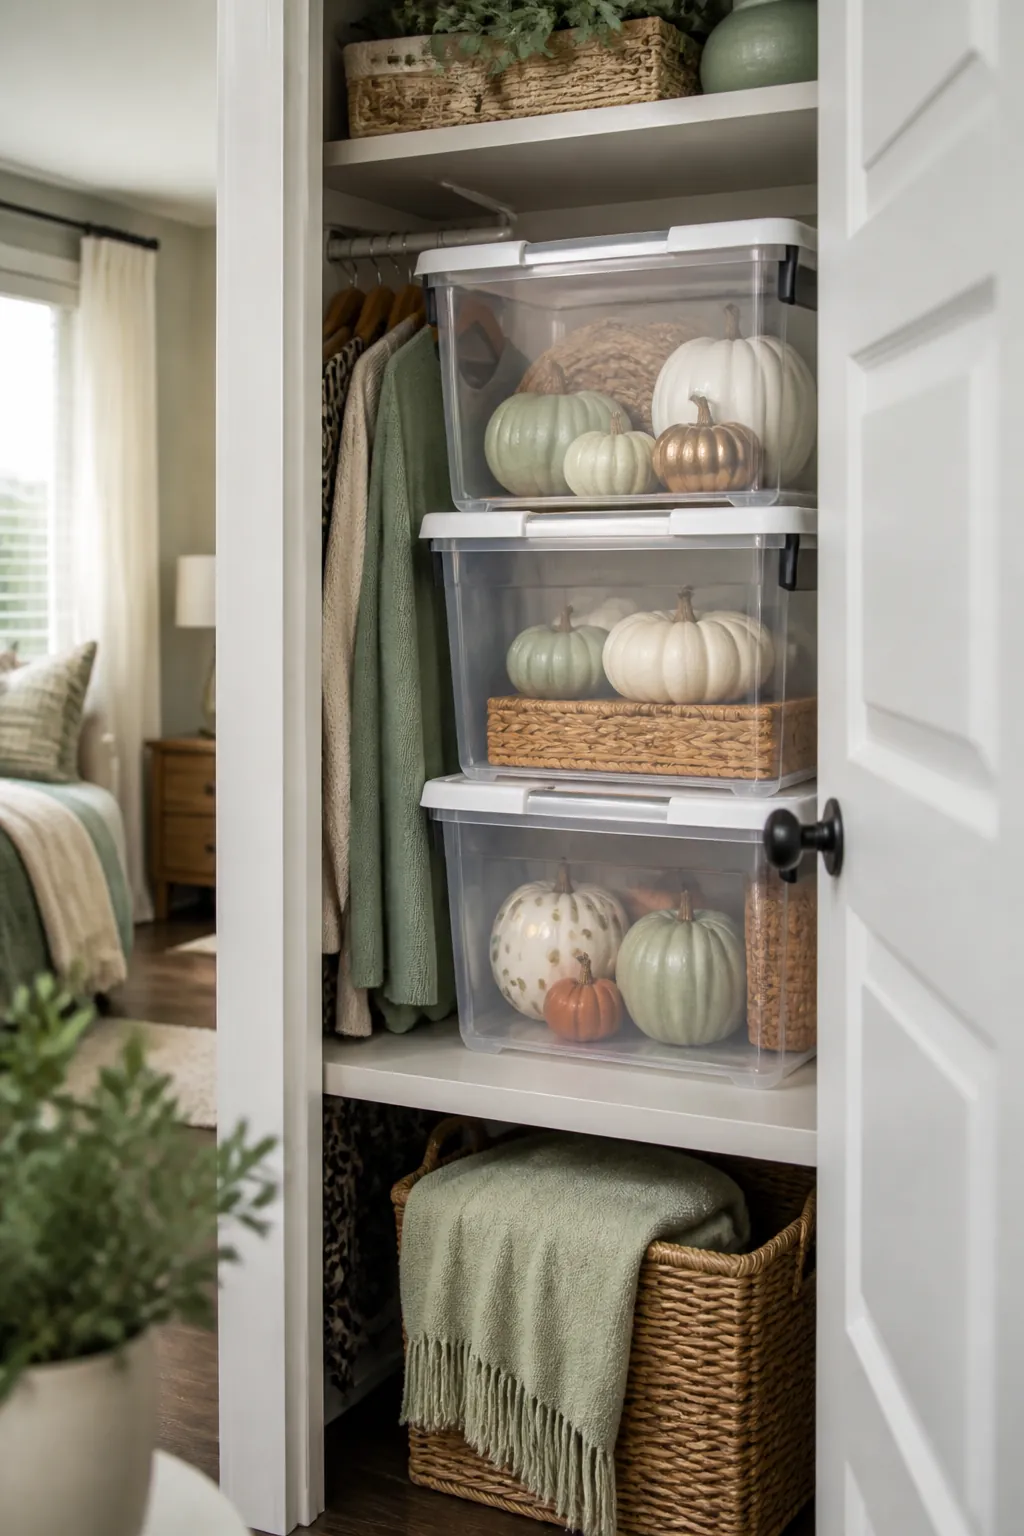
Opaque bins all look the same stacked three high in a closet, which means the label is the only thing telling them apart, and labels peel, fade or face the wrong way after a year in storage.
Clear stackable storage bins let you check contents at a glance from the front of the shelf, which is worth more than it sounds like when you’re standing on a step stool trying to find the one bin with the porch lights in it. Use these for decor you’ll want mid-season for a top-up, not just the once-a-year unpack.
5. Nest breakable figures in a padded layer, not loose in a box
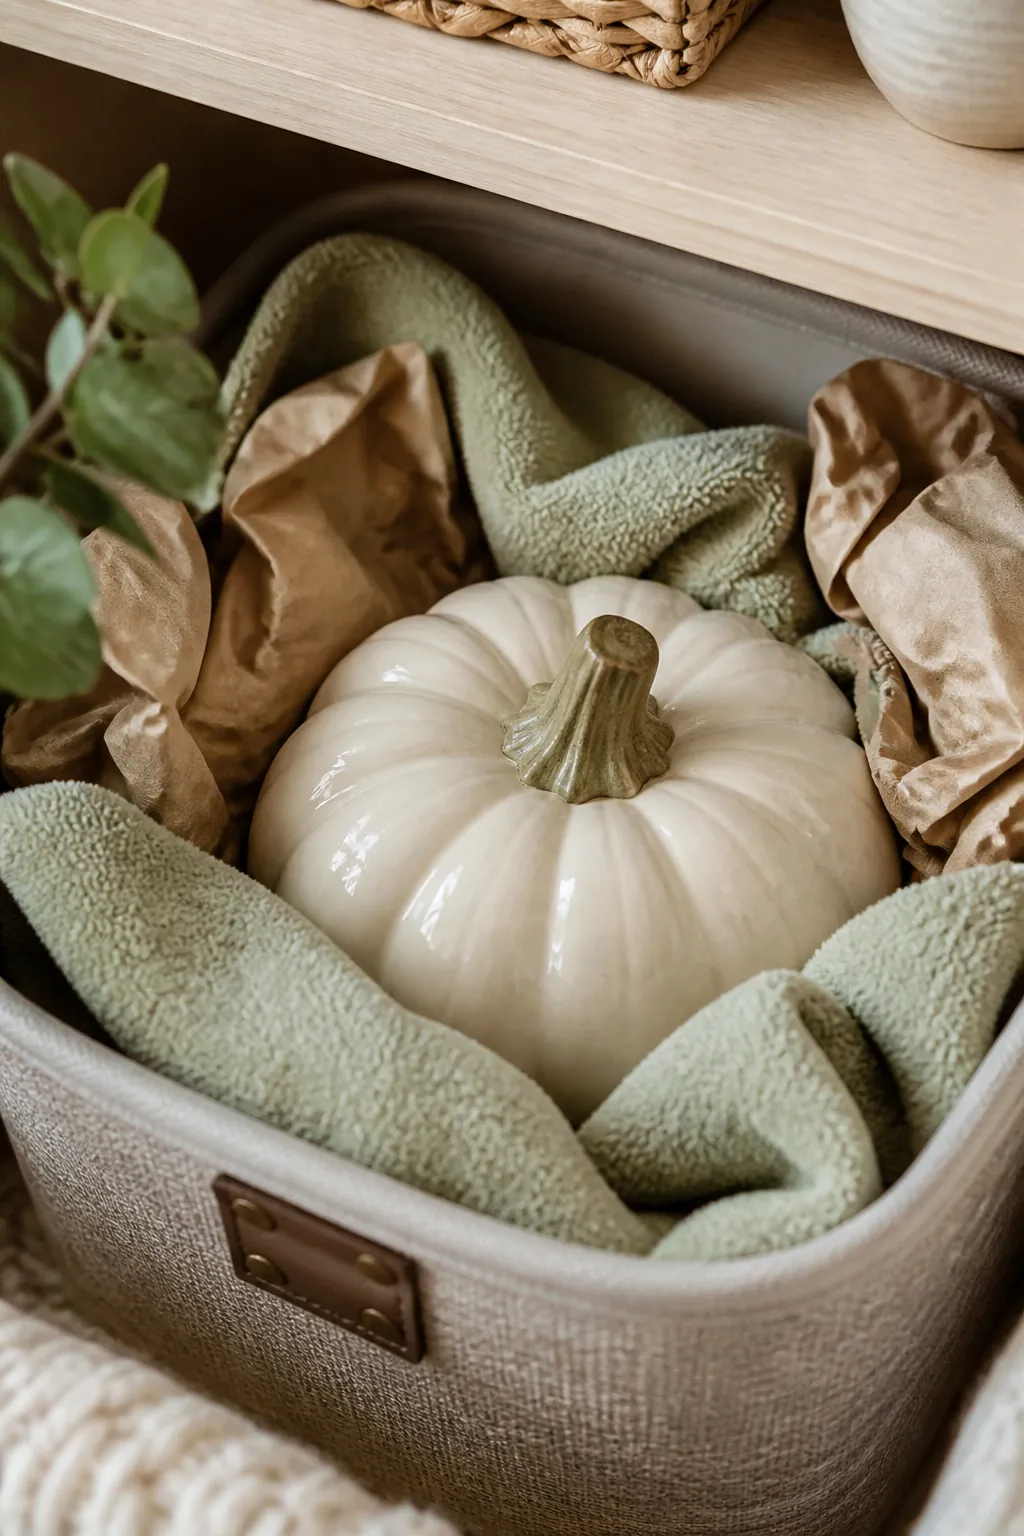
A ceramic pumpkin or a resin skull wrapped in a single sheet of newspaper and dropped into a box with everything else is one bump away from a crack, because nothing around it is absorbing the impact, it’s just other hard objects.
Line the bottom of the bin with a folded towel or a few crumpled grocery bags, set breakables in with a layer of padding between each one, not just around the outside, and fill remaining gaps so nothing shifts in transit. If a piece rattles when you shake the closed bin gently, it isn’t padded enough yet.
The same rule applies to Christmas ornaments, and Christmas ornament storage for a small apartment covers the divided boxes that stop glass touching glass.
6. Keep the first-out props on the top layer, not the bottom
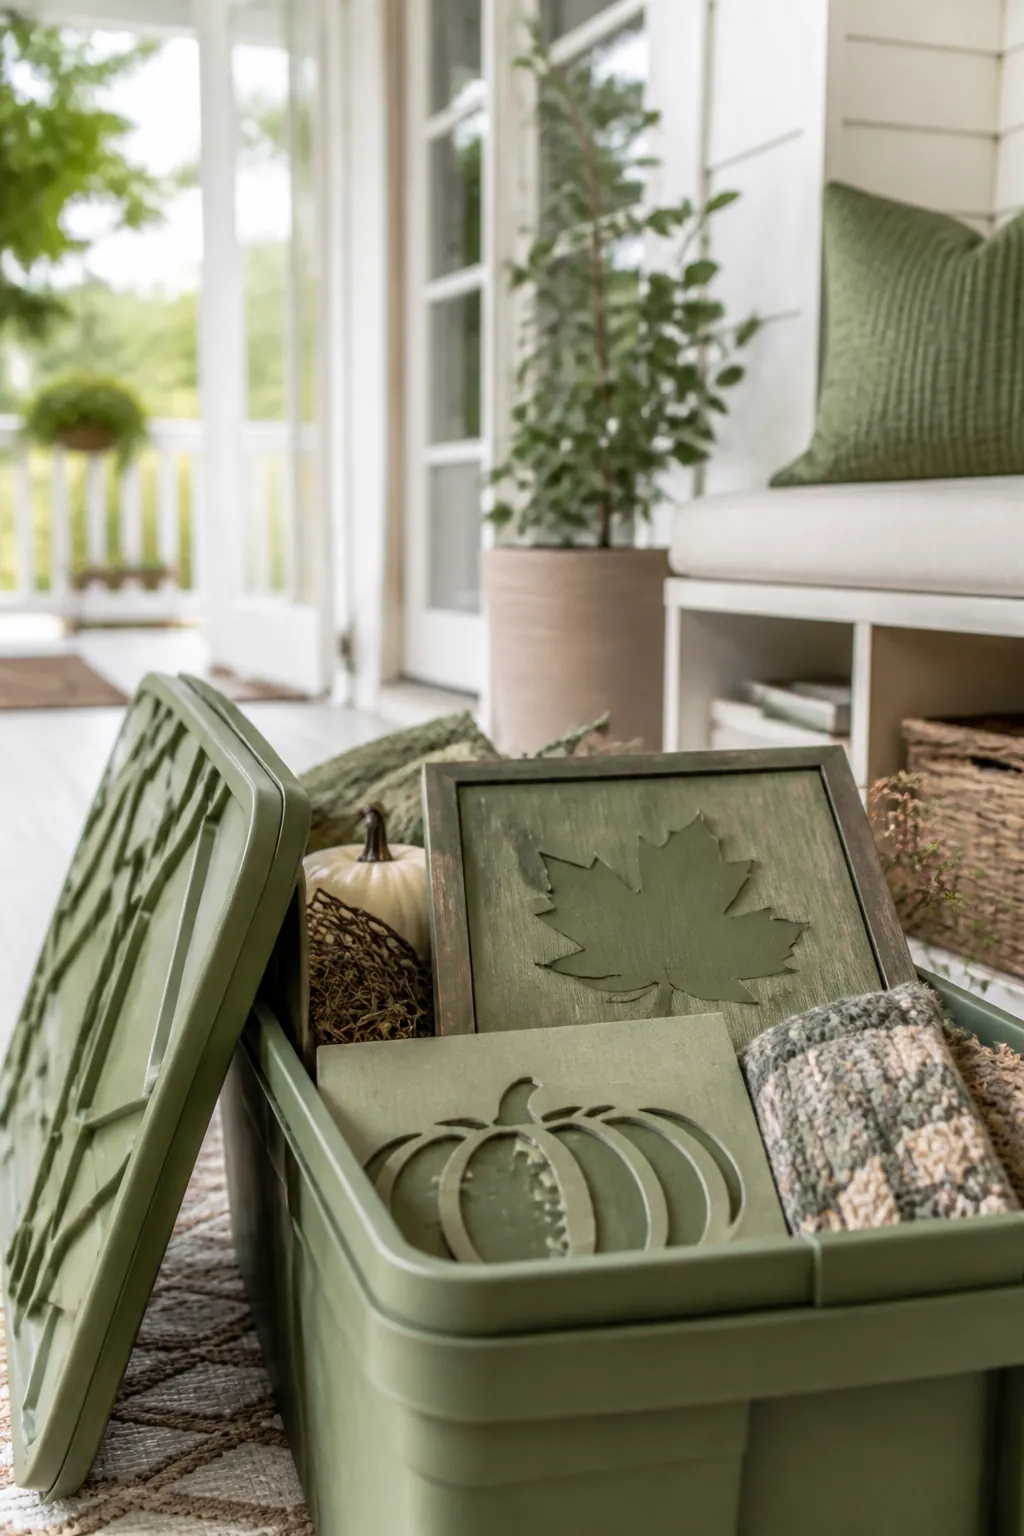
The pumpkin you carve first, the porch sign you hang the day decorating starts, and the string lights you test before anything goes outside are not the same items you’ll want to dig through a full bin to reach in mid-October.
Pack in reverse order of when you’ll need things: last-used goes in first, at the bottom, and first-needed sits right on top. It sounds obvious once someone says it, but the default habit is to pack whatever’s closest to hand first, which usually buries the porch sign under everything else by accident.
7. Slide flat decor under the bed instead of stacking it in a closet
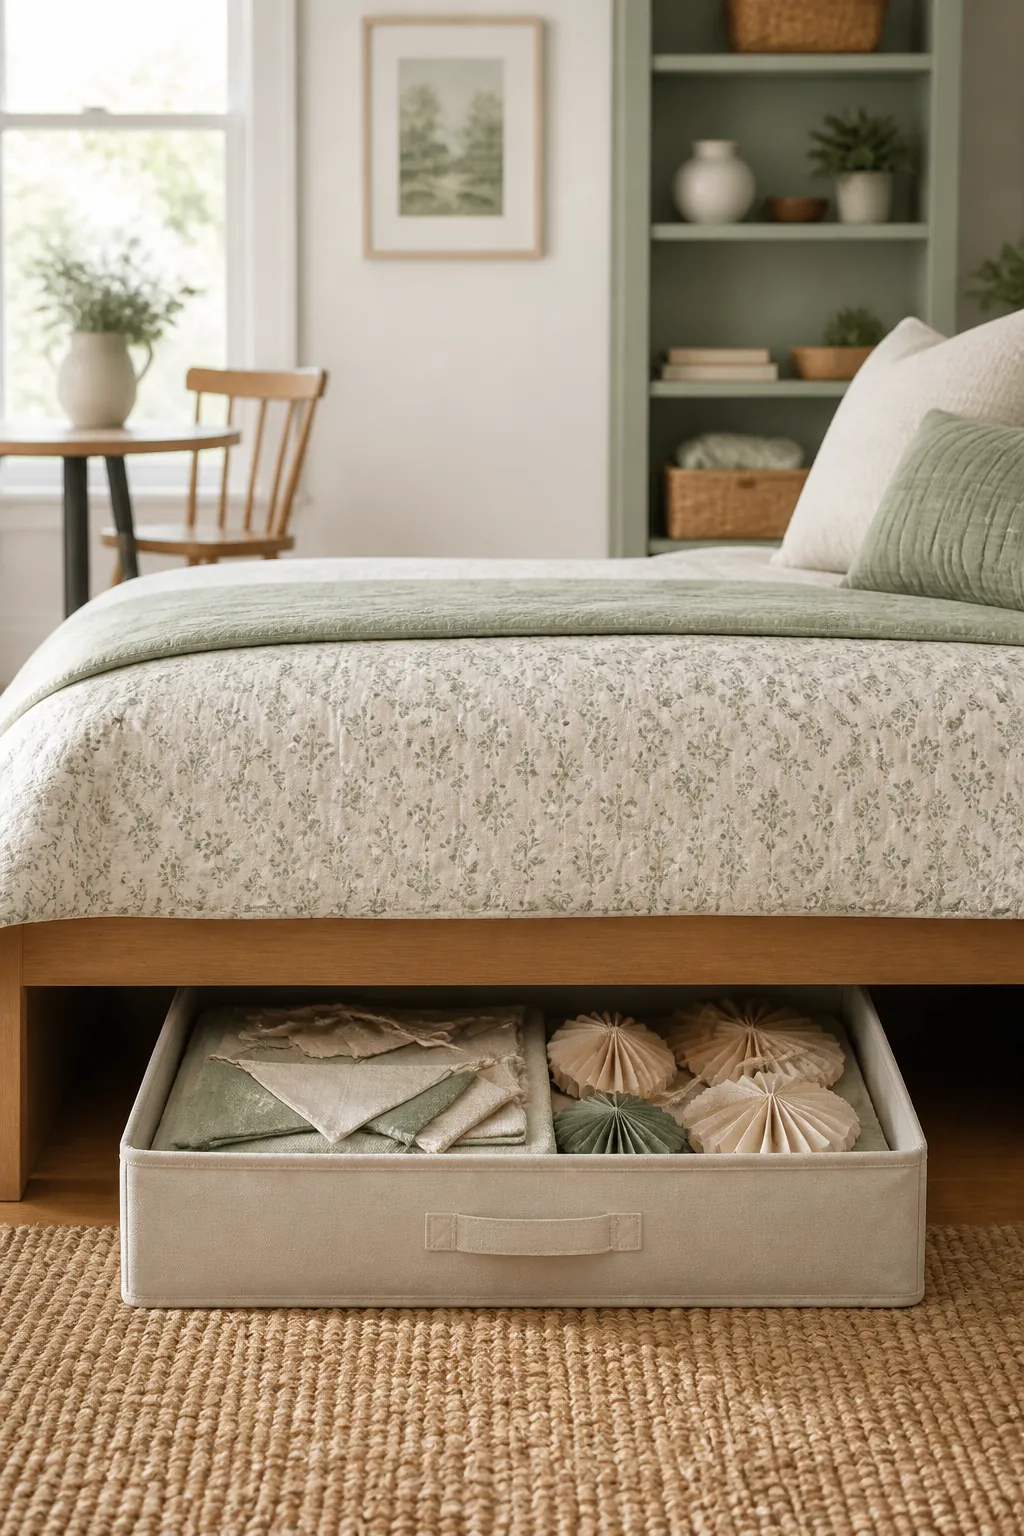
A queen bed frame typically clears six to seven inches at its lowest point, which is enough for a low-profile tote holding flattened bunting, paper garlands, table runners and anything else that packs thin, and it’s space a closet doesn’t have to give up.
Under-bed storage bins with lids keep dust off fabric decor for the eleven months it’s out of sight, which matters more here than on a closet shelf, since the space under a bed collects more dust than a shelf does. Measure your actual frame clearance before buying, since a platform bed or one with center support slats can sit lower than the six-inch average.
8. Bag the spiderweb stretch separately so it stops snagging everything else
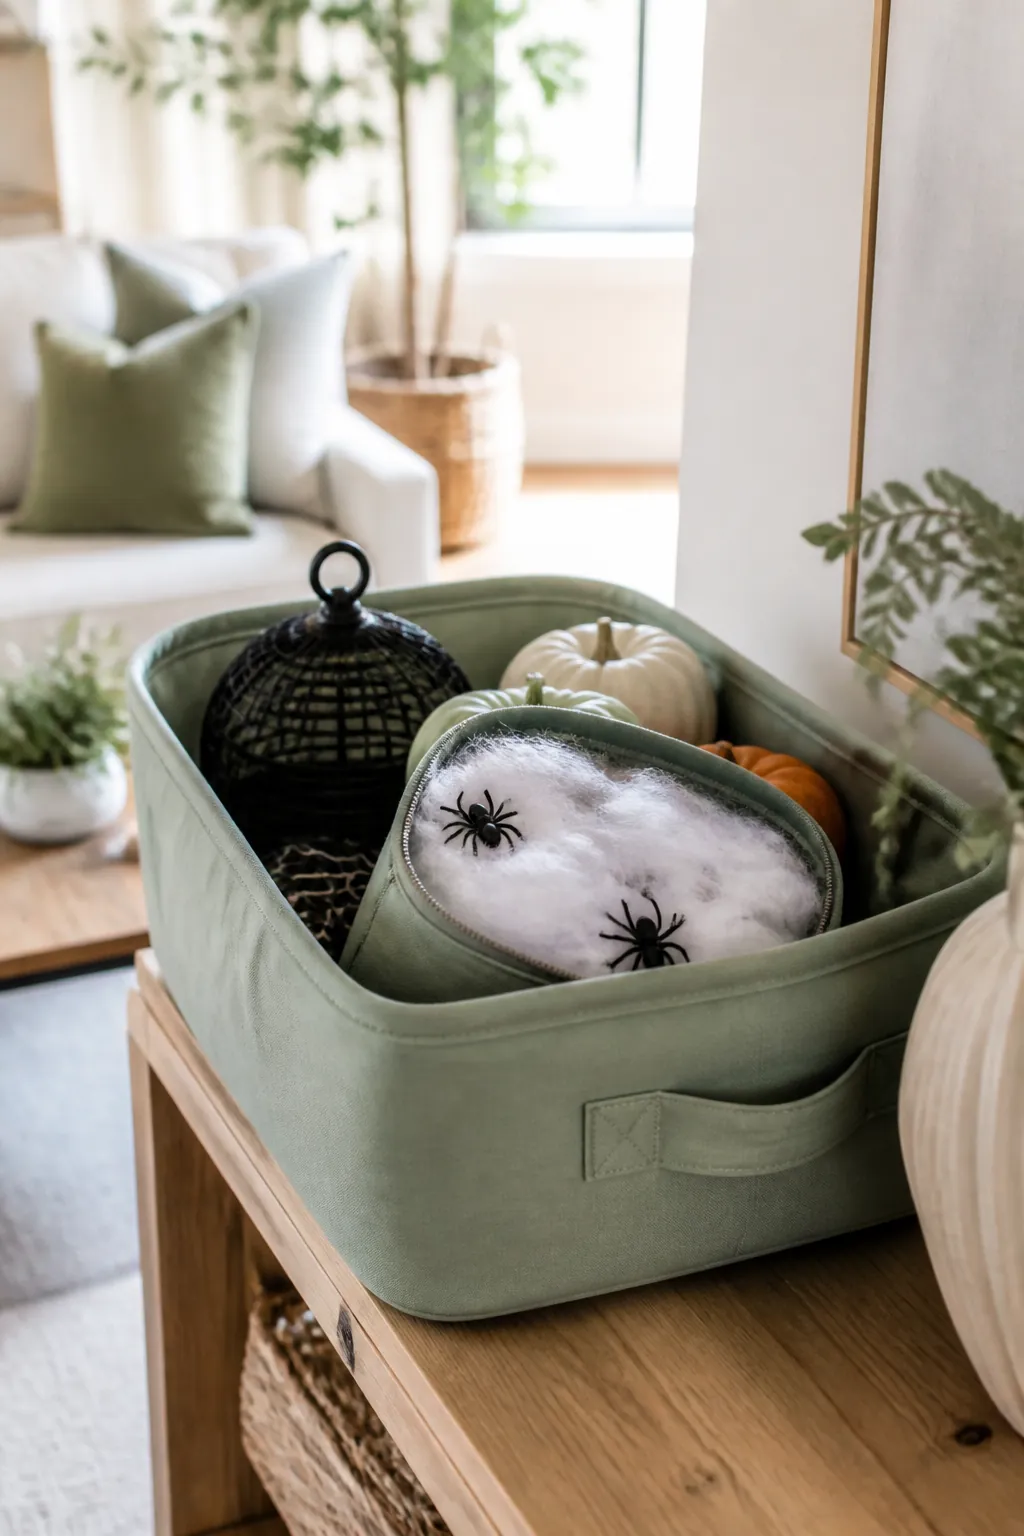
Stretchy spiderweb material catches on zippers, buttons, the corner of a cardboard box and pretty much anything with an edge, which means it never comes out of a shared bin the way it went in.
Give it its own gallon-size bag or a small pouch inside the bin, sealed so it can’t unravel and reach for whatever’s nearby. This is the single most common decoration people give up on and throw away each year, not because it wears out, but because it’s a tangled mess by the time they find it.
9. Coil and tag every cord with its rating before it goes in the bin
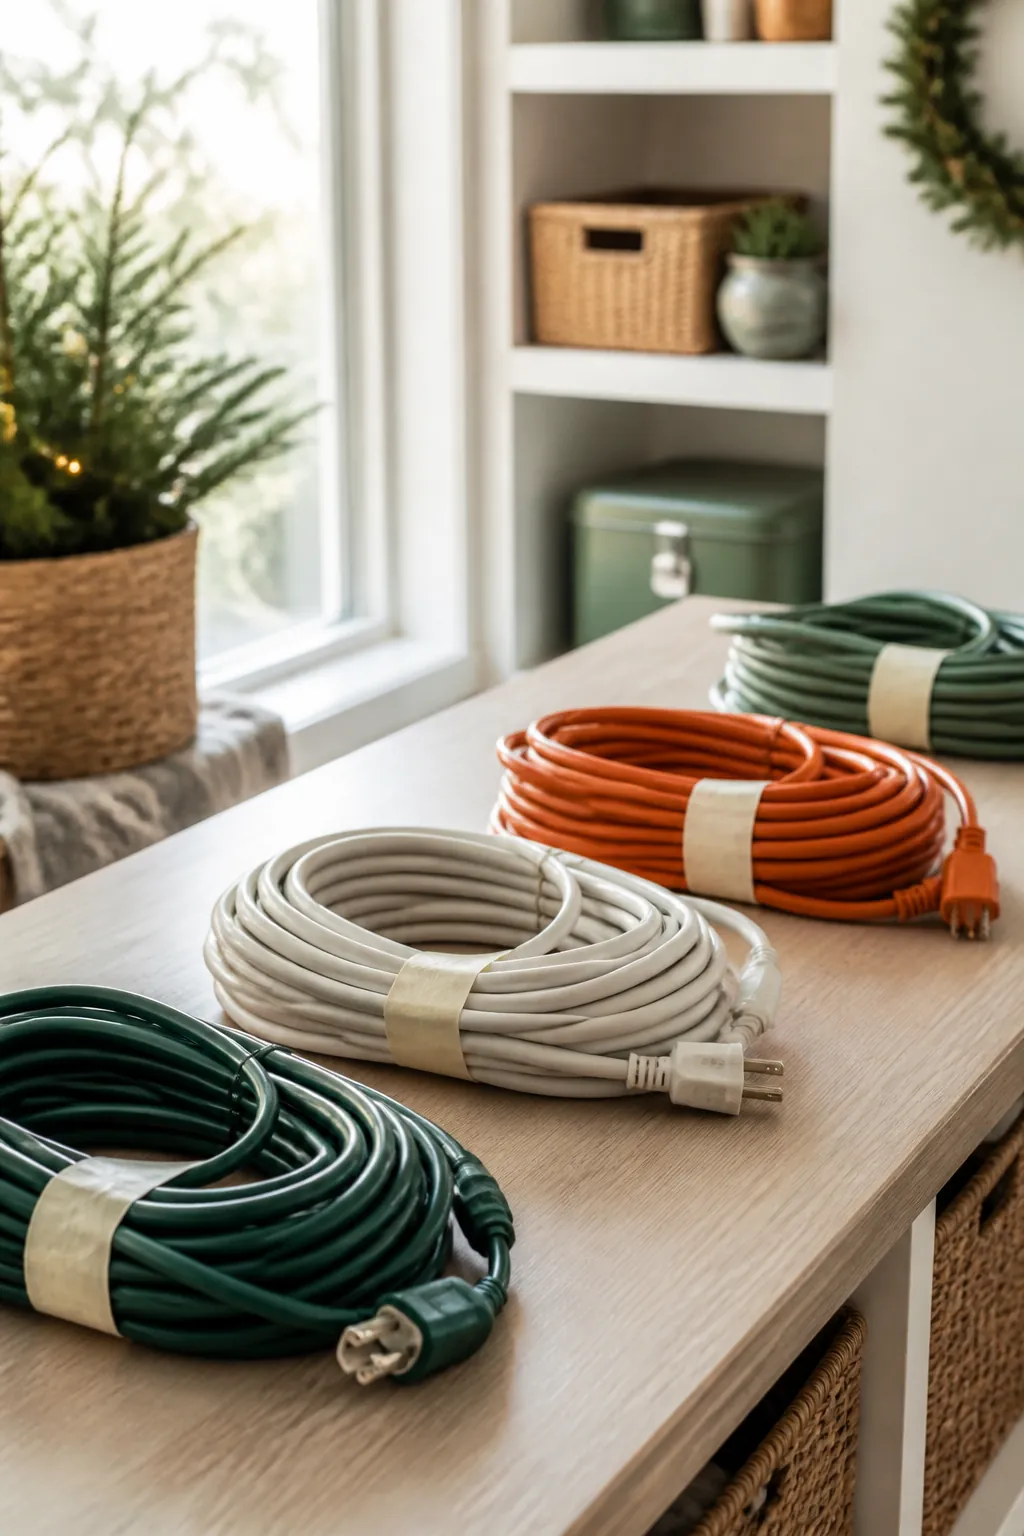
Extension cords rated for indoor use and cords rated for outdoor use look nearly identical once coiled, and the difference matters: an indoor-rated cord left plugged into a porch outlet through a rainy week is a real hazard, not a technicality.
Coil each cord and tag it with a strip of masking tape marked “indoor” or “outdoor” before it goes into storage. It takes fifteen seconds per cord, and it means you’re never guessing next year, standing on the porch with an unmarked cord and no idea which one it is.
10. Give trick-or-treat costumes their own box, not the decor bin
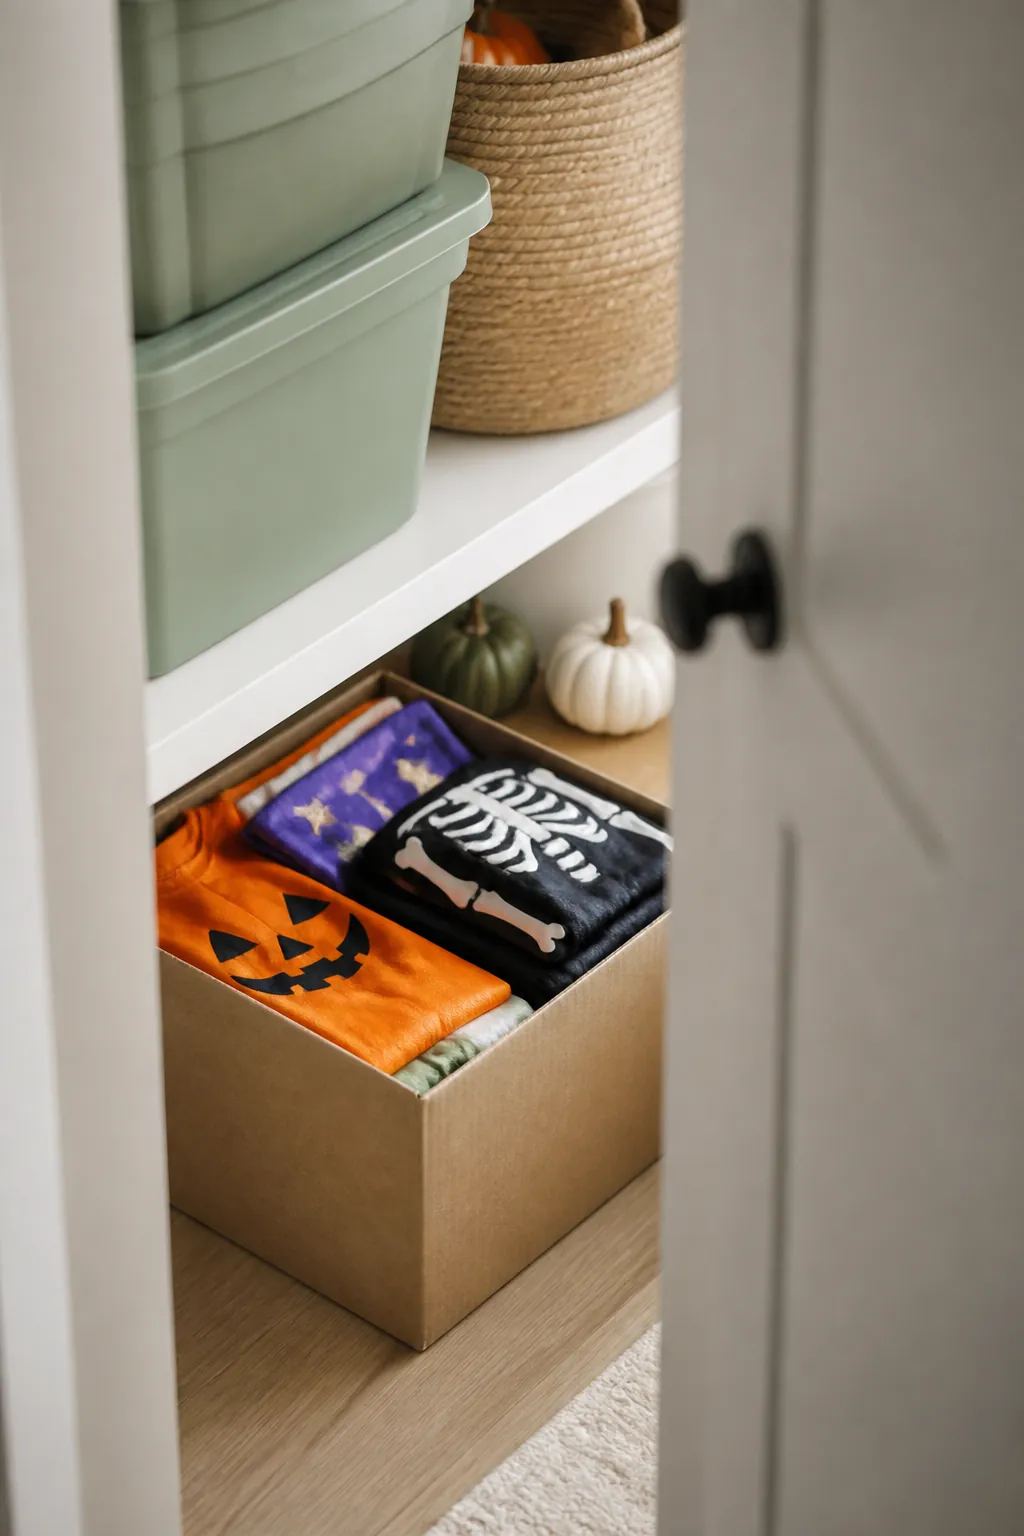
Costumes get pulled out days before the decor does, tried on, adjusted and often washed, so a costume packed at the bottom of a decorations bin means unpacking everything else just to reach it.
Store costumes separately, by size if you’re keeping them for next year’s kids, and keep that box somewhere more accessible than the decor bins, since it gets opened weeks earlier and handled more often. Mixing the two categories is the single biggest reason “getting the Halloween stuff down” turns into a bigger job than it needs to be.
11. Label bins by where they go up, not just “Halloween”
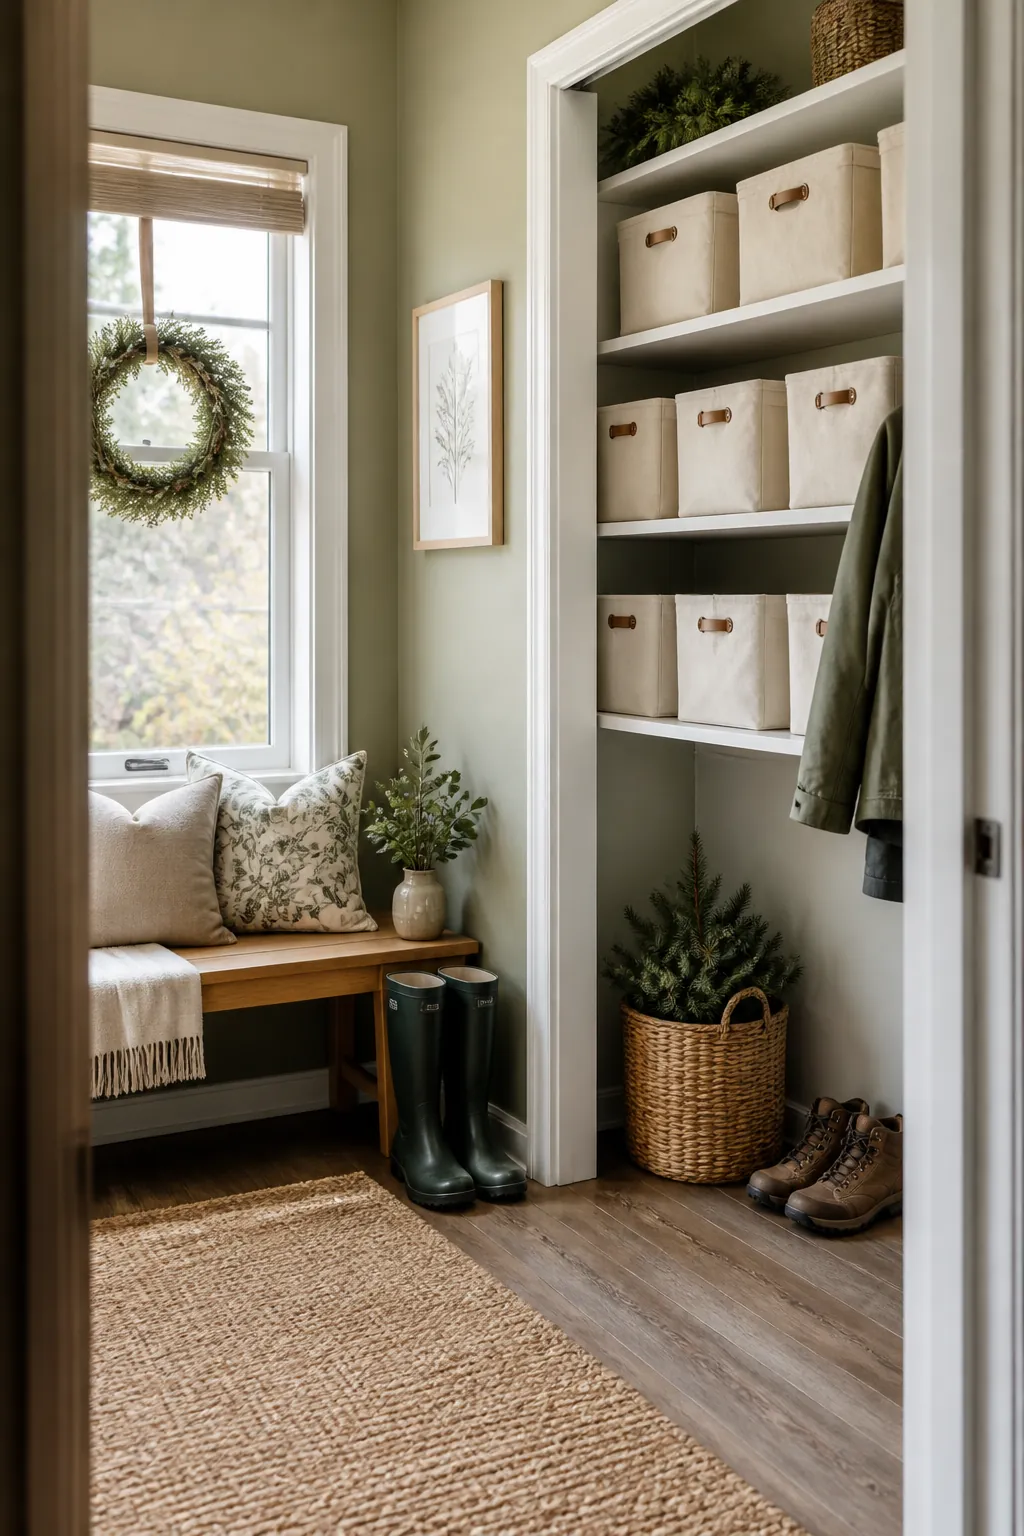
A bin labeled “Halloween” tells you what holiday it’s for and nothing about what’s inside or where it belongs, so you still end up opening every bin to find the porch stakes.
Label by destination instead: “porch,” “mantel,” “front yard stakes,” “windows.” When decorating day arrives, you carry the “porch” bin straight to the porch instead of sorting through a pile of “Halloween” boxes on the living room floor first. This one change does more for how painless the whole process feels than any bin you could buy.
12. Stack heavy and rigid on the bottom, light and fragile on top
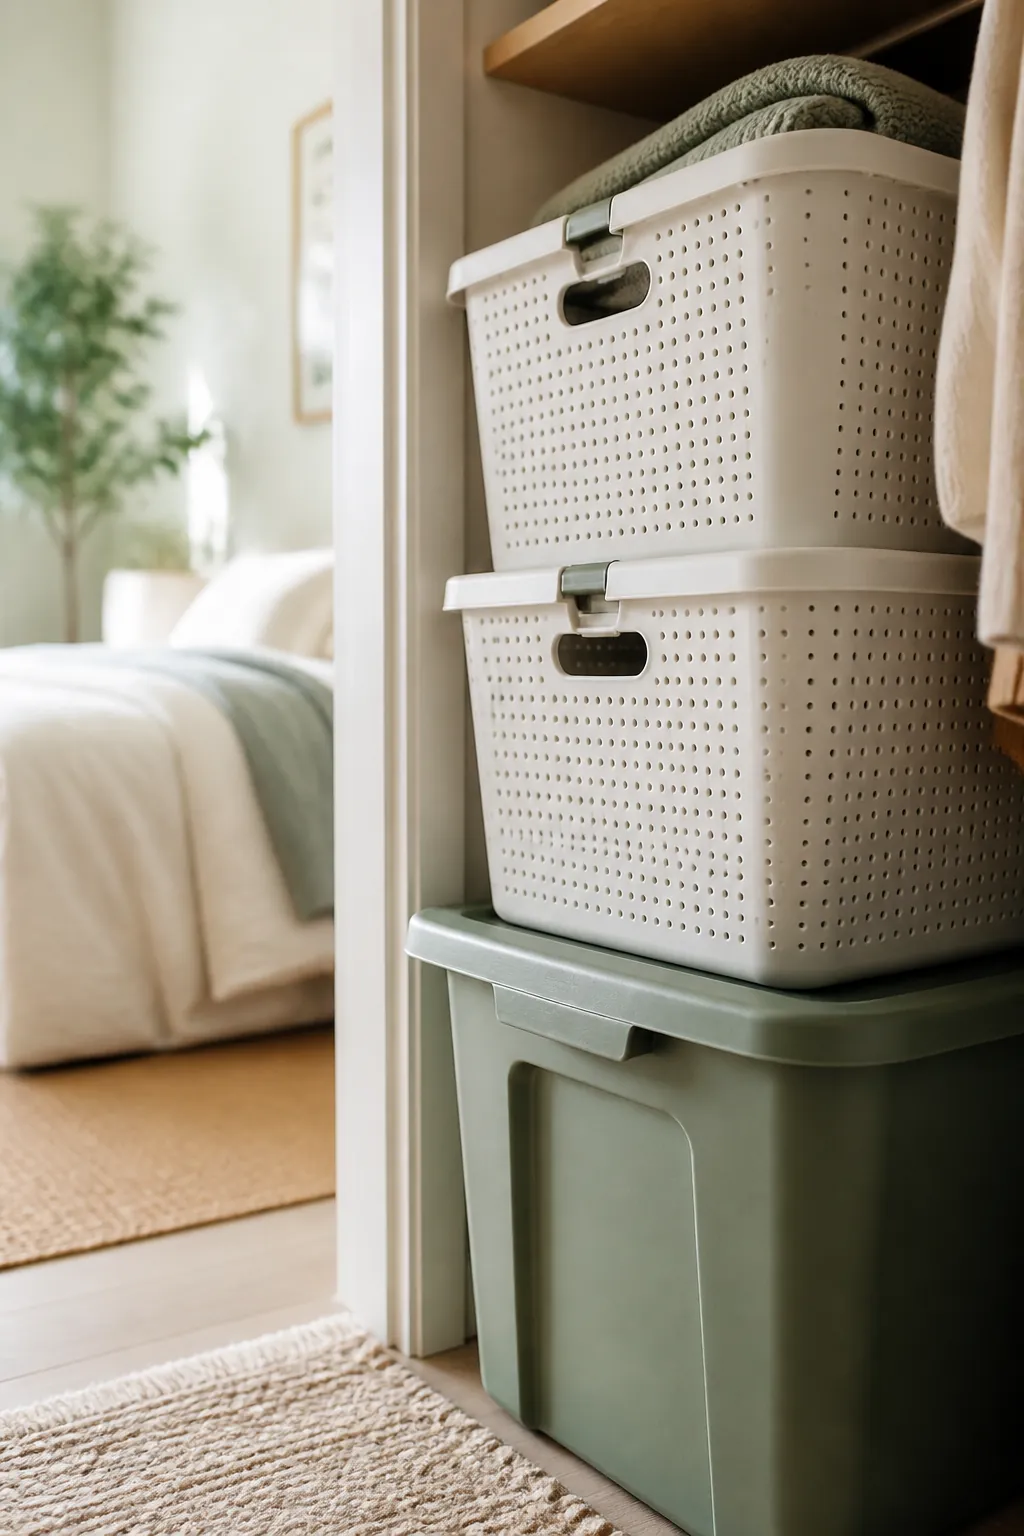
The instinct is to stack whatever’s handy, but a heavy plastic prop or a full bin of stakes sitting on top of a bin holding ceramic figures will crack something the first time the stack gets bumped or a lid doesn’t seat flat.
Put the heaviest, most rigid bins on the bottom of the stack and anything with breakables or soft compressible contents on top, never the reverse. If you’re storing on a closet shelf, put breakables on the shelf and rigid bins on the floor beneath it, since a shelf rated for twenty pounds and holding forty is a failure waiting for the day you lean on it.
Where to start
Start with the sort in idea one, since every other idea on this list assumes you already know which items need padding and which don’t. From there, a fabric bin for the soft stuff and a set of clear stackable bins for the fragile stuff covers most of what a small home needs, and an under-bed tote picks up the flat decor a closet doesn’t have room for.
None of it requires a garage or an attic. It requires bins that match what’s going in them and labels specific enough that next October, you’re carrying boxes straight to where they go instead of sorting through a pile on the living room floor first.
Once Halloween is boxed, the next thing coming down is the tree. Christmas tree storage ideas for a small apartment covers how to store an artificial one without giving it a closet of its own.